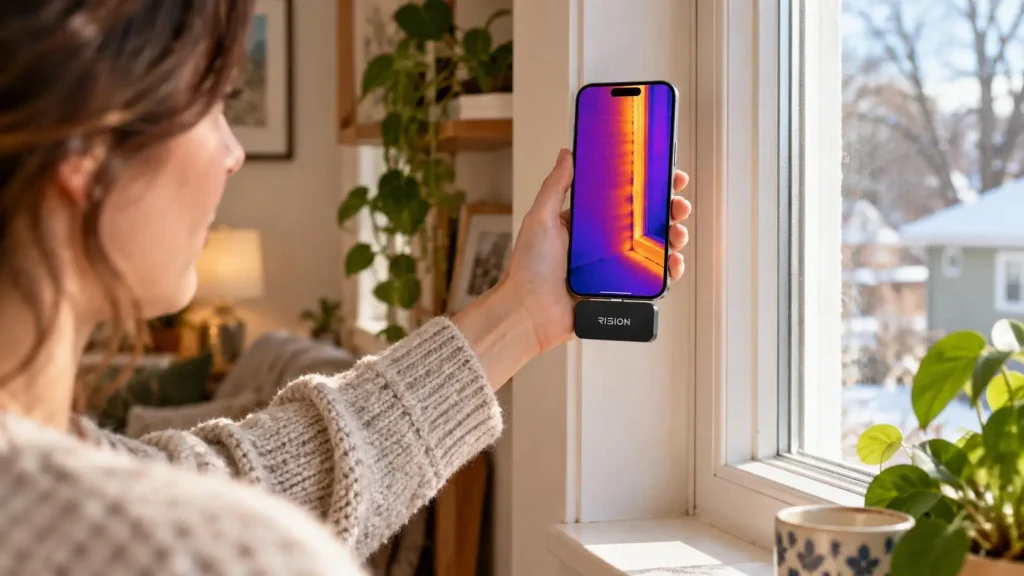
A cold corner or damp-looking wall can start an expensive guessing game. A thermal scan shows where the visible surface is warmer or cooler. It will not confirm what is inside the wall, but it can show you where to check next.
Choose Conditions That Make Differences Visible
A draft may be hard to spot when the indoor and outdoor temperatures are close. Let the heating or cooling system run as usual. Keep outside doors and windows closed, and leave the thermostat alone during the walk-through.
Direct sunlight can leave one wall warm long after another has cooled. Scan away from strong sun when possible and compare images with the same temperature scale.
Begin With Windows and Exterior Doors
Check the frame, sill, door threshold, seals, lower corners, and nearby wall. A thin cool line may come from moving air or a cold surface. Check a similar window or door to see if the pattern is unusual.
Follow the image with a physical check for damaged seals and visible gaps. Thermal imaging shows the pattern; it does not measure airflow directly.
Continue Along Walls, Baseboards, and Attic Access Points
Scan corners on outside walls, baseboards, outlets, vents, fans, pipe openings, and attic hatches. These spots often have gaps or uneven insulation.
Normal construction creates patterns too. Studs, screws, pipes, and other materials move heat at different rates. A narrow line at every stud may be normal. One broad, uneven patch deserves more attention.
Treat a Cool Patch as a Moisture Question
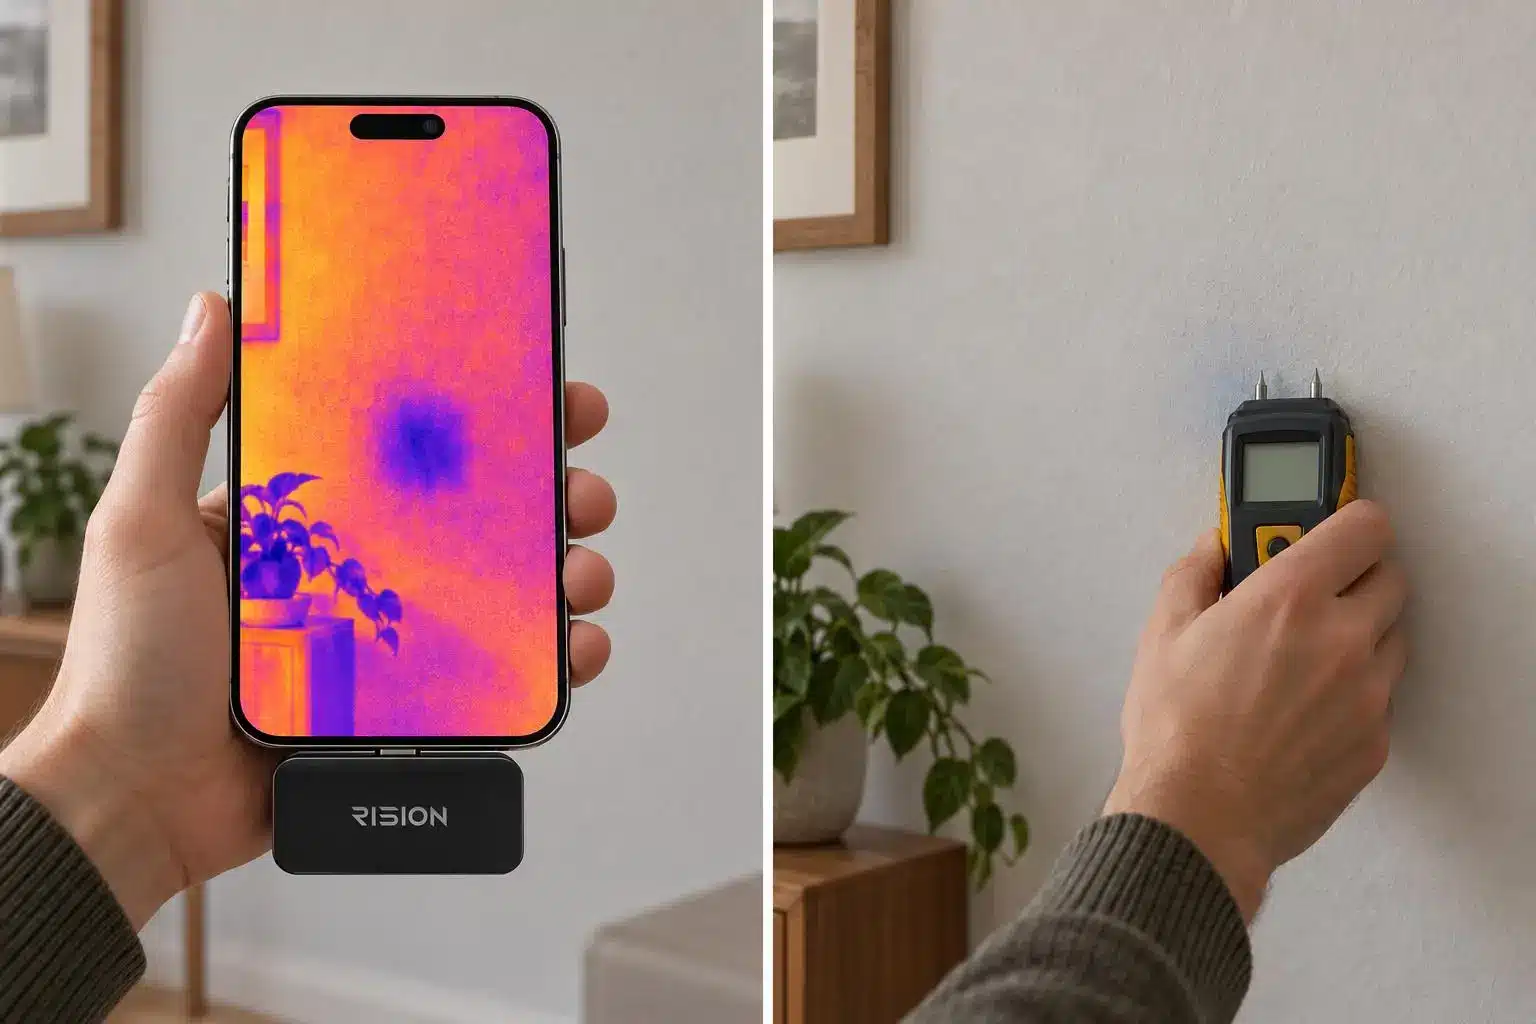
Water that dries from a surface can cool it. Yet airflow, shade, missing insulation, and wall materials can look much the same. Do not use a thermal scan alone to call a wall wet or dry.
The Rision Thermal camera for Smartphone can record where an unusual patch appears. Its AI dual-light fusion combines the thermal view with visible detail from the phone camera, helping you locate the patch on the wall. You can then check that spot with a moisture meter, a visual inspection, or help from a professional.
That sequence matters before repainting, replacing trim, or opening a wall. The scan can narrow the area worth investigating, while the follow-up check prevents a cool surface from being mistaken for proof of a leak.
Compare Before and After a Small Improvement
Document a problem area, make one low-risk change, and repeat the scan under similar conditions. Replacing worn removable weatherstripping is a suitable example. Record the original pattern, then check it again during similar weather with the HVAC system in the same mode.
This is not laboratory proof, but it can show whether the pattern and comfort level changed. Avoid opening walls or paying for a major repair based on one image.
Know When the Problem Needs a Professional
Call a professional for hot electrical parts, repeat moisture, mold, roof leaks, or wide areas of heat loss. The right person depends on the problem. That may be an energy adviser, plumber, electrician, or roofer.
A careful thermal walkthrough gives you a more organized way to describe the problem and choose the right next step without treating every unusual color as a defect.