Painting plastic sounds simple enough, until the paint starts peeling off a few days later.
Unlike wood or metal, plastic has a smooth, slippery surface that doesn’t give paint much to hold onto. But with a little preparation and the right products, you can give those tired plastic pieces a completely new look and make the finish last.
Whether you have an old planter that could use some color, a plastic chair that has seen better days, or a few forgotten containers lying around the house, there’s plenty you can do with a little paint.
Here, we’ll cover how to paint plastic step by step, how to spray-paint plastic, and a few easy DIY projects to help you put those skills to use.
So, grab your supplies and let’s give that old plastic a makeover.
How to Paint Plastic So the Paint Actually Sticks?
You can paint plastic successfully, but not every plastic or paint combination behaves the same way. Hard, rigid items such as decor, planters, and some outdoor furniture are generally easier to refinish than soft or flexible plastic.
The basic process is straightforward: clean the surface, dull any slick finish when necessary, use compatible primer and paint, and build the finish with several light coats. Then give it enough time to cure before handling it heavily.
Preparation is what makes the difference. A perfectly sprayed topcoat will still peel if it is sitting over grease, sanding dust, or a surface it cannot bond to.
What You Need to Paint Plastic
You don’t need much specialized equipment for a basic project. Gather:
- Mild dish soap
- Sponge or clean cloth
- Fine-grit sandpaper
- Isopropyl alcohol or a plastic-safe cleaner
- Clean lint-free cloth
- Painter’s tape
- Drop cloth or cardboard
- Plastic-compatible primer, if required
- Paint or spray paint suitable for plastic
- Gloves
- Appropriate respiratory protection when required by the product
Check both the primer and paint labels before starting. A product being suitable for plastic doesn’t automatically mean it works with every plastic or every coating underneath it.
How to Paint Plastic Step by Step
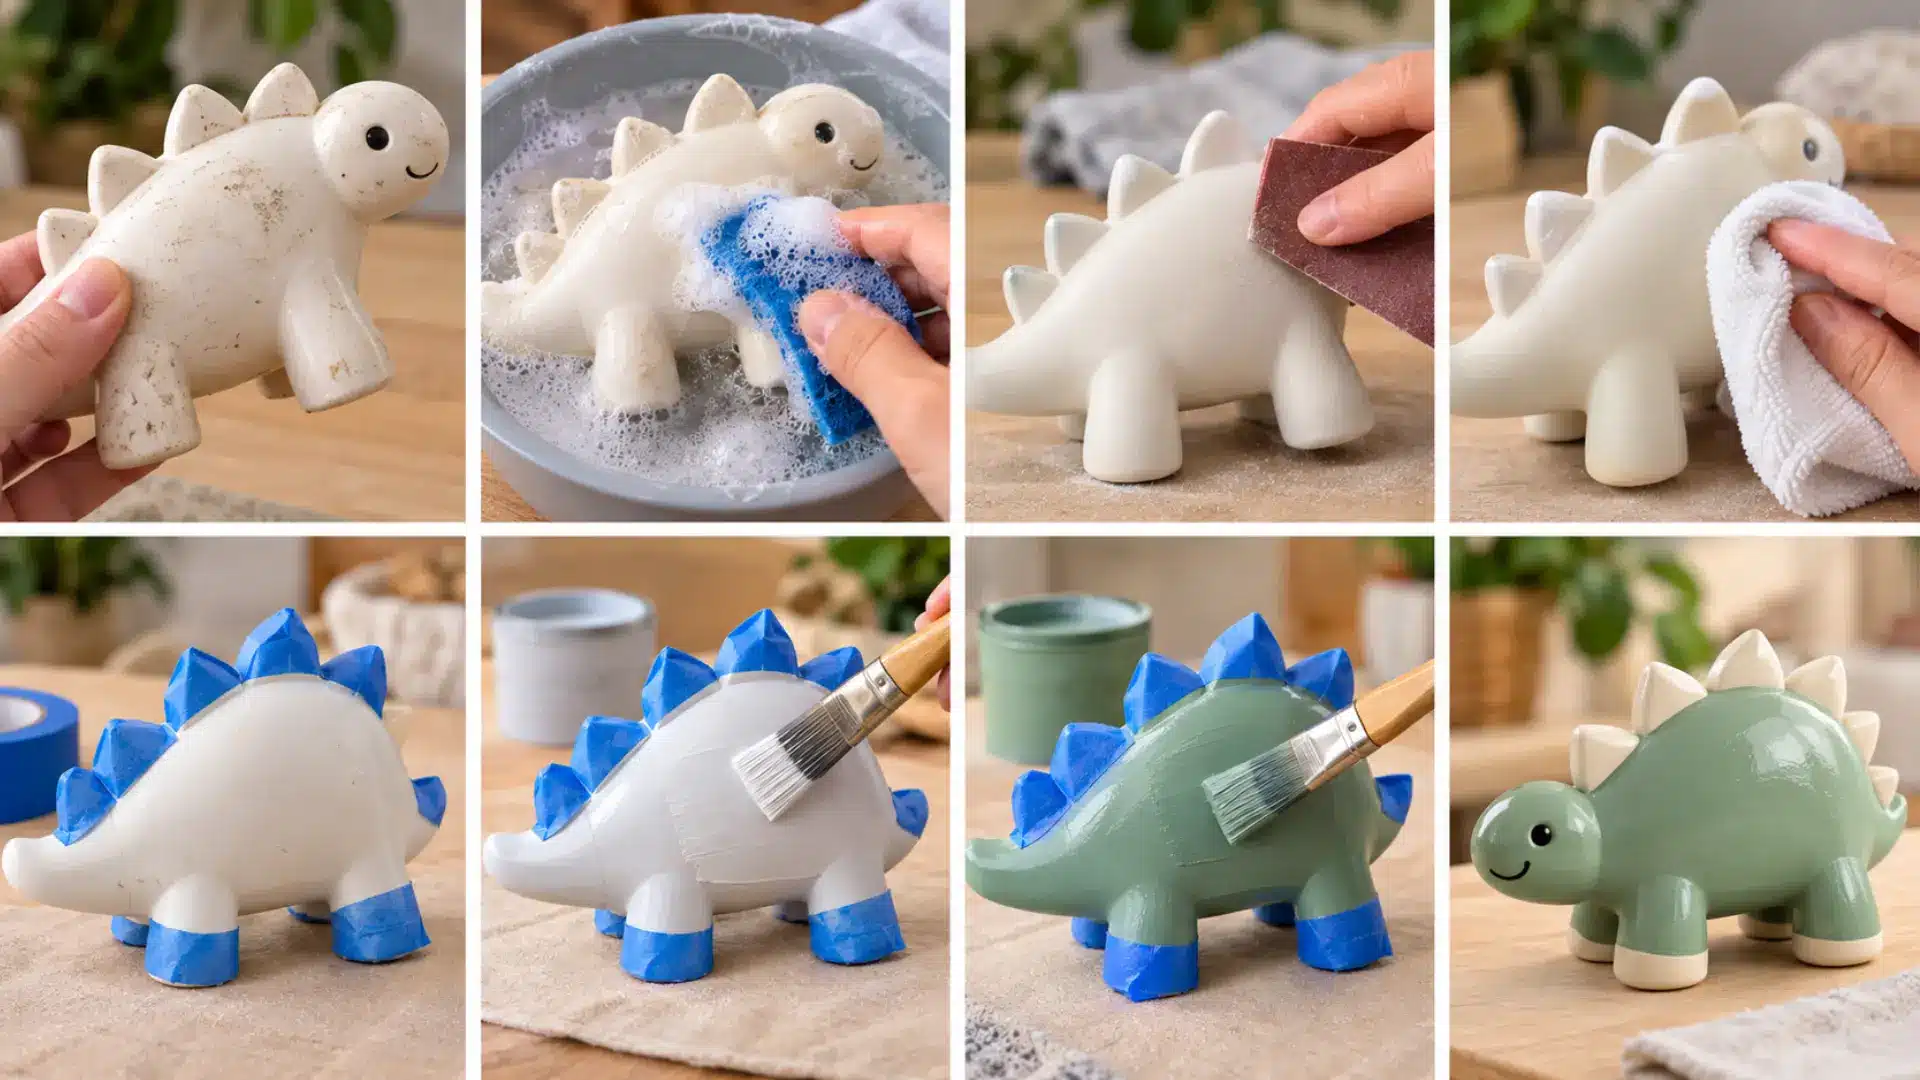
Step 1: Check the Plastic
Make sure the item can be painted and check the paint label for compatible surfaces. Hard, rigid plastics are usually easier to coat than flexible plastics like polyethylene or polypropylene. If you’re unsure, test a hidden area first.
Step 2: Clean the Surface
Wash the plastic with mild dish soap and water to remove dirt, grease, and grime. Rinse well and let it dry completely before moving on.
Step 3: Lightly Sand Glossy Plastic
Use fine-grit sandpaper (around 220 grit or finer, where appropriate) to dull a slick surface. Sand lightly-the goal is to remove the shine, not leave deep scratches.
Some plastic-specific paints do not require sanding, so check the product instructions first.
Step 4: Remove Dust and Residue
Wipe away all sanding dust with a clean cloth. If needed, use isopropyl alcohol or a plastic-safe cleaner, then let the surface dry.
Step 5: Mask Off Unpainted Areas
Remove hardware where possible, and cover any parts you don’t want painted with painter’s tape.
Step 6: Prime if Required
Apply a thin coat of plastic-bonding primer if your paint requires it. Some paints made specifically for plastic can be applied without separate primer, so follow the label.
Step 7: Apply Thin Coats of Paint
Apply a light first coat, then build coverage with additional thin coats. Avoid trying to cover the surface completely in one pass, since heavy coats are more likely to run or stay soft.
Follow the recommended recoat time between layers.
Step 8: Let the Paint Cure
Leave the painted plastic undisturbed until the coating has fully cured.
Paint may feel dry before it is hard enough for regular handling, washing, or heavy use, so follow the manufacturer’s cure time.
How to Spray Paint Plastic
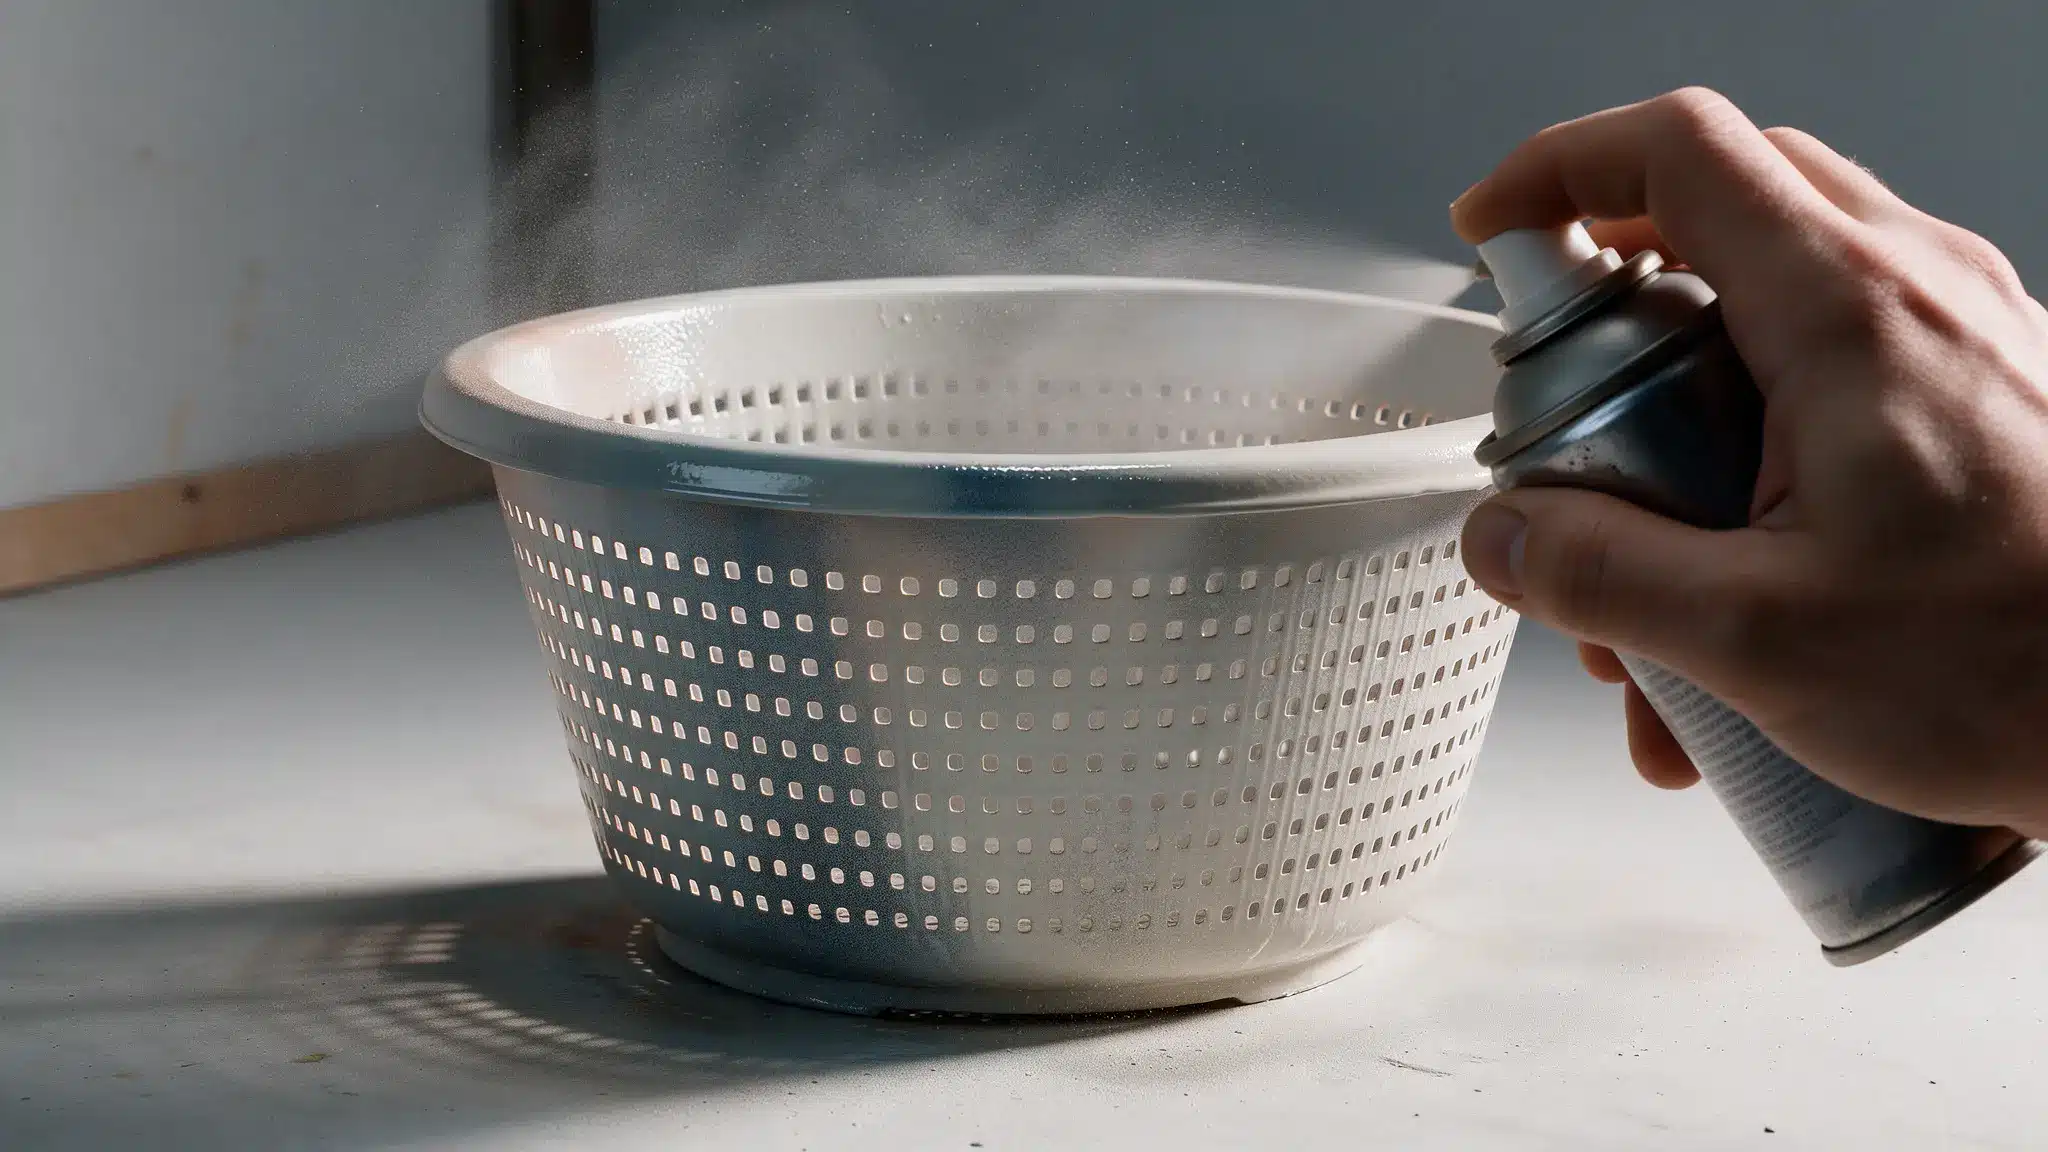
Once the surface is prepared, spraying plastic well comes down largely to controlling how much paint lands in one place.
Work in a well-ventilated area, and protect the surrounding floor, walls, furniture, and other objects from overspray.
Follow the spray paint’s safety instructions, including recommendations for respiratory protection, temperature, and humidity. Keep aerosol products away from flames and other ignition sources.
Shake the can for the amount of time listed on the label, then test the spray on scrap cardboard. This catches a sputtering nozzle or uneven pattern before it reaches the project.
Hold the can at the manufacturer’s recommended distance from the surface. Begin spraying just before the pass reaches the object, move across it at a steady pace, then release the nozzle after passing the opposite edge.
Overlap each pass slightly. The goal is a series of light, controlled layers rather than a wet coat that covers everything at once.
If paint starts running, you’re probably depositing too much in one area. Spraying too close, slowing down over one spot, or repeatedly passing over wet paint can all cause it.
What Type of Paint Works Best on Plastic?
The best paint for plastic depends on the object, how much wear it gets, and whether it stays indoors or outside.
Plastic-Specific Spray Paint
For many DIY projects, spray paint formulated to bond to plastic is the simplest choice. It works particularly well on shapes where brush marks would be obvious or difficult to control.
Check that the exact plastic and intended use match the product.
Acrylic Paint
Acrylic paint can work well for decorative plastic pieces, crafts, and smaller indoor projects when paired with suitable surface preparation and primer where required.
Acrylic isn’t inherently good or bad for plastic; the full paint system underneath it matters more.
Enamel Paint
A compatible enamel can provide a harder finish, making it useful for frequently handled objects.
Again, check the label. A durable paint isn’t useful if it can’t bond properly to the particular plastic underneath.
Regular Paint With Plastic-Bonding Primer
You aren’t always limited to paint specifically marketed for plastic. You can use some conventional paints over an appropriate bonding primer.
Make sure the primer works with both the plastic and the chosen topcoat rather than mixing products without checking compatibility.
DIY Plastic Items You Can Paint
A lot of everyday plastic objects can be painted, but the prep and product choice may change depending on how the item is used.
Outdoor pieces need better weather resistance, while flexible or frequently handled items need extra attention to adhesion.
Plastic Outdoor Furniture
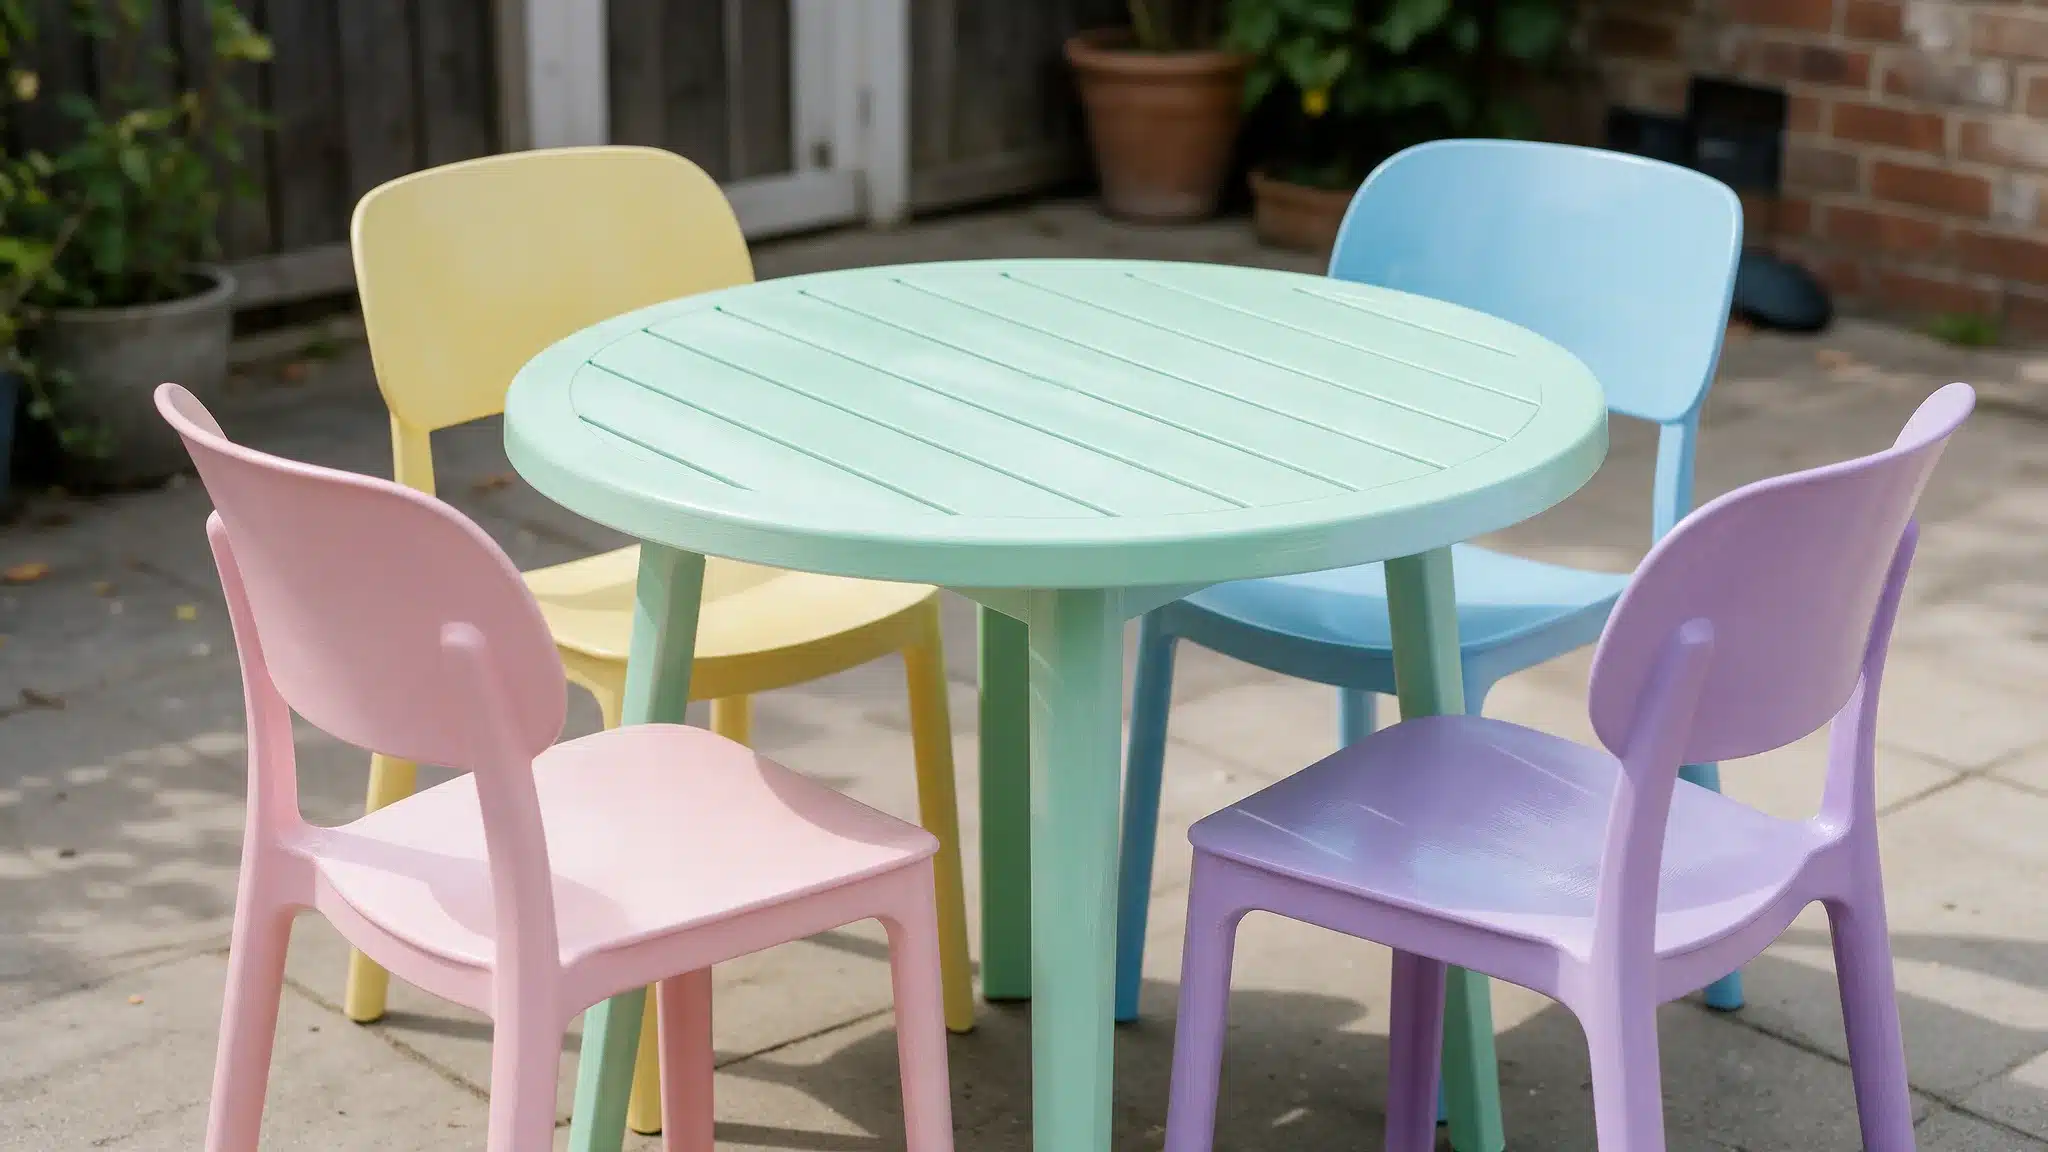
Plastic chairs, stools, and small tables can be good candidates for repainting, especially when the surface is still structurally sound.
Clean them thoroughly because outdoor furniture often holds onto dust, pollen, sunscreen, and grime. Lightly sand glossy areas if the paint instructions recommend it, then use a paint made for plastic or a compatible bonding primer and topcoat.
Use thin coats and give the furniture enough curing time before sitting on it or moving it around.
Plastic Planters and Pots
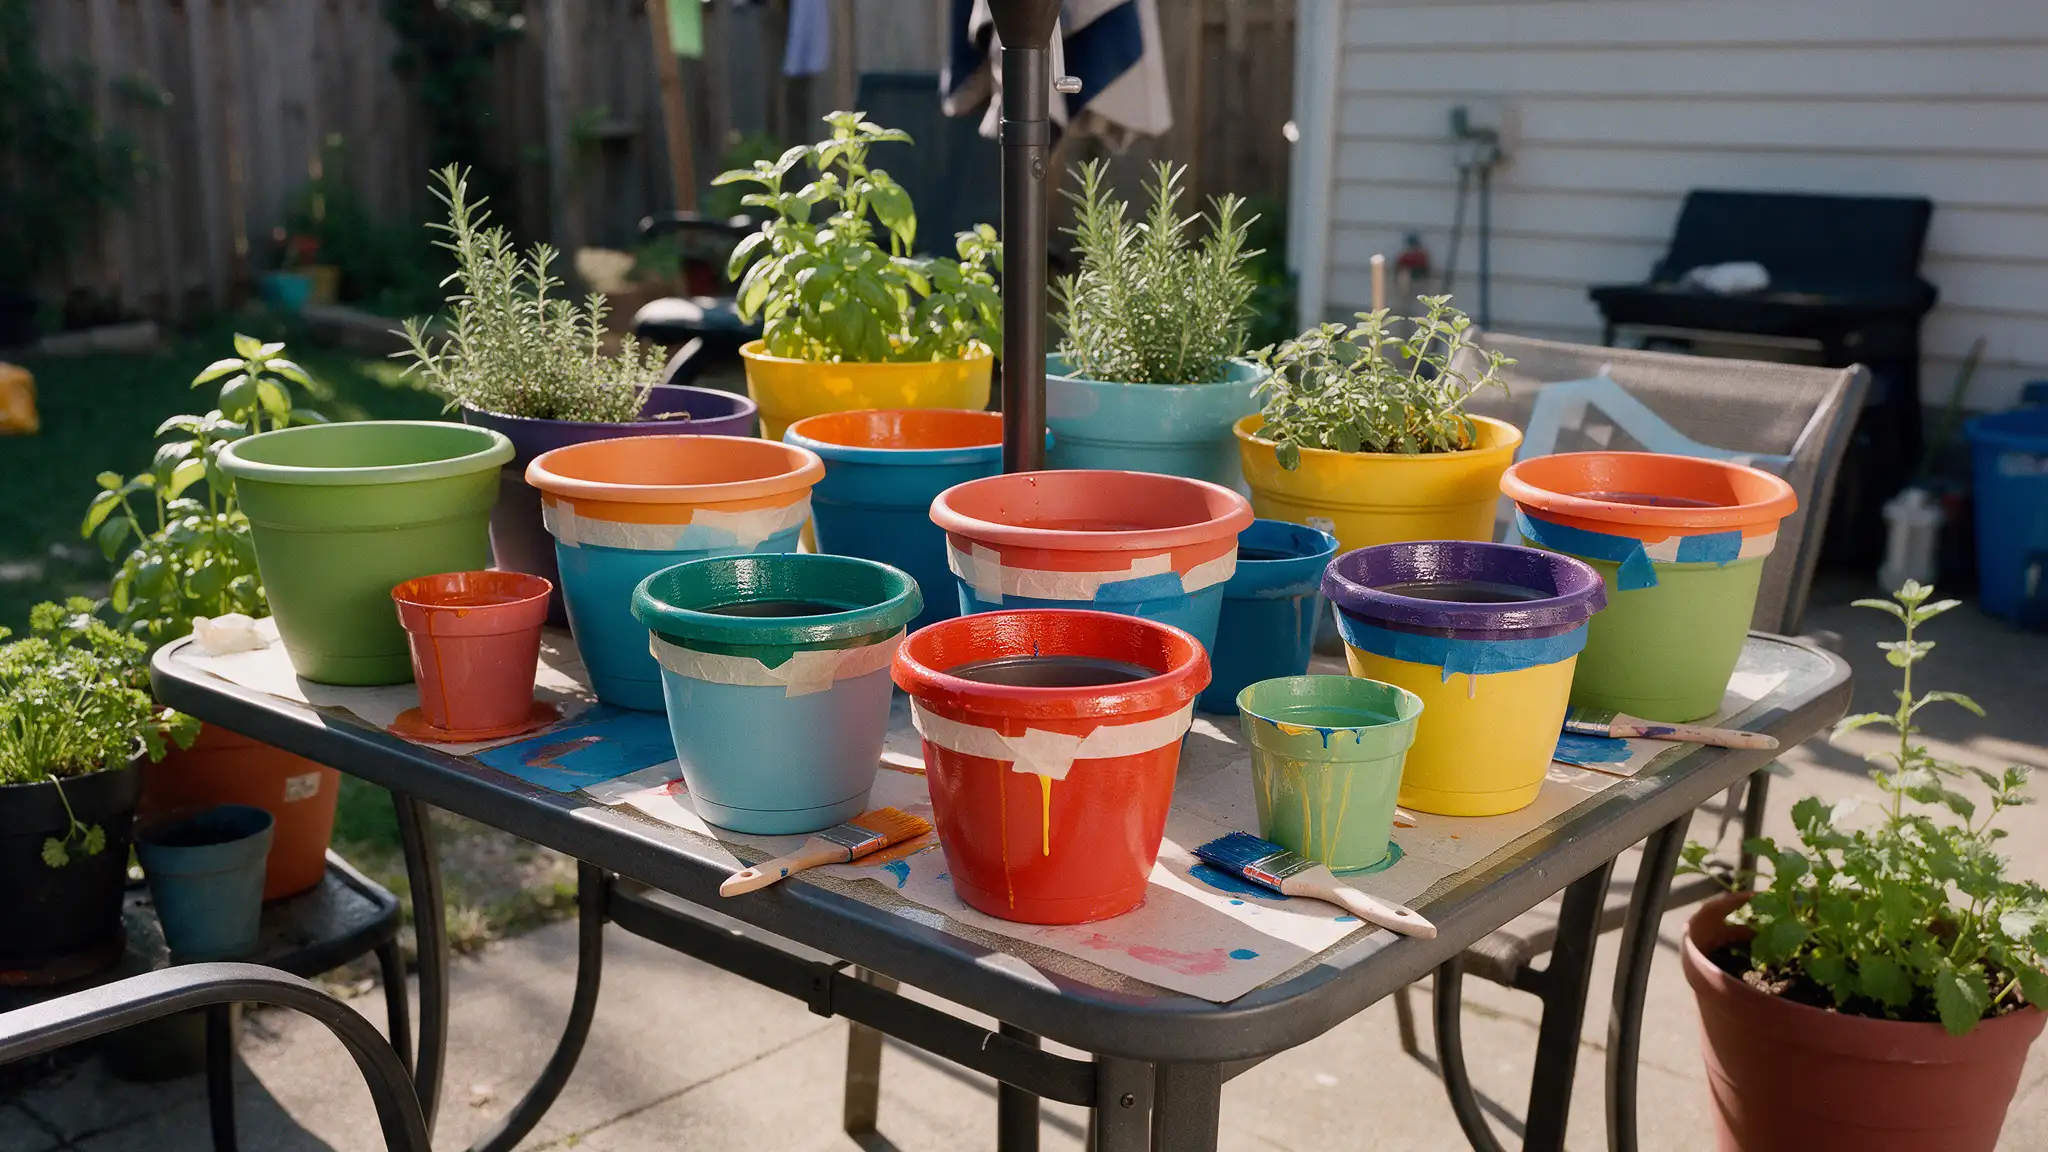
Plastic planters are easy to refresh with paint because they usually have simple shapes and large surfaces.
Wash off dirt, mineral deposits, and residue first. If the outside is very shiny, lightly scuff it before painting. Choose a coating suitable for outdoor exposure if the planter will stay outside.
Focus on painting the exterior rather than coating areas that stay in constant contact with wet soil unless the product specifically allows it.
Plastic Home Decor
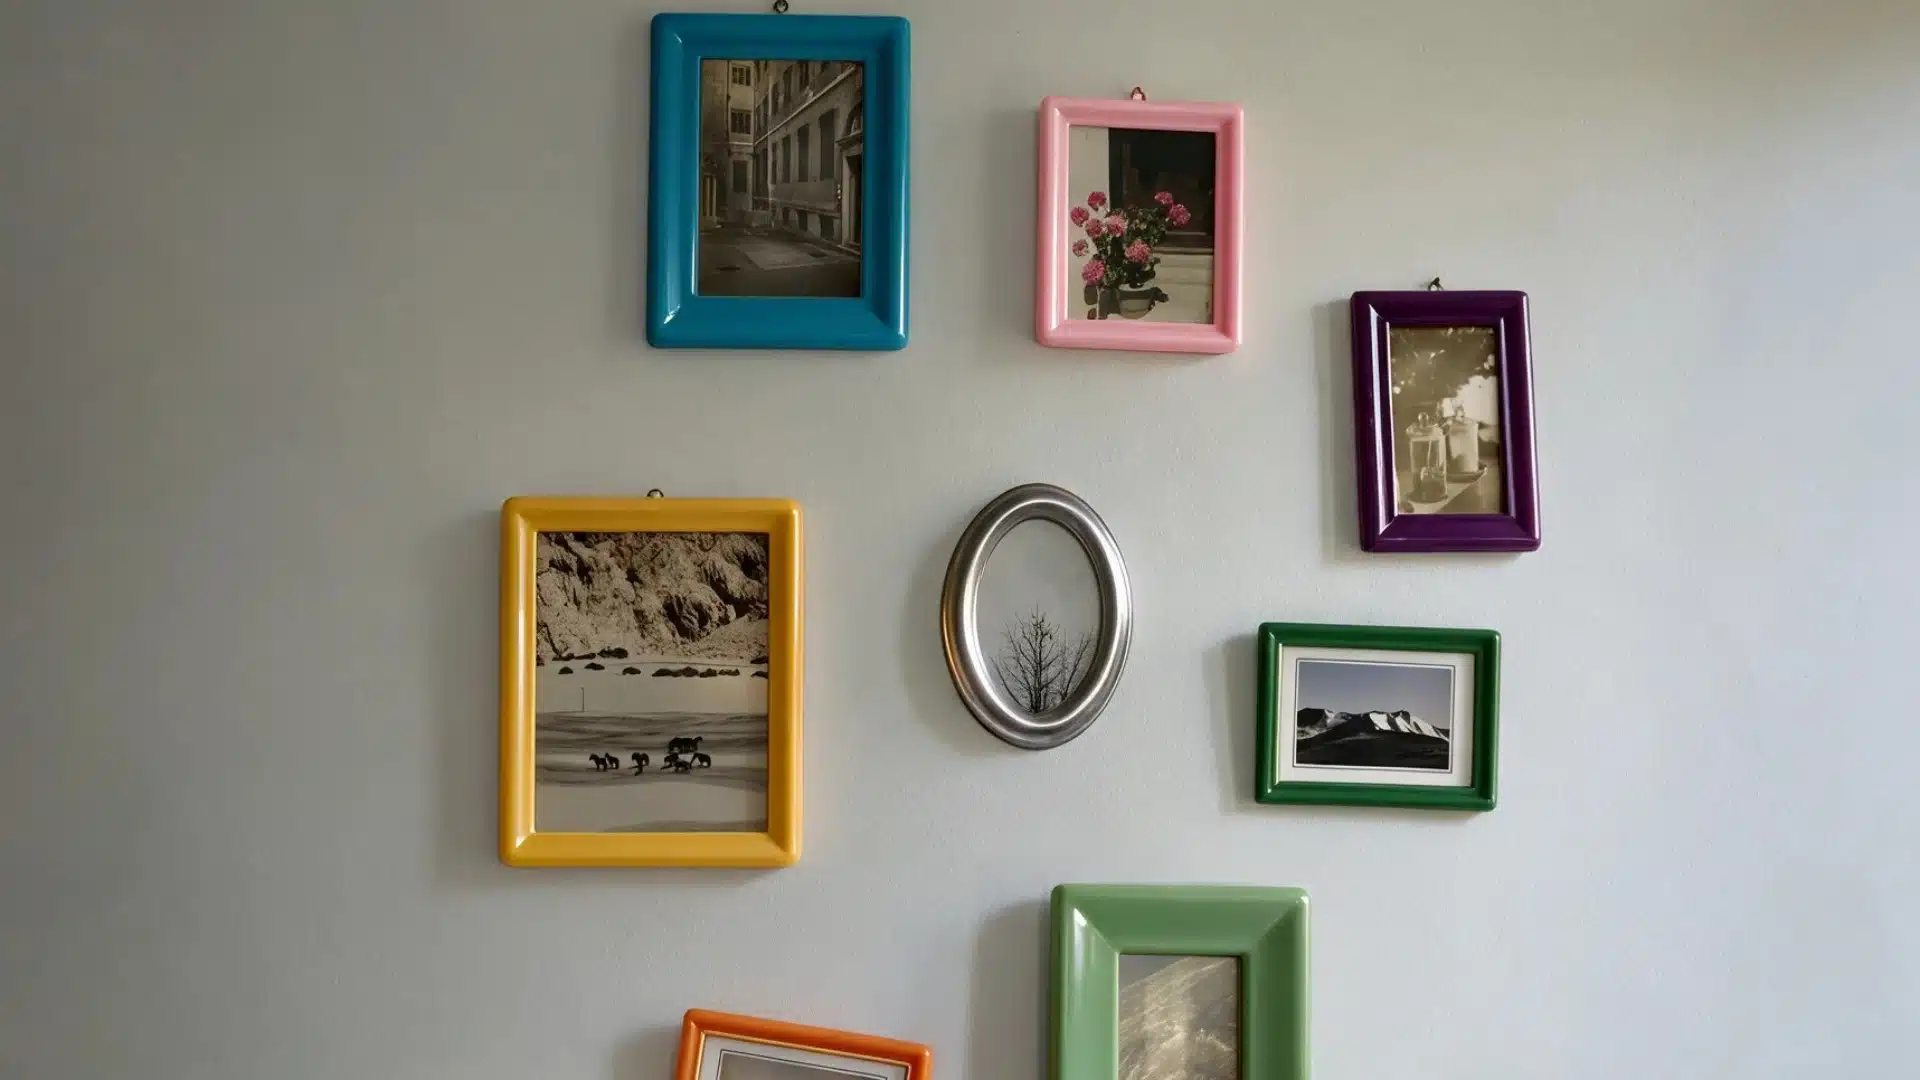
Picture frames, decorative boxes, trays, lamp bases, and similar pieces are often among the easiest plastic items to paint.
Because they usually do not flex or take heavy abuse, a properly cleaned and prepared surface can hold up well. Spray paint works nicely on detailed shapes because it reaches corners and grooves without leaving obvious brush marks.
Plastic Fixtures and Hardware
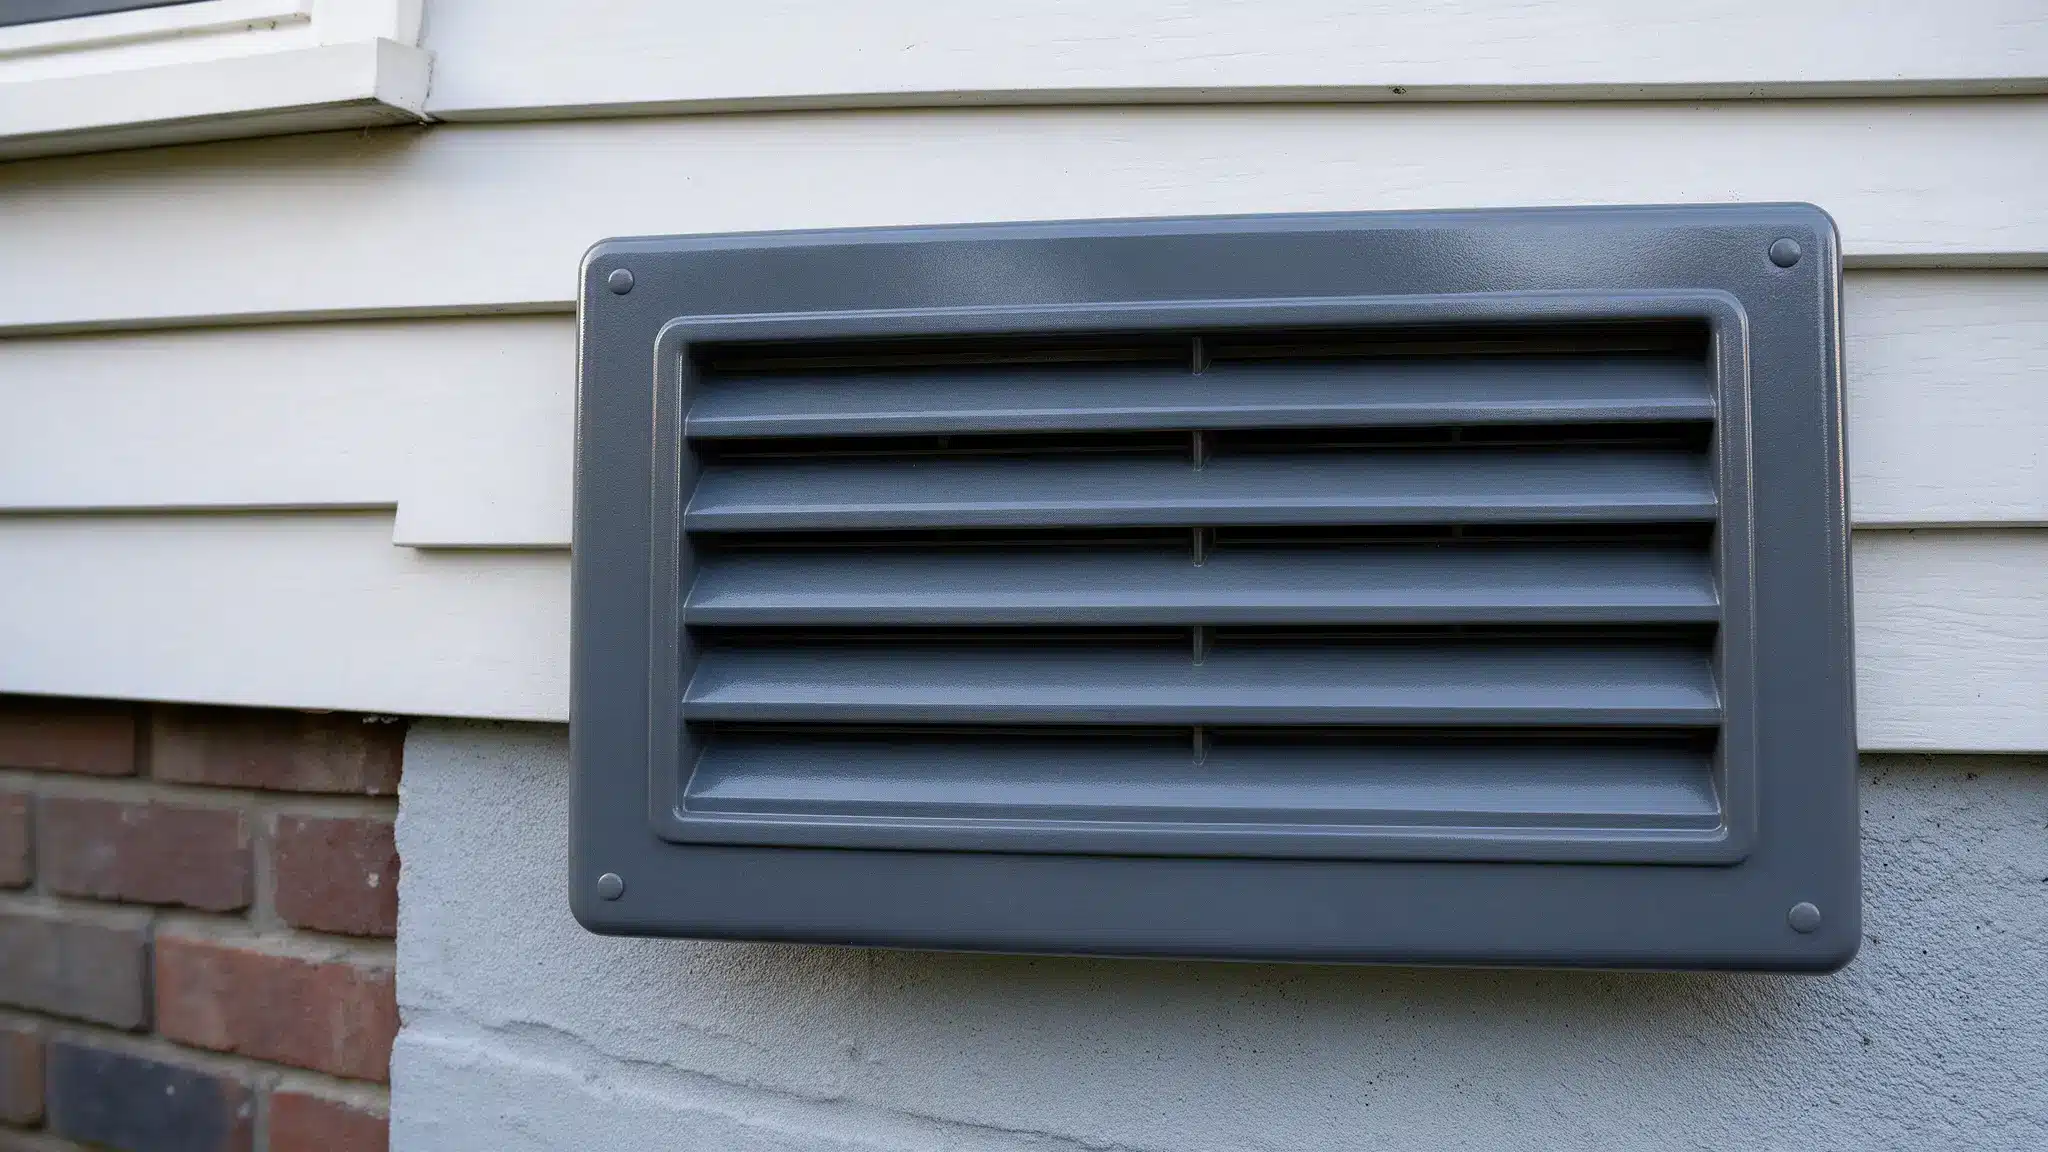
You can also paint some plastic vents, switch covers, handles, and decorative fixtures.
Remove them from the wall or furniture when practical so you can clean and coat every visible edge. For frequently touched pieces, use a durable, compatible paint and let it cure fully before reinstalling.
Avoid painting moving parts or areas where added paint thickness could affect fit.
Plastic Toys and Small Accessories
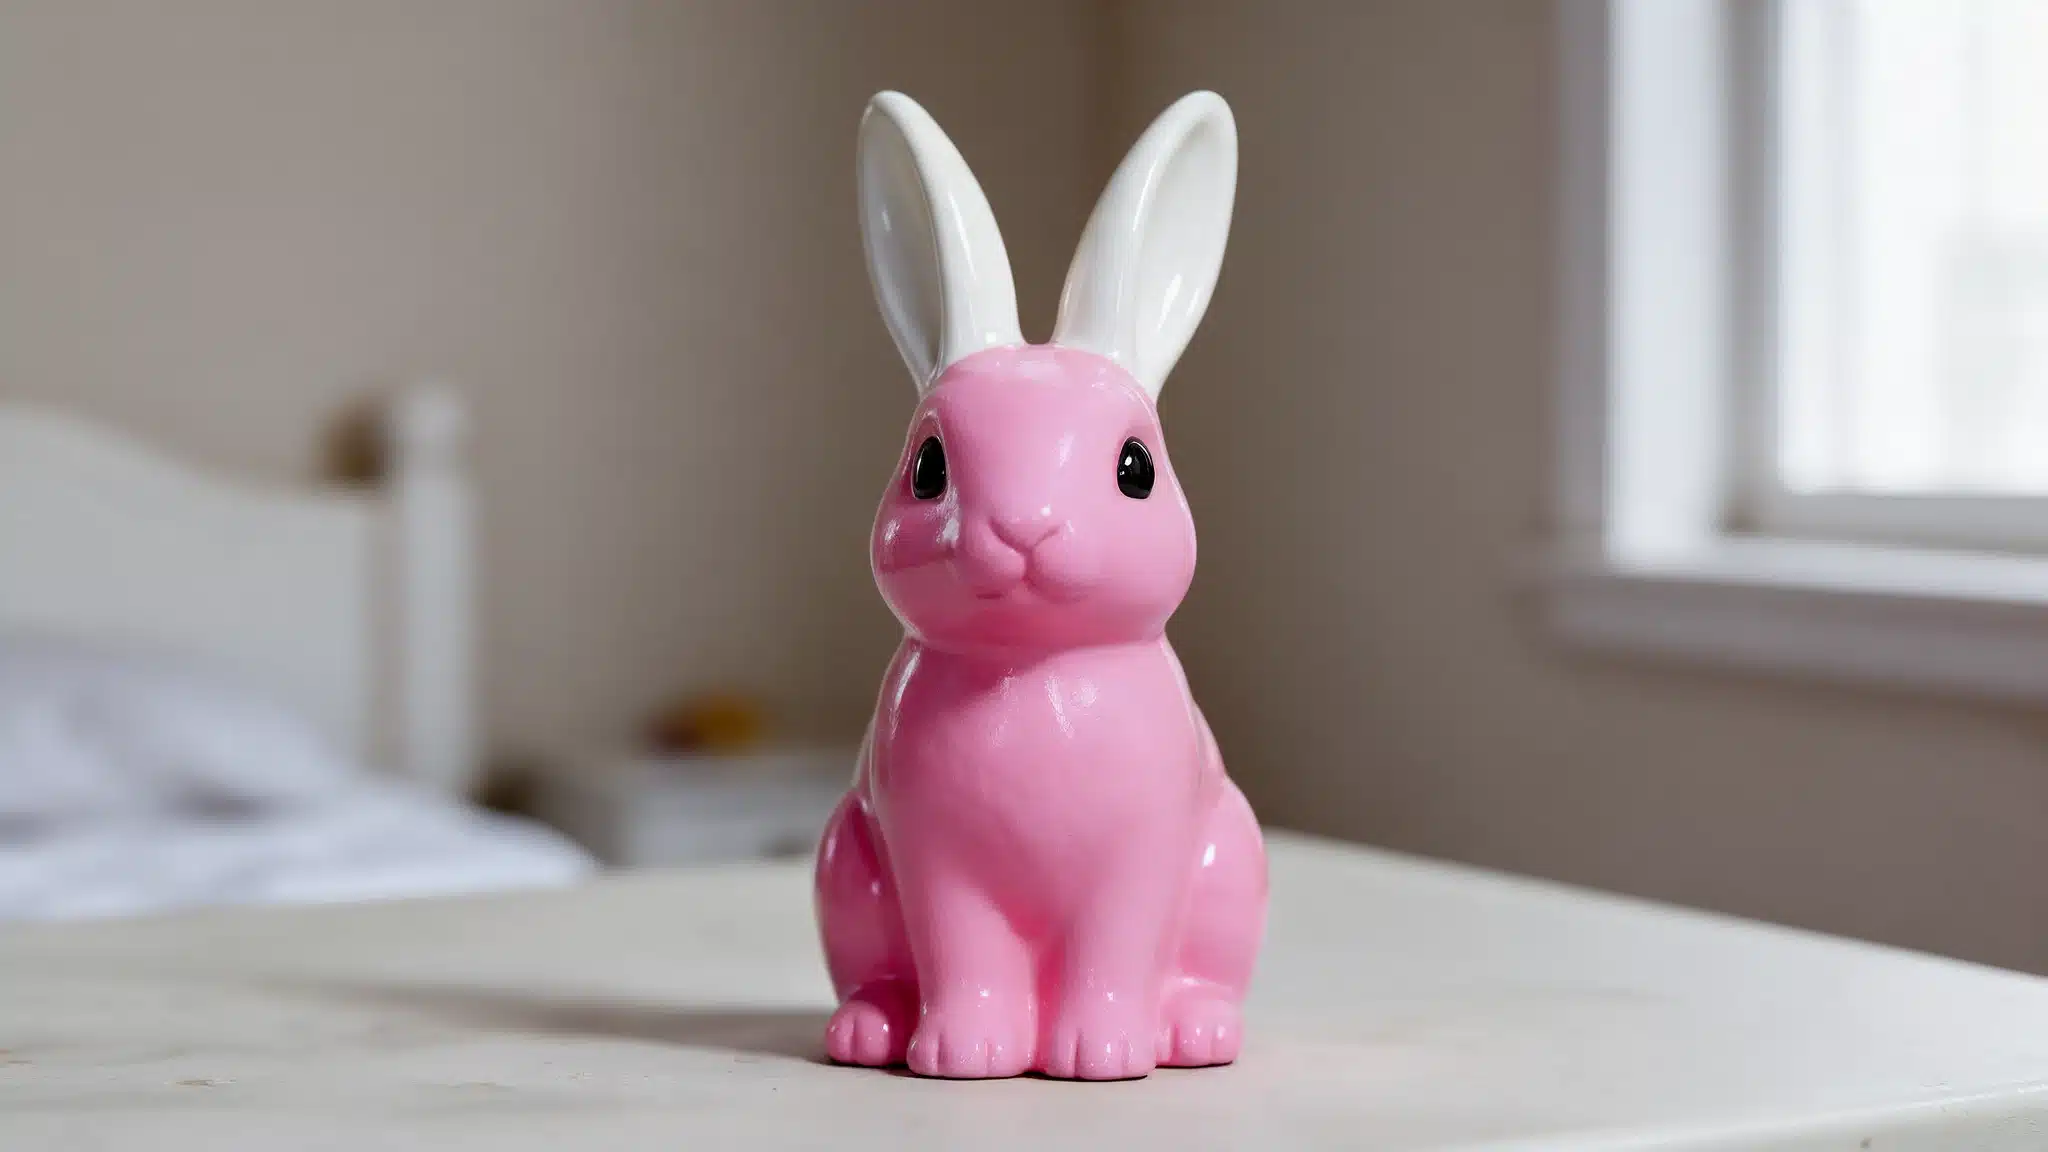
You can paint rigid plastic toys, organizers, containers, and accessories when the coating is appropriate for the intended use.
Decorative items are usually simpler than anything handled constantly. For children’s items, food-contact surfaces, or pieces likely to be chewed or mouthed, only use products specifically labeled as safe for that use.
Flexible Plastic
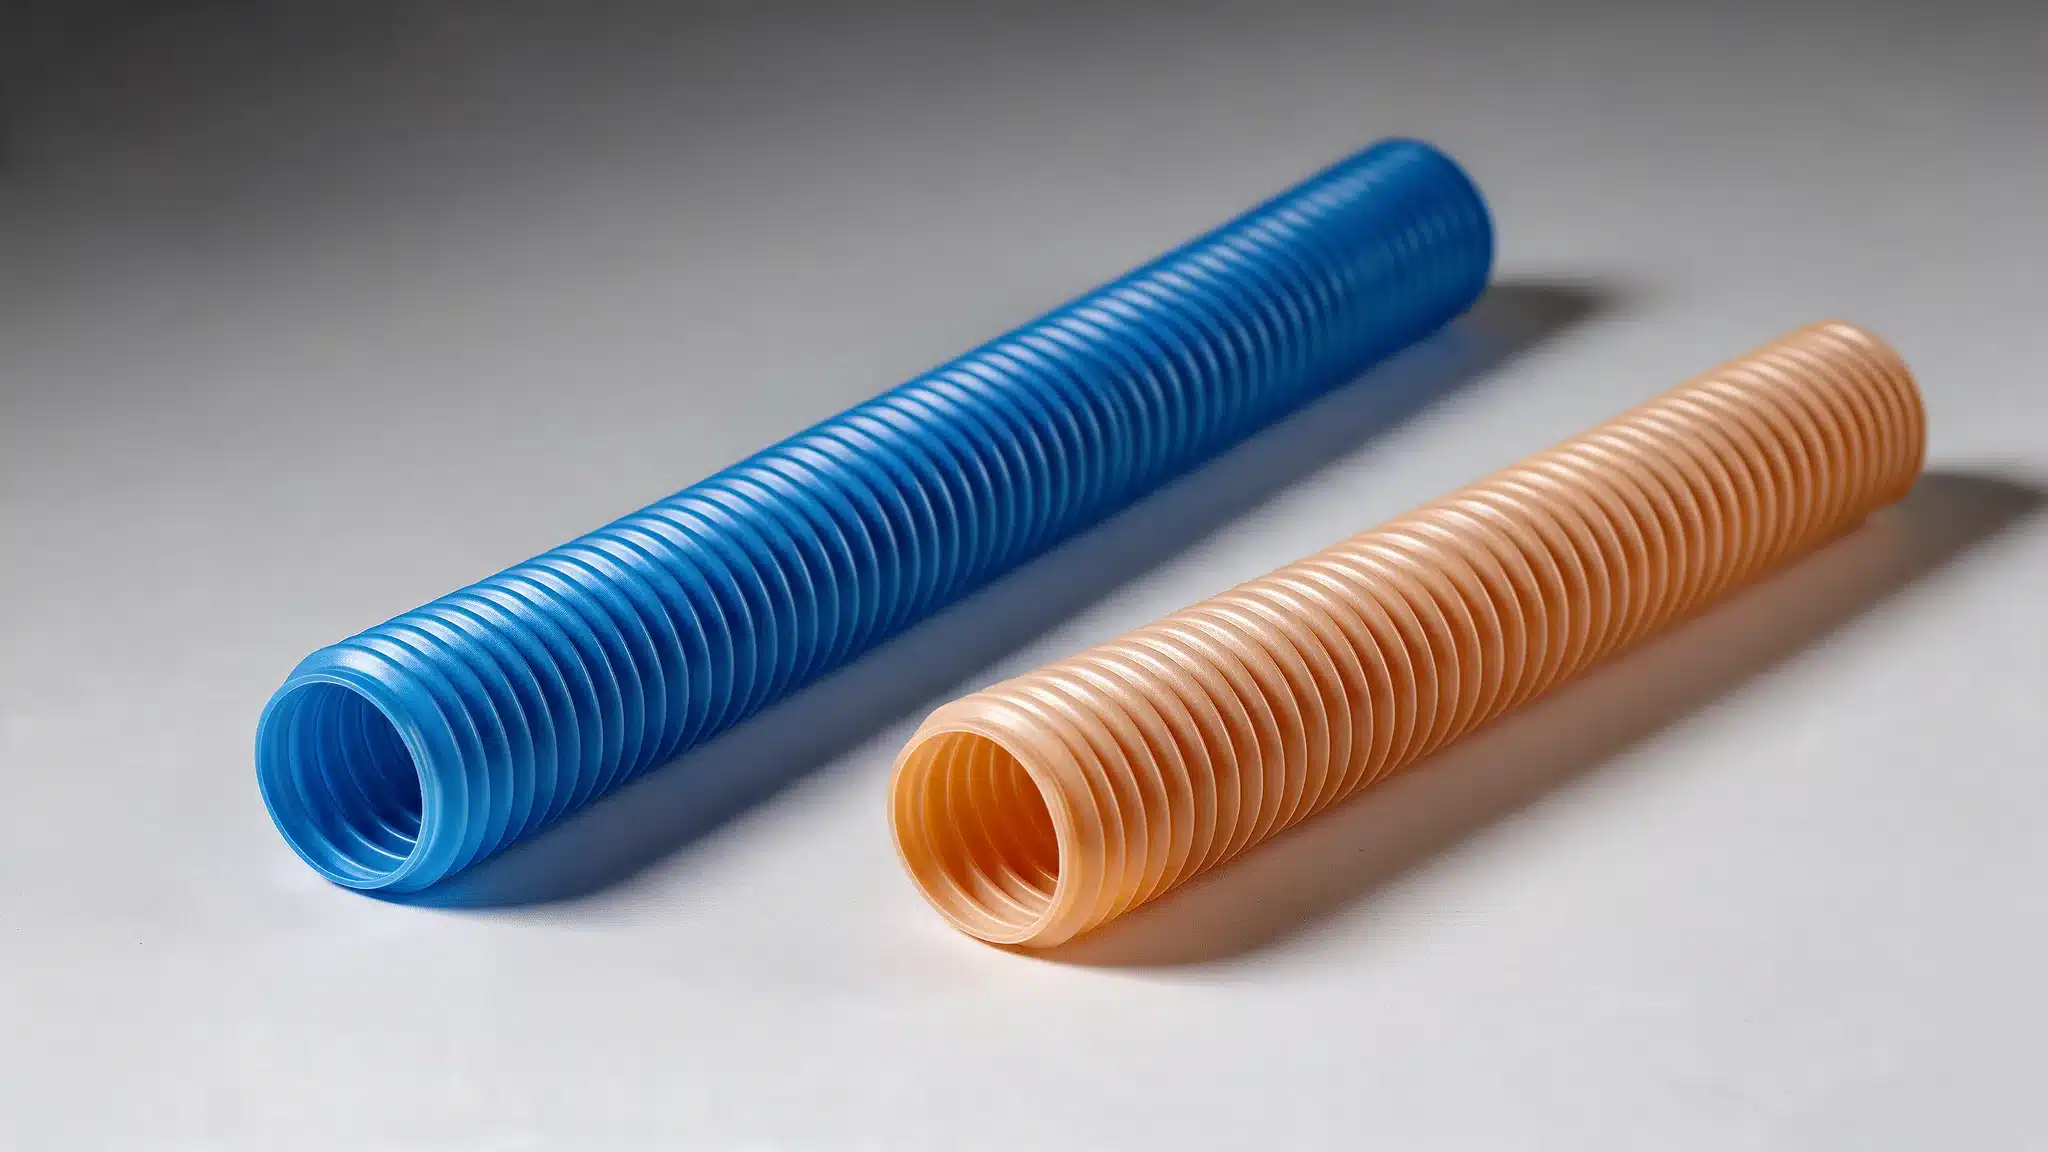
Flexible plastic is one of the hardest surfaces to paint successfully.
Even if the paint sticks at first, repeated bending can crack or peel a rigid coating. If the item flexes often, look for a coating specifically designed for flexible plastic rather than using standard spray paint.
For very soft or rubbery plastic, test a small hidden section first.
Common Plastic Painting Problems and How to Fix Them
Even careful preparation doesn’t guarantee that every coat will come out perfectly. The appearance of the failure usually gives you a clue about what went wrong.
Paint Peeling or Flaking
Peeling often points to poor adhesion. Grease, a glossy unsanded surface, incompatible paint, skipped required primer, or a difficult type of plastic may be responsible.
Don’t simply hide loose paint beneath another coat. Remove the failing material, clean the area, lightly sand where appropriate, and rebuild the finish using compatible products.
Paint Staying Sticky
Paint that stays tacky may have been applied too heavily, recoated at the wrong time, exposed to unsuitable drying conditions, or paired with an incompatible underlying product.
Give it the full time recommended by the manufacturer before assuming the coating has failed. If it remains soft beyond the expected curing period, check the product instructions before applying anything else over it.
Spray Paint Runs or Drips
Runs usually mean too much wet paint landed in one place.
Holding the can too close, slowing down during a pass, or trying to achieve complete coverage with one coat are common causes. Let the affected area dry according to the product instructions before correcting it rather than wiping at wet paint.
Uneven or Patchy Coverage
Patchiness is often a technique problem rather than a reason to spray a heavier coat.
Keep the can at a consistent distance and use smooth, slightly overlapping passes. Build color gradually until the surface becomes even.
Paint Scratching Easily
If paint scratches off with very little effort, first consider whether it has fully cured.
If the finish is cured and still comes away easily, poor surface preparation or product incompatibility may be the underlying issue. A clear coat won’t fix paint that isn’t properly attached to the plastic.
Conclusion
Success relies on thorough cleaning, light sanding to grip smooth finishes, and applying several thin, controlled coats instead of one heavy layer.
Patience matters just as much. Let the finish fully cure, not just dry, before you handle it; that’s what prevents premature chipping and scratching.
By matching your materials to the specific type of plastic, you can easily revitalize planters, outdoor furniture, and decor with a durable finish.
Frequently Asked Questions (FAQs)
1. Can You Paint Plastic Without Sanding?
Yes, some plastic-specific paints can be applied without sanding. It depends on the plastic and coating. Slick surfaces often benefit from light sanding, so follow the product’s preparation instructions.
2. Can You Paint Plastic Without Primer?
Sometimes. Some paints are formulated to bond directly to plastic and may not require separate primer. Conventional paints often benefit from a plastic-bonding primer, while difficult plastics may need additional adhesion preparation.
3. Why is Spray Paint Still Sticky on Plastic?
Heavy coats, incorrect recoat timing, unsuitable drying conditions, incompatible coatings, or incomplete curing can leave spray paint tacky. Check the manufacturer’s expected curing conditions and timing before trying to cover it.
4. How Long Should Spray Paint Cure Before Using the Item?
Use the cure time listed for your specific spray paint. Dry-to-touch and full cure are different stages, and handling or washing painted plastic too early can damage a still-soft finish.