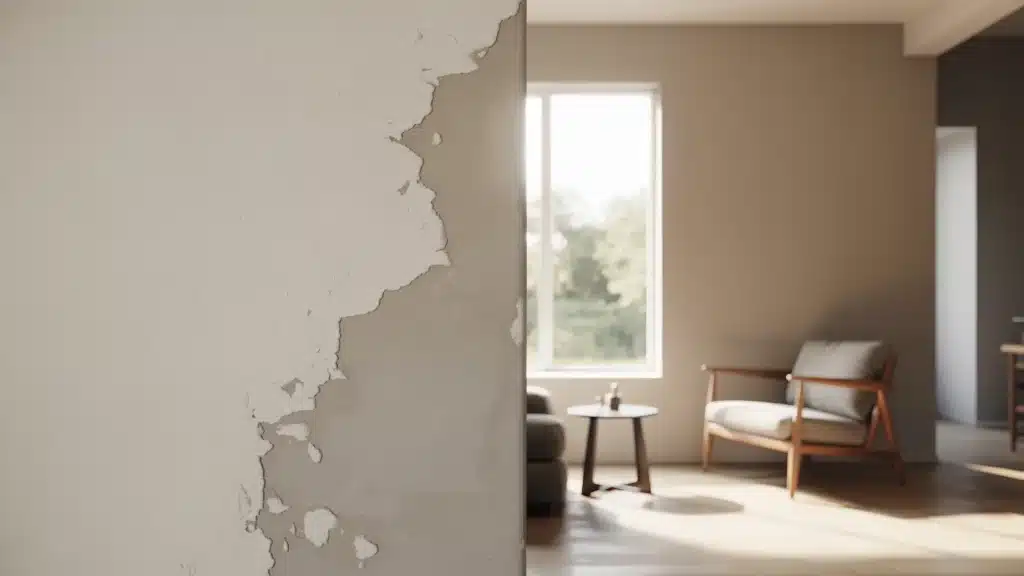
Paint peeling often starts as a small issue that is easy to ignore.
You might notice a tiny bubble, a chipped edge, or a cracked corner and assume it is only a minor cosmetic problem.
Over time, though, those small signs can spread, leaving walls looking patchy, worn, and poorly maintained.
I often find that delaying repairs only gives moisture more time to get beneath the surface, which can make the damage harder to fix later.
Understanding why paint starts peeling, repairing the damaged area correctly, and taking a few preventive steps can help keep walls in better condition for longer.
What is Peeling Paint?
It is exactly what it sounds like. It is paint that has started to lift, crack, or separate from the surface underneath.
It can happen on walls, ceilings, or even woodwork around the home. At first, it might just look like a small bubble or a thin flaking edge.
But over time, bigger patches start to come away, and the wall beneath gets exposed.
It is not just a looks problem either. Once the surface beneath is exposed, dirt can more easily get in. And that can lead to bigger issues down the line.
Why Paint Cracks, Chips, and Peels
Paint cracks, chips, or peels when it loses grip, usually because the surface wasn’t properly prepared before painting.
A dirty, damp, greasy, or glossy surface makes it harder for paint to stick. Skipping primer can also weaken the bond, causing paint to lift over time.
Other common reasons include:
- Moisture problems from leaks, humidity, or poor airflow
- Old paint is drying out and turning brittle over time
- Low quality paint or using the wrong paint for the surface
- Heat, sunlight, and temperature shifts that cause walls to expand and contract
Here’s How to Repair Chipped Paint
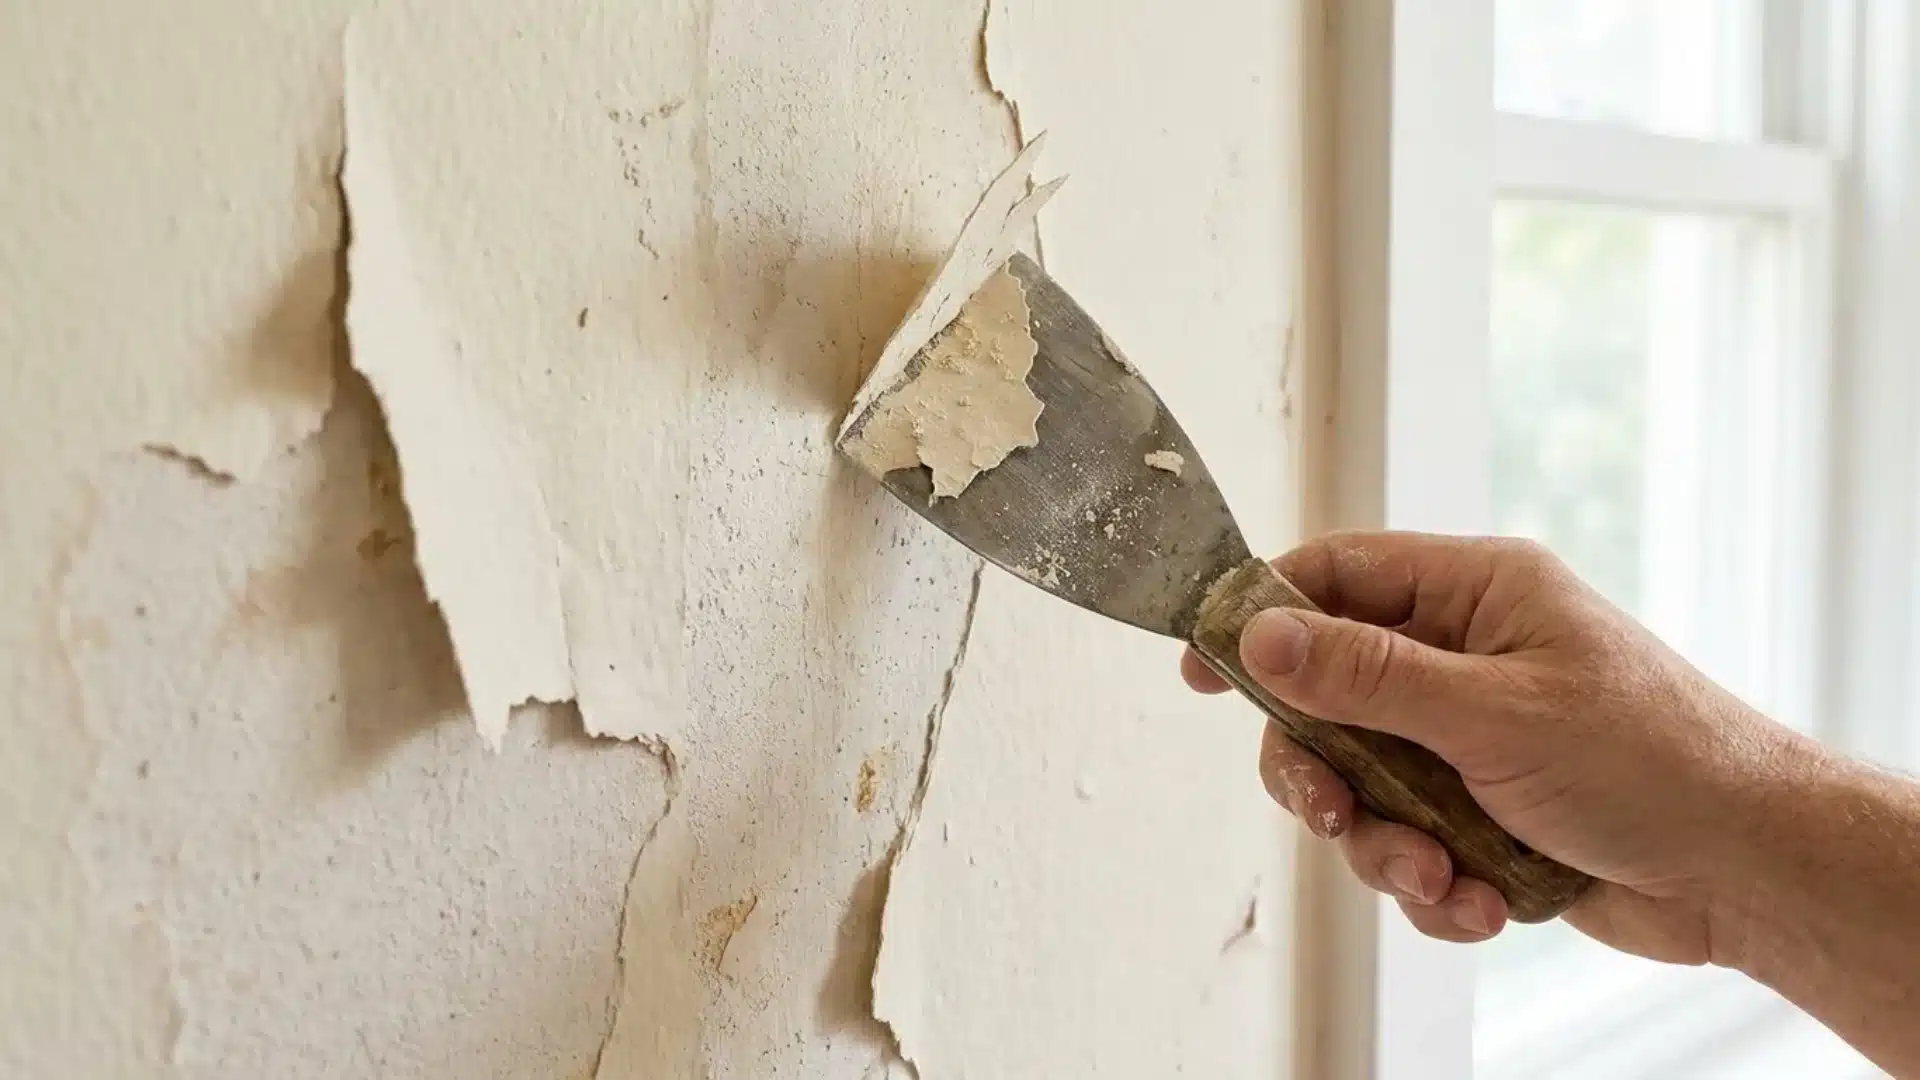
Peeling paint looks worse than it is. With the right prep and a few basic tools, most repairs take an afternoon.
When scraping or sanding, wear a mask, open windows for airflow, and cover nearby furniture with dust sheets.
Homes built before 1980 should be checked for lead paint before sanding or scraping.
What You’ll Need
Set everything out before you start. Stopping mid-repair to hunt for sandpaper is how corners get cut.
- Scraper
- Sandpaper block
- Sandpaper
- Filler and filler knife
- Decorator’s mask
- Paintbrush
- Primer
- Cloths
- Radiator brush
Step 1: Scrape Away Loose Paint
Start by scraping off peeling or flaking paint until you reach a surface that feels firm and stable. Flakes at the center are easy to spot.
The edges are where people miss and regret it later.
- Hold the scraper at a low angle, roughly 30 to 45 degrees, so it shaves rather than gouges.
- Let the tool do the work. Pressing hard into soft drywall leaves dents that show through the new paint.
If paint keeps lifting as you scrape, continue until the edges no longer feel loose.
Step 2: Sand the Surface
Sand the scraped edges to smooth the transition and give filler and primer something to hold onto.
Use coarse sandpaper first if the edges are raised or rough, then finish with fine-grit to level it out. Run your hand across the wall after sanding.
If it still feels uneven, sand a little more before moving on.
Step 3: Clean Off Dust and Debris
Dust and grit left on the wall will stop filler, primer, and paint from bonding properly. Clean the area before you do anything else.
- Wipe down the area with a dry cloth first. If dust is stubborn, use a slightly damp one, but don’t soak it.
- Let it dry completely before applying anything. Filler over a damp wall crack.
Avoid using too much water, especially if the wall has already had moisture issues.
Step 4: Fill Cracks and Gaps
Apply filler to dents, cracks, or small holes left behind after scraping.
Spread it evenly with a filler knife so it sits level with the surrounding wall. Don’t sand until it’s fully dry. Sanding damp filler tears it out, and you’re back to square one.
Apply in thin layers. A thick application shrinks as it dries, often requiring a second coat.
Step 5: Sand the Filled Area Again
Once the filler is dry, lightly sand the repaired section to smooth out rough spots and remove any excess. Run your hand over it. If you can feel the edge of the repair, keep sanding.
Wipe away dust before moving on.
Step 6: Apply Primer
Primer creates a smoother base and helps the new paint bond properly, especially over repaired sections. Apply one coat and let it dry completely before painting.
In kitchens and bathrooms, use a moisture-resistant primer. Standard primer won’t hold up.
Step 7: Repaint the Wall
Apply paint in thin, even coats using a brush or roller. Let the first coat dry completely before deciding whether a second coat is needed.
- Don’t rush the second coat. Painting over a tacky first coat causes peeling, which is exactly what you’re trying to fix.
- Check the repaired area in natural light once dry.
If the patch still looks slightly different, an extra coat usually brings it in line.
The repair is the easy part. Stopping it from happening again comes down to prep, the right primer, and catching early signs before they spread.
How to Prevent Paint from Cracking or Flaking
Fixing paint peeling is one thing. But preventing it is better. Simple habits can keep walls fresh longer.
- Sort out moisture problems first. Fix any damp issues before picking up a paintbrush.
- Always prepare the surface properly. Clean the wall, remove flaking paint, and sand it down before starting.
- Never skip the primer. It seals the surface and gives the paint a solid surface to grip.
- Use the right paint for the room. Kitchens and bathrooms need paint that handles humidity well.
- Apply paint in thin, even coats. Two or three thin coats will always last longer than one heavy one.
A quick wall check every few months can help catch small issues before they turn into larger repairs.
Peeling Paint on Exterior Walls
Exterior walls take more punishment than interior ones.
Rain, frost, direct sun, and temperature swings all put pressure on the coating, and once moisture gets behind the paint, it lifts fast.
The repair process is the same: scrape, sand, fill, prime, repaint, but the prep matters more outside.
Surface moisture is the main reason exterior paint fails, so never paint over damp masonry. Wait for a dry spell and check the forecast before you start.
Use an exterior-grade primer and a paint formulated for outdoor surfaces. Interior paint outside will not last a season.
Common Peeling Paint Textures and What They Mean
The way paint fails tells you why it failed. Spot the pattern early, and you fix the right problem the first time.
1. Bubbling Paint
Bubbling happens when pockets of air or moisture get trapped beneath the paint surface.
Bathrooms and kitchens are the usual culprits.
Leave bubbles alone, and they burst, taking the paint around them with it. On exterior walls, direct sun and heat can do the same.
2. Flaking Paint
Flaking paint lifts away in thin pieces or chips.
This usually happens when paint loses adhesion because the surface was dusty, greasy, or poorly prepared before painting.
3. Cracking Paint
Cracked paint often looks dry and brittle.
Older paint layers can split over time due to age, temperature changes, or thick application. Small cracks spread into larger peeling sections if left alone.
4. Curling or Lifting Edges
Paint that curls at the edges is usually moisture getting underneath.
It also happens when new paint goes over loose or glossy paint without proper sanding or primer first.
5. Powdery or Chalky Paint
A chalky texture appears on older surfaces exposed to sunlight over time.
The paint breaks down, leaving a dusty residue that prevents new paint from bonding properly. Always clean and prime chalky surfaces before repainting.
Best Paints and Primers for Peeling Paint Repairs
Not all primers and paints are built for repaired surfaces. These are worth considering.
Always choose primers that seal patches and enhance paint hold, such as:
- Dulux Promise Interior Primer: Suitable for interior masonry surfaces and commonly used before repainting, repairing walls, or patching sections.
- Zinsser Bulls Eye 1-2-3 Primer: Good all-purpose bonding primer for walls and repaired areas.
- KILZ Original Interior Primer: Often used for stain blocking and surface sealing.
For wall paint, choose a durable acrylic or a moisture-resistant paint, depending on the room.
Popular options include:
- Dulux Easycare Washable Matt: Suitable for everyday interior walls
- Johnstone’s Durable Matt Emulsion: Good for high-traffic areas
- Sherwin-Williams Duration Home Interior Acrylic Latex: Commonly recommended for durability and moisture resistance
In kitchens, bathrooms, or other humid spaces, choose paints specifically made for humidity-prone rooms to help reduce future peeling.
Conclusion
Peeling paint may seem like a minor issue at first, but dealing with it early saves time, effort, and more extensive repairs down the line.
Fix the cause, repair the surface properly, and the wall will take care of itself.
In my experience, a ten-minute fix caught early beats a weekend repair you didn’t see coming. Noticed bubbling or flaking?
Don’t wait. The longer it sits, the more wall you’ll have to fix.
Frequently Asked Questions (FAQ’s)
1. Can You Paint Over Slightly Peeling Paint?
It is not recommended. Painting over peeling paint without fixing the surface first will only make the problem worse. Always scrape, sand, and prime before applying a new coat.
2. Is Peeling Paint a Health Hazard?
It can be. Flaking paint creates dust that irritates the lungs. In older homes, it may contain lead, which makes it especially harmful if disturbed without proper protection.
3. How do You Paint Over Peeling Paint Without Sanding it?
Use a liquid deglosser to prep the surface. Apply a bonding primer directly over the area. This helps the new paint stick without the need for sanding.
4. What is the Best Paint to Paint Over Peeling Paint?
A high-quality acrylic paint works best. Always use a bonding primer first. For bathrooms and kitchens, choose a paint formulated to withstand moisture.