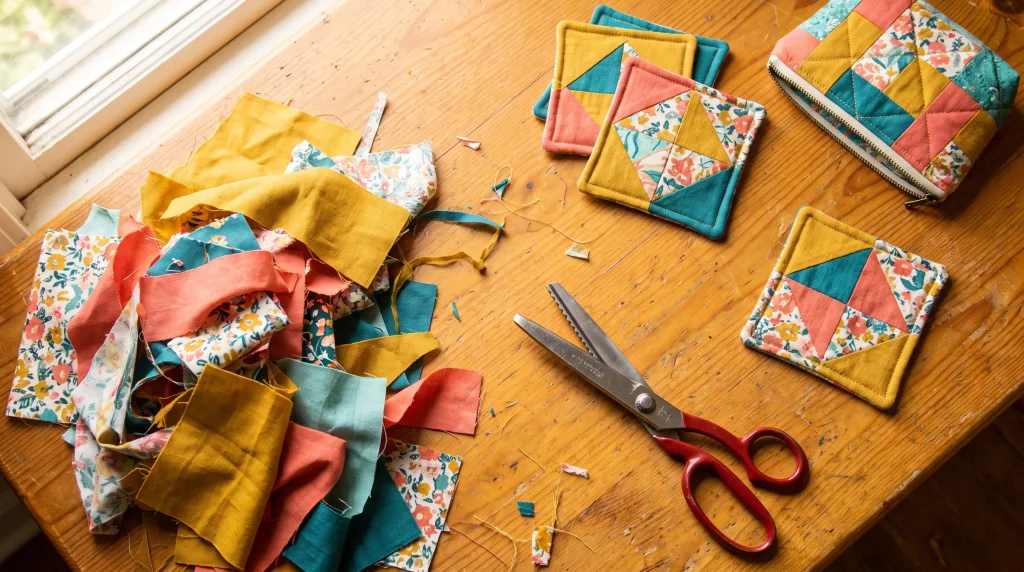
Every sewing project leaves something behind. A strip here, a triangle there, a piece too small for the pattern but too nice to toss. Most of us end up with a bin, a drawer, or a bag of these leftovers, and most of us have no real plan for what to do with them.
That pile is worth more than it looks. Fabric scraps often carry the best colors and prints from a project, the ones you picked out on purpose. The projects below give that pile a job, starting small and working up to something more structured for anyone who ends up with a serious stash.
Why Small Scraps Are Worth Keeping
A scrap doesn’t need to be big to be useful. Pieces as small as two or three inches square work for coasters, bookmarks, and gift toppers. Anything bigger than a fat quarter starts to open up pillow covers, pouches, and patchwork panels. The trick is sorting by size as scraps come in, so you’re not digging through a tangled bag every time you want to start something.
Projects for the Smallest Pieces
These are the scraps that feel too small to matter. They’re not.
Patchwork Coasters
Coasters are a good first project because they forgive mismatched cuts and uneven seams. A set of four uses less fabric than one placemat.
- Cut four or five small squares in coordinating prints, about 4 inches each.
- Sew the squares together in a row, then trim the edges even.
- Layer the pieced top with a plain backing fabric and a thin layer of batting or felt.
- Stitch around the edge, leaving a small gap to turn it right side out, then topstitch the opening closed.
Fabric Gift Toppers
Skip the ribbon bow and tie a small scrap of fabric around a gift box instead. Pinking shears keep the raw edges from fraying, and a strip about an inch wide is usually enough to wrap and knot.
No-Sew Fabric Bookmarks
Cut a scrap into a long triangle, fold it in half, and secure the edges with fabric glue. No machine needed, and it uses up the awkward slivers that are too narrow for almost anything else.
Projects for Mid-Size Scraps
Once a scrap is bigger than a fat quarter, it can carry a little more weight.
Patchwork Pillow Covers
A pillow cover is one of the fastest ways to turn a handful of coordinating scraps into something that looks intentional in a living room or reading nook.
- Cut scraps into equal-sized rectangles or squares and arrange them into a grid the size of your pillow form plus a seam allowance.
- Sew the pieces into rows, then sew the rows together to form the front panel.
- Cut a plain back panel the same size, or use two overlapping pieces for an envelope closure.
- Sew the front and back together, right sides facing, then turn and insert the pillow form.
Zipper Pouches
Leftover yardage from a bigger project, the kind that’s too small for another garment but too big to call a scrap, works well here. A single fat quarter or a couple of coordinating remnants is usually enough for a lined pouch with room for pens, makeup, or a phone charger.
When Your Scrap Pile Wants to Become Something Bigger
At some point, a scrap collection starts to look less like leftovers and more like the start of a quilt. That’s usually the moment to stop improvising and follow an actual layout. If you’re ready to move past scrap projects and want something more structured, browsing a collection like fat quarter quilt patterns is a good way to find a design that uses up your stash intentionally instead of piecing something together at random.
Patterns built around fat quarters or scrap-friendly blocks are especially useful here, since they’re designed to work with mismatched cuts rather than one continuous yardage. It’s a natural next step for anyone who’s been saving prints “just in case” and finally has enough to do something with them.
Keeping Your Scrap Bin From Taking Over
A scrap stash is only useful if you can find what you need in it. A few habits keep it from turning into a tangled mess at the bottom of a closet:
- Sort scraps by size as they come in, not once a year during a big cleanout.
- Group by color family so you can pull coordinating pieces quickly for a new project.
- Set a limit on the bin itself. When it’s full, finish a project before adding more.
None of this requires new supplies or a dedicated craft room. It just takes a system, and a little intention about what those leftover pieces are actually for.