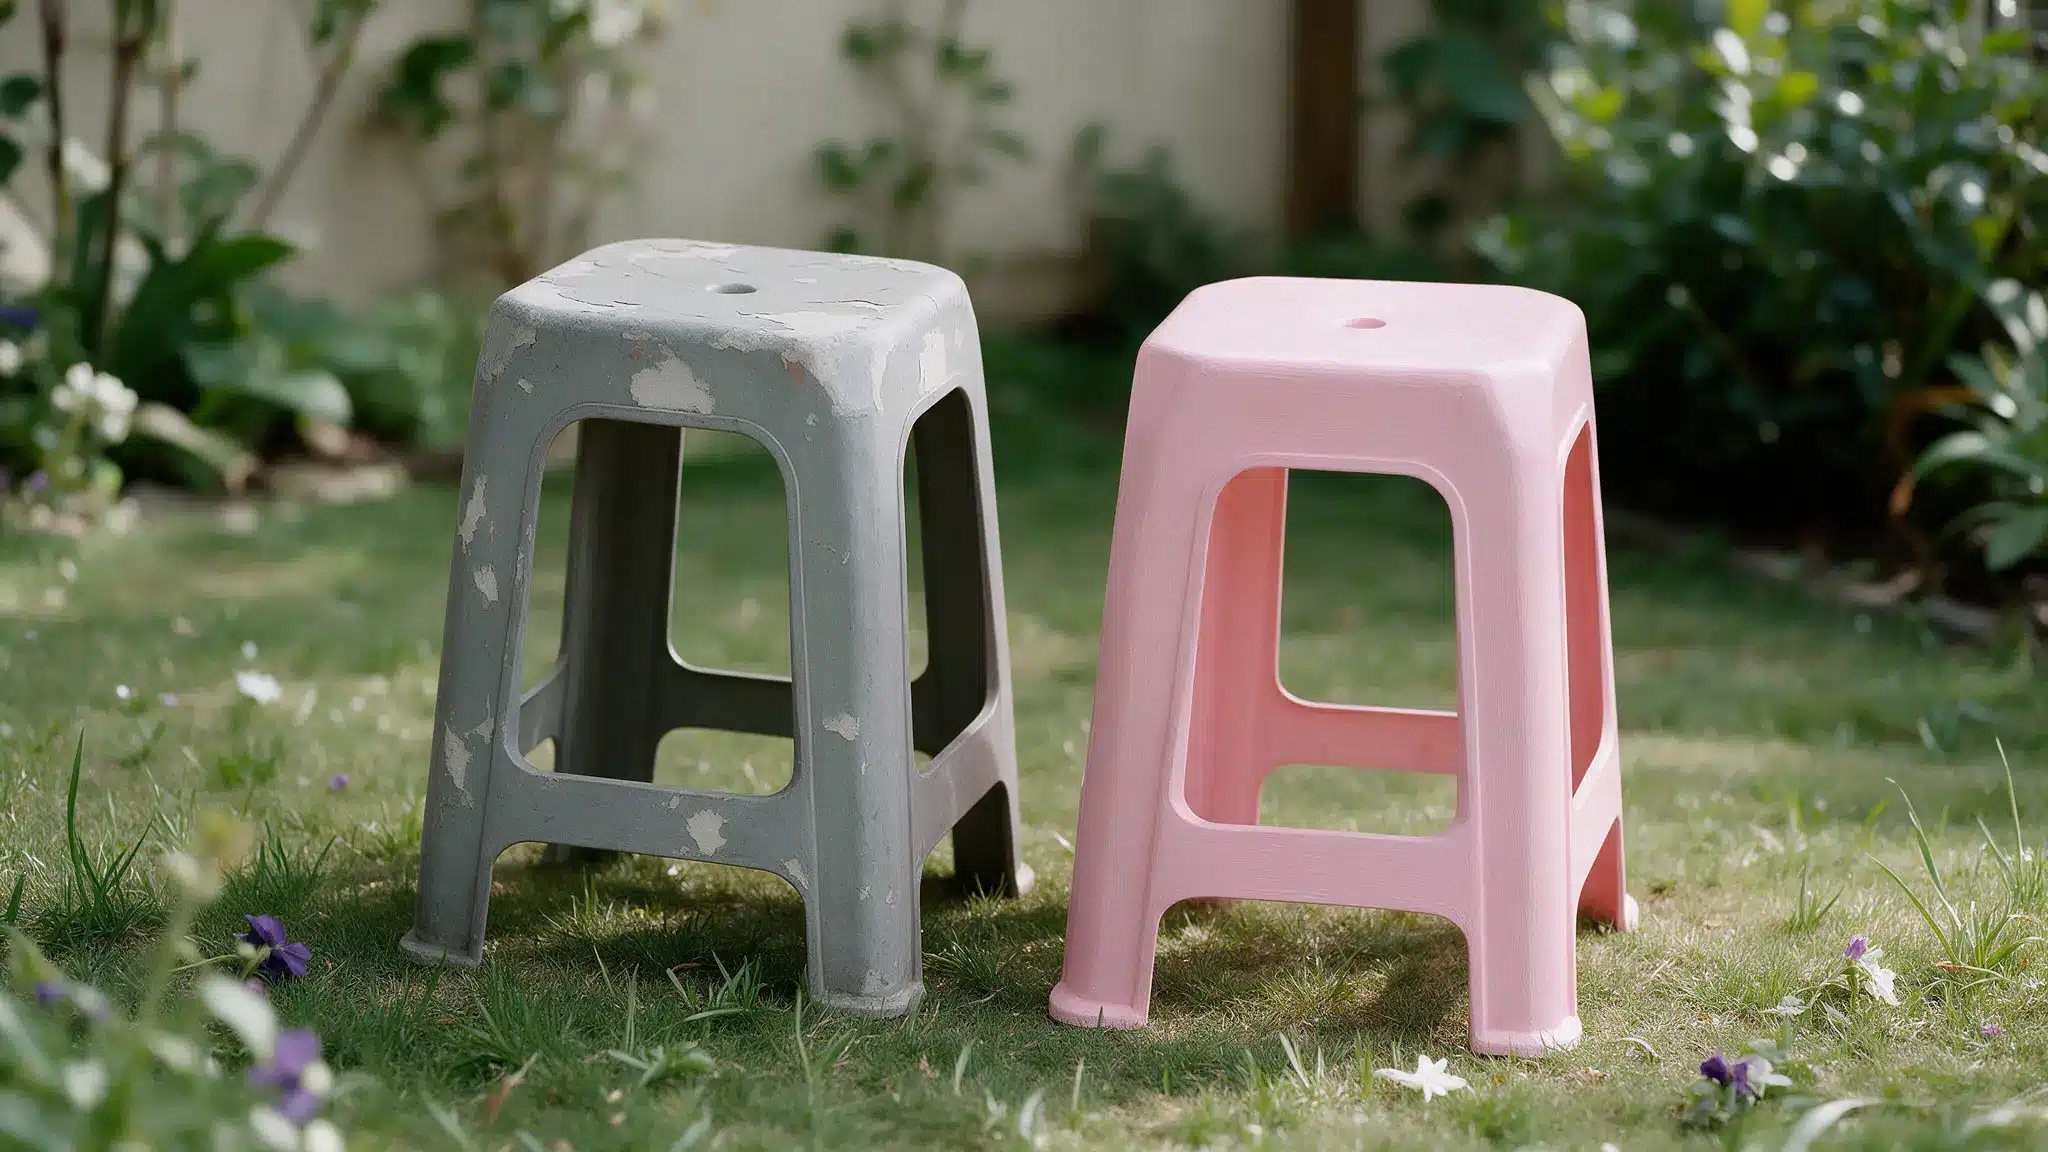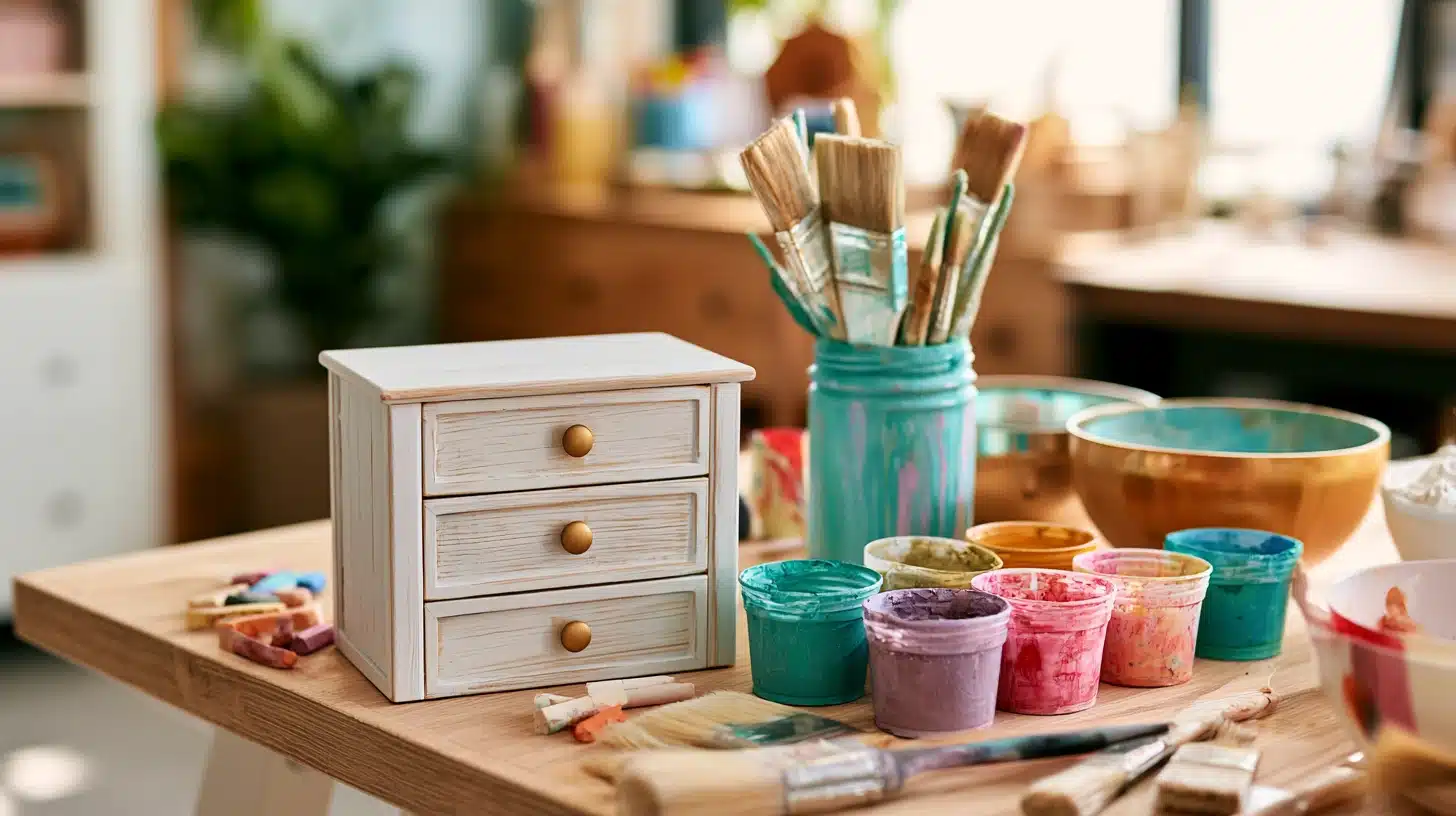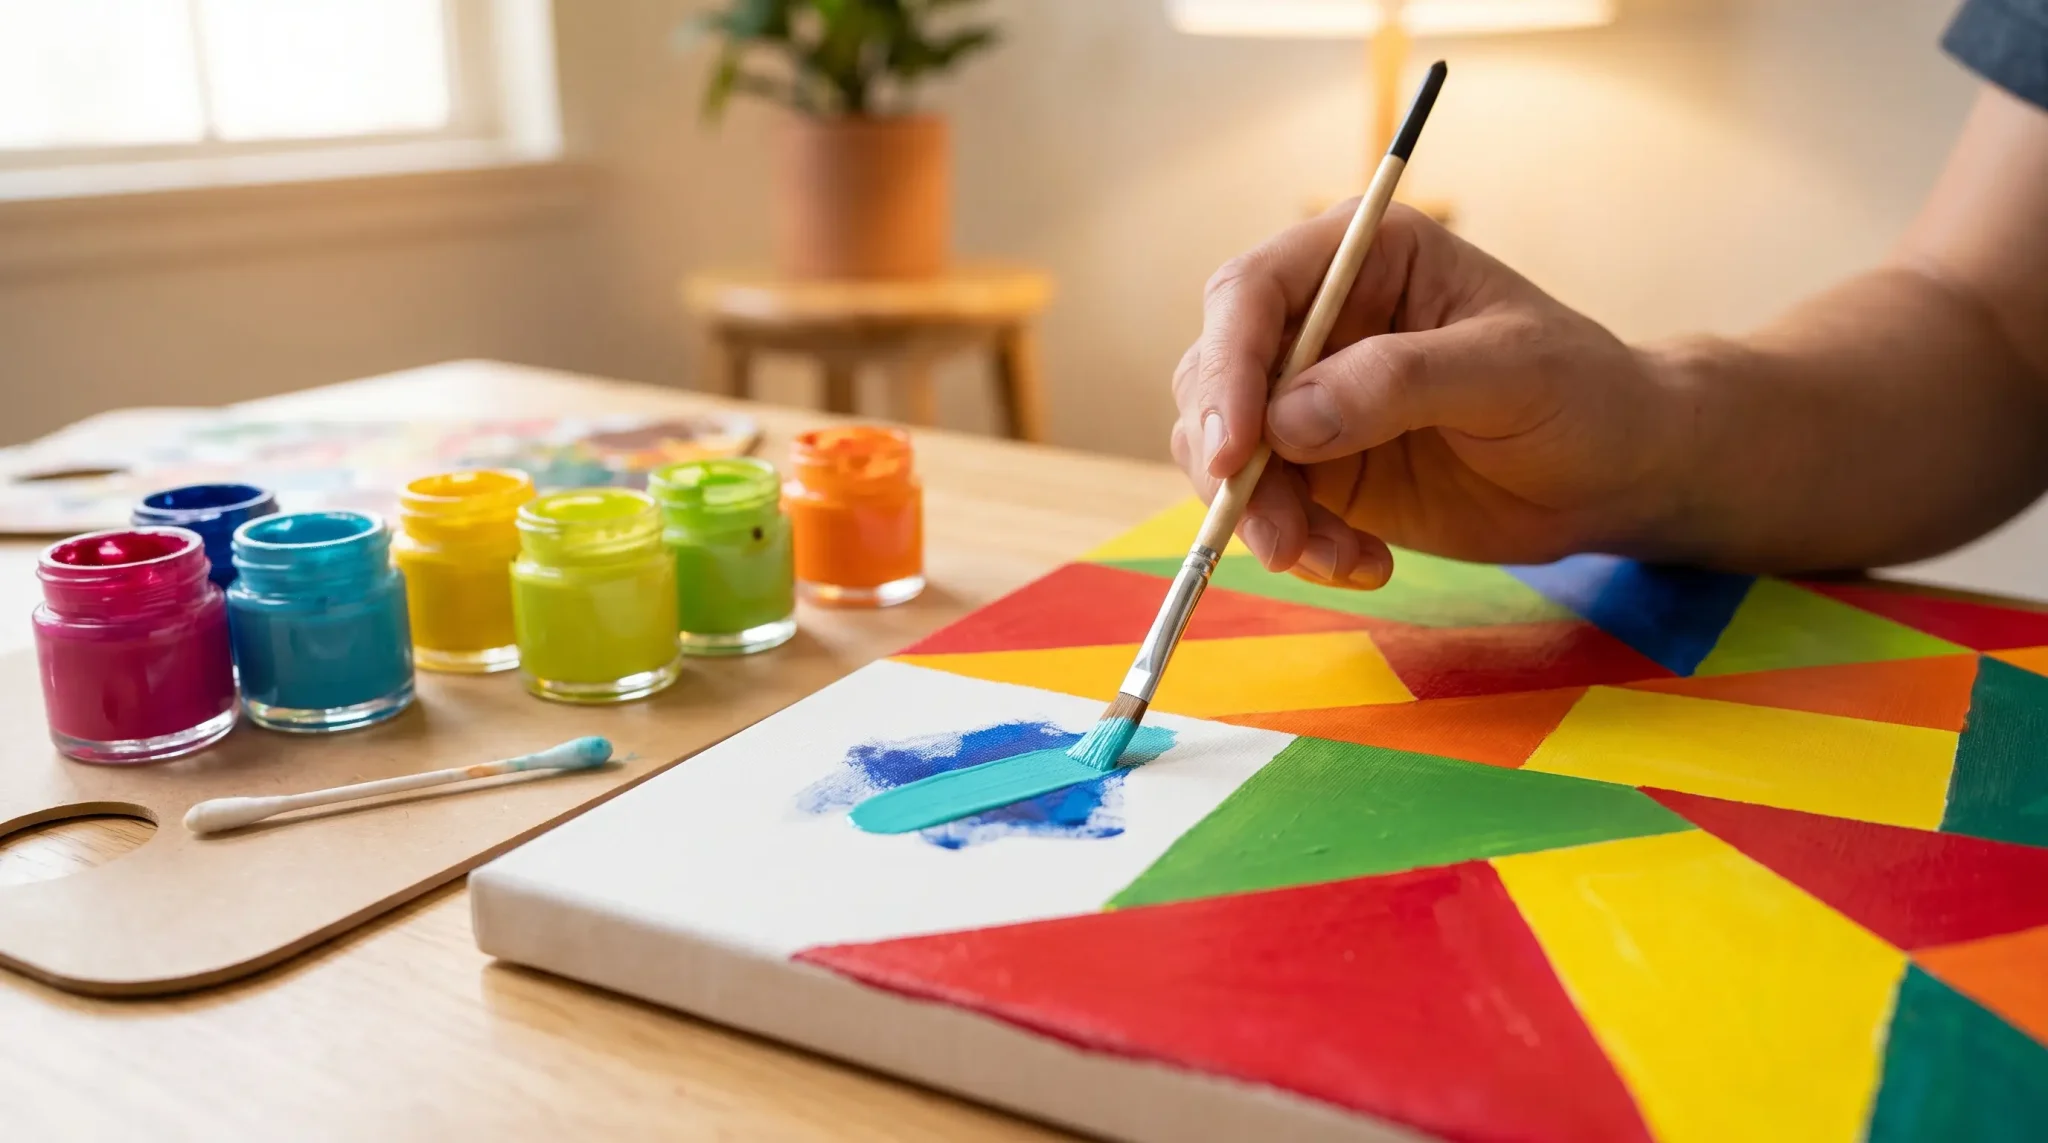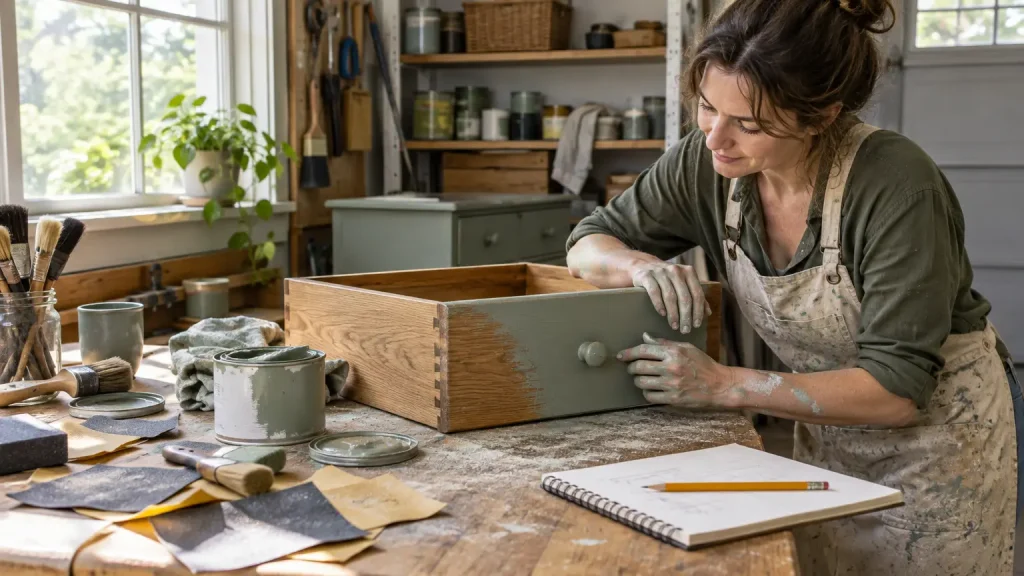
Last spring I refinished an old oak dresser I found at an estate sale. I sanded it, layered two shades of chalk paint, distressed the edges, and sealed everything with wax. It turned out to be one of my favorite pieces in the house.
A few months later, a friend asked me how I got that soft, worn finish on the drawer fronts. I opened my phone to show her and found a “before” photo, an “after” photo, and absolutely nothing in between. I couldn’t remember whether I’d sanded between coats or how long I’d let the wax sit before buffing. The best part of the project was gone because my hands had been too messy to pick up my phone.
That was the moment I started keeping a proper DIY process journal.
Why the Messy Middle Matters
The before and after shots are fun to share, but the middle is where the real learning happens. It’s the part that tells you:
- Why a finish cracked or peeled, so you can avoid it next time
- How many coats you actually used (it’s always more than you think)
- What your paint-to-water ratio was when you thinned it
- Which step took the longest, so you can plan your next weekend better
If you’ve ever tried to make your own chalk paint and gotten the texture perfect once and never again, you already know how valuable a good record can be.
What Goes Into My DIY Process Journal
My journal isn’t fancy. It works a lot like a garden journal, just stretched to cover everything I make, with a spiral notebook in the garage and a folder of photos and short videos. For each project, I try to capture:
- Materials and brands: paint colors, sandpaper grits, sealers, fabric types
- Measurements and ratios: cut sizes, mixing ratios, spacing
- Timing: drying times between coats, how long each stage took
- Mistakes and fixes: what went wrong and how I rescued it
- Visuals of every stage: not just the finished piece
That last one used to be the hardest part to keep up with.
Capturing the Steps When My Hands Are Busy
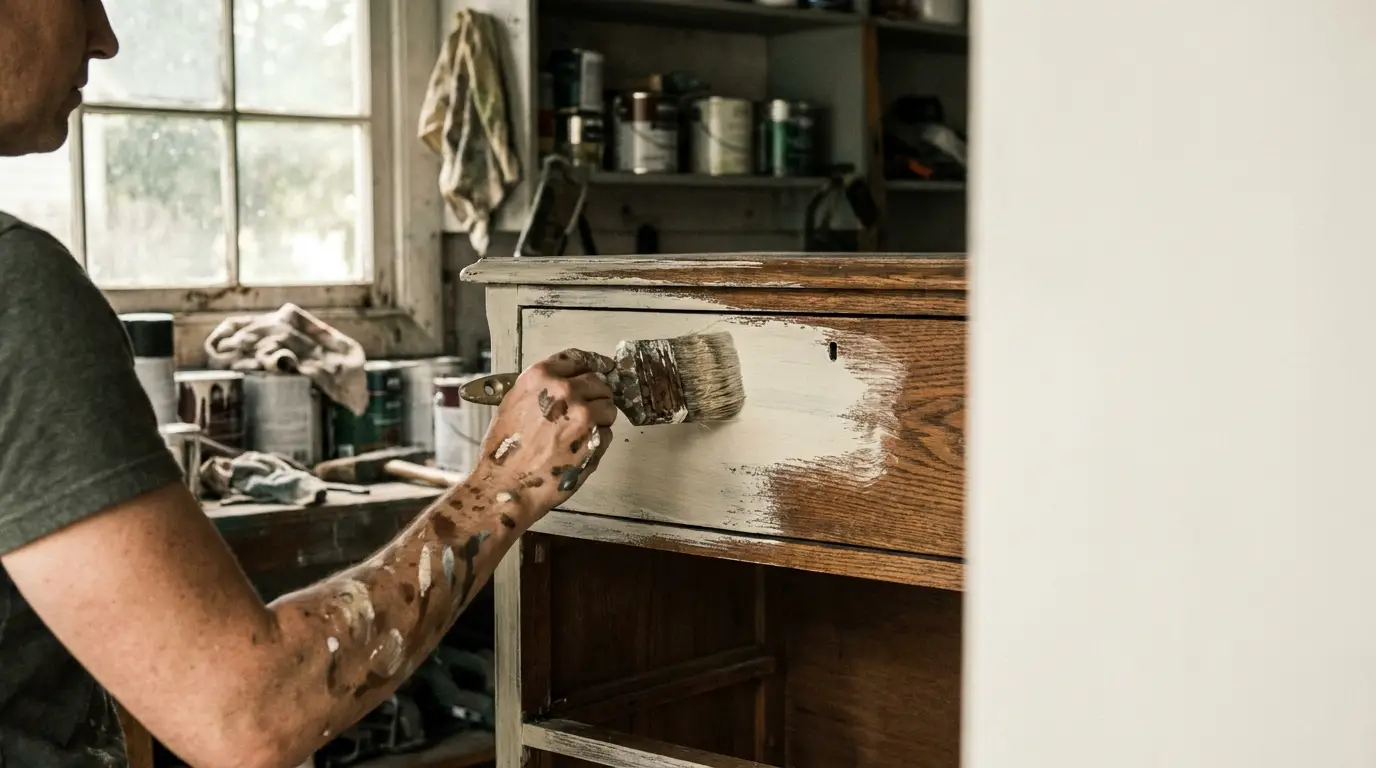
Anyone who has painted furniture knows the routine. You reach a step worth recording, look down at hands covered in paint or wax, and decide to skip it. Wiping off, grabbing the phone, and getting back into rhythm breaks your focus every single time.
These days I wear a pair of AI glasses while I work and use a quick voice command to snap a photo or start a short video, so each sanding pass and paint layer gets recorded from my own point of view without me setting down the brush. Because the footage shows exactly what I was seeing, it’s much closer to how the project actually felt than any propped-up phone shot I’ve taken.
The open-ear speakers have turned out to be just as useful. I can follow a tutorial or listen to a podcast while I work and still hear the kids calling from the other room. When I need a quick answer, like converting inches to centimeters for a pattern, I just ask out loud instead of pulling off my gloves.
I still write notes by hand at the end of each session, but the clips do most of the remembering for me.
What I Log for Different Projects
Every type of project calls for slightly different notes. Here’s what I’ve found most worth capturing:
|
Project type |
What to capture |
Why it helps later |
|
Furniture painting |
Each coat, distressing technique, wax, or topcoat application |
Recreate a finish or match a touch-up years later |
|
Gardening and potting |
Soil mixes, planting depth, seedling progress week by week |
See what thrived and plan next season’s beds |
|
Crafts and crochet |
Joining methods, color order, tricky stitch sections |
Pick up a paused project without guessing |
|
Building projects |
Cut lists, assembly order, screw placement |
Build a matching piece or fix a wobble |
|
Cooking and canning |
Ingredient amounts, texture at each stage, timing |
Get a family favorite right every time |
For crochet especially, a quick clip of how I handled a join has saved me more than once. If you’re working through different ways to join granny squares, recording the first few joins makes the rest of the blanket much easier to keep consistent.
The same goes for bigger builds. When I put together my DIY workbench, I recorded the assembly order, and that footage came in handy when I built a smaller matching one for the potting shed.
Turning Clips Into Journal Entries
Raw footage is only useful if you can find it again. A few habits keep my journal organized:
Name folders by date and project. Something like “2026-04 Oak Dresser” or “2026-05 Tomato Beds” makes it easy to scroll back through the year.
Trim as you go. At the end of each work session, I spend five minutes deleting blurry clips and keeping only the ones that show a clear step.
Add a short note to each stage. One or two sentences is enough. For example: “Second coat, thinned 10% with water, dried 2 hours before sanding.”
Use a simple template. My notebook pages all follow the same layout:
- Project name and date
- Materials used
- Steps (with a note on which ones have clips)
- What I’d do differently
- Final result rating out of 5
That last line is surprisingly honest. Some projects I thought were a 5 turned into a 3 once I lived with them for a month.
A Few Practical Notes
Keep lenses clean. Sawdust, overspray, and flour all find their way onto lenses. I keep a microfiber cloth in my apron pocket and give them a wipe before recording anything important.
Use proper safety eyewear for power tools. For sanding with a power sander, cutting, or anything that throws debris, I switch to ANSI-approved safety glasses with the Z87 mark on the frame. I save hands-free recording for painting, finishing, gardening, and crafting, where the risk is low.
Charge before a big session. A long afternoon of painting can drain the battery, so I charge the glasses the night before the same way I’d lay out my brushes.
Record the mistakes too. My favorite clips aren’t the pretty ones. They’re the moments where the paint bled under the tape or the stain went on too dark, because those are the lessons I’d otherwise repeat. If you’ve ever needed to fix mistakes on a paint by numbers canvas, you know how much a record of what went wrong can help.
The next time you open a can of paint or head out to the garden beds, try capturing just one step from the middle of the project. You might be surprised how often you go back to it.