Does your binding take longer to dread than actually to do?
Mitered corners look tricky on paper, and joining those loose ends trips up plenty of quilters before they even give it a real try.
Binding usually turns out far simpler than expected once you break it into clear, manageable steps.
Learning how to bind a quilt comes down to a handful of moves worth mastering: cutting strips to size, folding sharp corners, closing the loop cleanly, and stitching the edge down by hand or machine.
How Quilt Binding Works?
A quilt needs something to cover its raw edges once the top, batting, and backing are quilted together. Binding does that job: a strip of fabric folded in half and wrapped around the perimeter.
Flat-edged quilts typically use straight-grain, double-fold binding because it lies flat and keeps its shape wash after wash.
Curves and scallops call for bias binding instead, since fabric cut on the diagonal has enough give to bend without bunching up at the seam.
Sewing binding on happens in two passes. The raw edge gets stitched down first, then the folded edge wraps over and gets secured, either with a needle and thread or a few passes under the machine.
Supplies for Binding a Quilt
A sewing basket already holds nearly everything binding requires. A few extras help, especially when binding more than one quilt.
None of the tools below are unusual or hard to find, and most sewing rooms already have the basics on hand before a project even starts.
Basic Tools
These items handle nearly every part of the job, from cutting strips to sewing the final seam.
- Binding Fabric: cut into strips 2¼ to 2½ inches wide
- Rotary Cutter: 45mm size, with a clear acrylic ruler and cutting mat
- Sewing Machine: fitted with a walking foot for even feeding
- Iron
- Binding Clips or Straight Pins: roughly 20 to 40 for a throw-sized quilt
- Thread
- Hand-Sewing Needle: A size 9–11 sharps or betweens needle works well for regular blind-stitch binding (save a heavier embroidery/chenille needle for big-stitch work with Perle cotton)
A walking foot keeps all three quilt layers feeding evenly under the machine instead of shifting apart mid-seam. It’s one of the few steps where uneven feeding can visibly shift the layers out of alignment.
Nice-to-Have Extras
Nothing on this list is required, though each item makes the process a bit smoother.
- Binding calculator: printed or online, for skipping the perimeter math
- Thicker machine needle: size 90/14 or 100/16, for stitching through several layers without skipping
- Thread conditioner or beeswax
- Thimble
- Hand-quilting thread: about 6 feet of Perle cotton, for big-stitch binding on the back
Most of the time, binding fabric, a walking foot, and a handful of pins are all you actually need. Anyone searching for how to put binding on a quilt for the first time rarely needs more than what’s listed here.
Step by Step: How to Bind a Quilt?
Nine steps carry a quilt from raw edges to a finished, wrapped border. Each one builds directly on the last, so it’s worth doing them in order.
Step 1: Prepare the Quilt
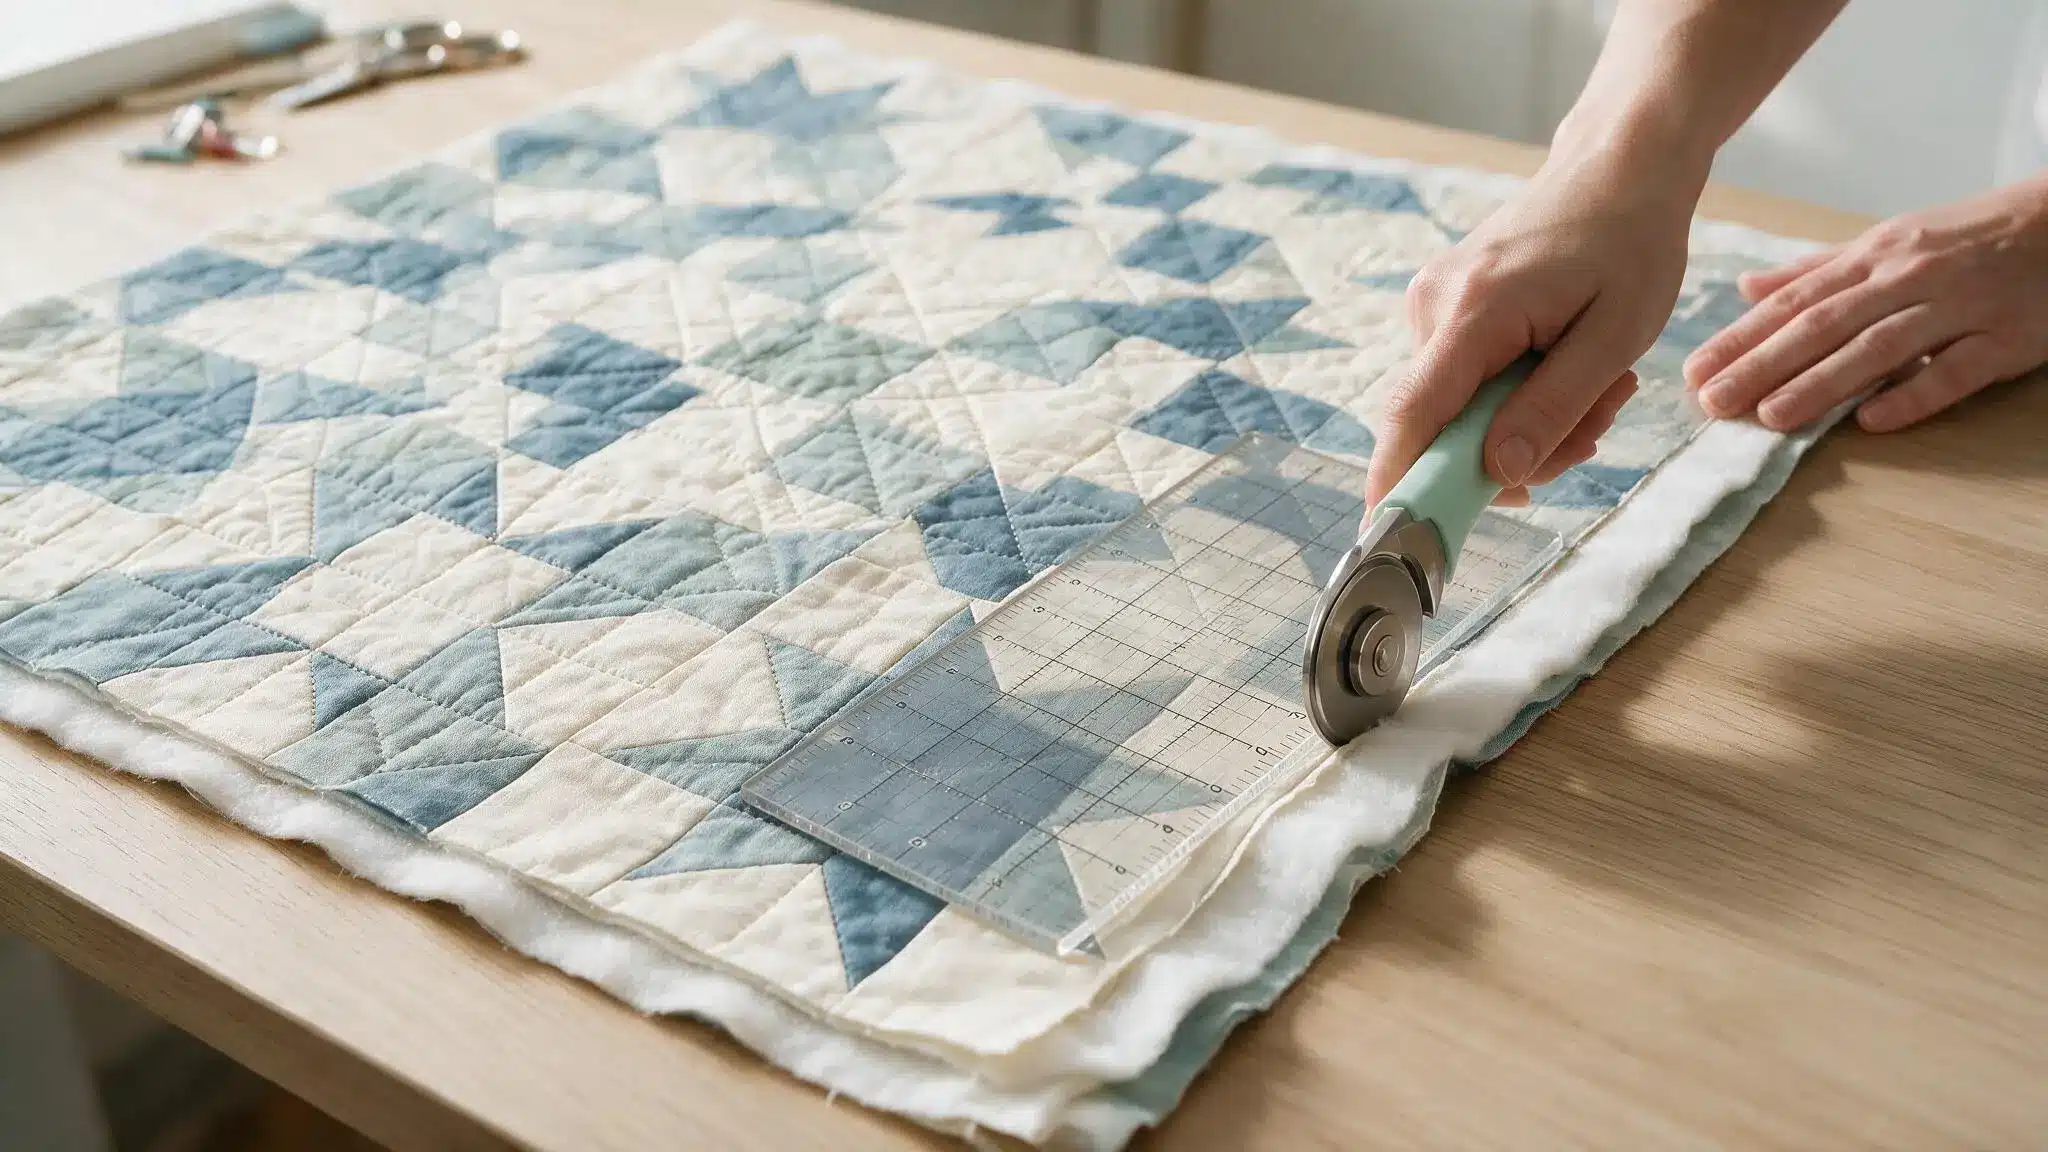
Trim away excess batting and backing hanging past the quilt top’s edge, using a rotary cutter and a long ruler for straight lines.
Check all four sides for even length. Confirm each corner forms a true right angle before moving forward.
Step 2: Calculate and Cut Binding
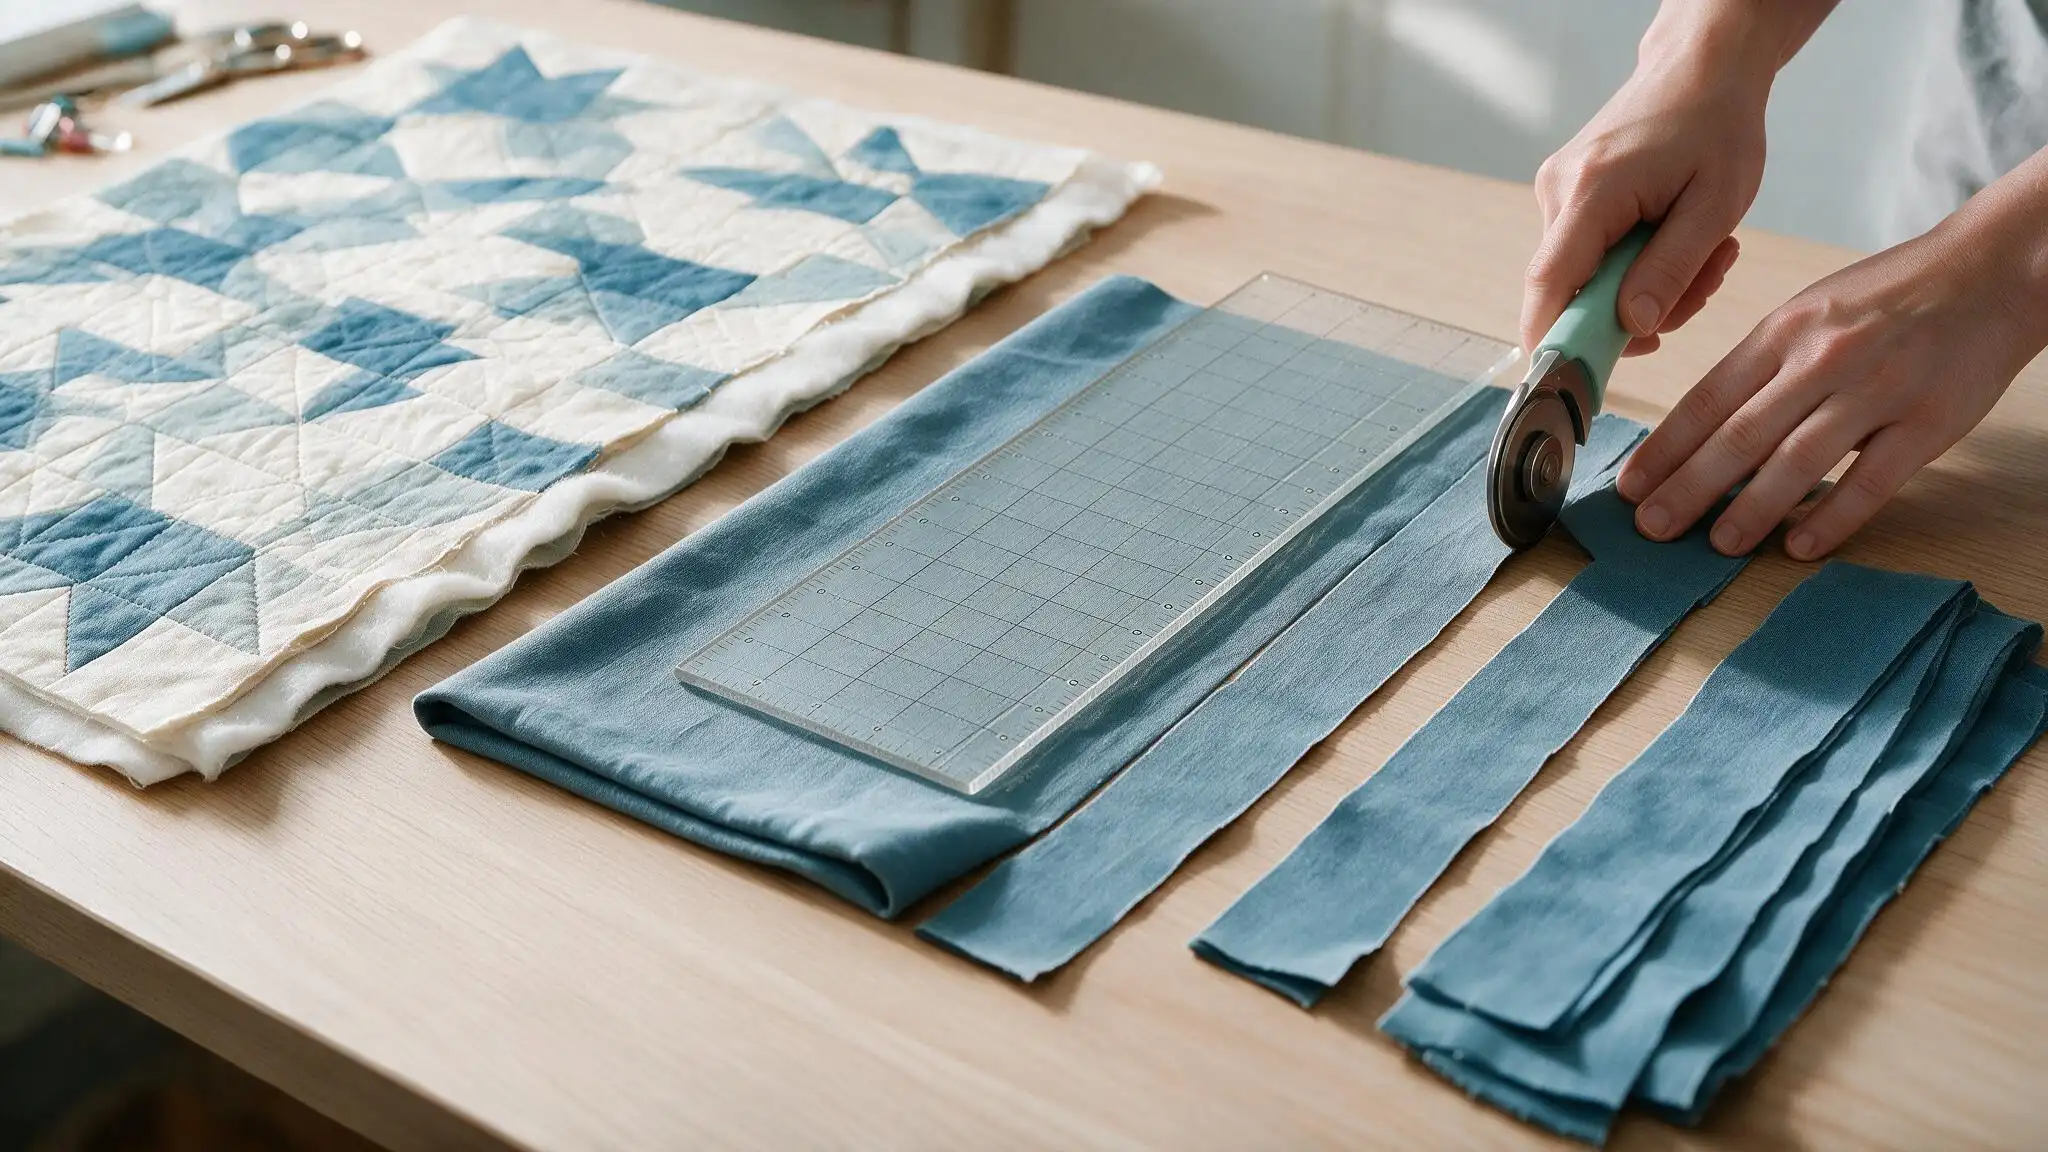
Getting the amount of fabric right up front avoids running short halfway around the quilt.
A little extra binding left over costs nothing, while coming up short means an unplanned trip back to the fabric store mid-project.
Working Out the Total Length
Add the length and width together, multiply by two, then add 10 to 12 extra inches for corners and joining seams.
A 60-by-72-inch quilt needs about 274 to 276 inches of binding, depending on where in that 10–12 inch range you land.
Finding the Number of Strips
Divide the total by about 40 inches, a conservative estimate for usable width after trimming selvages from standard quilting cotton (bolts typically run 42–44 inches).
Choosing a Width
The right width depends on what the quilt top looks like, not just personal preference.
Narrower binding, around 2 inches, suits quilts with pieced borders or blocks close to the edge, since a wider strip covers up the piecework.
Plain or solid borders can take a wider strip, closer to 2½ inches, which forgives small mistakes more easily during sewing.
Step 3: Join the Binding Strips
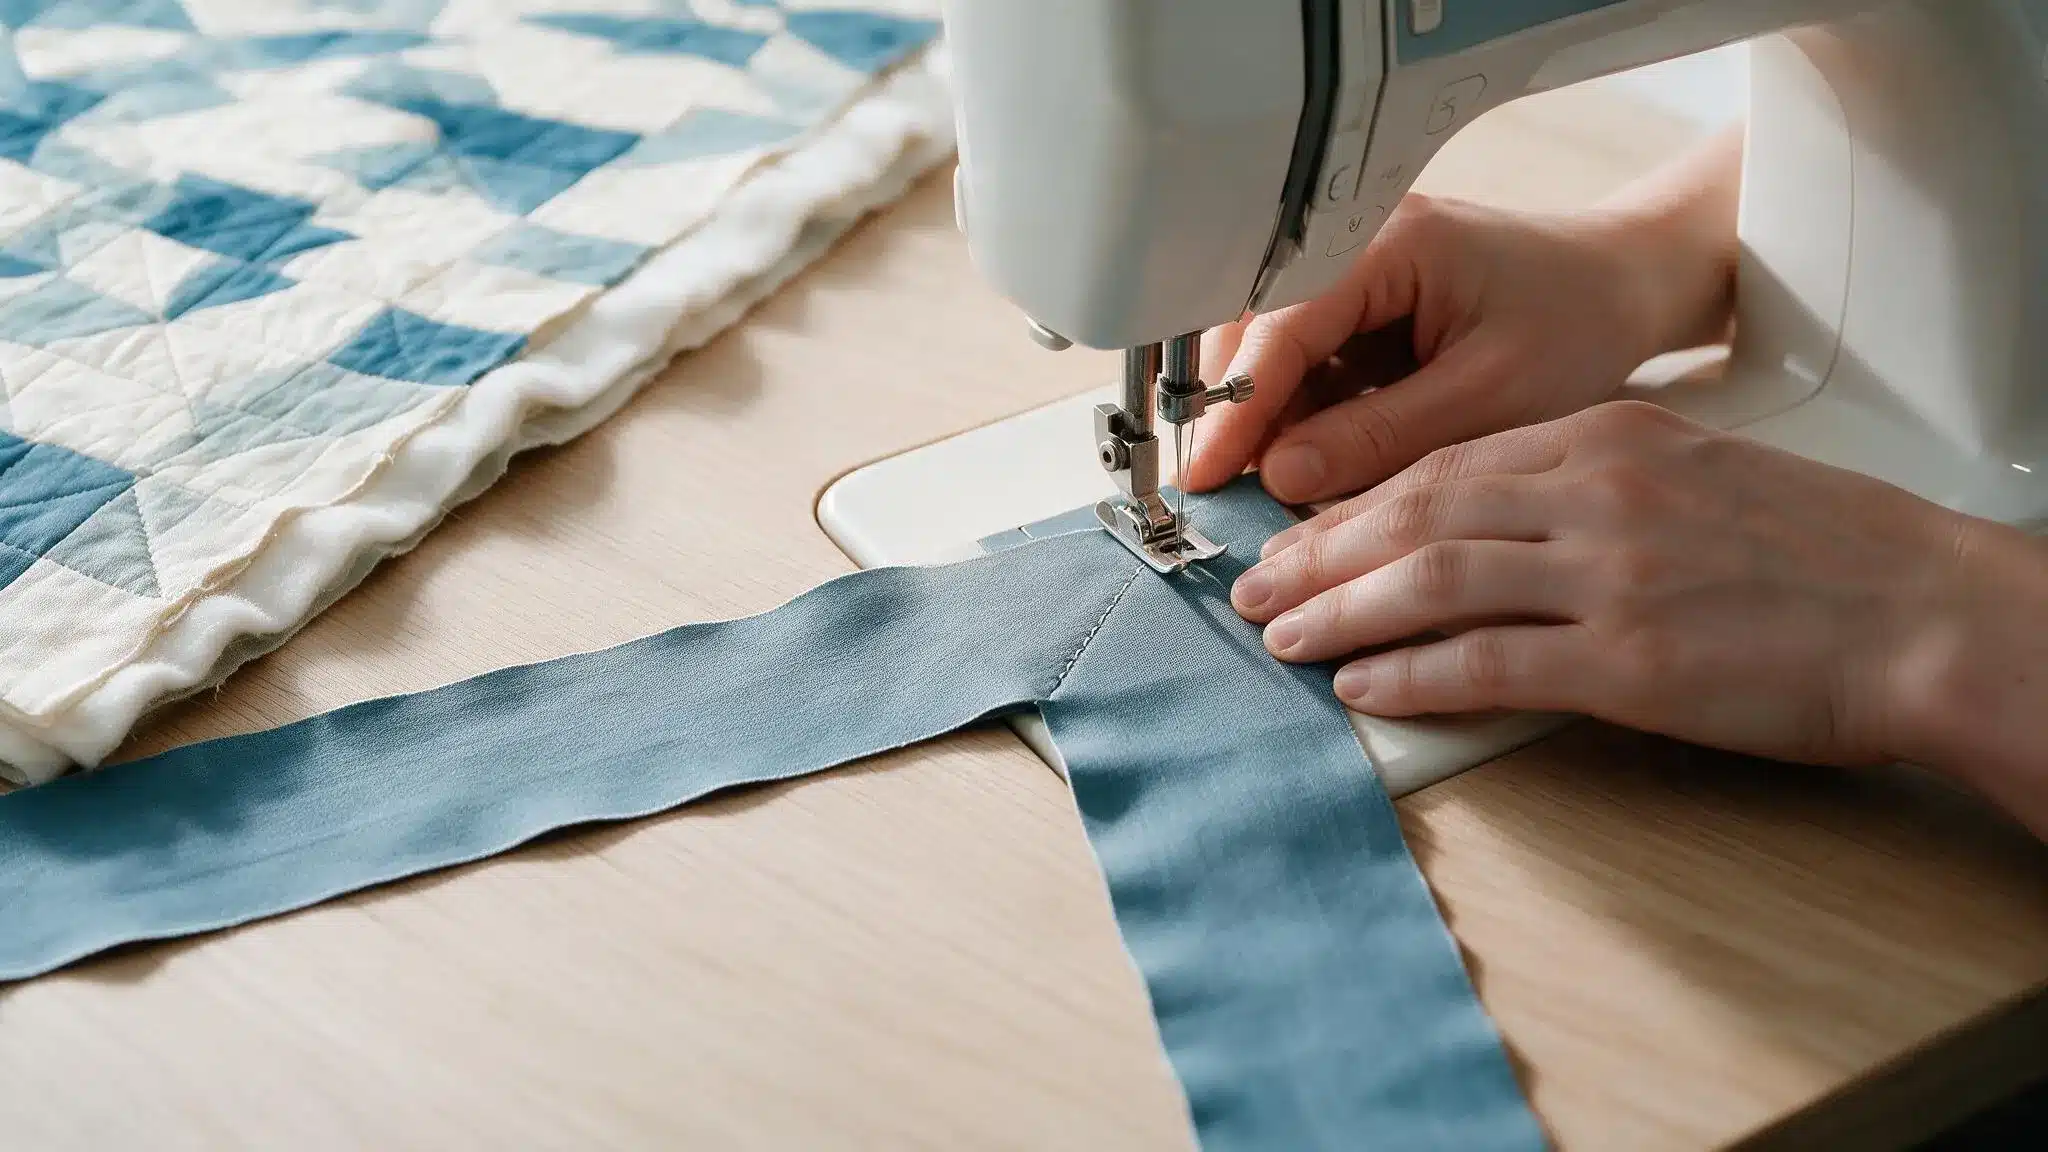
A single strip rarely reaches all the way around a quilt, so join several strips into one length first.
Lay two strips right sides together at a 90-degree angle to form an L-shape, then stitch diagonally across the overlap.
Trim the excess fabric, leaving a ¼-inch seam allowance, and press the seam open. Repeat until all strips join into one continuous length.
Step 4: Fold and Press Binding
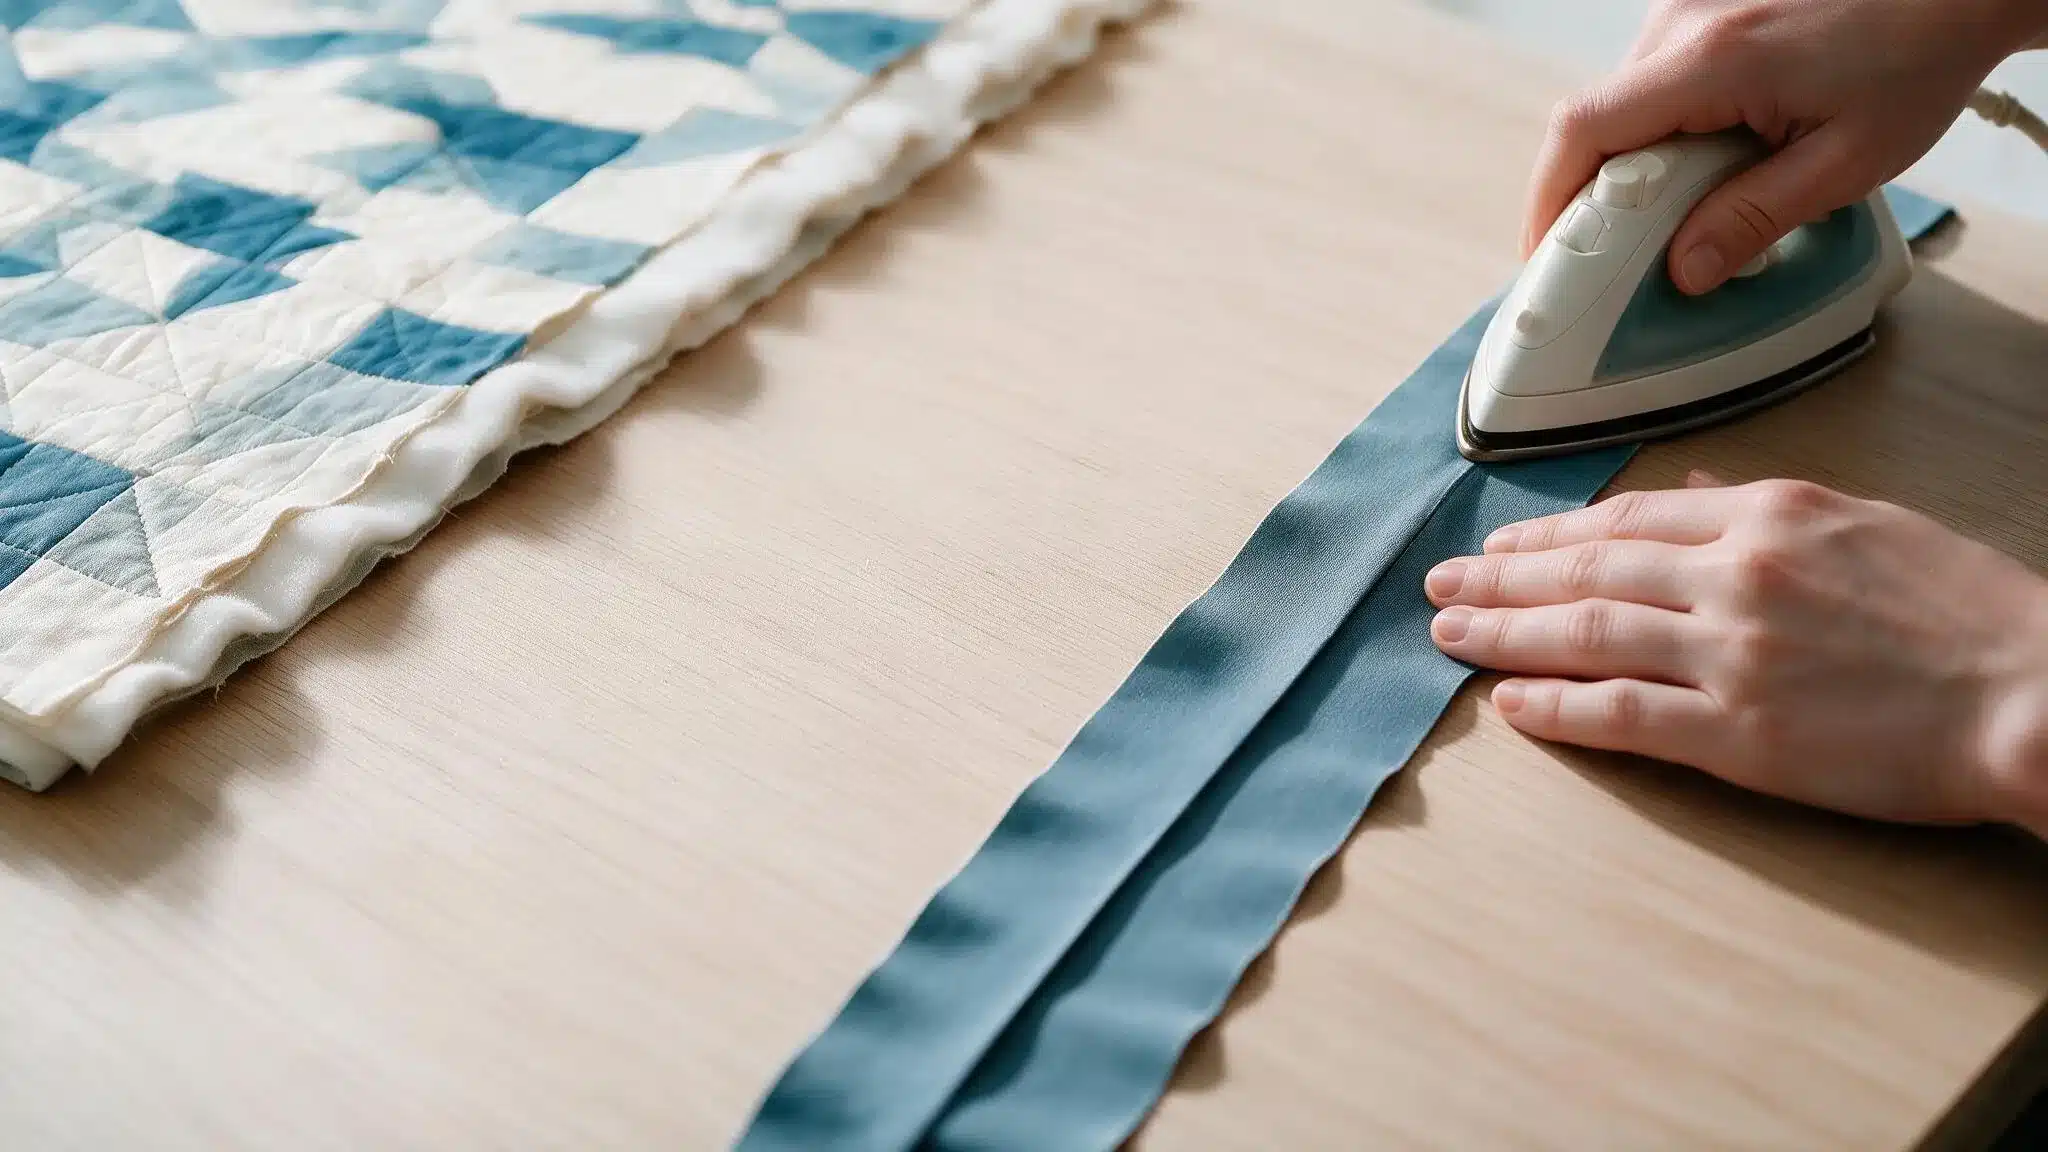
Fold the joined strip in half lengthwise, wrong sides together, then press flat with an iron along its entire length.
Working in short sections and moving the iron steadily, rather than dragging it along the fold, keeps the strip from stretching out of shape.
Step 5: Check Your Binding Placement
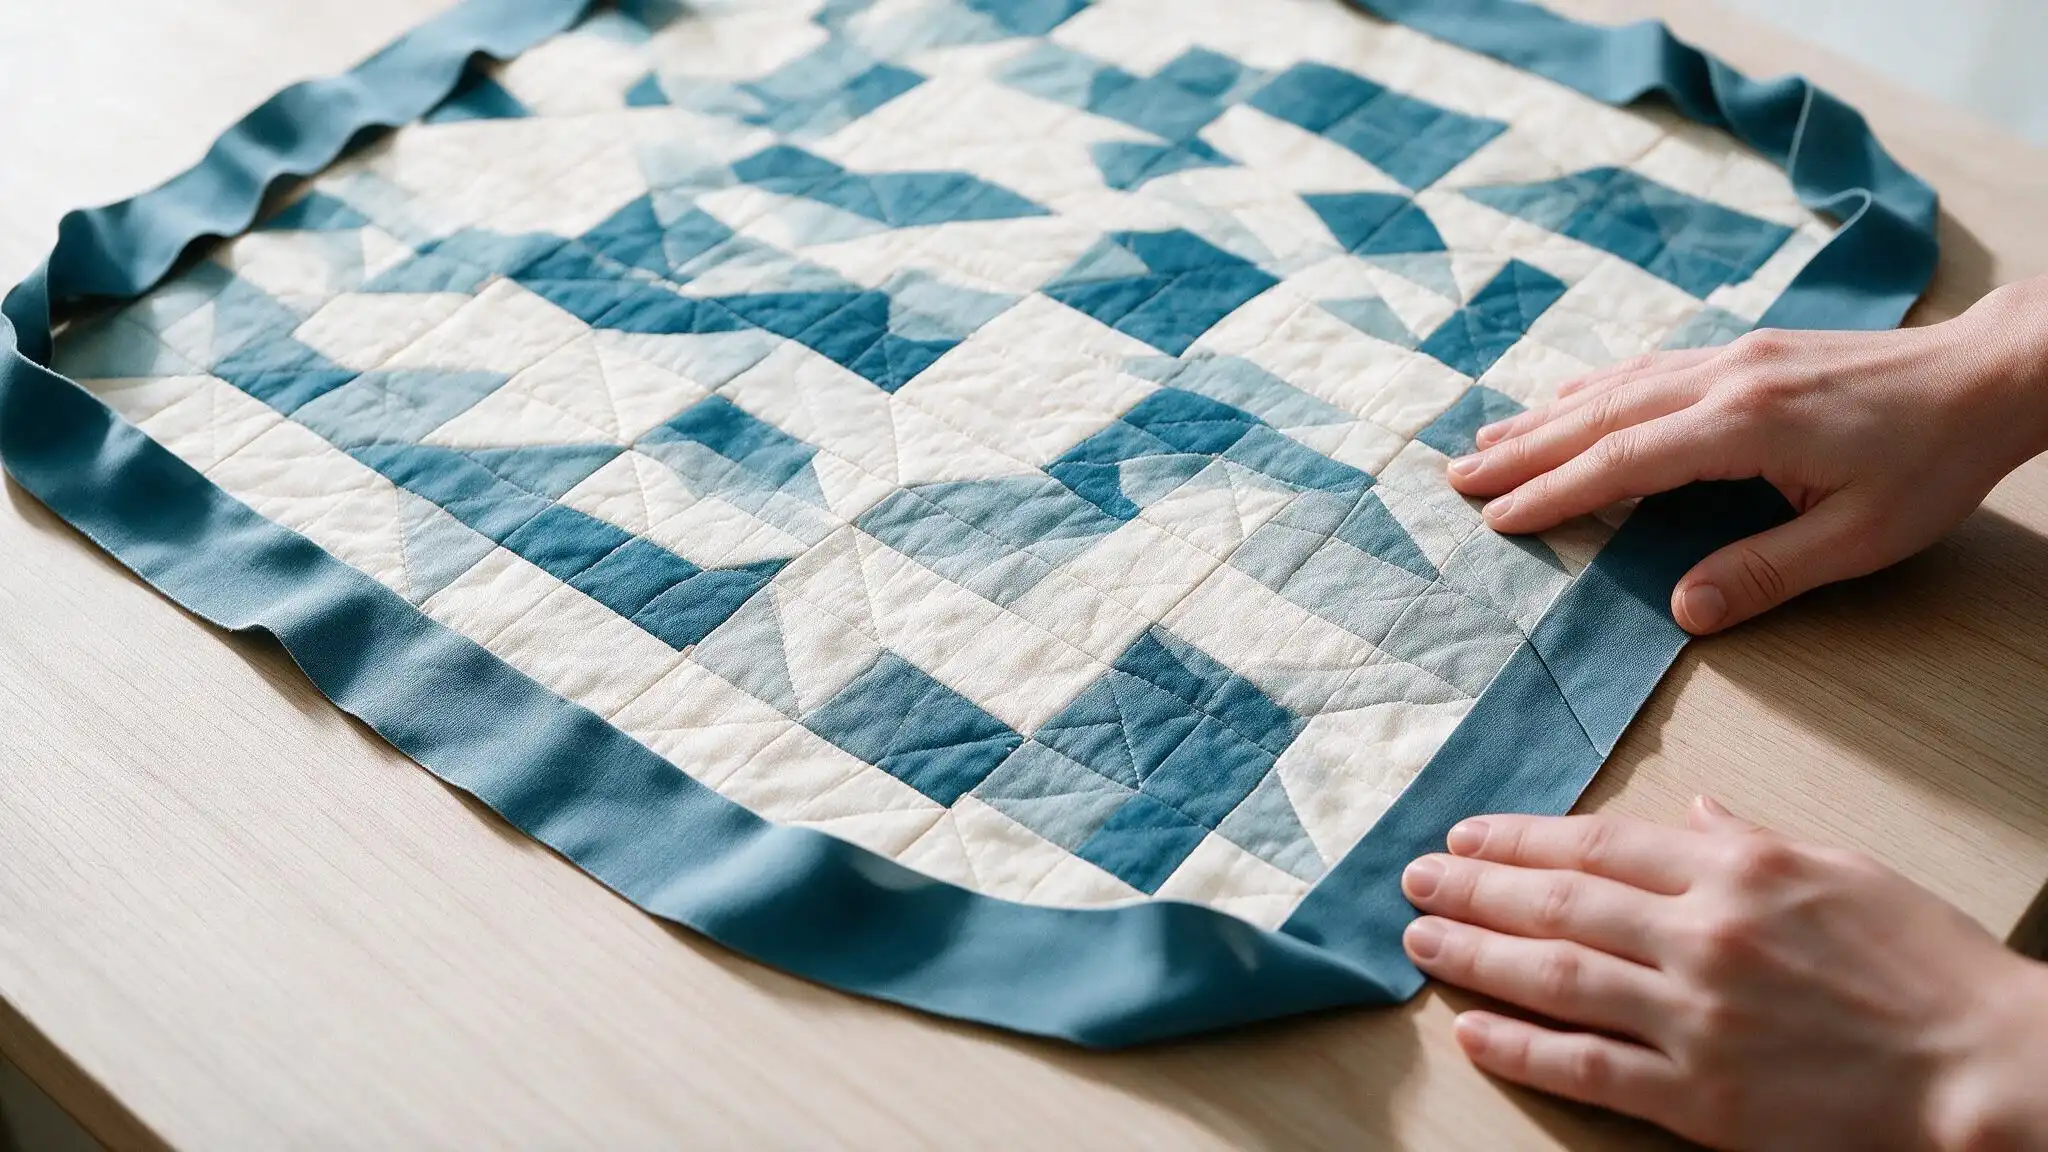
A quick check now prevents a bigger problem later, once stitching is underway.
Lay the folded binding loosely around the quilt’s edge before any stitching begins. Check where the joining seams fall, and shift the starting point a few inches if a seam lands directly on a corner.
Step 6: Attach the Binding and Miter the Corners
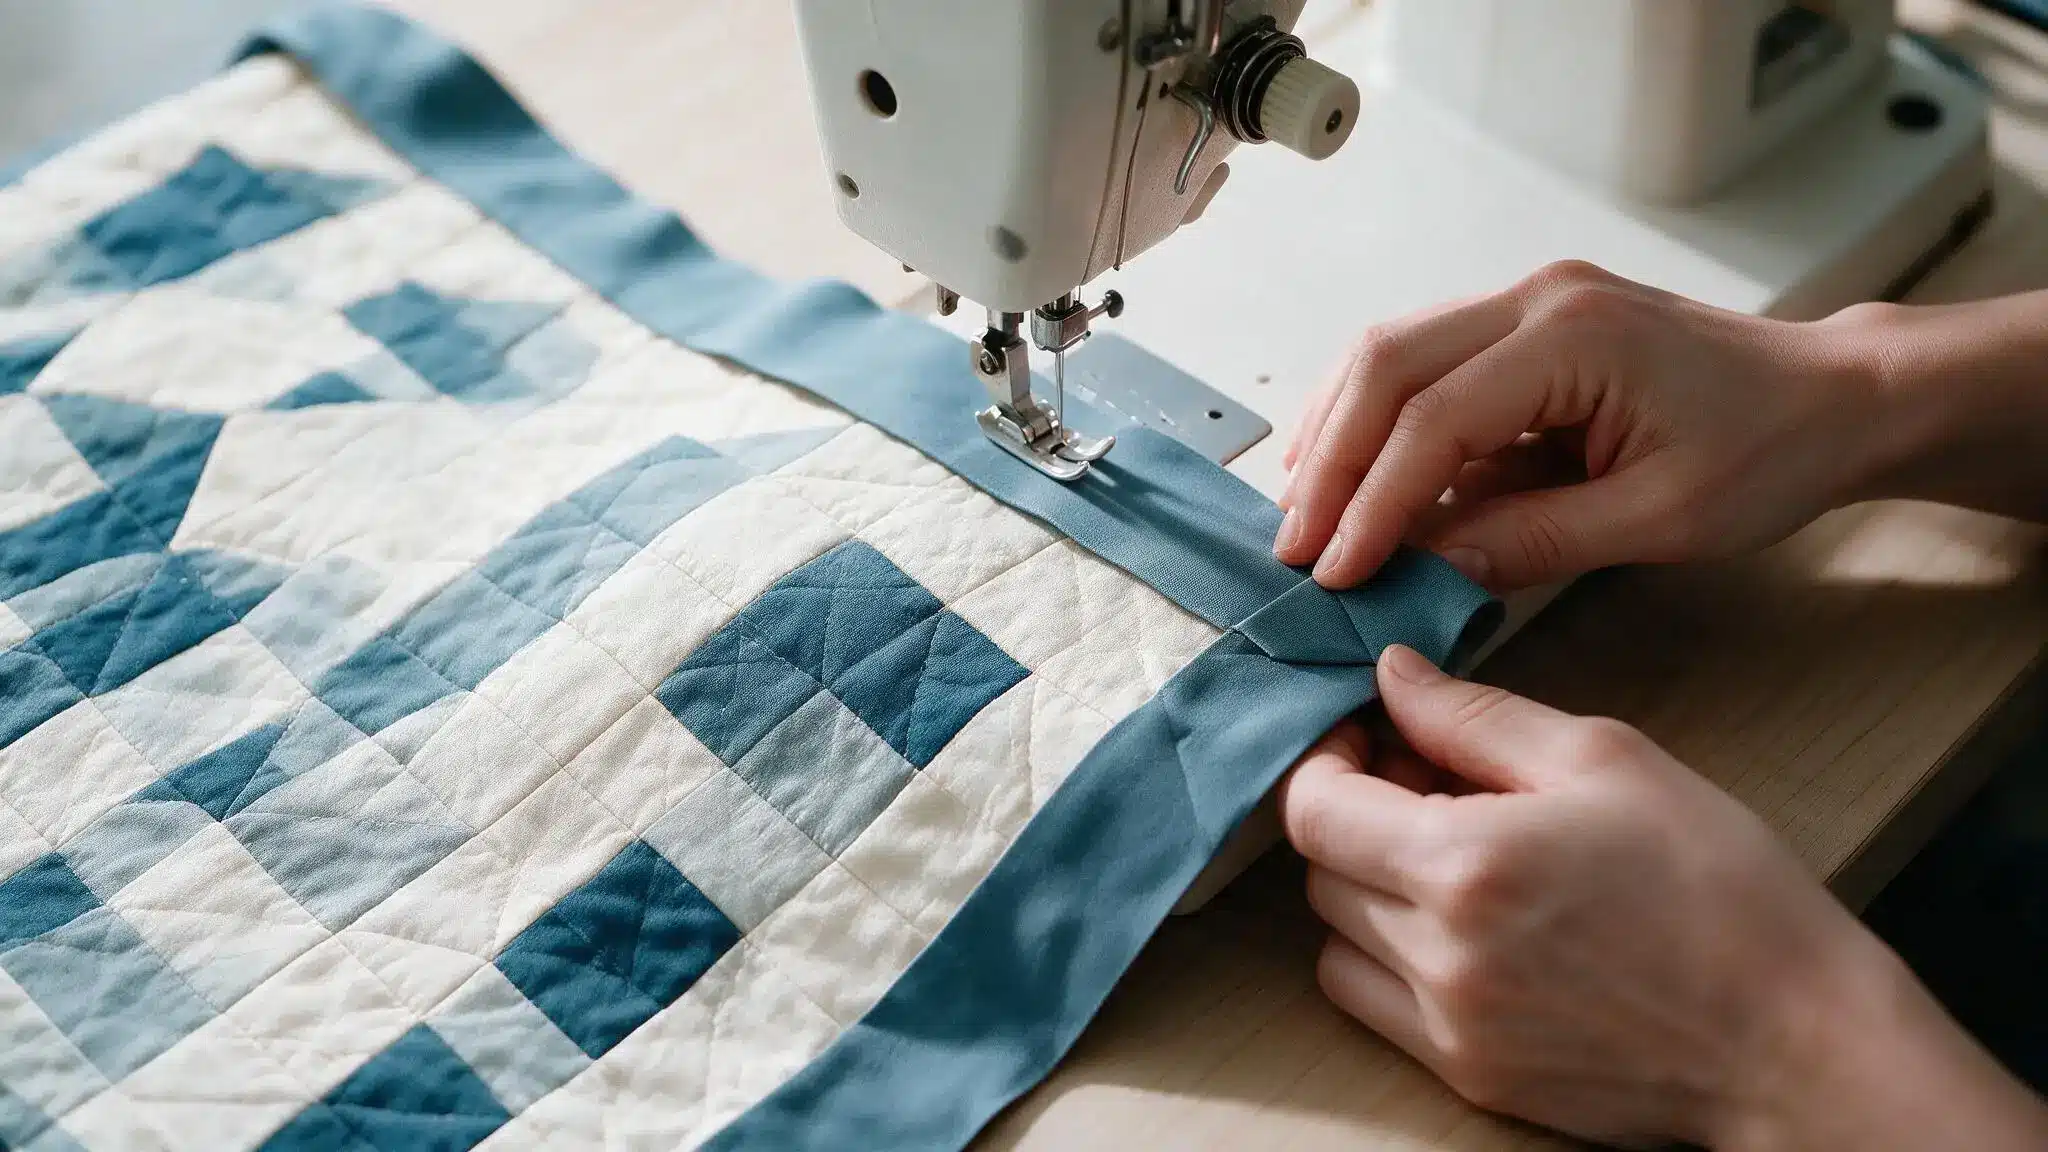
Sewing the binding down and shaping the corners happen together, one corner at a time, rather than as separate stages.
Line up the binding’s raw edge with the quilt’s raw edge, leaving a 6 to 8-inch tail unstitched at the start. Sew with a ¼-inch seam allowance, stopping ¼ inch before each corner.
Folding the Miter
Fold the binding straight up to create a 45-degree angle, then fold it back down so the raw edges align with the next side. Continue stitching from the edge of the fold down the next side, repeating at each corner.
Front-First or Back-First
Which side gets stitched first changes how the finished edge looks on both sides of the quilt.
Binding gets attached to either the front or the back first. Stitching to the front first, then wrapping to the back, leaves a nearly invisible line when finished by hand.
Some quilters flip that order, stitching to the back first and topstitching the front, which leaves a visible line some treat as a design choice.
Step 7: Join the Binding Ends
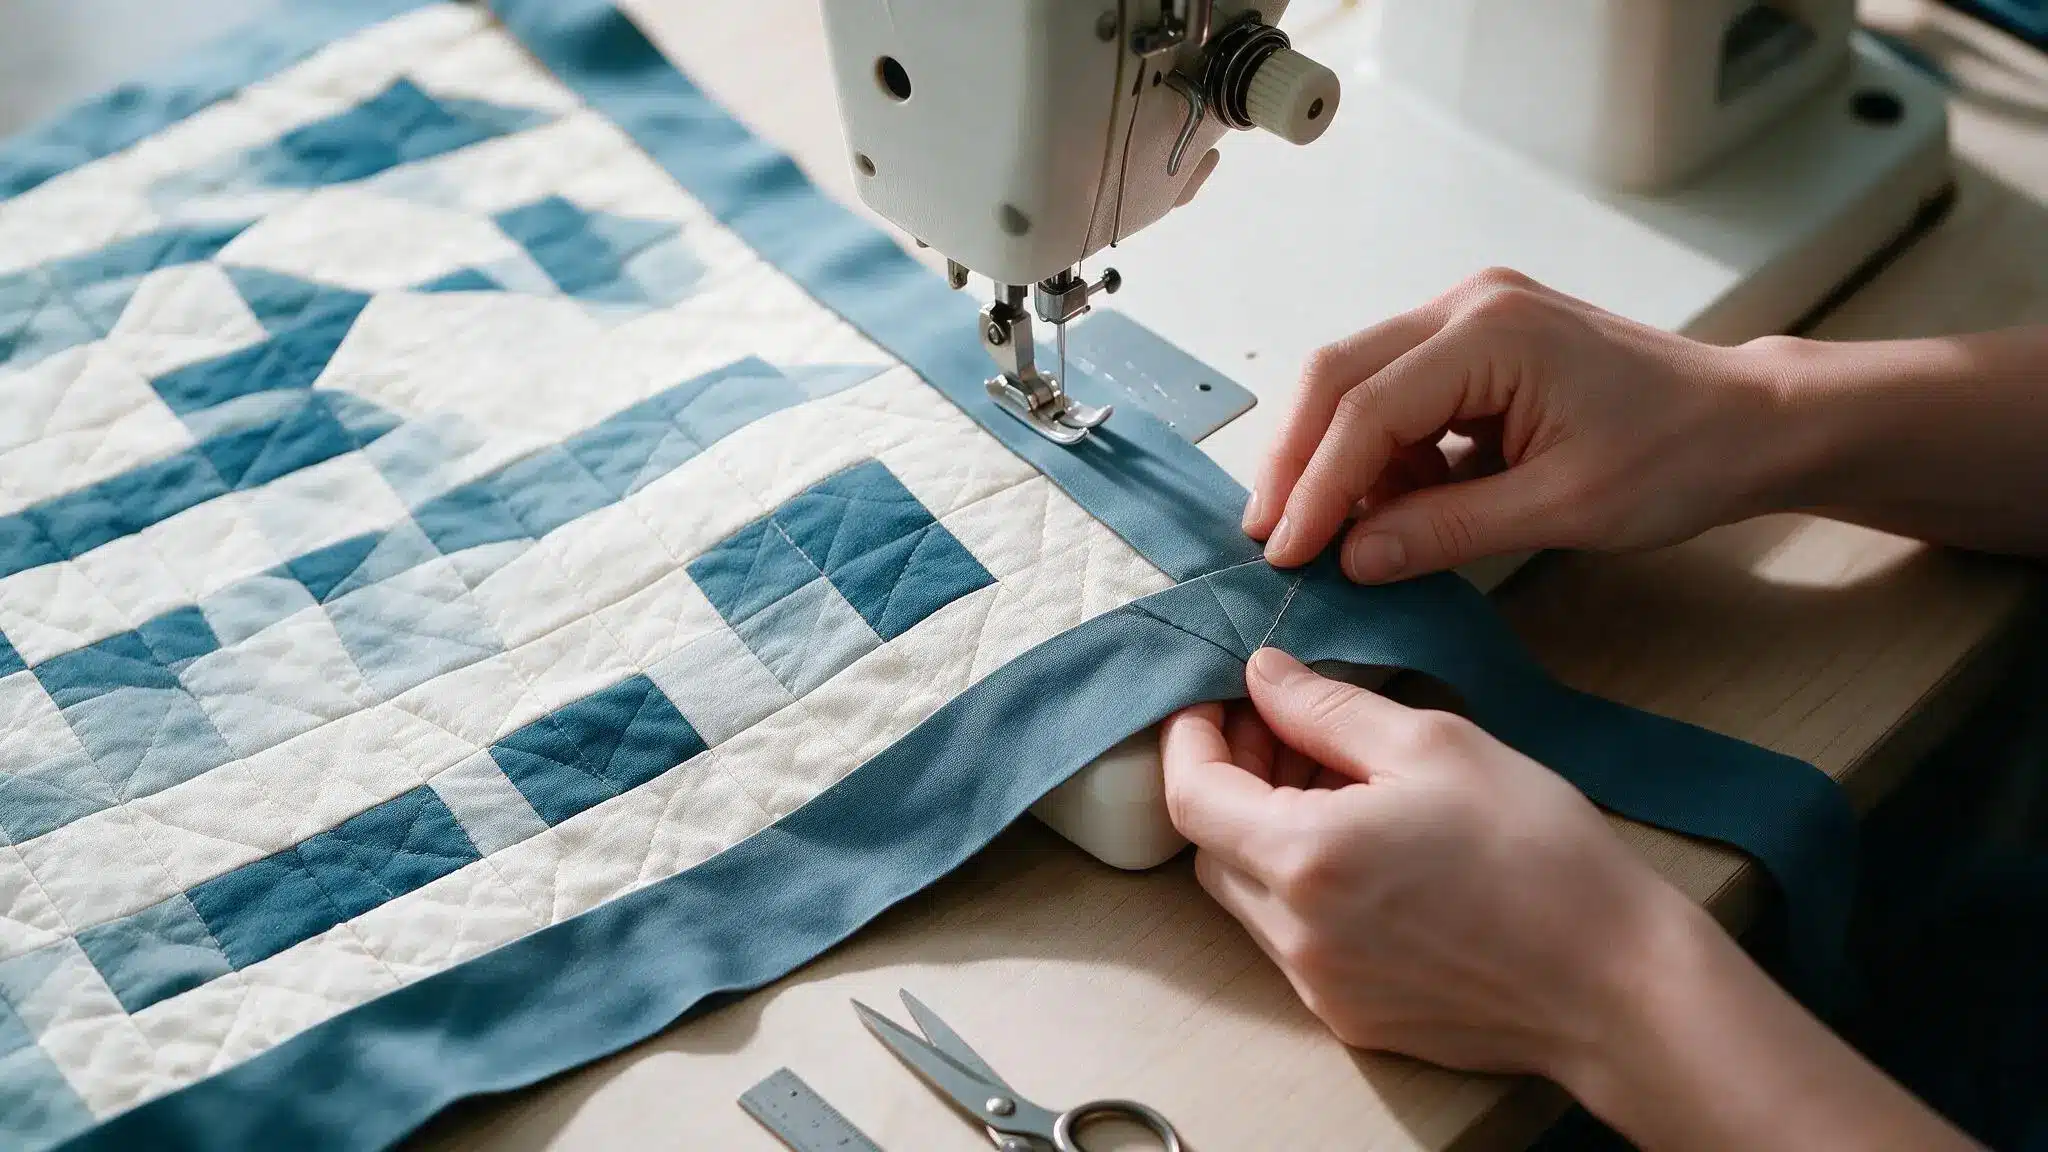
Joining the two loose ends is where most quilters get stuck. Two approaches handle it reliably, and picking one usually comes down to comfort level rather than one being objectively better.
The Diagonal Seam Method
Overlap the two tails, trim them to the binding’s width, then join them at a 45-degree angle before trimming the seam allowance.
Check the sewn seam against the quilt edge before stitching it down permanently. This method takes a little more precision but produces a seam that blends into the binding almost invisibly.
The Pocket Method
Fold one tail over to form a small pocket, tuck the other tail inside, then stitch the gap closed. This approach skips the angled seam entirely, which makes it a good starting point for anyone binding a quilt for the first time.
Step 8: Press and Fold Binding Over
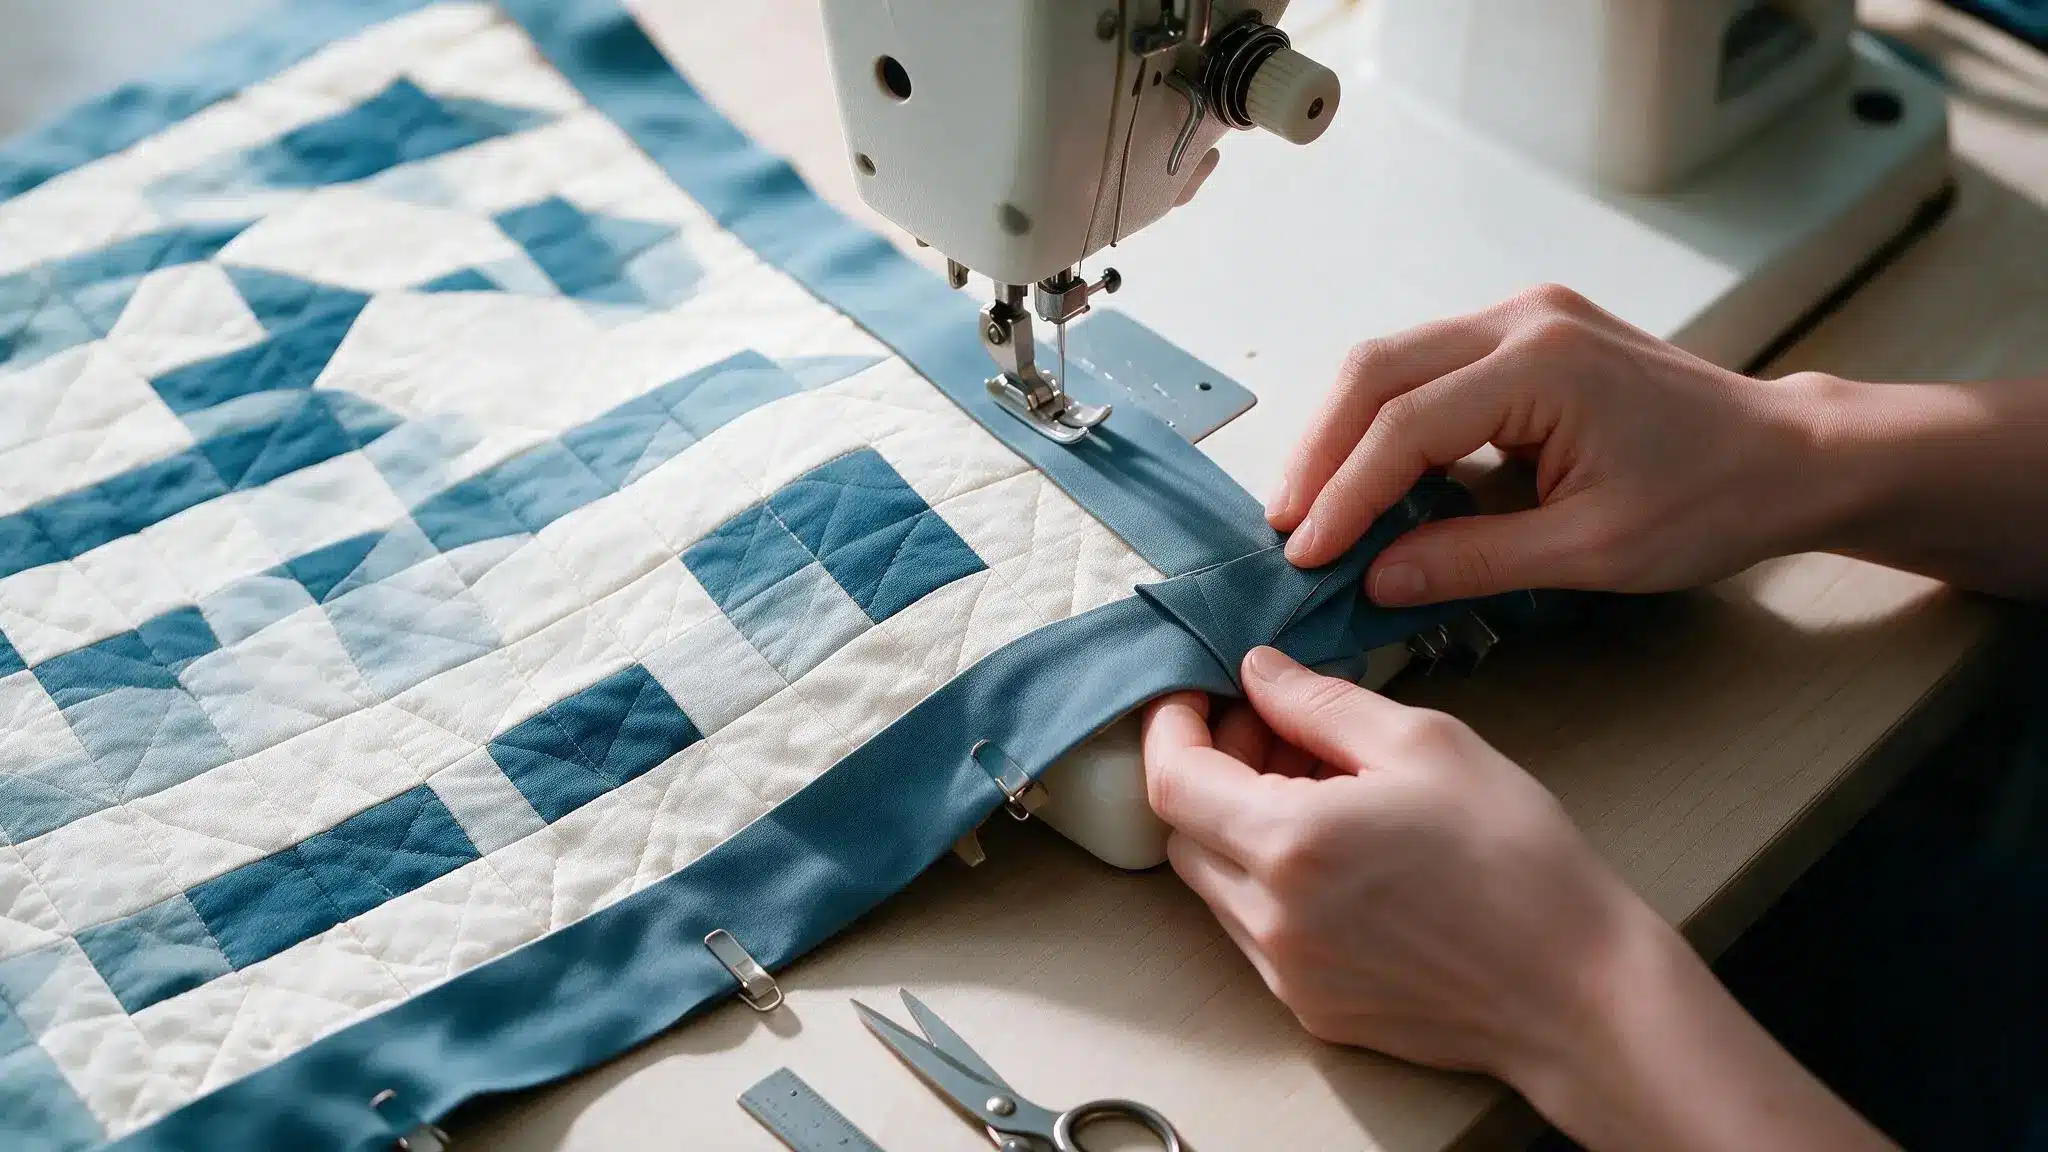
Press the seam away from the quilt top before folding the binding over the raw edge. Use clips or pins to hold the fold in place around the perimeter, especially at each mitered corner.
Working in small sections and pressing a few inches at a time, rather than the whole edge at once, keeps the fold even and makes the final stitching line easier to follow.
Step 9: Finish the Binding
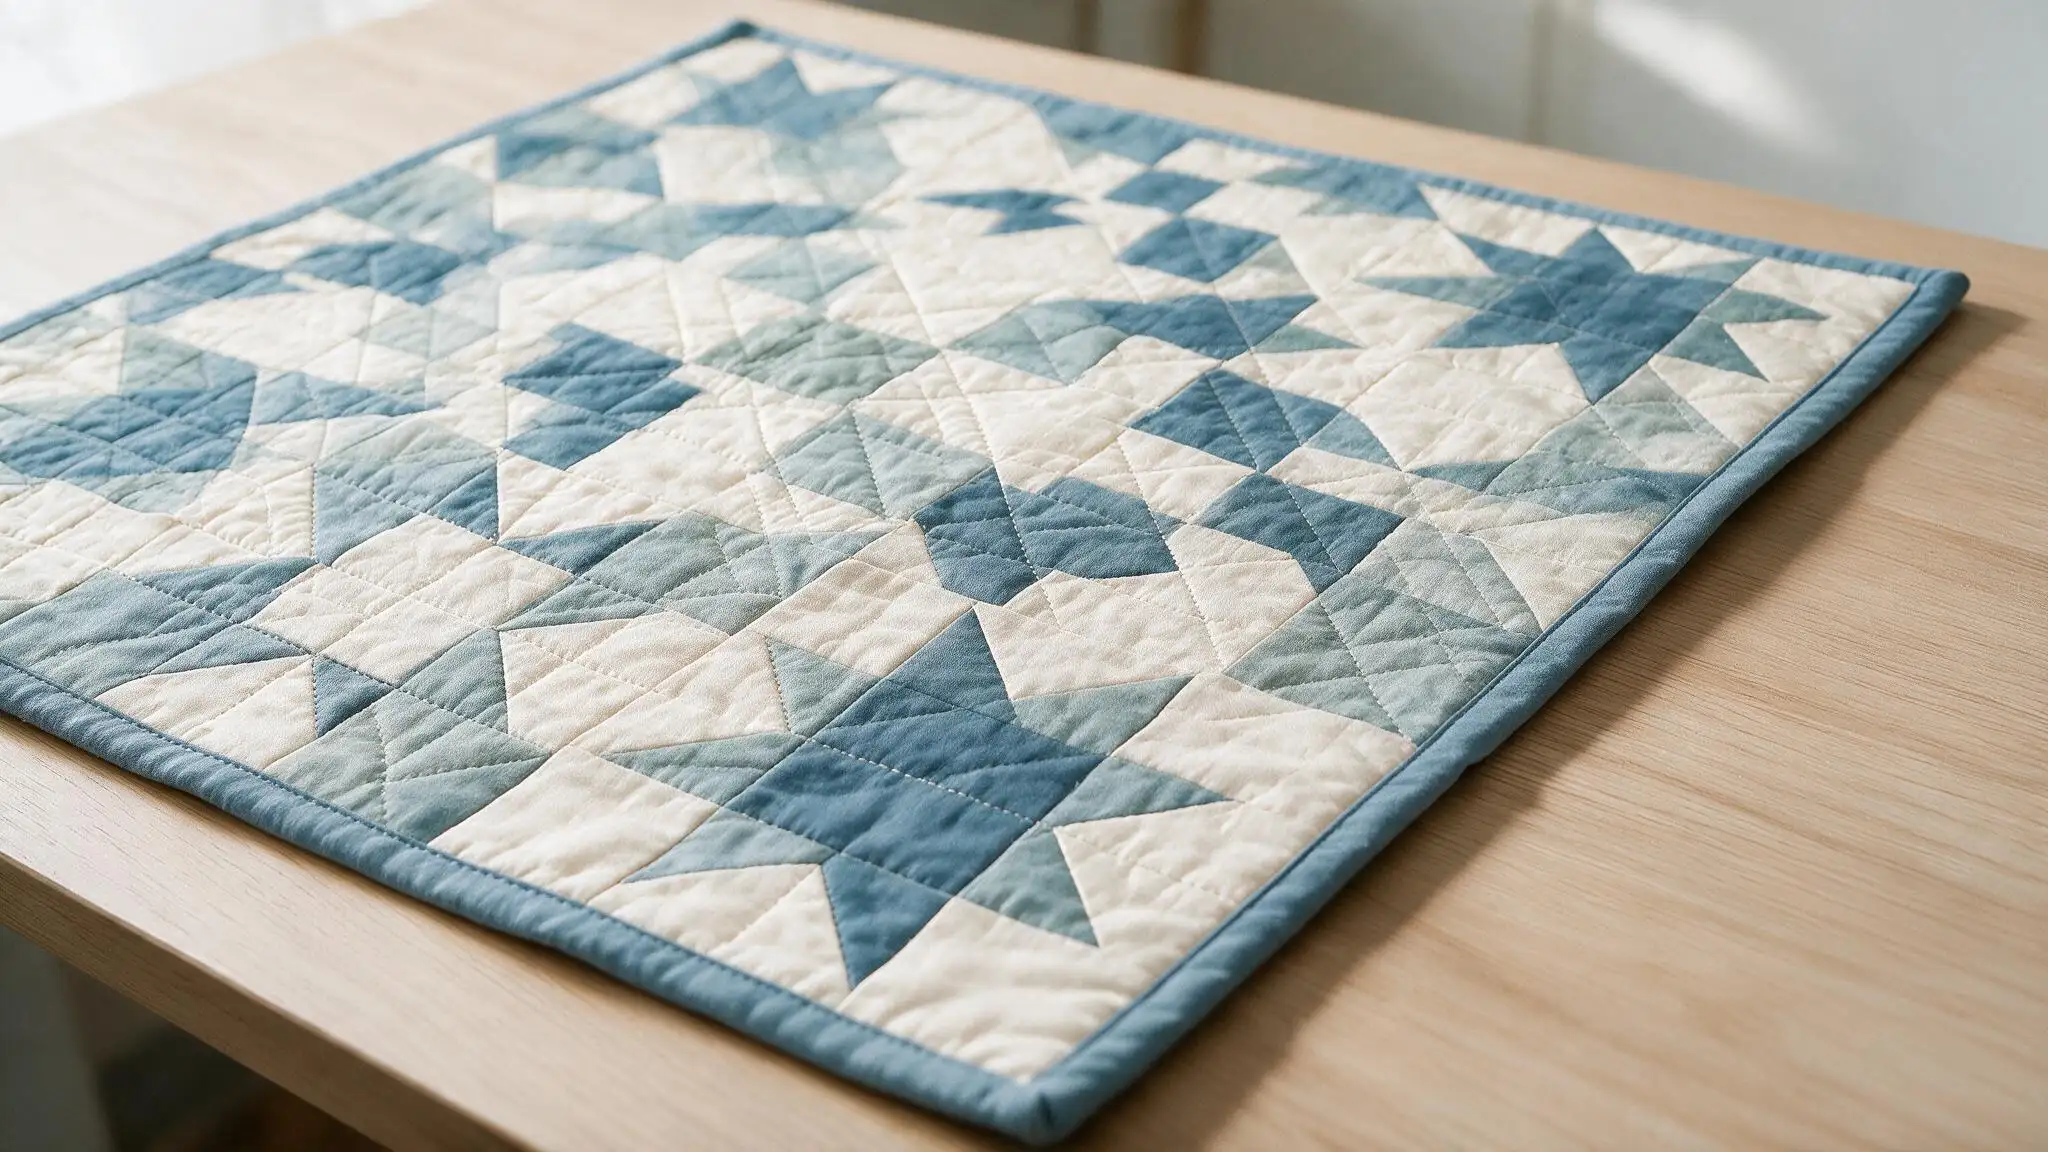
The last stitch secures the folded edge for good, whether it happens by hand or under the machine. The choice between the two affects both how long the step takes and how the finished edge looks up close.
Binding by Hand
A whip stitch or blind stitch, worked slowly along the folded edge, gives a nearly invisible finish.
Big-stitch binding uses a thicker needle and heavier thread instead, leaving the stitches visible on purpose. At each corner, a few extra stitches close the small triangle fold so it lies flat.
Binding by Machine
A straight stitch, sewn close to the folded edge, secures the binding from the front with minimal visible thread. Some quilters use a decorative stitch instead, one built to mimic the look of hand quilting.
The Right Binding Method for Your Quilt
For quilts that see daily use or frequent washing, machine binding holds up better and takes far less time than stitching the whole perimeter by hand.
For gifts, heirlooms, or show quilts, hand binding gives a more traditional look with tighter control over every stitch and corner.
Someone new to binding will find machine binding, front-first, easier to fix, since mistakes show up on visible fabric.
Someone already comfortable hand-sewing might prefer finishing by hand, back-first, which turns the last stretch of the project into a calmer step instead of a chore.
To Wrap Up
The binding is on, the corners are folded flat, and the raw edges are gone for good.
A walking foot, a rotary cutter, and some patience with the corners are all it really takes.
Binding holds the rest of the quilt together, so the extra care at the corners and the seam joins pays off. It also shields the batting and backing from years of regular wear
Next time the question is how to bind a quilt, the steps above are the answer.
Frequently Asked Questions (FAQs)
1. Can Regular Quilting Cotton Work for Binding?
Good-quality, tightly woven quilting cotton works fine for binding.
2. How Long Does Binding a Quilt Usually Take?
A throw-sized quilt typically takes one to three hours, by hand or machine.
3. Can Two Different Fabrics Be Used for Binding on One Quilt?
Scrappy or two-toned binding is a common, purely decorative choice.
4. Should Binding Match the Quilt Backing or Border Fabric?
Contrasting binding is popular and frames the quilt instead of blending in.
5. What’s the Easiest Way to Learn How to Put Binding on a Quilt?
Practicing on a small project first, like a placemat or table runner, builds confidence before tackling a full quilt.