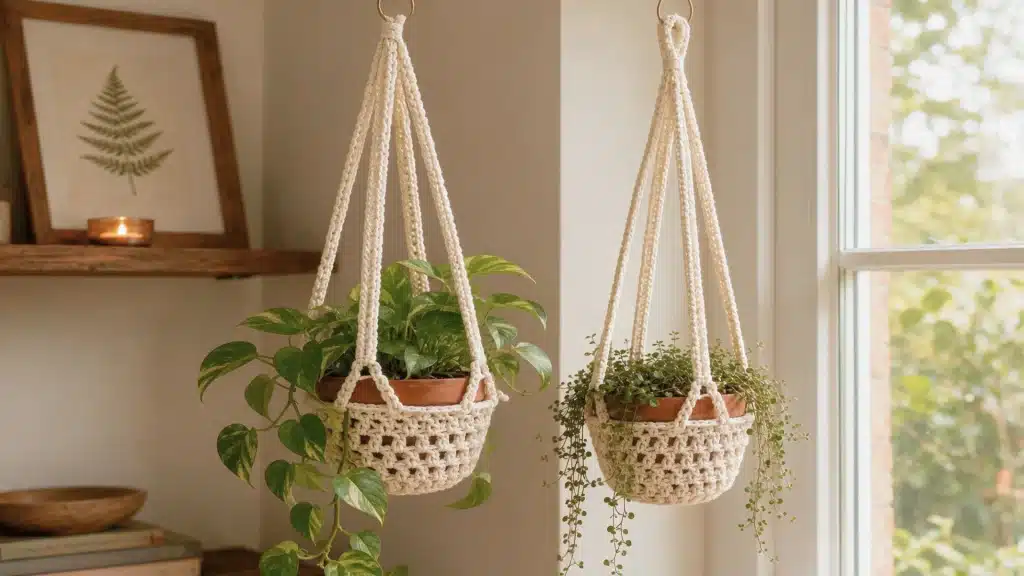
If your plants have been sitting on shelves and windowsills doing nothing interesting, a crochet plant hanger fixes that fast.
You loop some yarn, work a few rounds, and suddenly your pothos is doing something with its life.
These hangers cost almost nothing to make, use up scrap yarn you already have lying around, and let you match your decor instead of settling for whatever plastic hook came with the plant.
Even if you’ve never picked up a crochet hook before, a plant hanger is a forgiving first project. A handful of stitches and a bit of patience are really all it takes to hang your plant instead of just setting it down.
How Crochet Plant Hangers Work
It is really just a net made of stitches instead of knots. You work a small base, usually a ring or a circle, then build straps upward from it using chains and simple stitches.
Those straps come together at the top in a loop that goes over a hook or ceiling mount, and the pot sits in the woven part underneath.
The stitches matter less than the structure. Chains give you length and flexibility, while single or double crochet fills in the parts that need to hold weight, like the base of the pot sling.
Once you understand how the straps, base, and hanging loop connect, you can adjust any pattern to fit a different pot size or hang height without starting over.
What You Need for Crochet Plant Hangers
You don’t need much to get started, and most of it is probably already sitting in your craft bin.
Before you pick up your hook, a few basics will save you from restarting halfway through.
Plant Pot and Sizing
Measure your pot’s diameter before you choose a pattern, since that number decides how wide your base needs to be.
A 6-inch pot needs a smaller sling than a 10-inch one, and using the wrong size means your plant either falls through or sits too tight to breathe.
If you’re between sizes, round up. A slightly loose hanger is easier to fix than one that’s too snug.
Best Yarn for Plant Hangers
Cotton and jute hold shape and weight better than most other fibers, which is why they show up in almost every plant hanger pattern you’ll find.
Acrylic works too, especially for lighter pots, but it can stretch over time.
Cotton gives you a sturdy hanger that holds its shape and comes in plenty of colors.
Jute brings a rustic, natural look for outdoor plants, though you should bring it in during heavy rain or extended wet weather since it isn’t moisture-resistant.
Crochet Hook and Supplies
Match your hook size to your yarn weight before you start.
- Worsted-weight cotton: size G or H hook
- Thicker jute or rope: larger hook, often J or K
- Also grab: scissors, a yarn needle for weaving in ends, and a tape measure for checking sizing as you go
- Beads or a wooden ring: gather these upfront so you’re not stopping mid-project to find them
1. Boho Plant Hanger
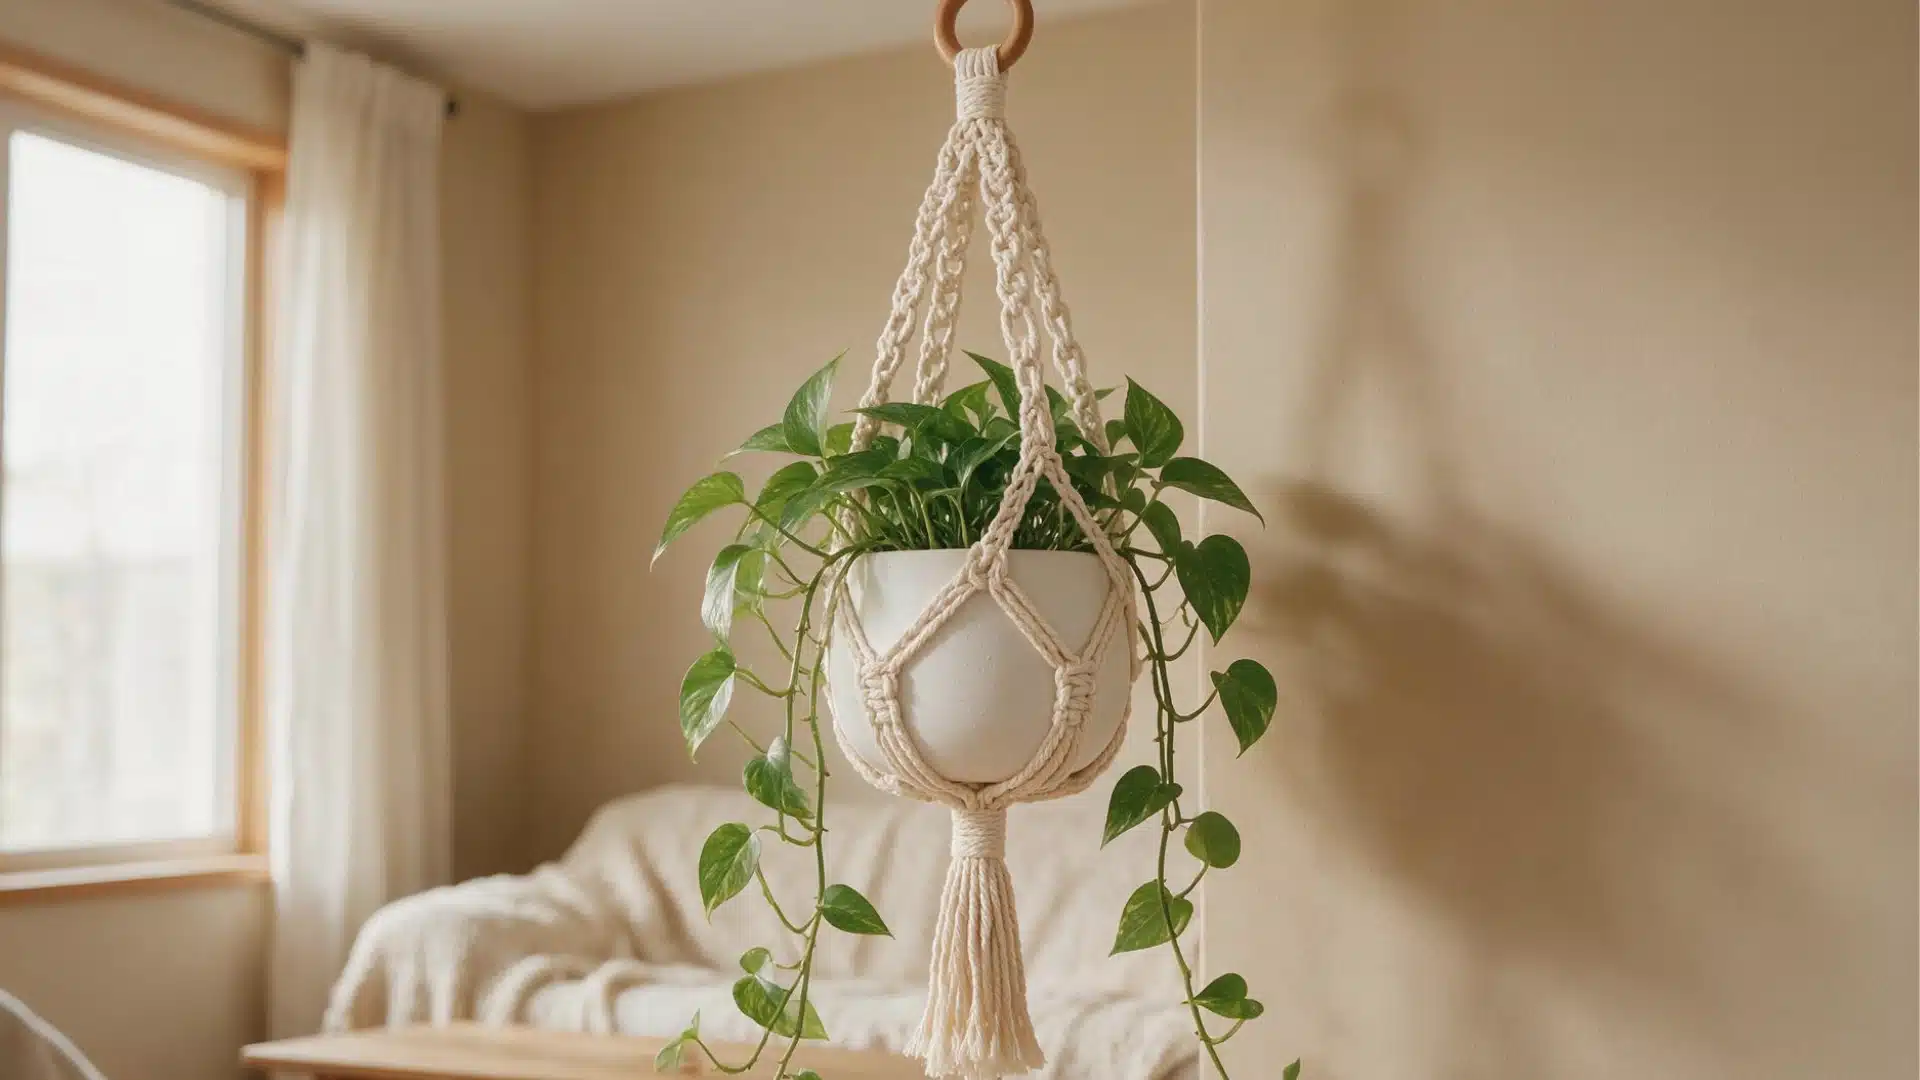
Boho styling leans on texture and imperfection rather than clean, symmetrical lines. This version mixes chain spaces, picots, and slightly looser tension to get that relaxed, layered look boho decor is known for.
Earthy tones like cream, rust, or sage work better here than bright acrylic shades, since the point is a natural, lived-in feel rather than something polished.
It pairs well with a wooden ring at the top and looks especially good grouped with a few other neutral hangers nearby.
2. Star Crochet Plant Hanger
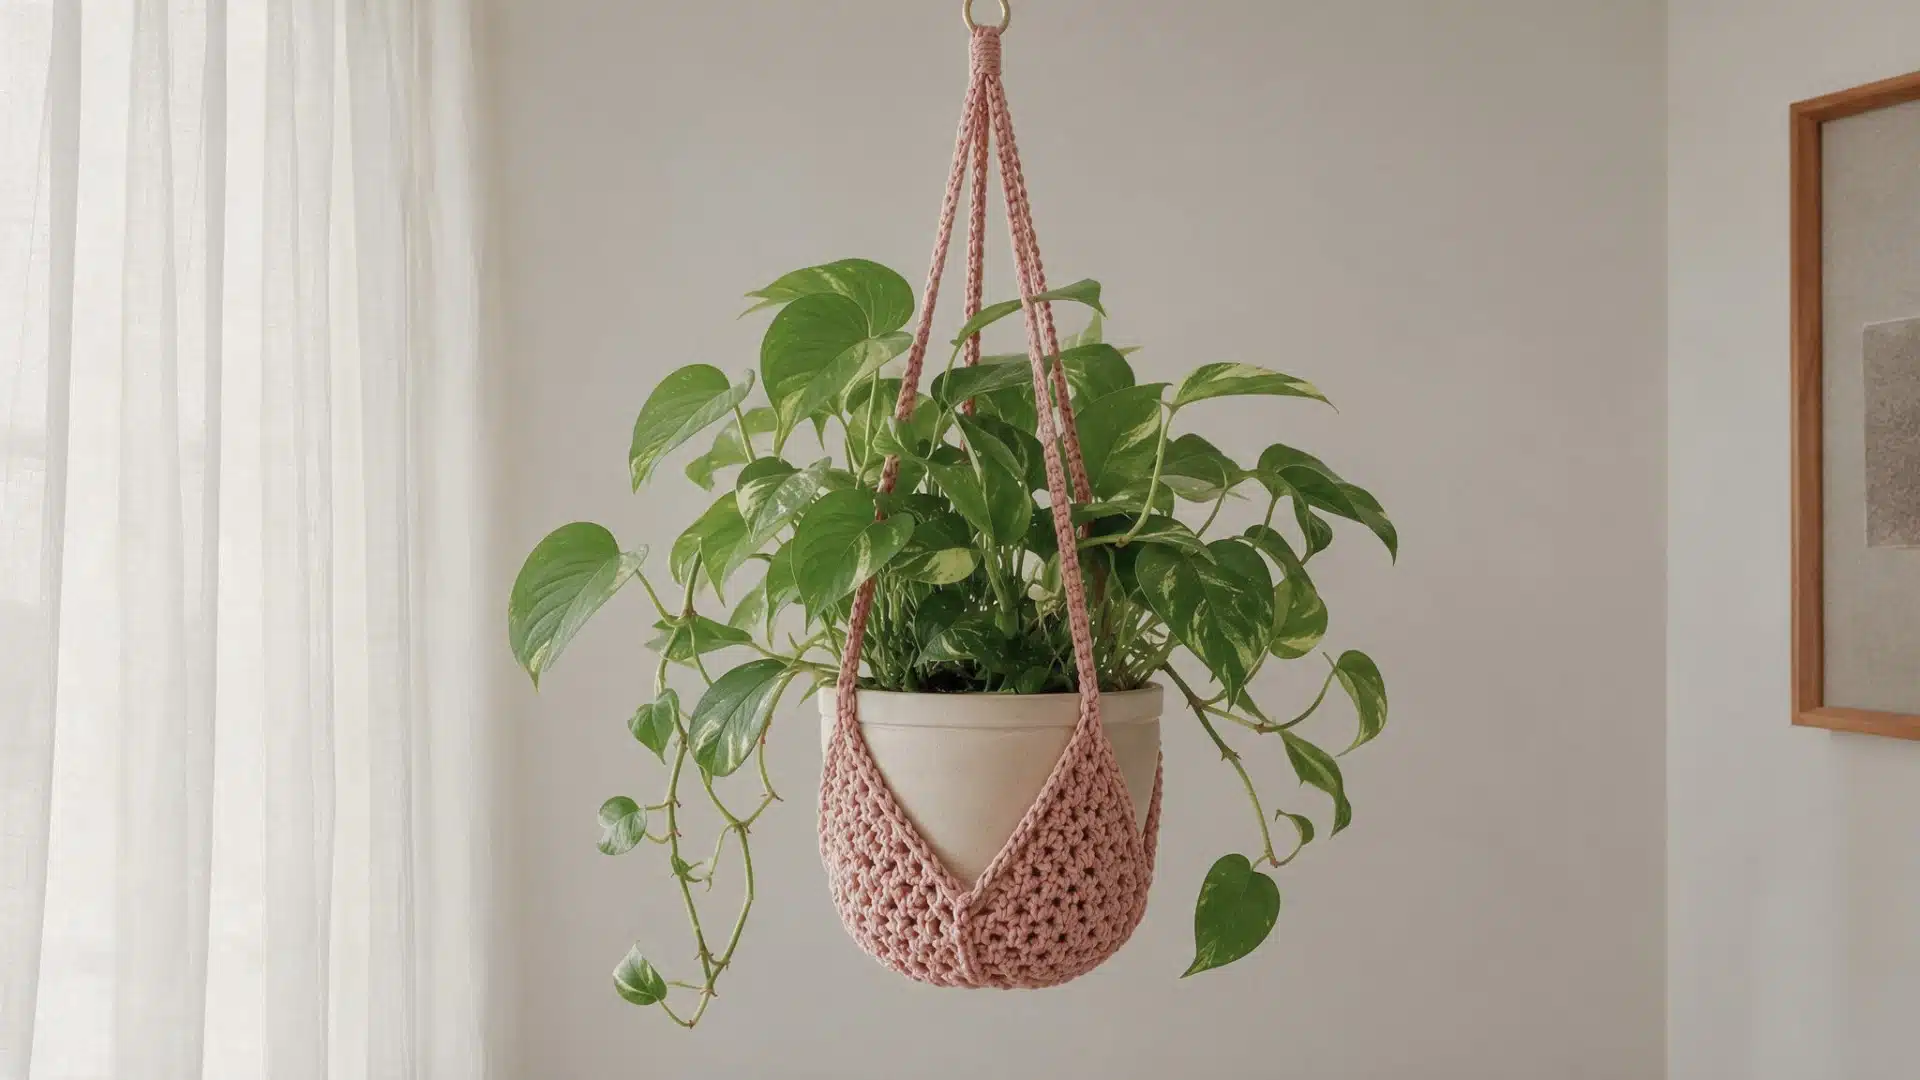
A star-shaped base swaps out the usual circle for five distinct points, giving this hanger a shape you’ll notice even without a plant in it.
Getting the points even takes a bit more counting than a standard round, since each point needs matching stitch counts to lie flat.
A solid, single-color yarn works best here so the star shape reads clearly rather than getting lost in a busy pattern. It makes a fun, playful option for a kid’s room or a nursery.
3. Macramé-Style Crochet Plant Hangers
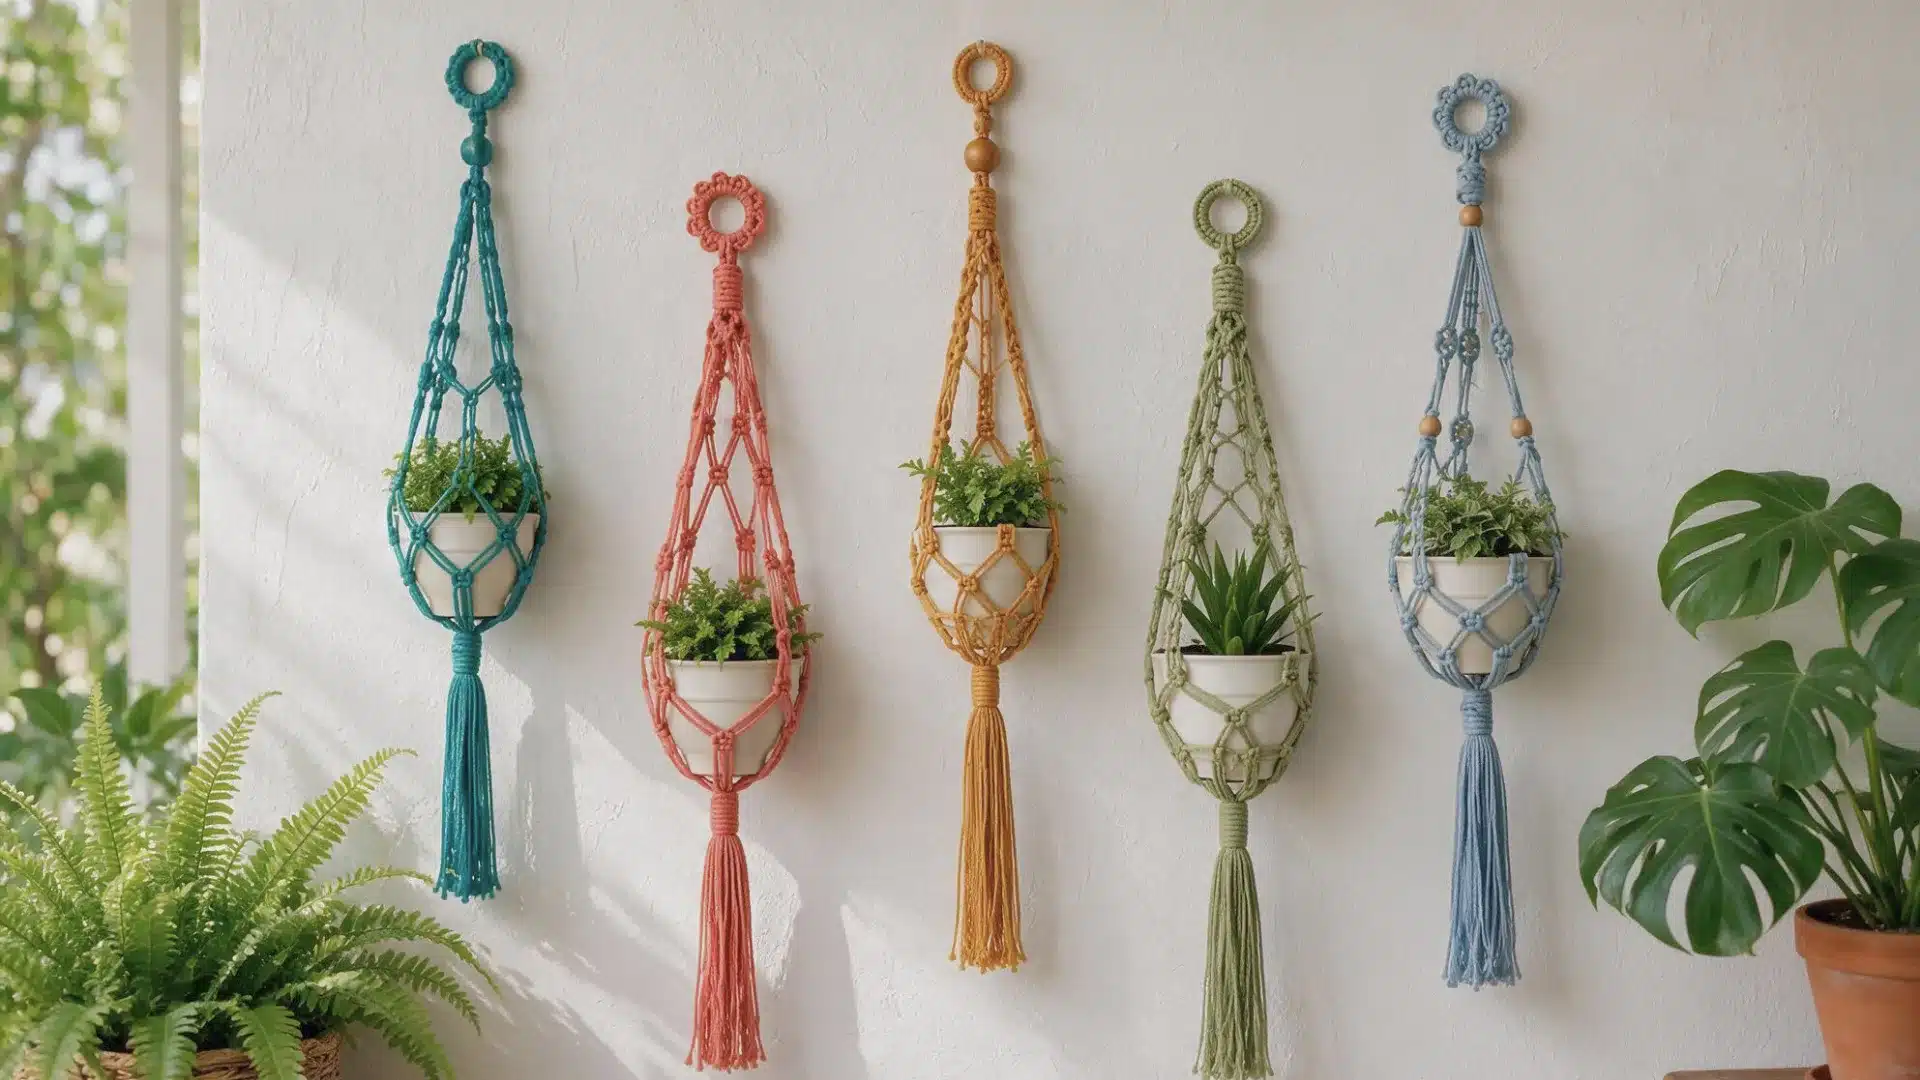
This style borrows the layered knot look of macramé but builds it entirely with crochet stitches instead, so you get similar texture without learning an entirely new craft.
Chain stitches stand in for the diagonal knots, crossing and looping down each strap to mimic that woven macramé pattern.
Jute or a rope-style cotton gives the best result, since thinner yarn tends to lose the effect. It takes longer to finish than a basic hanger, but the textured payoff is worth it.
4. Beaded Crochet Hanger
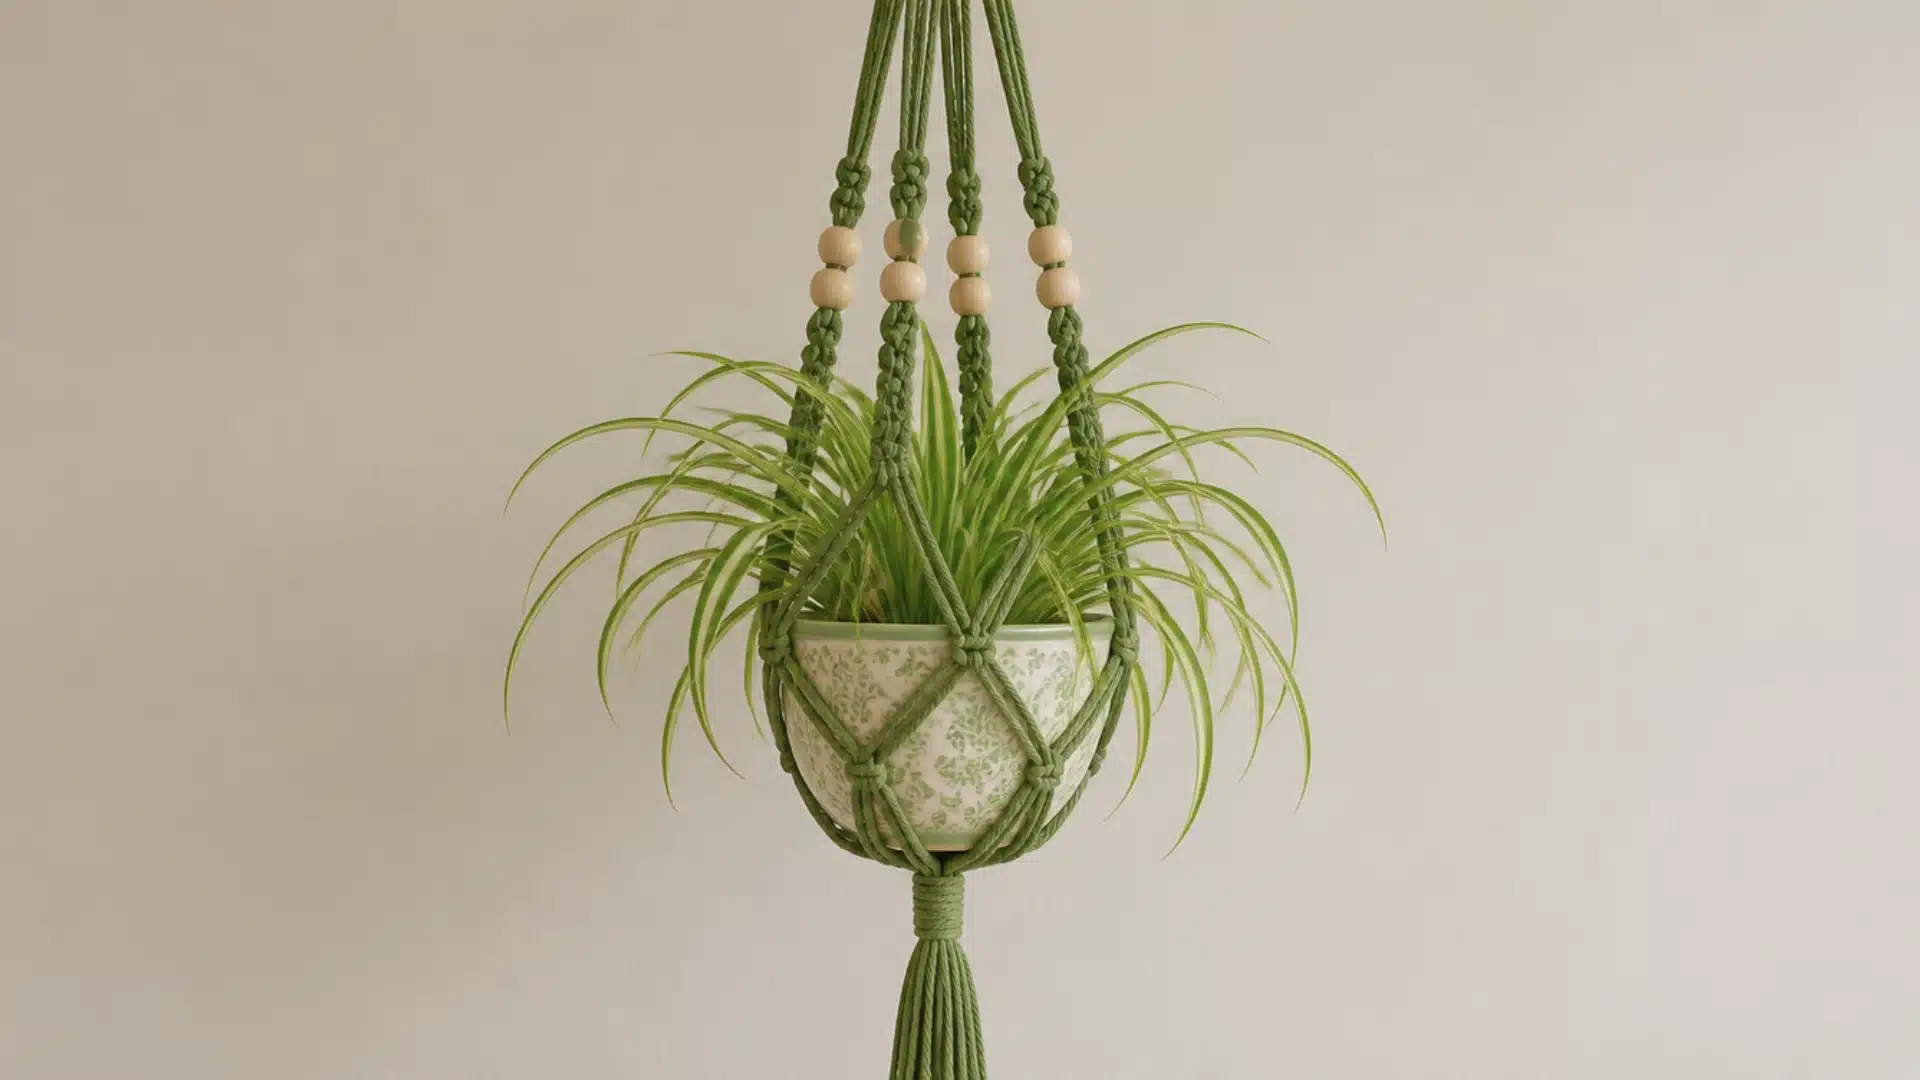
Beads turn a plain hanger into something that catches the light while it hangs above a window.
The easiest way is to thread wooden or glass beads onto your yarn before you start, since adding them after the fact is much fiddlier.
Slide each bead into place between stitches as you work up each strap, spacing them out evenly so they don’t cluster near the top or bottom. Wooden beads suit a boho look, while glass adds more shine.
5. Tassel Plant Hanger
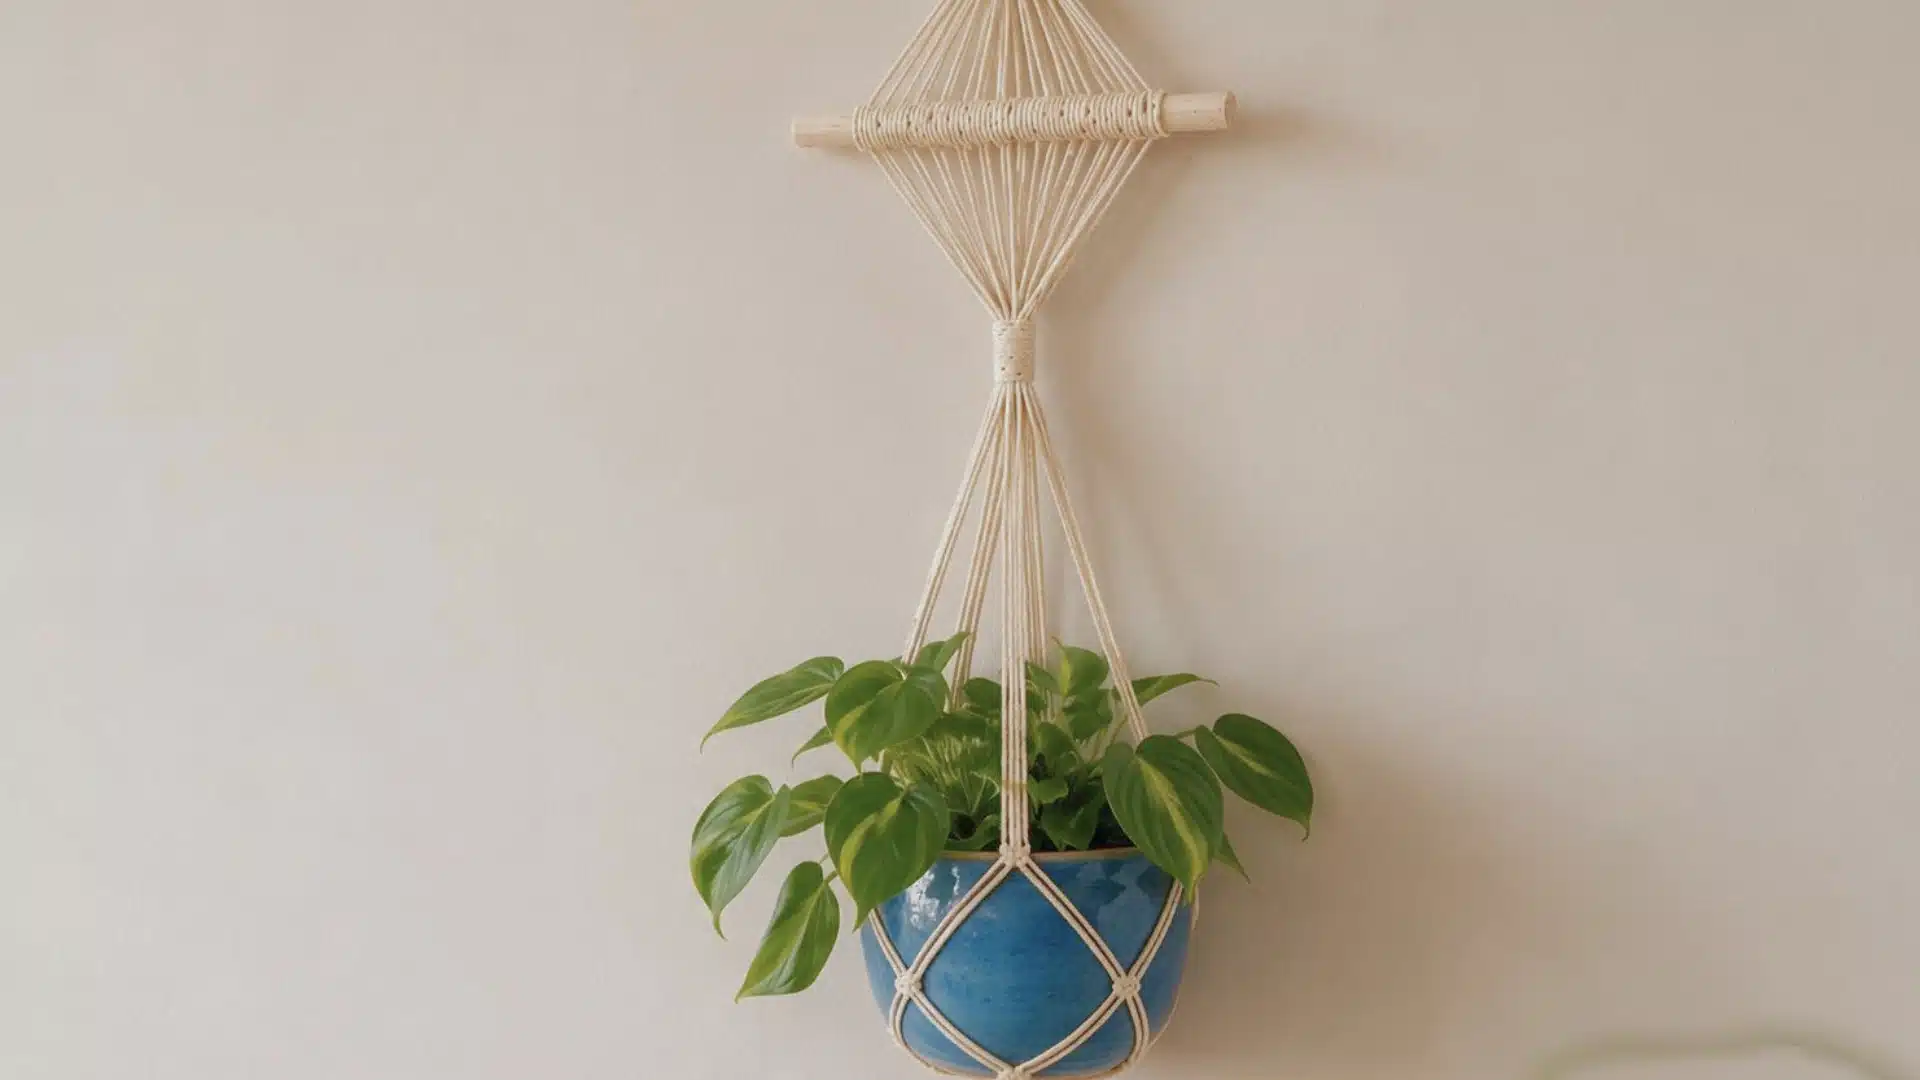
A tassel at the base of the pot sling turns an otherwise plain hanger into something that feels finished.
You crochet the hanger as usual, then cut a bundle of yarn to length, fold it, and tie it off to attach at the bottom or just below the base.
A matching tassel keeps the look clean and cohesive, while a contrasting color adds a small pop without redoing the whole pattern. It’s an easy upgrade for a hanger you’ve already finished.
6. Mesh Crochet Plant Hangers
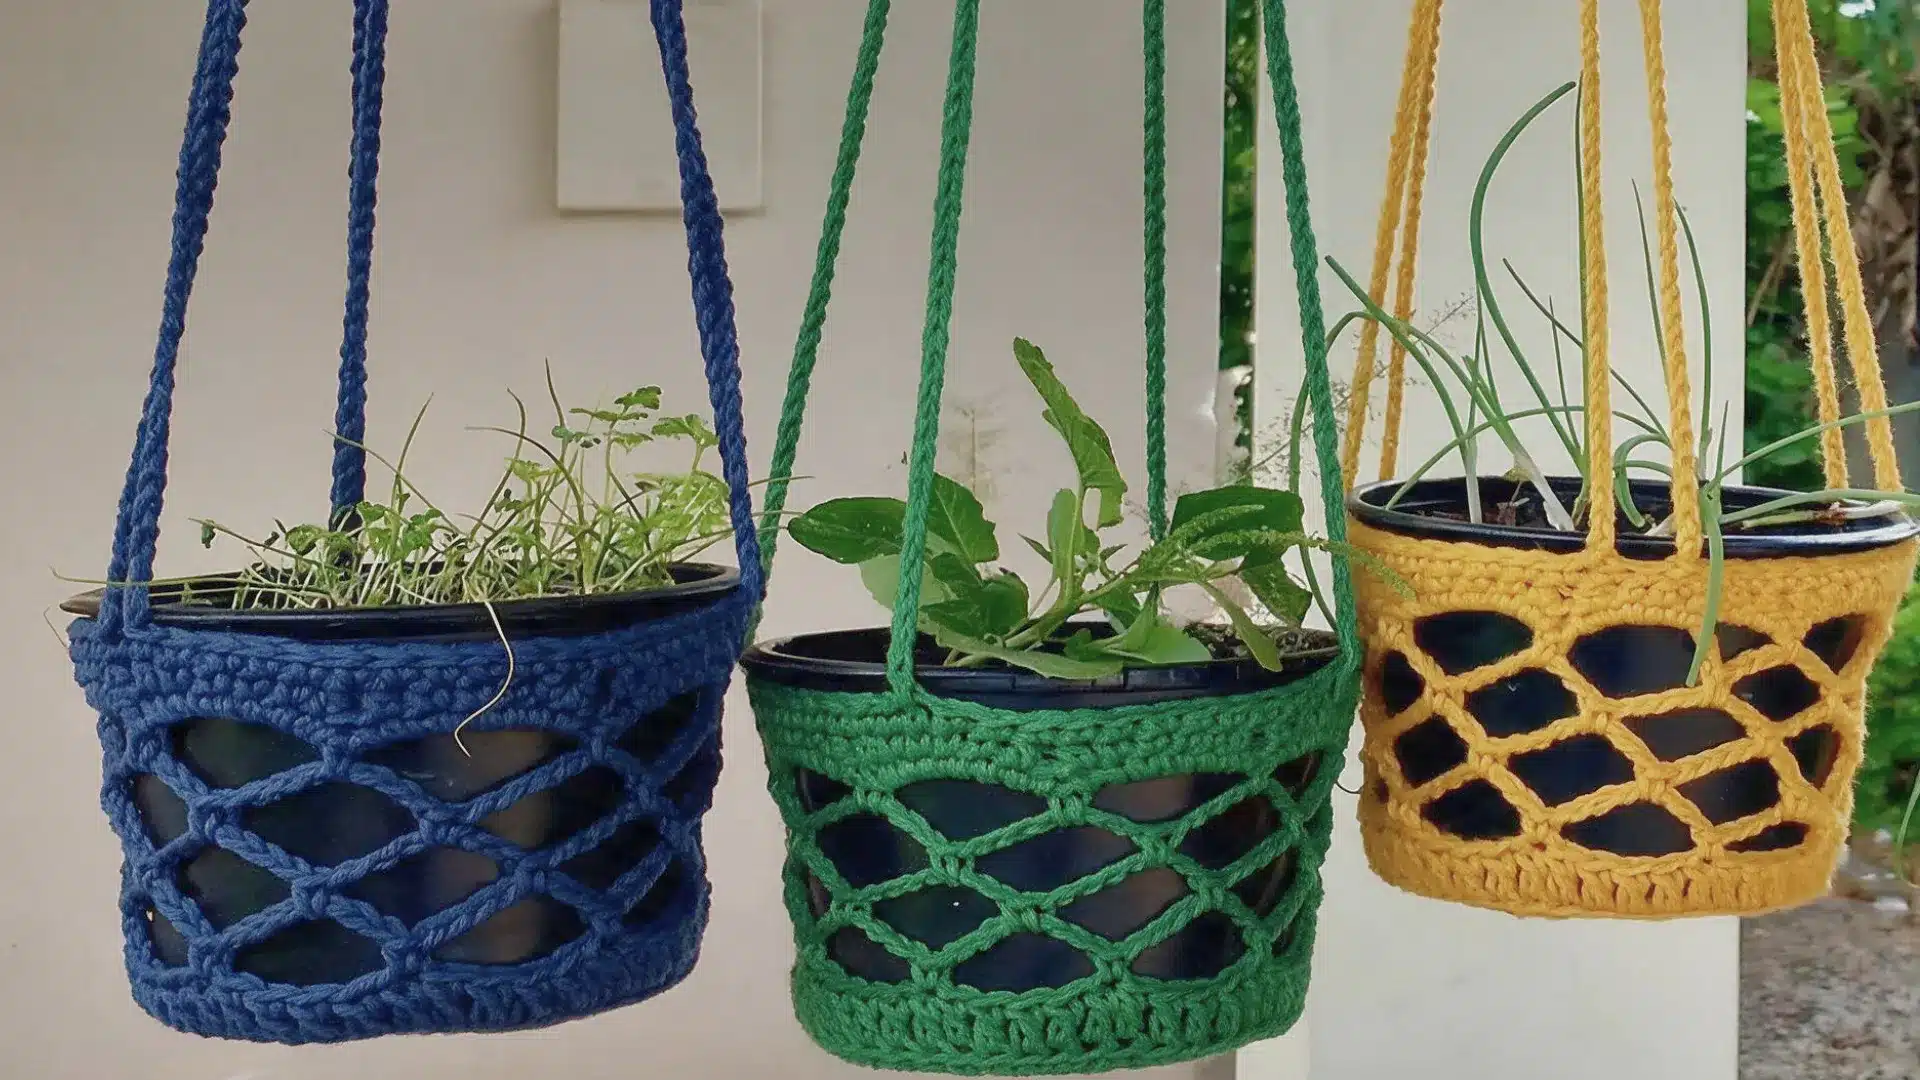
Mesh hangers use open chain spaces arranged in a grid, giving you a net-like look that works especially well for pots with rounded bottoms.
Filet or granny-square style grids both work well for this, as long as your tension stays fairly even throughout.
This style also shows off a patterned or colorful pot underneath rather than hiding it the way a solid sack would.
Keep your stitches slightly tighter than you would for lace, since mesh needs to hold more shape.
7. Lacy Plant Hanger
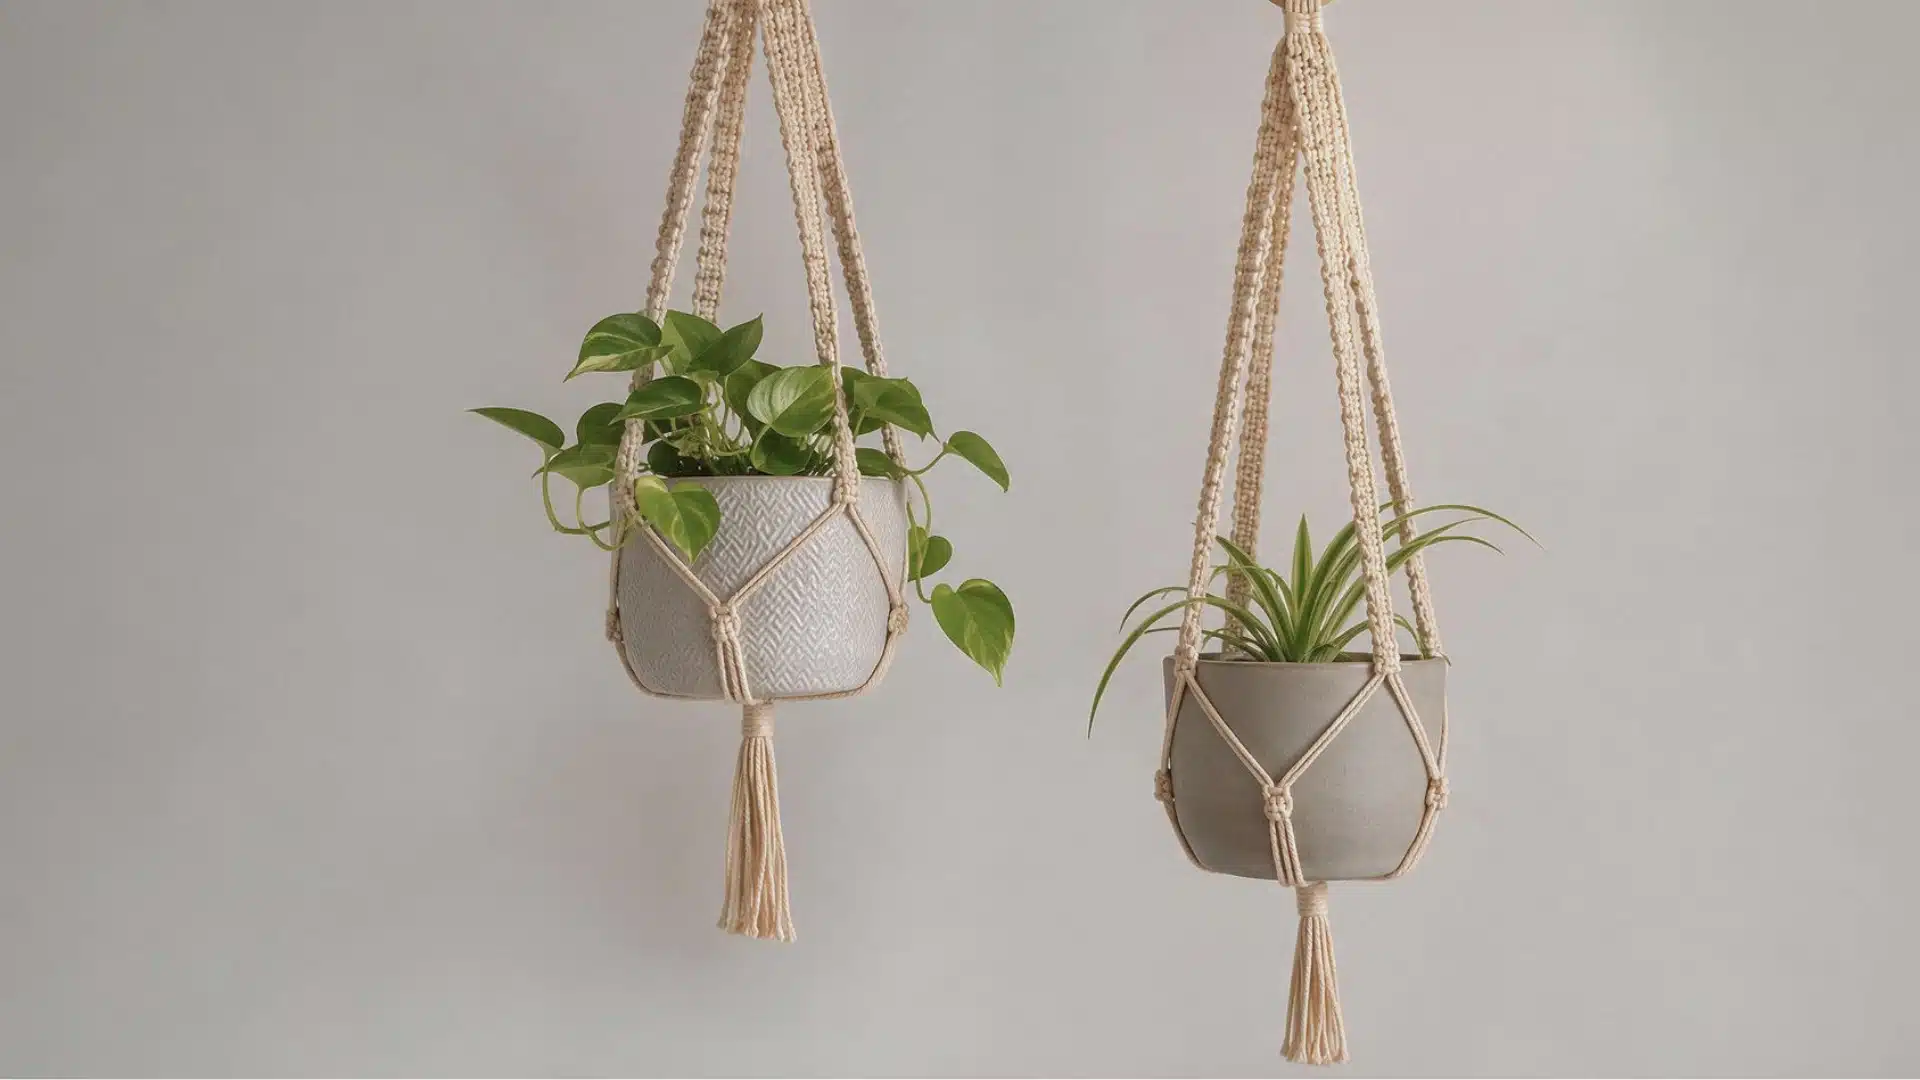
Lace patterns bring in open, airy stitchwork instead of a solid weave, letting light pass through the straps as your plant hangs.
Repeating chain spaces and picots in a set sequence keep the piece feeling delicate without making it flimsy.
Fine cotton thread shows off this kind of detail far better than thicker yarn, which tends to blur the pattern into something less distinct.
Because the open stitches carry less weight, this style suits smaller, lighter pots better than large ones.
8. Hanging Crochet Plant Basket
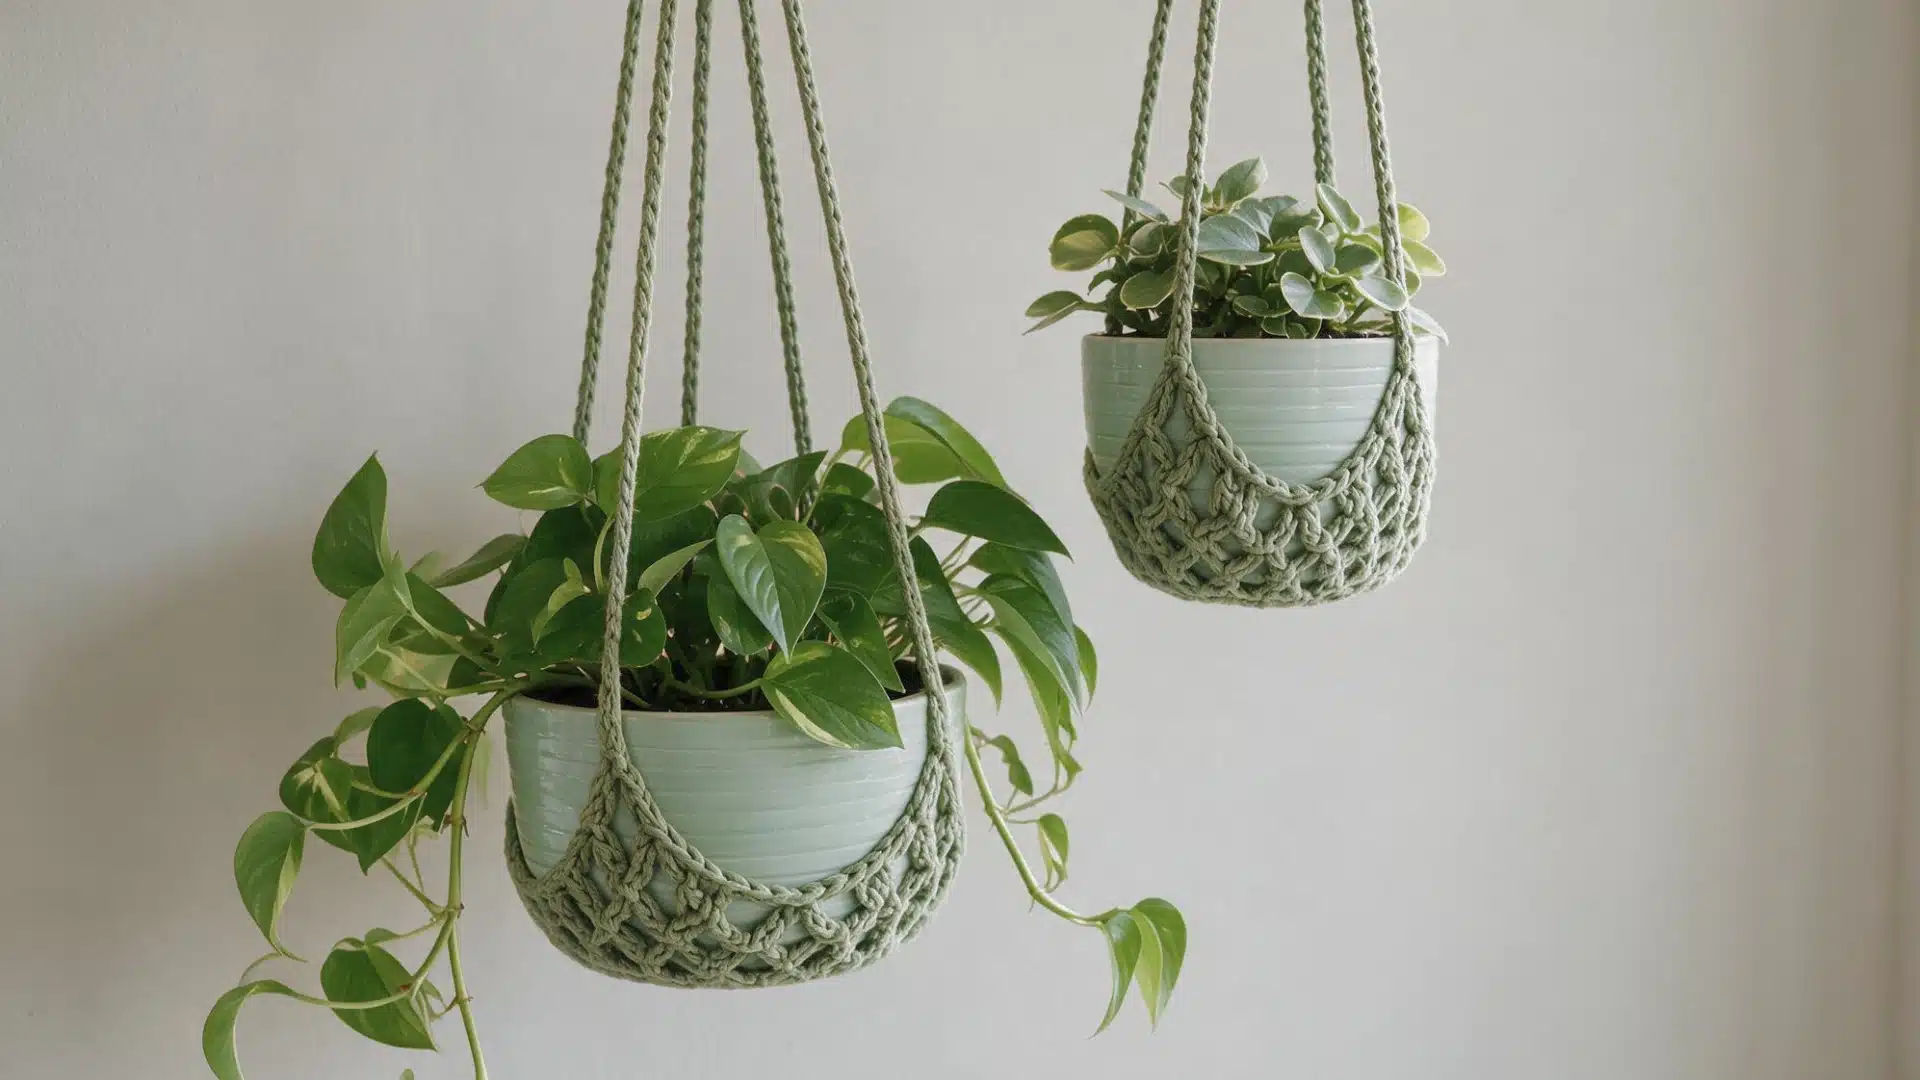
This style sits somewhere between a sack and an open hanger. A solid crocheted base holds the pot securely, but the sides stay open in a woven pattern instead of closing up completely around it.
That combination gives you the security of a sack with some of the airy look of a standard hanger.
It also works well for pots with drainage holes, since the open sides don’t trap moisture against the pot the way a fully enclosed sack might.
9. Crochet Planter Sack
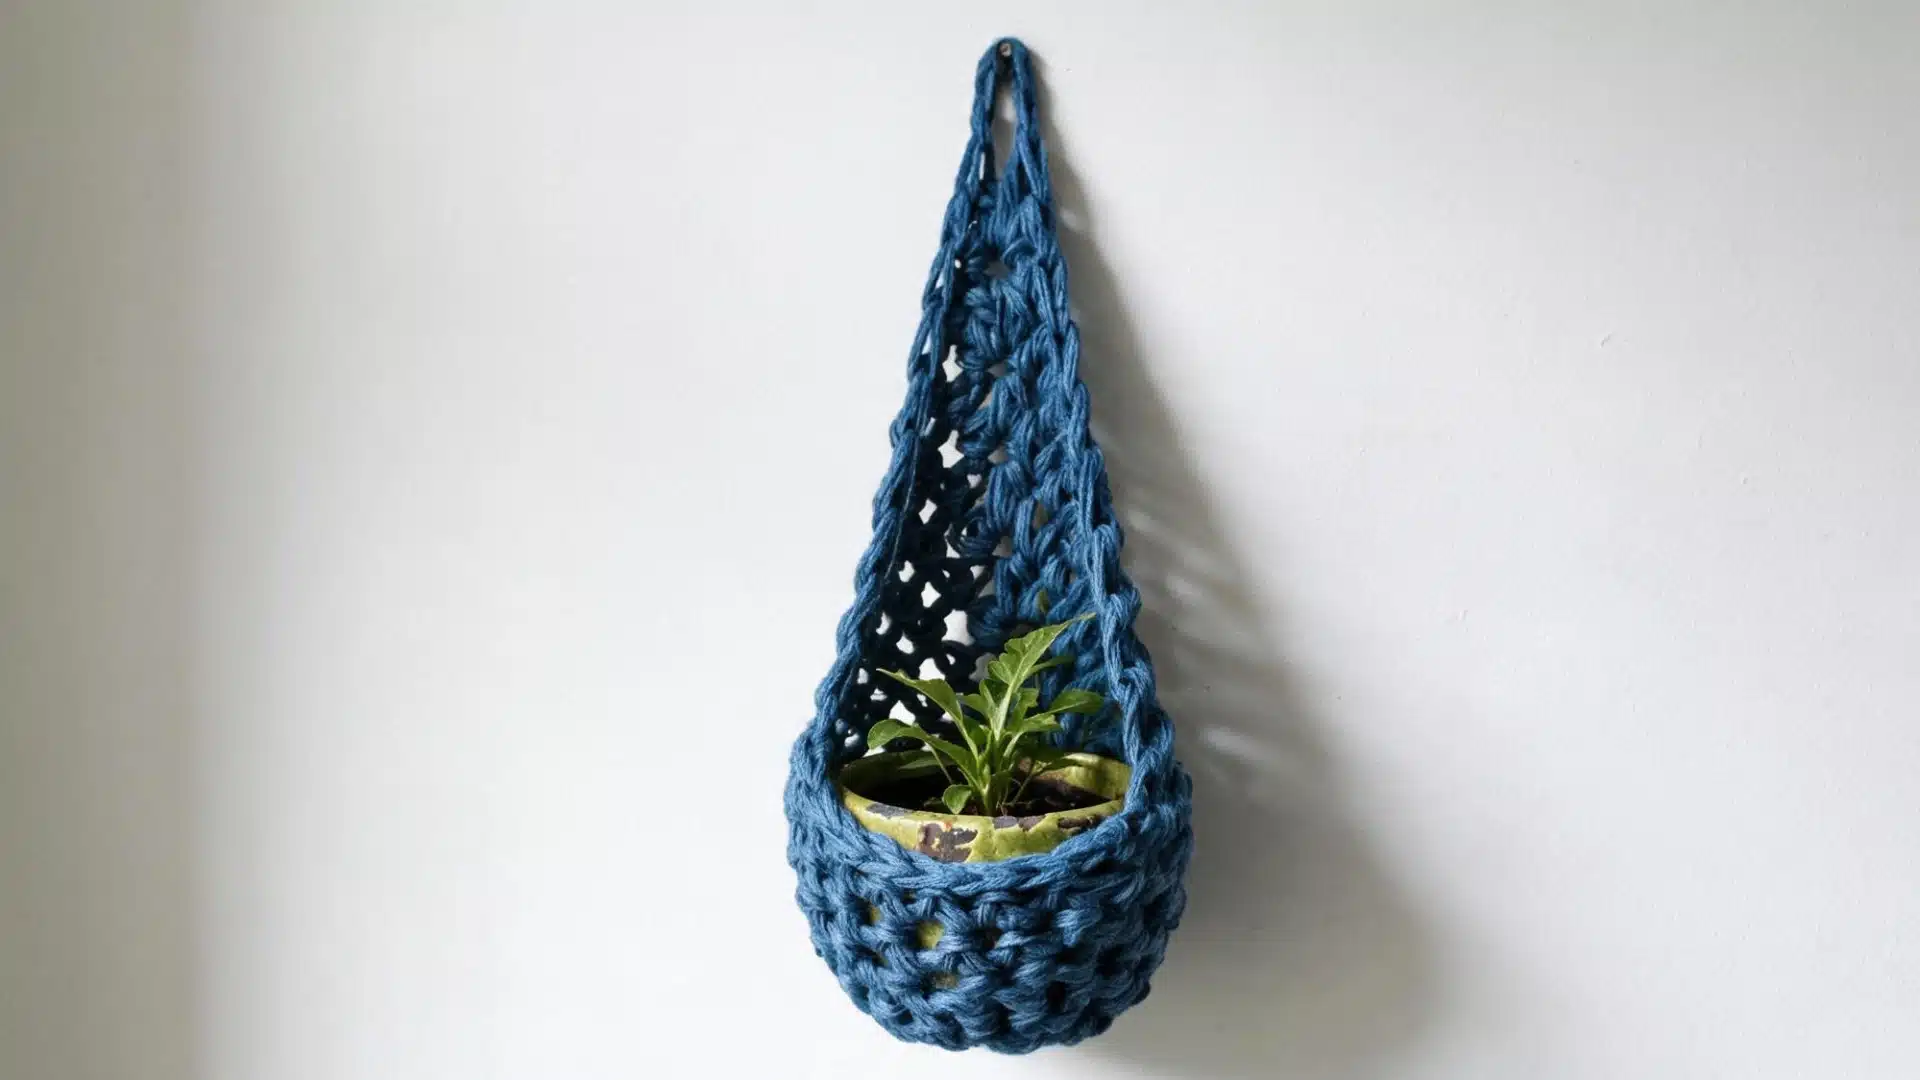
Rather than a net of straps, this version is a solid crocheted pouch that the pot sits inside completely, more like a small fabric planter than an open hanger.
You work it in the round from the bottom up using single or double crochet, then add a drawstring or a few straps at the top to hang it.
Because it hides the pot entirely, it’s a useful option if the pot itself is chipped, mismatched, or just not very attractive.
10. Crochet Plant Hanger With Wooden Ring
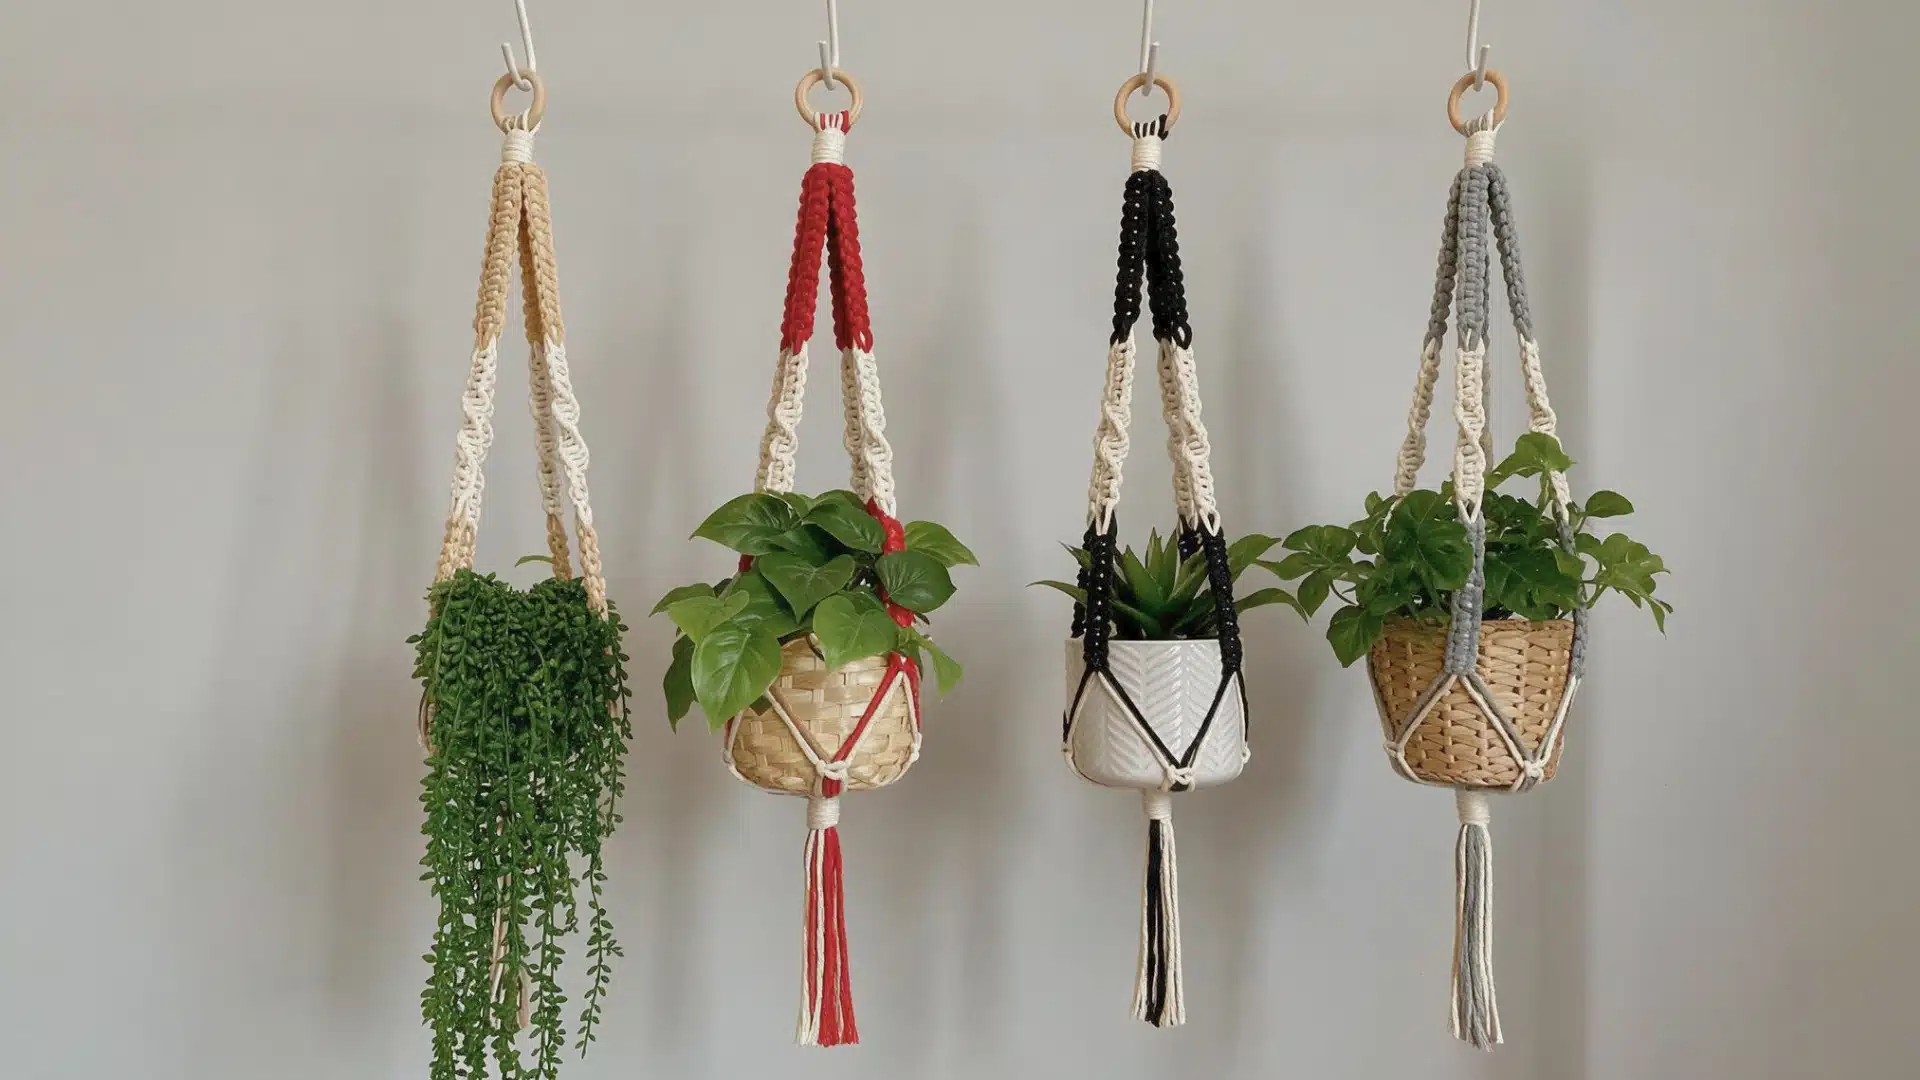
A wooden ring at the top gives you a clean, sturdy mounting point along with a bit of natural texture where all the straps come together.
You crochet the straps directly around the ring as you finish each one, rather than joining them separately afterward.
A 2- to 3-inch ring works for most standard hangers, though a larger pot may call for something a bit bigger. It adds a boho, earthy finish to the piece without much extra effort involved.
11. Crochet Plant Hanger With Fringe
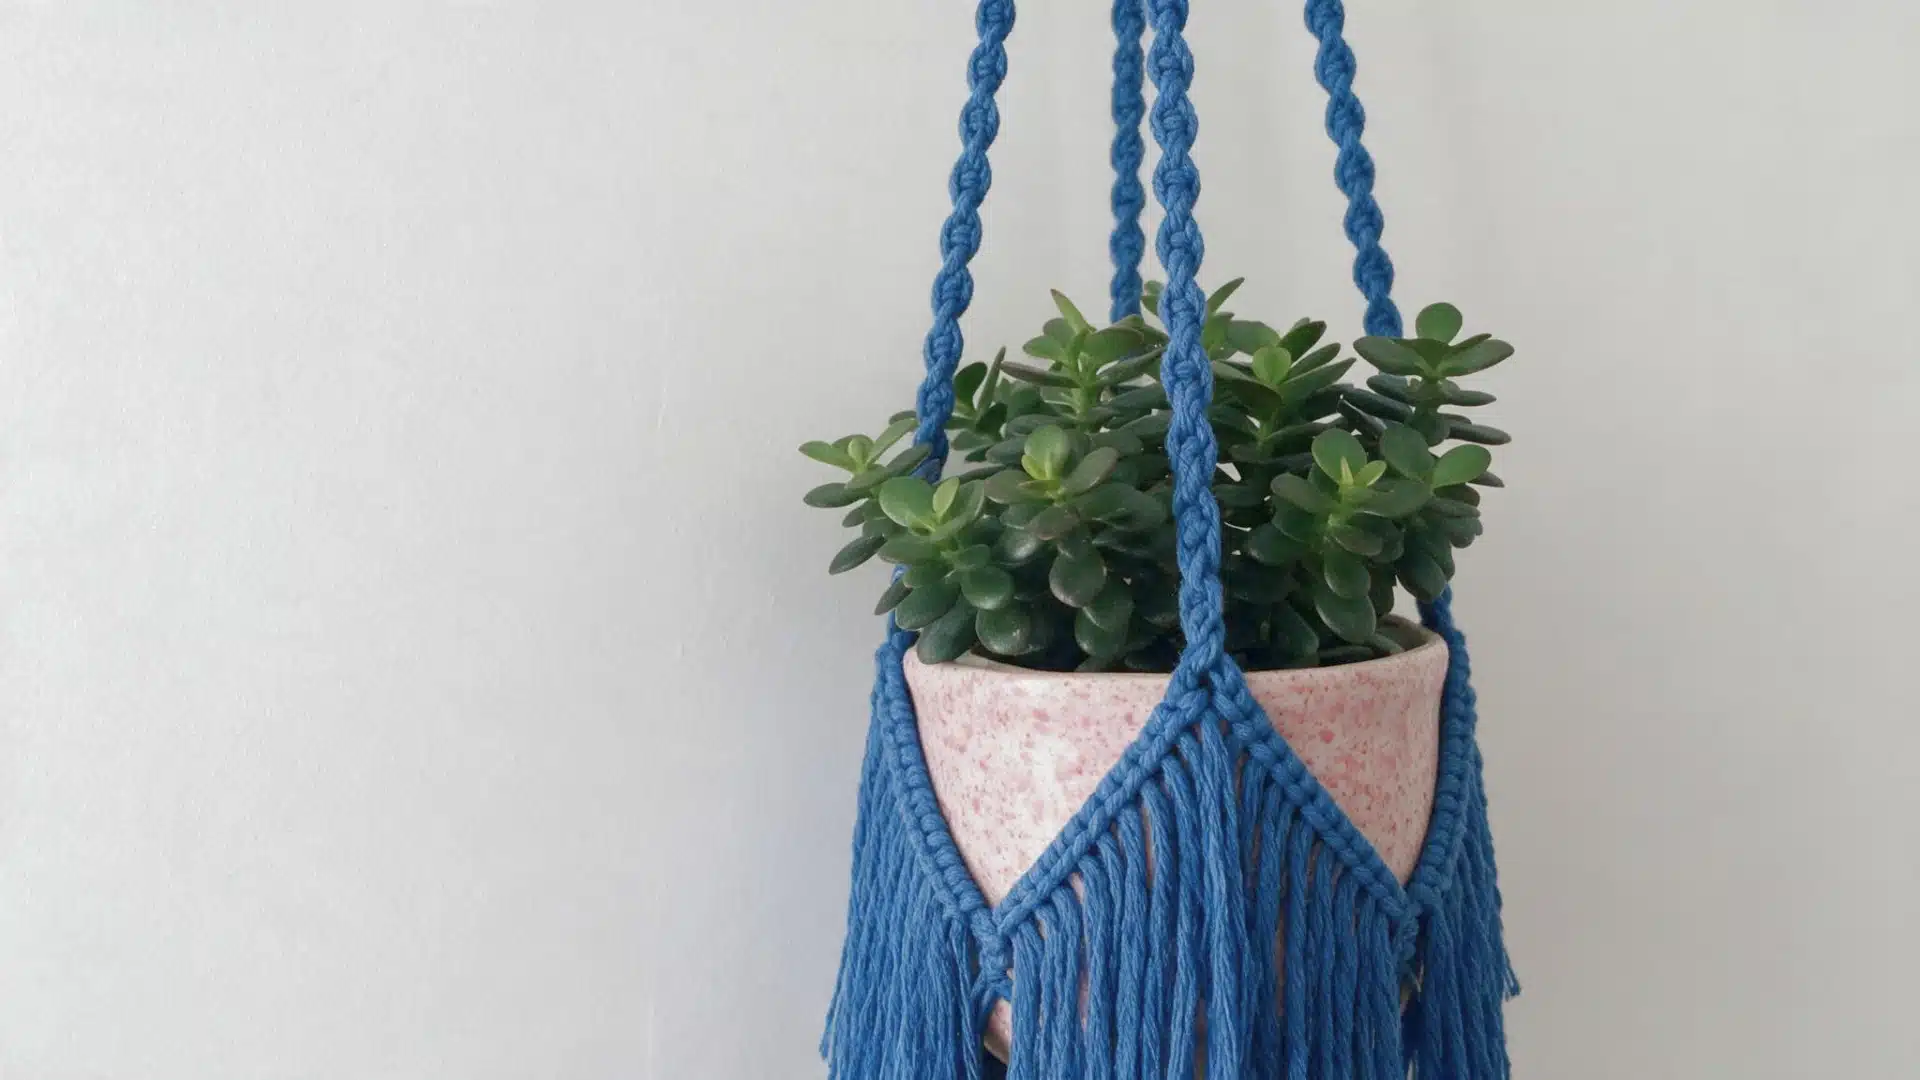
Fringe adds movement and texture along the straps or base, giving the hanger a looser, more finished edge than a plain solid weave.
You cut short lengths of yarn and knot them directly into your stitches as you go, spacing them evenly so the fringe doesn’t bunch up on one side.
It pairs especially well with jute or rope-style cotton, and works nicely alongside a wooden ring at the top.
12. Floral Crochet Hanger
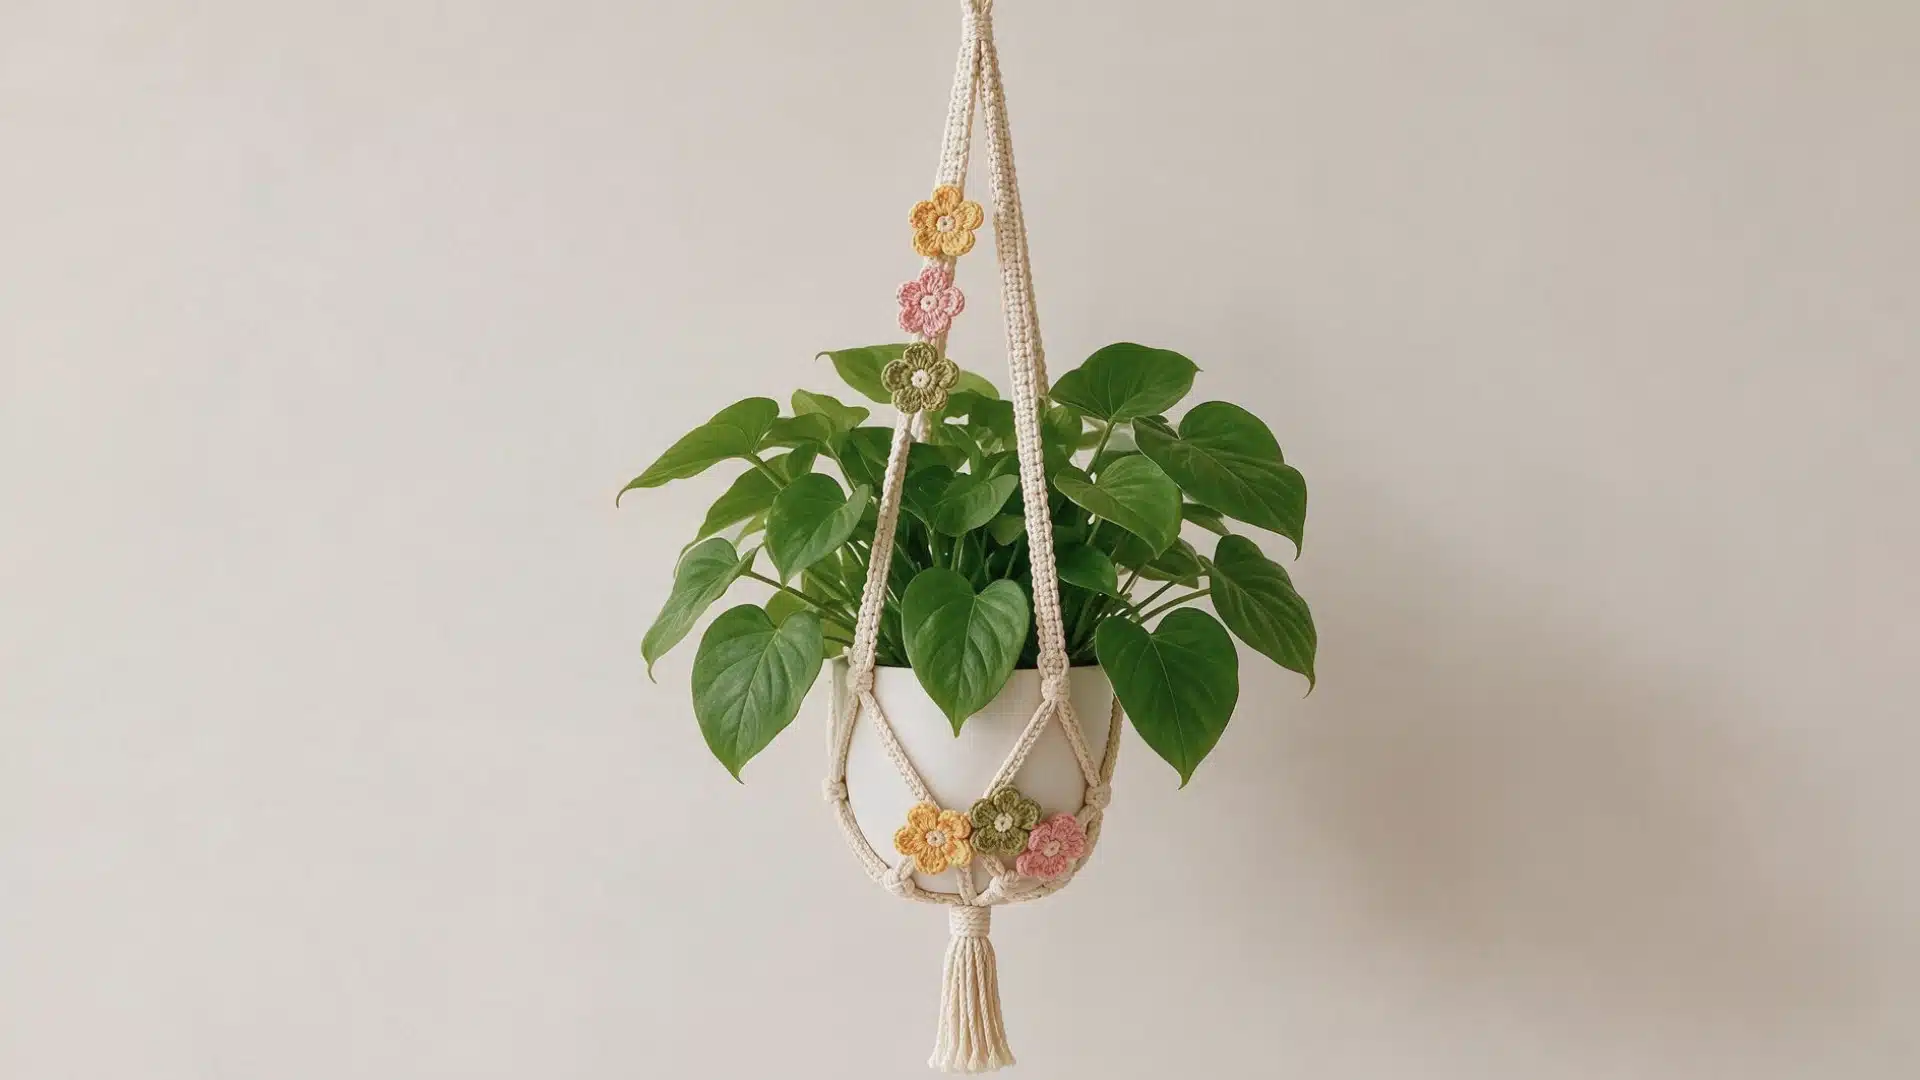
Small crocheted flowers, made separately and stitched onto the straps or base afterward, give this style a decorative touch without changing the underlying structure of the hanger itself.
Simple five-petal flowers work up quickly, so you can make a handful in different colors from leftover scrap yarn without much planning.
Attach them along one strap for a subtle accent, or scatter a few across the base for something busier. Either way, it’s an easy way to use up odds and ends.
13. Minimalist Crochet Plant Hanger
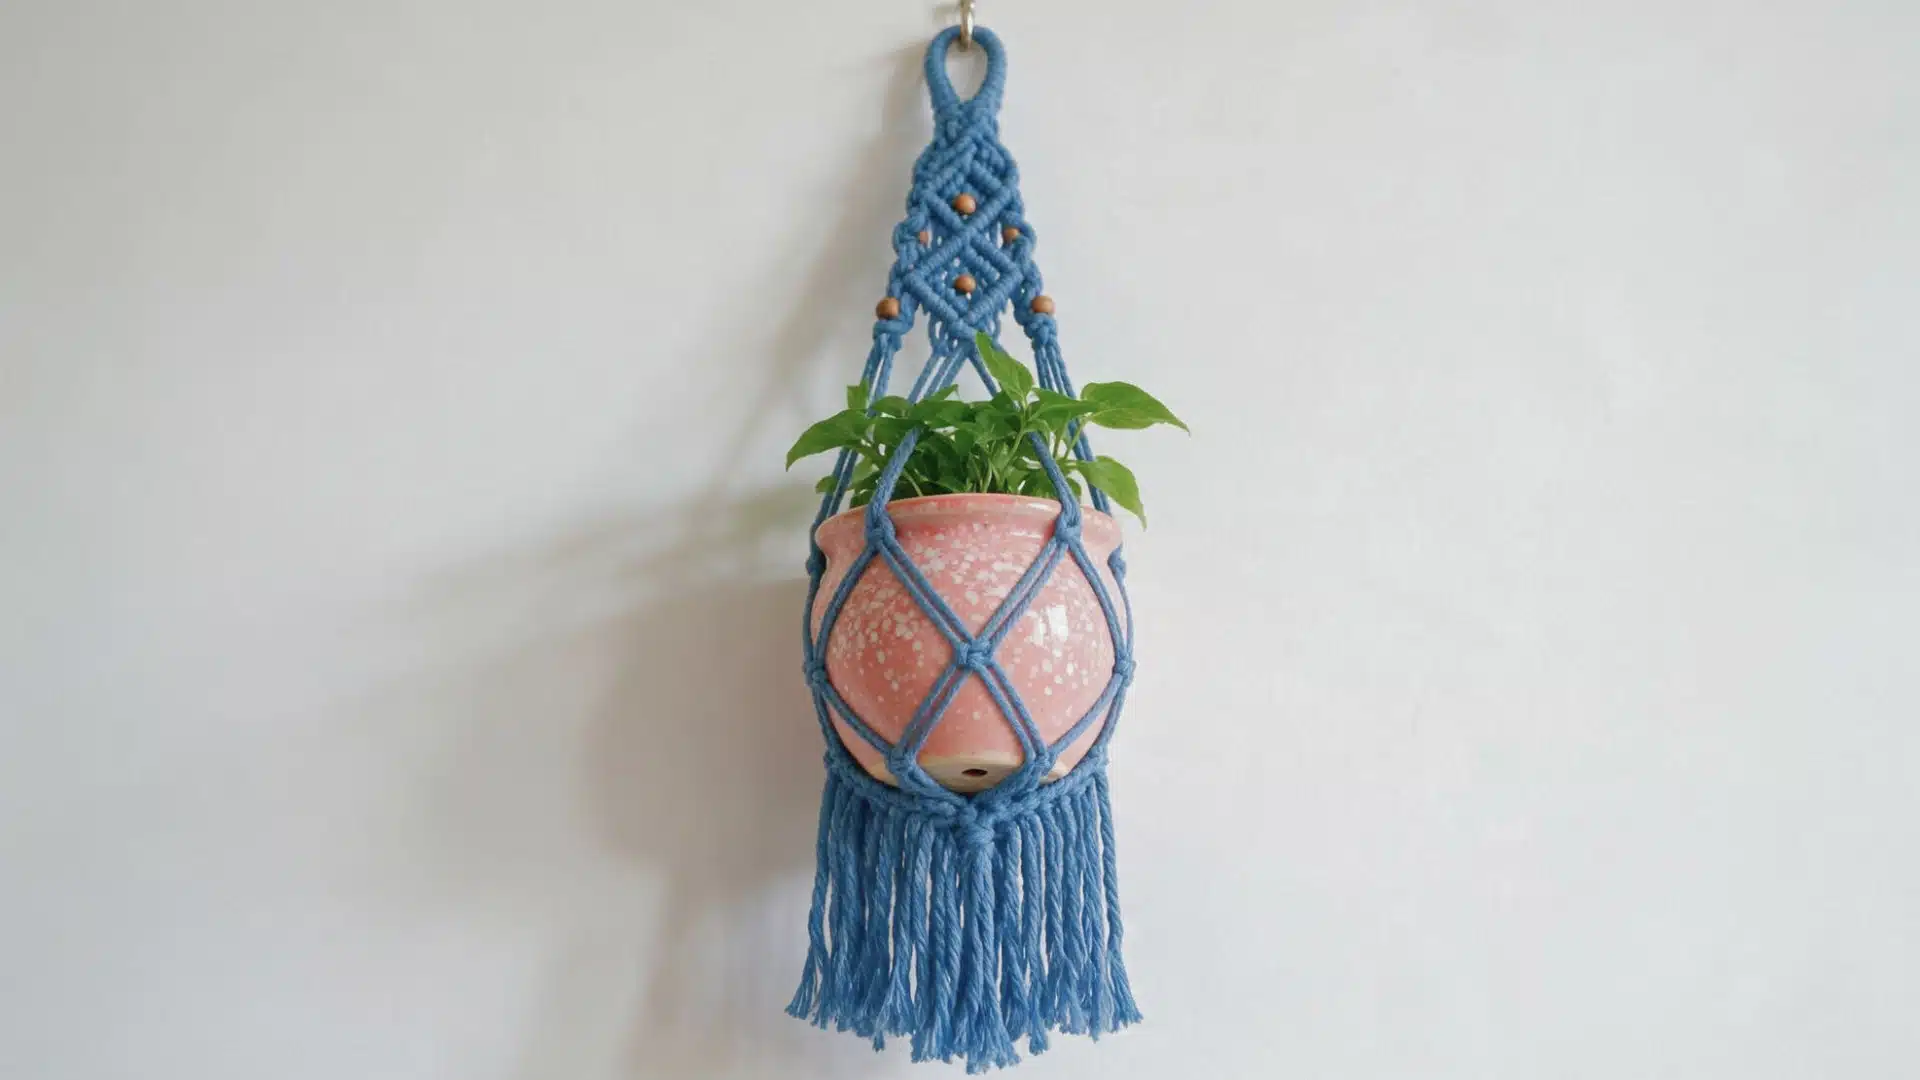
Stripped down to just the essentials, this version skips beads, tassels, and rings in favor of clean lines and a single, solid color throughout.
A tight, even stitch keeps the look deliberate rather than plain or unfinished, since sloppy tension shows up fast when there’s nothing else to distract from it.
It suits a modern space better than anything busier on this list, and it’s a good option if you’d rather the plant itself be the visual focus.
Basic Crochet Techniques to Know
Before you start any pattern on this list, it helps to have these core stitches and skills down.
None of them are difficult on their own, but combining them is what actually builds a plant hanger.
Magic Ring
A magic ring gives you a tight, adjustable center for your base, so there’s no gap in the middle once you finish your first round.
You wrap the yarn around your fingers, crochet your stitches into the loop, then pull the tail to close it snugly.
Chain Stitch
The chain stitch is the foundation of almost everything else you’ll do, especially for the long straps that connect your base to the hanging loop.
- Yarn over, pull through the loop on your hook, repeat
- Keep tension even so your straps come out the same length
- Counting chains accurately matters more here than in most other stitches
Slip Stitch
A slip stitch is mostly used to join rounds or move your yarn across a few stitches without adding height.
You insert your hook, yarn over, then pull through both the stitch and the loop on your hook in one motion.
Single Crochet
Single crochet is the sturdiest basic stitch, which is why it shows up in bases and pot slings that need to hold real weight.
- Insert your hook into the stitch, yarn over, pull through
- Yarn over again, pull through both loops on your hook
- Dense and tight, ideal for anything bearing the pot’s weight
Double Crochet
Double crochet works up faster than single crochet and creates a slightly looser fabric, useful when you want length without spending hours getting there.
You yarn over before inserting your hook, then pull through, completing the stitch in two steps instead of one.
Increasing
Increasing adds stitches to widen your base as you work outward in rounds, which is how a small magic ring turns into a full-size circle.
- Work two stitches into the same stitch to increase
- Space increases evenly so your base lies flat, not ruffled
- Most base patterns tell you exactly how many increases each round needs
Working in the Round
Working in the round means building in continuous circles instead of back-and-forth rows, which is how you get the circular or spiral base most hangers start with.
Each round typically finishes with a slip stitch to close it before you begin the next one, unless the pattern calls for a continuous spiral instead.
Chain Spaces and Mesh
Chain spaces are the small gaps left between stitches, and they’re what give lace and mesh hangers their open, airy look.
- Skip a stitch, chain a set number, then continue
- Consistent spacing keeps the mesh grid even across the piece
- Tighter spaces hold weight better than very loose ones
Joining Crochet Straps
Once your individual straps are finished, you bring them together at the top, either by crocheting through all of them at once or by slip stitching them into a shared loop.
This is also the point where you’d attach a wooden or metal ring if your pattern doesn’t have you crochet around it from the start.
Weaving in Ends
Weave every loose yarn tail back into your stitches so it doesn’t unravel or show once the hanger is finished.
- Thread the tail onto a yarn needle
- Weave it through several nearby stitches, changing direction once
- Trim the excess close to the fabric, not right against it
Final Thoughts
A crochet plant hanger doesn’t need to be complicated to make a real difference in how your plants look around your home.
Once you’ve got the basic stitches down, you can move through this list at your own pace, starting simple and working up to the more textured or decorative styles whenever you’re ready.
Pick a pot, measure it, grab your hook, and get your plants off the shelf for good.
Frequently Asked Questions (FAQs)
1. Do Crochet Plant Hangers Work for Outdoor Plants?
Yes, jute or cotton rope holds up well outside, though bringing it in during heavy rain extends its life.
2. Should You Line a Crochet Plant Hanger with Fabric?
A liner isn’t required, but it helps keep soil from sifting through looser stitches like mesh or lace patterns.
3. Can You Machine Wash Crochet Plant Hangers?
Hand washing is safer, since machine washing can stretch cotton or acrylic hangers out of shape or cause shrinkage.