Your garage door won’t close, or it closes partway and jerks right back up. That small blinking light near the bottom is usually the reason.
Most people assume something major has broken instead. Learning how to fix garage door sensor problems takes less time than making coffee.
Below, you’ll find every sign to watch for, along with what causes each problem.
You’ll also see how to decide between a quick repair and a full sensor replacement.
Signs that Garage Door Sensor Isn’t Working
A garage door rarely breaks without warning. It usually drops small hints first, and those hints almost always trace back to the sensors.
Catching them early saves you time, money, and a whole lot of frustration later.
Door Won’t Close at All
You press the button, but the door doesn’t move, even a little. The motor might click, but nothing happens after that.
Door Reverses Before Closing
The door drops a few inches, then shoots right back up every time. It can feel like the door changed its mind mid-close.
Sensor Lights Are Blinking or Off
The small lights near the bottom of the track blink or remain dark rather than glowing steadily. A steady light usually means the sensor is working fine.
Remote Doesn’t Work, but Wall Button Does
The wall button closes the door fine, but the remote does nothing at all. This often points to a signal issue rather than a broken remote.
Door Responds Slowly or Makes Odd Noises
The door closes more slowly than usual, or the motor grinds and strains as it moves. These small changes often show up before a bigger problem hits.
If you notice any of these signs, don’t ignore them. Small sensor issues rarely fix themselves, and they tend to get worse over time.
Why Garage Door Sensors Stop Working?
Knowing the signs helps you spot the problem, but knowing the cause helps you fix it for good. Most sensor failures trace back to one of these reasons.
A thin layer of grime on the lens is often enough to block the signal between the two sensors, making dirt the most common cause.
A single bump from a car, bike, or lawn tool can also shift a sensor just enough to break the connection, often without leaving any visible damage behind.
Wiring causes plenty of trouble too, since wires work loose over time, and rodents sometimes chew through them near the base of the track.
Weather plays a bigger role than people expect. Strong sunlight hitting the sensor at certain times of day can overpower its signal, which explains why some doors only act up during specific hours.
Rain, humidity, or a nearby leak can also seep into the sensor and cause it to misfire unexpectedly.
And after many years of daily use, a sensor’s internal parts eventually wear down and stop responding no matter how clean or well-aligned it stays.
A quick monthly glance at both lenses catches most of these problems before they turn into a bigger repair.
How to Fix a Garage Door Sensor?
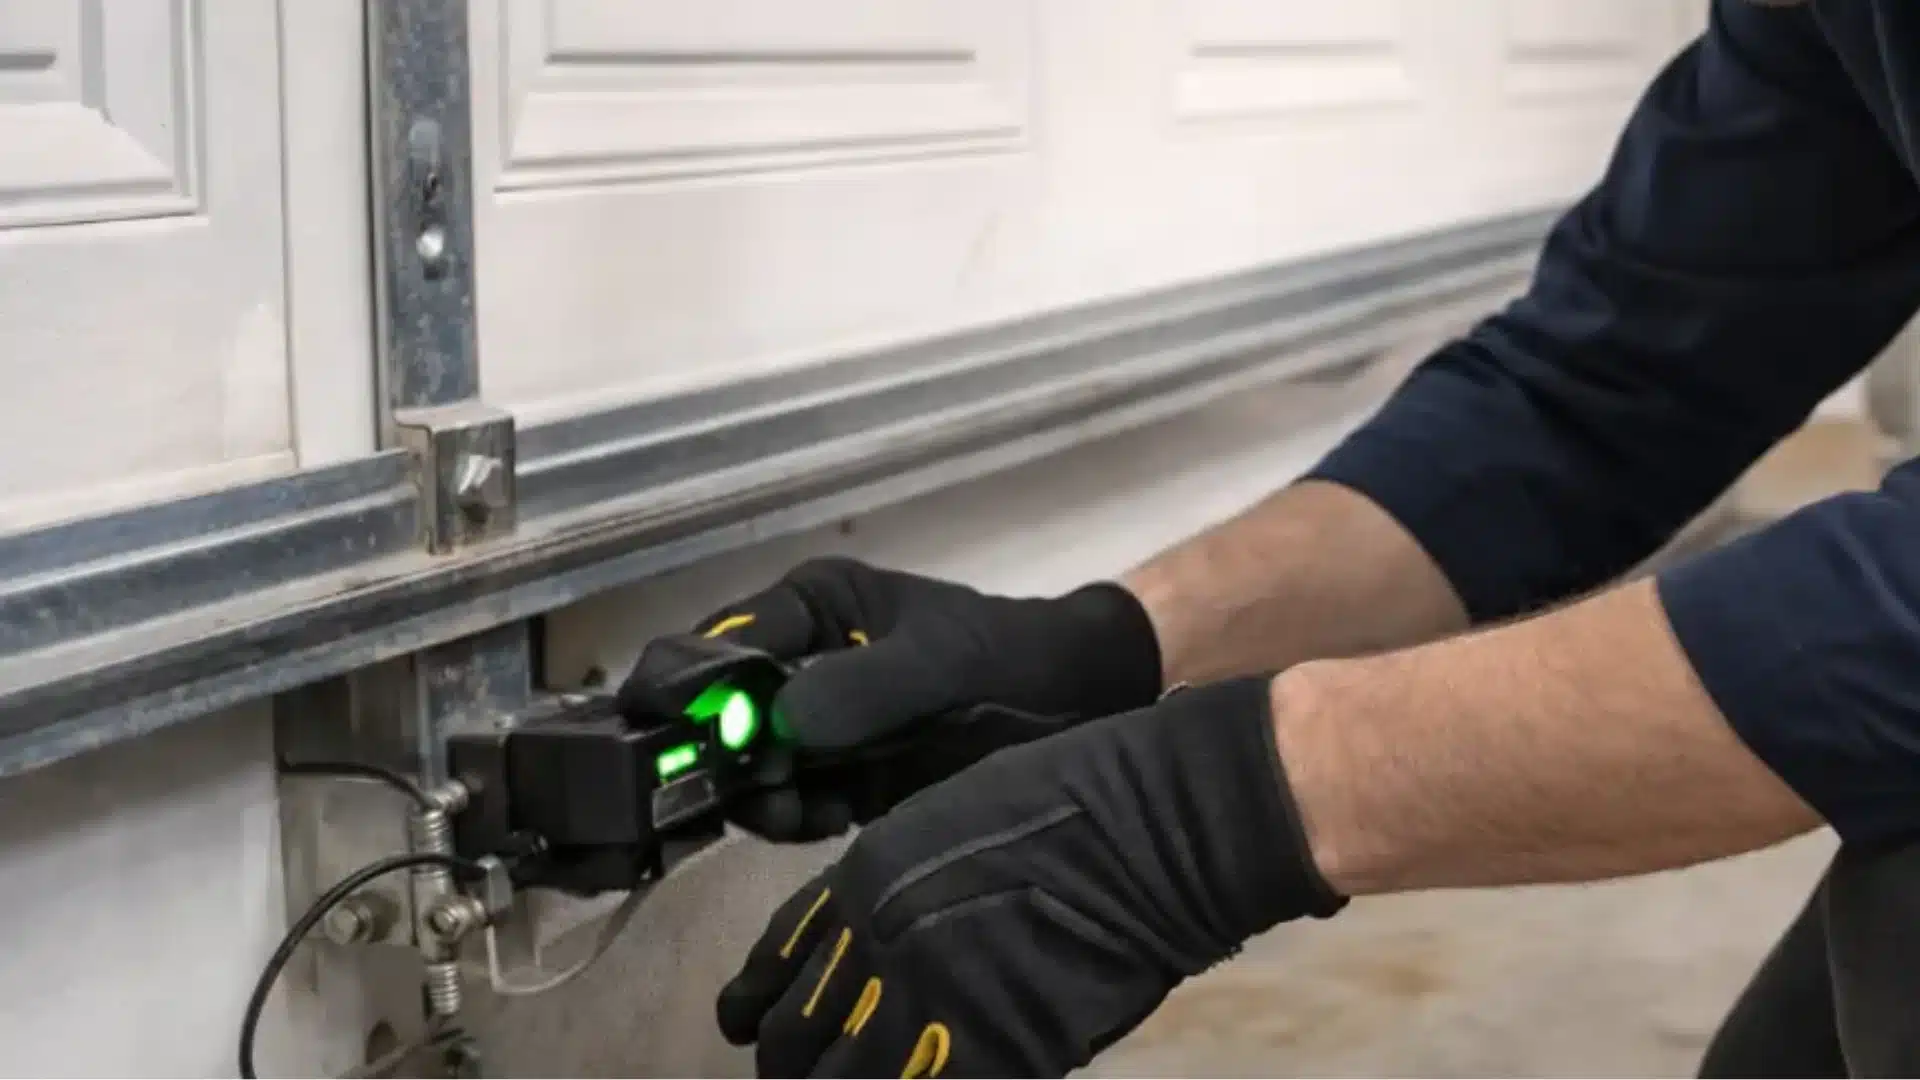
Most garage door sensor problems can be fixed in under 30 minutes with a few basic tools. Start with the simplest checks first, then move on to alignment and wiring if the problem persists.
Tools and Safety Steps
- Grab a soft cloth, a screwdriver, and a flashlight
- A small level helps too, though it isn’t required
- Turn off the power to the opener first, before touching anything
- Keep the door’s path clear of people and pets while you work
Never bypass the sensor to force the door shut. It removes the one safety feature that keeps you and your family safe.
Step 1: Clear the Sensor Path
Walk the space between the two sensors and remove anything in the way, including small items near the ground. Toys, boxes, and stray tools cause this problem more often than people expect.
Check for leaves or cobwebs hanging across the beam as well, since these block the signal just like solid objects do.
Step 2: Clean Both Sensor Lenses
Wipe each lens gently with a damp cloth, then dry it fully before testing the door again.
Dust and pollen build up faster than most people notice, especially in a garage used often. A few seconds of wiping usually clears the lens completely.
Stick to water or a mild soap. Harsh cleaners can scratch the lens and make the problem worse.
Step 3: Realign the Sensors
Loosen the mounting screws slightly, then adjust each sensor until both indicator lights turn solid.
Stand behind one sensor and check that it points straight across at the other. Small nudges usually do the trick, so there’s no need to force anything.
Step 4: Tighten Loose Brackets
Once the lights stay steady, tighten the screws back down so the sensors hold their new position.
Check both brackets by hand afterward to confirm neither one wiggles. A loose bracket today often means a repeat problem next week.
Snug is enough. Overtightening can crack the plastic bracket and create a new problem.
Step 5: Inspect and Fix the Wiring
Follow the wires from each sensor to the opener, and look for cuts, chew marks, or loose connections along the way.
Tighten any loose terminals you find with your screwdriver. If a wire looks damaged beyond a simple fix, it’s best to call a professional for that part of the job.
Step 6: Reset the Opener System
Unplug the opener for thirty seconds, then plug it back in and let the system restart on its own.
This clears small glitches that build up after a power flicker or an electrical surge. Give the unit a minute to fully boot up before testing anything.
Step 7: Test the Garage Door
Open and close the door a few times using both the wall button and the remote to confirm everything works.
Monitor the sensor lights during each cycle to ensure they remain solid the entire time. A door that closes smoothly on every attempt means the fix has held.
Always run a few test cycles before calling the job done. A problem that seems fixed can still show up on the next try.
Garage Door Sensor Light Meanings
Each sensor has a small indicator light, and its color or pattern tells you exactly what’s going on before you touch a single tool.
| Light Status | What It Means | What to Do |
|---|---|---|
| Both lights solid | Sensors are aligned and working fine | No action needed |
| One light blinking | Sensors are misaligned or blocked | Clear the path, then realign |
| Both lights off | No power reaching the sensors | Check the wiring and power source |
| Light flickers on and off | Loose connection or intermittent wiring fault | Inspect and tighten the wiring |
| Light dim or faint | Dirty lens or weak connection | Clean the lens first, then check wiring |
| No light, even after power check | Sensor may be dead | Consider replacing the sensor |
The exact colors can vary by brand, but a steady light almost always means “good,” while blinking or dark means something needs attention.
Why Your Garage Door Still Won’t Close After Fixing the Sensors?
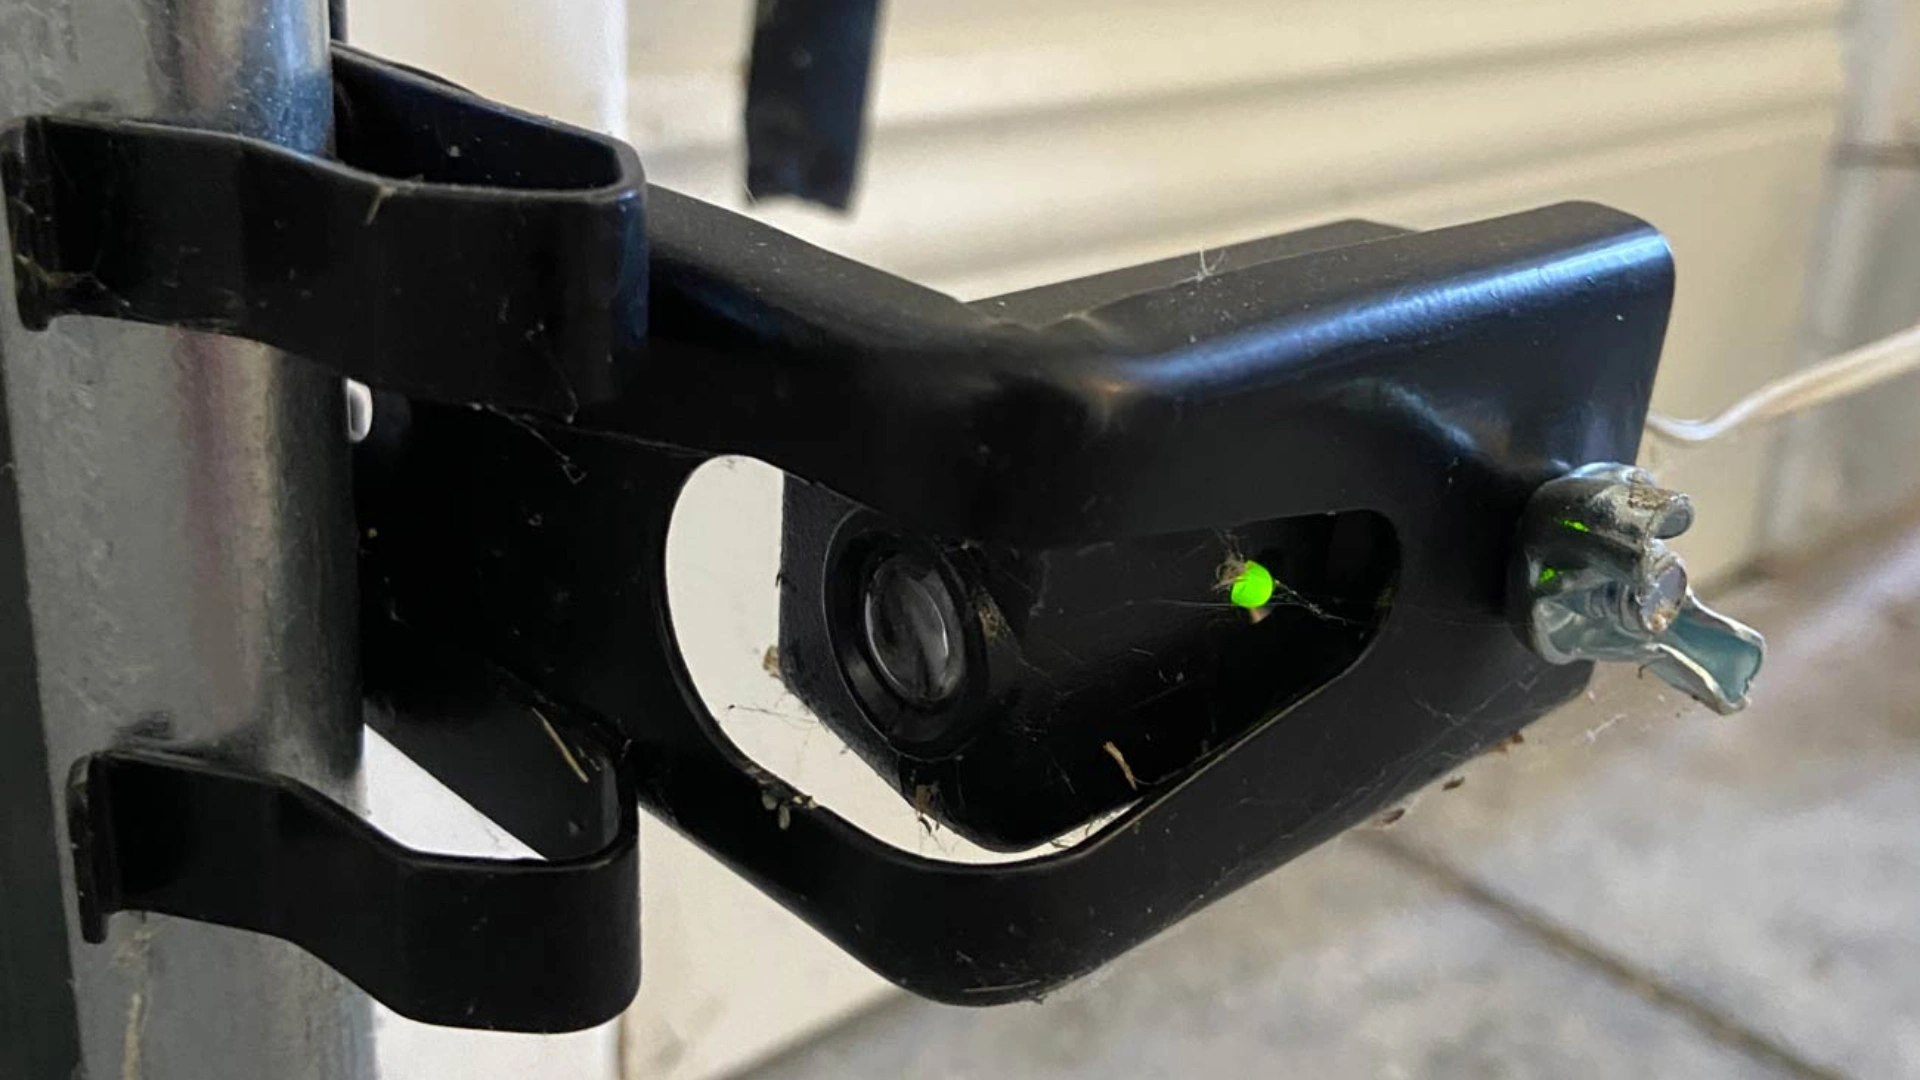
Sometimes the sensors check out fine, but the door still refuses to close. This usually points to a problem outside the sensor system.
The safety reversal system might be too sensitive, and small vibrations trick it into thinking something is blocking the door.
The travel limit settings could also be off, stopping the door before it reaches the ground. A worn or damaged bottom bracket can throw off the door’s balance and stop it midway.
In some cases, the opener’s logic board struggles to communicate with the sensors, even when both lights show solid.
If the sensors test fine after every fix, the issue likely sits with the opener itself, not the sensors. A trained technician can pinpoint this faster than repeated troubleshooting at home.
Repair or Replace the Sensor
Sometimes cleaning and realigning aren’t enough. A few clear signs tell you whether a repair will hold or a new sensor is the smarter move, so let’s break those down.
When Cleaning or Realigning is Enough?
If the lights turn solid after a good wipe-down or a small adjustment, the sensor itself is fine. Most problems fall into this category, and a repair like this holds up for years without any trouble.
When is Replacement the Smarter Move?
A sensor with no light at all, even after checking the power and wiring, usually indicates a dead unit.
Cracks, water damage, or a sensor older than ten years are also strong signs that a new one makes more sense than another repair.
Choosing and Installing the Right Sensor
Sensors need to match the brand of your opener, since a Genie sensor won’t work with a Chamberlain system. Check your opener’s manual, or bring the old sensor to a hardware store to find the right match.
Once you have the right match, turn off the power, then disconnect the old sensor and take a photo of the wiring before removing anything.
Mount the new sensor in the same spot, reconnect the wires to match, and restore power.
Adjust the alignment until both lights turn solid, then run the door through a few full cycles to confirm it works.
Replace both sensors as a pair, even if only one has failed. The other one is often close behind.
Wrapping Up
Most sensor trouble comes down to a handful of causes: a dirty lens, a slight misalignment, loose wiring, or a sensor that’s worn out with age.
Cleaning, realigning, and checking the wiring solve most cases without spending a dime on new parts, and you now know when a repair holds and when a fresh sensor makes more sense.
That blinking light or a door that won’t close finally makes sense, and now you have a clear fix in hand. The next time it happens, you know exactly how to fix garage door sensor problems.
Frequently Asked Questions (FAQs)
1. Can Hot or Cold Weather Affect Garage Door Sensors?
Yes, extreme temperatures can warp the housing slightly and throw off alignment or internal circuitry over time.
2. Why Does My Garage Door only Act up At Certain Times of Day?
Direct sunlight at a specific angle can overpower the infrared beam, causing false readings.
3. Can a Power Outage Damage My Garage Door Sensors?
Rarely damages sensors directly, but the surge when power returns can scramble the opener’s settings.
4. Is It Normal for New Sensors to Need Adjustment After Installation?
Yes, new sensors often need small alignment tweaks during the first few days of use.