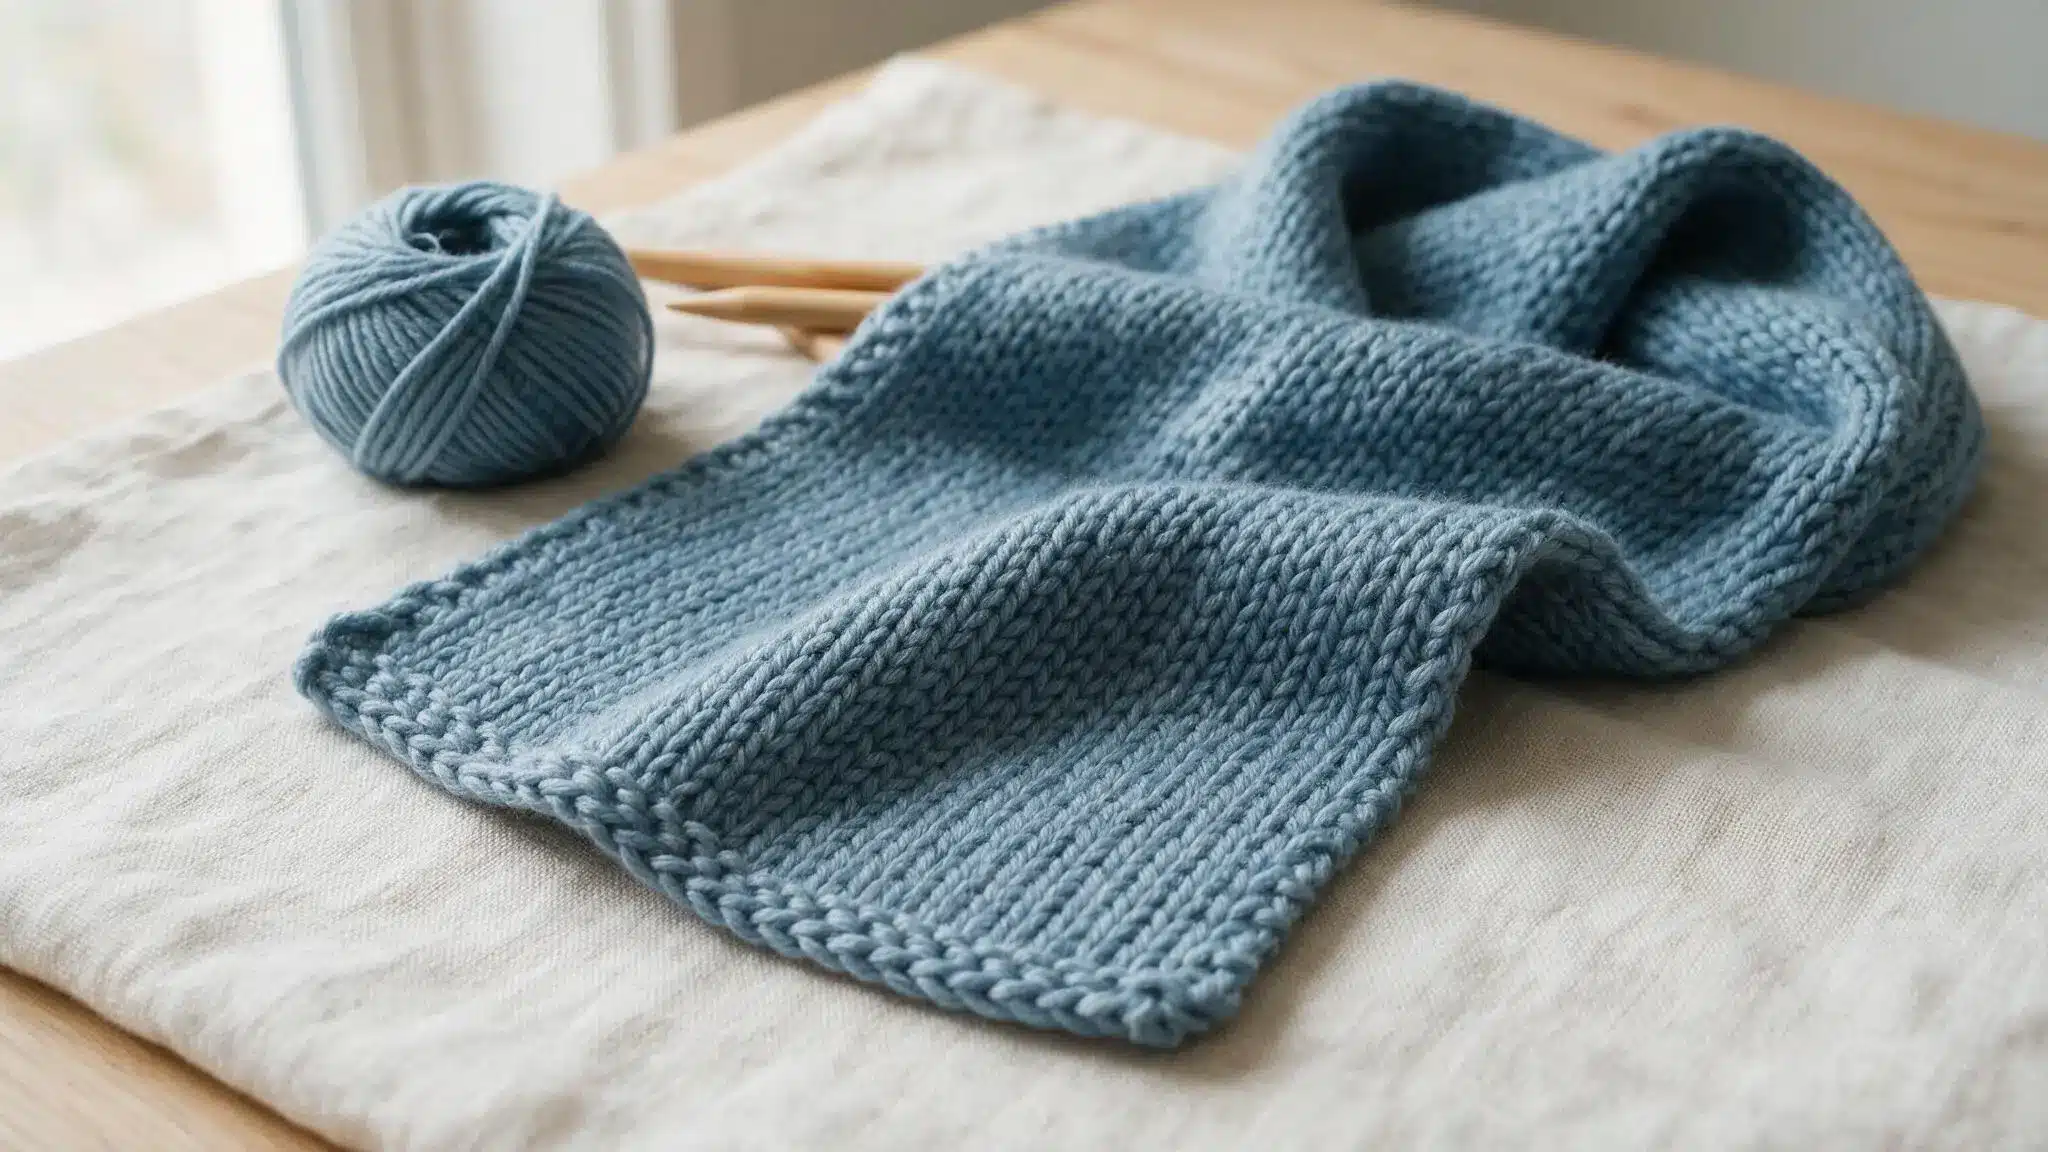
Many novices feel anxious about handling knitting needles for the first time. Although knitting may seem difficult, a scarf is one of the easiest items you can knit.
Using only a few simple techniques and scarf knitting patterns, you can easily knit yourself a comfortable and warm scarf from home.
Below, we’ll show you how to knit a scarf step by step for beginners.
What You Need Before You Start
A few supplies will make the process easier. Here are the things you’ll need to get started as a beginner.
- Yarn: You should choose worsted or medium yarn as a beginner because it’s easy to hold and see stitches.
- Knitting needles: Beginner knitters can use size 8 or 9 (US) straight knitting needles.
- Scissors: Small scissors to cut the yarn.
- Tapestry needle: Helpful for weaving in the ends.
- Tape measure: To check scarf length during knitting.
Best Yarn for a Beginner Scarf
Picking the right yarn makes knitting much easier. Here’s a table showing which yarn type works for whom.
| Yarn Type | Best For | Why It Works | Yarn Needed |
|---|---|---|---|
| Worsted Weight | Most beginners | Easy to hold, stitches show clearly | 300-400 yards |
| Chunky Yarn | Faster results | Grows quickly, fewer rows needed | 200-250 yards |
| Cotton Yarn | Warmer months | Lightweight and soft on skin | 350-400 yards |
| Acrylic Yarn | Budget-friendly | Affordable and easy to wash | 300-400 yards |
As a beginner you might find difficult to work with the cotton yarn, so skip that during your learning stage.
Step-by-Step Instructions: How to Knit a Scarf?
Knitting a scarf becomes easier when you follow each step carefully. Better results come with experience and practice.
1. Casting on Stitches
This is the first stage of any knitting project, creating a base row of stitches on your needle. In the case of a scarf, you should cast on about 20 to 30 stitches.
The number will determine the width of your work. Novices can use the long-tail cast-on technique. It is easy to learn and produces nice edges.
Remember to count the stitches two times to avoid errors. Once you’ve done that, you are ready to make the first row.
Choose soft, solid-colored yarn for a clean look. Bright patterns can hide stitch mistakes.
2. Knitting Your First Row
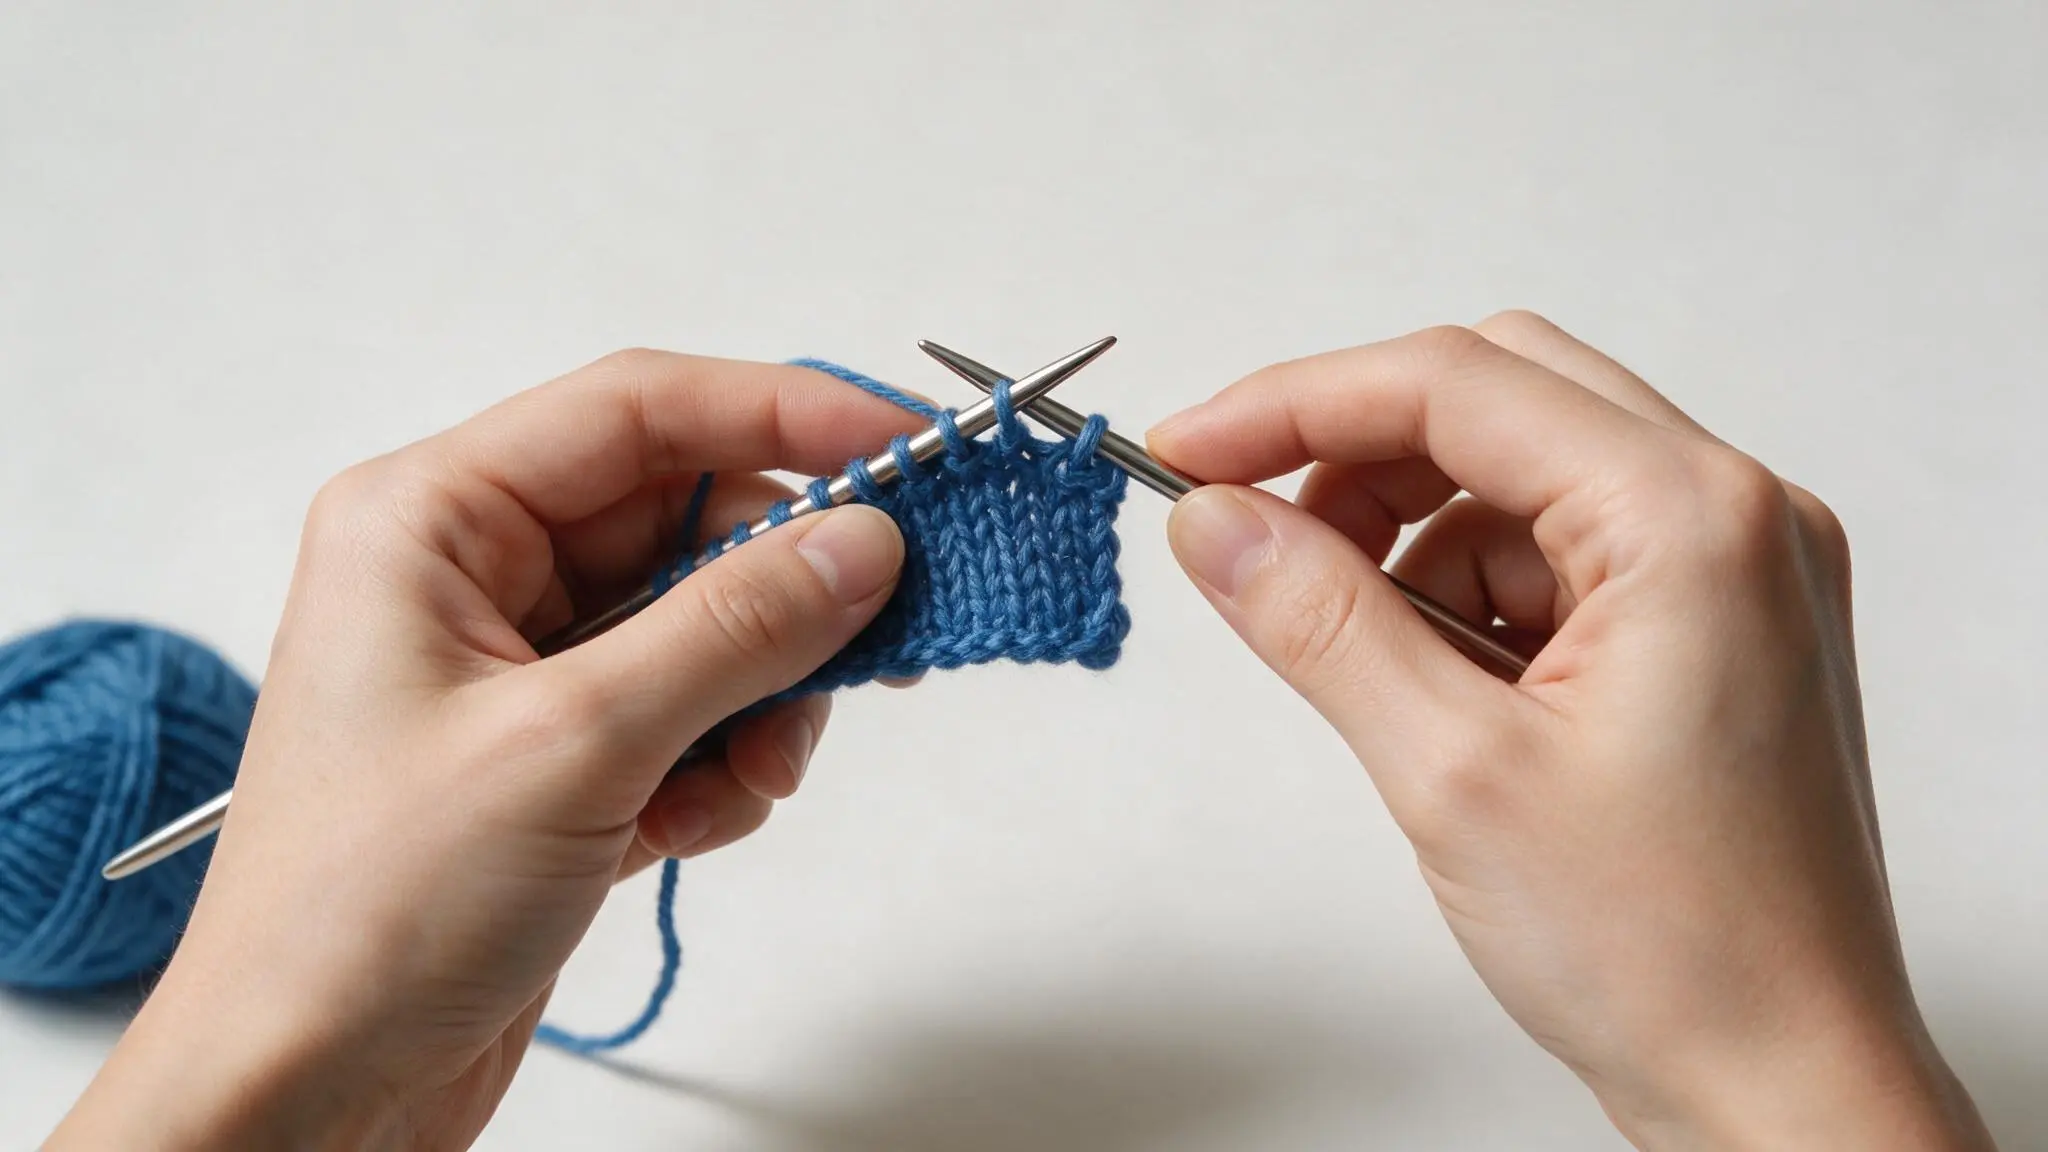
It is the time to knit your first row now. You have to hold the needle with your stitches in your left hand and insert the right needle into the first stitch.
Wrap the yarn around the right needle and pull it through the loop. Finally, slide the old stitch off the left needle. Repeat this process until you reach the end of the row.
Pulling the yarn too tight often makes stitches hard to work with and slows progress down.
3. Continue with the Stitch Row by Row
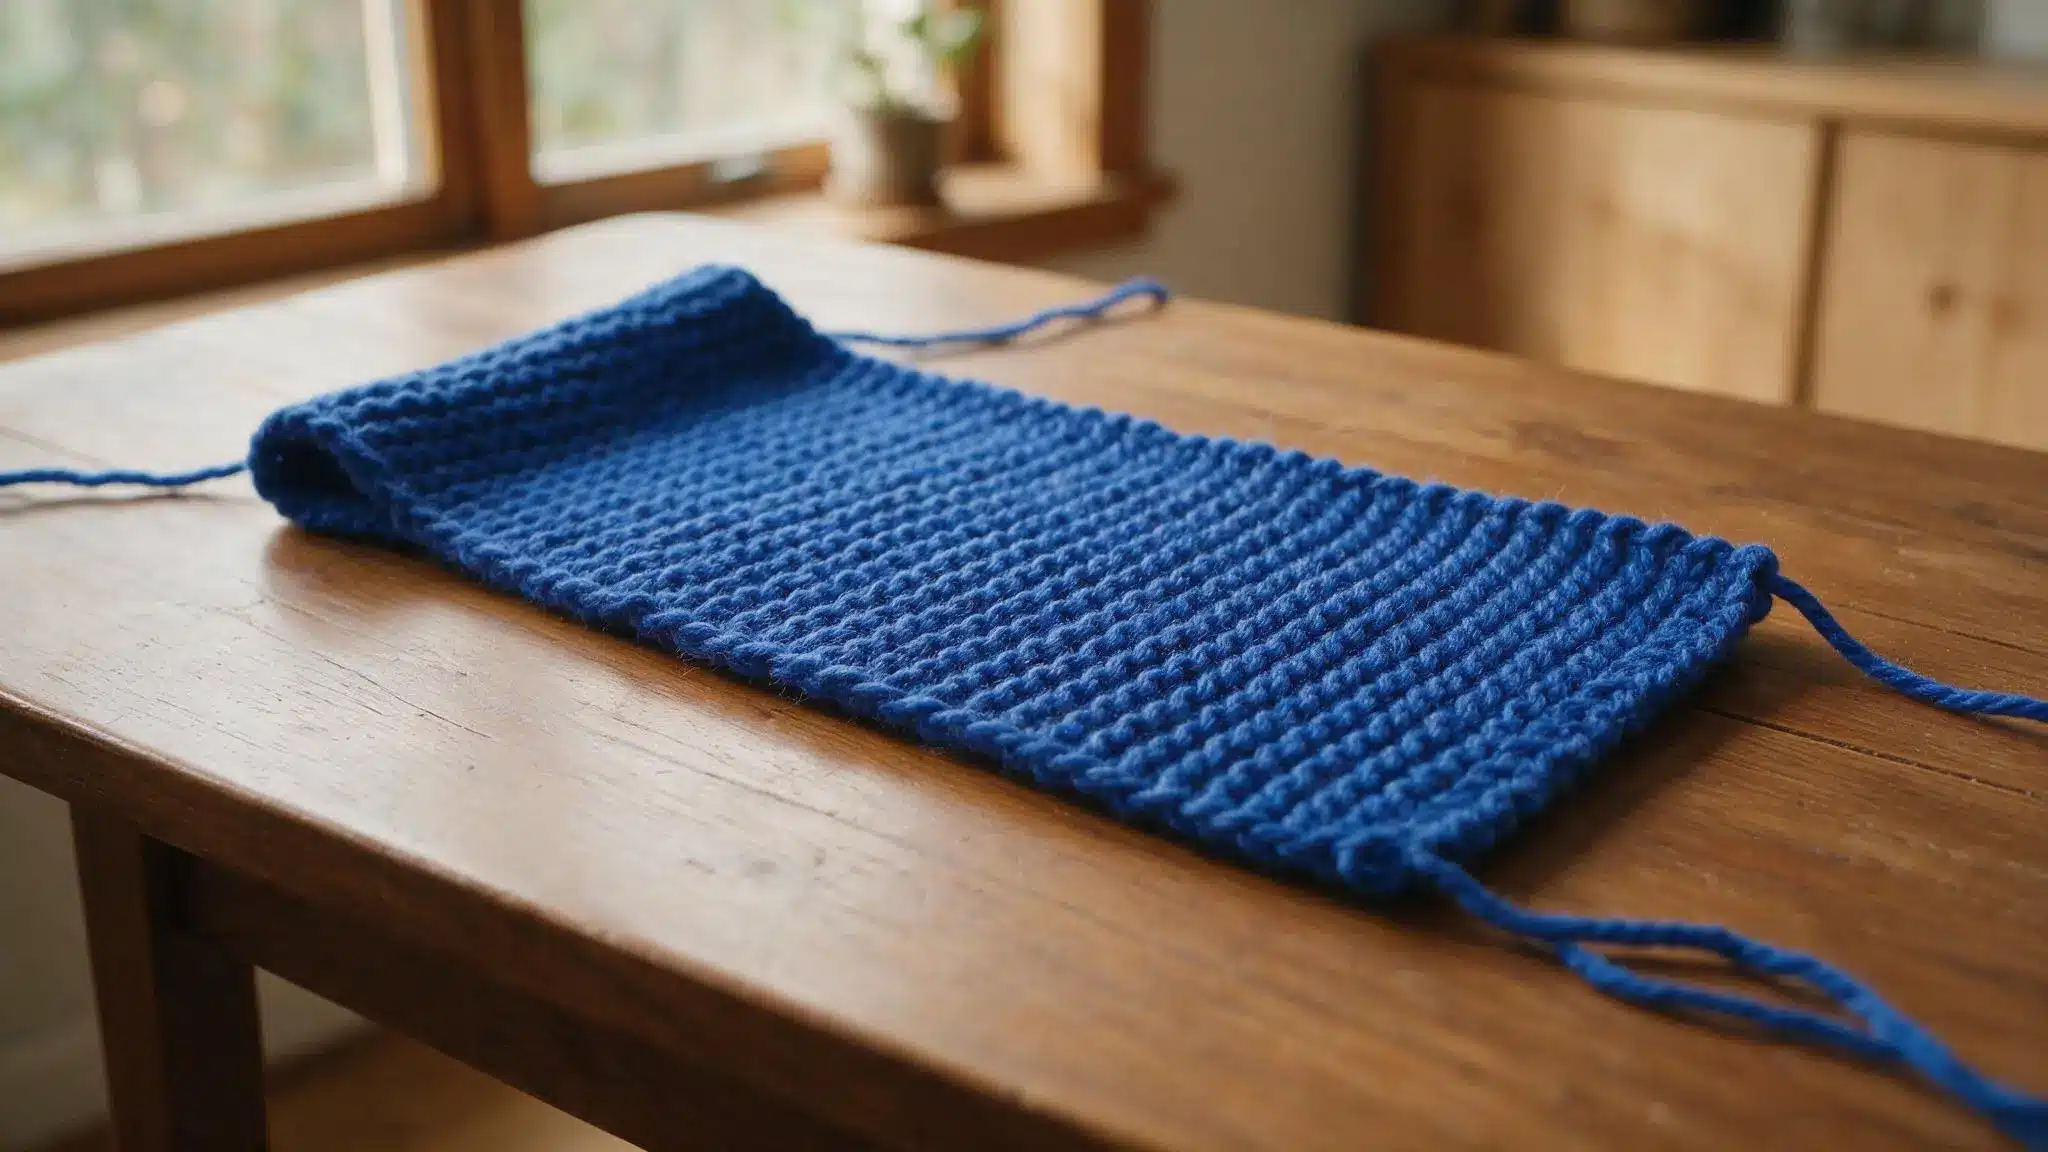
When you finish your first row, keep repeating the same knit stitch. Each row follows the same steps.
You do not need to change anything to create a garter stitch scarf. The process will gradually build up the fabric. In due course, rows will become neater.
The key here is consistency, not speed. Take a rest when you need.
4. Measure Your Scarf Size
After several inches, take a moment to assess your progress. Place the knitting flat and measure its width.
The width of the scarf must remain constant all along. Then measure its length using a tape measure.
Most scarves are 60 to 70 inches long. Continue knitting until you reach the desired length.
Losing count of stitches leads to uneven edges. Always count rows before continuing.
5. Binding Off (Finishing the Scarf)
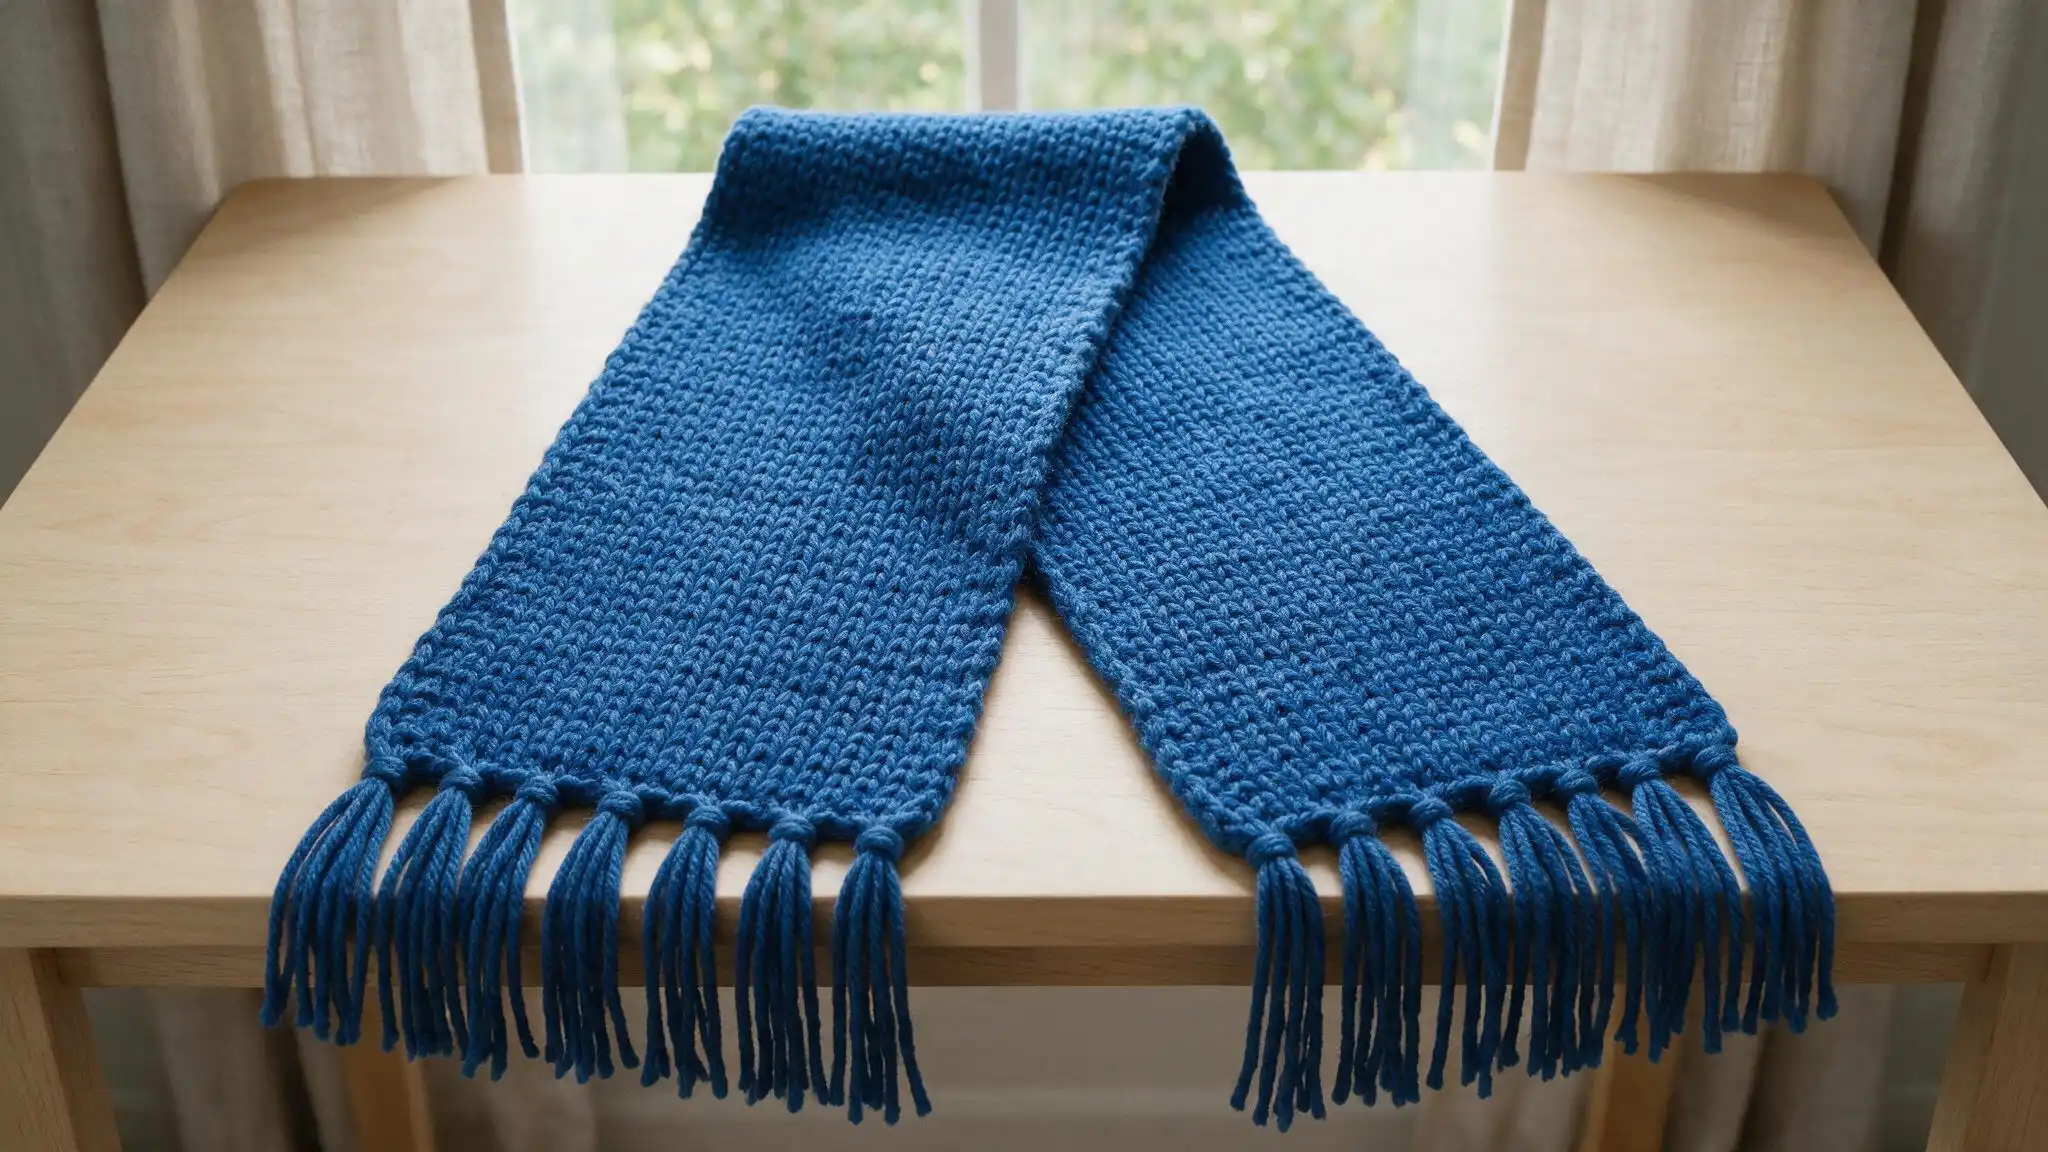
Binding off will lock the stitches in place to prevent unraveling.
Knit two stitches, then pass the first stitch over the second and off the needle. From there, knit one more stitch, and pass the previous stitch over it.
Repeat this one-stitch-at-a-time process across the row until only one stitch remains.
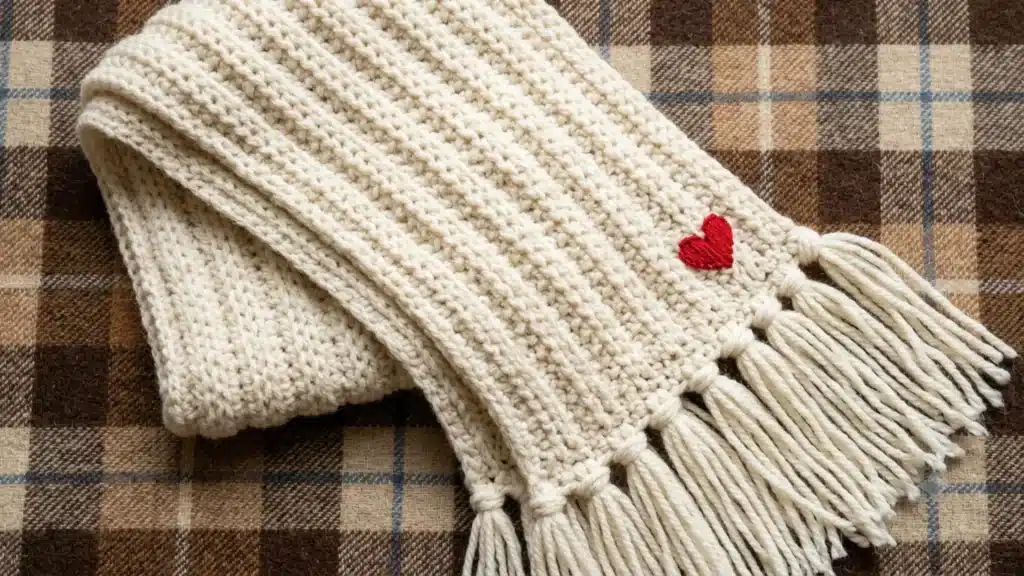
Add fringe at both ends for a finished, polished look once binding off is done.
Ways to Customize Your Knitted Scarf
The appearance of your scarf doesn’t have to be simple. You can customize your scarf in several ways.
Make Fringes or Tassels
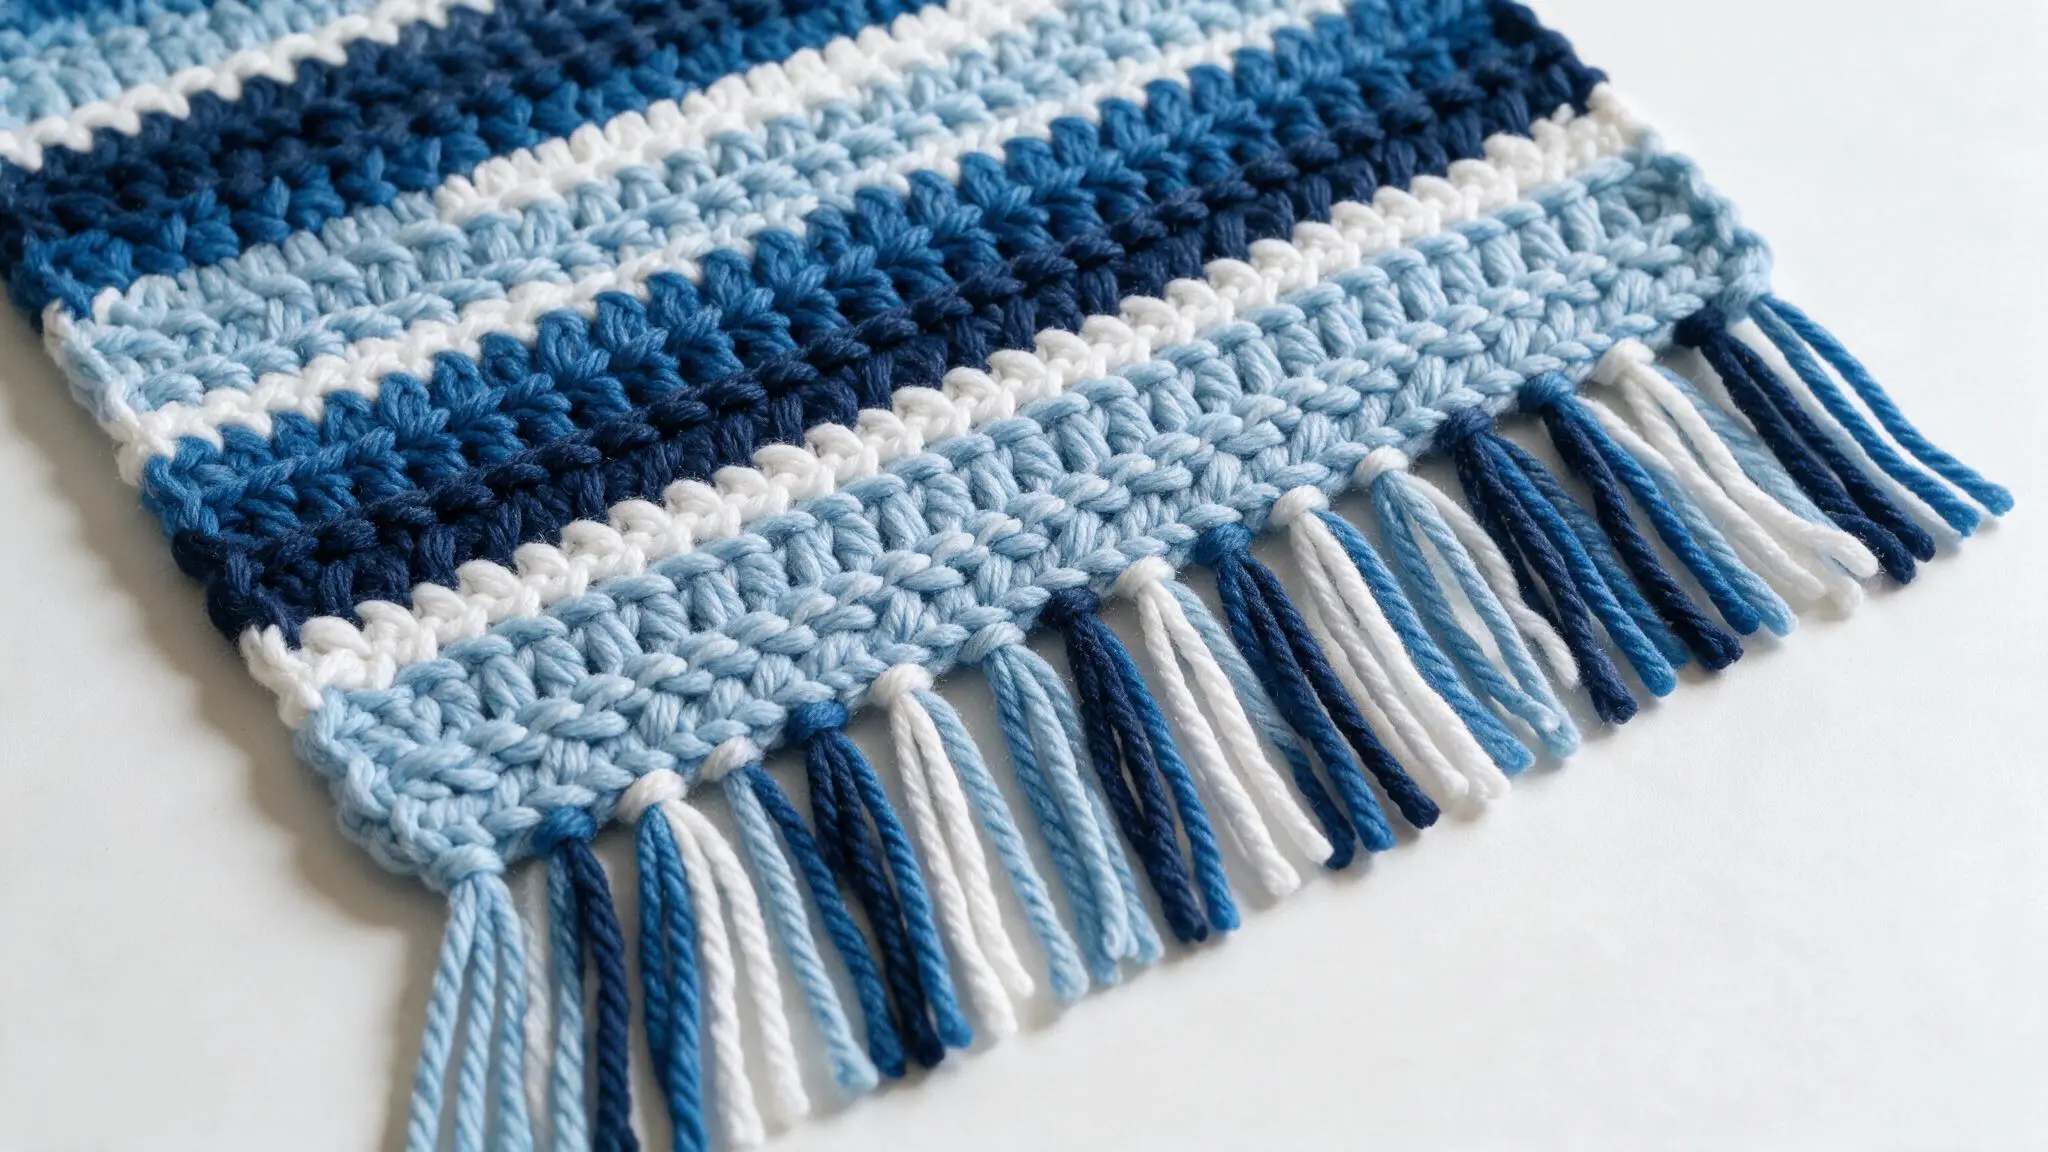
A fringe can really enhance your scarf. You’ll need to cut little pieces of yarn in equal lengths and fold them in two.
Then, using a hook, you’ll make loops with your yarn through the edge stitches of your scarf. You do this on both short ends of your scarf. This process is very quick.
Knit Your Scarf in Several Colors
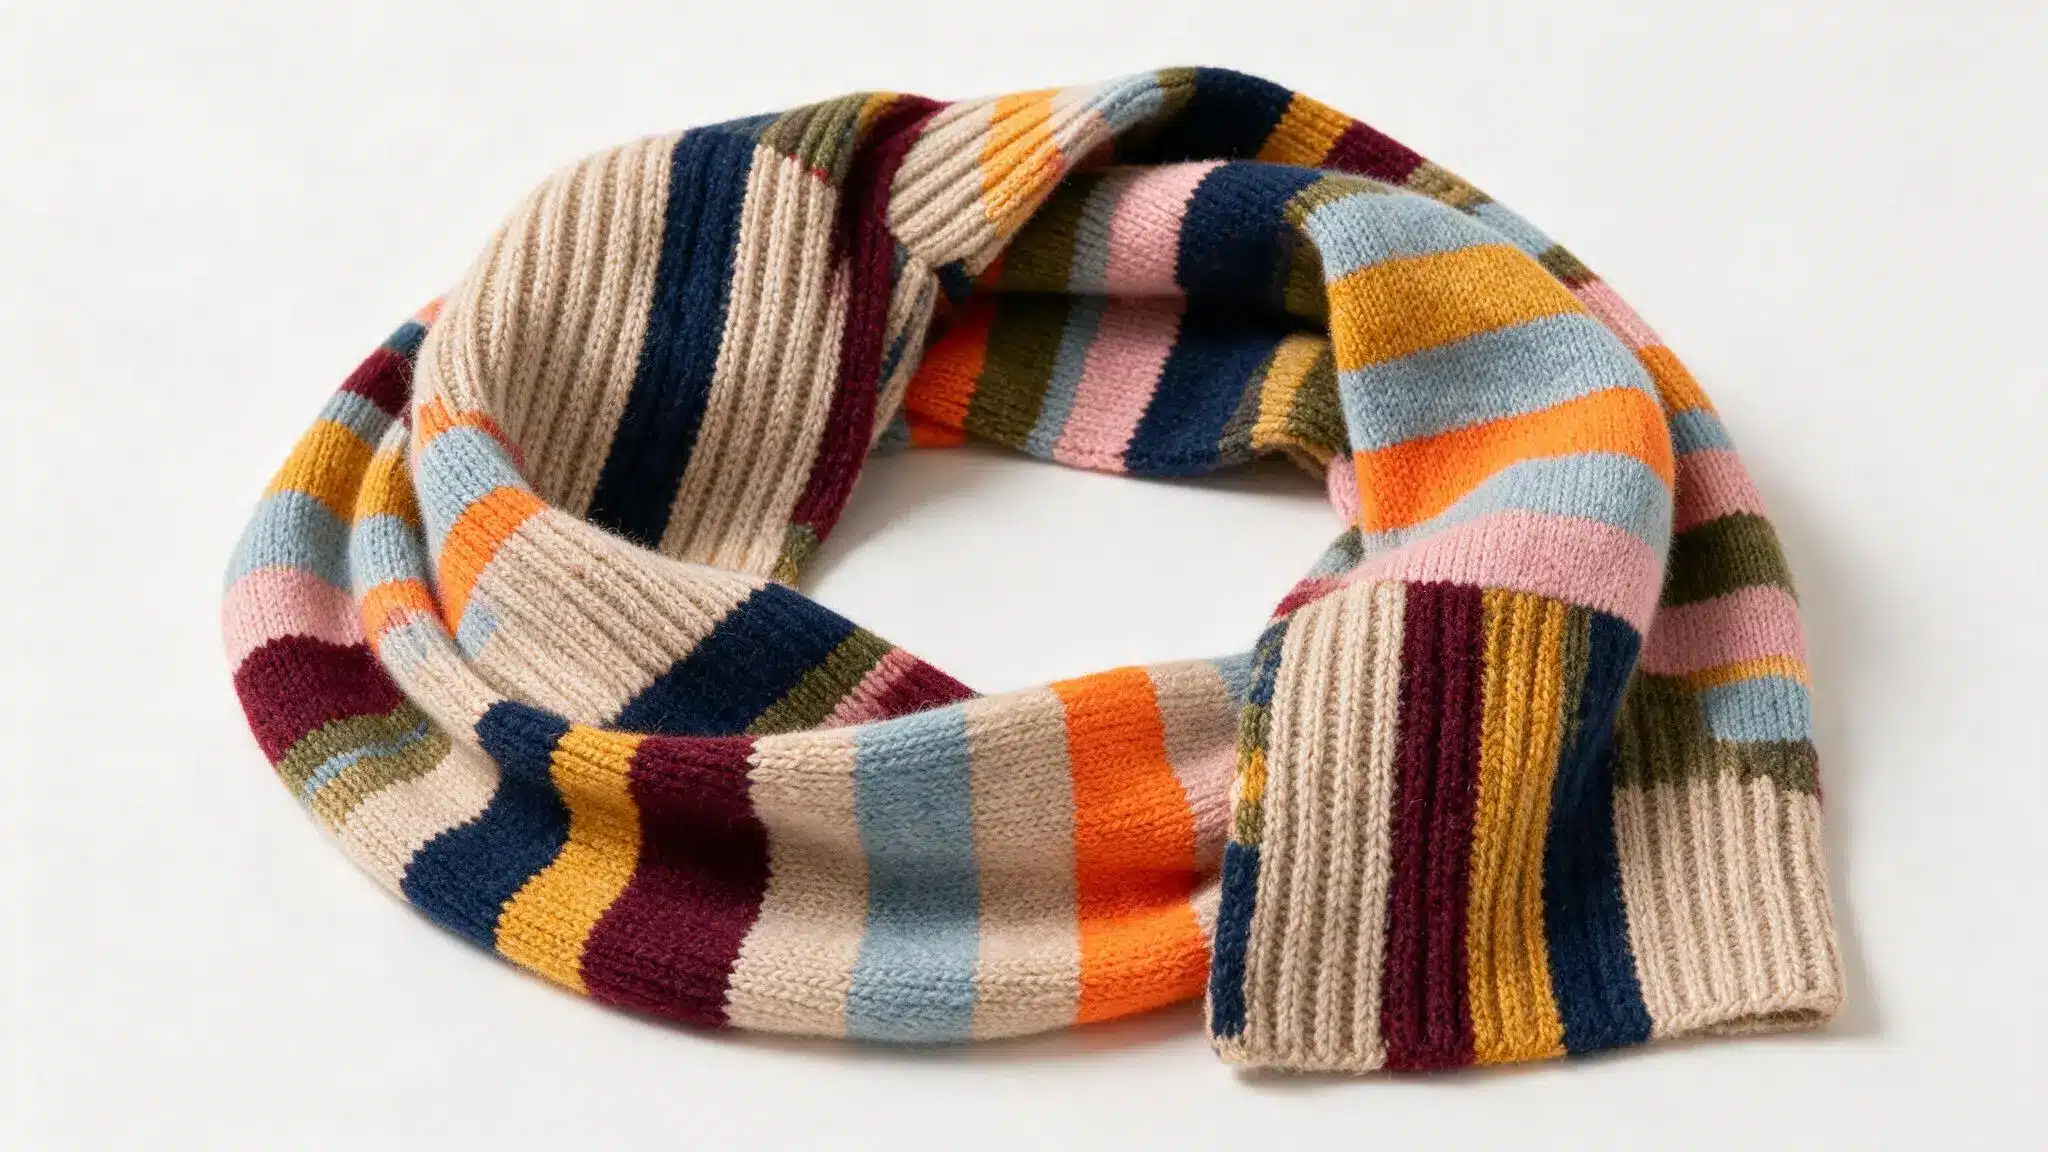
You’ll create stripes by using different yarn colors while knitting. For a few rows, you will use one color of yarn, and after that, you’ll change the color.
Cut one yarn and tie on the new one. It’s suitable for the simplest garter stitch pattern.
Give Rib Stitch a Go
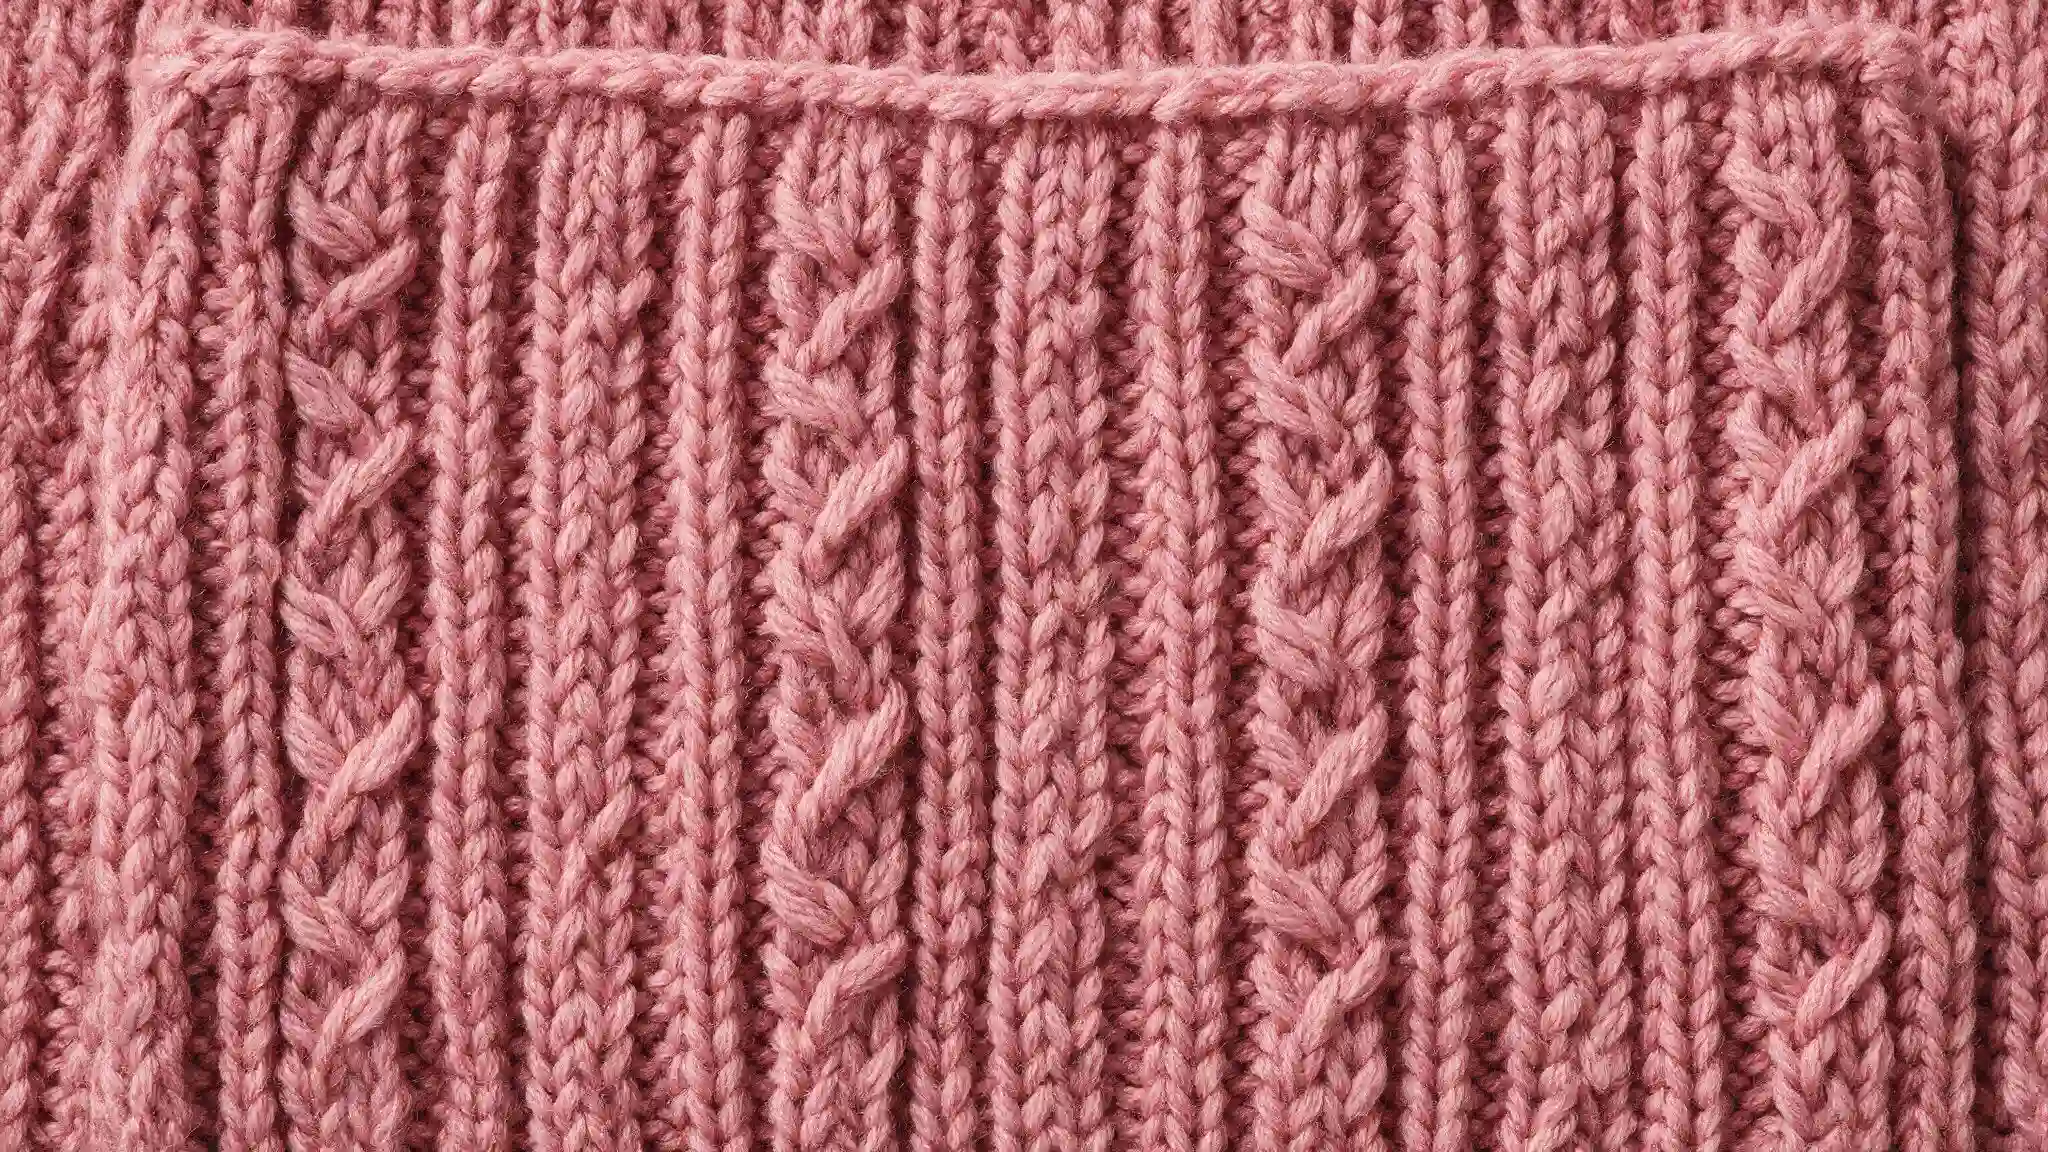
Rib stitch adds texture instead of plainness. Rib stitch combines the knitting and purling techniques to achieve the effect.
The rib stitch is done by making two stitches stitches followed by two stitches stitches. Rib stitch produces lines with some elasticity. It is useful in creating warm scarves because the lines stretch.
Go for Different Yarn Textures
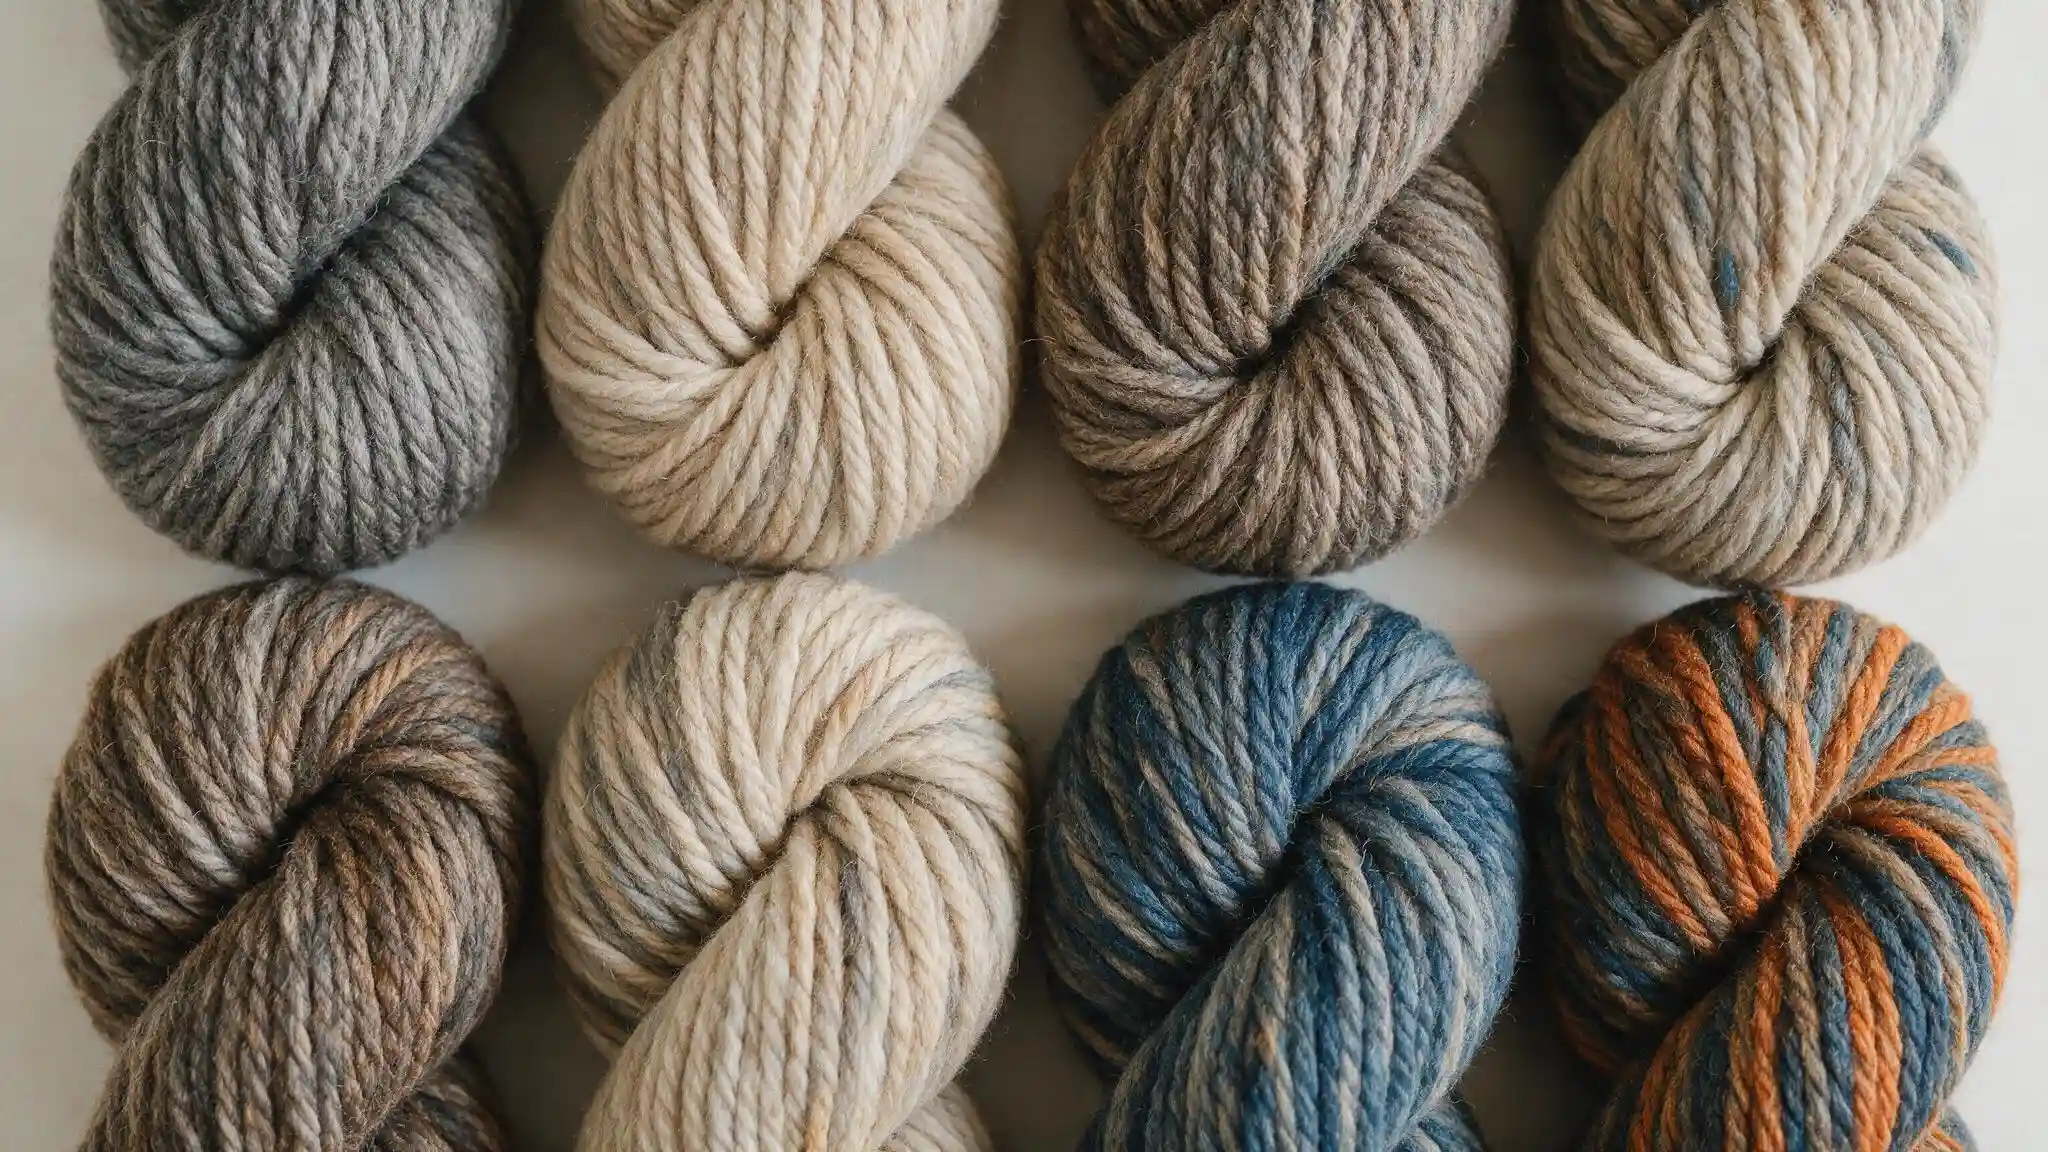
Textured yarn will definitely affect the overall design of your scarf. Fuzzy or bouclé yarns bring warmth and softness into the design.
On the other hand, smooth cotton yarns will give a more classic look. You could even combine different yarn textures within rows.
How to Keep Scarf Edges Neat?
Scarf edges should look neat to achieve an elegant finish. Here are some tips for keeping edges neat.
- Knitting the first and last stitch of each row tightly
- Considering slip stitch edges for nice edges
- Maintaining even tension throughout the row
- Not changing needle size in the middle of the row
- Keeping track of your stitches for any unevenness
- Blocking your finished product for nice edges
Time to Knit Your First Scarf
Knitting your first scarf comes down to mastering just a handful of simple steps: casting on, working the knit stitch row after row, checking your progress, and binding off. That’s really all it takes.
This blog walked you through everything you need, from choosing the right yarn to shaping your scarf and finishing it off with a clean bind-off.
Don’t worry about getting it perfect. Dropped stitches, uneven edges, and slow rows are all part of learning, and each one teaches you something for the next project.
There’s no better time to start than now. Grab your yarn and needles, and knit your first row today.
Frequently Asked Questions (FAQs)
1. Is It Necessary to Know How to Purl to Knit a Scarf?
No, the majority of beginner projects require the knowledge of just one stitch used to make the garter stitch.
2. How Many Stitches Do I Need to Cast on My Scarf?
Cast on 20 to 30 stitches for a standard scarf width. This number can change based on desired thickness.
3. What Yarn Works Best for A First Knitting Project?
Medium-weight or worsted yarn is easiest to handle. It shows stitches clearly and works well for beginners.