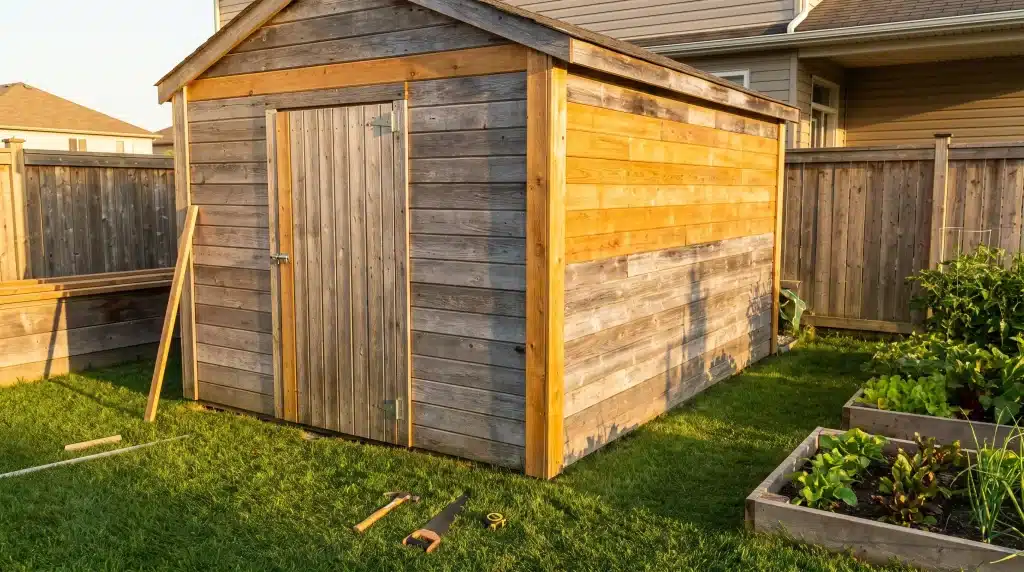
An aging backyard shed can show wear in several ways. The roof may leak, siding may soften near the ground, doors may stop closing properly, or floorboards may feel weak underfoot. These problems can make replacement seem like the simplest option, but many sheds still have enough sound material to justify restoration.
The first step is to look beyond cosmetic wear and identify the causes of deterioration. Paint can improve appearance, but it will not correct moisture intrusion, structural movement, or rotting framing. A thorough inspection helps determine which components remain serviceable and which repairs should take priority.
Start With a Full Inspection Before Making Repairs
Before removing siding or buying materials, inspect the shed from the roof down to the foundation. Evaluating the structure as a whole makes it easier to spot problems that may be connected.
Begin with the roof. Look for missing shingles, cracked roofing, damaged edges, sagging areas, and evidence of water intrusion. Inside the shed, check rafters and sheathing for stains, dark patches, or damp areas after rainfall.
Next, examine the walls and siding, paying particular attention to lower sections exposed to splashing rain, wet soil, or poor drainage. Press gently on suspicious areas to identify softened or deteriorated wood.
Check the floor for sagging, springy sections, or soft spots. When possible, inspect the joists, skids, blocks, and other supports underneath.
Doors and windows can also reveal structural movement. A door that suddenly rubs against its frame, for example, may indicate that the floor or foundation has shifted rather than that the hinges have failed.
Decide Which Problems Need Professional Repair
Some repairs are well suited to experienced DIY homeowners. Replacing a hinge, sealing a small gap, refinishing weathered trim, or repairing a limited section of siding may be manageable with basic tools and careful preparation.
More extensive damage requires greater caution. Widespread rot, deteriorated floor framing, major roof damage, foundation movement, or several connected problems can turn a routine repair into a structural project.
When multiple parts of the shed are affected, a professional shed repair service can help address roofing, siding, flooring, doors, windows, foundations, and framing in a coordinated way. This is especially important when one failure has contributed to damage elsewhere in the structure.
The aim is to preserve sound material while correcting the underlying causes of deterioration rather than replacing isolated components without addressing why they failed.
Stop Moisture Before Replacing Damaged Wood
Moisture is a major cause of deterioration in wooden sheds. It may enter through the roof, collect around the base, or remain trapped where dense vegetation restricts airflow.
Before replacing damaged wood, locate the source of the water. Inspect roofing materials, flashing, trim joints, window edges, and areas where siding approaches the ground. Check whether gutters, downspouts, grading, or nearby drainage are directing water toward the shed.
Conditions around the structure matter as well. Soil piled against siding can keep wood damp for long periods, while dense shrubs and climbing plants can reduce ventilation. Low areas beside or beneath the shed may allow water to pool after rain.
Correct these conditions before installing replacement materials. New boards placed in the same damp environment are likely to deteriorate again.
Allow wet framing to dry before covering it with new siding, flooring, or trim. Enclosing damp wood can trap moisture where it is difficult to detect.
Repair the Roof Before Damage Spreads
Roof damage should usually be addressed before interior improvements or exterior finishing because water entering from above can affect several parts of the shed.
Inspect the roof for missing or damaged shingles, cracked materials, lifted edges, exposed fasteners, and deteriorated decking. From inside, look for staining, discoloration, softened wood, or visible water tracks on rafters and sheathing.
Persistent leaks can affect wall framing, flooring, and stored items. Because wood decay and moisture are closely related, keeping the structure dry is essential for preserving its strength.
If the roofing surface is worn but the underlying decking and rafters remain solid, repairs may be relatively straightforward. Soft, split, or weakened structural members require more extensive attention.
The finished repair should restore a continuous weather barrier and prevent further water intrusion.
Restore Damaged Siding and Exterior Wood
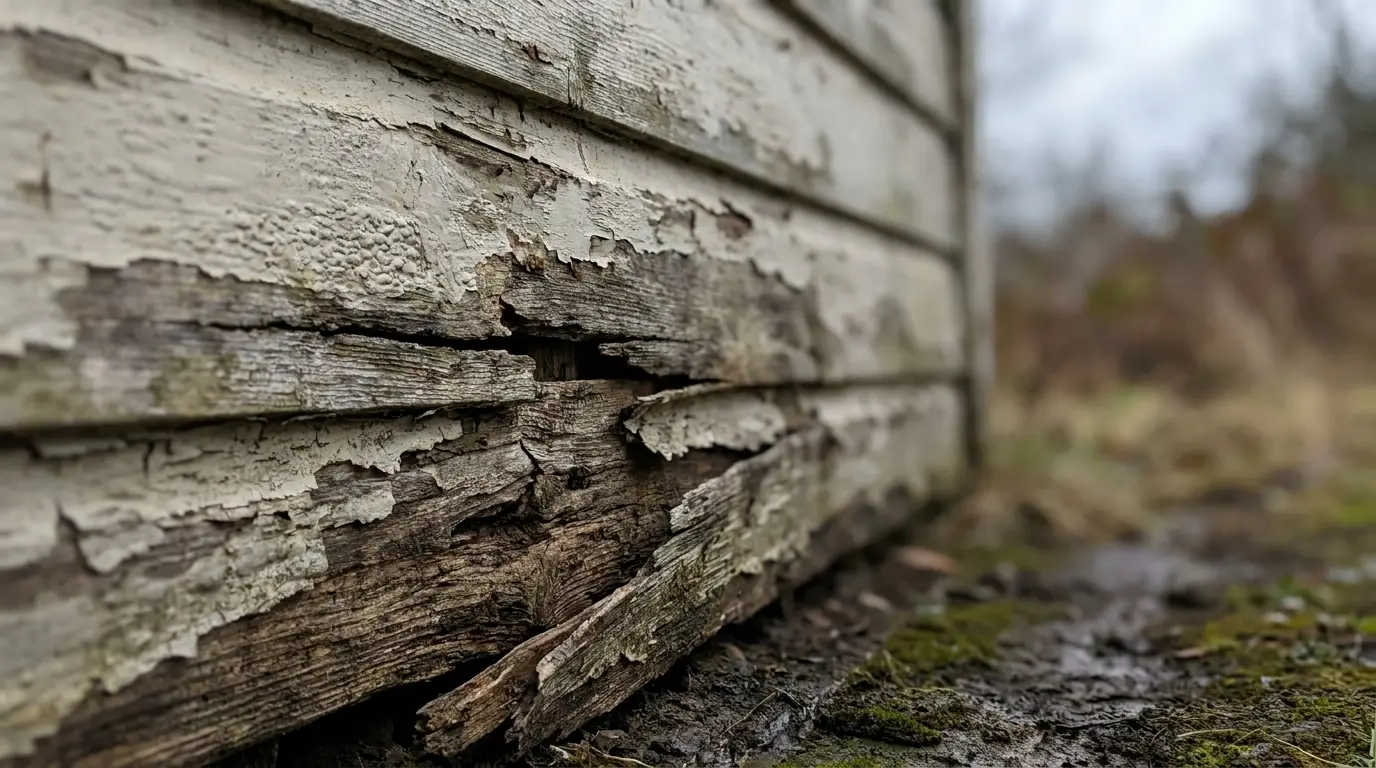
Siding protects the wall framing from direct exposure to rain, wind, and sunlight. Weathered surfaces do not always need replacement, but deterioration should be assessed carefully.
Fading, peeling paint, and light surface checking can often be corrected through preparation and refinishing. Soft wood, deep cracks, crumbling fibers, or panels that flex easily usually indicate more serious damage.
Remove compromised material until solid wood is exposed. This provides access to the framing behind the siding and reveals whether deterioration has spread into studs, sheathing, or other components.
Replacement sections should fit securely and allow water to drain away from the wall. Seal vulnerable joints around trim, corners, doors, and windows as appropriate for the siding system.
Do not rely on paint or filler to conceal rotten wood. Damaged material that has lost structural integrity should be repaired or replaced before finishing.
Check the Floor and Foundation for Structural Problems
Floor damage can indicate problems beneath the visible surface, so weak boards should not be treated in isolation.
Walk through the shed and note areas that feel soft, springy, sloped, or uneven. Inspect boards for staining, swelling, cracking, or separation from fasteners. Damage concentrated near exterior walls may point to water entering at the base of the structure.
Where access allows, examine the floor joists and supporting members. Deterioration in these areas is more significant than damage to a single floorboard because the framing carries the load of the shed and its contents.
Check the foundation or support system for movement as well. Blocks, skids, piers, and similar supports can sink, shift, or deteriorate over time. An out-of-level shed may develop sticking doors, widening gaps, or uneven stress in the framing.
Correct support and framing problems before installing new flooring so the repaired surface rests on a stable base.
Restore Doors, Windows, and Openings
Doors and windows are vulnerable to wear because they combine moving parts, exposed trim, and openings where water can enter.
First determine whether a poorly fitting door is damaged or whether the surrounding frame has shifted. Loose hinges and worn hardware are usually simple repairs, while a door that no longer fits a square opening may signal movement in the structure.
Inspect thresholds, lower jambs, and trim for rot or softness. Replace wood that has lost strength rather than relying on filler to rebuild severely deteriorated areas.
Check windows for broken panes, deteriorated glazing, failed seals, and gaps around the frame. Even small openings can allow water to reach nearby wall materials.
Once structural movement has been ruled out, doors and windows can be adjusted, repaired, sealed, or refinished to improve weather resistance and function.
Finish the Restoration With Protective Improvements
After structural repairs are complete, focus on measures that protect the shed from future weathering.
Prepare exterior wood thoroughly before painting or staining. Remove loose coatings, clean the surface, repair damaged trim, and make sure the wood is dry. Pay particular attention to exposed end grain and fresh cuts because they absorb moisture readily.
Maintain clearance between the shed and surrounding vegetation so air can circulate around the walls. Correct drainage problems that allow water to collect near the foundation.
Ventilation can help control humidity inside the shed, especially where damp tools, lawn equipment, or garden supplies are stored.
Once the structure is dry, stable, and weatherproof, the interior can be adapted for practical use. Homeowners who use the space for projects may add storage, improved lighting, or a DIY workbench.
Know When Restoration Makes More Sense Than Replacement
Restoration is often reasonable when most of the structural framing remains sound and deterioration is confined to specific areas. A shed with localized siding damage, a repairable roof, several weak floorboards, or worn doors may still have considerable service life.
Consider how much original framing is intact, how many components require repair, and whether the existing structure still suits the property. A shed that fits the available space and provides useful storage or workspace may be worth preserving.
Replacement becomes more practical when deterioration is widespread across major structural systems. If the roof, floor, framing, and foundation have all lost significant strength, the amount of reconstruction required may approach the work involved in building a new shed.
The decision should be based on the overall condition of the structure rather than the appearance of a single damaged area.
Give the Shed a Longer Useful Life
A successful restoration follows a clear order: inspect the structure, correct moisture problems, stabilize the framing and supports, repair the roof, address damaged siding and flooring, and finish with doors, windows, and protective coatings.
Regular maintenance can help preserve those repairs. Inspect the roof after severe weather, keep vegetation away from the walls, monitor drainage around the base, and deal with small defects before they become structural problems.
If the shed retains a solid core and the sources of deterioration are corrected properly, restoration can extend its useful life without the disruption and material cost of immediate replacement.