Any garage or workshop can become a functional workspace with a workbench.
It provides a stable surface for drilling, cutting, sanding, and building without the need to balance equipment on the ground.
However, not every space or budget can accommodate a DIY workbench. This blog covers everything you need, including cut designs, workbench plans for various purposes, and tools and materials.
You can choose a workbench plan that suits you, no matter how big or small your garage is. Read on to learn how to build a strong DIY workbench step-by-step, without wasting time or money
Cut Plan and Measurements
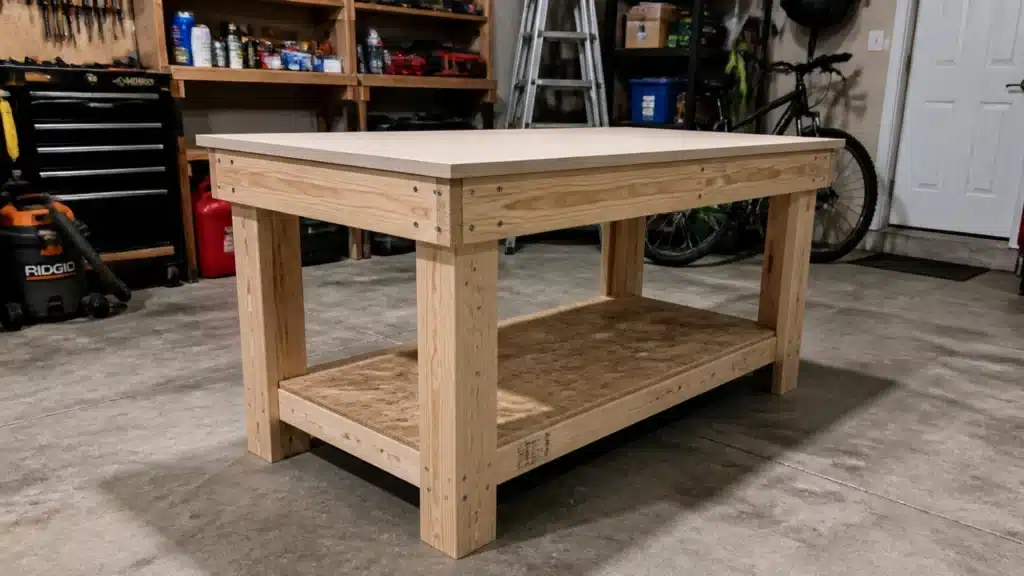
Building a workstation is much simpler with a clear-cut list. A basic cut list for a 2×4 workbench appears below, along with modifications for additional popular configurations.
Basic 2×4 Workbench Cut List
4 legs: 34 inches each
2 long rails: 60 inches each
2 short rails: 24 inches each
4 cross supports: 21 inches each
1 plywood top: 60 x 24 inches
Building a DIY Workbench for Your Space
Once the steps are broken down, building a workbench becomes easy. Following each step in order keeps the frame strong and level and helps you avoid errors.
Tools and Materials You Will Need for a Workbench
Tools
- Circular saw or table saw
- Drill and driver
- Tape measure
- Square
- Clamps
- Sandpaper or sander
Materials
- 2×4 lumber for the frame and legs
- 3/4 inch plywood for the top
- Wood screws
- Wood glue
- Casters (for mobility), hinges (for fold-down designs), pegboard panels (for tool storage)
Step 1: Cut All Lumber Pieces
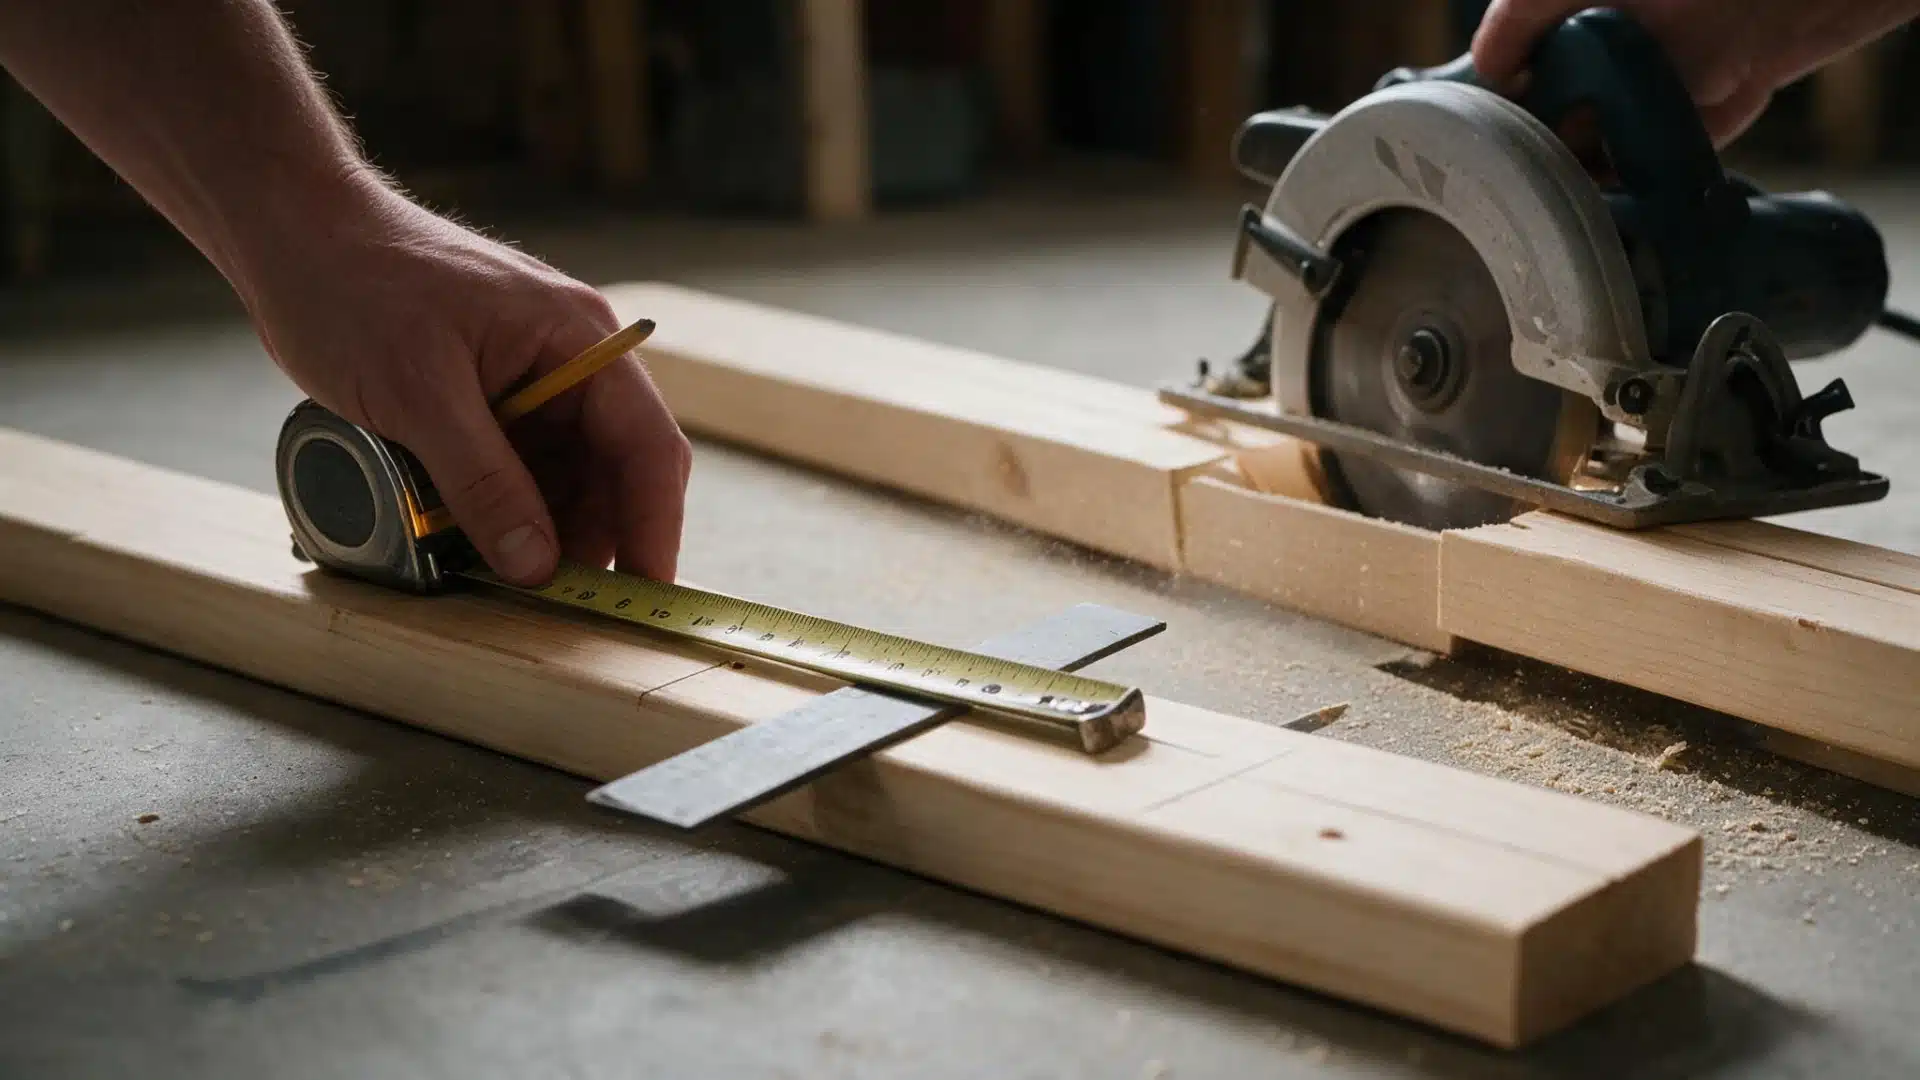
Cut all of the lumber in accordance with the selected cut list. Before cutting, double-check each measurement to prevent material waste.
Every cut is kept precise with the use of a square and tape measure. To keep things orderly during assembly, label each component if necessary.
Step 2: Build Two Leg Frames
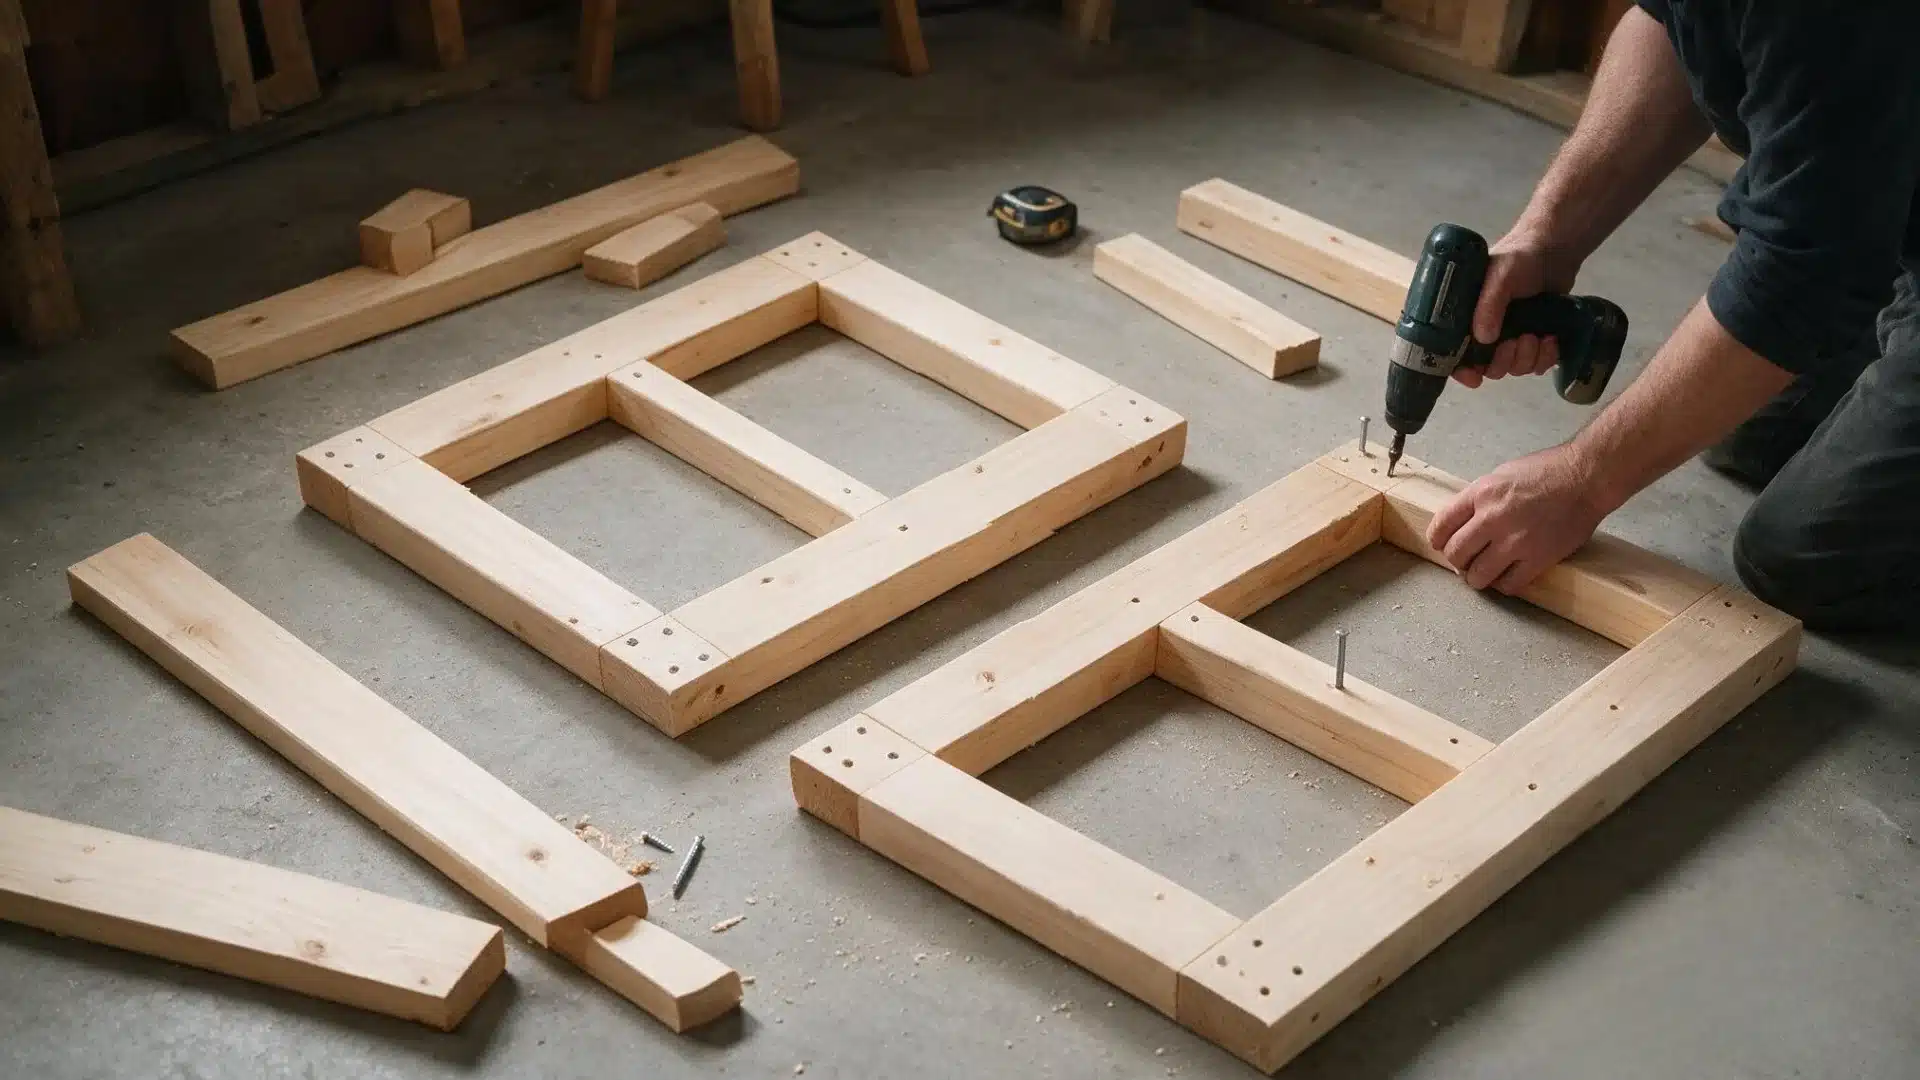
To construct two distinct leg frames, use rails and cross supports. Before using screws to attach the pieces, lay them flat on the ground.
To keep the frame even, keep the corners in line. These two frames form the workbench’s foundation.
Step 3: Connect the Leg Frames with Long Rails
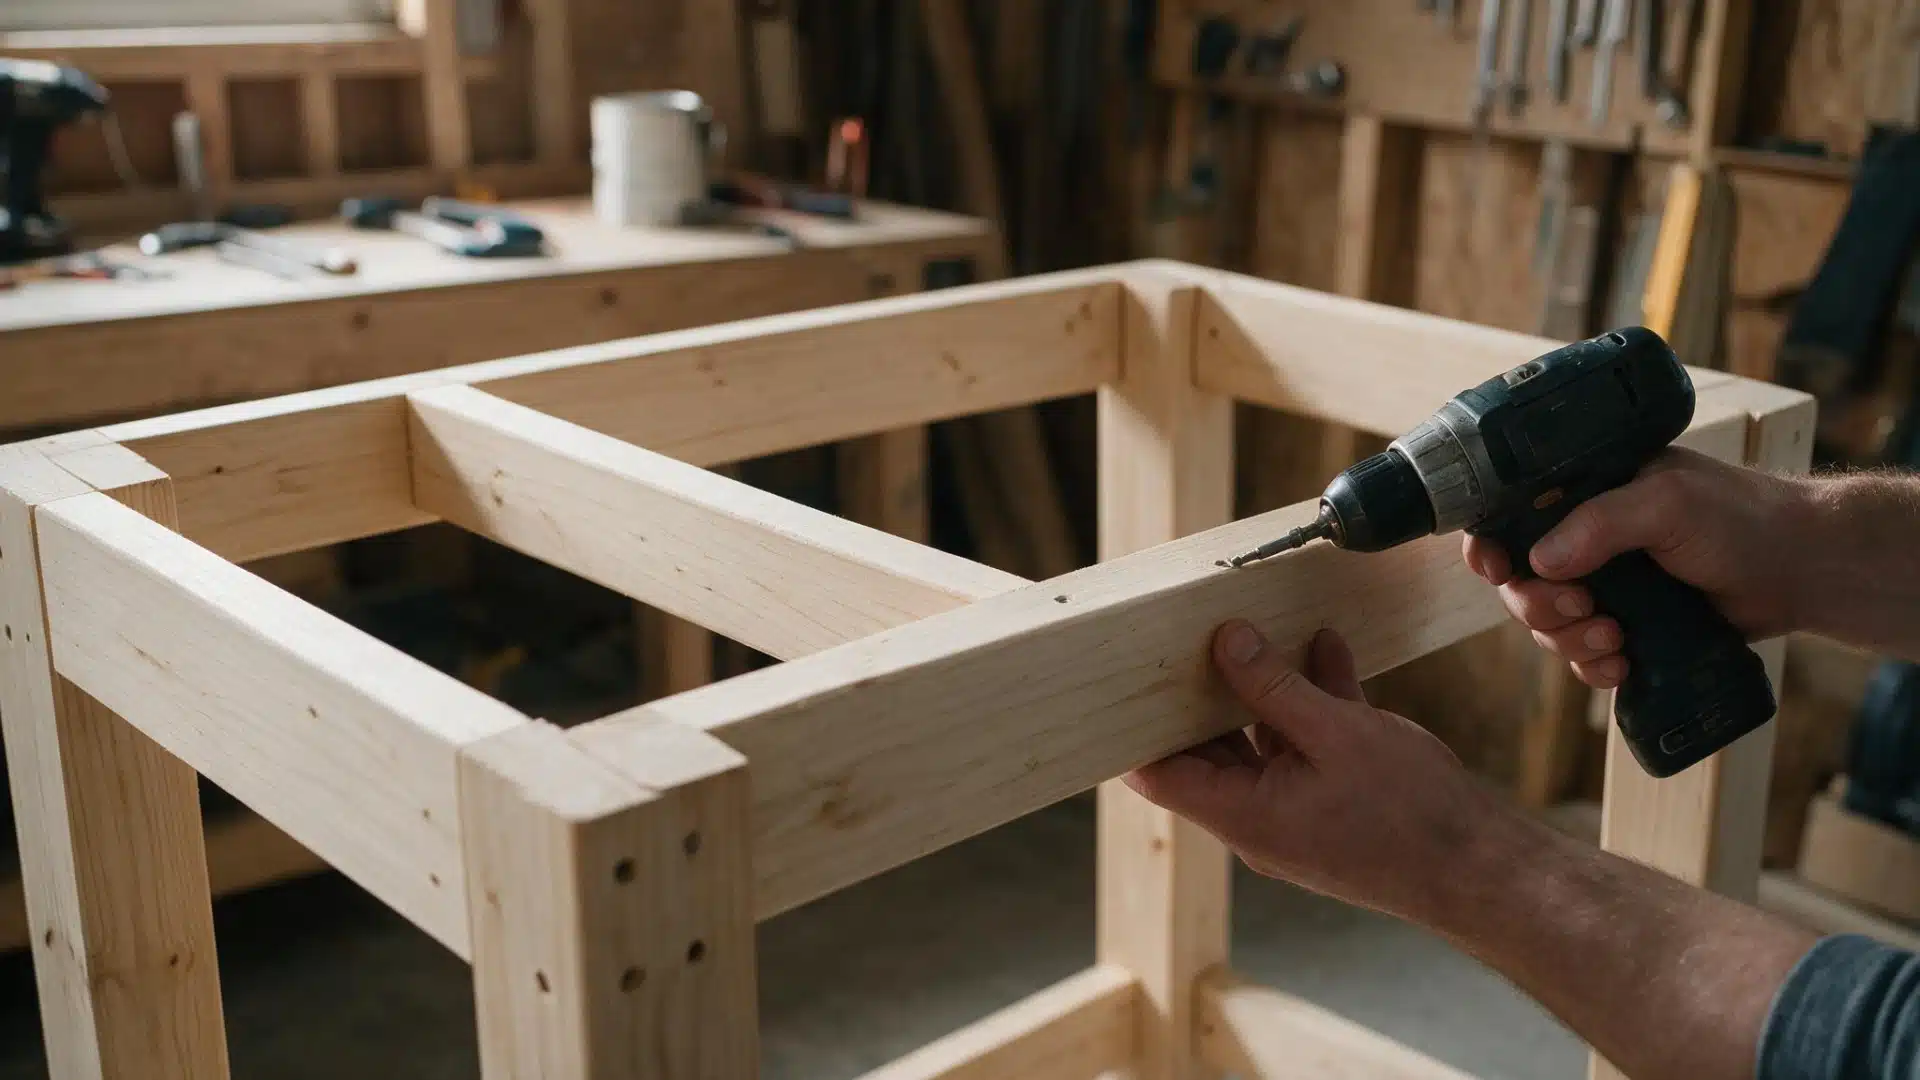
Use the long rails to connect the two leg frames. This step creates the workbench’s entire base. Verify that the rails are level on both sides. During this step, a companion may help keep the frame stable.
Step 4: Check the Frame Is Square
Make sure the frame is a perfect square before inserting screws. After measuring both diagonals, compare their lengths.
The frame is square and prepared for assembly if the measurements match. If you skip this step, your workbench may become unsteady later.
Step 5: Attach the Plywood Top
After positioning the plywood top on the frame, align its edges evenly. Secure the top along the sides and at each corner with wood screws.
Pre-drilling holes keeps the wood from splitting. A securely fastened top strengthens the entire bench.
Step 6: Sand Rough Edges and Corners
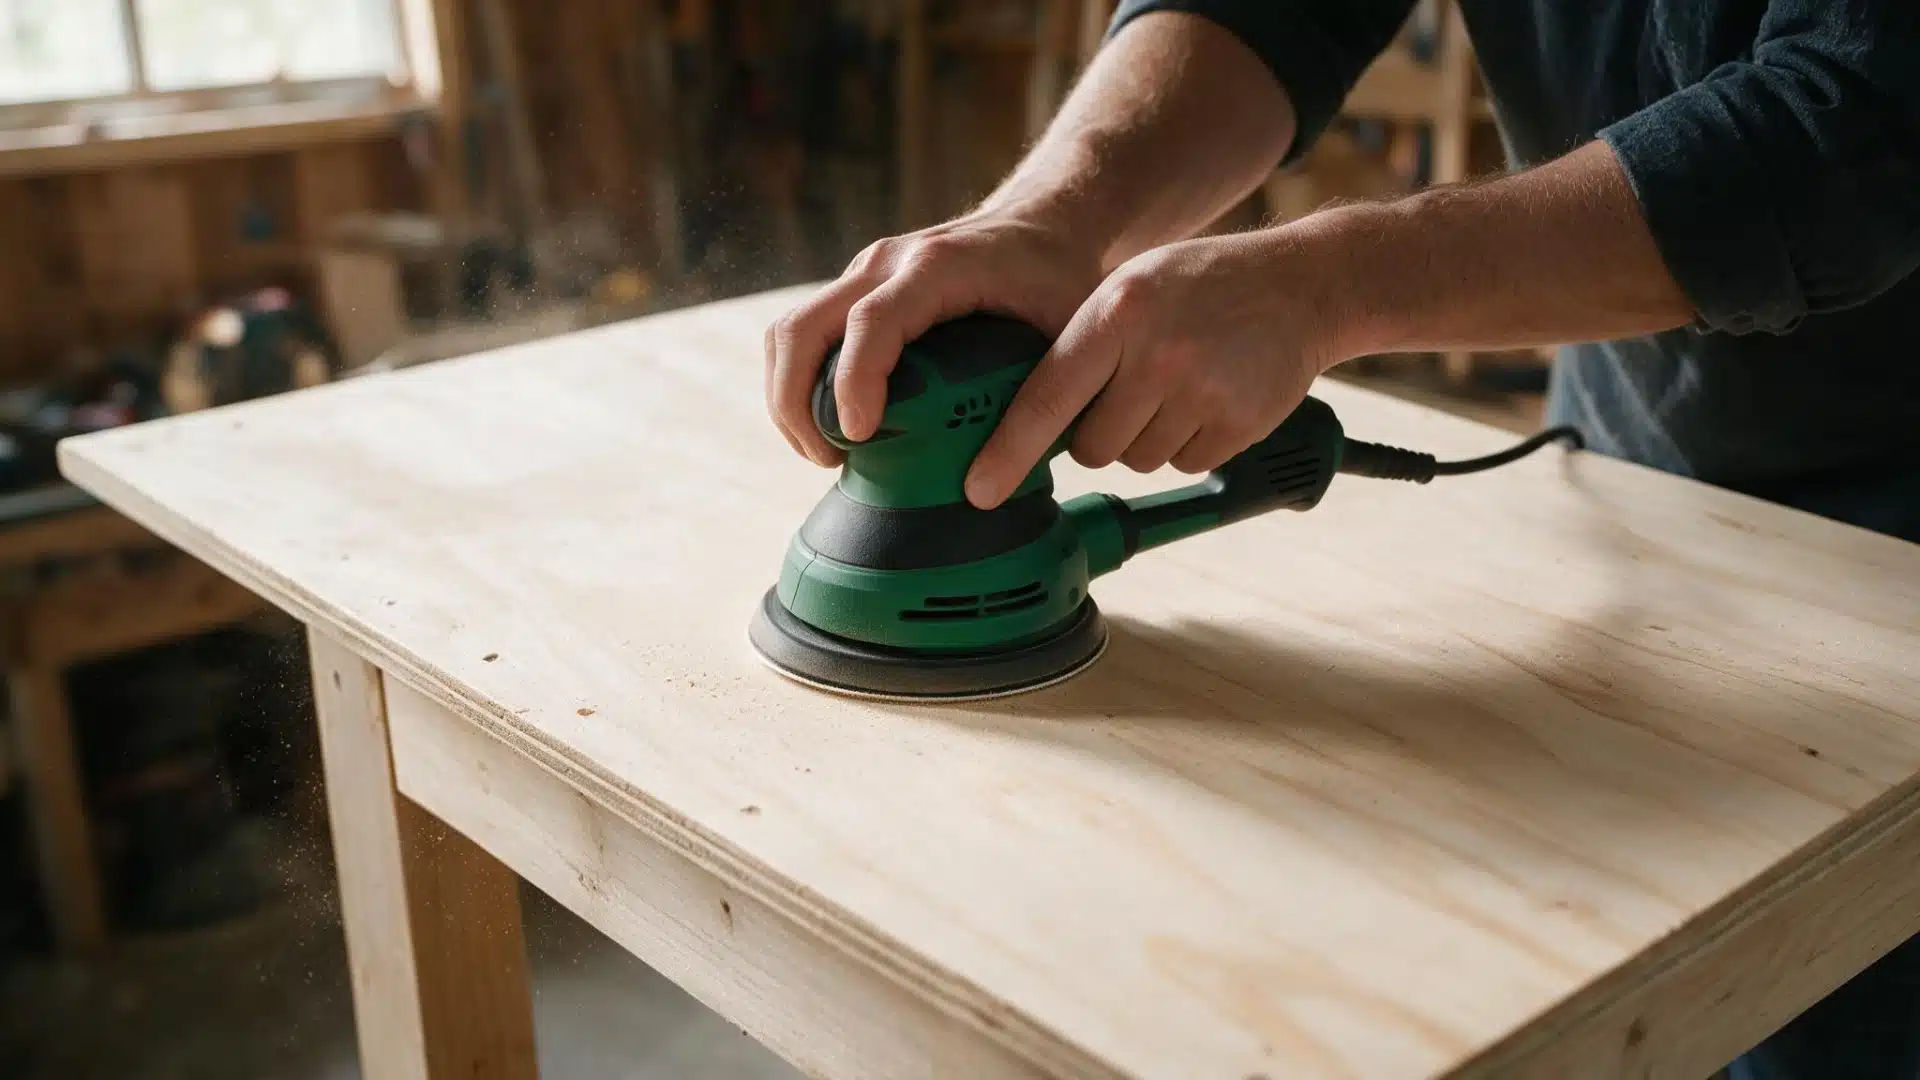
Sand down any sharp corners or uneven edges after you fasten the top. This also smooths the workbench surface.
Pay attention to areas where hands and tools will frequently come into contact. For most constructions, a brief sanding pass is sufficient.
Step 7: Add Casters or Shelves
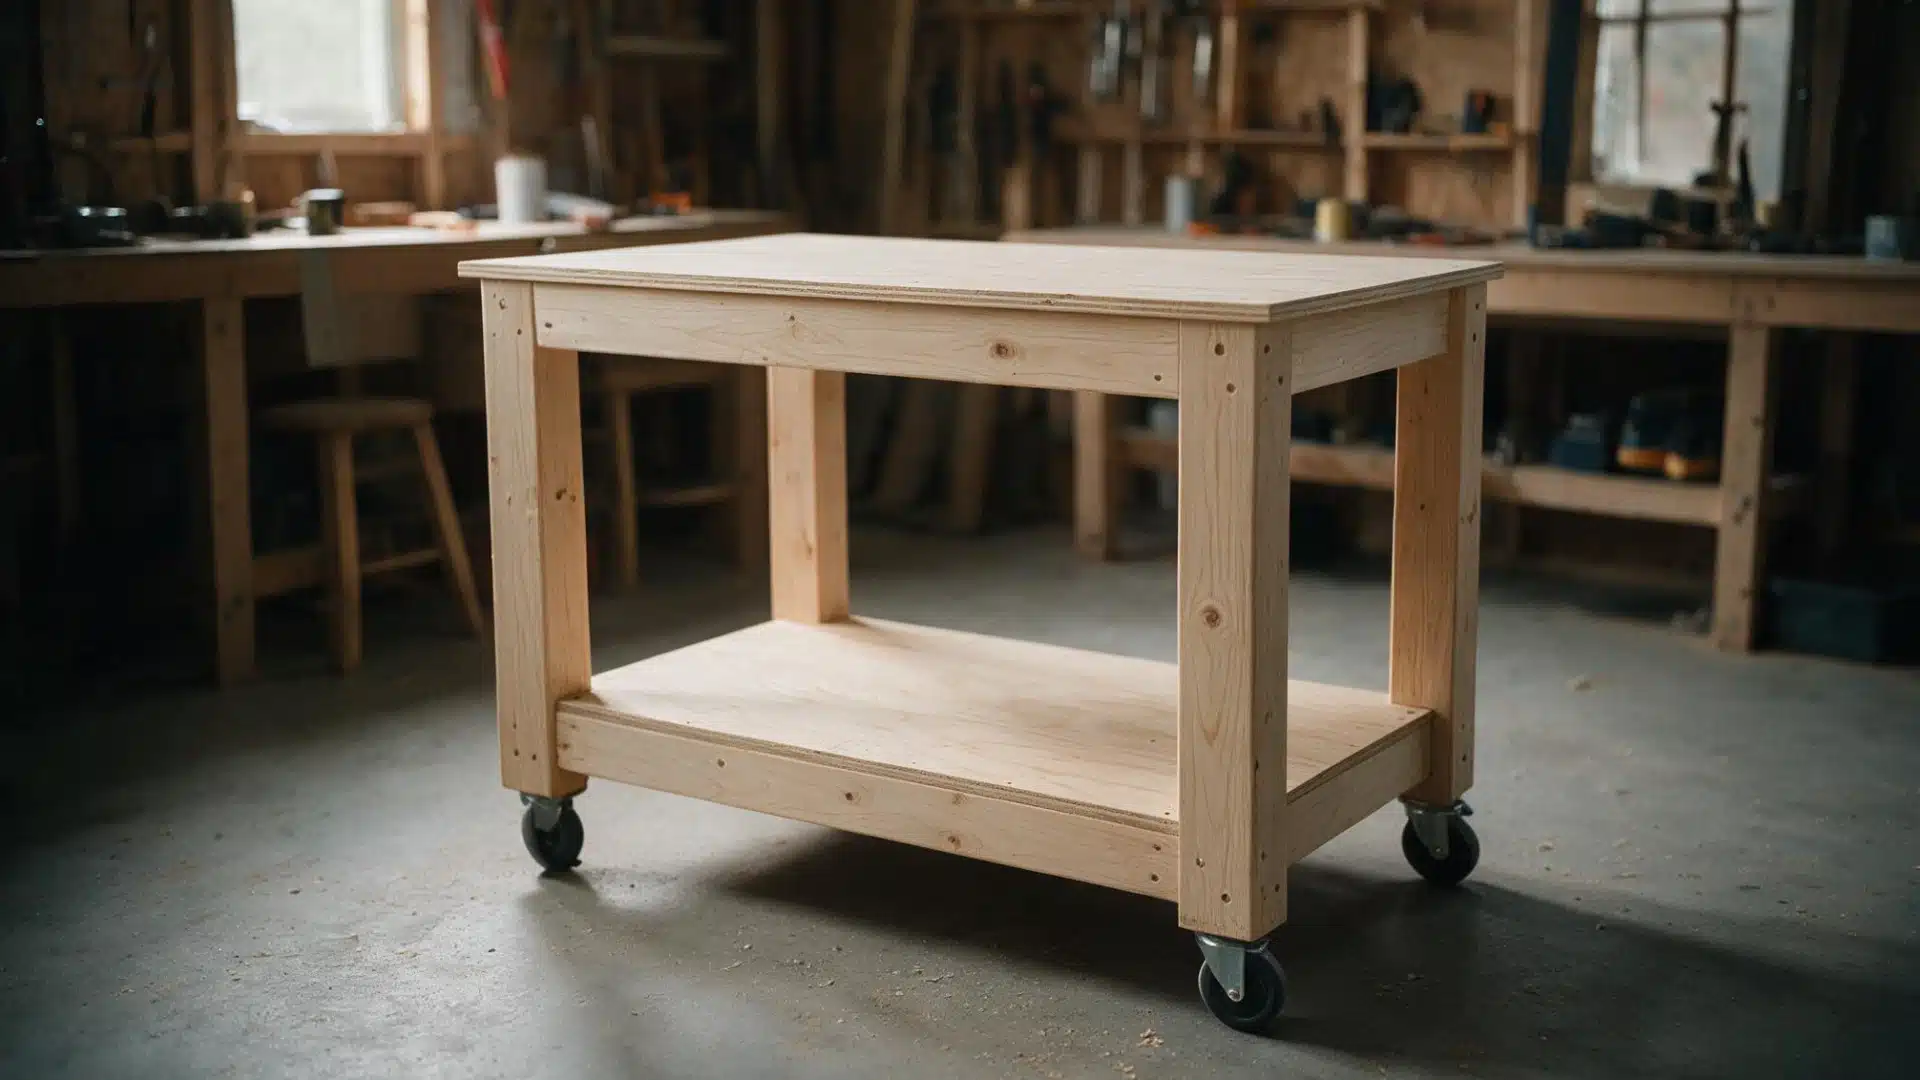
This is the last stage if the plan calls for shelves or casters. To increase mobility, fasten casters to the bottom of the legs.
For more storage space, add shelves underneath. The specific workbench plan you’re using determines this step.
Different Workbench Plans
Compact or Small-Space Workbench
For confined locations, shorten the top to 48 x 20 inches. Because the frame is smaller, use fewer cross supports. For a fold-down style appropriate for small sheds or garages, add hinges to one leg side.
2×4 Basic Workbench
This proposal makes no modifications to the cut list above. It works well for someone building their first workbench and suits mild to medium workshop chores.
The majority of people complete this build in a single afternoon.
Heavy Duty Mobile Workbench
For added strength, swap out all of the legs for 4×4 timber. To stop sagging, add two cross supports. Allow three to four inches for casters at the bottom of each leg.
The frame remains solid while in motion thanks to thicker screws.
Workbench with Storage
To support a shelf, add two side rails 12 inches from the bottom. For the base of a shelf or drawer, use extra plywood.
For drawer sliders, leave spaces between rails. Pegboard panels provide additional tool storage.
Workbench Plans for Different Needs
Each garage, shed, or workshop needs a different kind of workstation. These seven plans range from heavy-duty builds to compact ones for small spaces.
The best option depends on the bench’s intended function, available space, and budget.
1. Small Space Folding Workbench
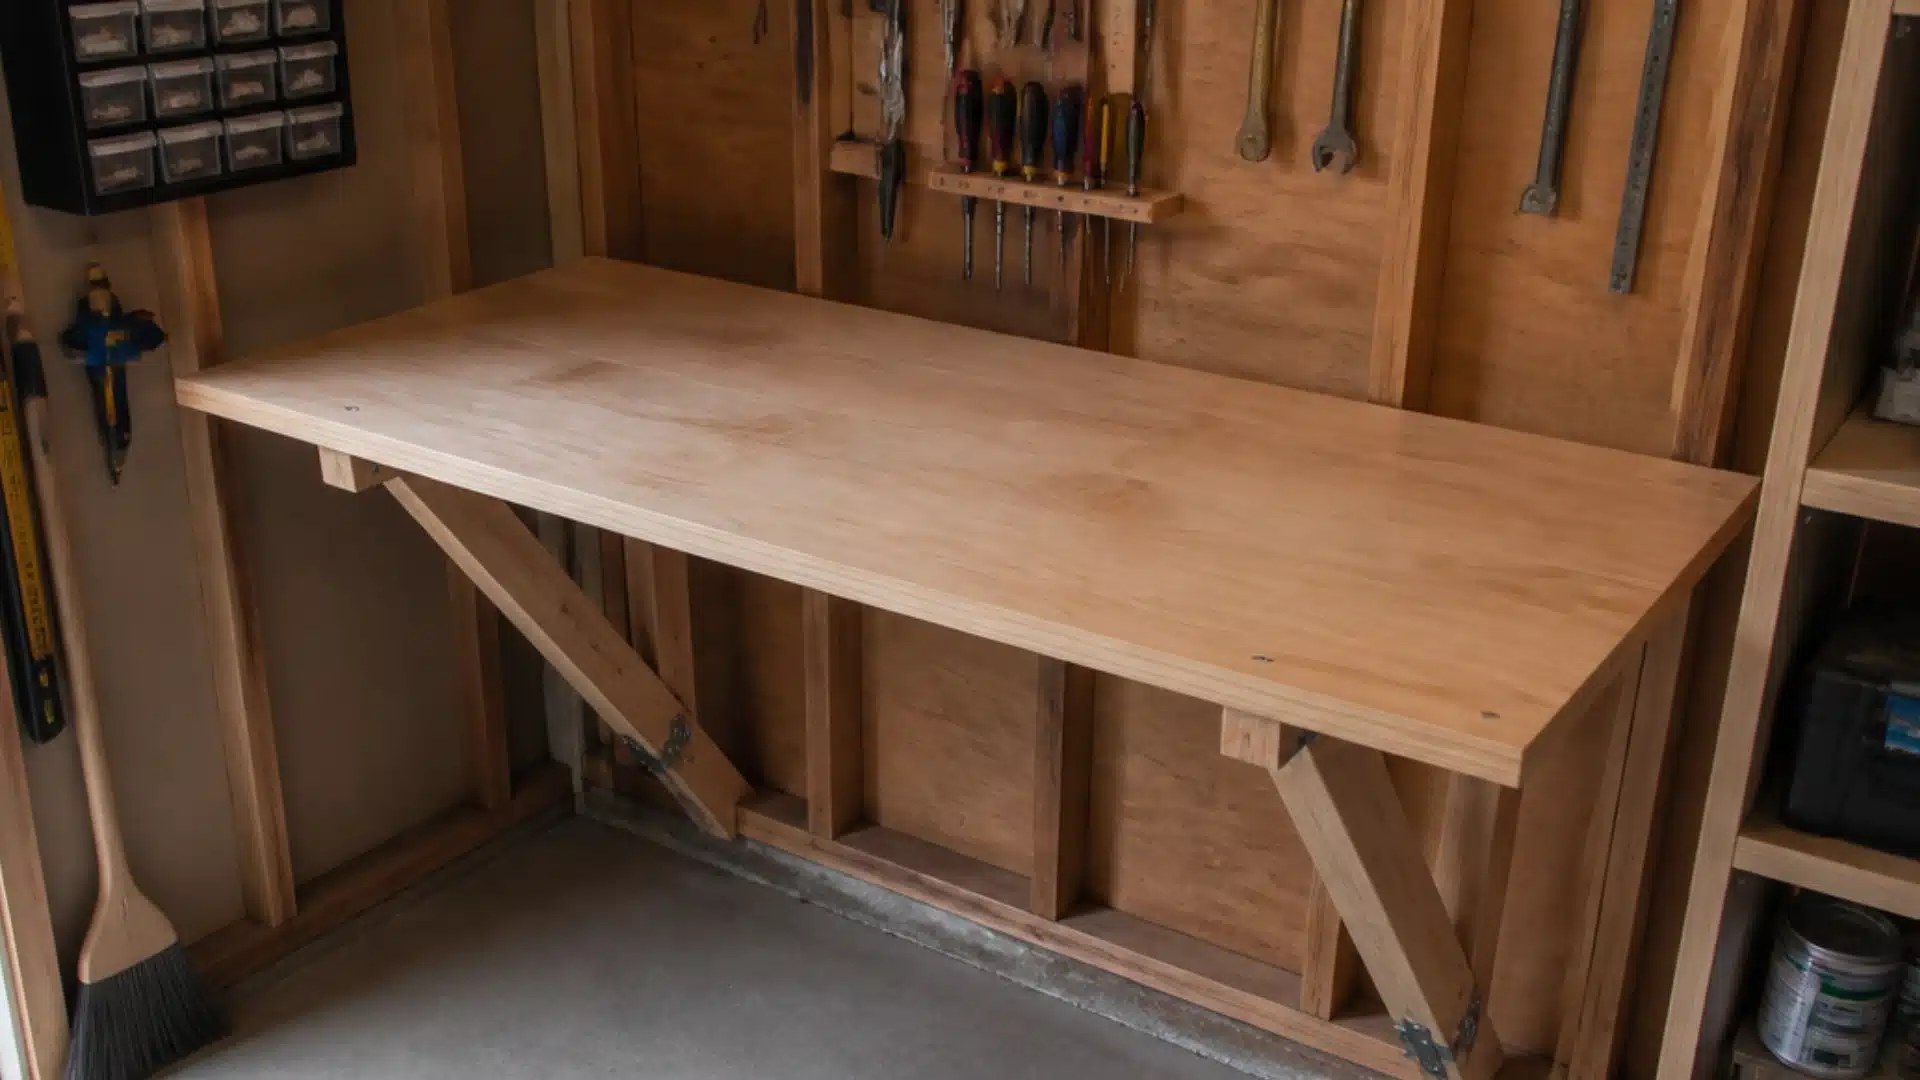
This design is ideal for small outbuildings or garages. When not in use, the workbench folds flat against a wall.
During a project, it provides a complete work area without taking up permanent space. Anyone with little floor space can use this design.
2. Heavy-Duty Garage Workbench
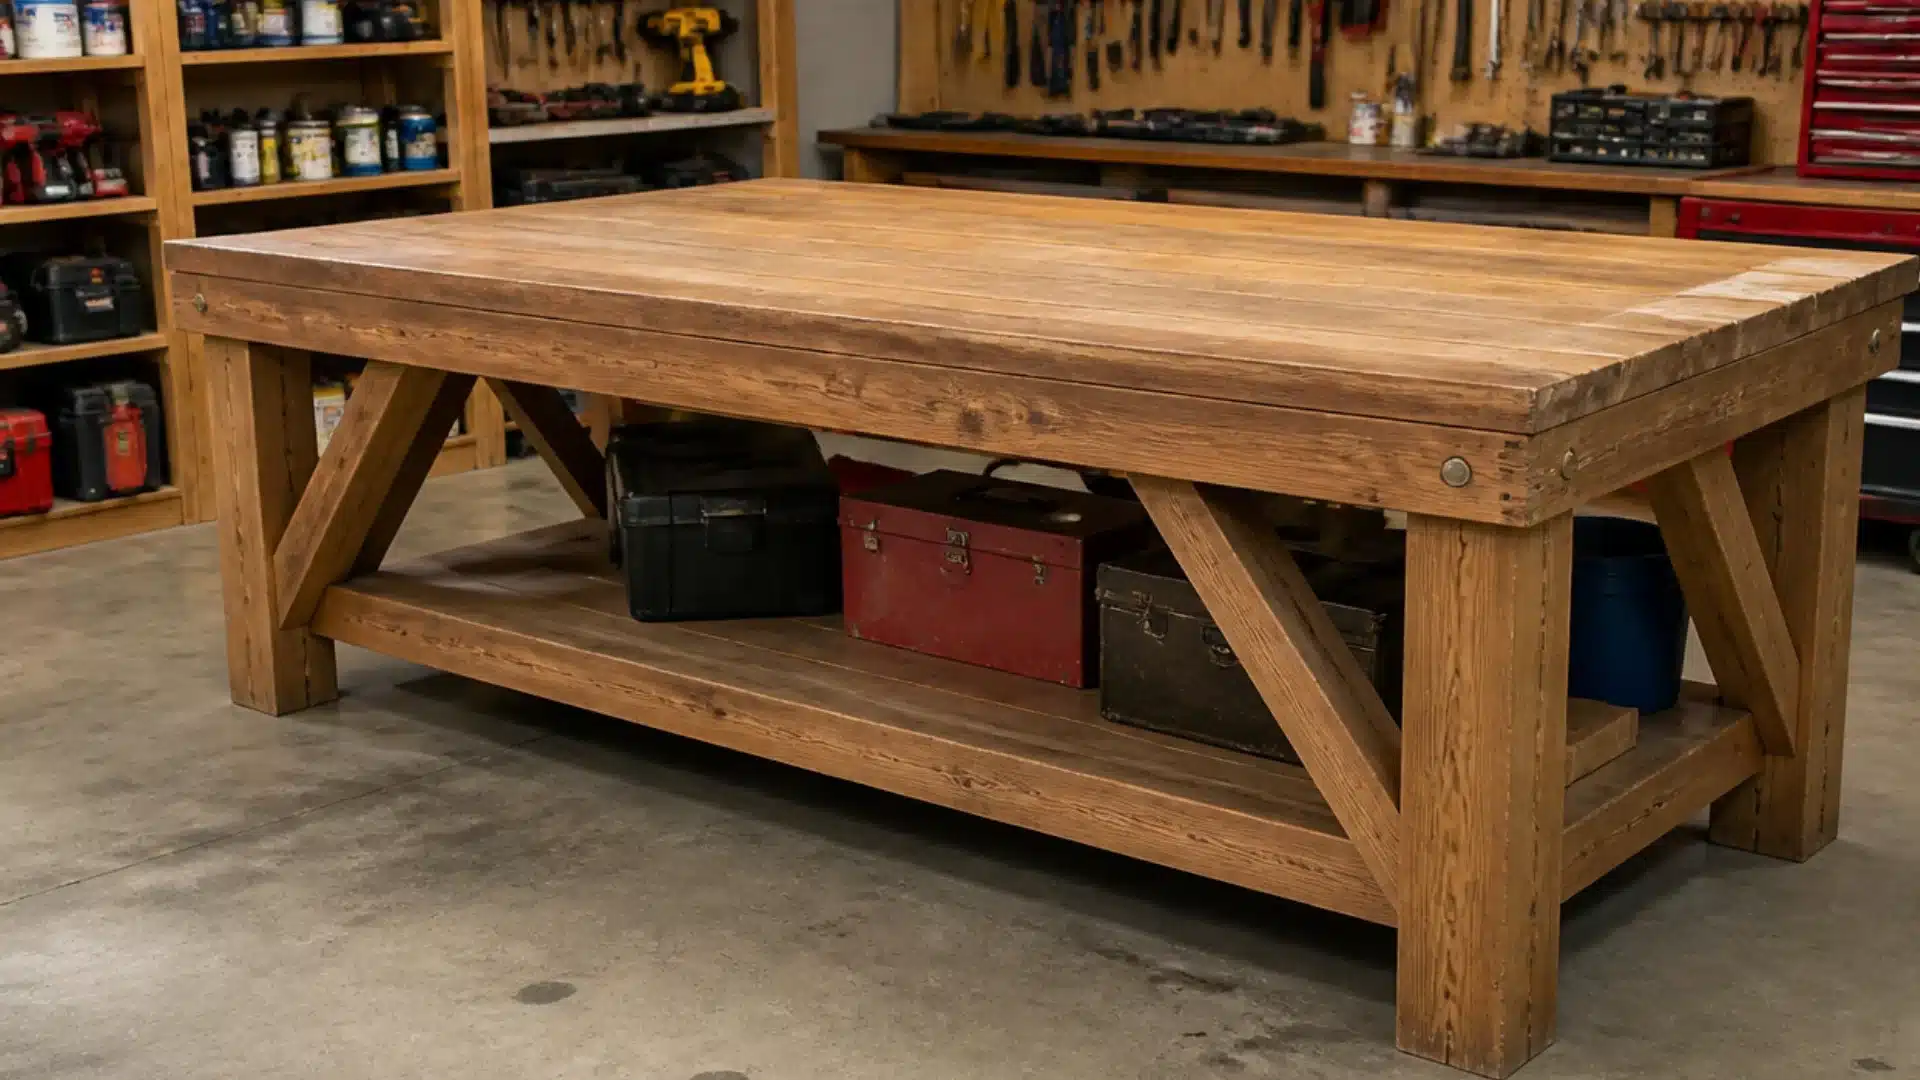
This workstation can withstand heavy tools and tough everyday use thanks to its 4×4 legs and extra bracing. Even with continuous drilling or pounding, it remains stable.
Anyone doing frequent workshop tasks or serious do-it-yourselfers might benefit from this method. Additional support beams increase long-term durability.
3. Portable Workbench
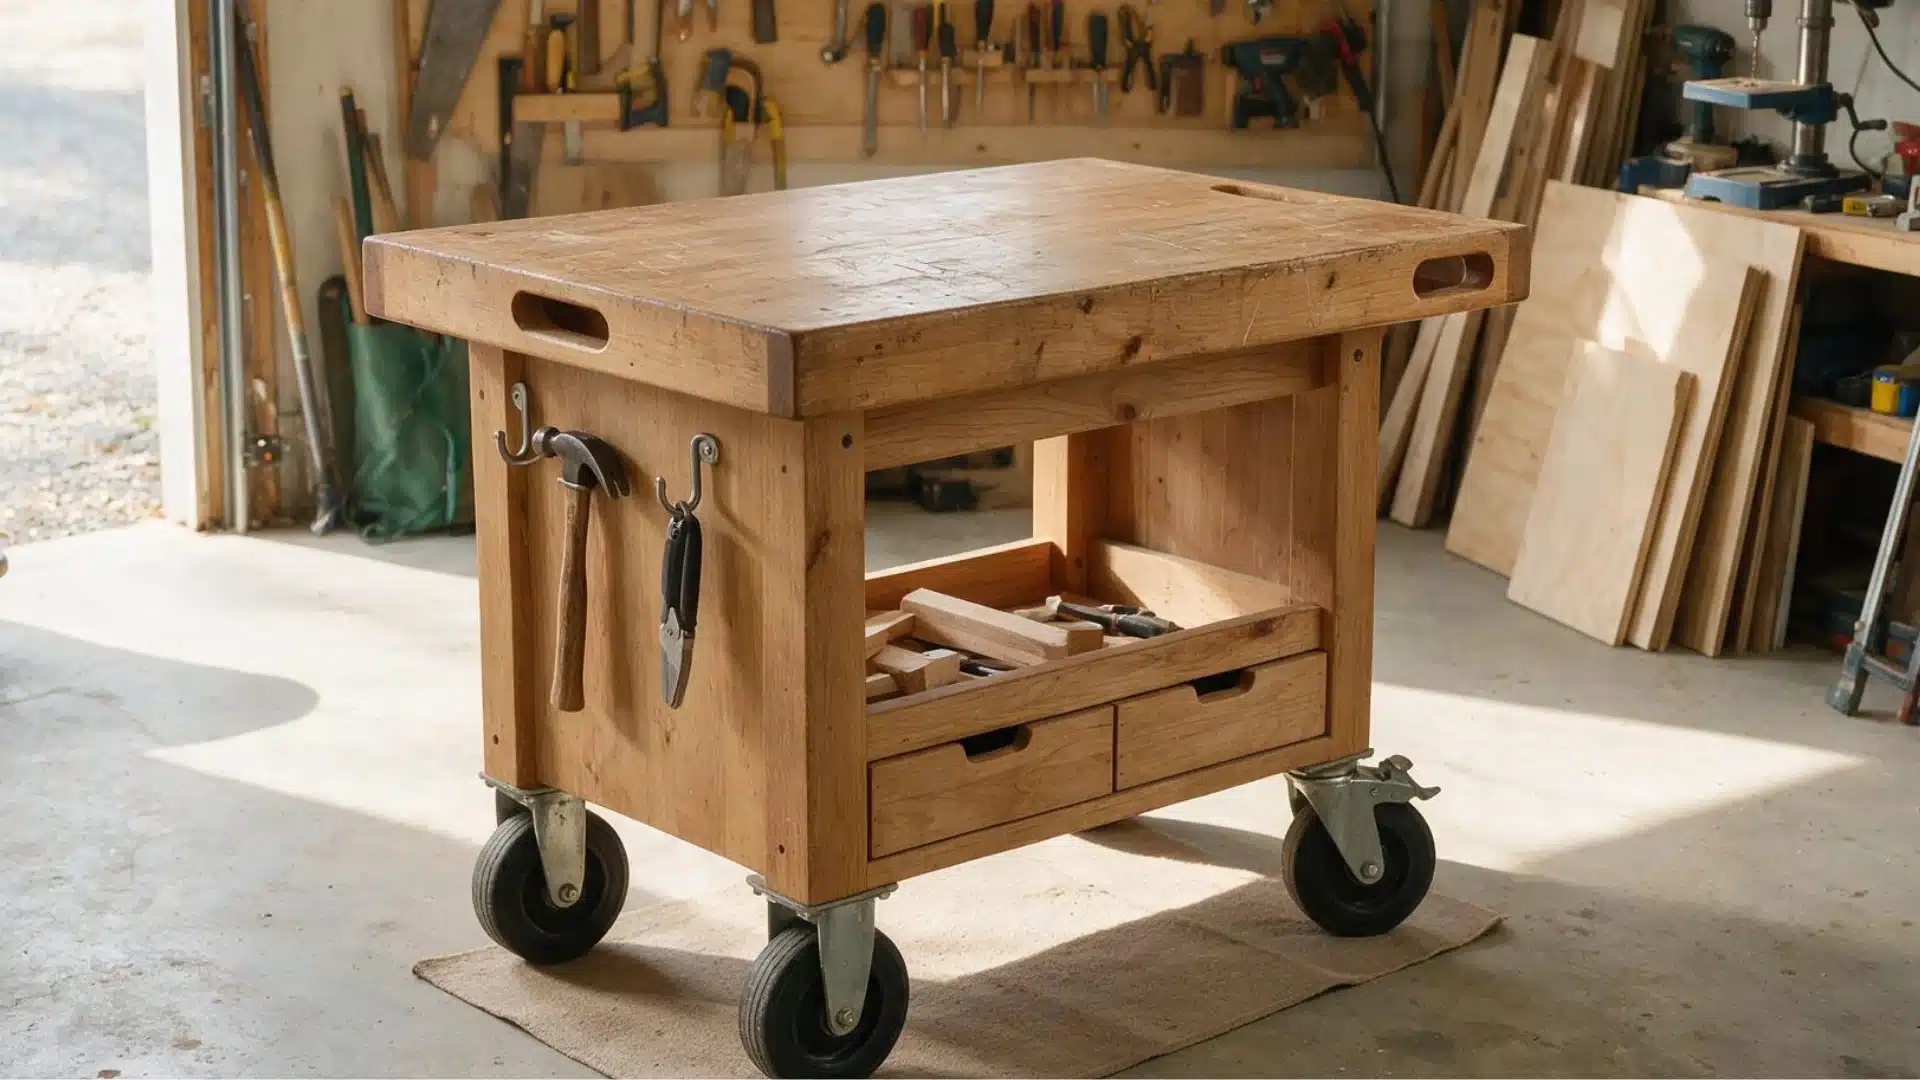
A portable workstation uses a lightweight structure with wheels or handles. It travels easily between work locations and other parts of the house.
For smaller tasks that don’t require a defined setup, this style works well. When not in use, it also conserves space.
4. Beginner Budget Workbench
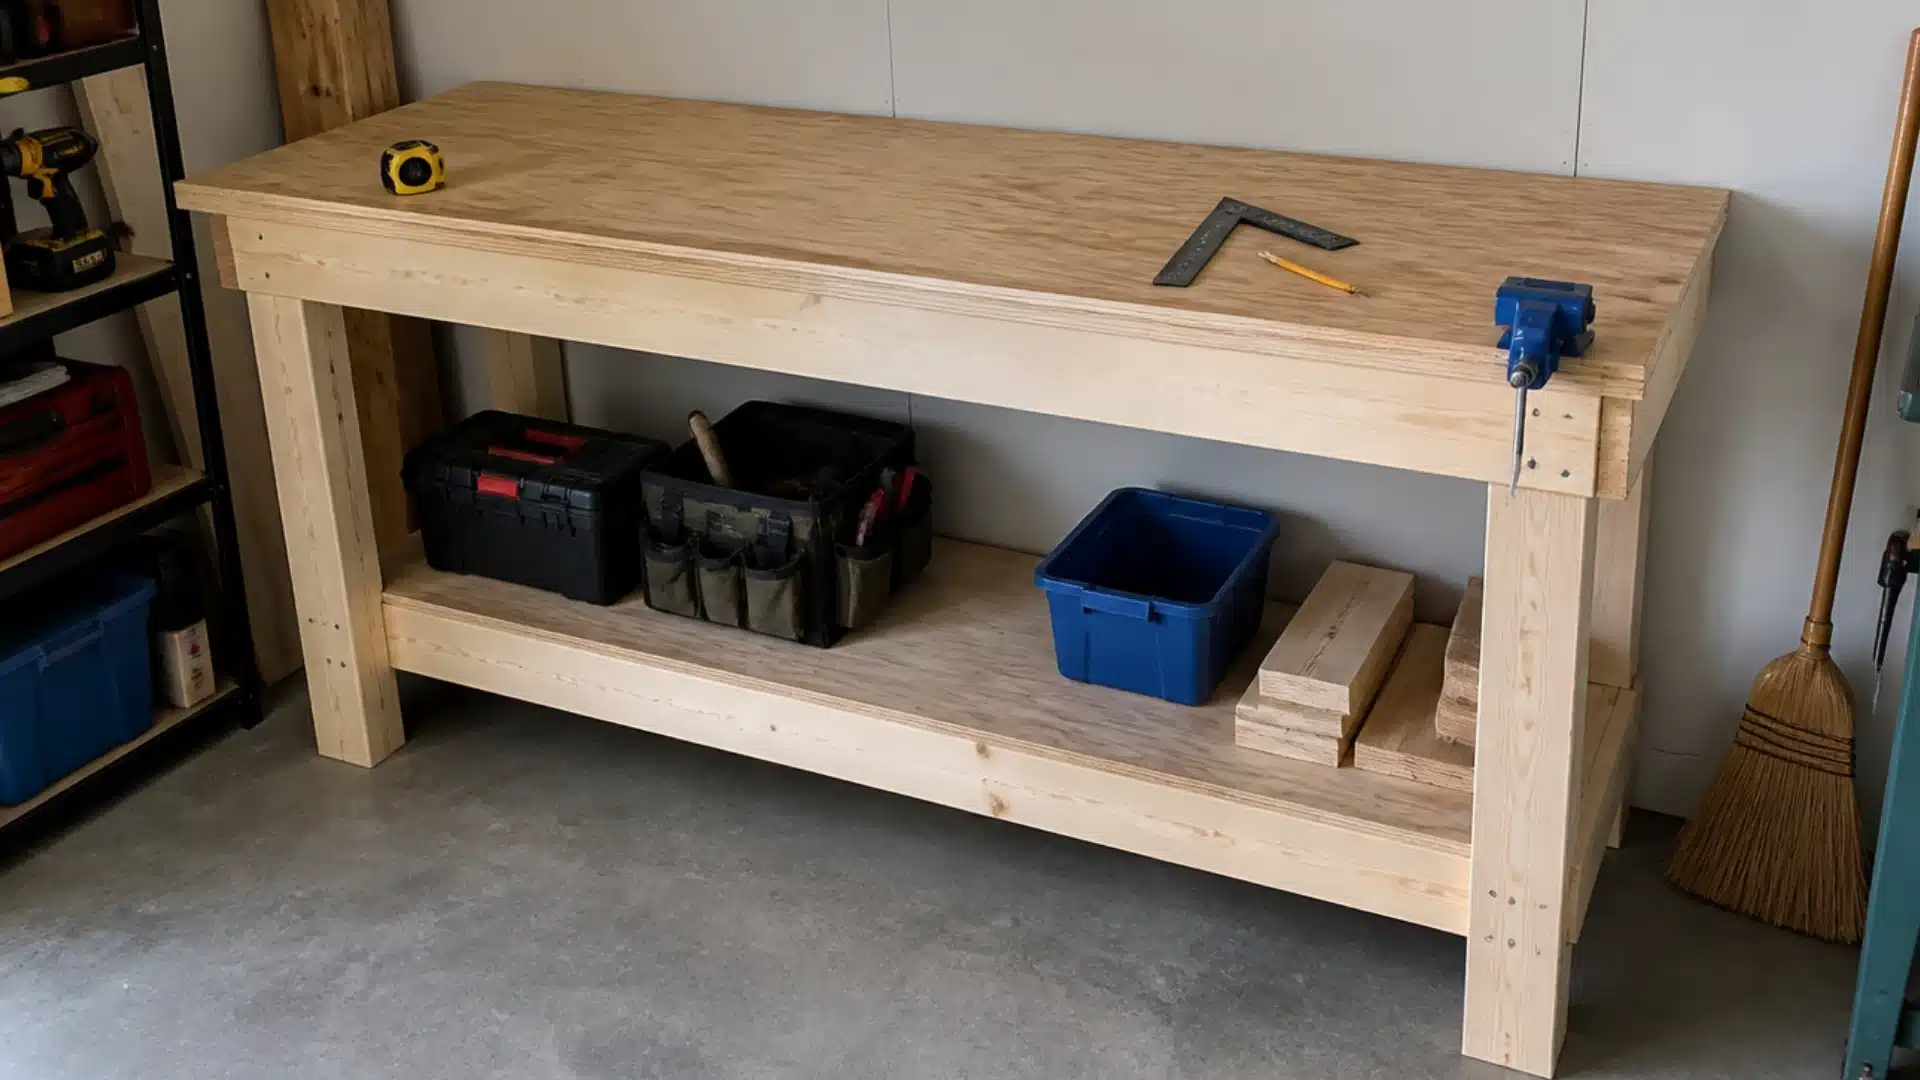
Basic tools and supplies are all you need for this straightforward 2×4 design. It is perfect for novice builders because it costs less than $100 to construct.
The simple design makes assembly quick and simple. Light household or garage duties are a good fit for it.
5. Workbench with Built-In Storage
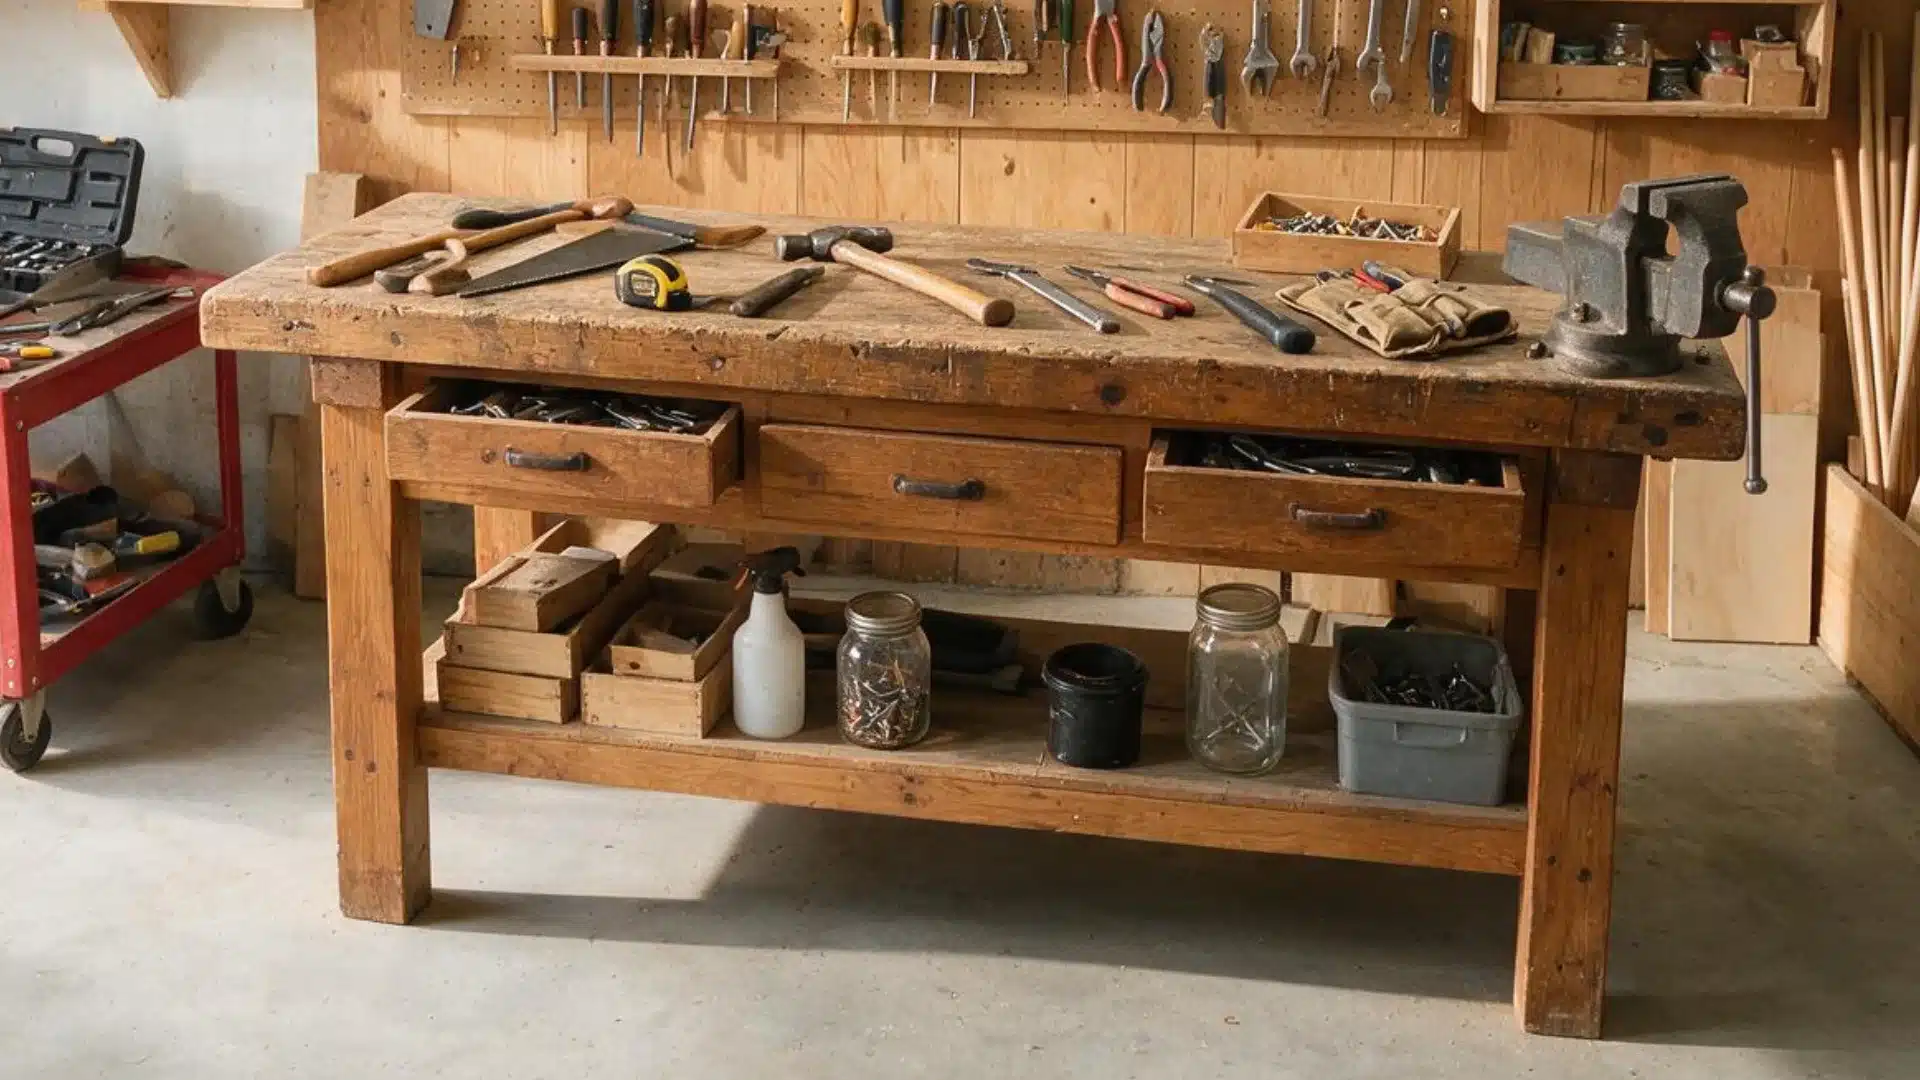
This design incorporates drawers or shelves right into the frame. During projects, it keeps tools off the ground and organized.
In smaller workshops, storage space significantly lessens clutter. Anyone looking for a tidy, useful workspace would find this design appealing.
6. Table Saw Workbench
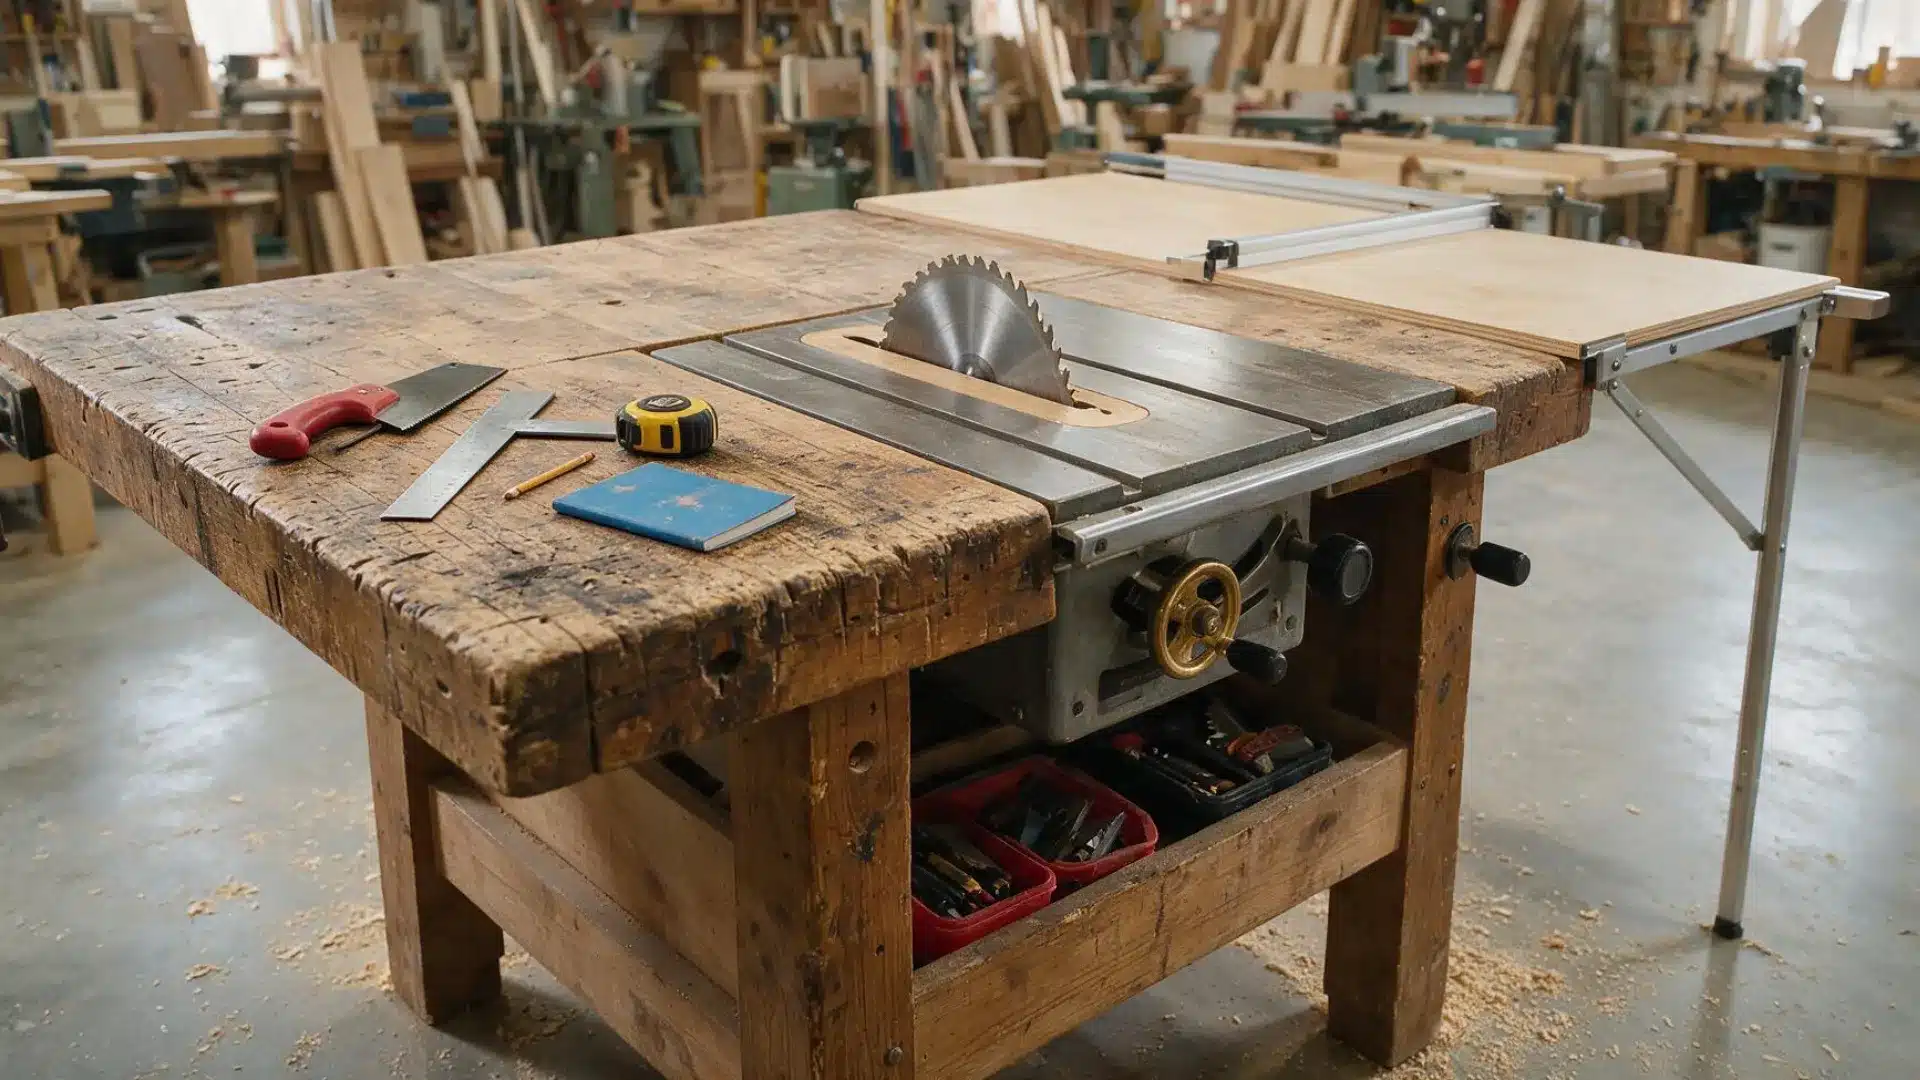
This workstation keeps a table saw steady and often includes outfeed support. Long boards are easier to handle during cuts with the added support.
For saw-based tasks, this method improves precision and safety. It works best for woodworking projects.
7. Outdoor Workbench
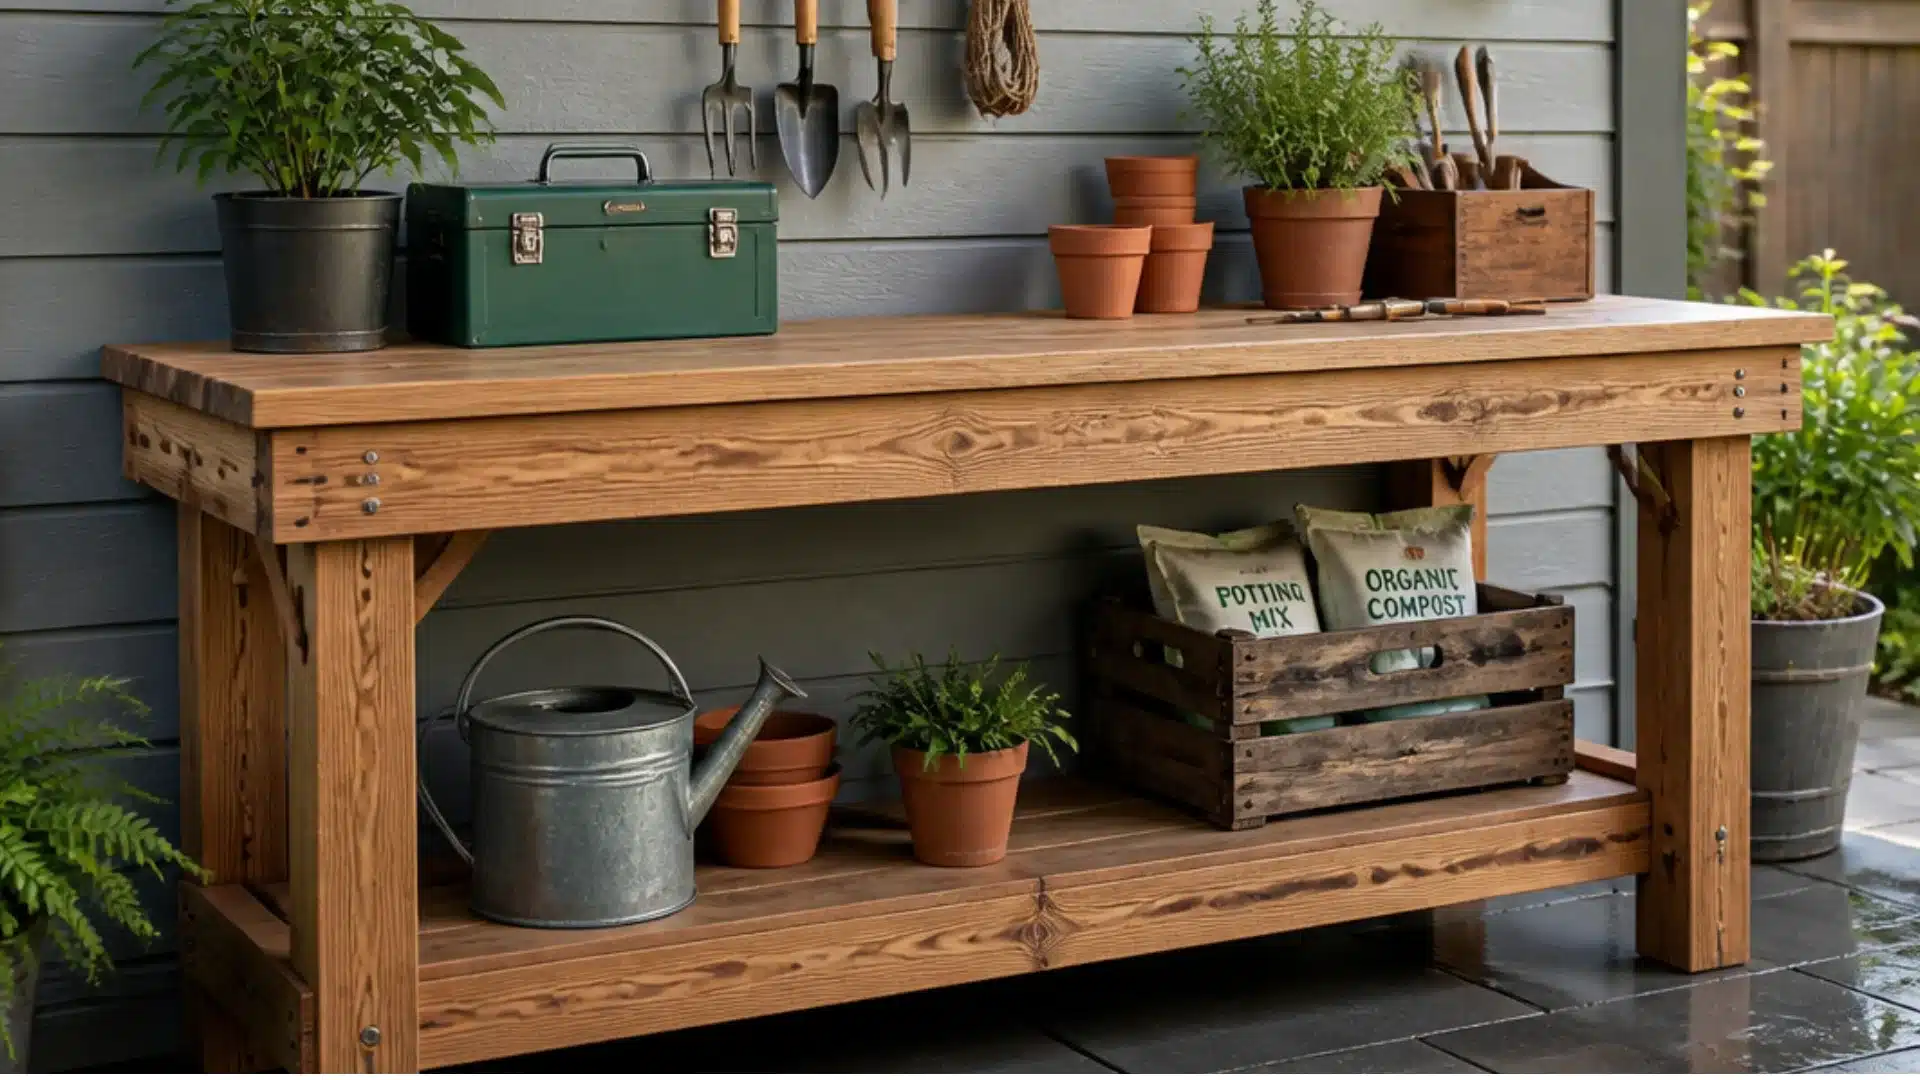
This workstation is durable outside because it is made of weather-resistant wood. It is useful for outdoor repair projects, gardening, and potting.
The robust design resists moisture and normal wear from outdoor use. Anyone who needs a place to work outside of their garage can use this layout.
How Much Does it Cost to Build a Workbench?
The materials, size, and design selected determine the cost of a workbench. The majority of basic projects are inexpensive and don’t require expensive equipment.
For anyone building their first bench, a basic 2×4 workbench is a good option because they typically cost between $50 and $100.
As it requires heavier lumber and caster wheels, a heavy-duty mobile workbench costs more, typically between $100 and $200.
As additional shelves, drawers, or pegboard panels increase the cost of materials, a workstation with storage typically costs between $150 and $300.
The cost of lumber, local store prices, and any additional hardware needed for the construction can all affect the price.
Conclusion
Building a DIY workbench does not have to feel complicated. Anyone can build a solid workspace at home with the right tools and a plan you actually follow.
This blog covered the fundamentals, such as selecting materials and workbench plans for storage needs, garages, and small areas.
A well-built workbench is more than a piece of furniture is the starting point for all subsequent projects
A well-built bench makes work safer and easier, whether it holds a stack of tools, a saw, or a vise. Pick the plan that fits your space and get building.
Frequently Asked Questions (FAQs)
1. Is it Cheaper to Buy or Build a Workbench?
Building usually costs less than buying, especially with simple 2×4 designs.
2. How to Build an Inexpensive Workbench?
Use a basic 2×4 design, buy lumber in bulk, and skip pre-cut kits to keep costs down
3. What is the Best Inexpensive Workbench to Build?
A basic 2×4 workbench offers the best value on a tight budget.