Old wood furniture often looks tired and dark. It sits in a corner, ignored, waiting for a fresh start.
A whitewash can fix that in just one afternoon. This simple trick softens hard grain lines and adds a rustic touch to any piece. It works on tables, shelves, and even fences.
Anyone can learn how to whitewash wood with basic supplies from a hardware store. No fancy tools or skills are needed.
Below you will see the steps, from prepping the surface to applying the final coat, so the wood gets that soft, rustic finish people love.
What is White Washed Wood?
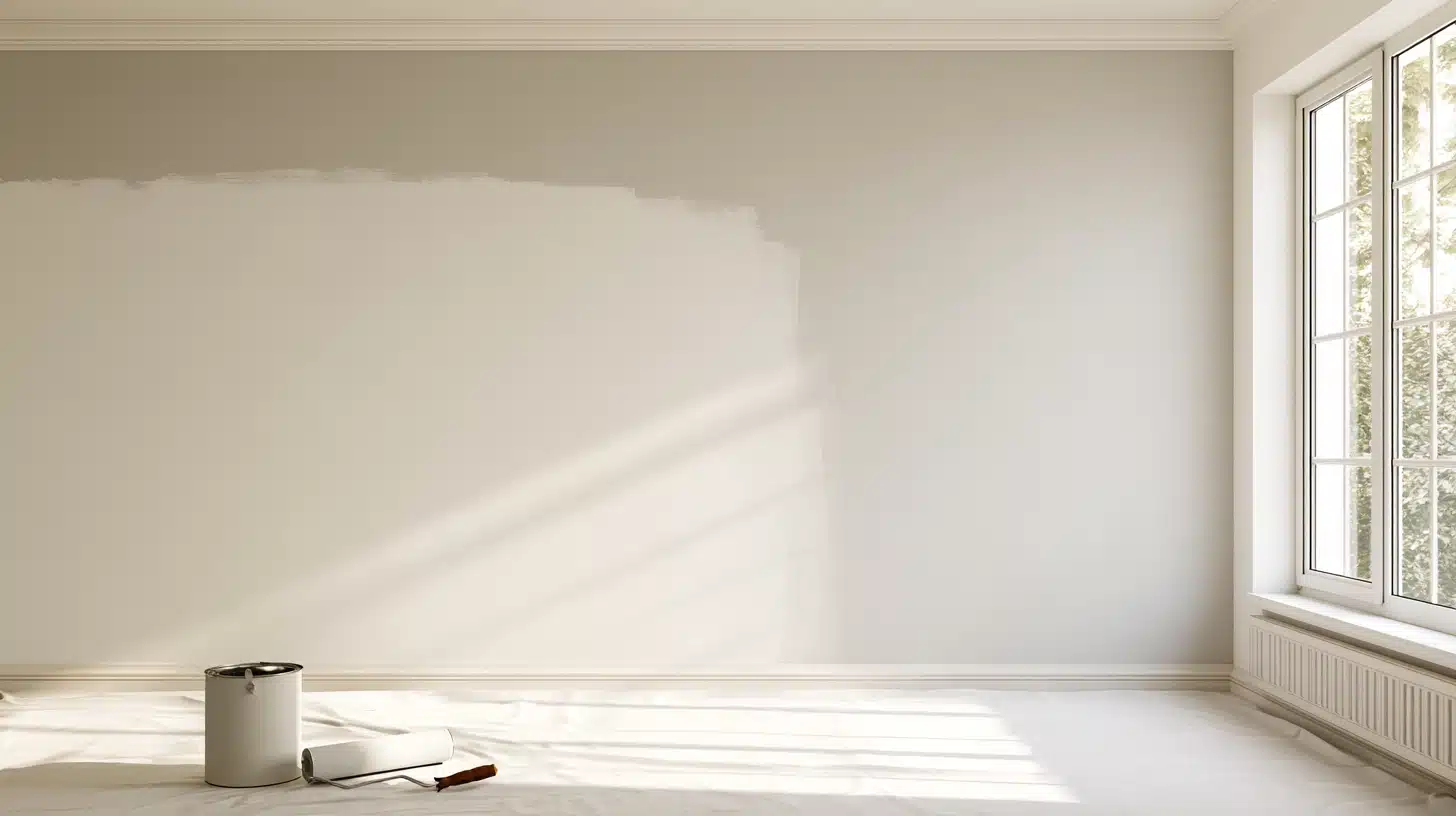
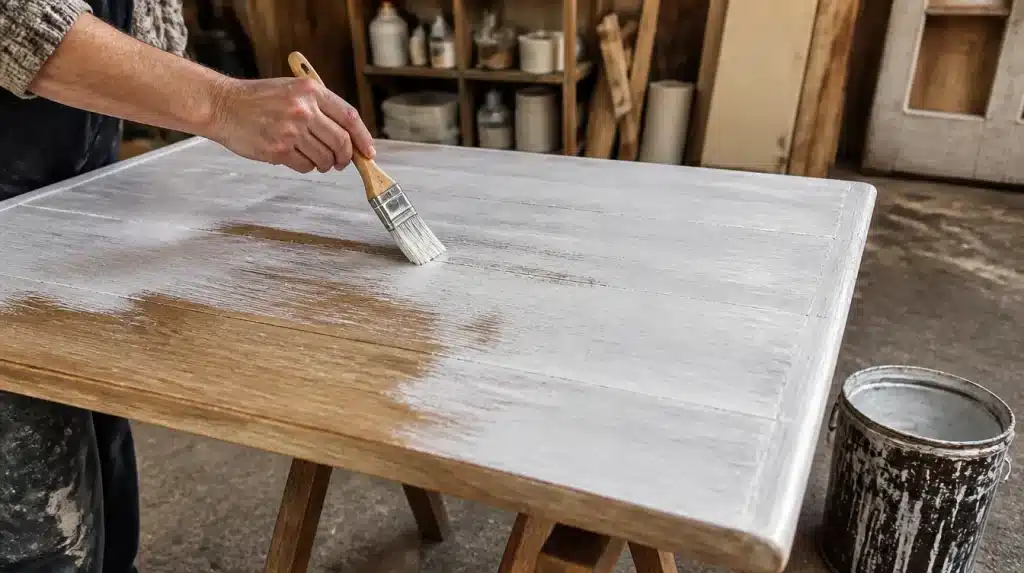
This wood refers to wood treated with a thin layer of white paint or stain. However, this layer does not completely cover the wood, allowing the grain to show.
As a result, the surface looks soft and muted. Many prefer this style due to its relaxed, homey appeal, making it great for flooring, furniture, and walls.
The method also lightens the wood’s color without completely concealing it. Whitewashing allows the texture of the wood to be shown, unlike regular solid-white paint.
This makes it popular in rustic or farmhouse designs.
Is Whitewash Just Watered Down Paint?
Yes, whitewash starts as regular white latex paint diluted with water. Water reduces the paint’s viscosity and makes it translucent. It makes wood grain visible under the layer of white paint.
However, whitewash is not exactly the same thing as the regular watered paint for other applications. The paint-to-water ratio plays an important role in this process.
Too much water creates an insufficiently viscous paint that can’t retain its color. Not enough water results in regular paint, which covers wood grain.
Always test the mix on a scrap piece of wood before applying it to your project.
What Do You Need to Whitewash Wood?
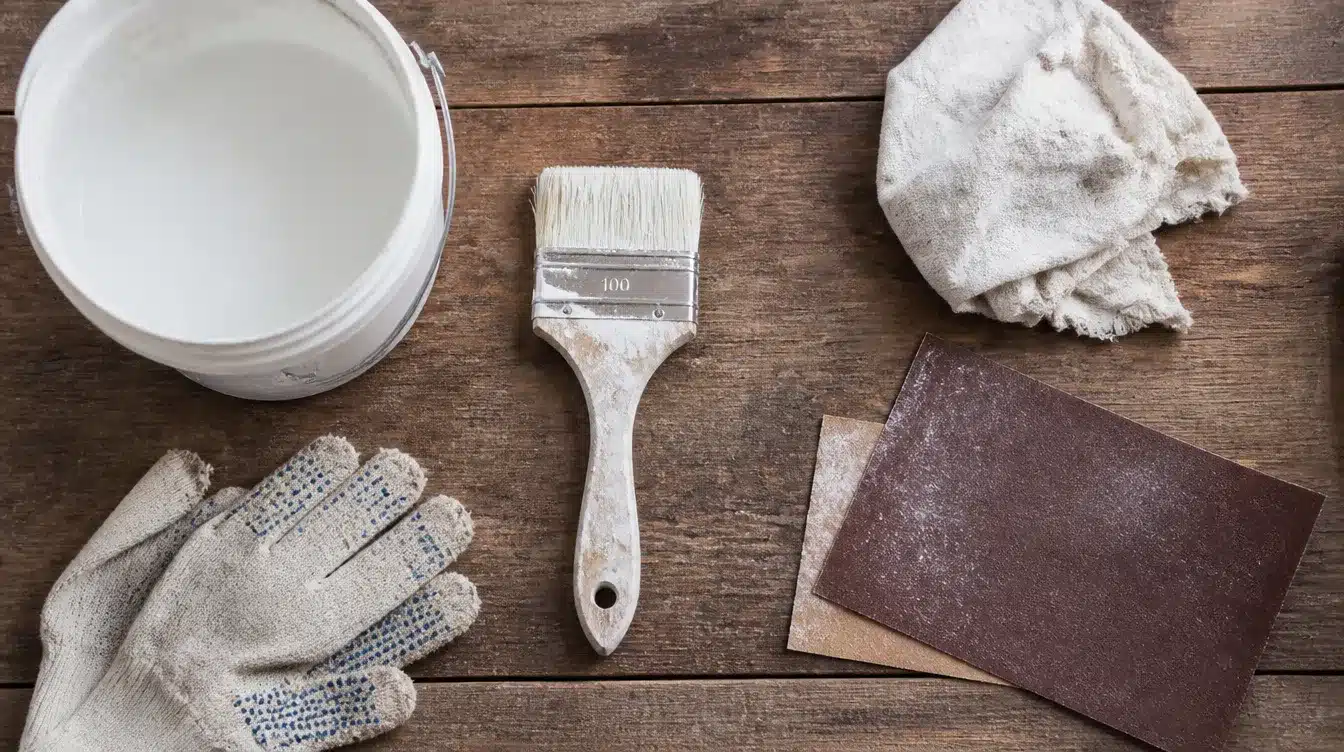
Whitewashing wood doesn’t require a long shopping list. A few simple supplies get the job done right.
- White paint or whitewash stain
- Water (to thin the paint)
- Paintbrush or rag
- Fine-grit sandpaper
- Clean cloth
- Bucket or mixing container
- Protective gloves
- Drop cloth or old newspaper
How to Make Whitewash Paint?
Making paint at home is easy. It takes just two basic items: white paint and water.
First, take some white latex paint and mix it with an equal amount of water in a bucket. Stir them well to get the thinner mixture whose consistency is similar to water.
This mixture should not feel like thick paint; instead, it should resemble liquid milk. If you like a lighter shade, you should add more water. If you want a deeper tone, decrease the amount of water you add.
To find out the needed shade for your main object, do some test painting on a piece of scrap wood.
Ratio and Application Plan
Getting the right ratio matters for a smooth finish.
Most of the time, a 1:1 ratio of paint and water works just fine. You will get a watery coat that allows the wood’s texture to shine through. For a heavier finish, you can use a 2:1 paint-to-water mix.
This thickens the mixture but retains some transparency. However, always test the blend in a spot that isn’t visible to see how it works. The final result may depend on the type of wood used.
To execute the plan, do the following:
- Clean the wood surface
- Sand the wood
- Wipe off the dust
- Mix the paint and water to the desired ratio
- Dip a brush or cloth in the mixture
- Apply in line with the wood grain
- Wipe off residual paint
- Let the first coat dry fully before adding more
- Add a second coat only if a deeper look is needed
How to Whitewash Wood Step by Step?
Whitewashing wood becomes simple once broken into clear steps. Anyone can follow this process at home with basic tools.
Step 1: Clean the Wood Surface
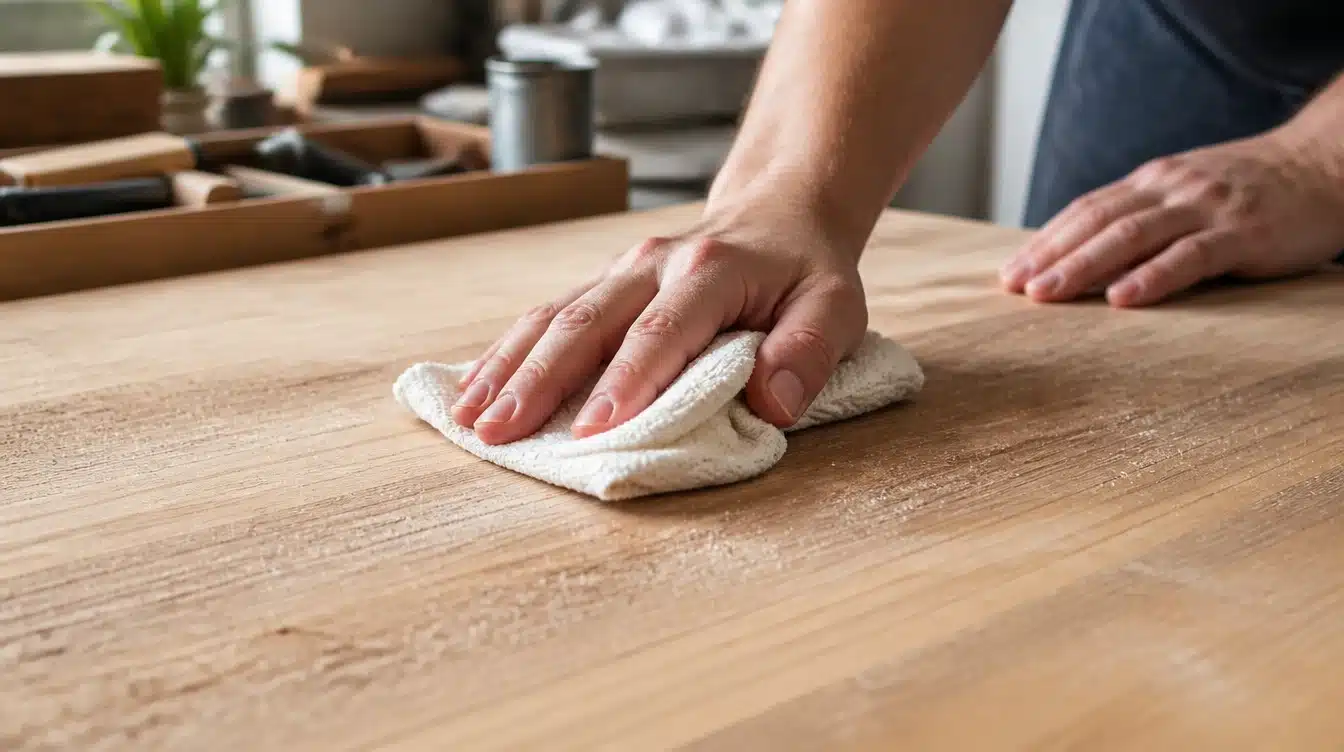
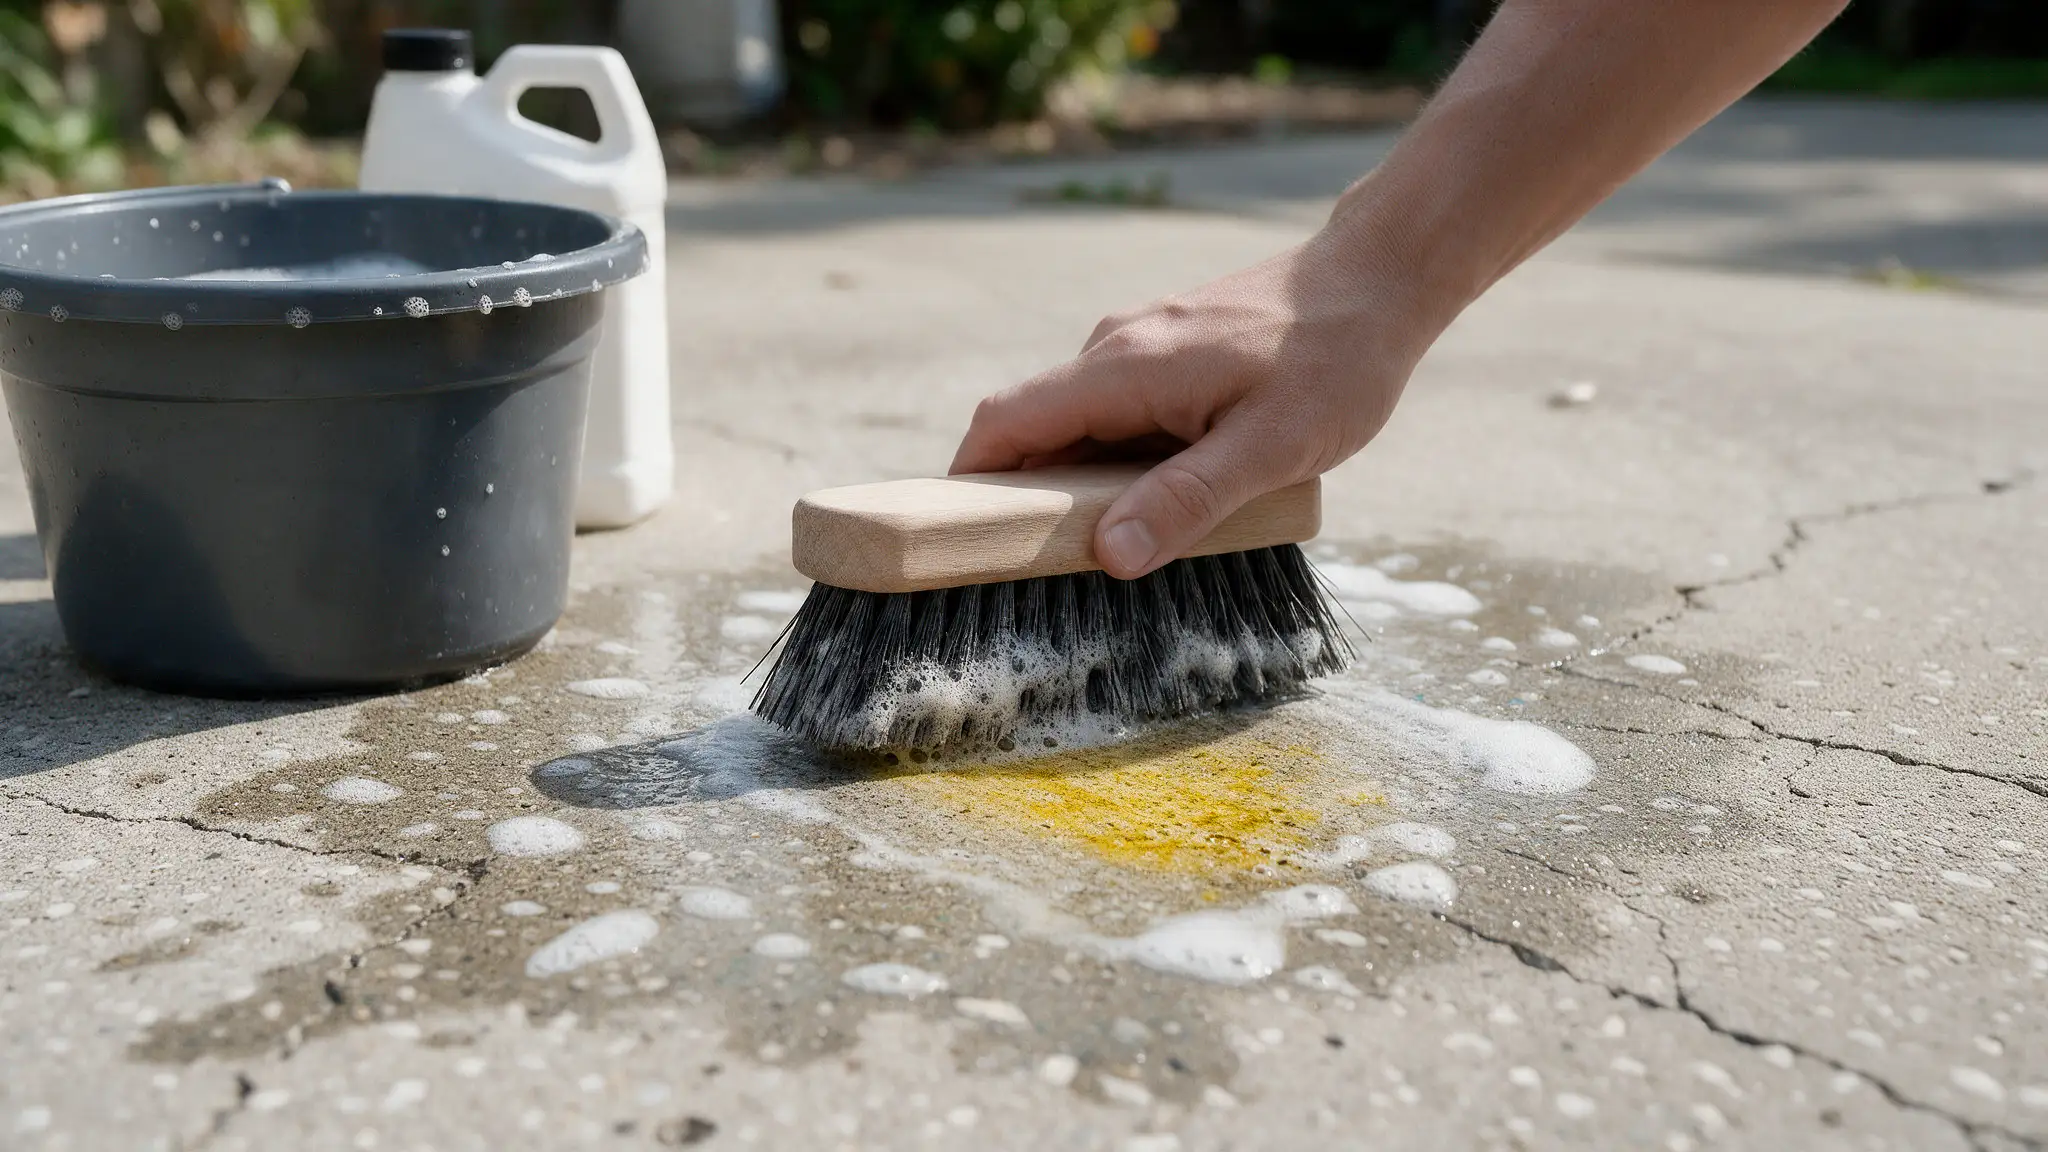
Start by cleaning the wooden surfaces with a dry cloth.
This allows the removal of soil and other impurities, leaving the surface clean and ready for whitewashing. You will need approximately 5 minutes to wipe each piece.
Missing this step might lead to uneven coloring in the future and may even create some patches on the wood. Devoting a few minutes to wipe the wood can be worthwhile.
Step 2: Sanding the Wood
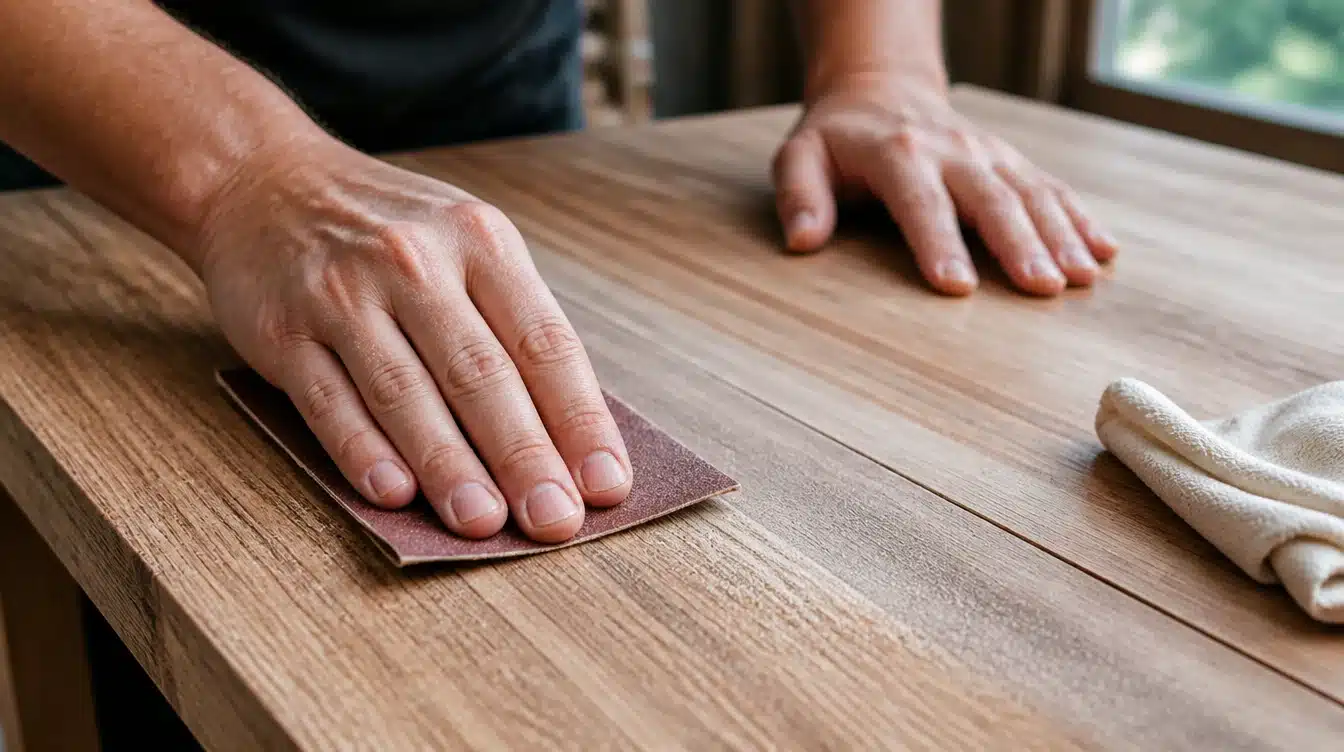
The wood can be smoothed using sandpaper ranging between 120 and 150 grit. This process smooths the surface and opens the wood’s pores so the paint adheres properly.
When sanding, sand along the direction of the wood grain, not against it, then wipe with a clean cloth.
Run a hand over the wood to check for rough spots before moving on.
Step 3: Mix the Whitewash Paint
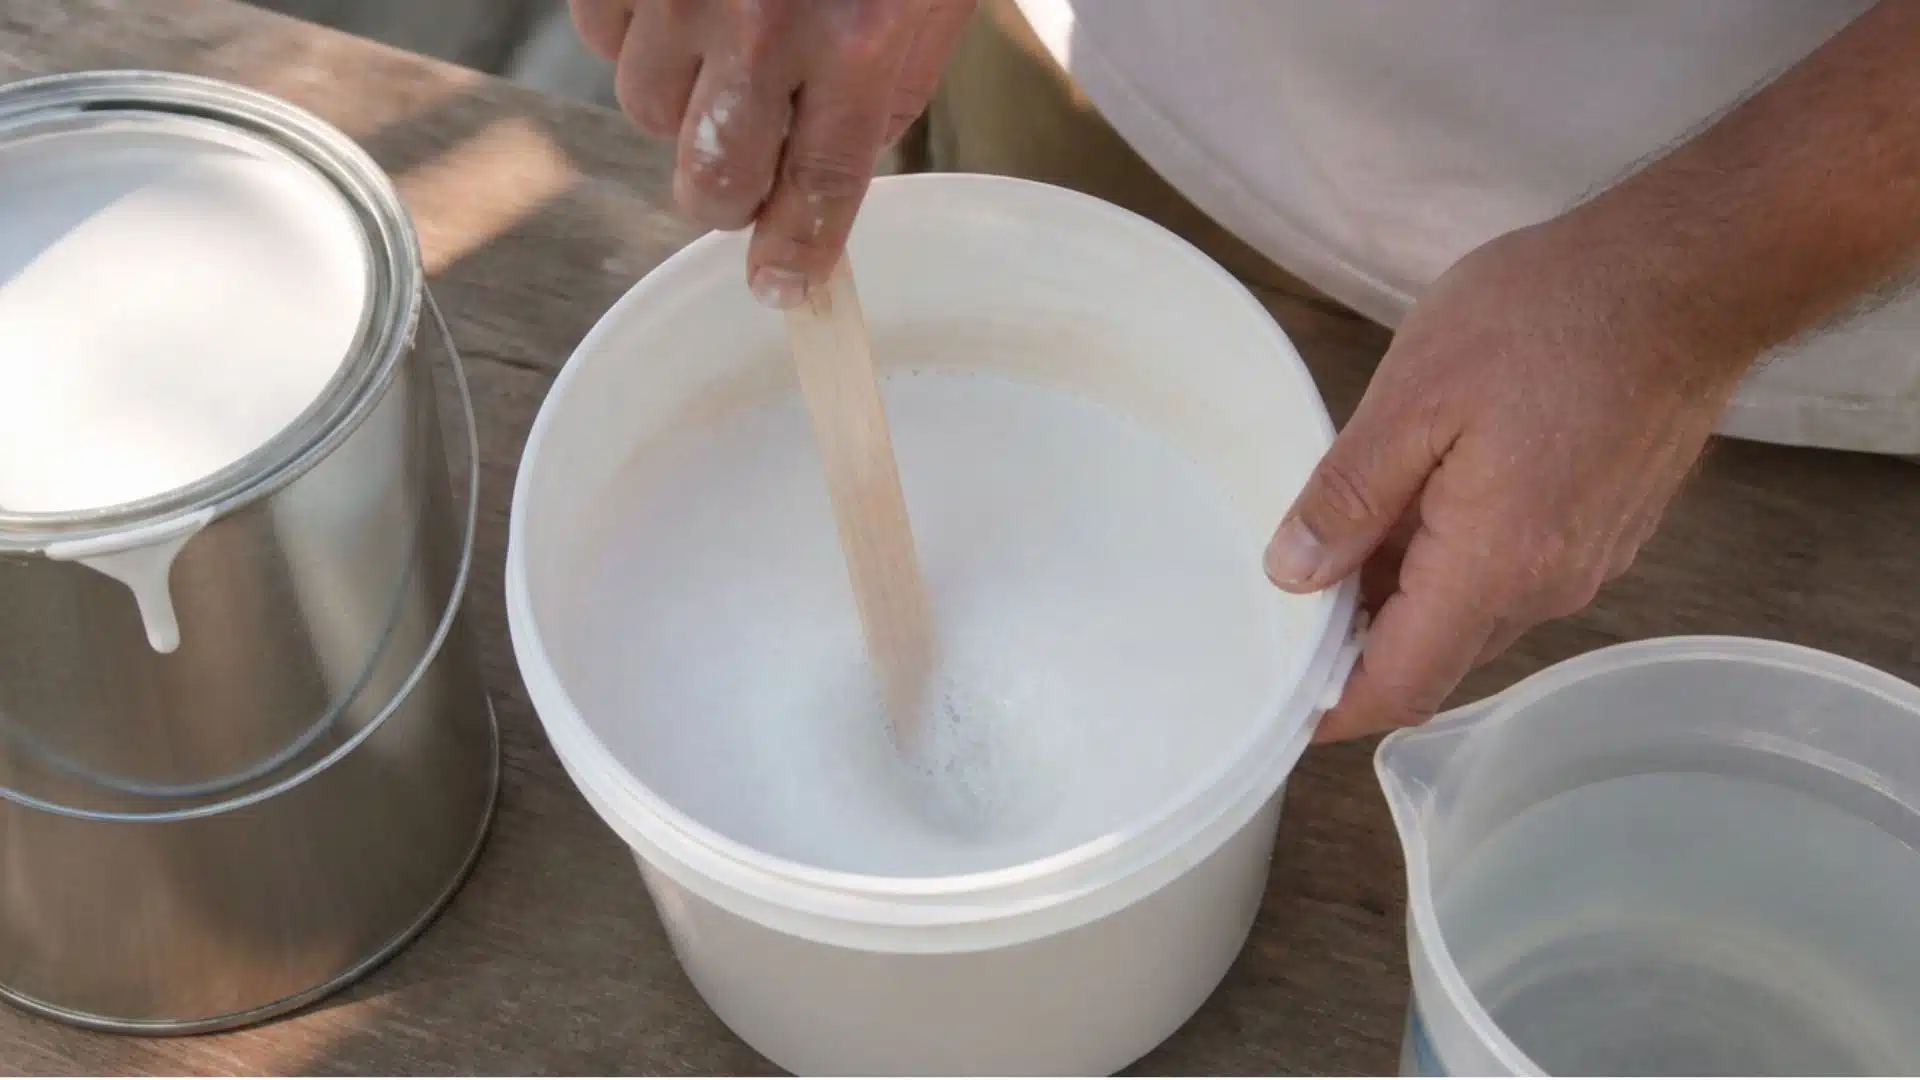
Take one part of white paint and mix it with one part of water in the bucket, and mix it well for 1-2 minutes until it is runny.
Apply the paint to a piece of wood before applying it to the item, to make the necessary adjustments in the ratio of the water to make the paint light or dark.
For a lighter coat, use a 1:2 ratio of paint to water. Thinner paint leads to a washed-out effect.
Step 4: Apply the First Coat
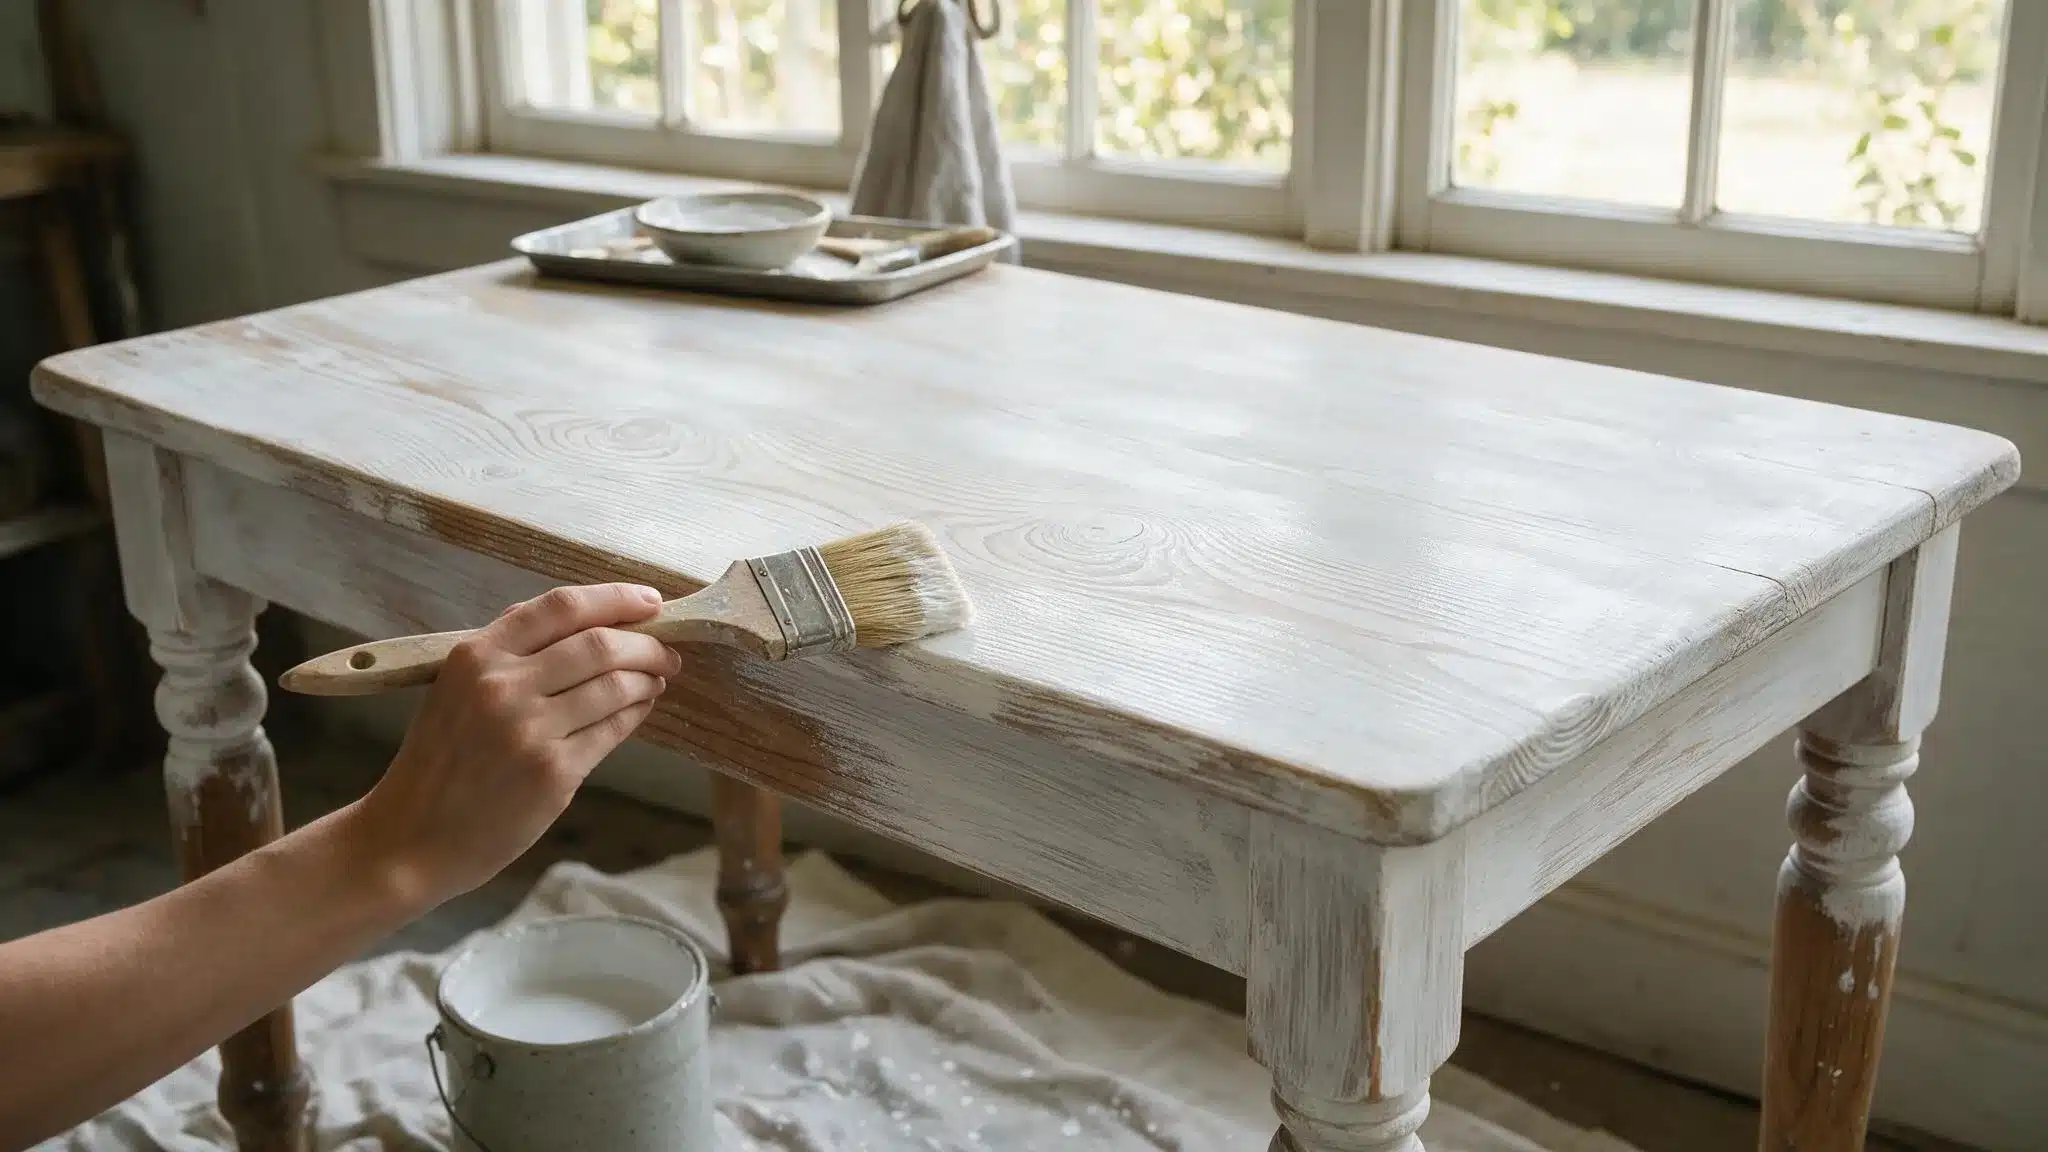
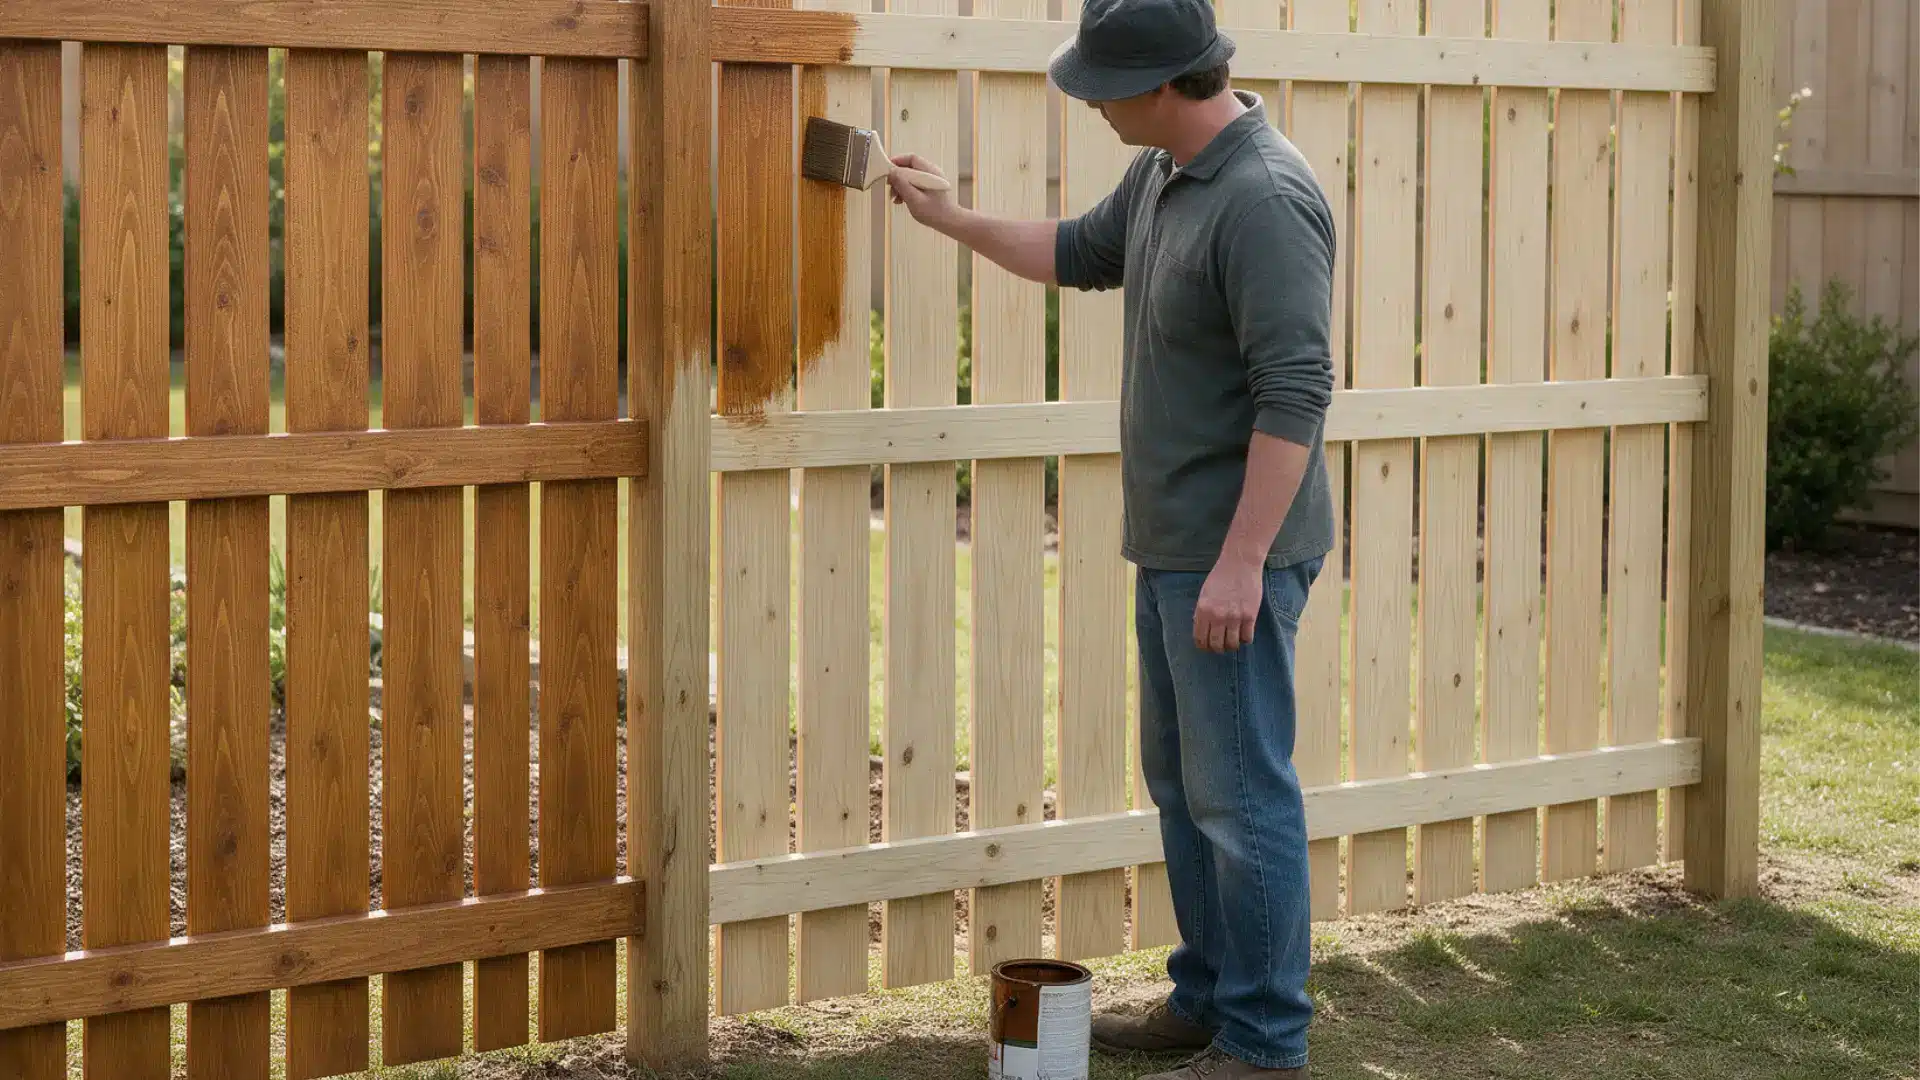
Using a cloth or brush, apply the paint according to the wood grain and in the long, sweeping strokes.
Work in 2 ft x 2 ft sections where you are comfortable applying the paint. After applying the paint, wait for about 30 seconds and wipe off the extra paint with the help of a cloth.
Keep a dry cloth nearby to wipe drips away right away.
Step 5: Let it Dry
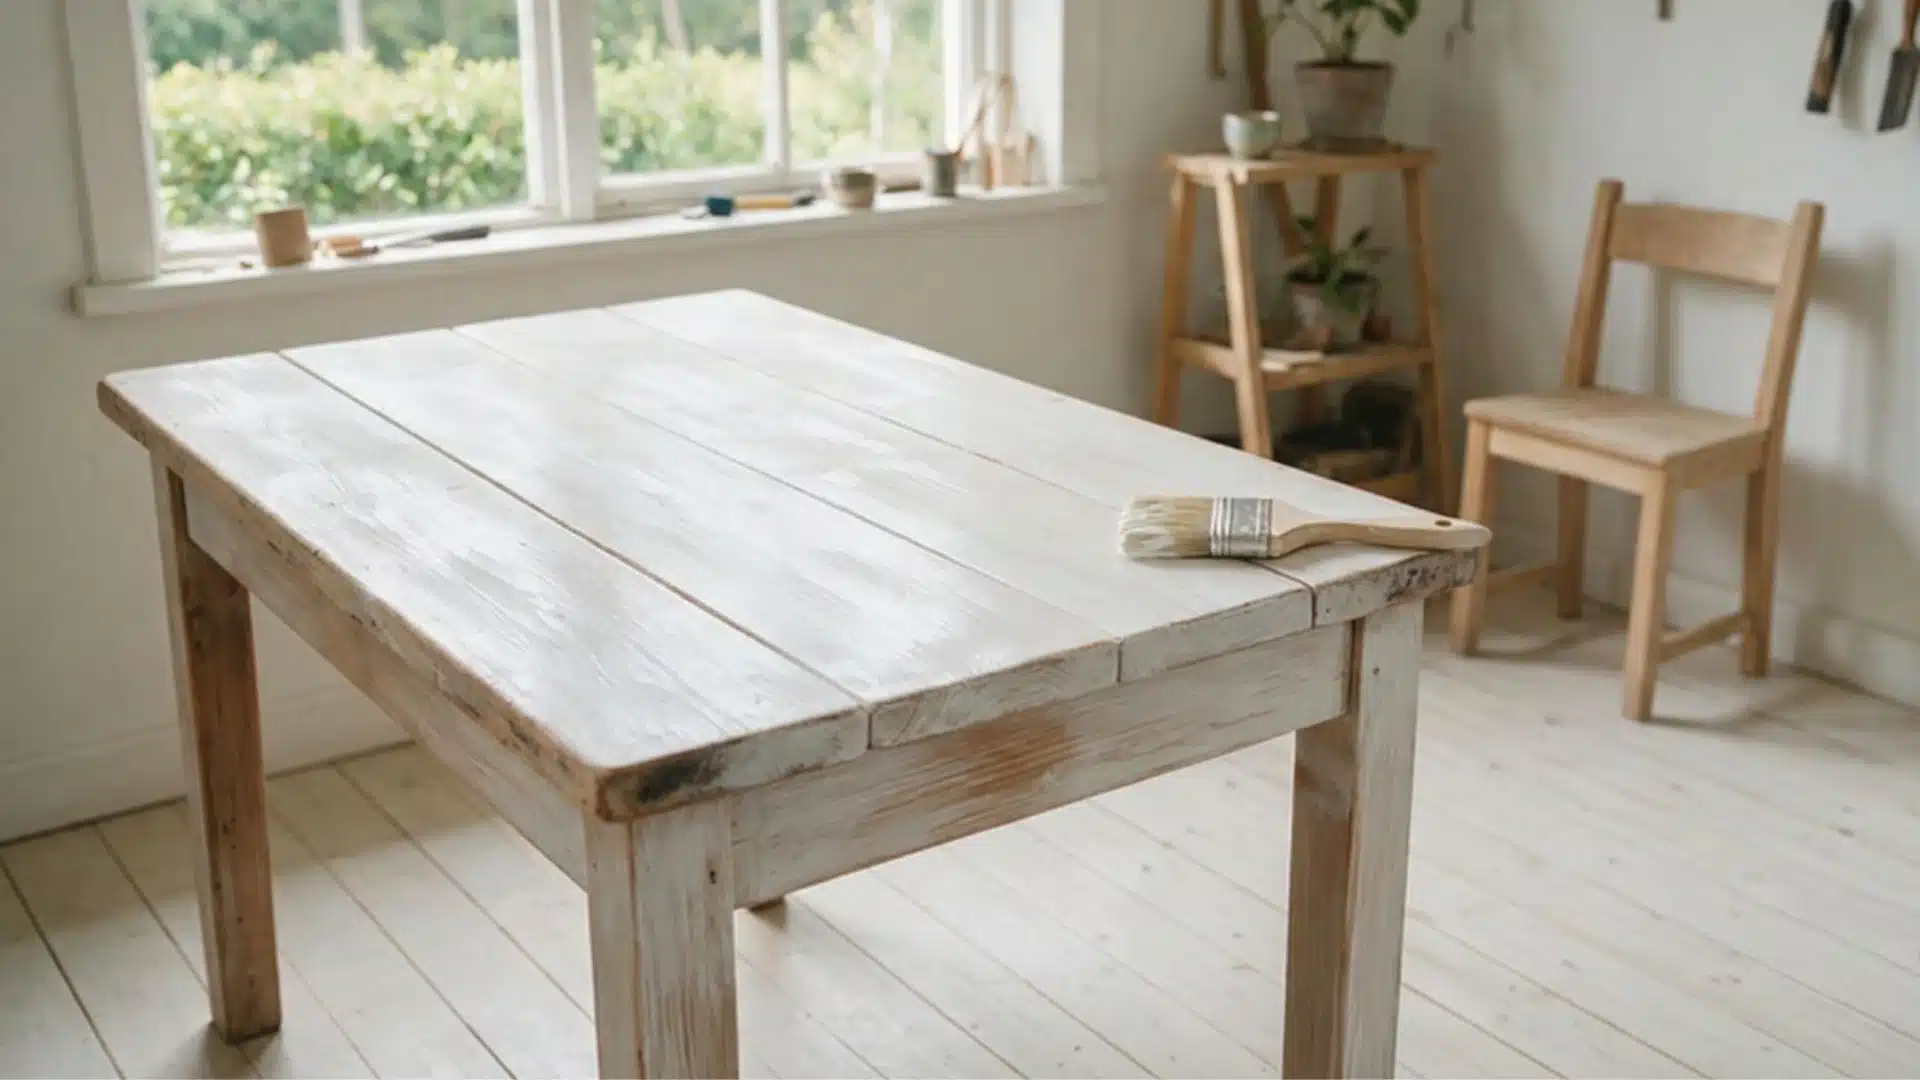
Make sure that the first coat is dried properly; the drying time may vary between 2 to 4 hours depending on the humidity conditions and the paint thickness.
Do not proceed to the second coat until the first has dried properly, or the first coat may get smeared while applying the second.
It is always necessary to examine the portion of the surface that is hidden to make sure that it is dry properly.
Step 6: Add a Second Coat if Needed
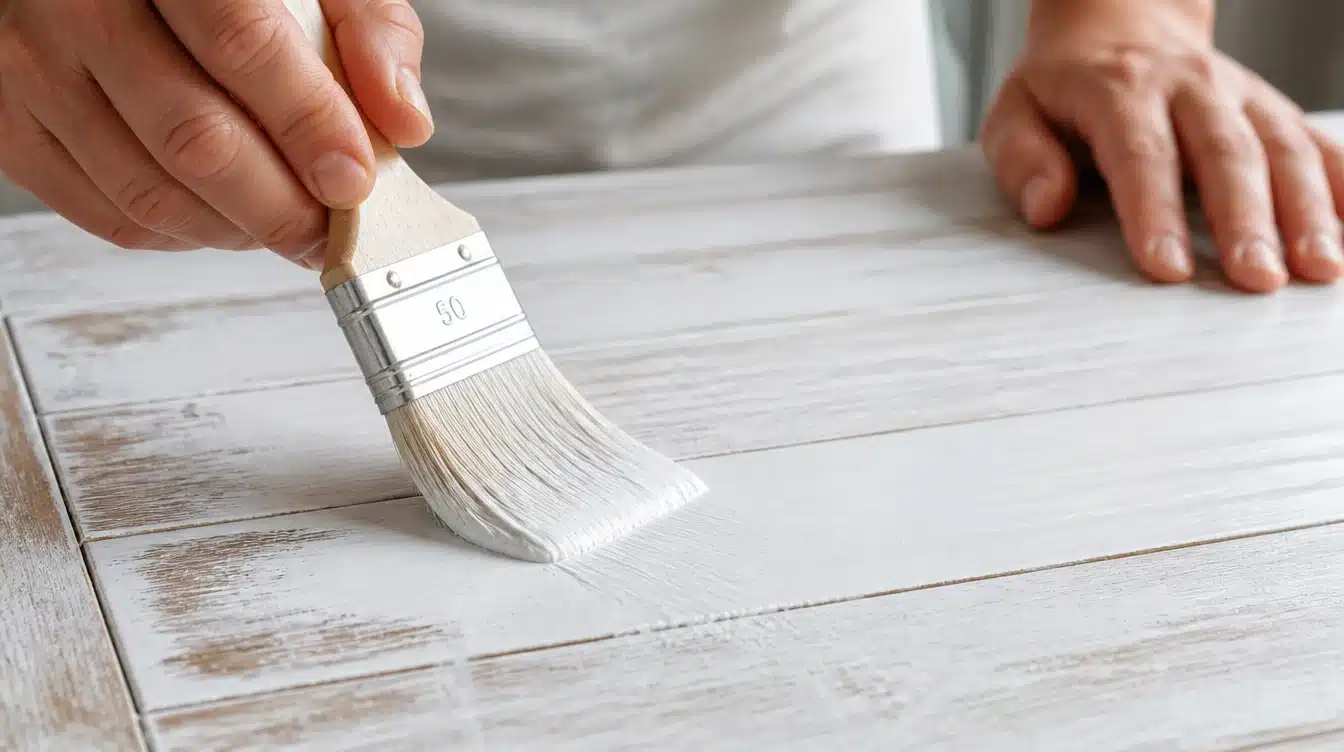
To achieve a darker shade, it is recommended to apply a second coat using the same brushing method.
The second coating will take 2-4 hours to dry, after which the wood surface will look rustic and smooth, as it will still have the appearance of the wood grain.
Step 7: Seal the Finish
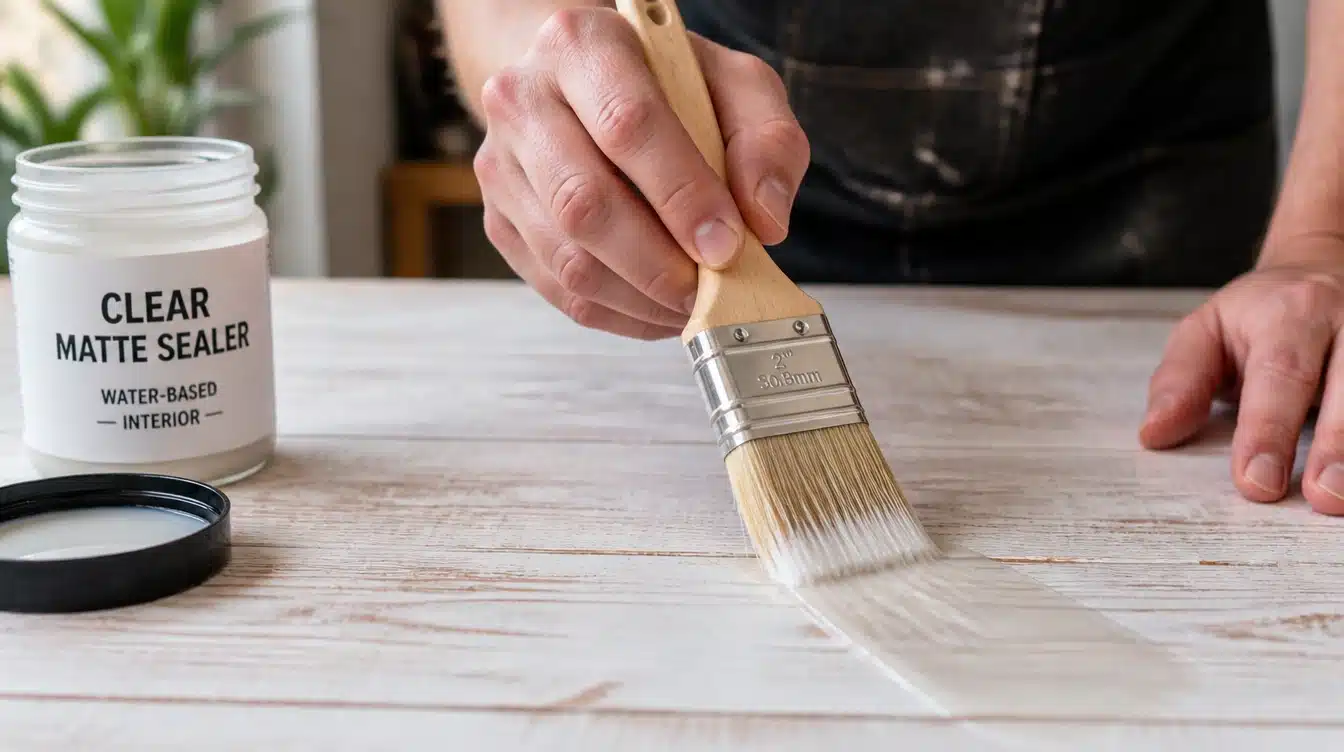
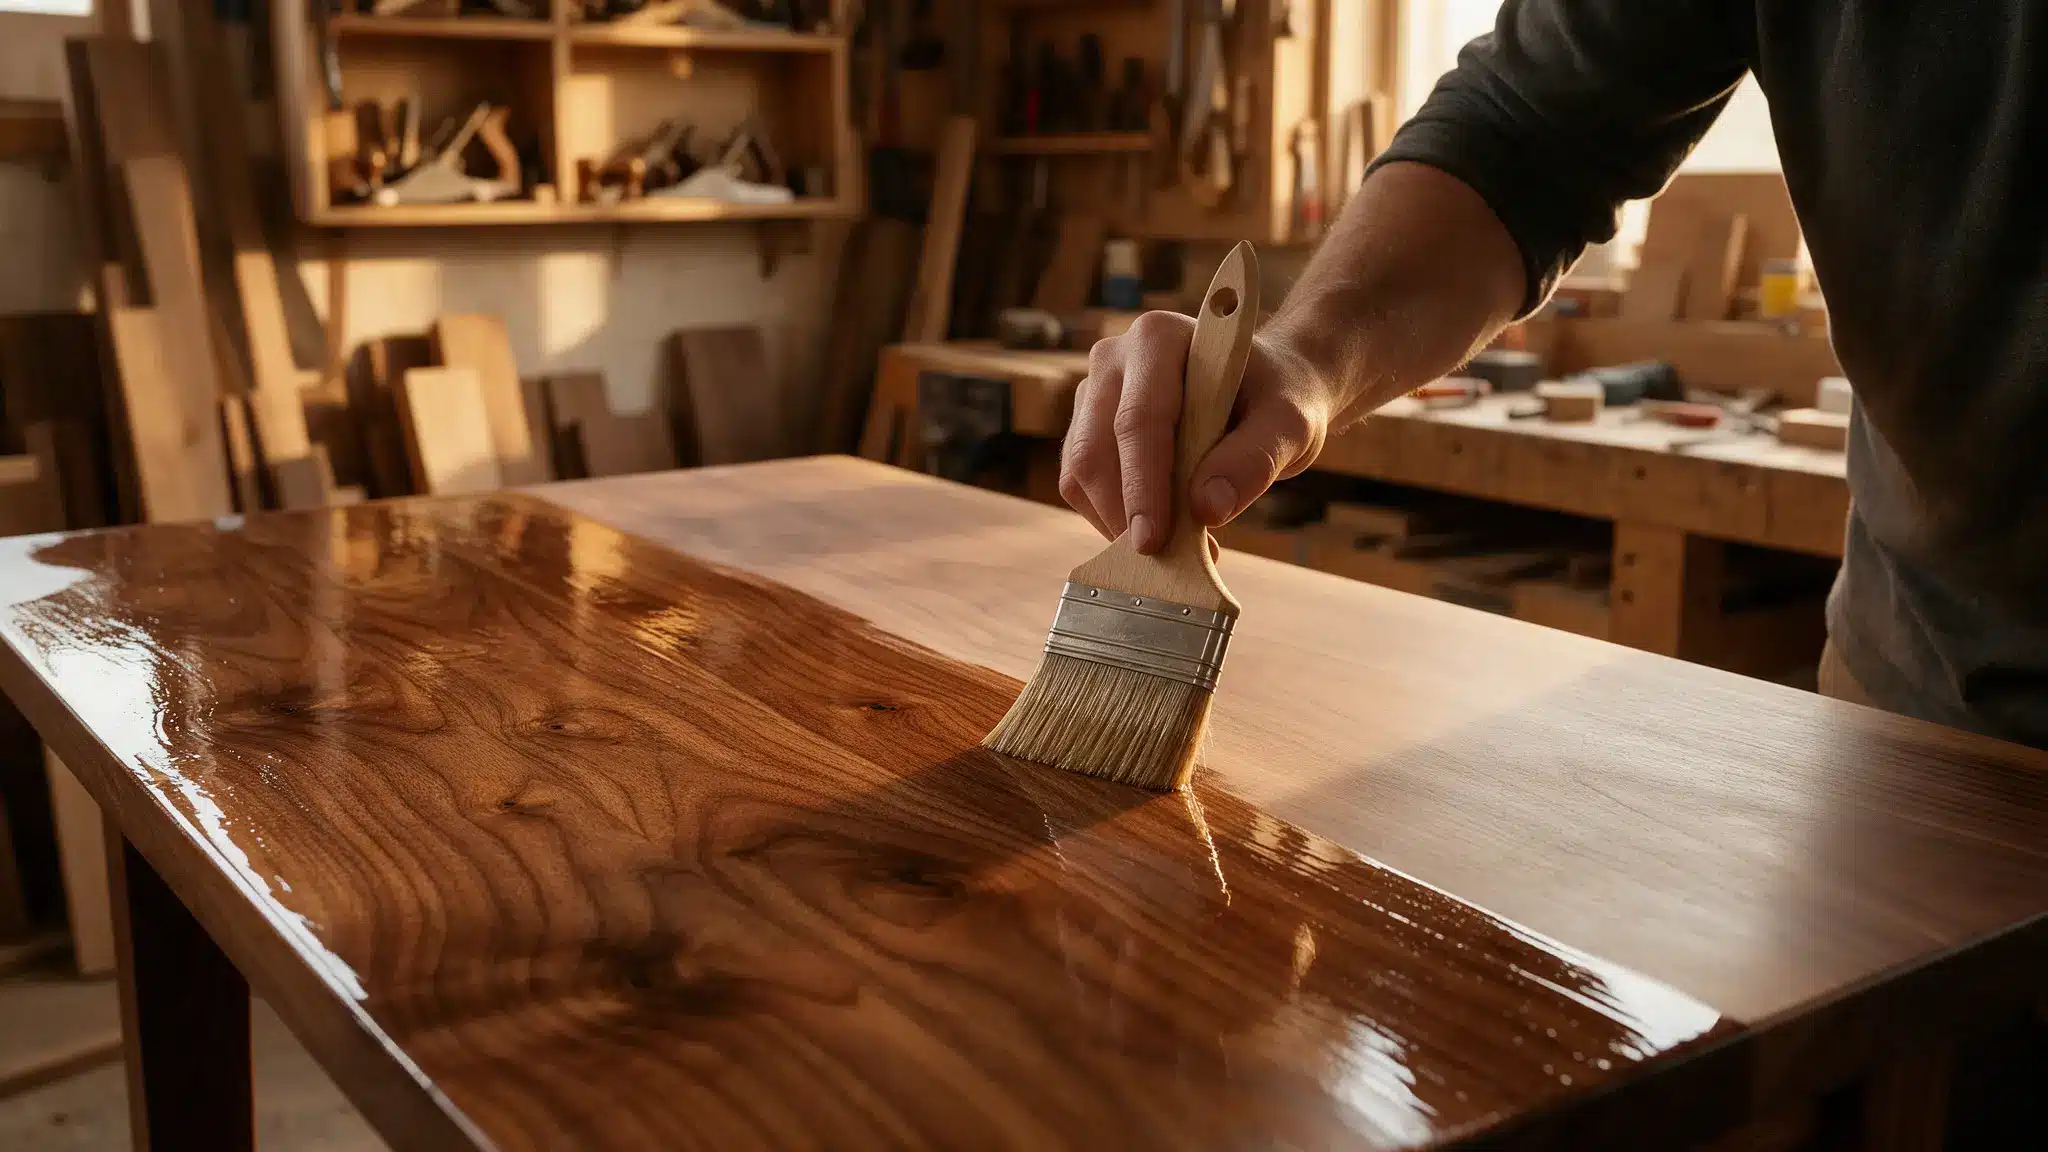
Once the whitewashing process is completed and has dried out, it is possible to apply the sealer onto the wooden surface. Matte or satin sealers would be the most suitable types for achieving the rustic finish.
It protects the wooden surface from scratches, water, and other damage. The sealer should be applied in two thin layers, with a one-hour interval between layers.
How to Whitewash Different Wood Surfaces?
Different wood varieties require different techniques.
Below are tips for getting the best results based on the type of wood you are working with, especially when creating a whitewashed wood finish.
Raw Wood
Because there’s no coating on raw wood, the whitewash mixture is absorbed very rapidly. To get the best results, sand the wood surface very lightly before applying the whitewash in thin layers.
Stained Wood
For stained wood, sanding lightly allows the stain to adhere more effectively to the wood. Use a little more whitewash to cover the stain properly.
Painted Wood
The painted wood surface needs a light sanding to rough up the existing finish so the whitewash can adhere. Sanding down to bare wood isn’t necessary unless the old paint is peeling.
Wood furniture will have many curves and edges. Use a rag instead of a paintbrush, as it is better suited for tight spaces.
Wood Panels
Wood paneling has large, plain surfaces that the best painted with a paintbrush to speed up the process. Complete only small sections at a time, and keep the strokes even.
Can You Whitewash Over Stained Wood?
Yes, you can successfully whitewash stained wood as long as you follow a specific procedure.
A good sanding beforehand is essential. This light sanding roughs up the surface so the wash sticks better to it. Not sanding may cause the paint to peel easily or look mottled.
When sanding is completed, the surface has to be cleaned with a rag. Since the wood is already dark, it makes sense to use a thicker whitewash solution.
The paint-to-water ratio should be 2:1. It is also important to apply the mixture along the wood grain, then wipe off the excess paint.
If you are not sure about what shade you will have in the end, make sure you do a small test on an inconspicuous place first.
Difference Between Limewashing and Whitewashing
The two may look alike, but they use different materials and methods. Below is a quick comparison of the two.
| Feature | Whitewashing | Limewashing |
|---|---|---|
| Main Ingredient | White paint mixed with water | Slaked lime mixed with water |
| Finish Look | Soft, faded, semi-transparent | Chalky, matte, textured |
| Best Used On | Furniture, wood panels, floors | Brick, stone, plaster walls |
| Durability | Moderate, may need resealing | Long-lasting, breathable finish |
| Application | Brush or rag, thin coats | Brush, often applied in layers |
| Drying Time | A few hours per coat | Can take longer to cure fully |
| Cost | Budget-friendly, easy to mix | Slightly higher, needs specific lime |
Final Thoughts
Learning how to whitewash wood is a simple way to bring new life to old furniture and surfaces.
The process only needs a few basic supplies and some patience between coats. From cleaning and sanding to mixing the paint and sealing the final coat, each step helps create that soft, rustic finish.
This method works well on furniture, panels, and even floors, giving any space a calm, cottage-style touch. Anyone can try this project at home without spending too much money.
Grab some paint, water, and a brush, and give an old wood piece a fresh new look today.
Frequently Asked Questions (FAQs)
1. Does Whitewashed Wood Need Sealing?
Yes, sealing protects the finish from scratches and moisture. A matte or satin sealer works best.
2. How Long Does Whitewashed Wood Take to Dry?
Each coat takes about 2 to 4 hours to dry. Drying time depends on humidity and paint thickness.
3. Can You Whitewash Wood Without Sanding?
Yes, but sanding helps the paint stick better. Skipping it may cause uneven color or patchy spots.
4. How Many Coats of Whitewash Do You Need?
One coat works for a light look. Two coats give a deeper, more solid finish.