DIY-style acoustic panels minimize echoing and reflections of unnecessary sound waves.
These panels are perfectly suited for home studios, podcasting rooms, gaming stations, home theaters, and any place where good audio performance is required.
Moreover, it is considerably cheaper to make such acoustic panels yourself than to purchase already-made panels.
In addition, you may choose any desired panel size, fabric, and design.
Only a few building materials and woodworking equipment are needed to create useful acoustic panels.
What are DIY Acoustic Panels?
DIY acoustic panels help manage sounds and minimize echoes and reverberation in a room.
The majority of these panels consist of a wooden box frame, sound-absorbing insulation such as Rockwool or fiberglass, and fabric.
The function of the panels is to enhance the sound quality in a particular area rather than to block sounds that come from the outside.
The most popular places where DIY panels are used include recording studios, podcast areas, game areas, home theater rooms, and offices.
Materials Needed for DIY Acoustic Panels
Constructing acoustic panels at home does not need any expensive materials or tools.
Just a few simple materials will suffice to make acoustic panels that would enhance the sound quality in any room.
1. Wooden Boards: Pine wood boards are frequently used since they are cheap and easy to handle.
Almost all homemade acoustic panels use 1×4-inch pine boards to construct the panel framework, which holds the insulation.
2. Rockwool or Fiberglass: Rockwool has good acoustic absorption across many frequencies and is widely used in homemade acoustic panels.
Owens Corning 703 fiberglass is also widely used for home acoustic studios.
3. Breathable Fabrics: Sound will have to travel through the fabric to get to the insulation material, which means that using breathable fabrics is advisable.
Burlap, linen, microsuede, and related fabrics give protection without compromising the acoustic properties of the material.
4. Wood Screws: High-quality wood screws ensure the integrity and strength of the frame construction.
The correct length of screws also helps prevent the wood from splitting and helps to make the panel look neat.
5. Staple Gun: Make sure to stretch the fabric evenly around the frame before stapling it into place.
Stretched fabric will help prevent creasing, maintain insulation, and make the panel look more aesthetically pleasing.
6. Hanging System: Picture wires, D-rings, French cleats, or strong hooks make mounting the panels to the wall possible.
The right mounting hardware will help you install the panels in places where they will do their job best.
Which is the Best Sound-Absorbing Material?
Rockwool is one of the most common insulators used to make acoustic panels because it provides effective sound insulation without increasing costs.
Owens Corning 703 Fiberglass is yet another effective material, especially when designing a home studio or room.
Although acoustic foam helps minimize echoes in a room, it has limited frequency ranges that it can absorb compared to other types of insulation.
Insulation covered with breathable fabric and fitted within a rigid wooden frame provides improved acoustic performance.
How to Build DIY Acoustic Panels?
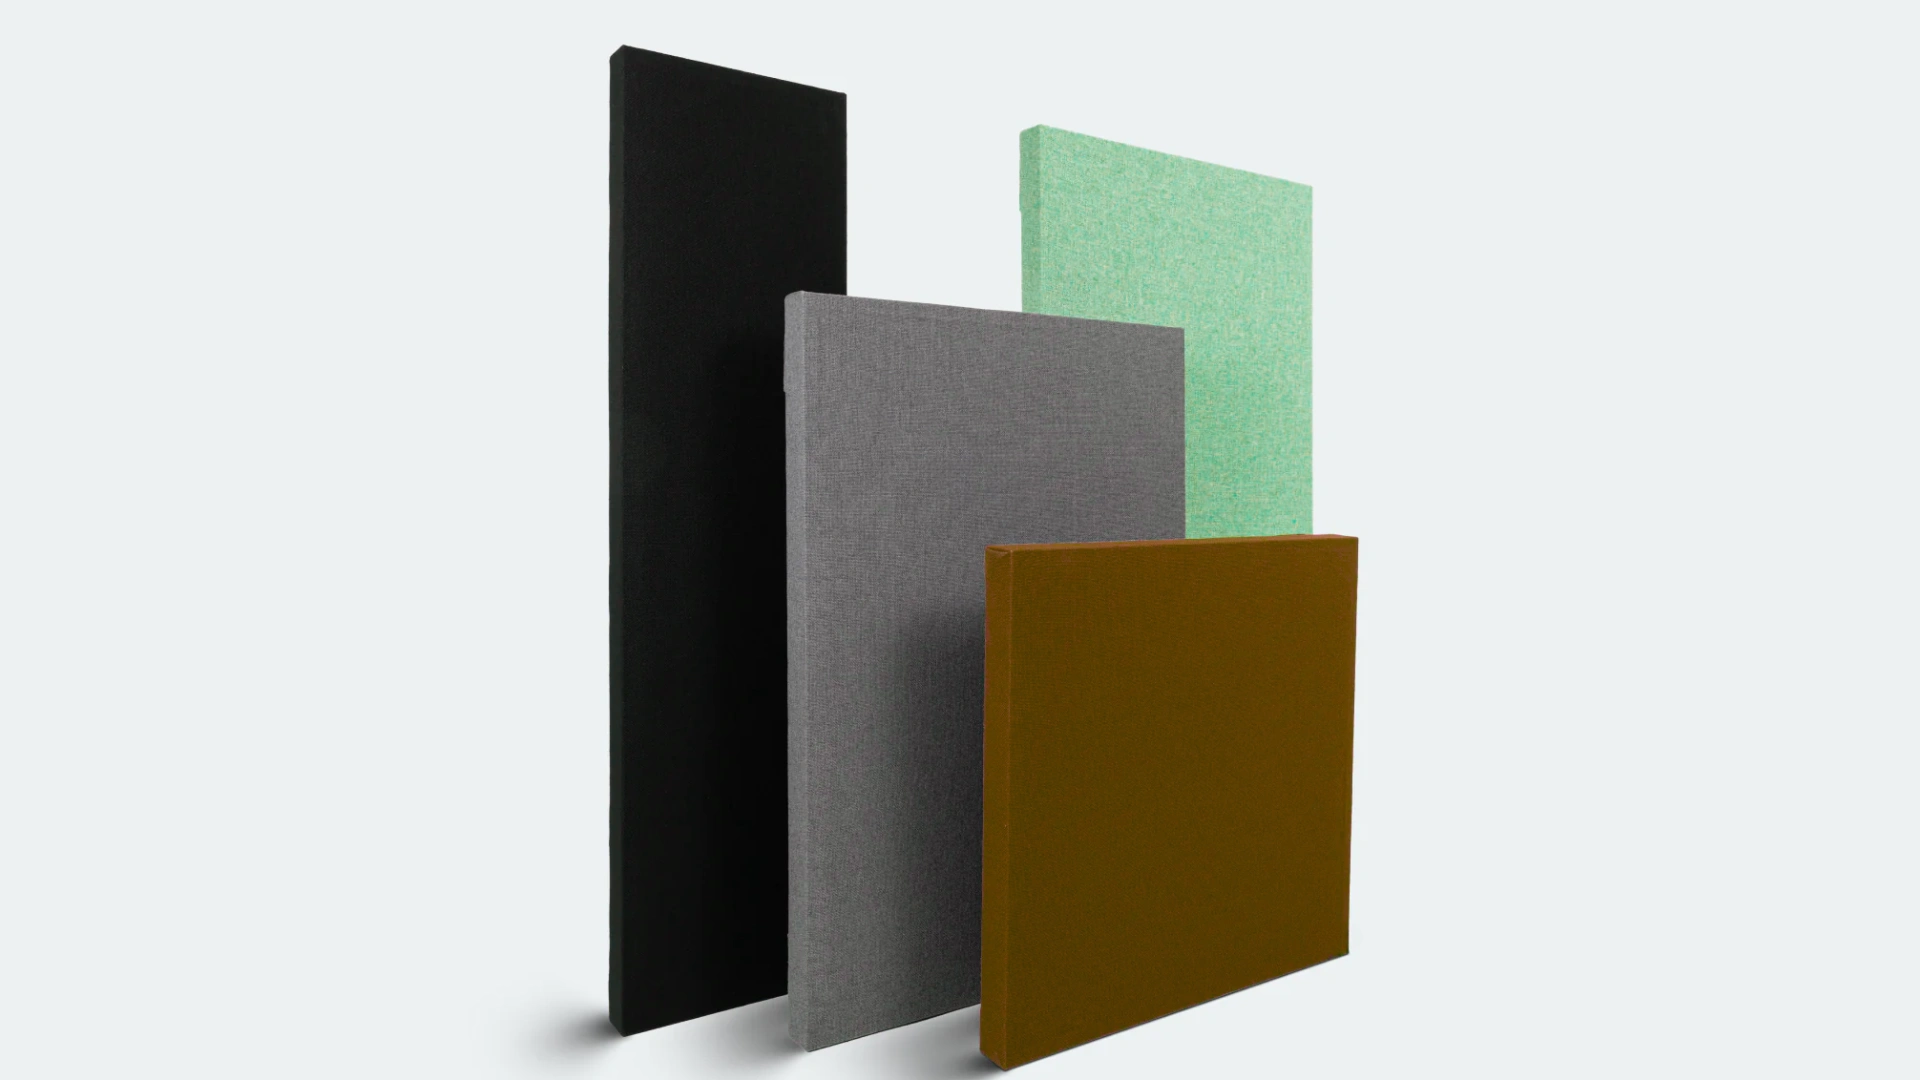
Building DIY acoustic panels is a simple project that improves sound quality without a large budget.
A few basic tools and carefully chosen materials are enough to create effective sound-absorbing panels.
Step 1: Measure and Cut the Wood
Decide the panel size before cutting the wood so it matches the insulation you plan to install.
A 24 × 48-inch (2 × 4 feet) panel built with 1×4-inch pine boards is the most common size for DIY acoustic panels.
Measure and mark every board carefully before cutting to ensure accurate dimensions, smoother assembly, and a frame that securely supports the insulation.
Step 2: Assemble the Wooden Frame
Join the wooden boards to form a rectangular frame and secure each corner with wood screws.
Before tightening the screws completely, check that all sides are aligned and the corners remain square.
A properly assembled frame provides strong support for the insulation, keeps the panel stable over time, and makes the remaining assembly steps much easier.
Step 3: Install the Sound-Absorbing Material
Place the insulation inside the frame without pressing or compressing it too tightly, as this can reduce its sound-absorbing performance.
Rockwool and Owens Corning 703 fiberglass work best when they maintain their original thickness.
Wear gloves, safety glasses, and a dust mask while handling the insulation to protect yourself from fibers.
Step 4: Wrap the Panel with Breathable Fabric
Spread the breathable fabric evenly across the front of the panel, then wrap it around the edges and back of the frame.
Pull the fabric tight to remove wrinkles, then secure it evenly with a staple gun.
Breathable materials allow sound waves to reach the insulation while giving the finished panel a neat appearance.
Step 5: Attach the Back Panel
Cover the back of the frame with landscape fabric or another lightweight backing material to keep the insulation securely in place.
Stretch the material evenly before fastening it with staples around the edges.
A finished backing protects the insulation, improves durability, and gives the completed panel a cleaner appearance after installation.
Step 6: Mount the Acoustic Panel
Attach D-rings, picture wire, or French cleats to the back of the completed panel before mounting it on the wall or ceiling.
Position the panel at key reflection points where sound waves are most likely to bounce.
Proper placement improves sound absorption, reduces unwanted reflections, and creates a more balanced listening environment.
What is the Cost of Installing DIY Acoustic Panels?
Building your own acoustic panels is a budget-friendly alternative to store-bought options, often cutting costs by 40-60%. Prices vary based on panel size, fabric quality, and insulation material used.
| Item | Estimated Cost (per panel) |
|---|---|
| Wood frame (1×4) | $8 – $15 |
| Rockwool/Owens Corning 703 | $10 – $20 |
| Fabric (burlap/acoustic) | $5 – $12 |
| Staples, glue, hardware | $2 – $5 |
| Total per panel | $25 – $52 |
| 12-panel room setup | $300 – $624 |
Costs vary mainly by material quality, panel thickness, and fabric choice; premium insulation and designer acoustic fabric can push per-panel prices toward the higher end of the range.
Where Should You Place DIY Acoustic Panels?
Panel placement directly affects how well your room controls echo and sound reflections.
Installing them in the most effective locations improves clarity and creates a more balanced listening experience.
Side Walls
First reflection points on the side walls are among the most important locations for acoustic panels.
Treating these areas reduces echo, improves stereo imaging, and creates a clearer listening experience in recording or mixing spaces.
Front Wall
Panels placed behind speakers or studio monitors reduce sound reflections returning from the front of the room. Better control over these reflections improves audio clarity and creates a more accurate listening environment.
Room Corners
Low-frequency sound naturally collects in room corners, making them ideal locations for thicker acoustic panels or bass traps.
Treating these areas improves bass response and creates a more even listening experience throughout the room.
Rear Wall
Reflected sound often builds up behind the listening position, making the room sound less balanced. Installing acoustic panels on the rear wall reduces unwanted reverberation and improves overall sound control.
Home Studio or Podcast Setup
Position acoustic panels around the recording or mixing area, including behind the microphone and beside the workspace.
This arrangement reduces room reflections and helps capture cleaner, more professional-sounding recordings.
Ceiling
Overhead reflections can affect speech clarity and the accuracy of recorded or monitored audio. Mounting acoustic panels above the main listening or recording area helps create cleaner, more controlled sound.
DIY acoustic panels improve sound inside a room by reducing echo. They do not completely block outside noise.
DIY Acoustic Panels vs Store-Bought Panels
DIY and store-bought acoustic panels both reduce echo and improve room acoustics.
The biggest differences come down to cost, customization, installation time, and the amount of effort you’re willing to invest.
| Feature | DIY Acoustic Panels | Store-Bought Panels |
| Cost | Lower overall cost, especially when building multiple panels | Higher upfront cost |
| Customization | Any size, thickness, or fabric can be used | Limited to available sizes and designs |
| Performance | Excellent when quality insulation is used | Consistent factory-built performance |
| Installation | Requires basic tools and DIY effort | Ready to install with minimal setup |
| Best For | Home studios, podcast rooms, and budget-conscious users | People who prefer convenience and a finished appearance |
DIY acoustic panels provide greater flexibility and cost less when you need several panels for a room. Store-bought panels are a practical alternative for anyone who prefers a ready-to-install product with a professional finish and minimal setup time.
Conclusion
DIY acoustic panels allow you to enhance the acoustics in a room without spending too much money or using fancy equipment.
High-quality insulation, suitable material for the panel covering, and their proper arrangement can definitely help minimize the echo in the room while providing improved sound quality.
Making these panels yourself will also enable you to customize them to your requirements.
Frequently Asked Questions (FAQs)
1. Can DIY Acoustic Panels be Made Without A Wooden Frame?
Yes. Frameless acoustic panels are possible, but wooden frames provide better support, durability, and a cleaner, more professional finished appearance.
2. Do DIY Acoustic Panels Need to Cover Every Wall?
No. Installing panels at key reflection points usually provides effective sound absorption without covering every wall in the room.
3. How Long Does It Take to Build a DIY Acoustic Panel?
Building one DIY acoustic panel usually takes one to two hours, depending on your tools, experience, and material preparation.