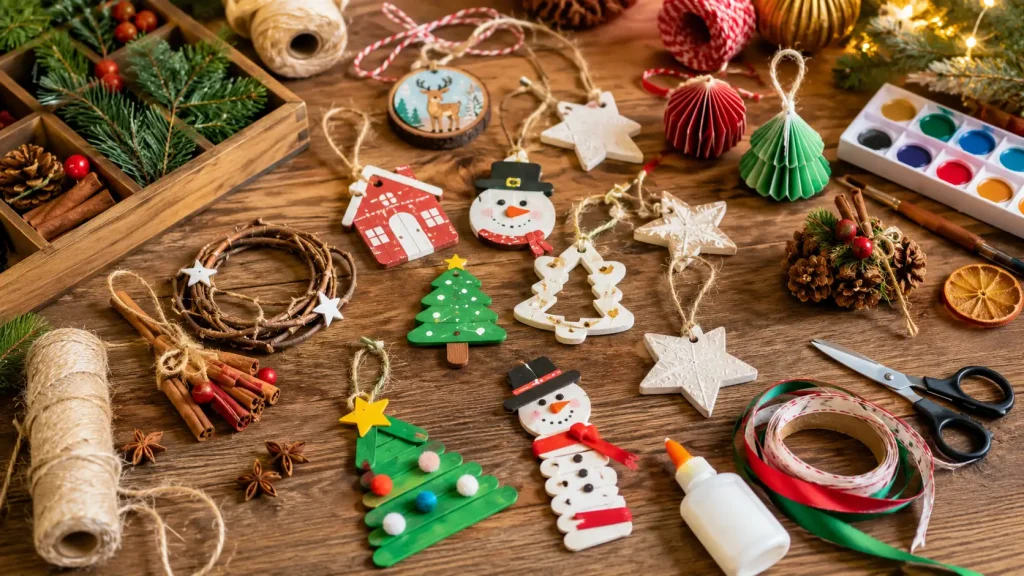
Store-bought ornaments all start to look the same after a while. Many people notice this in December while digging through boxes of old decorations. That is often what sparks the idea of making their own instead.
Homemade or nature ornaments are cheaper, more personal, and honestly kind of fun. They call for no fancy tools or craft-store skills either.
A few things from around the house will do the trick. The easy ideas below can be tried today.
Each one comes with simple steps to follow. Soon, anyone can have something special to hang that they made themselves.
Why Make Ornaments at Home?
There is something special about hanging an ornament made by hand.
Store-bought ones look fine, but they rarely mean much. Homemade ornaments tell a story instead. Maybe one holds an old photo, or a child’s tiny handprint
Each time the box comes out, a memory comes with it. They also save money, since most use scraps already lying around.
The maker controls the colors, the style, and the size. Crafting them turns into a cozy family night, too.
Best of all, no two ever come out the same. That little bit of imperfection is what makes them special.
How to Make DIY Ornaments at Home?
You do not need much to get started. A few basic supplies and a free afternoon are really all it takes.
1. Painted Glass Balls
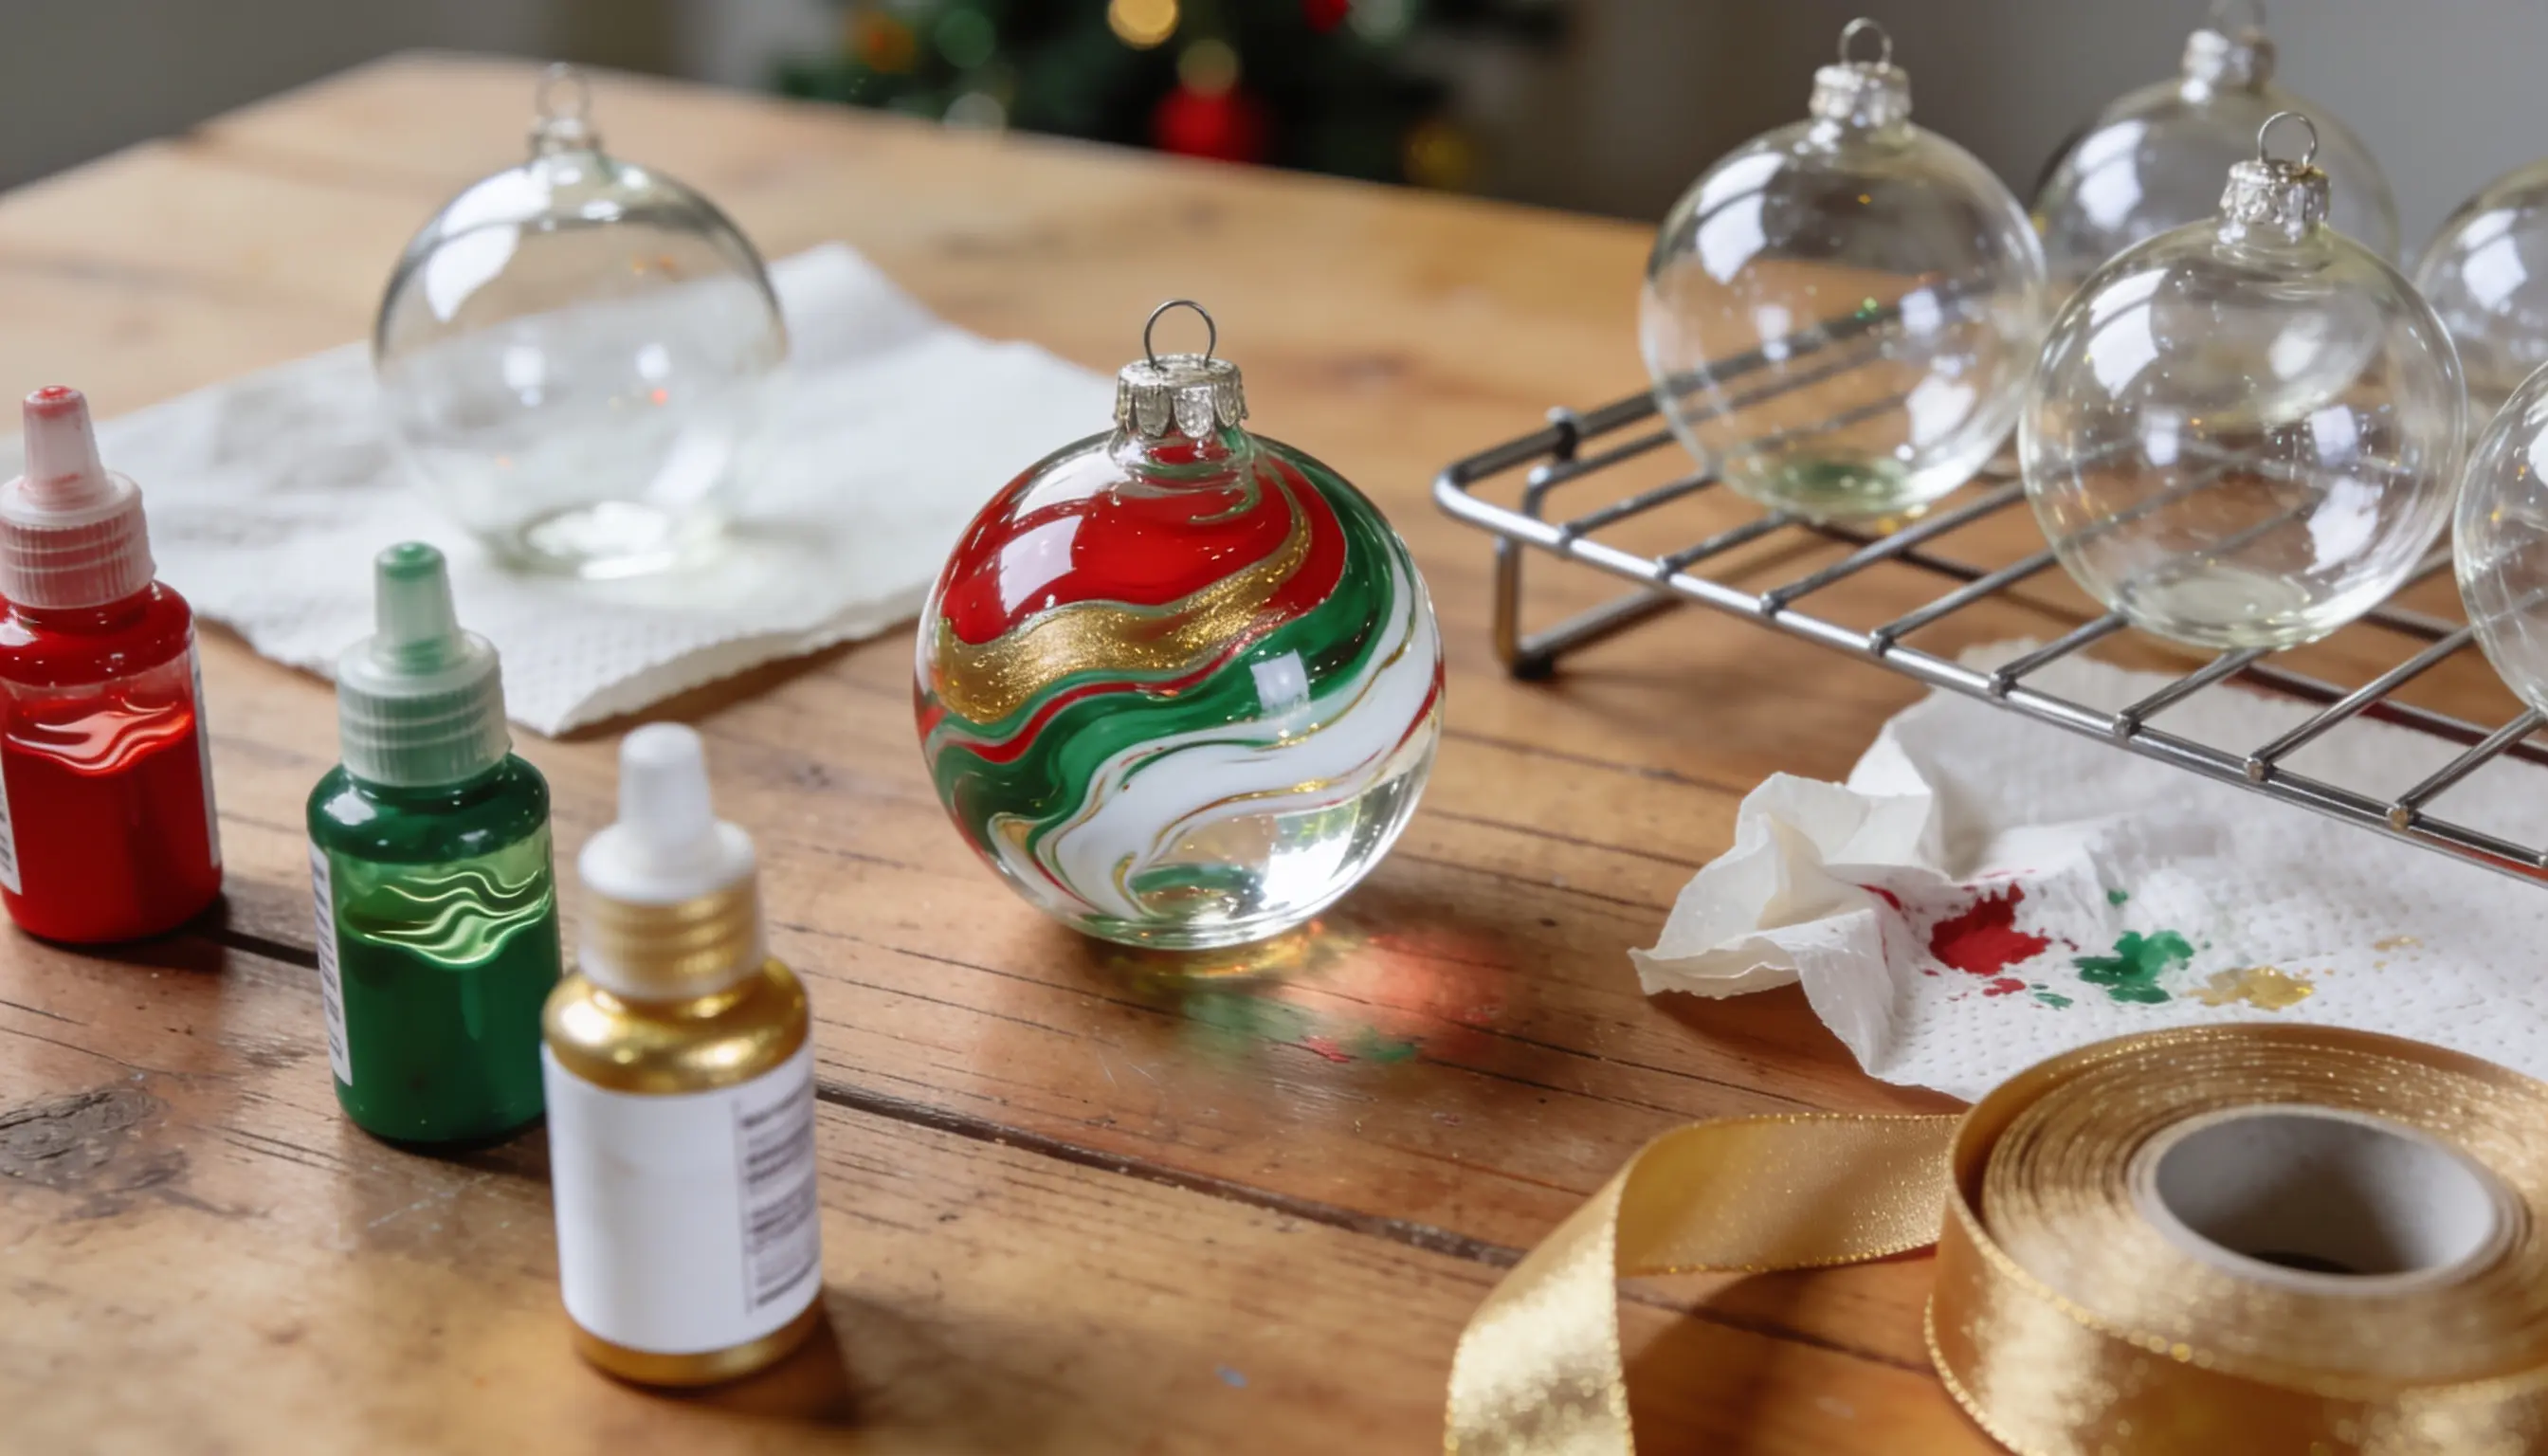
Start with a clear glass or plastic ball and pop off the metal top. Pour about a teaspoon of acrylic paint straight inside.
Pick 2 or 3 colors if you want a marbled look. Now tilt and swirl the ball slowly in your hand.
Keep turning it for a minute or two until the paint coats the whole inside. Tip the ball upside down over a cup to drain the extra.
Let it sit and dry for 3 to 4 hours. Once dry, snap the top back on and add a ribbon; these work great as christmas decorations.
2. Salt Dough Shapes
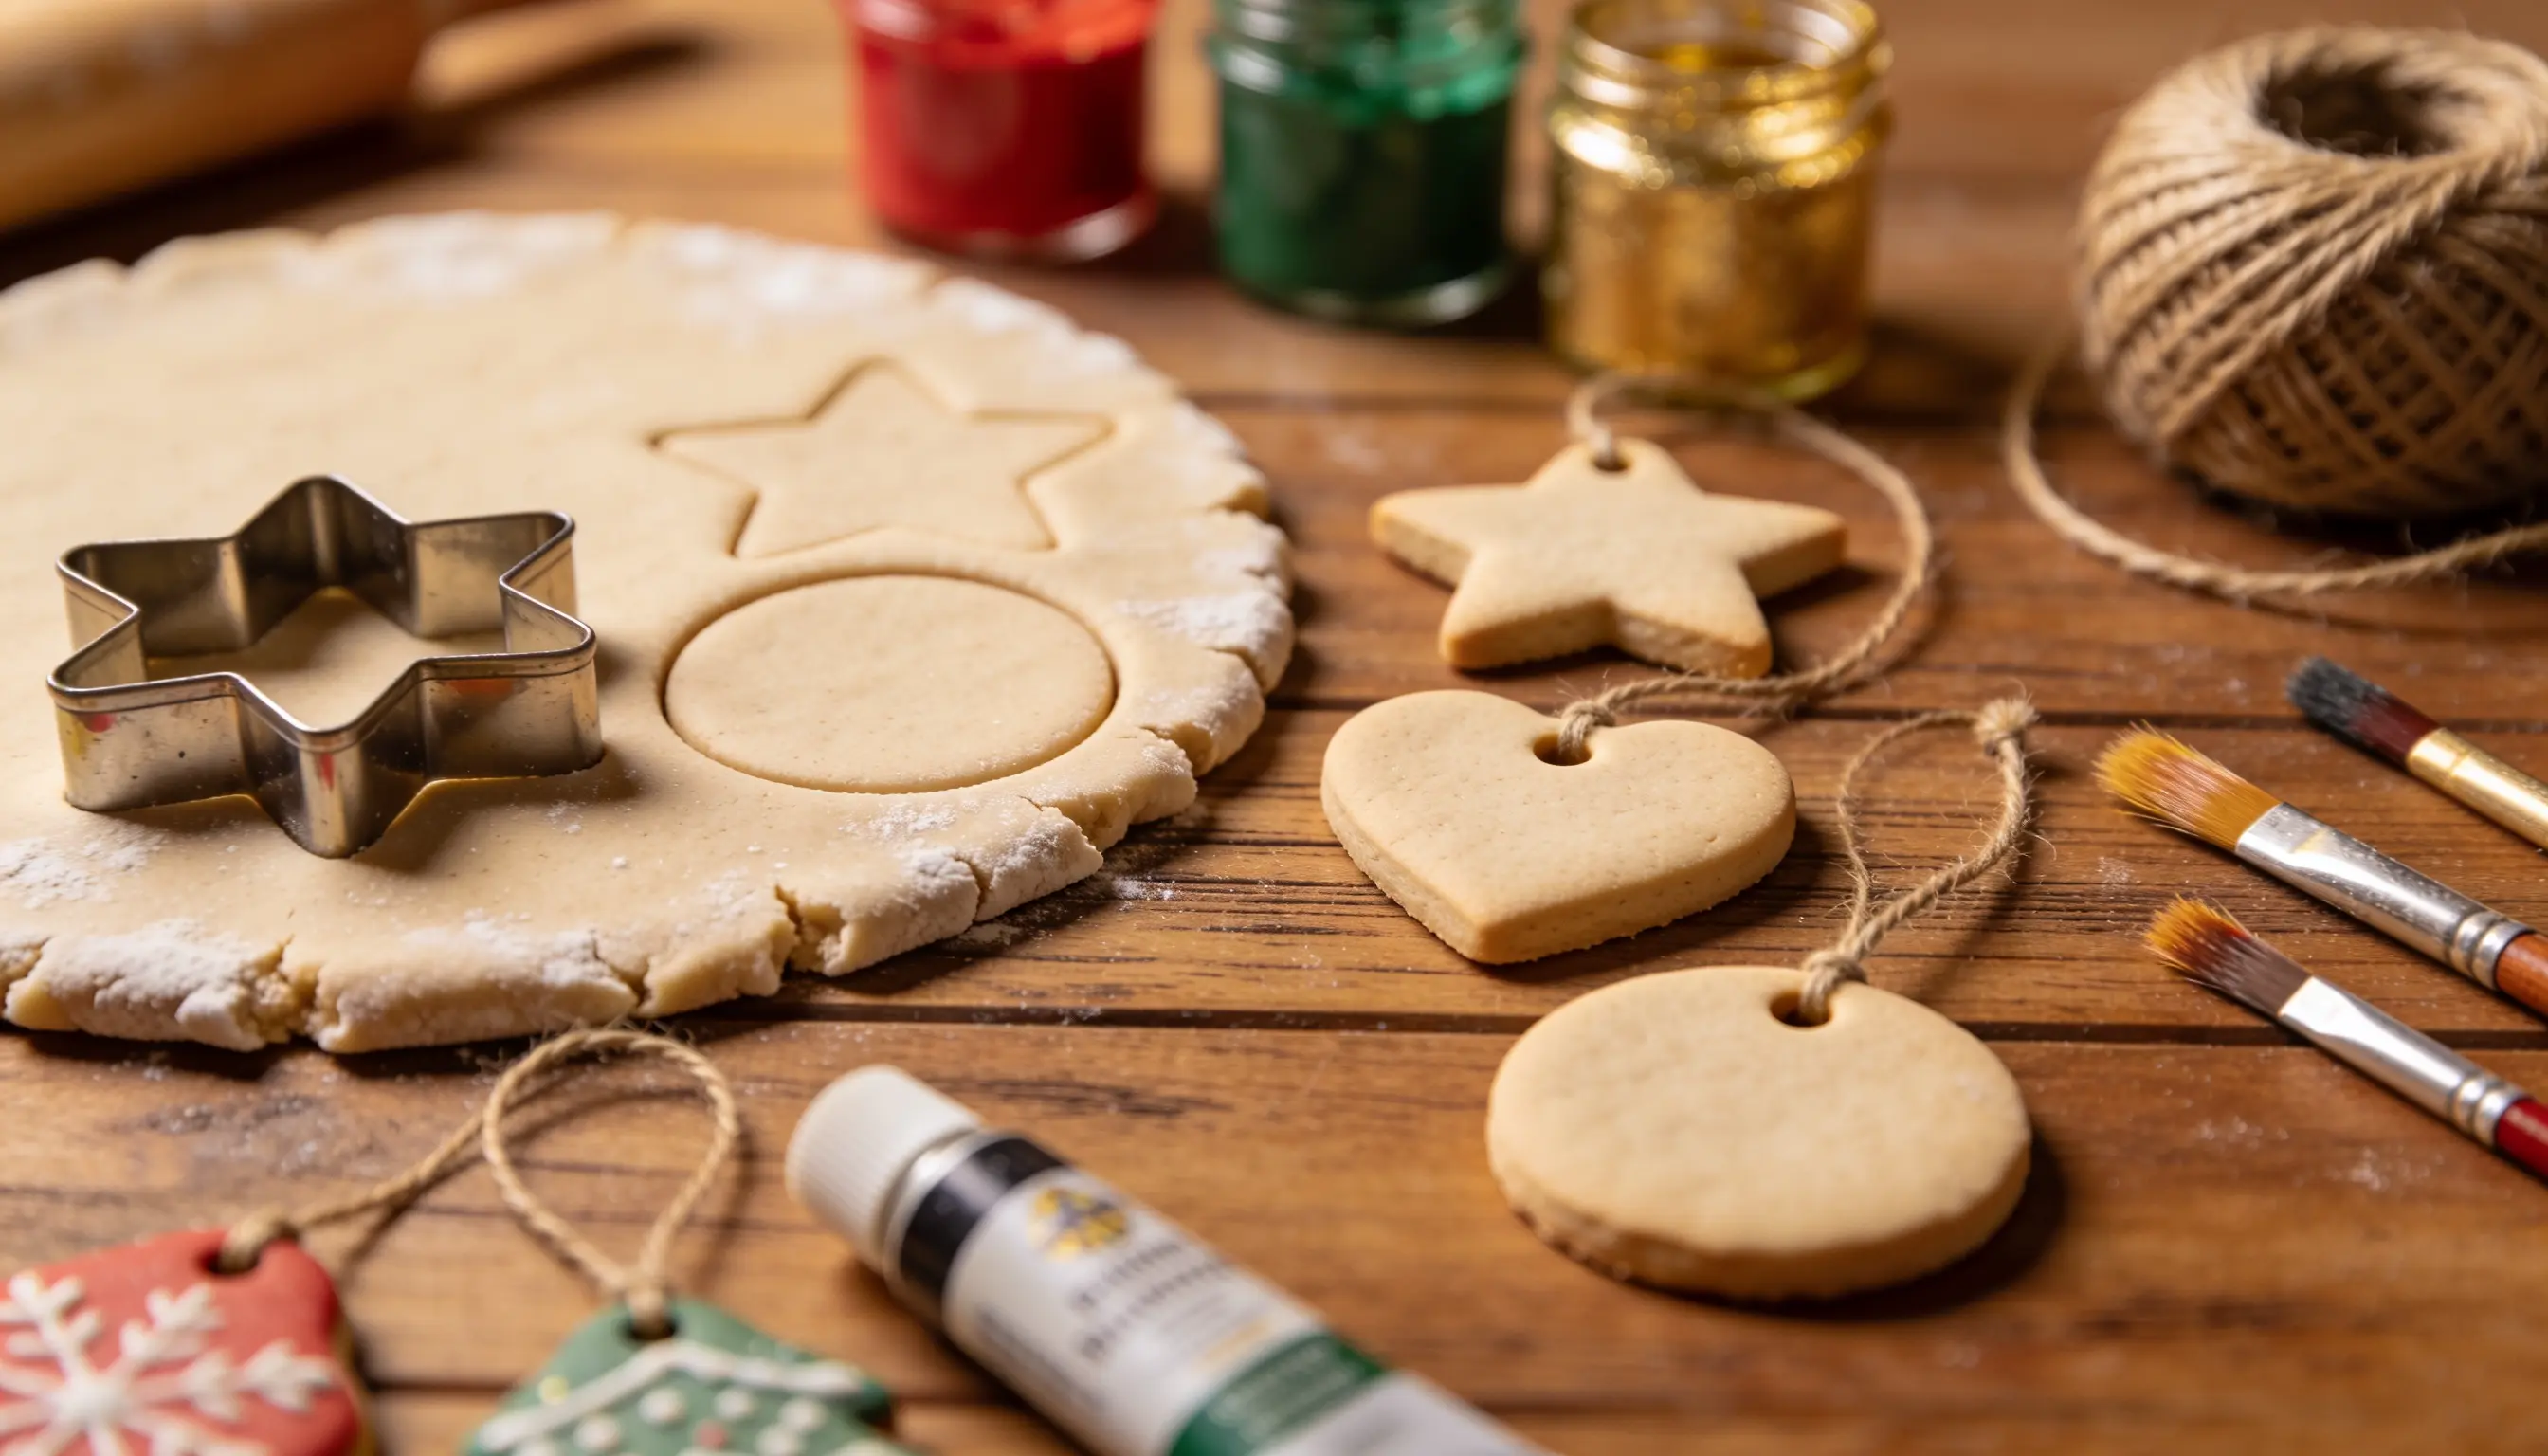
Mix one cup of flour with half a cup of salt in a bowl. Slowly add half a cup of water and stir until a dough forms. Knead it for a few minutes until smooth and firm.
Roll the dough flat on a floured surface, about a quarter inch thick. Press cookie cutters into it to make stars, hearts, or circles.
Poke a small hole near the top of each shape for hanging. Bake at a low heat until the shapes feel hard and dry.
Let them cool completely, then paint and seal. Thread a string and hang.
3. Cinnamon Stick Bundles
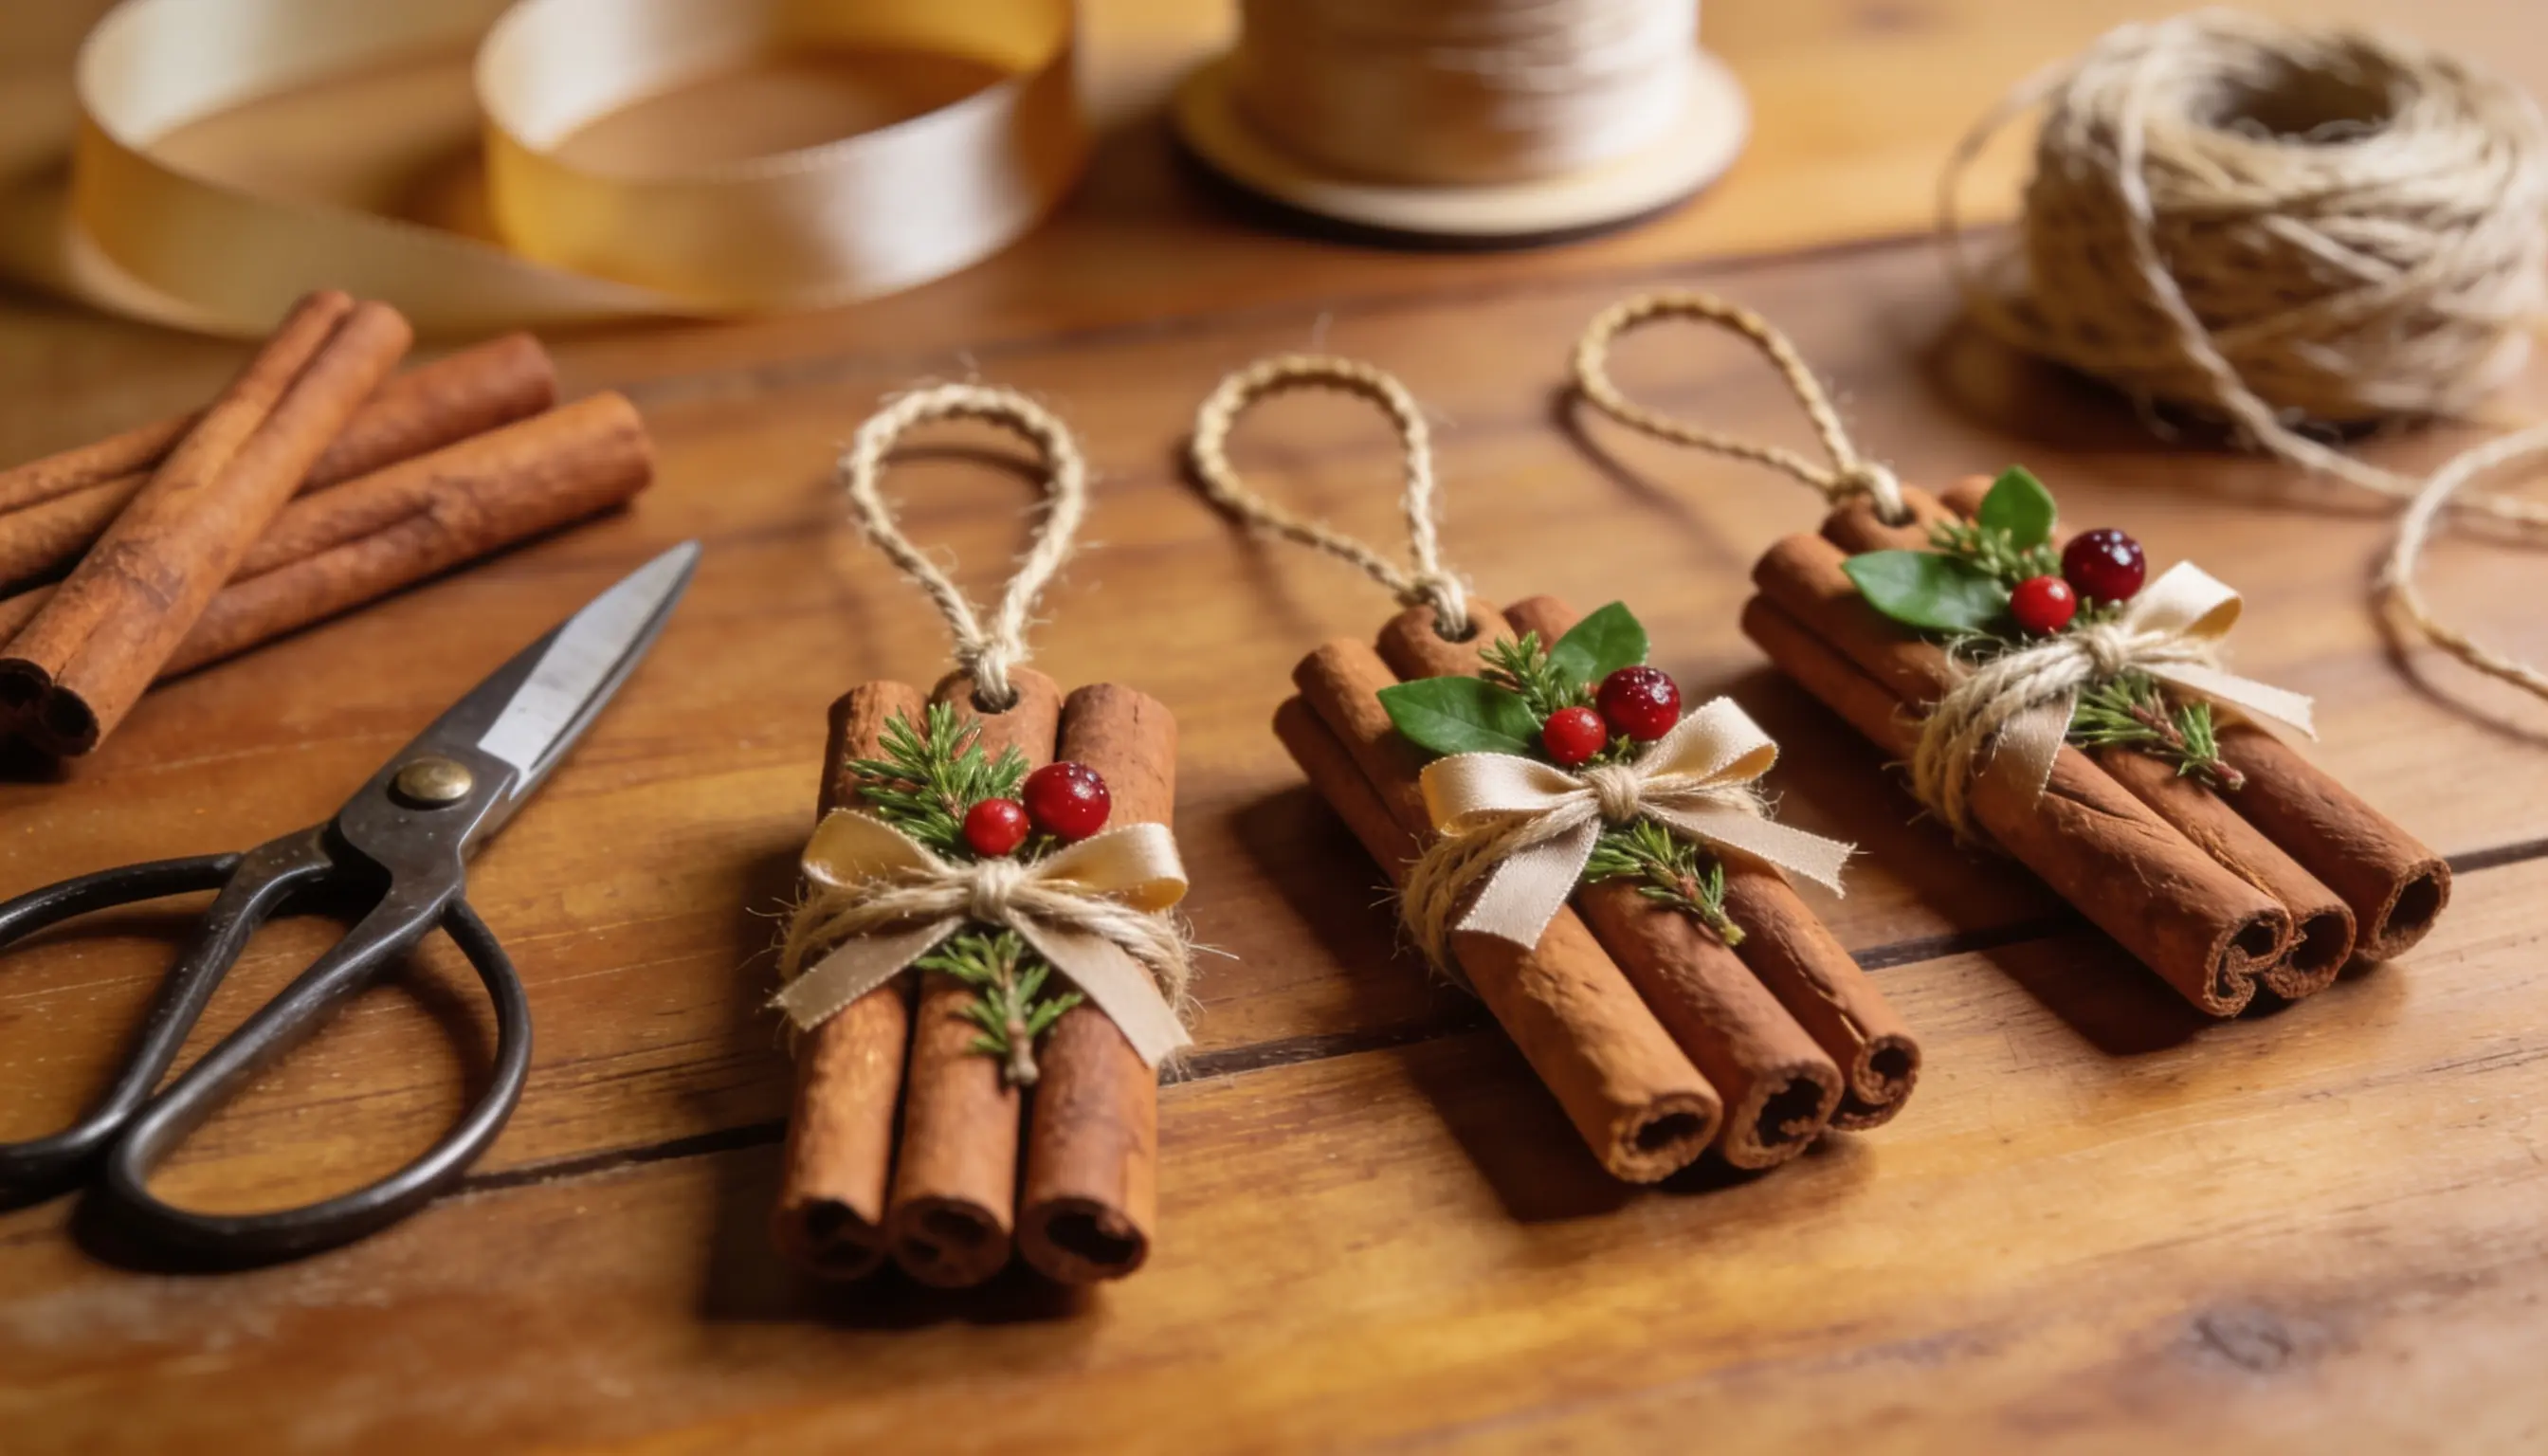
Cinnamon stick bundles are one of the easiest ornaments you can make. They cost next to nothing and fill the room with a spicy scent.
- Gather 3 or 4 cinnamon sticks, each about 4 inches long
- Wrap twine tightly around the center 4 or 5 times, then knot it
- Add a small sprig of greenery or a tiny bow on the front
- Make a 3-inch loop with the leftover twine, then hang it on a branch
4. Photo Ornaments
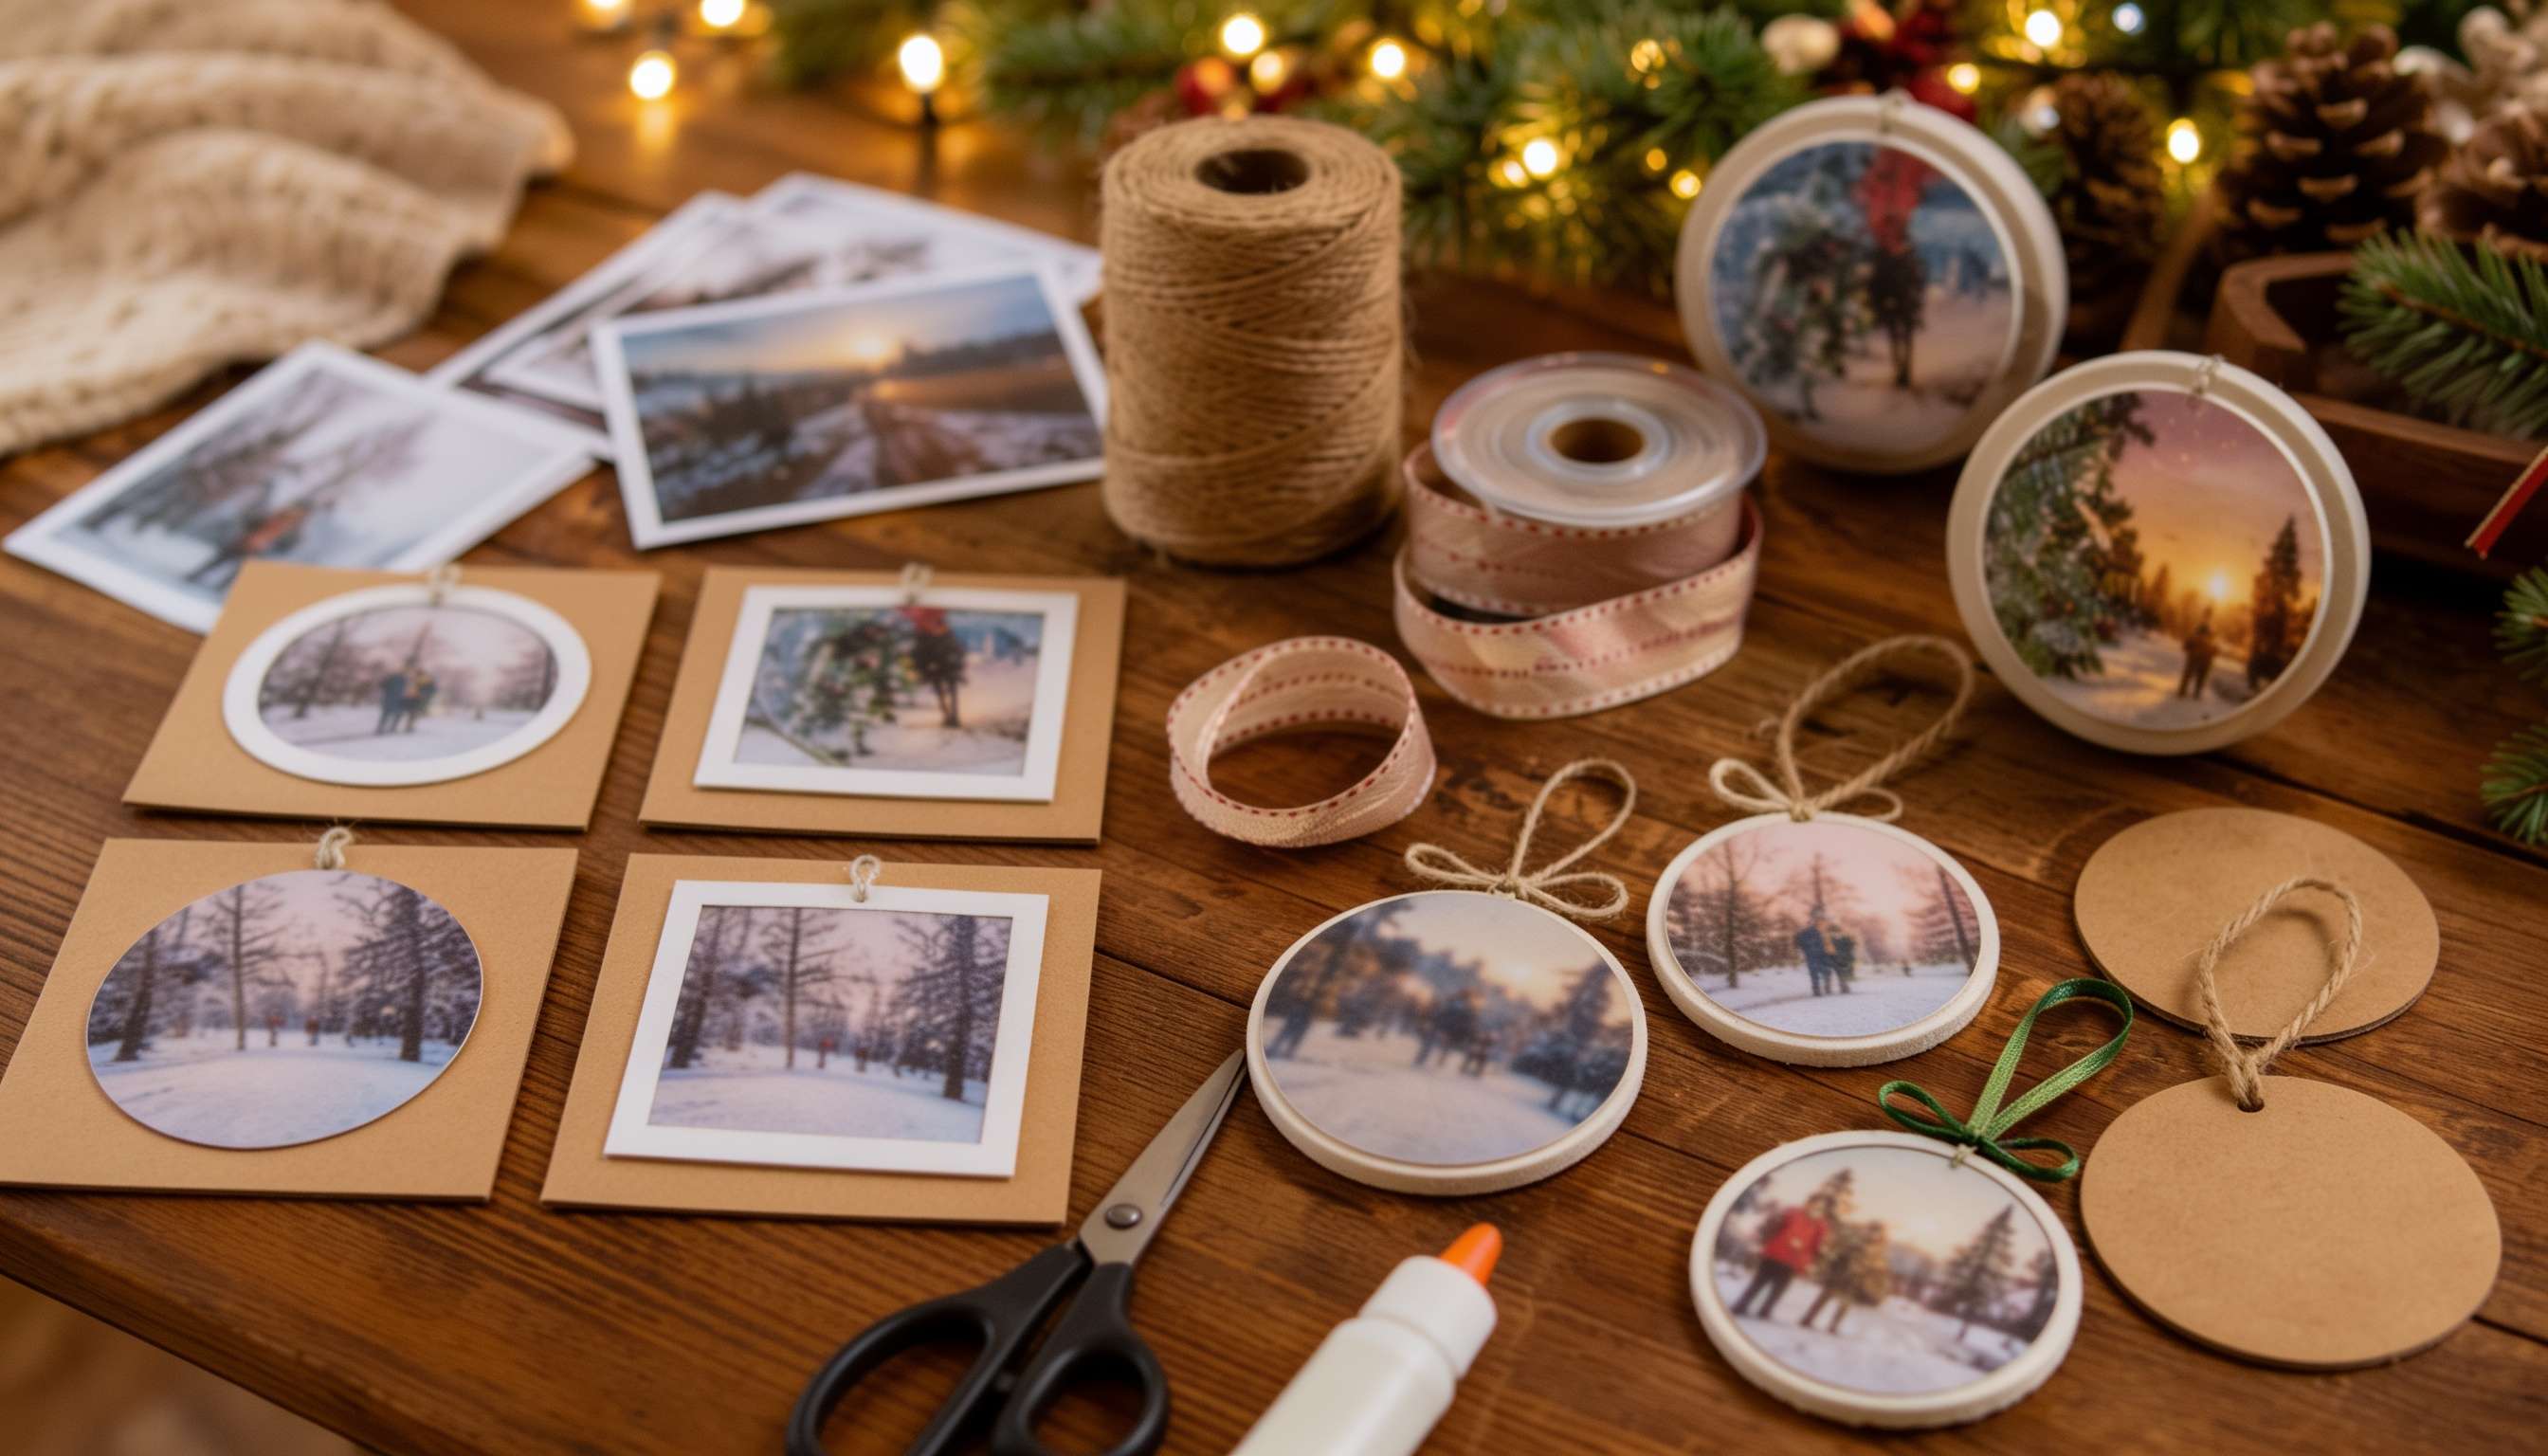
Start by choosing a favorite photo, ideally one with a clear face. Trim it into a circle or square that fits your base.
Glue it onto a wooden disc or cardboard, or slip it inside a clear ball. Press it flat and smooth out any air bubbles.
Add a thin border of ribbon or paint for a clean edge.
Let it set for an hour. Then attach a loop of string. Old family photos make the sweetest gifts here.
5. Beaded Wire Shapes
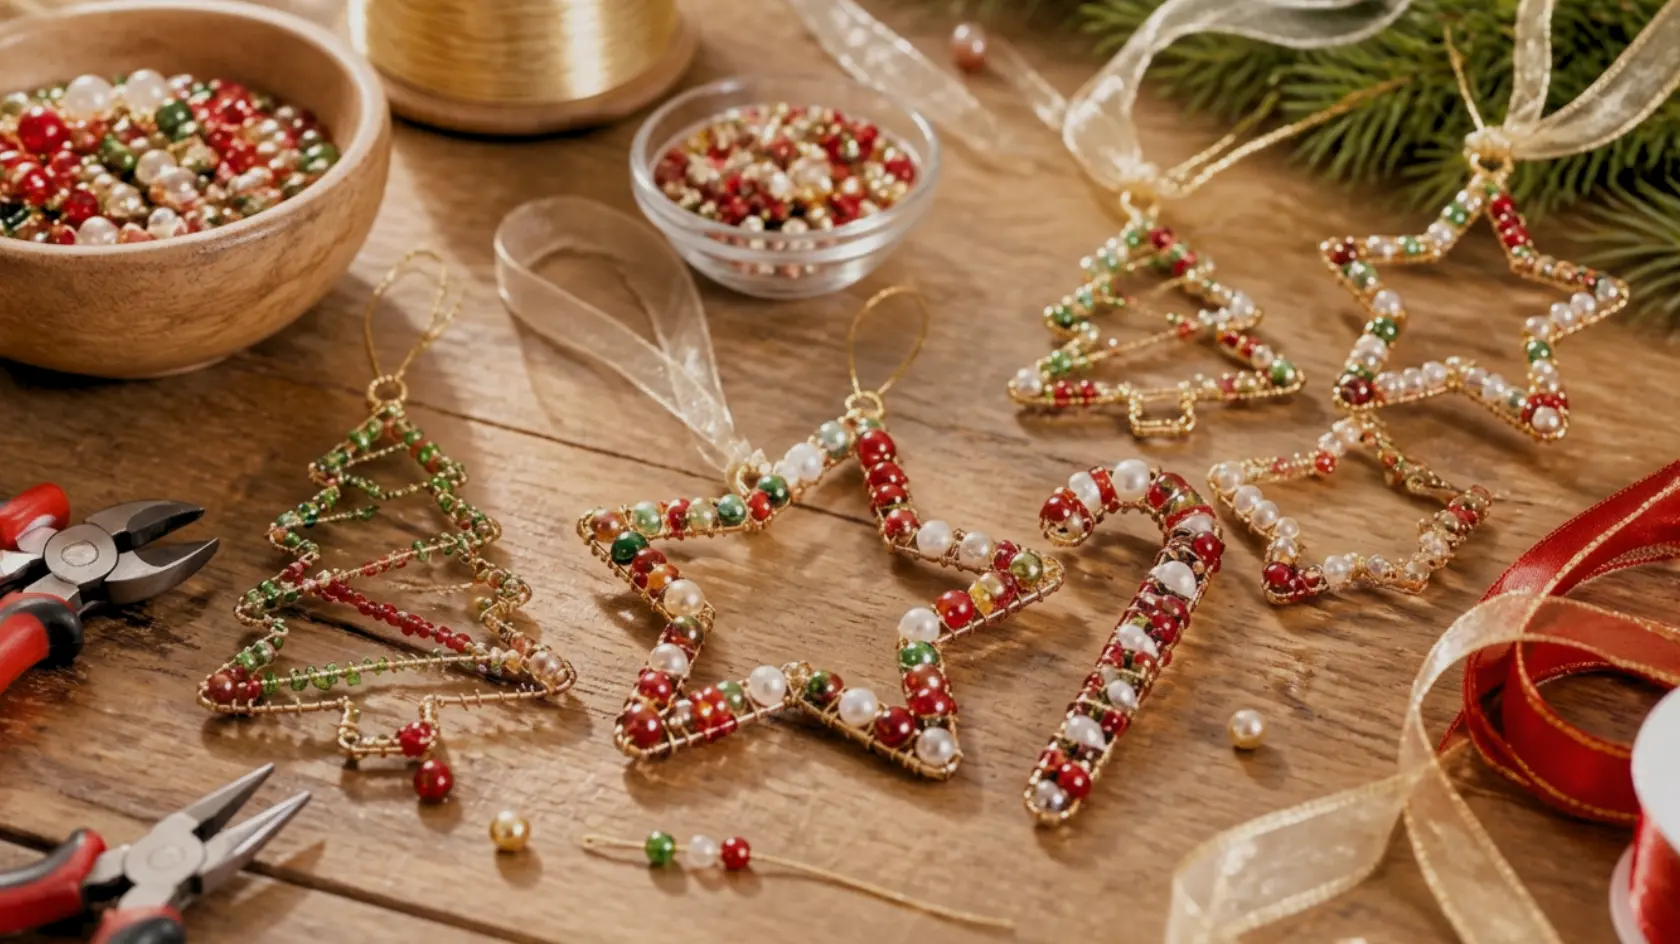
Beaded wire shapes come together fast, and kids can help with most of it. Grab some craft wire and a handful of colorful beads to begin.
- Cut a length of craft wire, about eight inches long
- Thread your beads on one at a time until most of the wire is full
- Bend the beaded wire into a star, heart, or candy cane
- Twist the two ends together tightly to lock the shape in place
- Loop a bit of string at the top for hanging
6. Handprint Salt Dough Ornaments
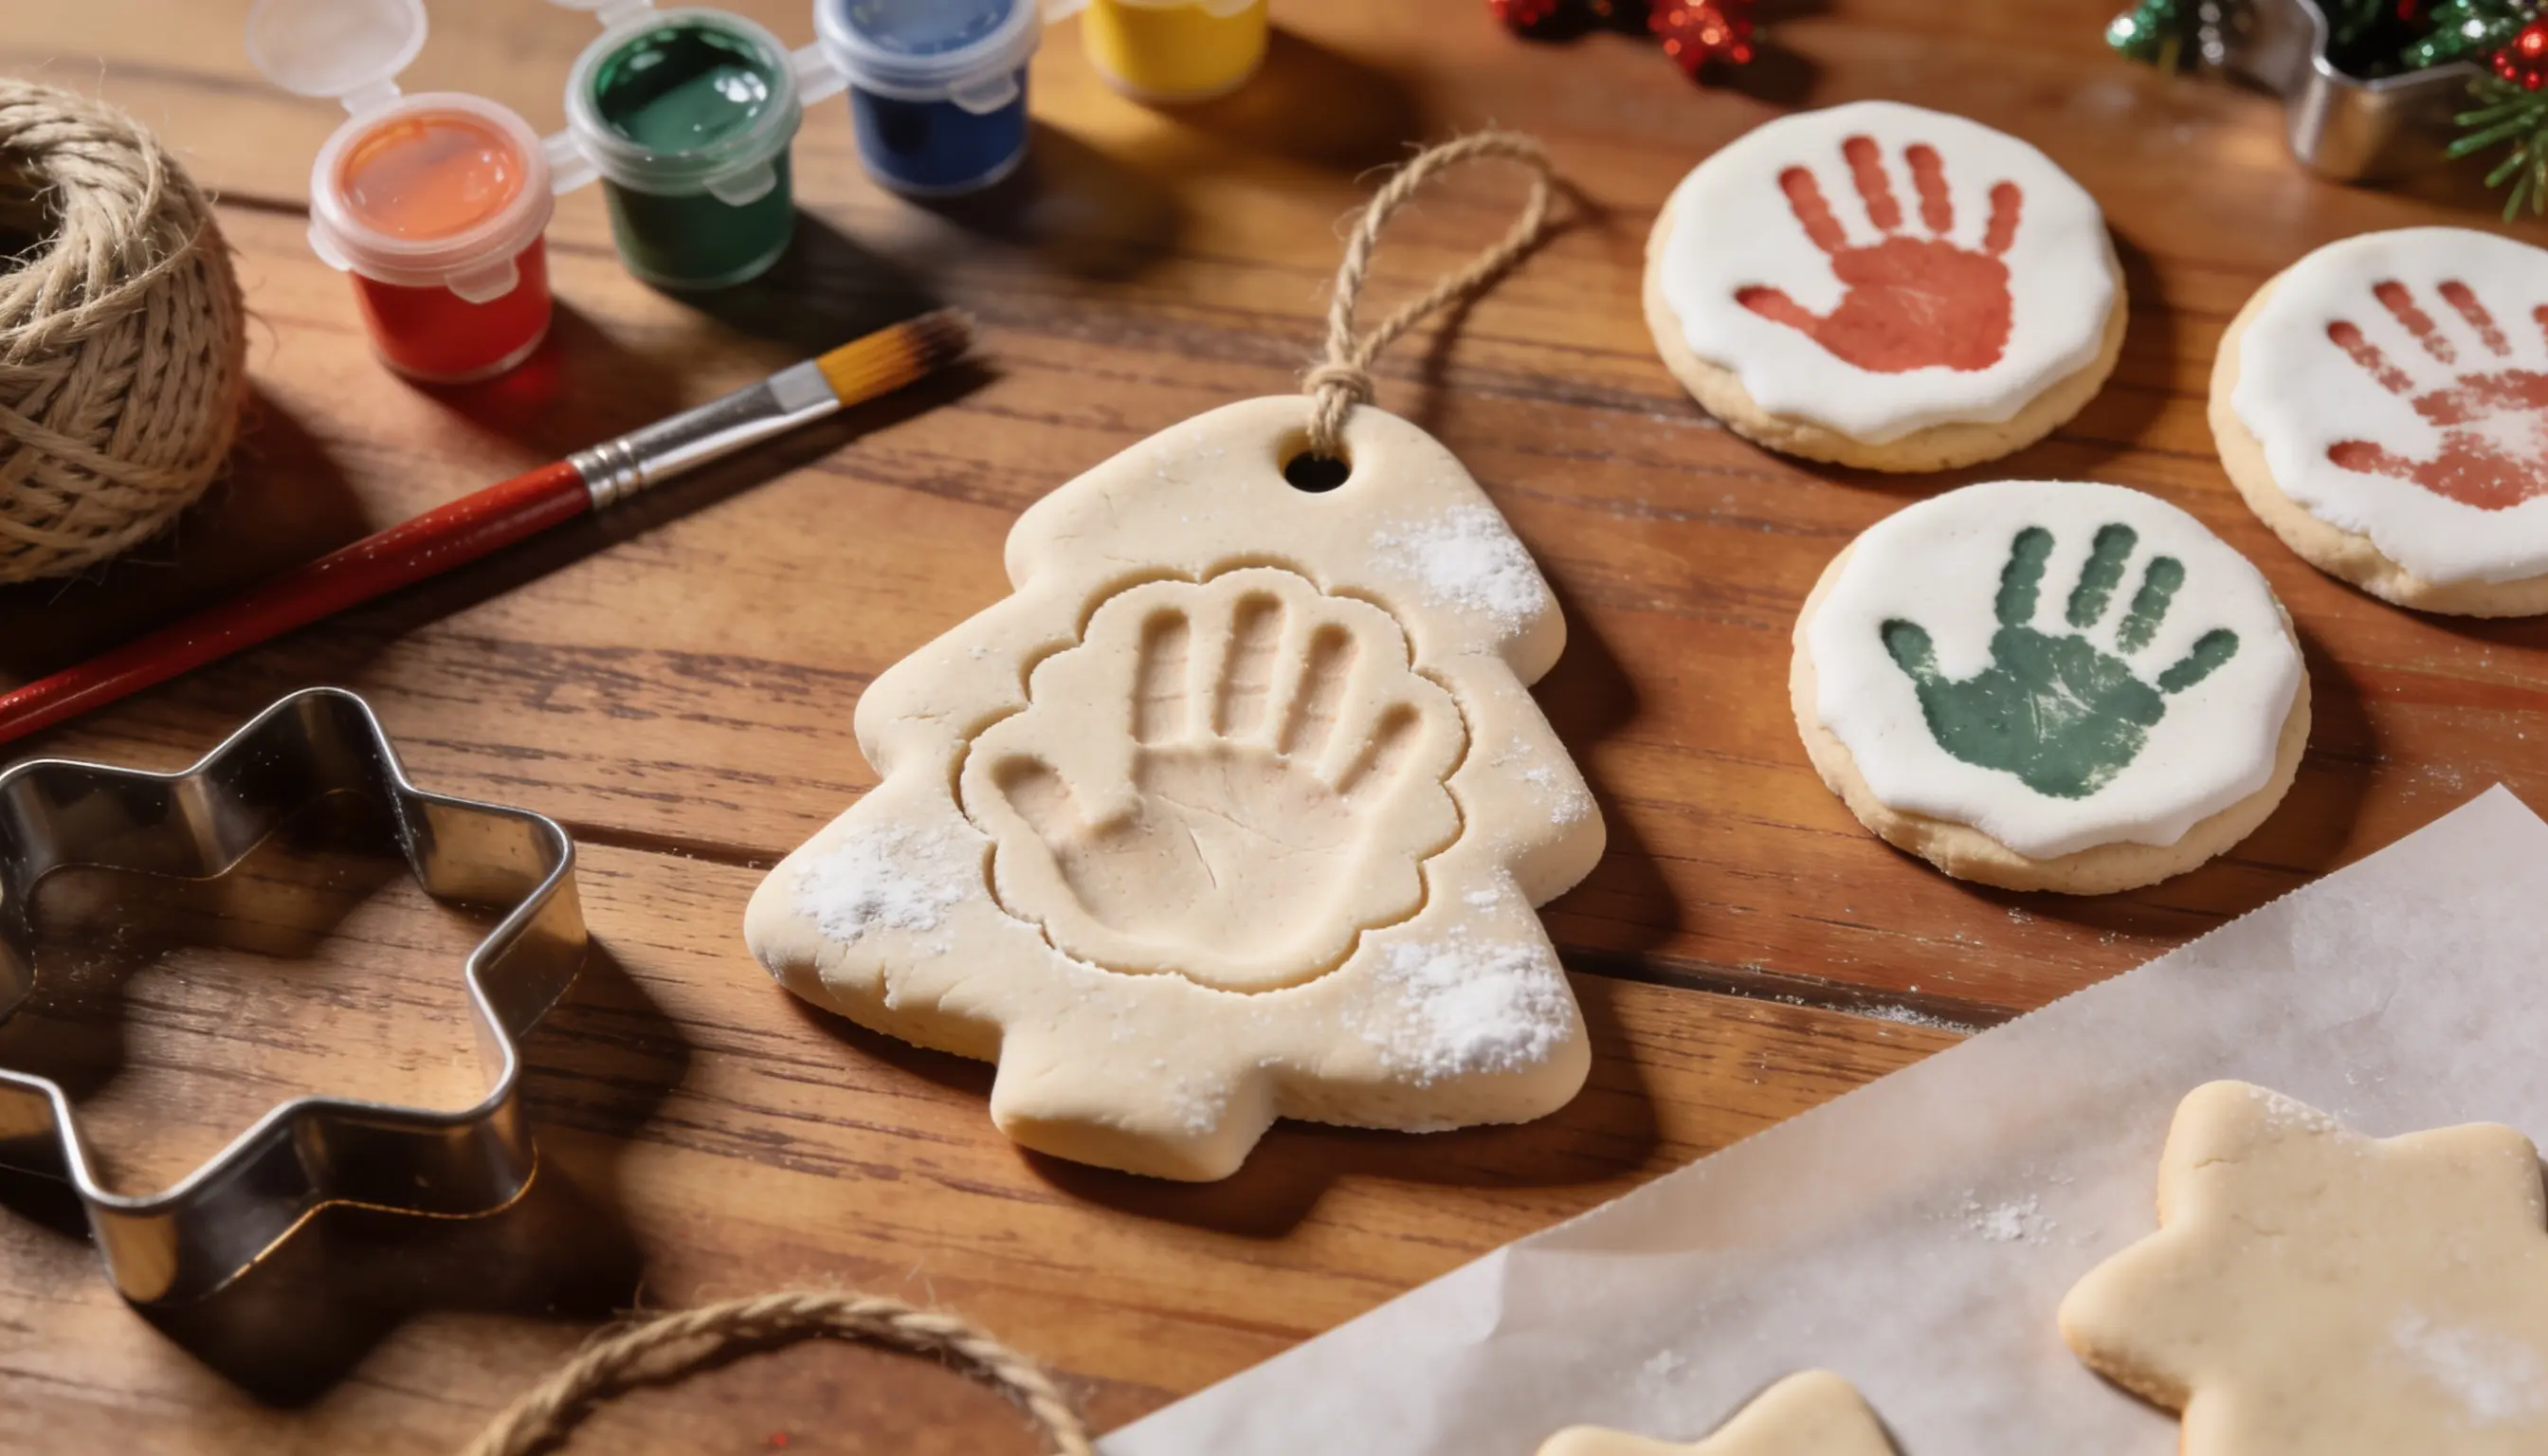
Handprints are one of the sweetest DIY ornaments for kids you can make.
Mix flour, salt, and water into a soft dough, then knead it smooth. Roll it flat, about a quarter inch thick.
Have your child press their hand firmly into the dough. Cut around the print and poke a hole at the top.
Bake on low heat until hard. Let them paint it once it cools completely.
7. Popsicle Stick Snowflakes
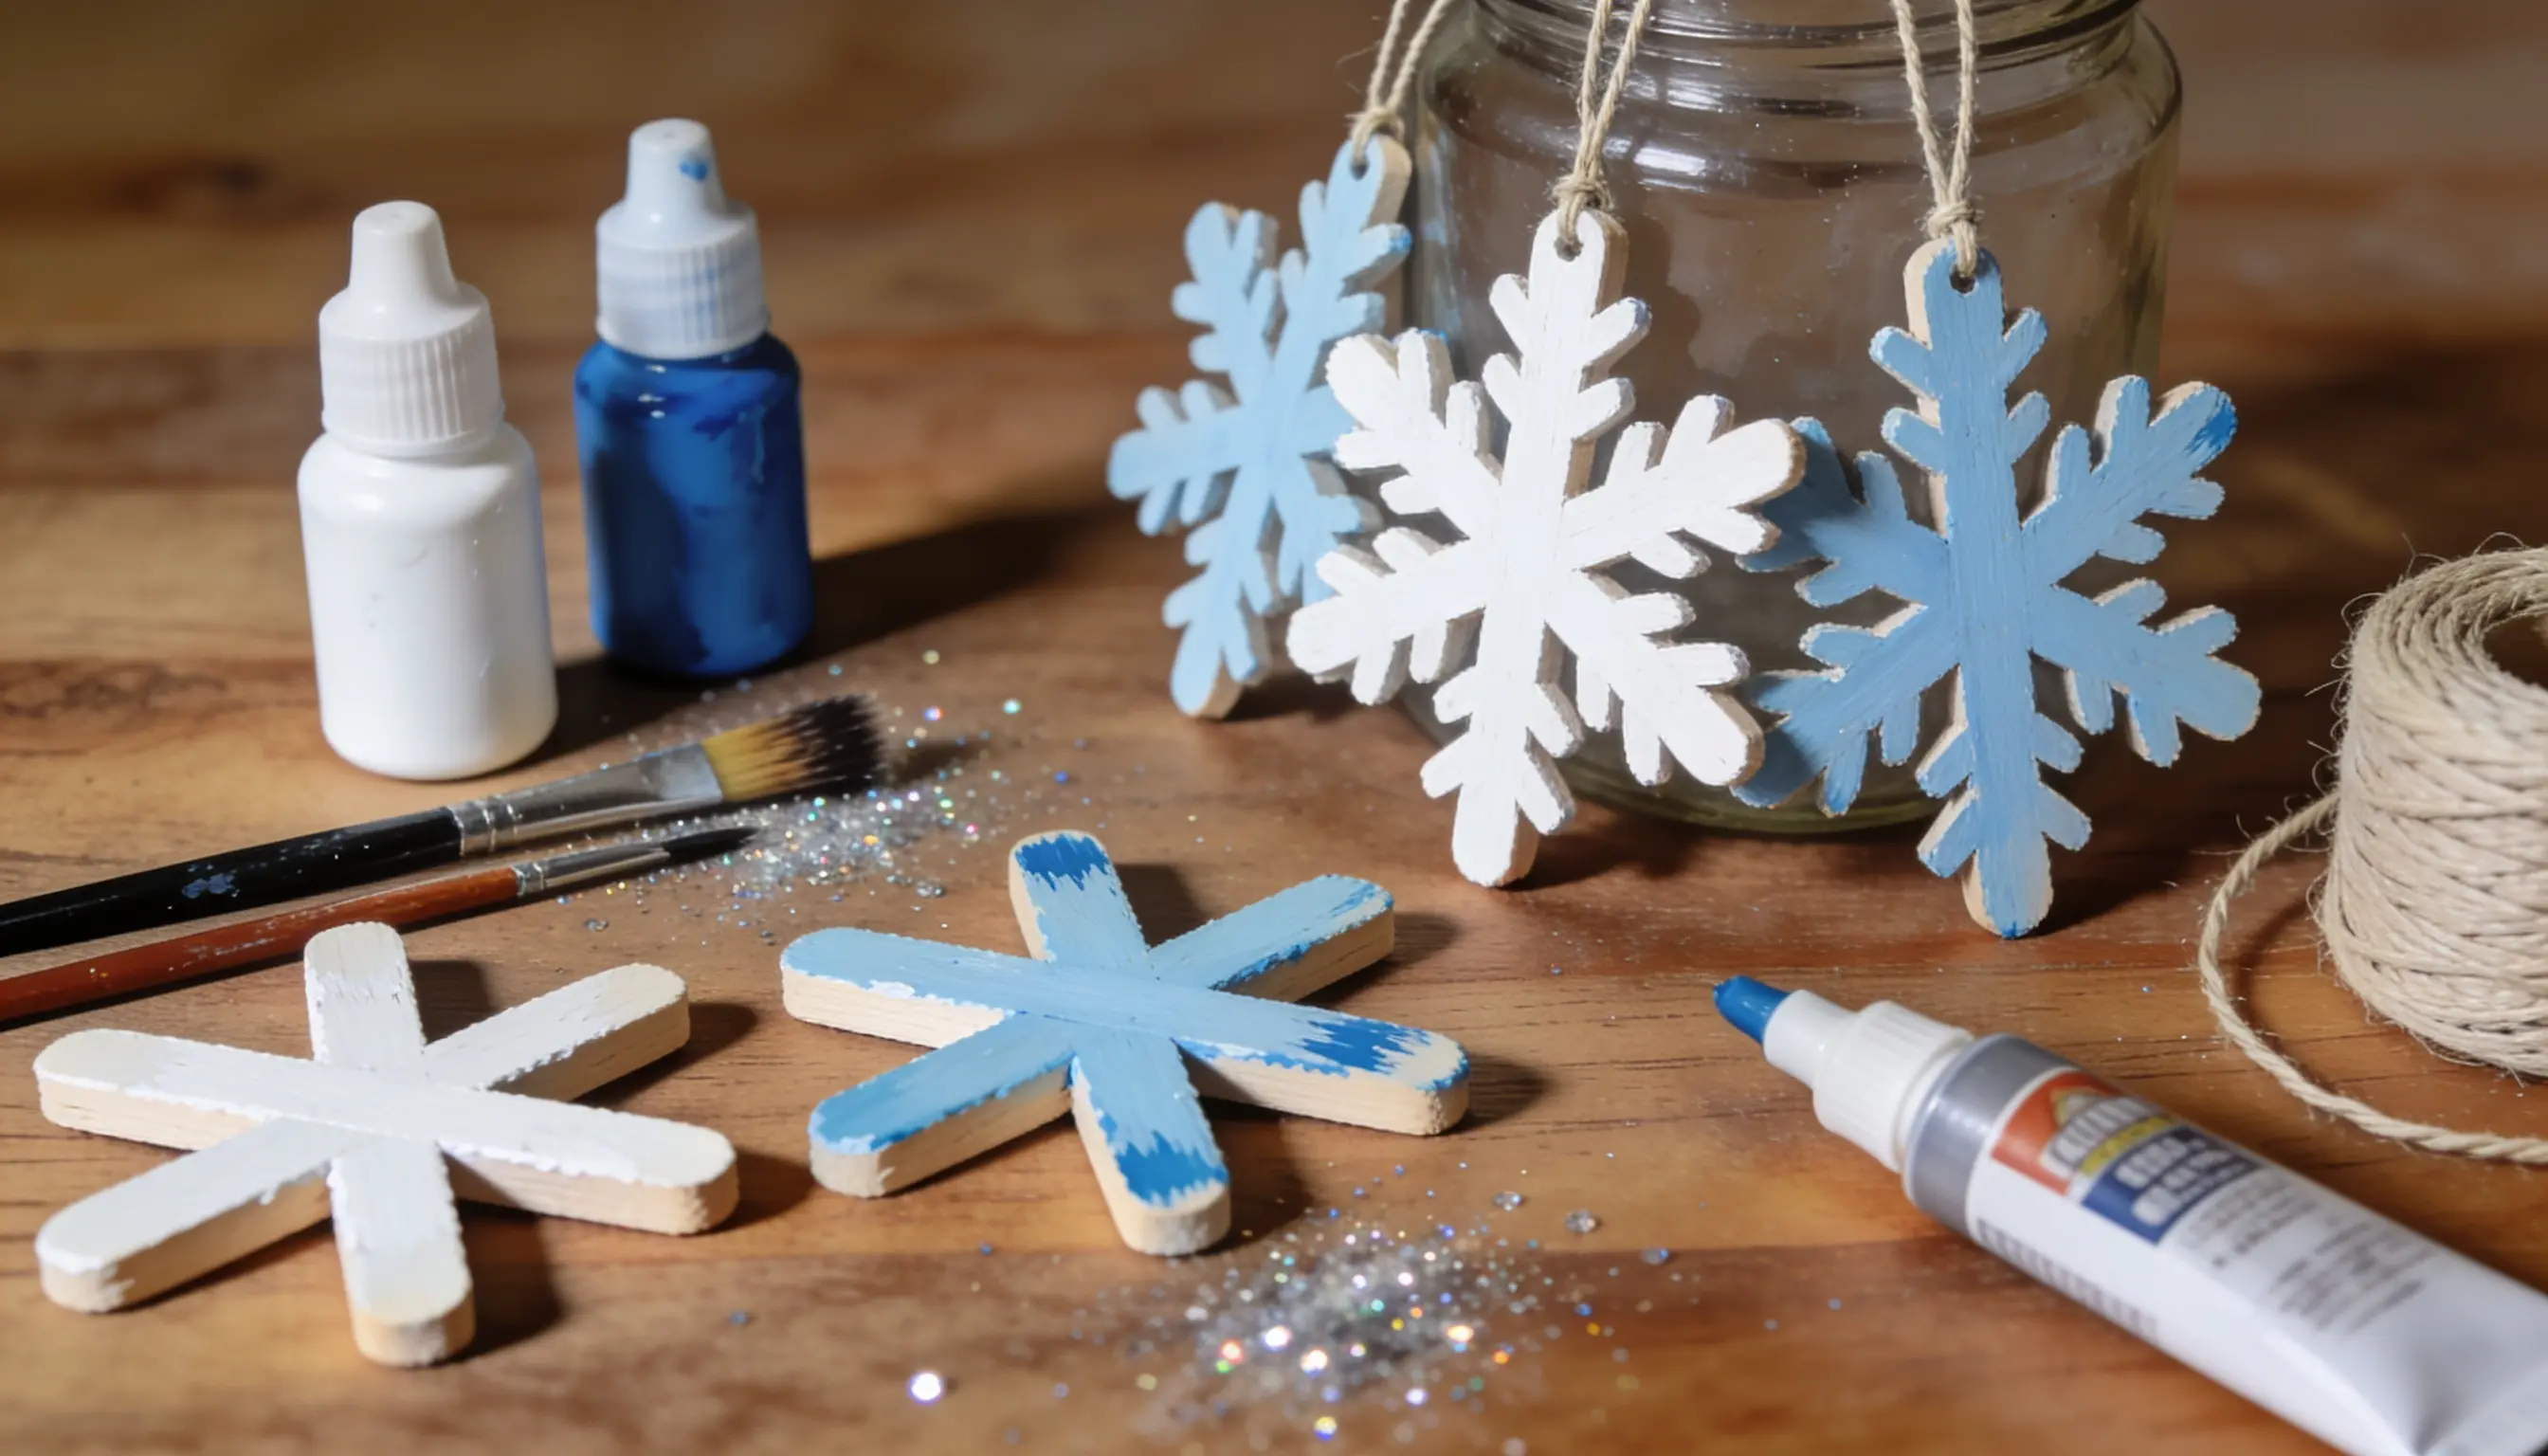
Take 6 popsicle sticks and glue them into a snowflake, crossing 3 pairs at the center. Let the glue dry for about 20 minutes so it holds firm
Have the kids paint the sticks white, blue, or silver. Sprinkle glitter over the paint while it is still wet.
Wait another 30 minutes for everything to dry fully.
Add small beads or sequins on the tips if you like. Tie a string to one arm, and it is ready to hang.
8. Paper Loop Ornaments
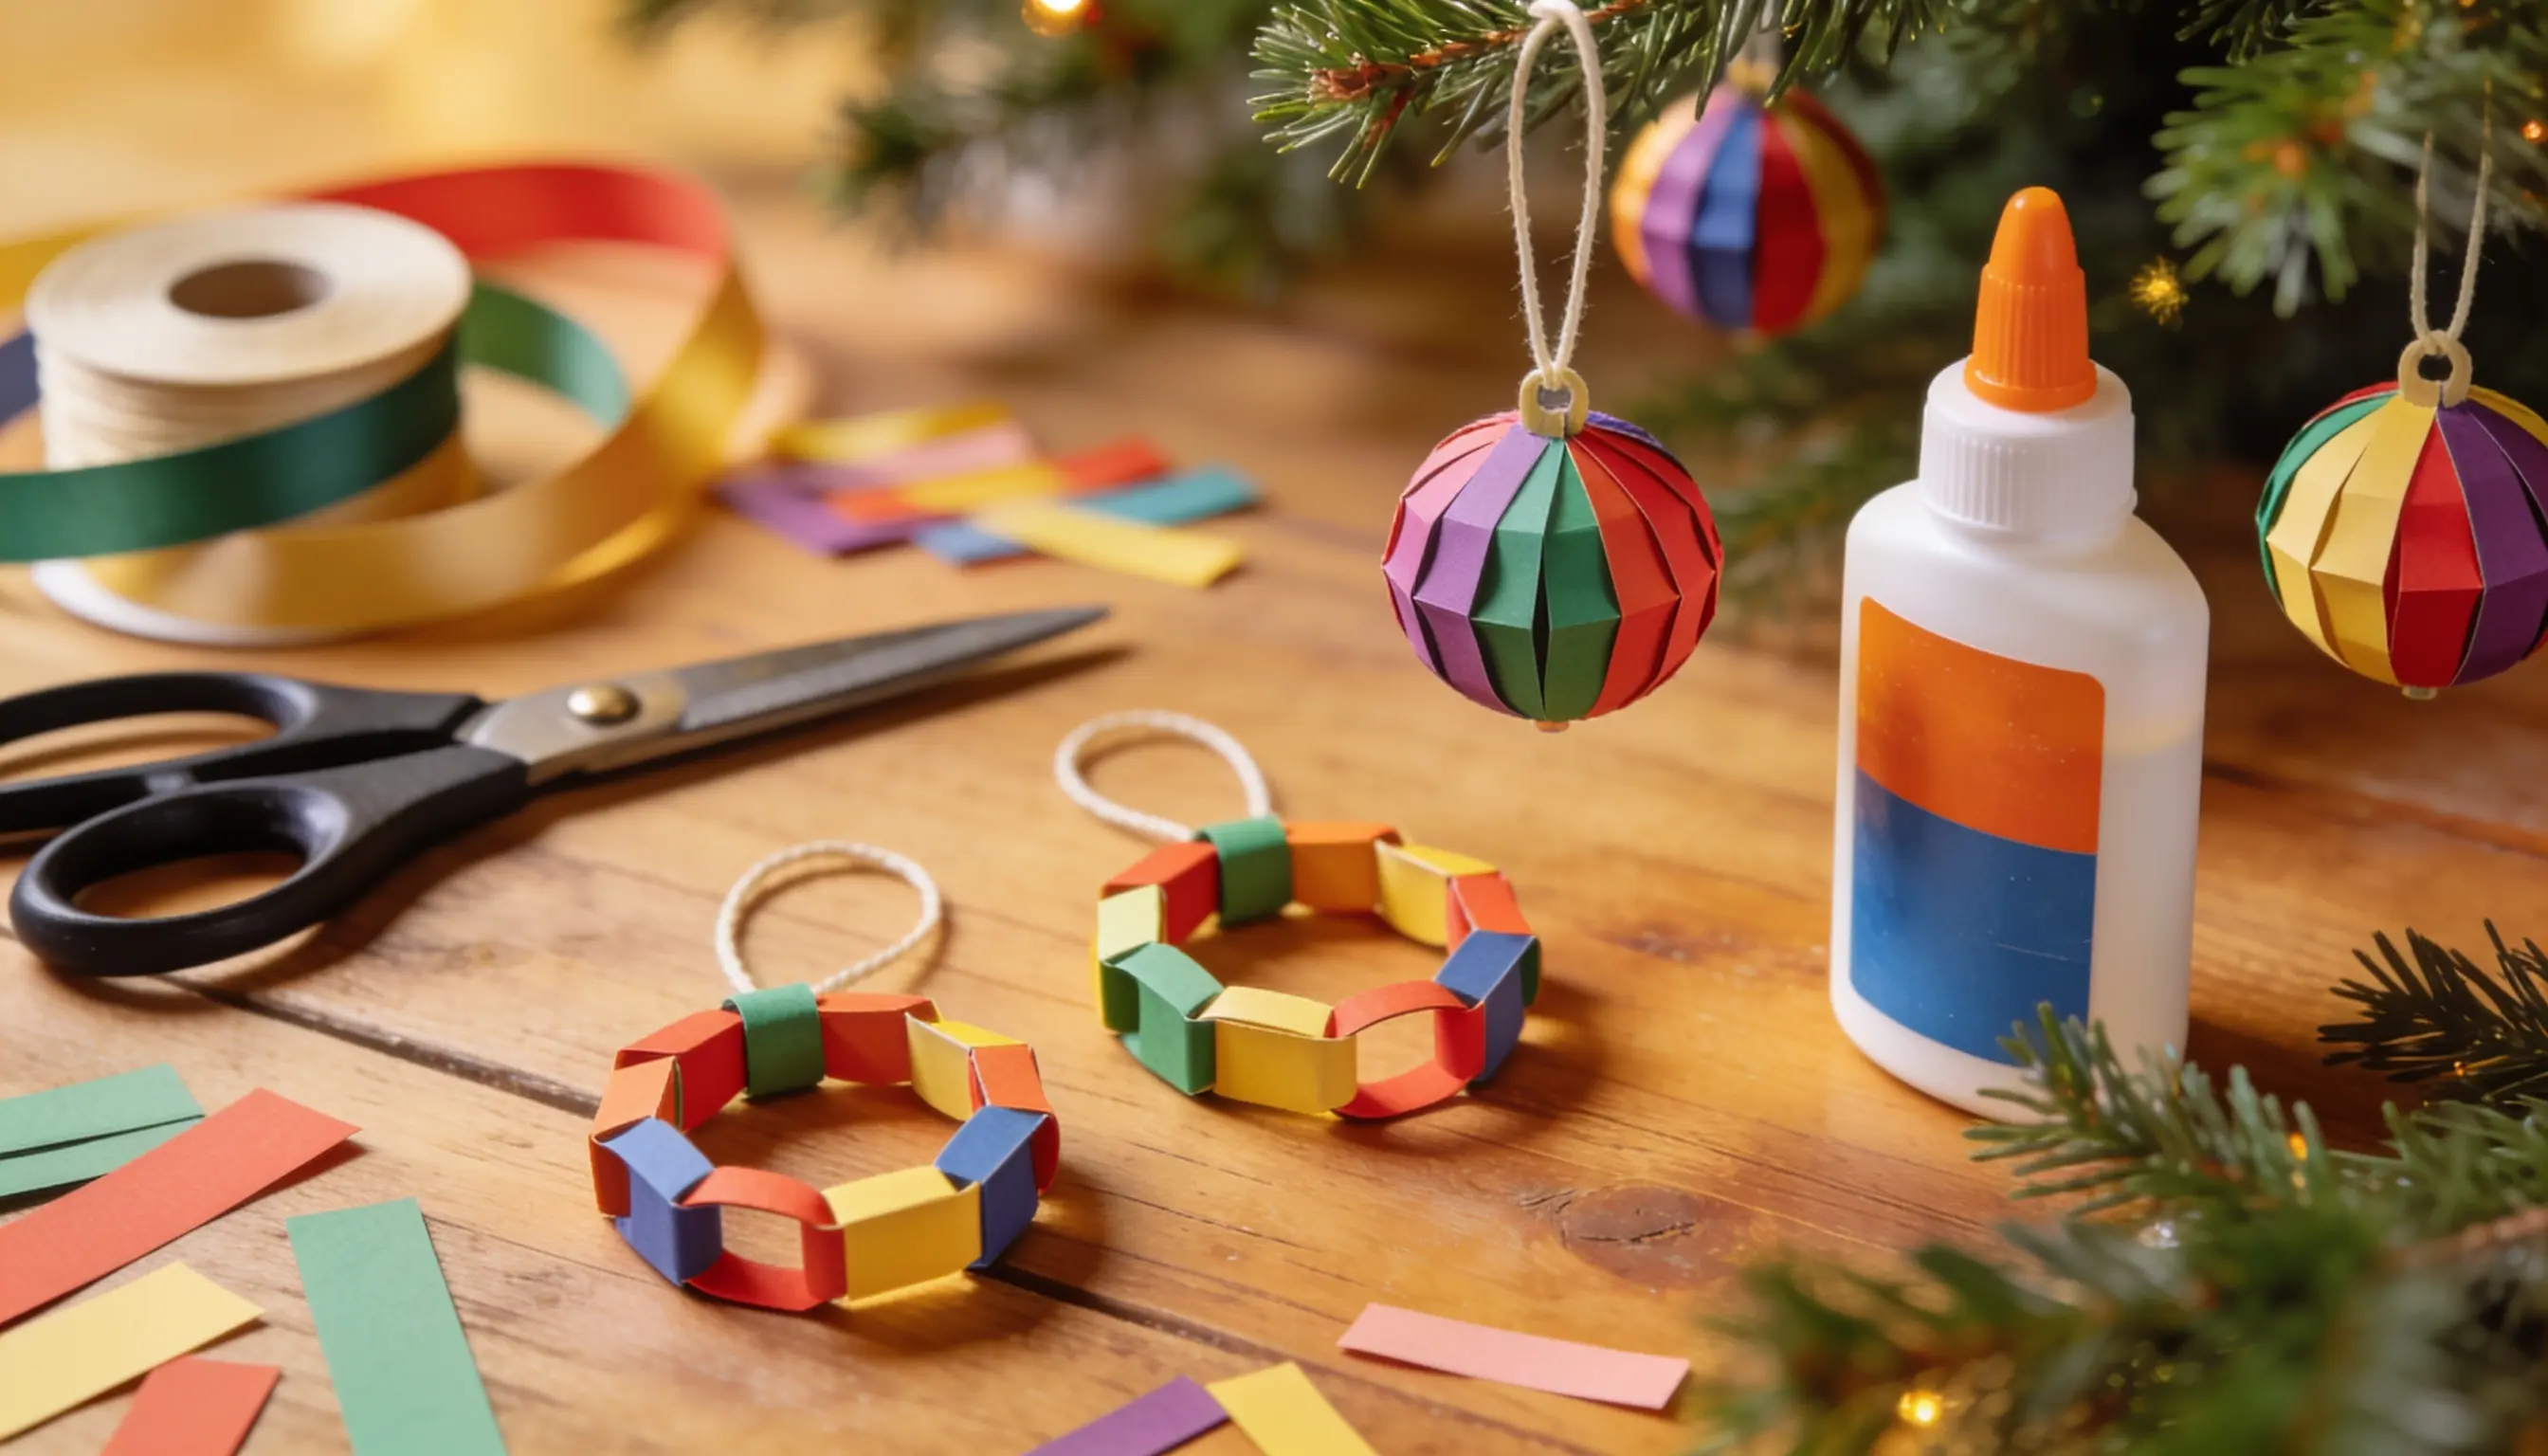
Below are the steps to make Paper Loop Ornaments:
- Cut colored paper into thin strips, about 6 inches long and 1 inch wide
- Curl the first strip into a loop and glue the ends together
- Add the next strip through the first to start a chain, or stack loops into a ball shape
- Hold each loop for a few seconds so the glue sets
- Keep adding strips until you reach the size you want
- Tie a string to the top loop, then hang it on a lower branch
9. Pom-Pom Critters
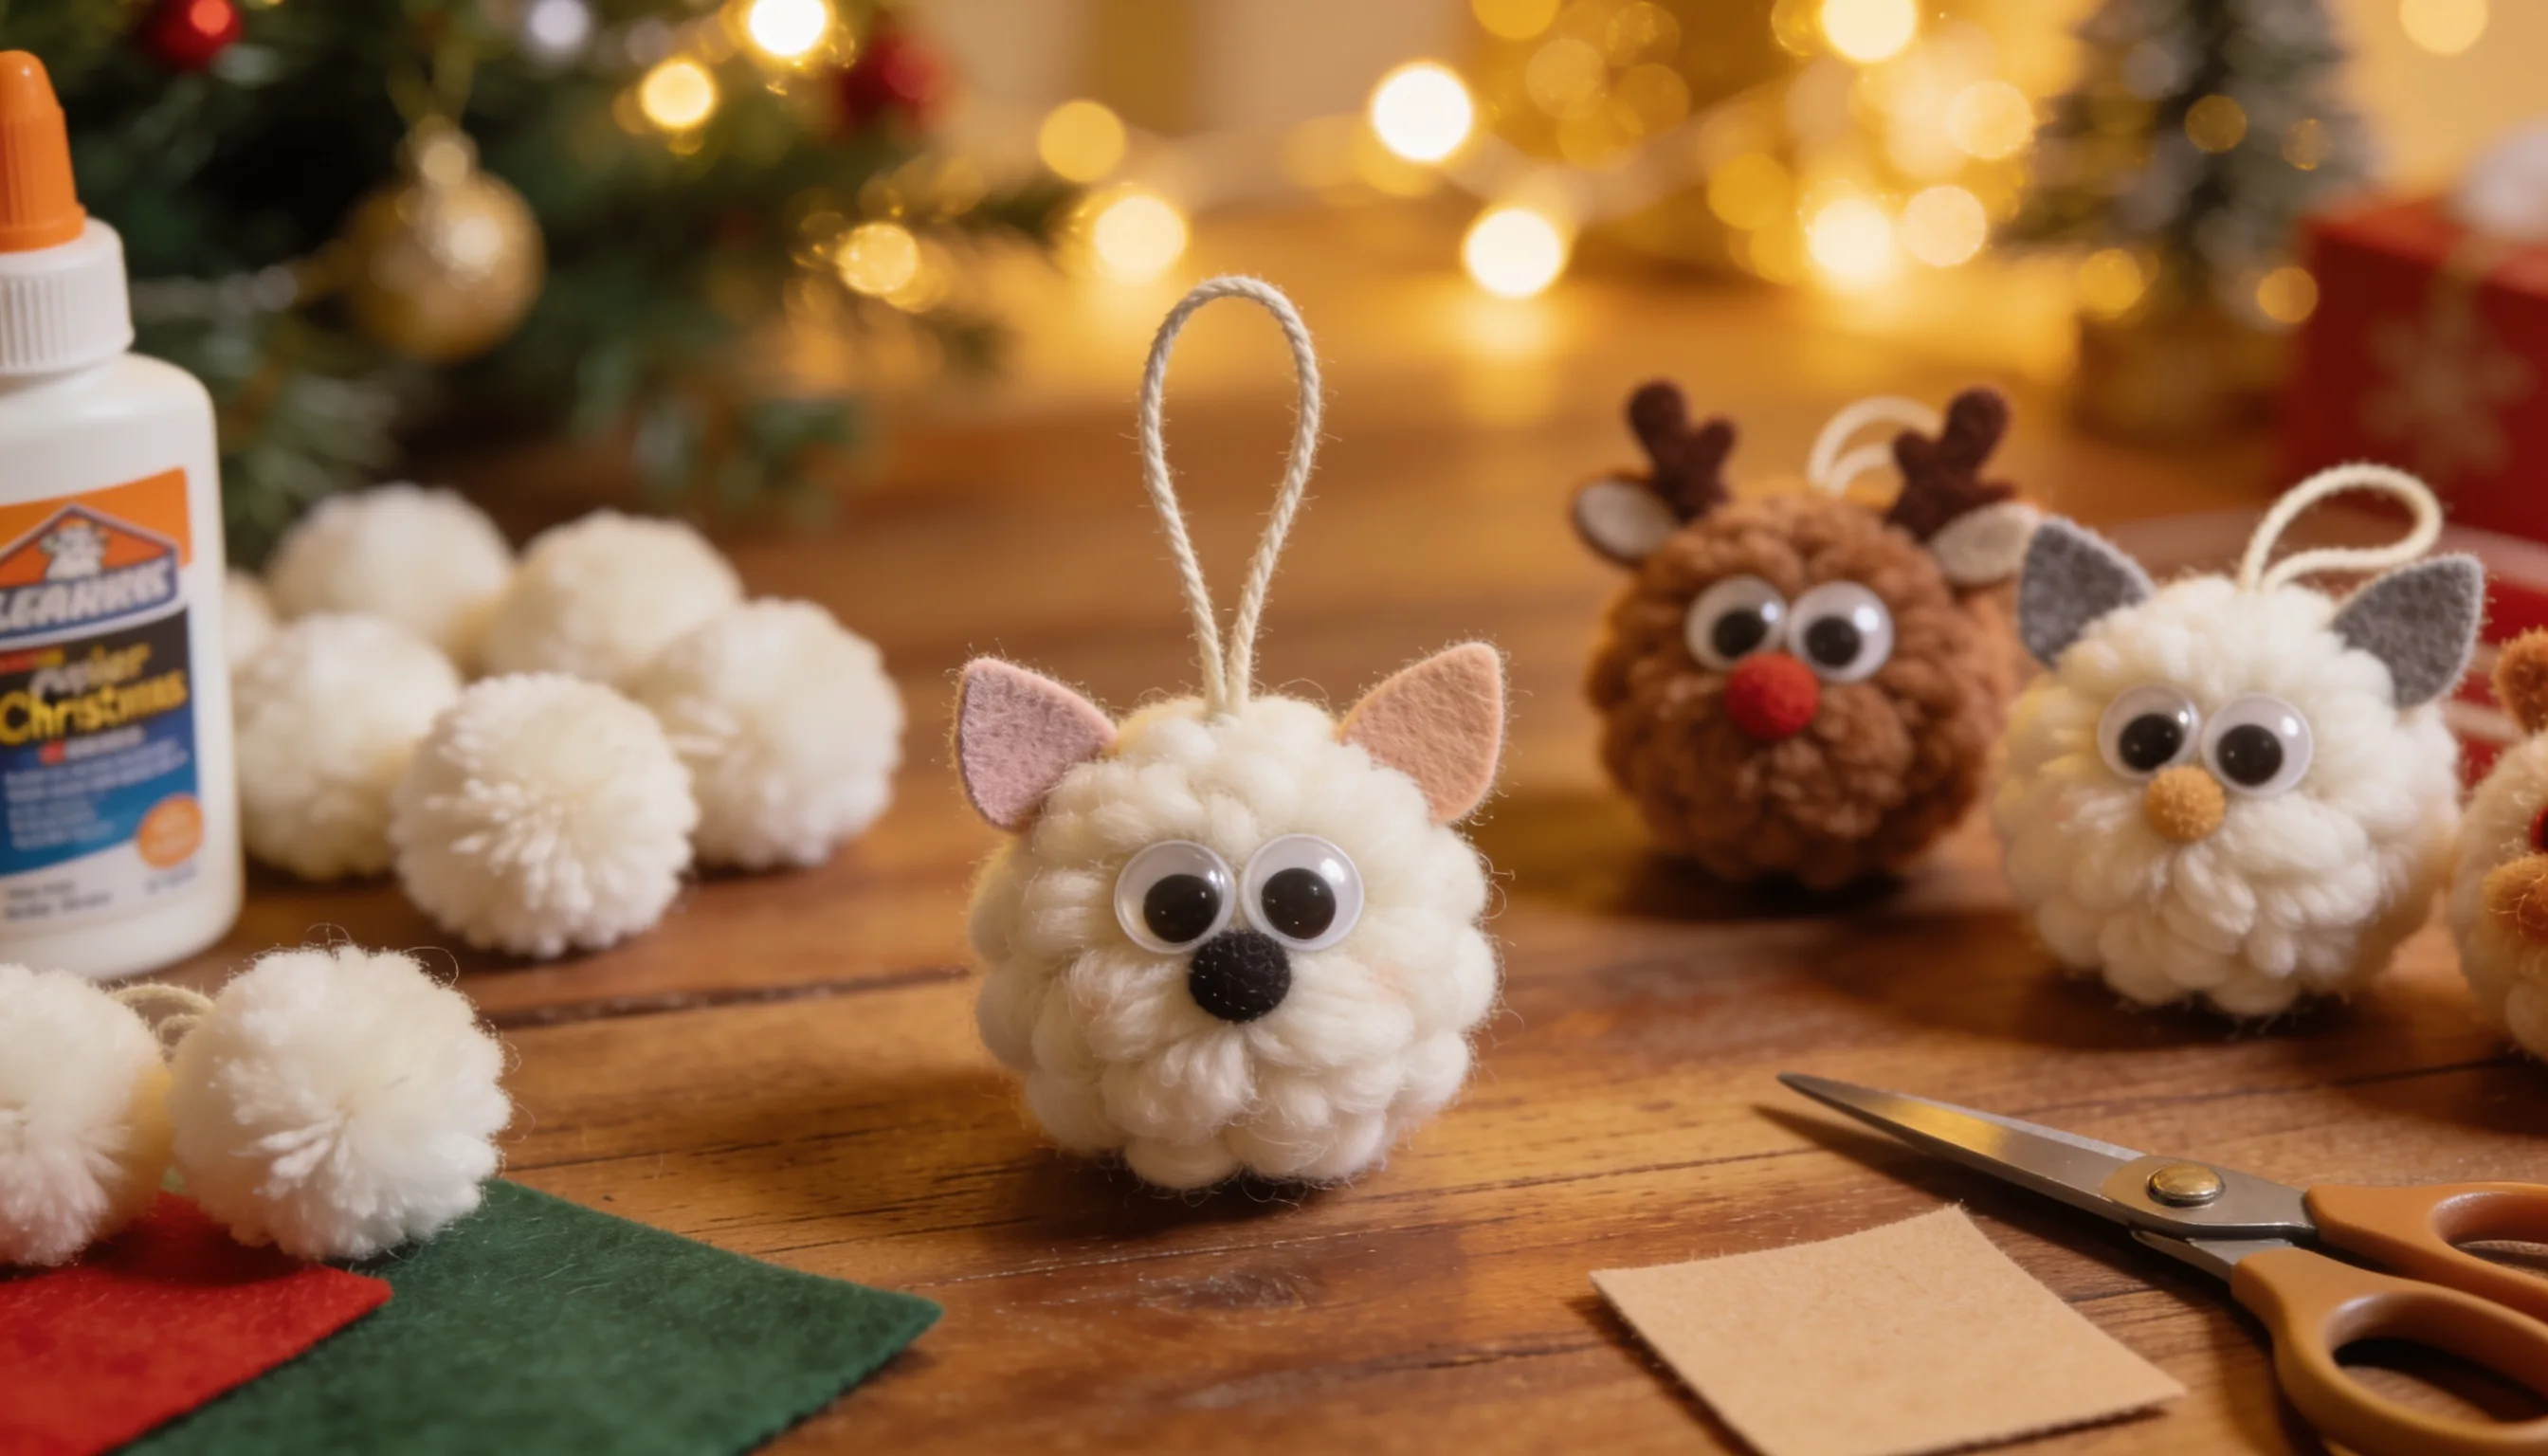
Pick 2 or 3 fluffy pom-poms in different sizes for each critter. Glue them together to form a head and body.
Press firmly and hold for 20 seconds so they stick. Add googly eyes, felt ears, and a tiny nose.
Let each child invent their own animal here. Wait 15 minutes for the glue to set. Attach a string to the top, and hang it up.
10. Beaded Pipe Cleaner Candy Canes
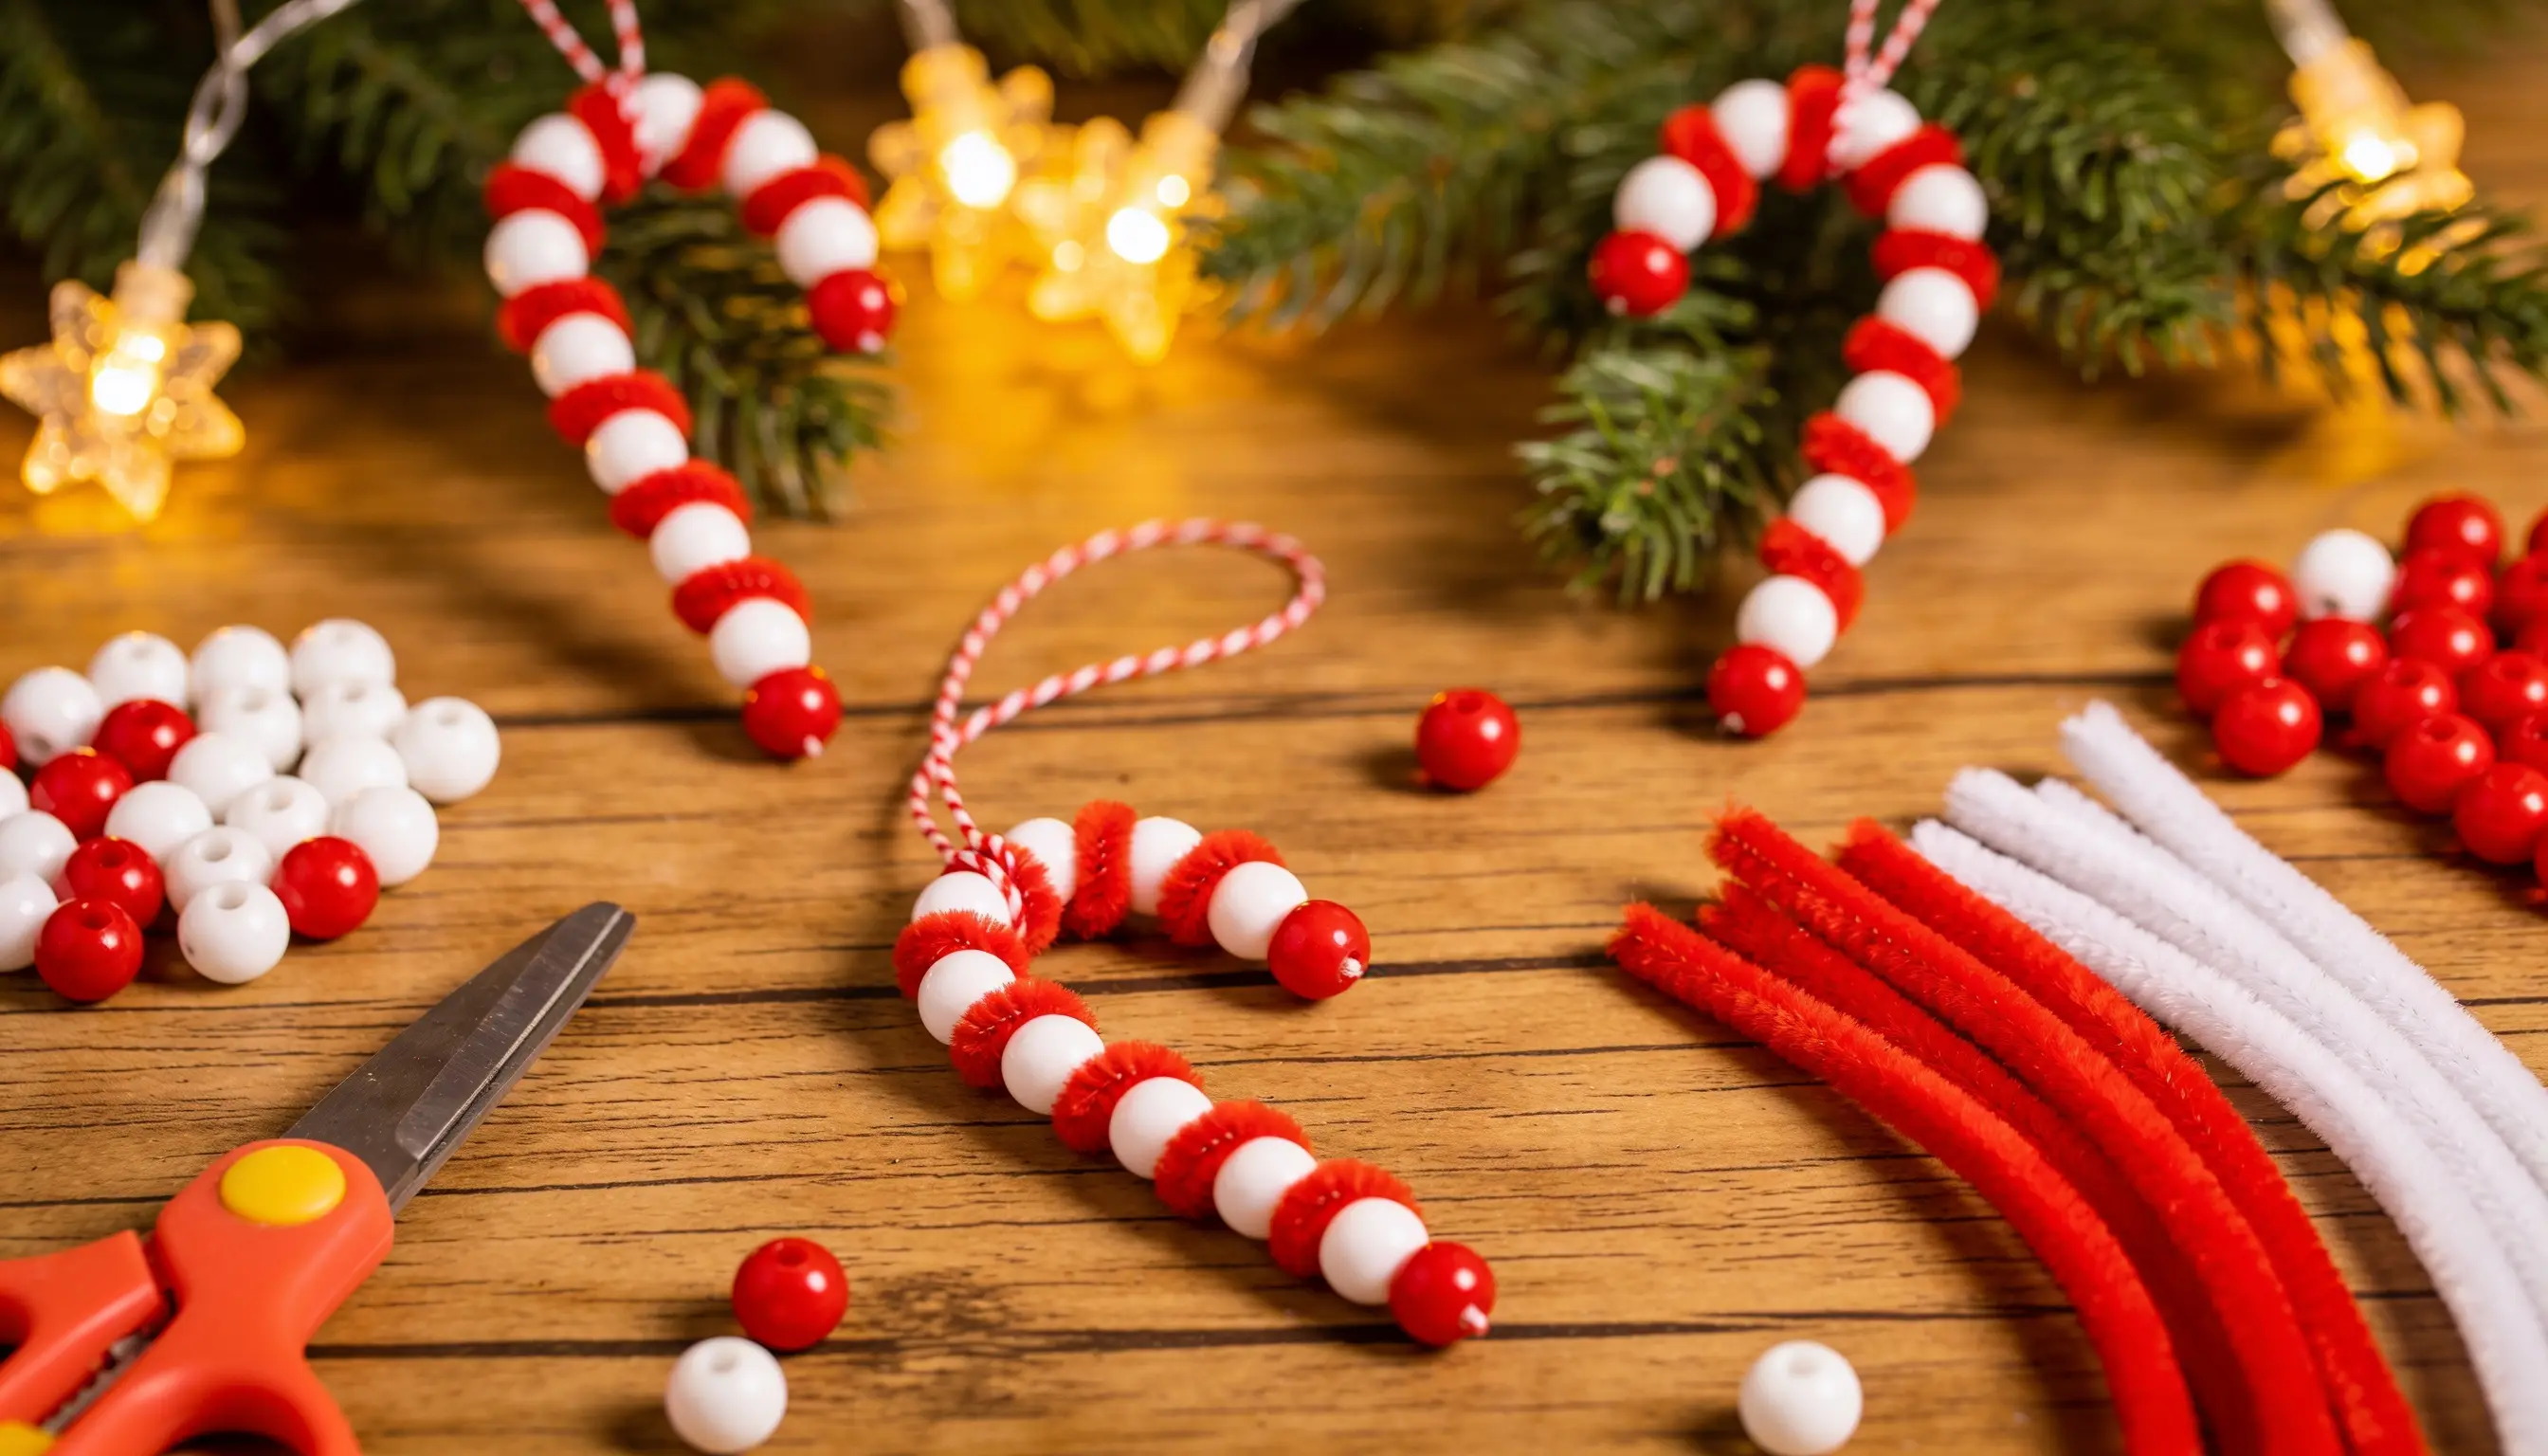
Grab 1 pipe cleaner, about 6 inches long, for each candy cane.
Thread red and white beads on in a repeating pattern. Fill the pipe cleaner until only half an inch stays bare at each end.
Twist the two ends in to stop the beads sliding off. Bend the top third over into a candy cane hook.
These DIY ornaments for kids are all about the pattern. Loop it over a branch, and it stays put.
11. Fabric Scrap Baubles
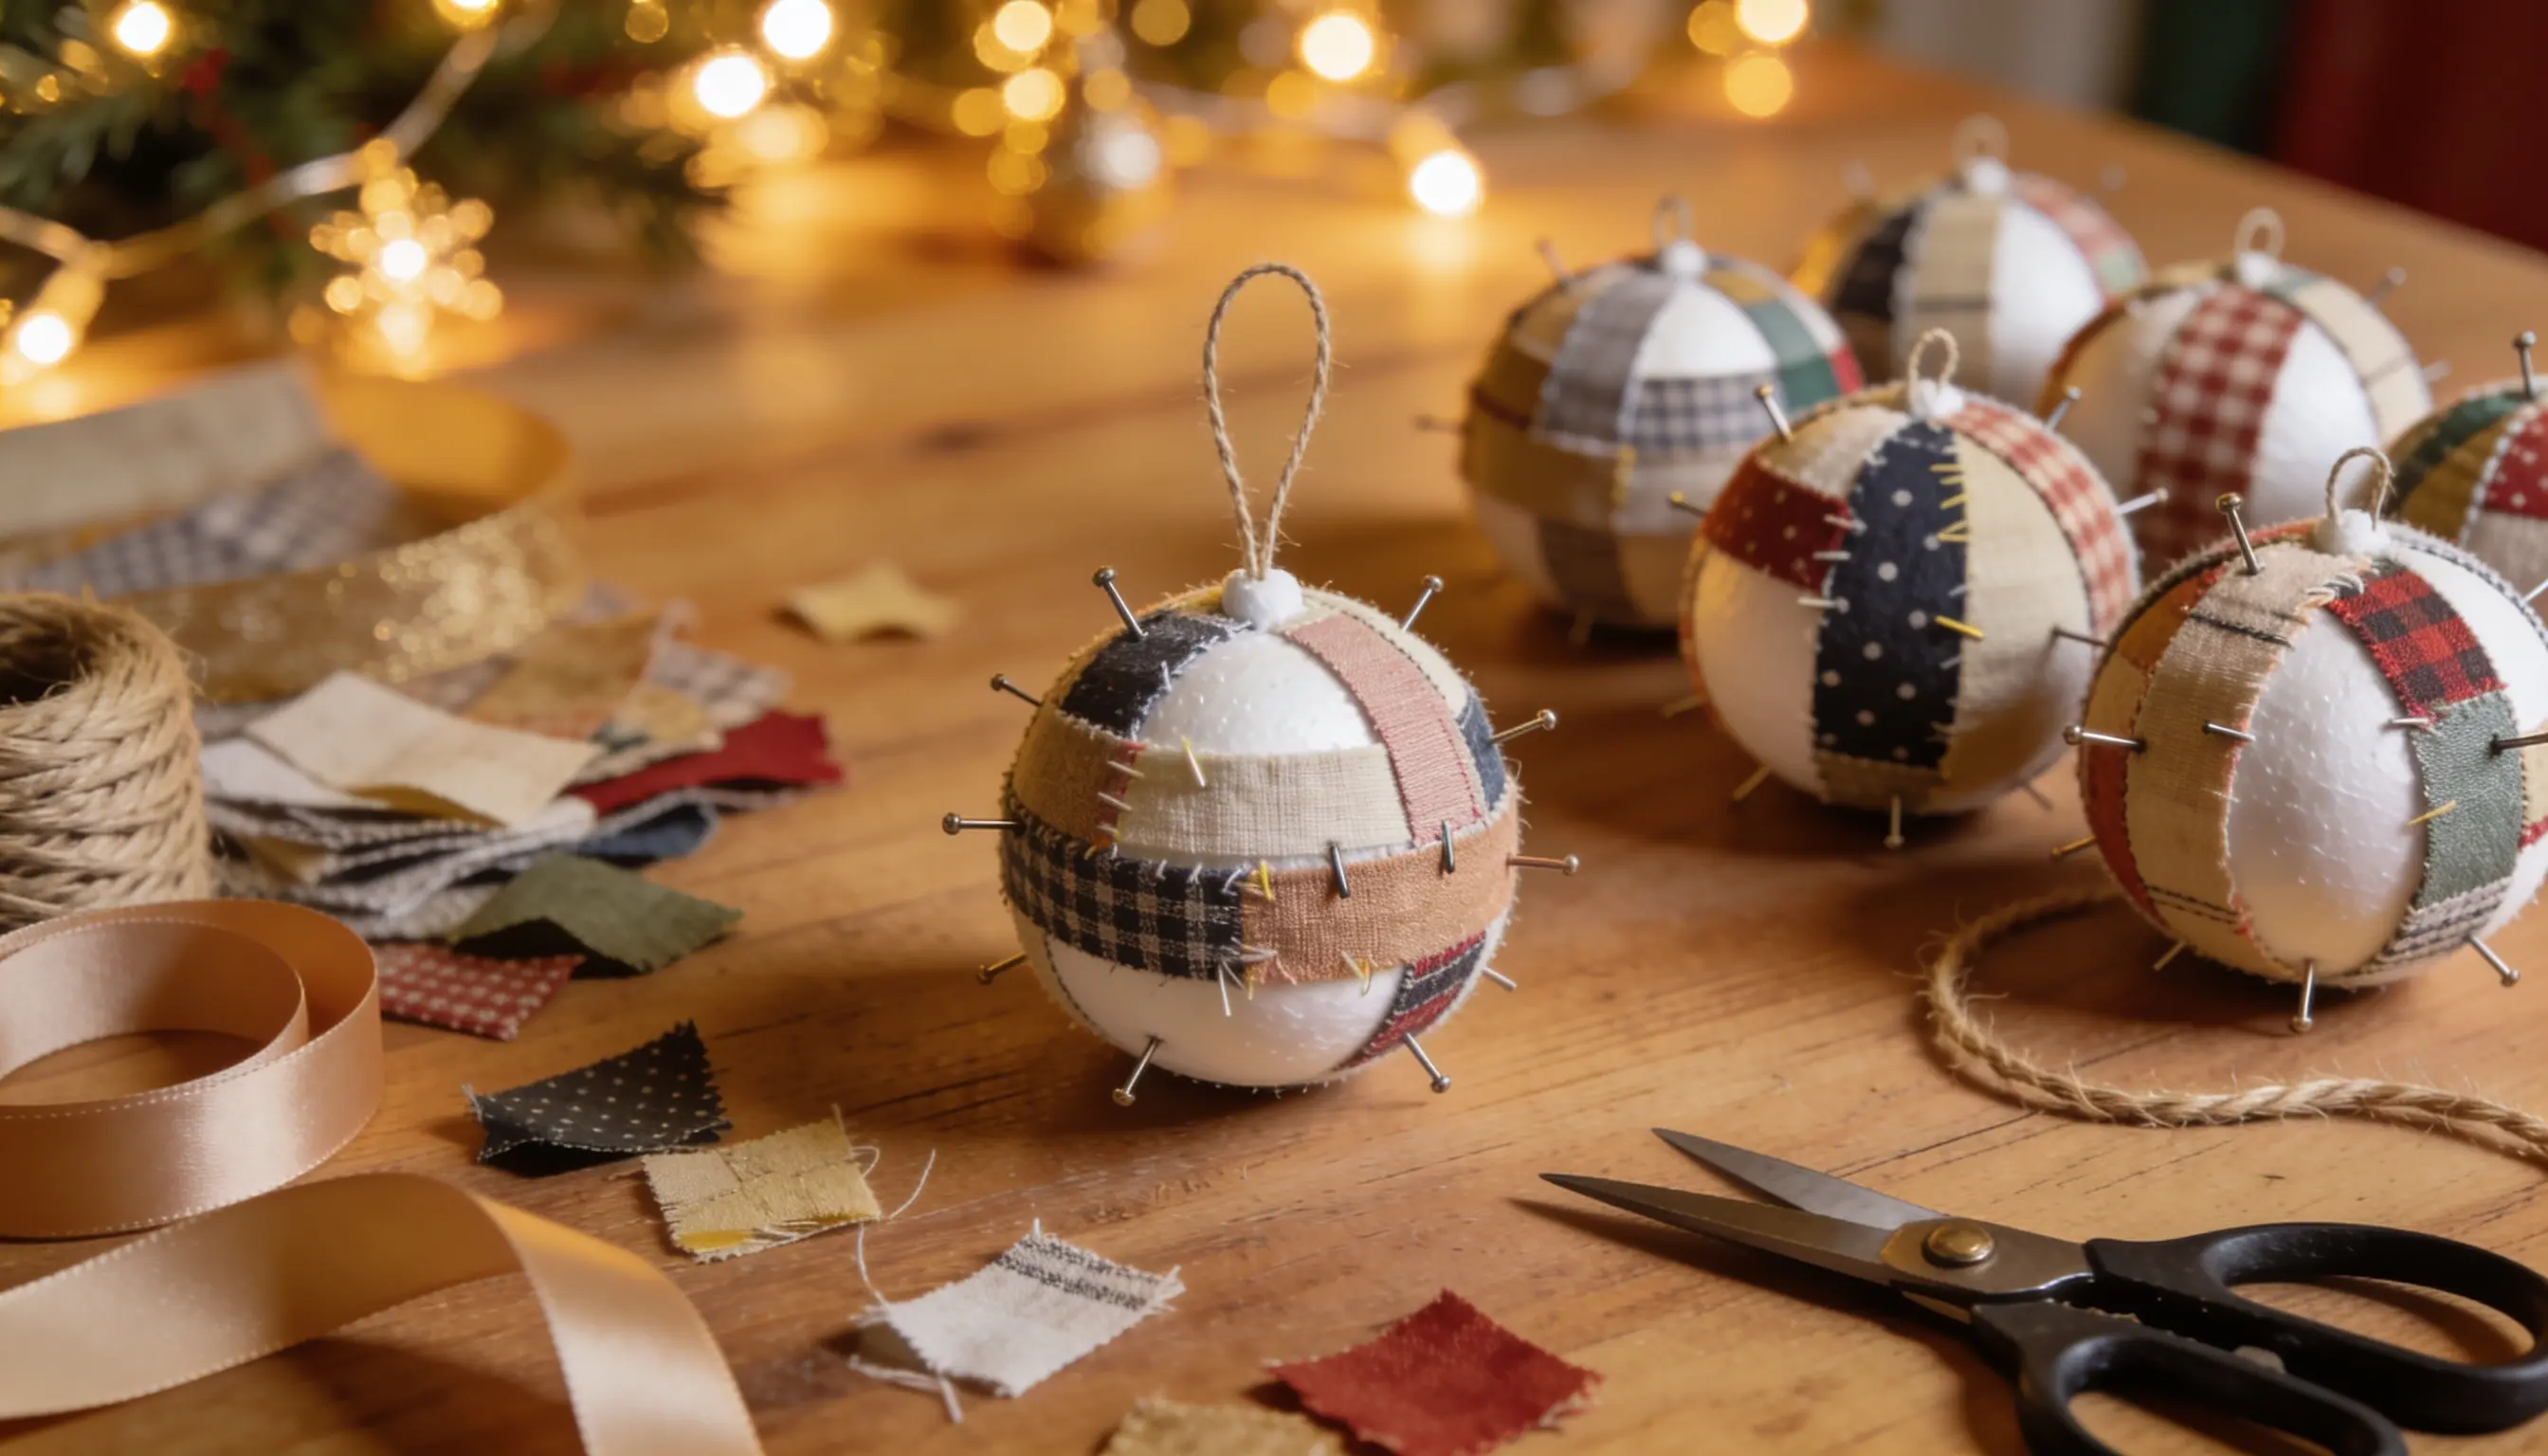
Start by cutting leftover fabric into thin strips, about 1 inch wide and 6 inches long. Cover a small foam ball with a thin layer of craft glue.
Wrap the strips around the ball, pinning or gluing the edges as you go. Mix different patterns and colors for a patchwork look you like.
Add a ribbon loop to the top, let it dry for 30 minutes, then hang it up.
12. Dried Orange Slices
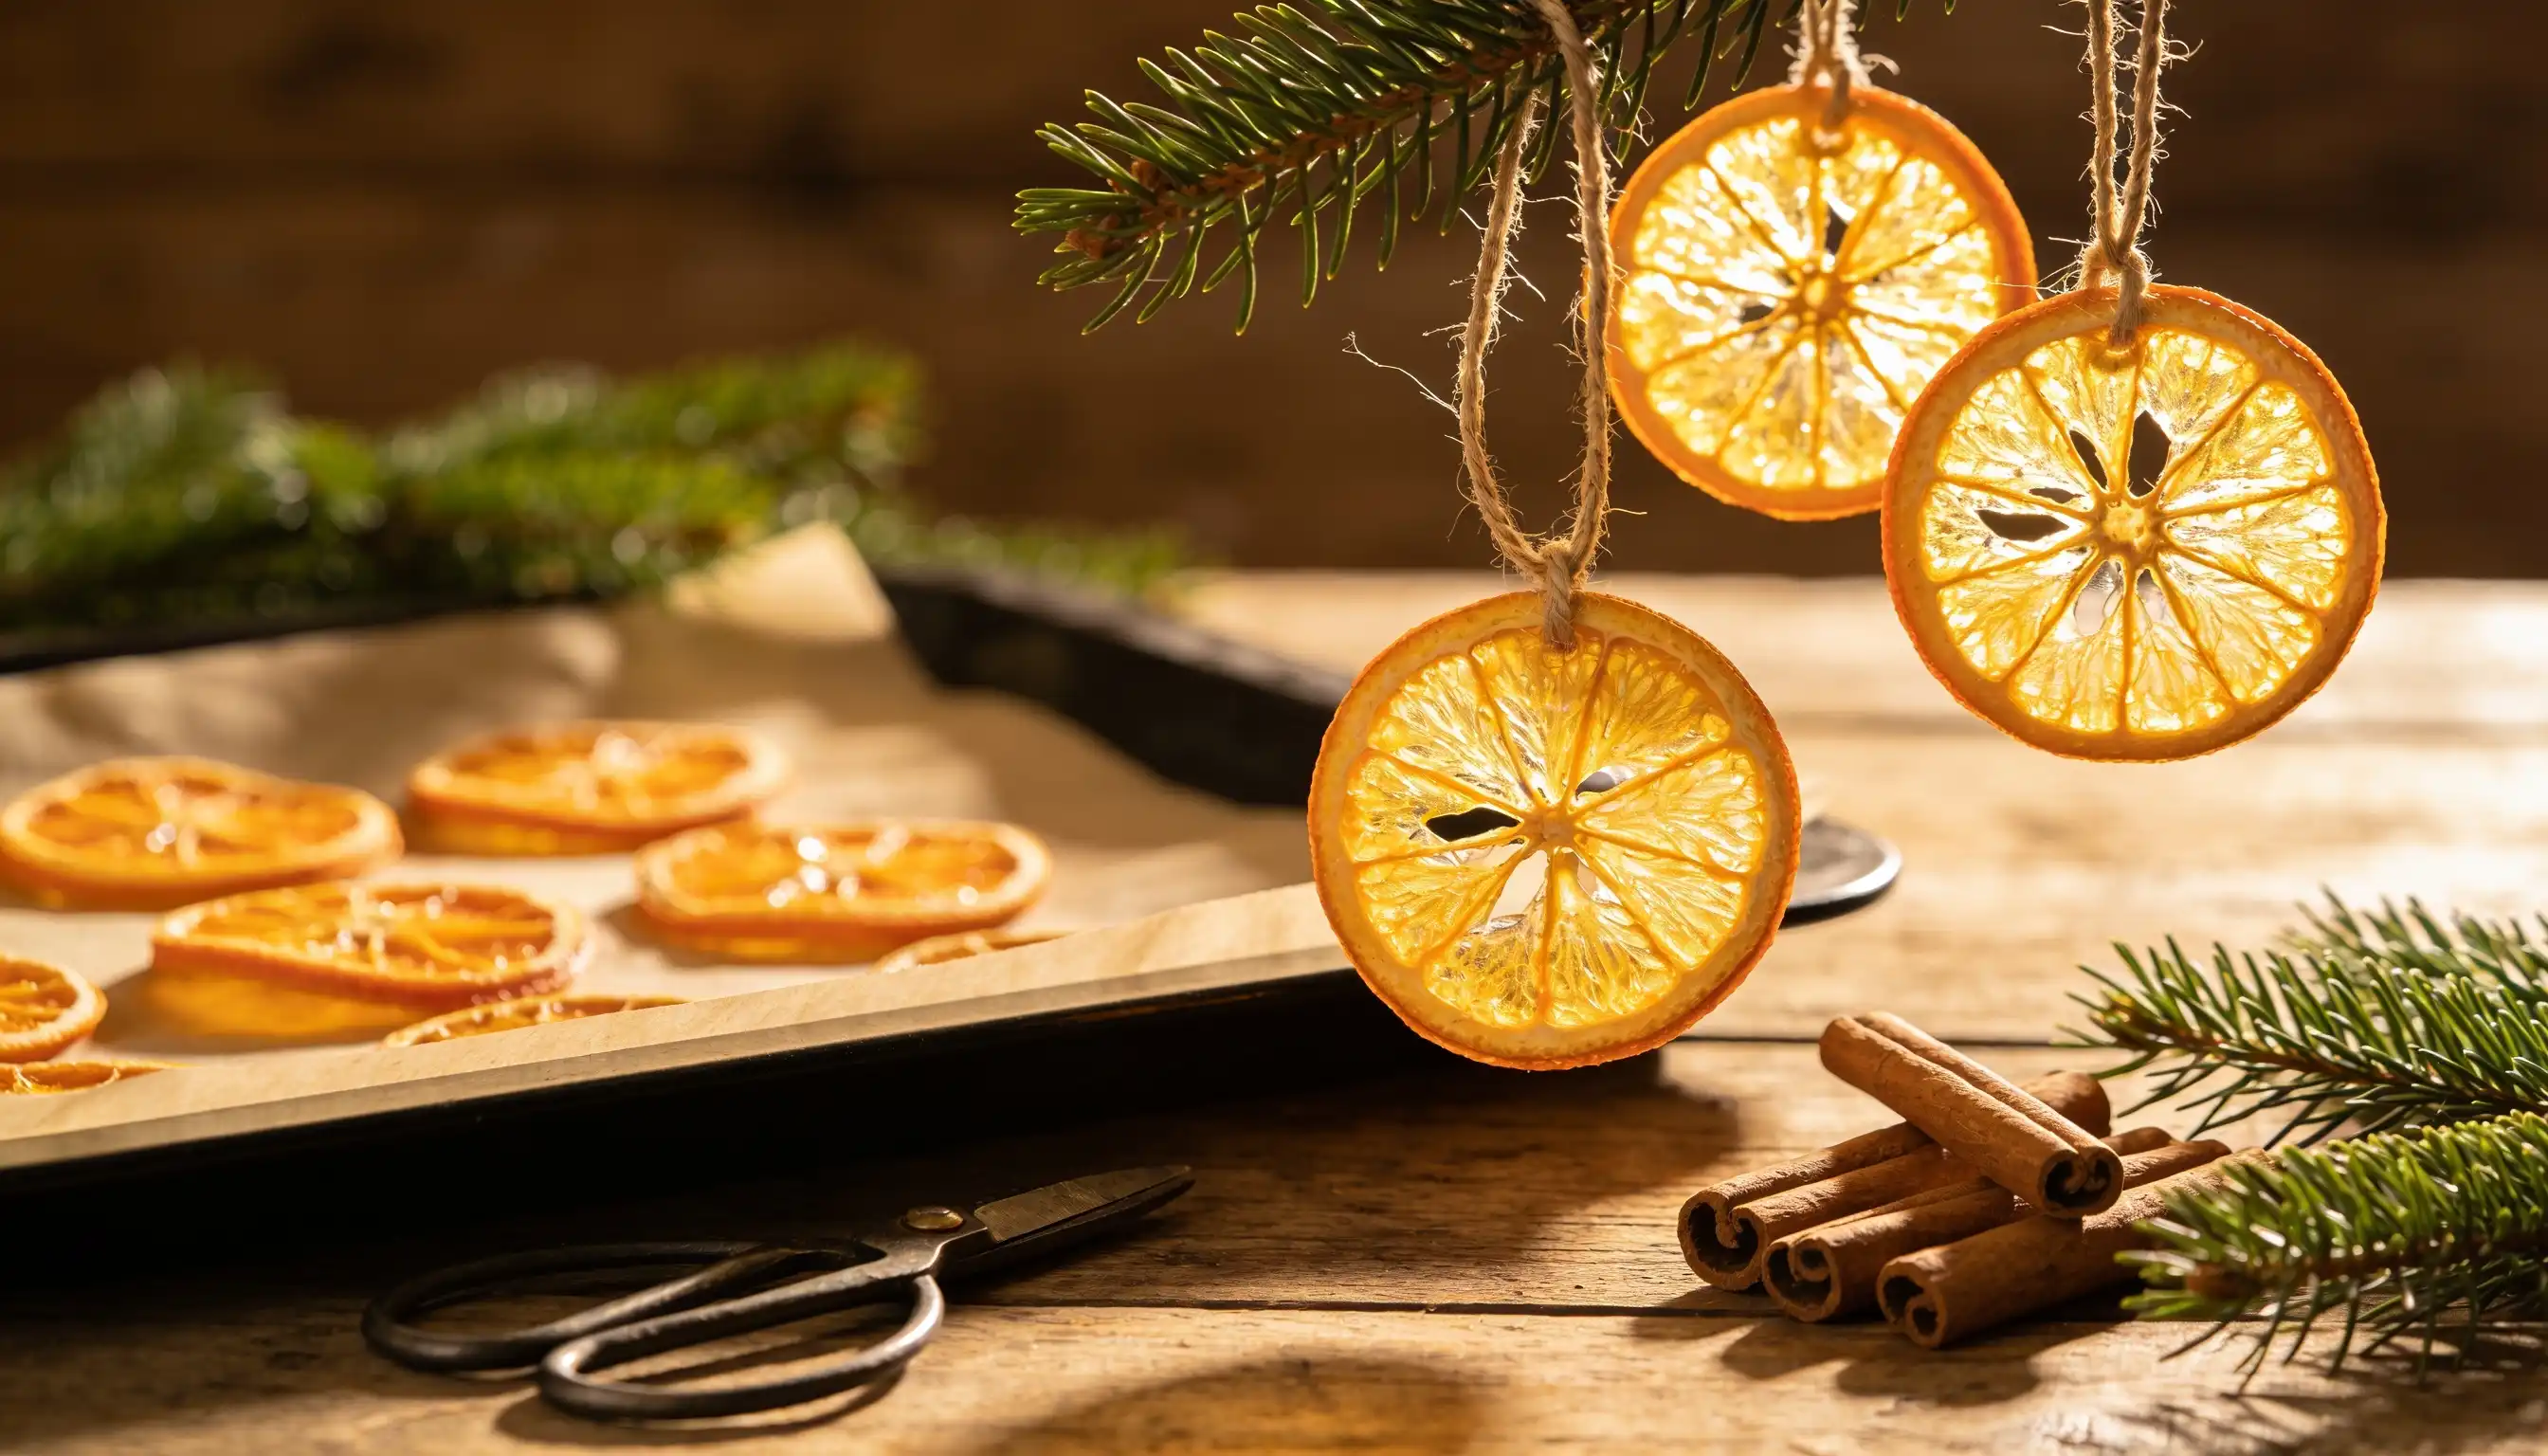
Slice an orange thinly, about a quarter-inch thick, for even drying. Pat each slice dry with a paper towel.
Lay them on a baking tray lined with parchment. Bake on low heat, around 200°F, for 3 to 4 hours. Flip them halfway so both sides dry out.
Once stiff and dry, thread a string through the top. Hang them near a window, where the color glows beautifully.
13. Clay Imprint Ornaments
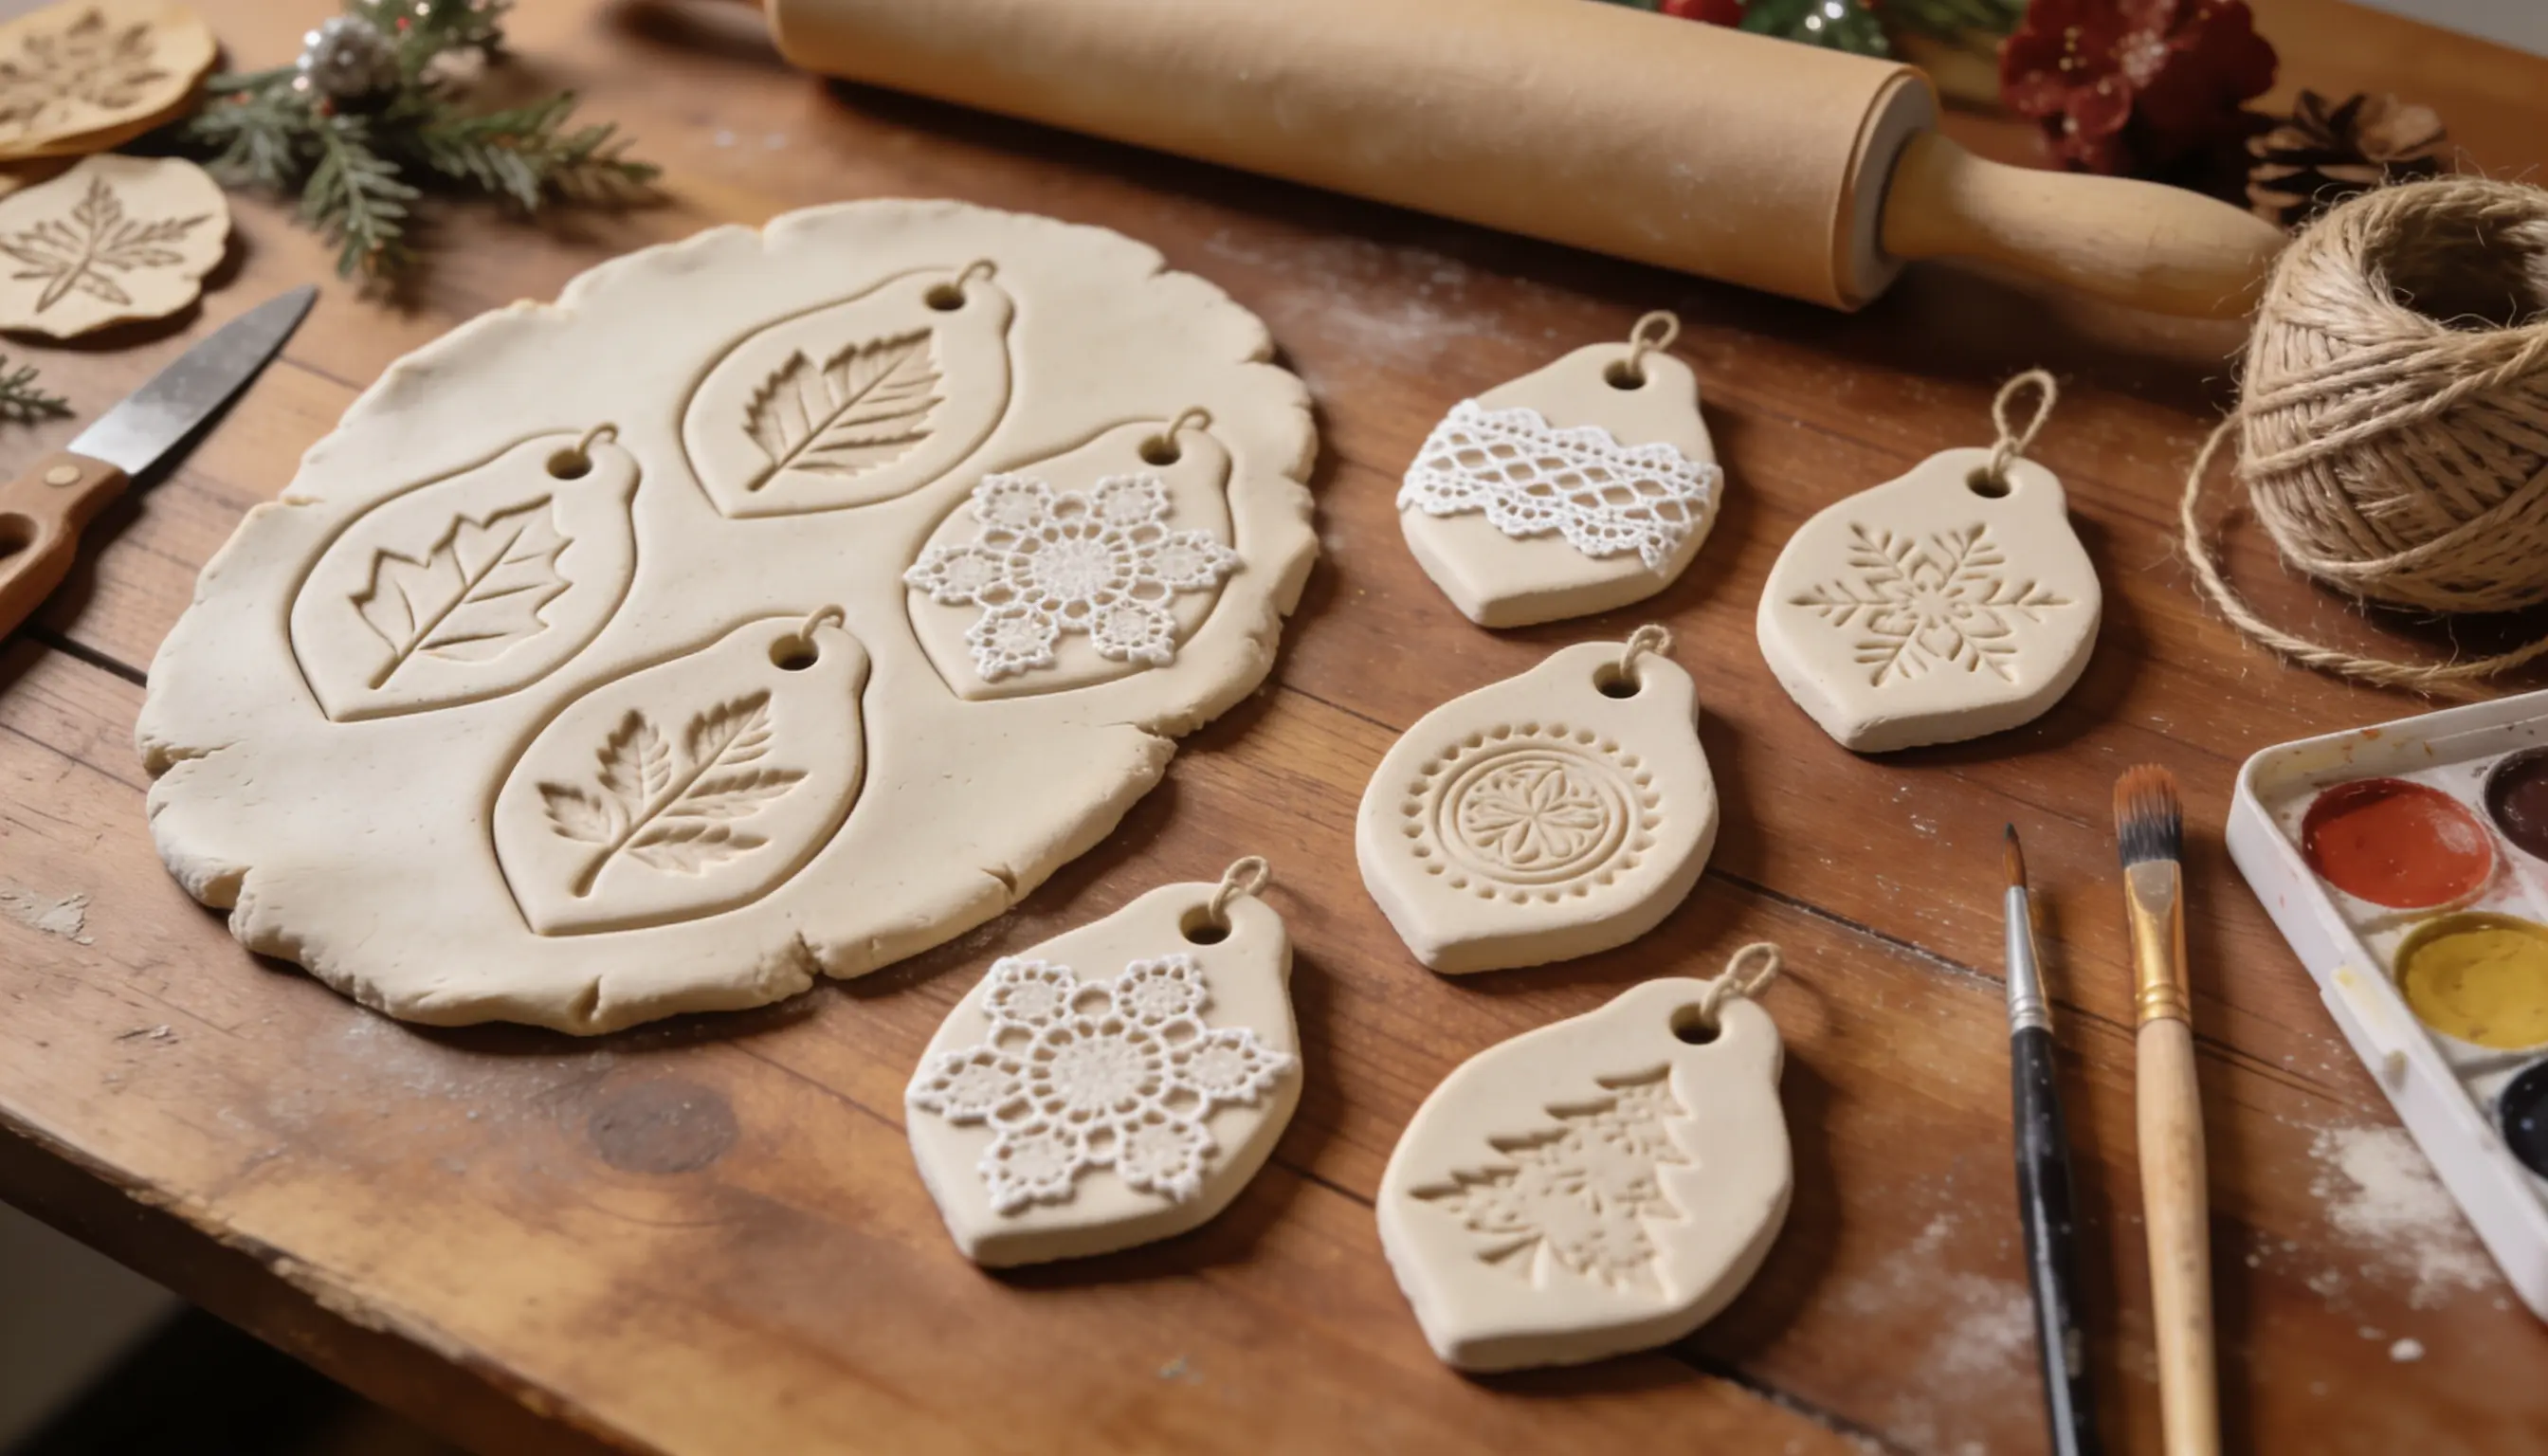
Roll out air-dry clay on a flat surface, about a quarter inch thick. Press in a leaf, a stamp, or a piece of lace for texture.
Cut around the shape with a cookie cutter or knife. Poke a small hole near the top for hanging.
Let it dry fully, which takes about 24 hours. Paint it if you like, then thread a string through. Each imprint comes out one-of-a-kind.
14. Twine-Wrapped Balls
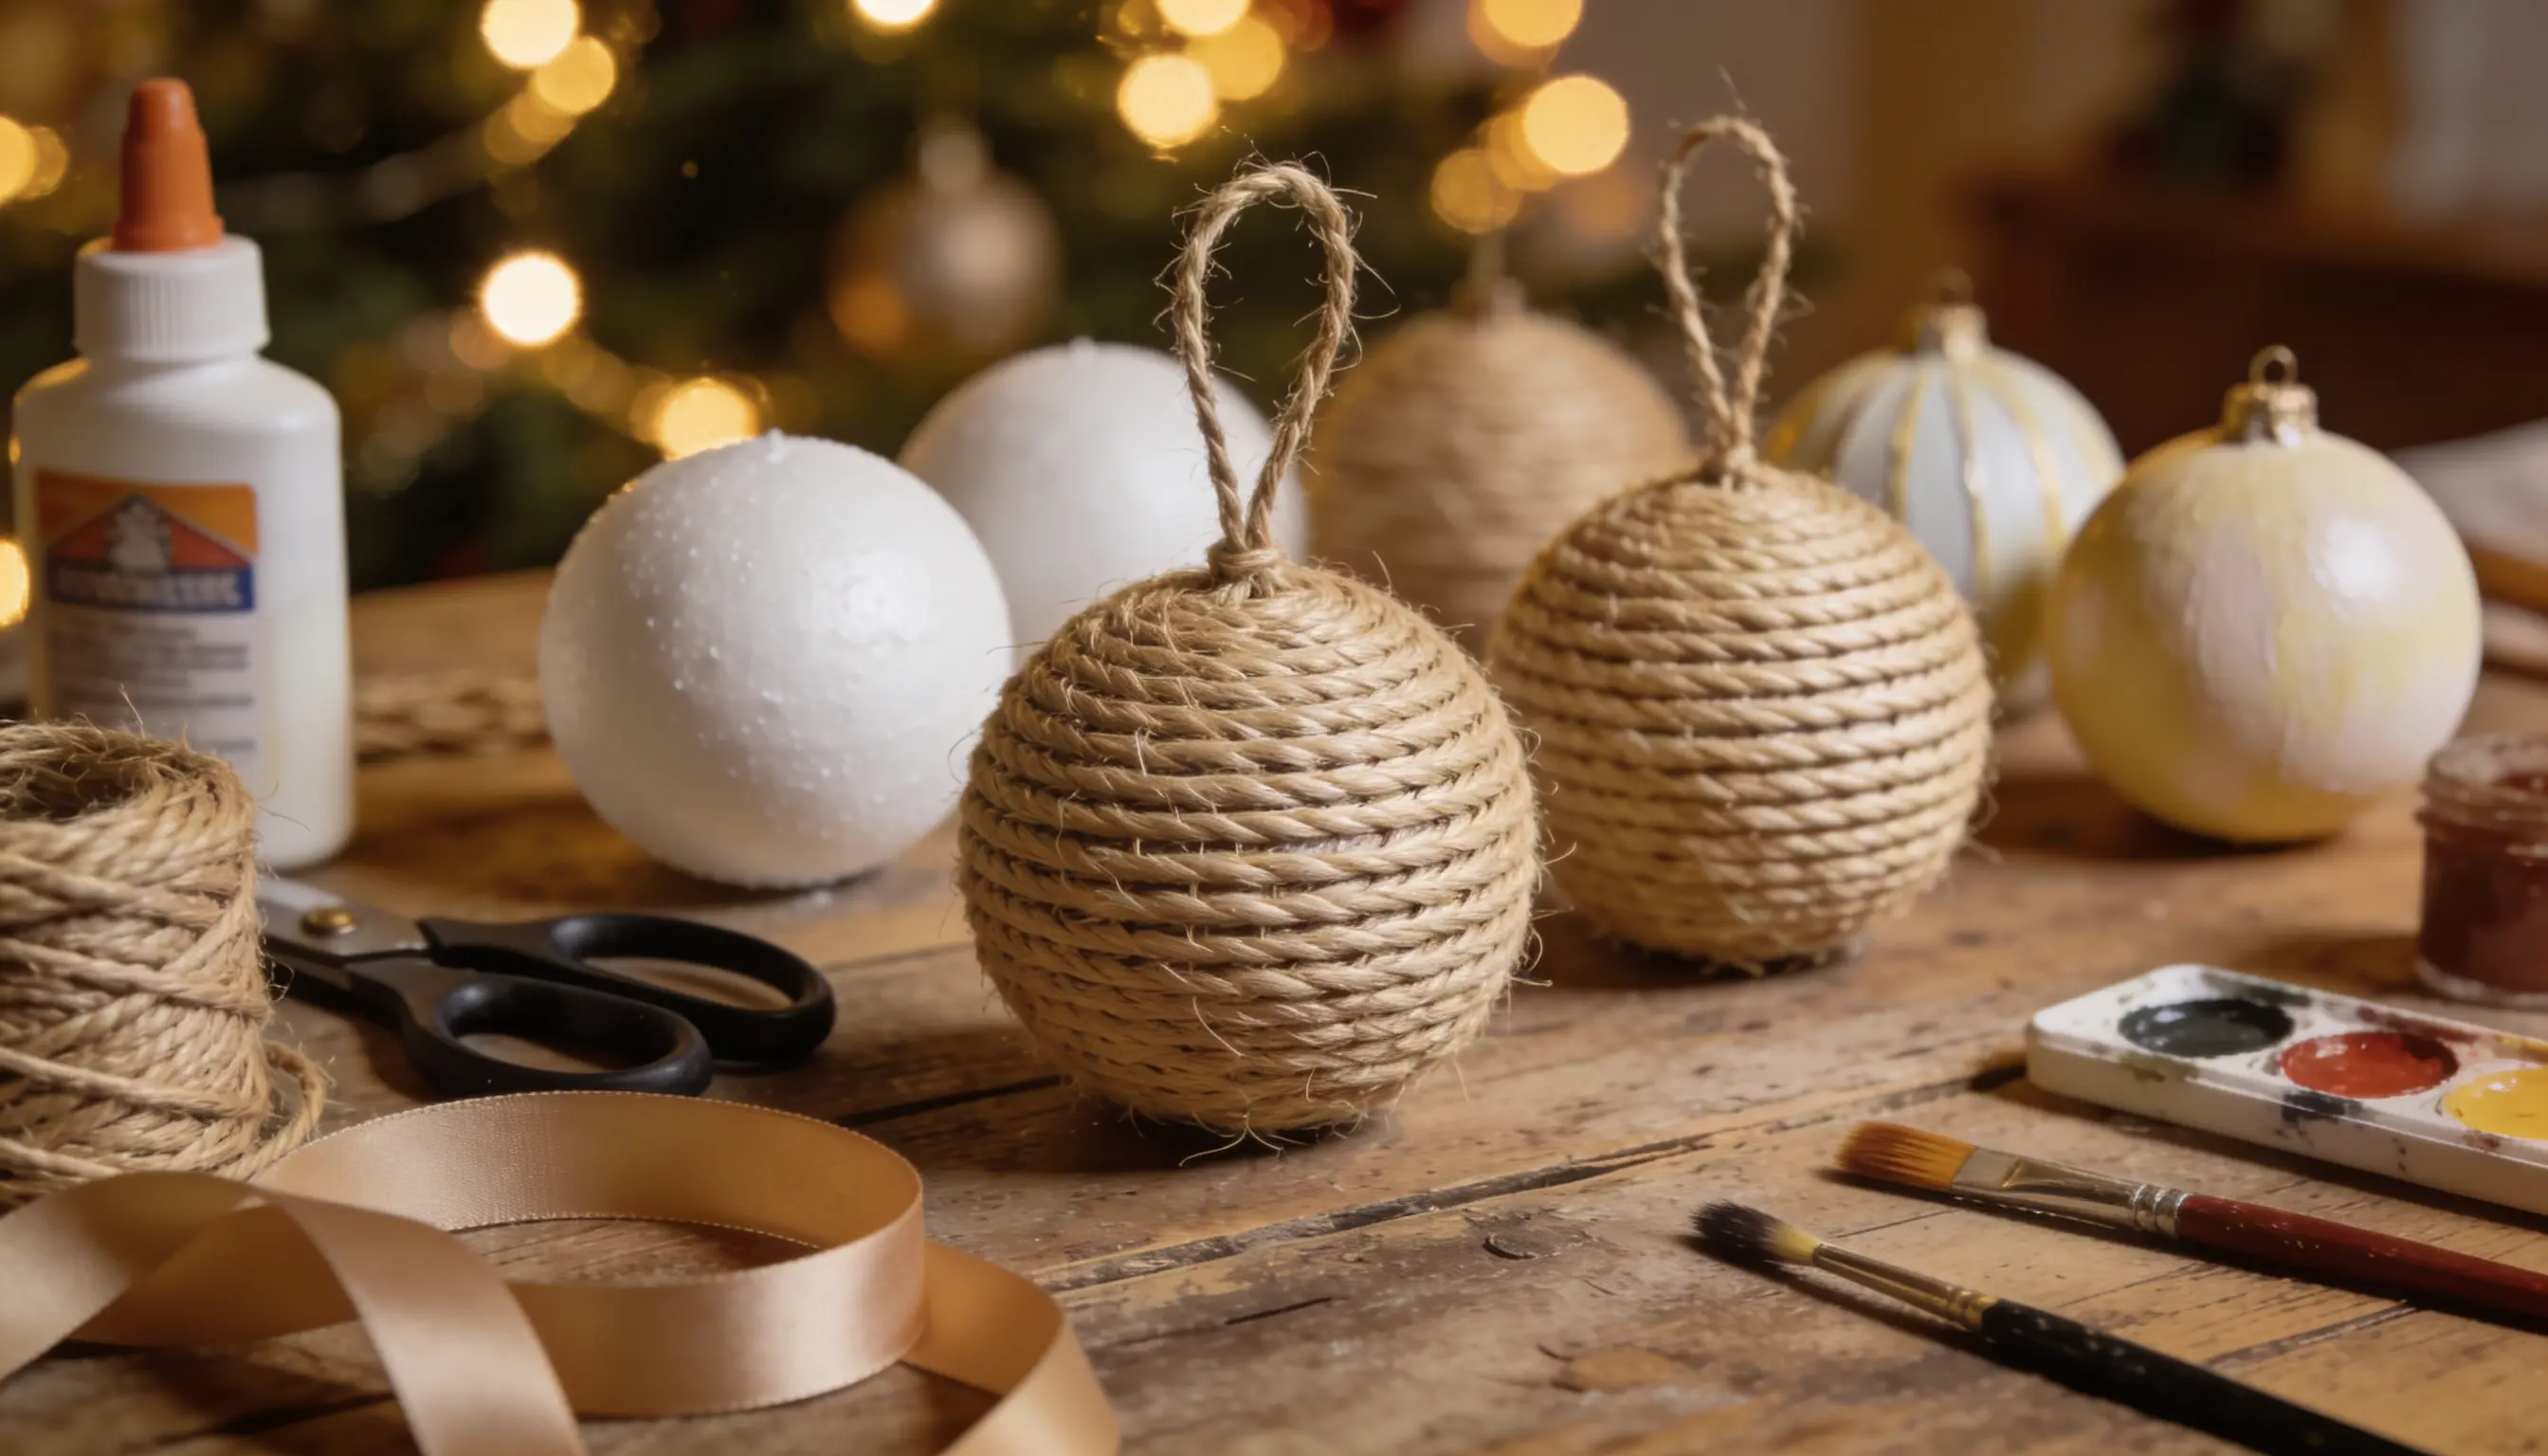
Twine-wrapped balls give any tree a warm, farmhouse feel. They take just a few minutes and use supplies you likely have already.
- Cover a plain foam or plastic ball with a thin layer of craft glue
- Wind twine around it slowly, keeping the rows tight and even
- Leave the twine natural, or add a splash of paint once it dries
- Attach a ribbon loop to the top, then let it set for 30 minutes before hanging
15. Button Trees
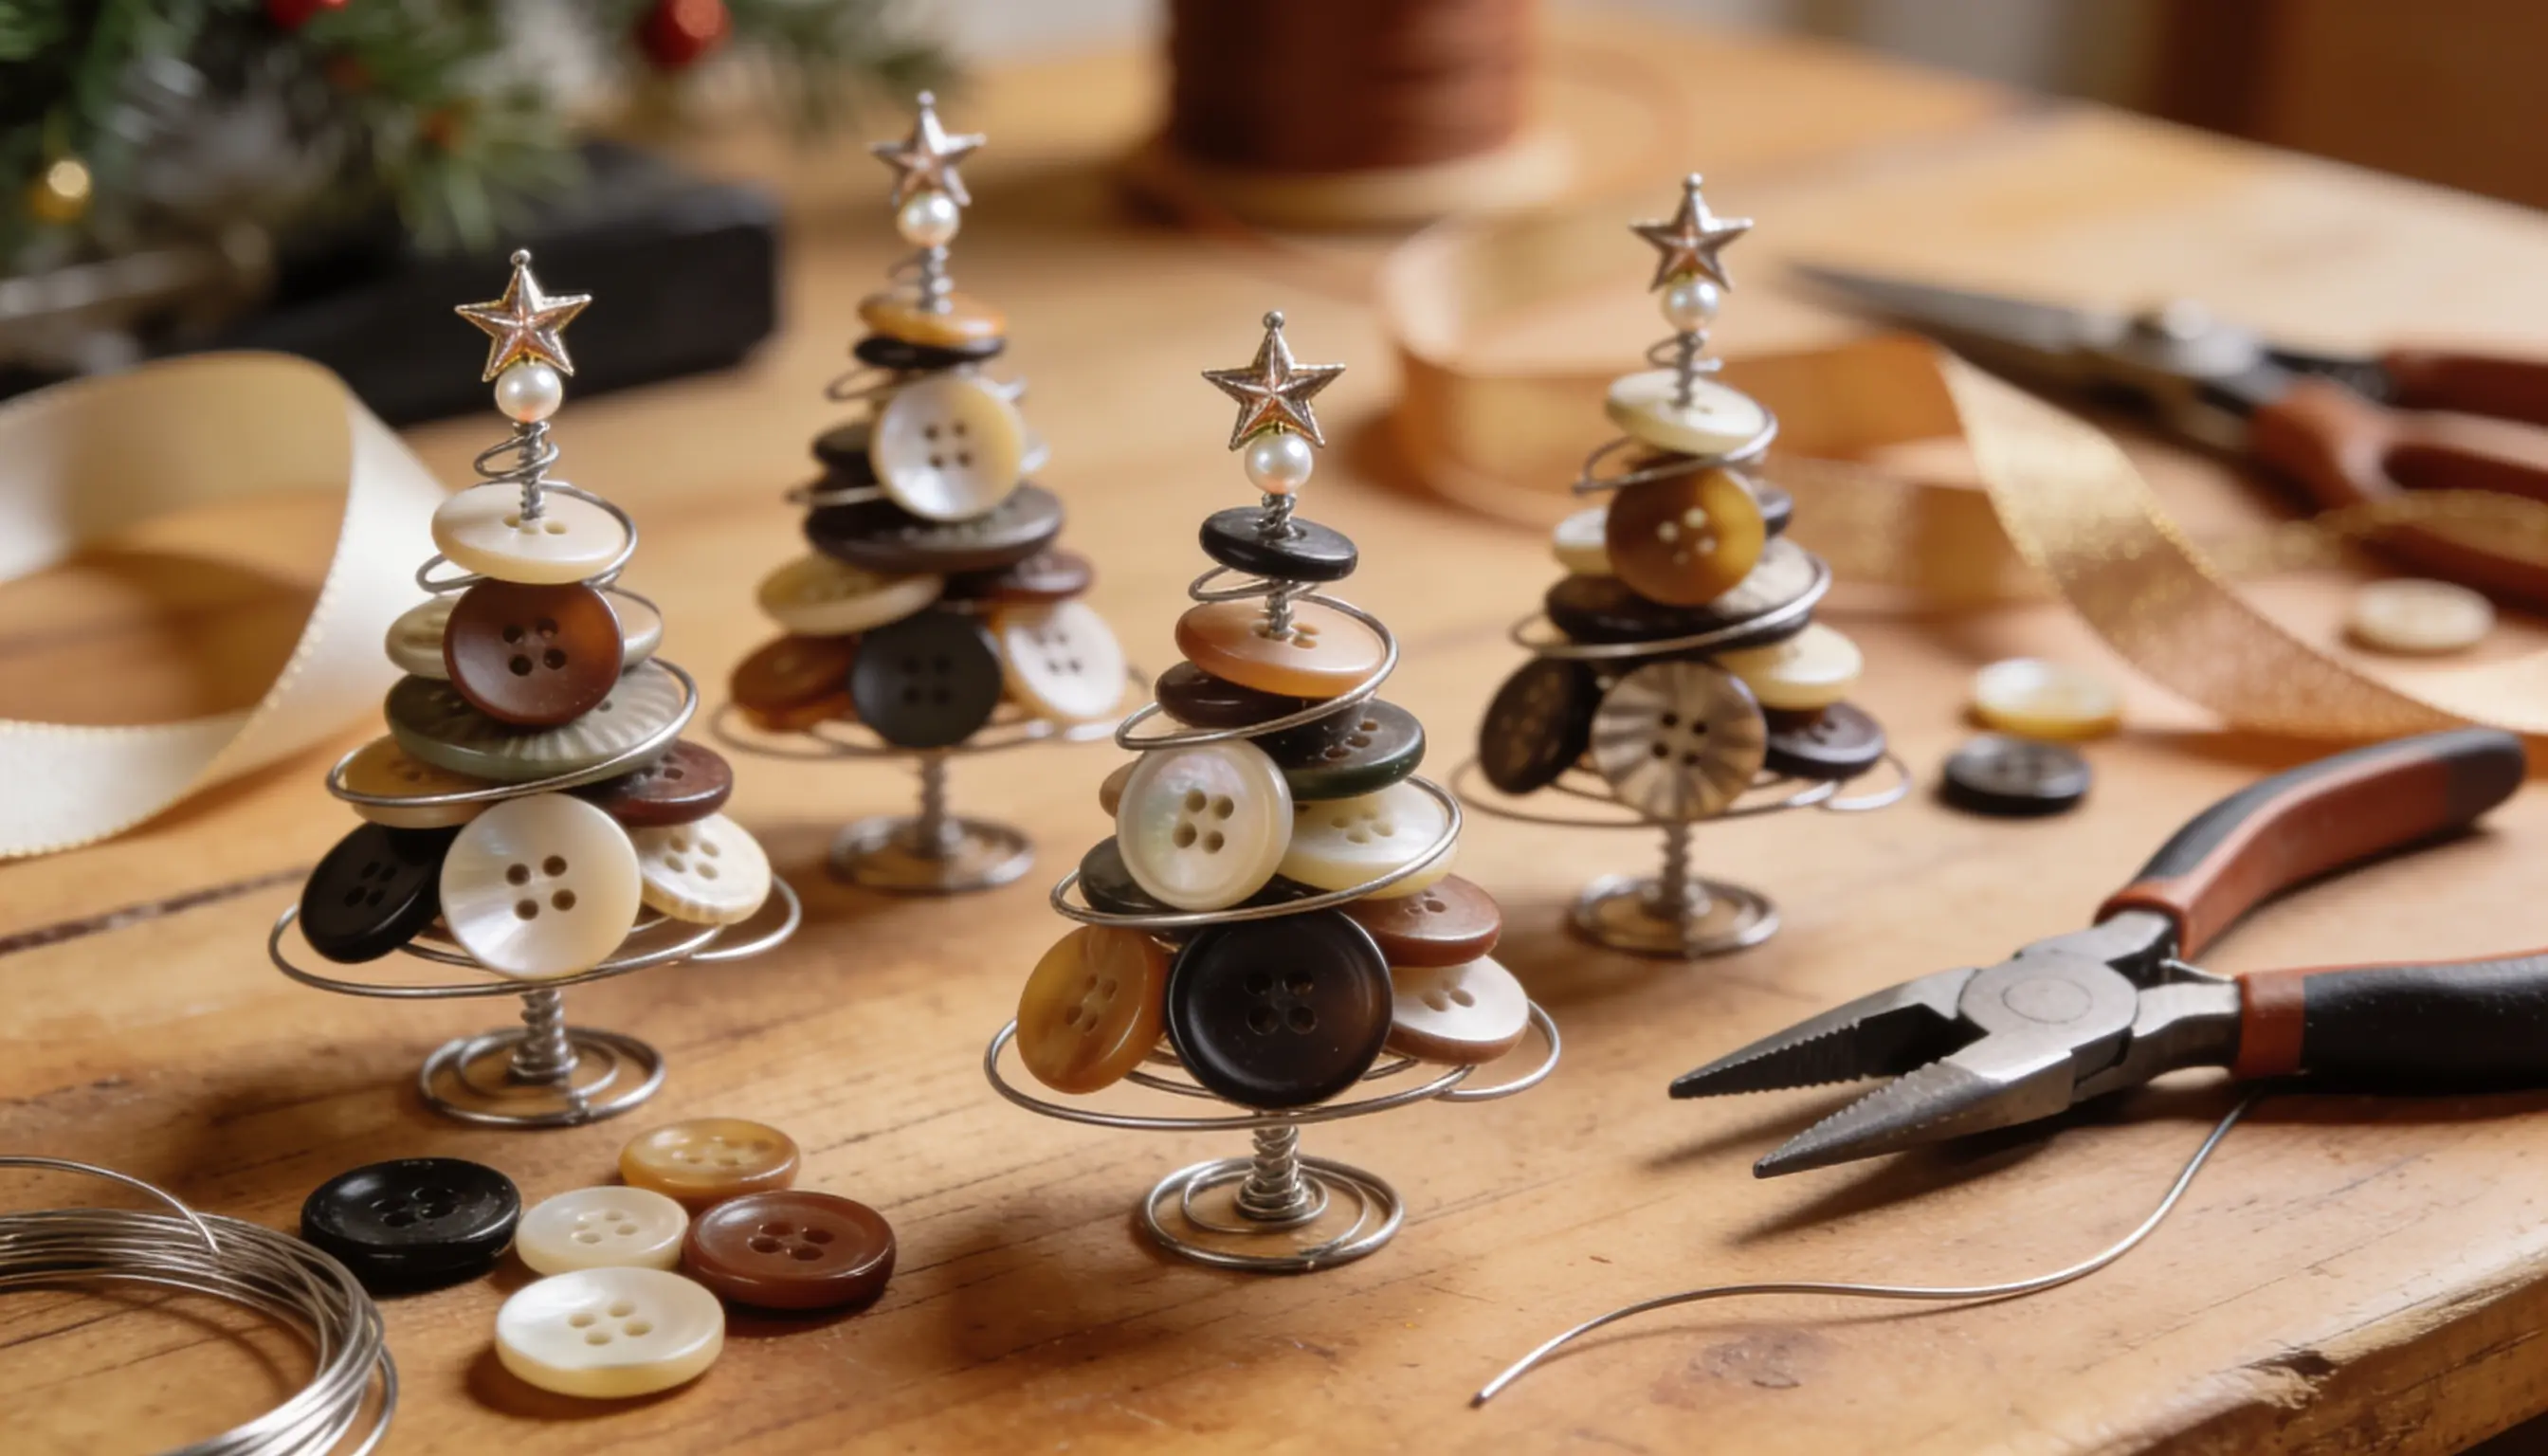
Start by sorting 8 to 10 buttons from largest to smallest. Thread them onto a piece of sturdy wire, biggest first.
Stack them into a cone shape so it looks like a little tree. Top it off with a tiny star bead at the point.
Twist the wire end to lock everything in place. Add a loop for hanging. This one is great for clearing out that junk drawer.
16. Felt Cutout Shapes
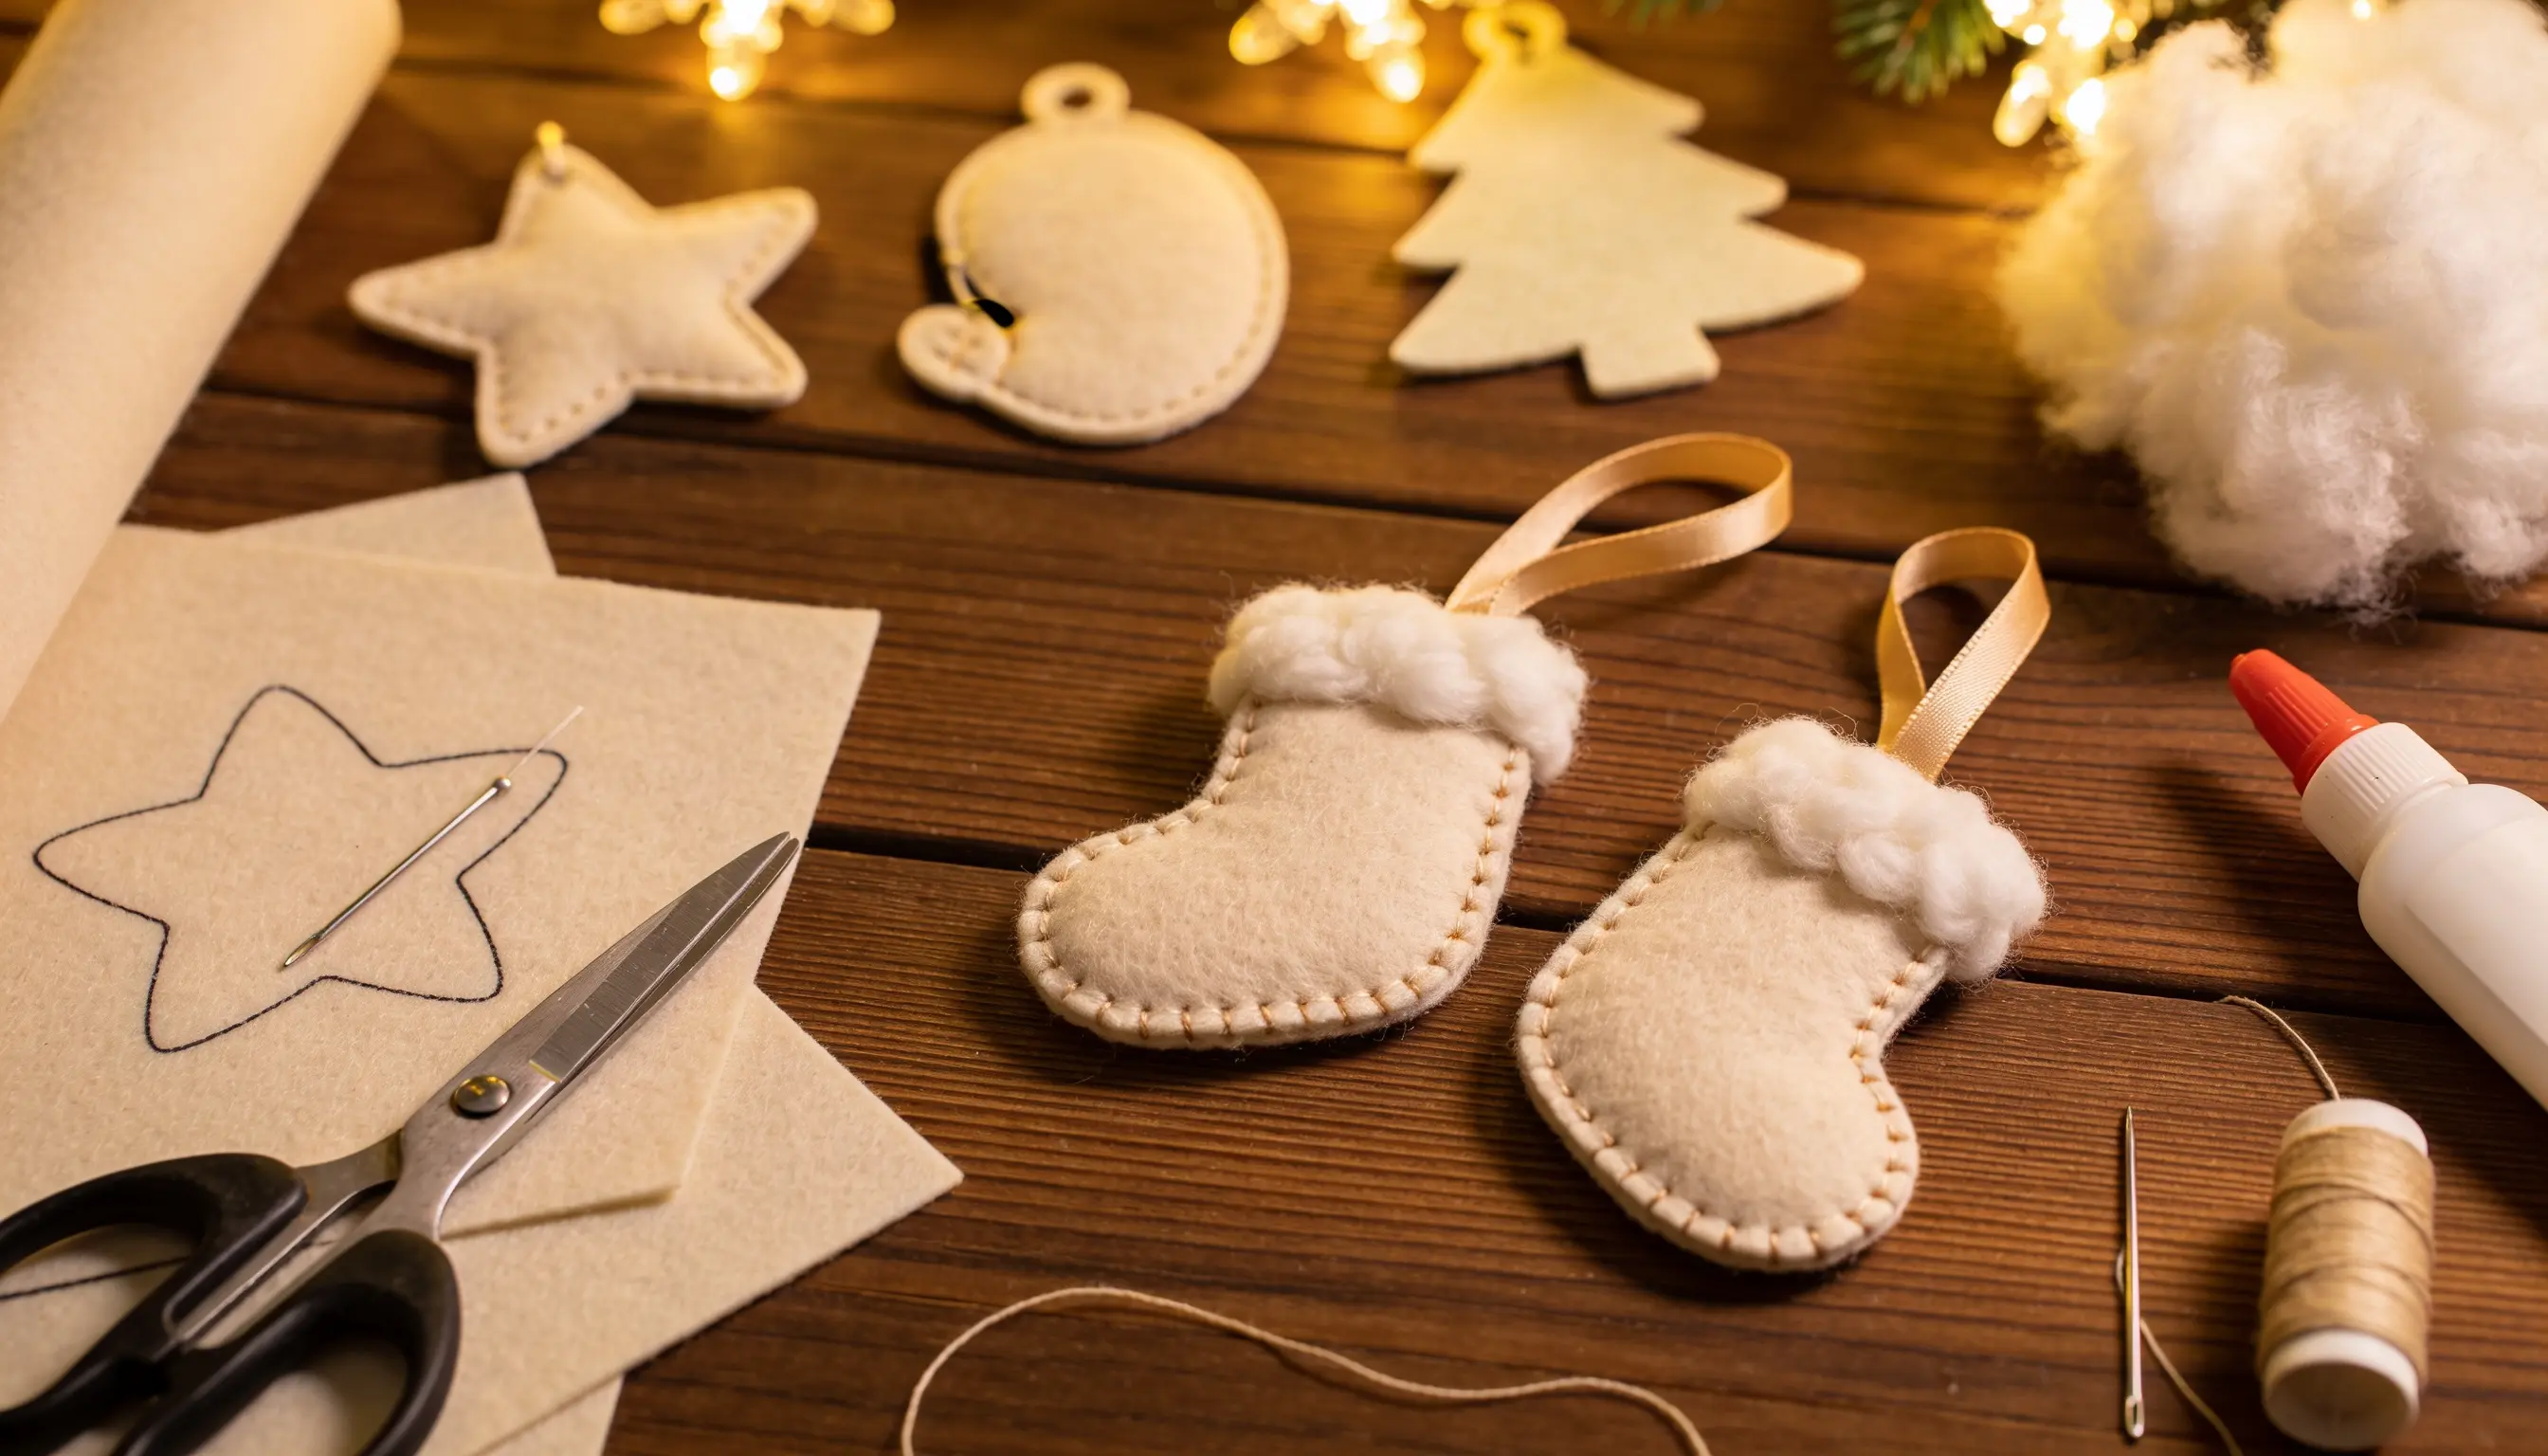
Cut 2 matching pieces of felt into a star, mitten, or tree using a template. Stitch or glue the two pieces together around the edges.
Leave a small gap and stuff it lightly with cotton. Close up the gap, then add a ribbon loop at the top.
Let any glue set for 20 minutes before hanging. These are soft, quick to make, and safe around little kids.
17. Wine Cork Reindeer
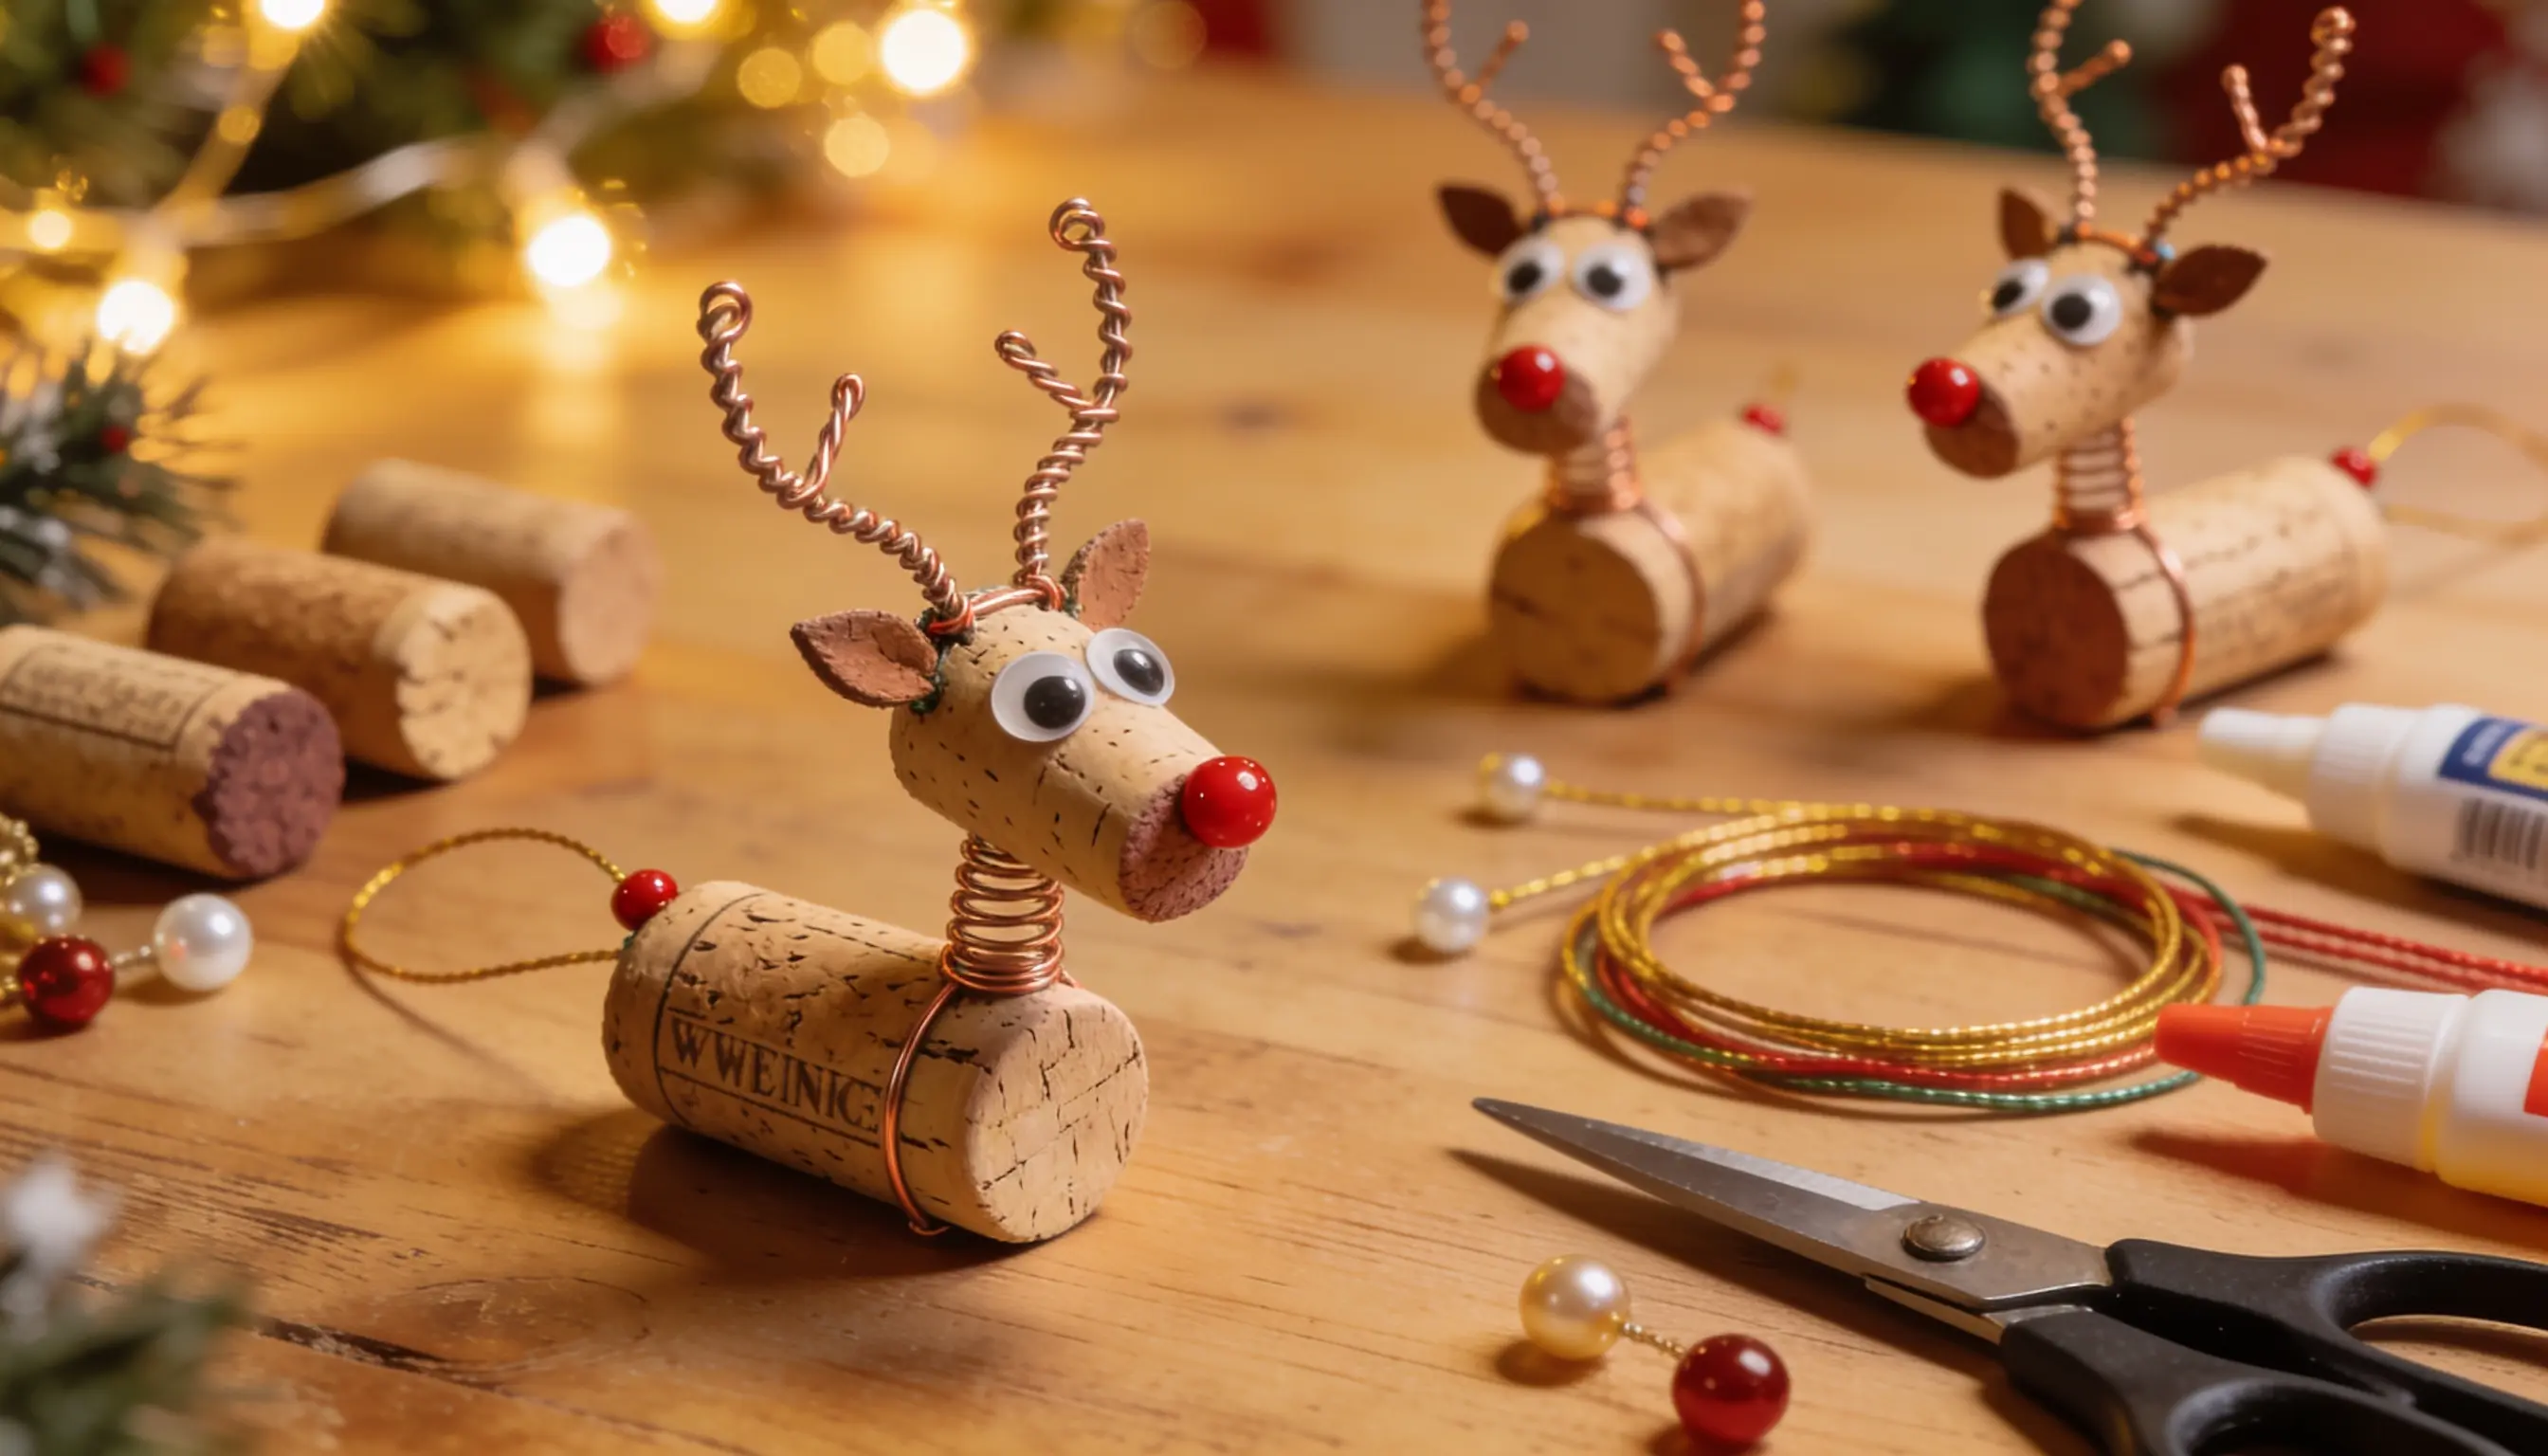
These little reindeer are quick to make and turn saved corks into something cute.
- Lay a wine cork on its side to form the reindeer’s body. This is your base, so pick one that sits flat.
- Twist 2 small pipe cleaners into antlers. Poke them into the top of the cork about half an inch apart.
- Glue on 2 googly eyes and a tiny red bead for the nose. Hold each for 10 seconds so they stick.
- Tie a string around the middle for hanging. A fun way to reuse corks you saved.
18. Pinecone Hangers
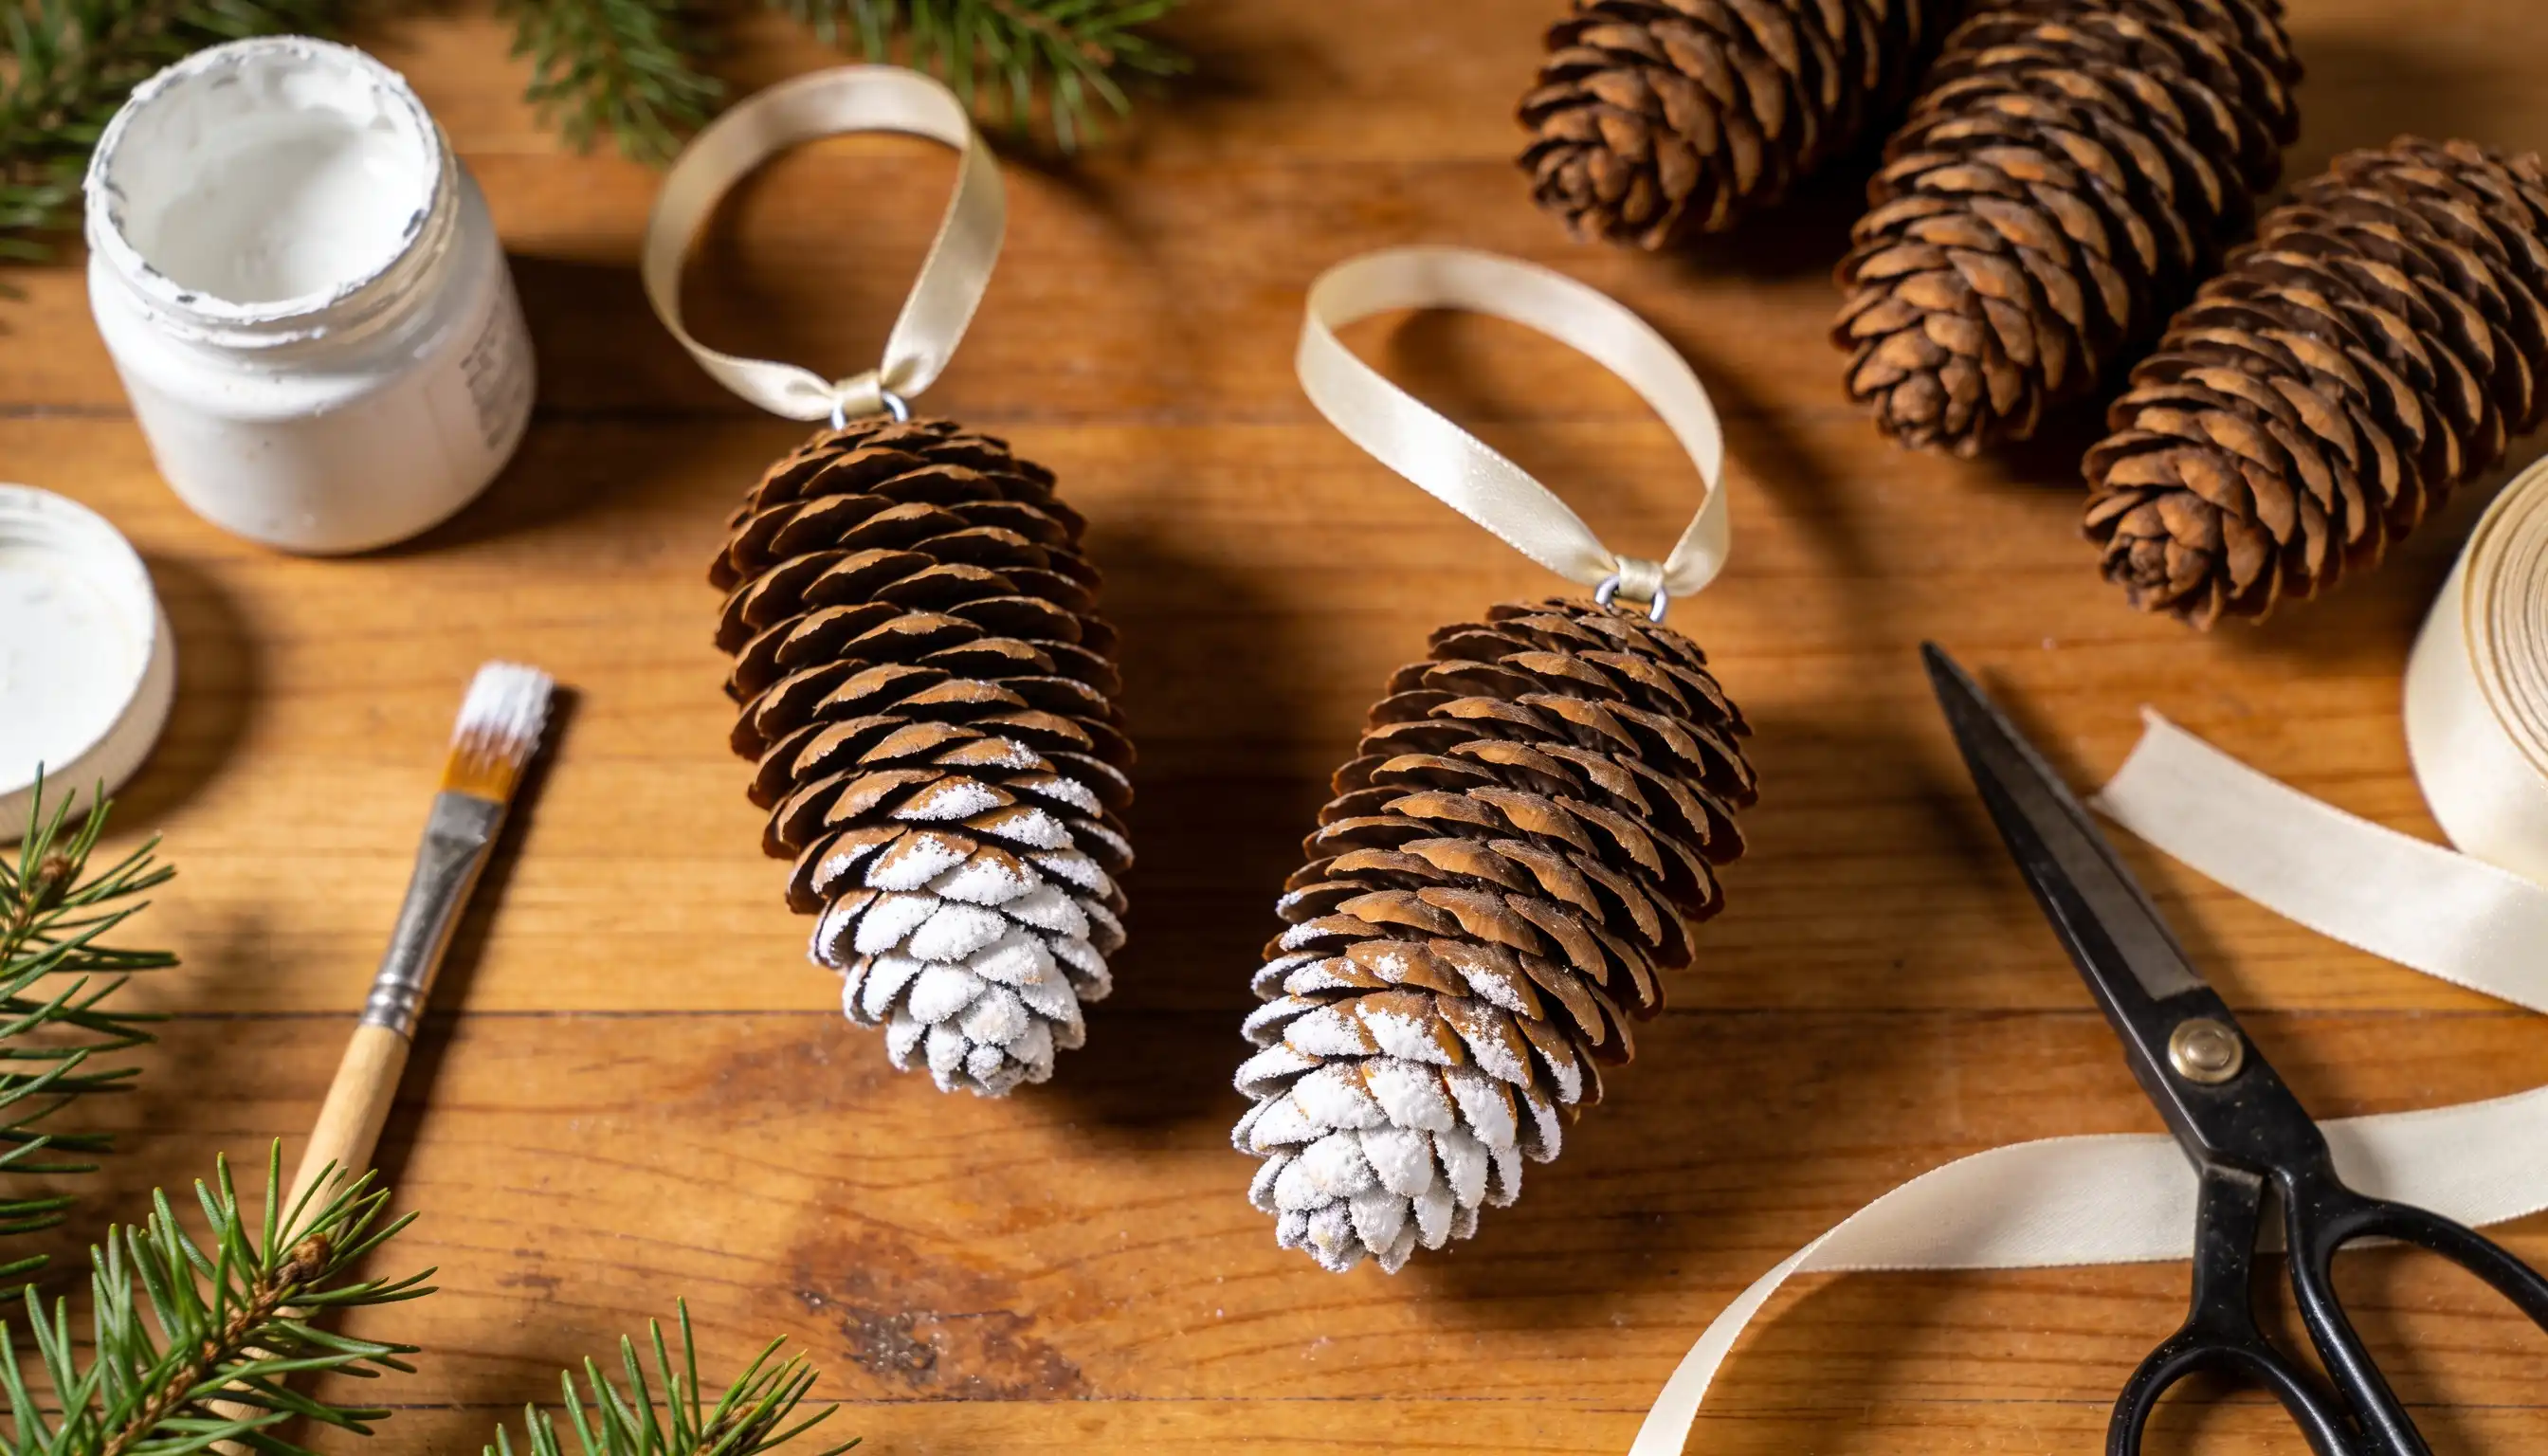
Pinecones make some of the easiest nature ornaments around.
Collect 3 or 4 on your next walk outside. Brush off any dirt and let them dry indoors for a day. Dab a little white paint on the tips for a frosted look.
Let the paint dry for about an hour. Tie a length of twine or ribbon around the top scales, knotting it firmly.
Make a small loop for hanging. Slip it over a branch, and you are done.
19. Twig Stars
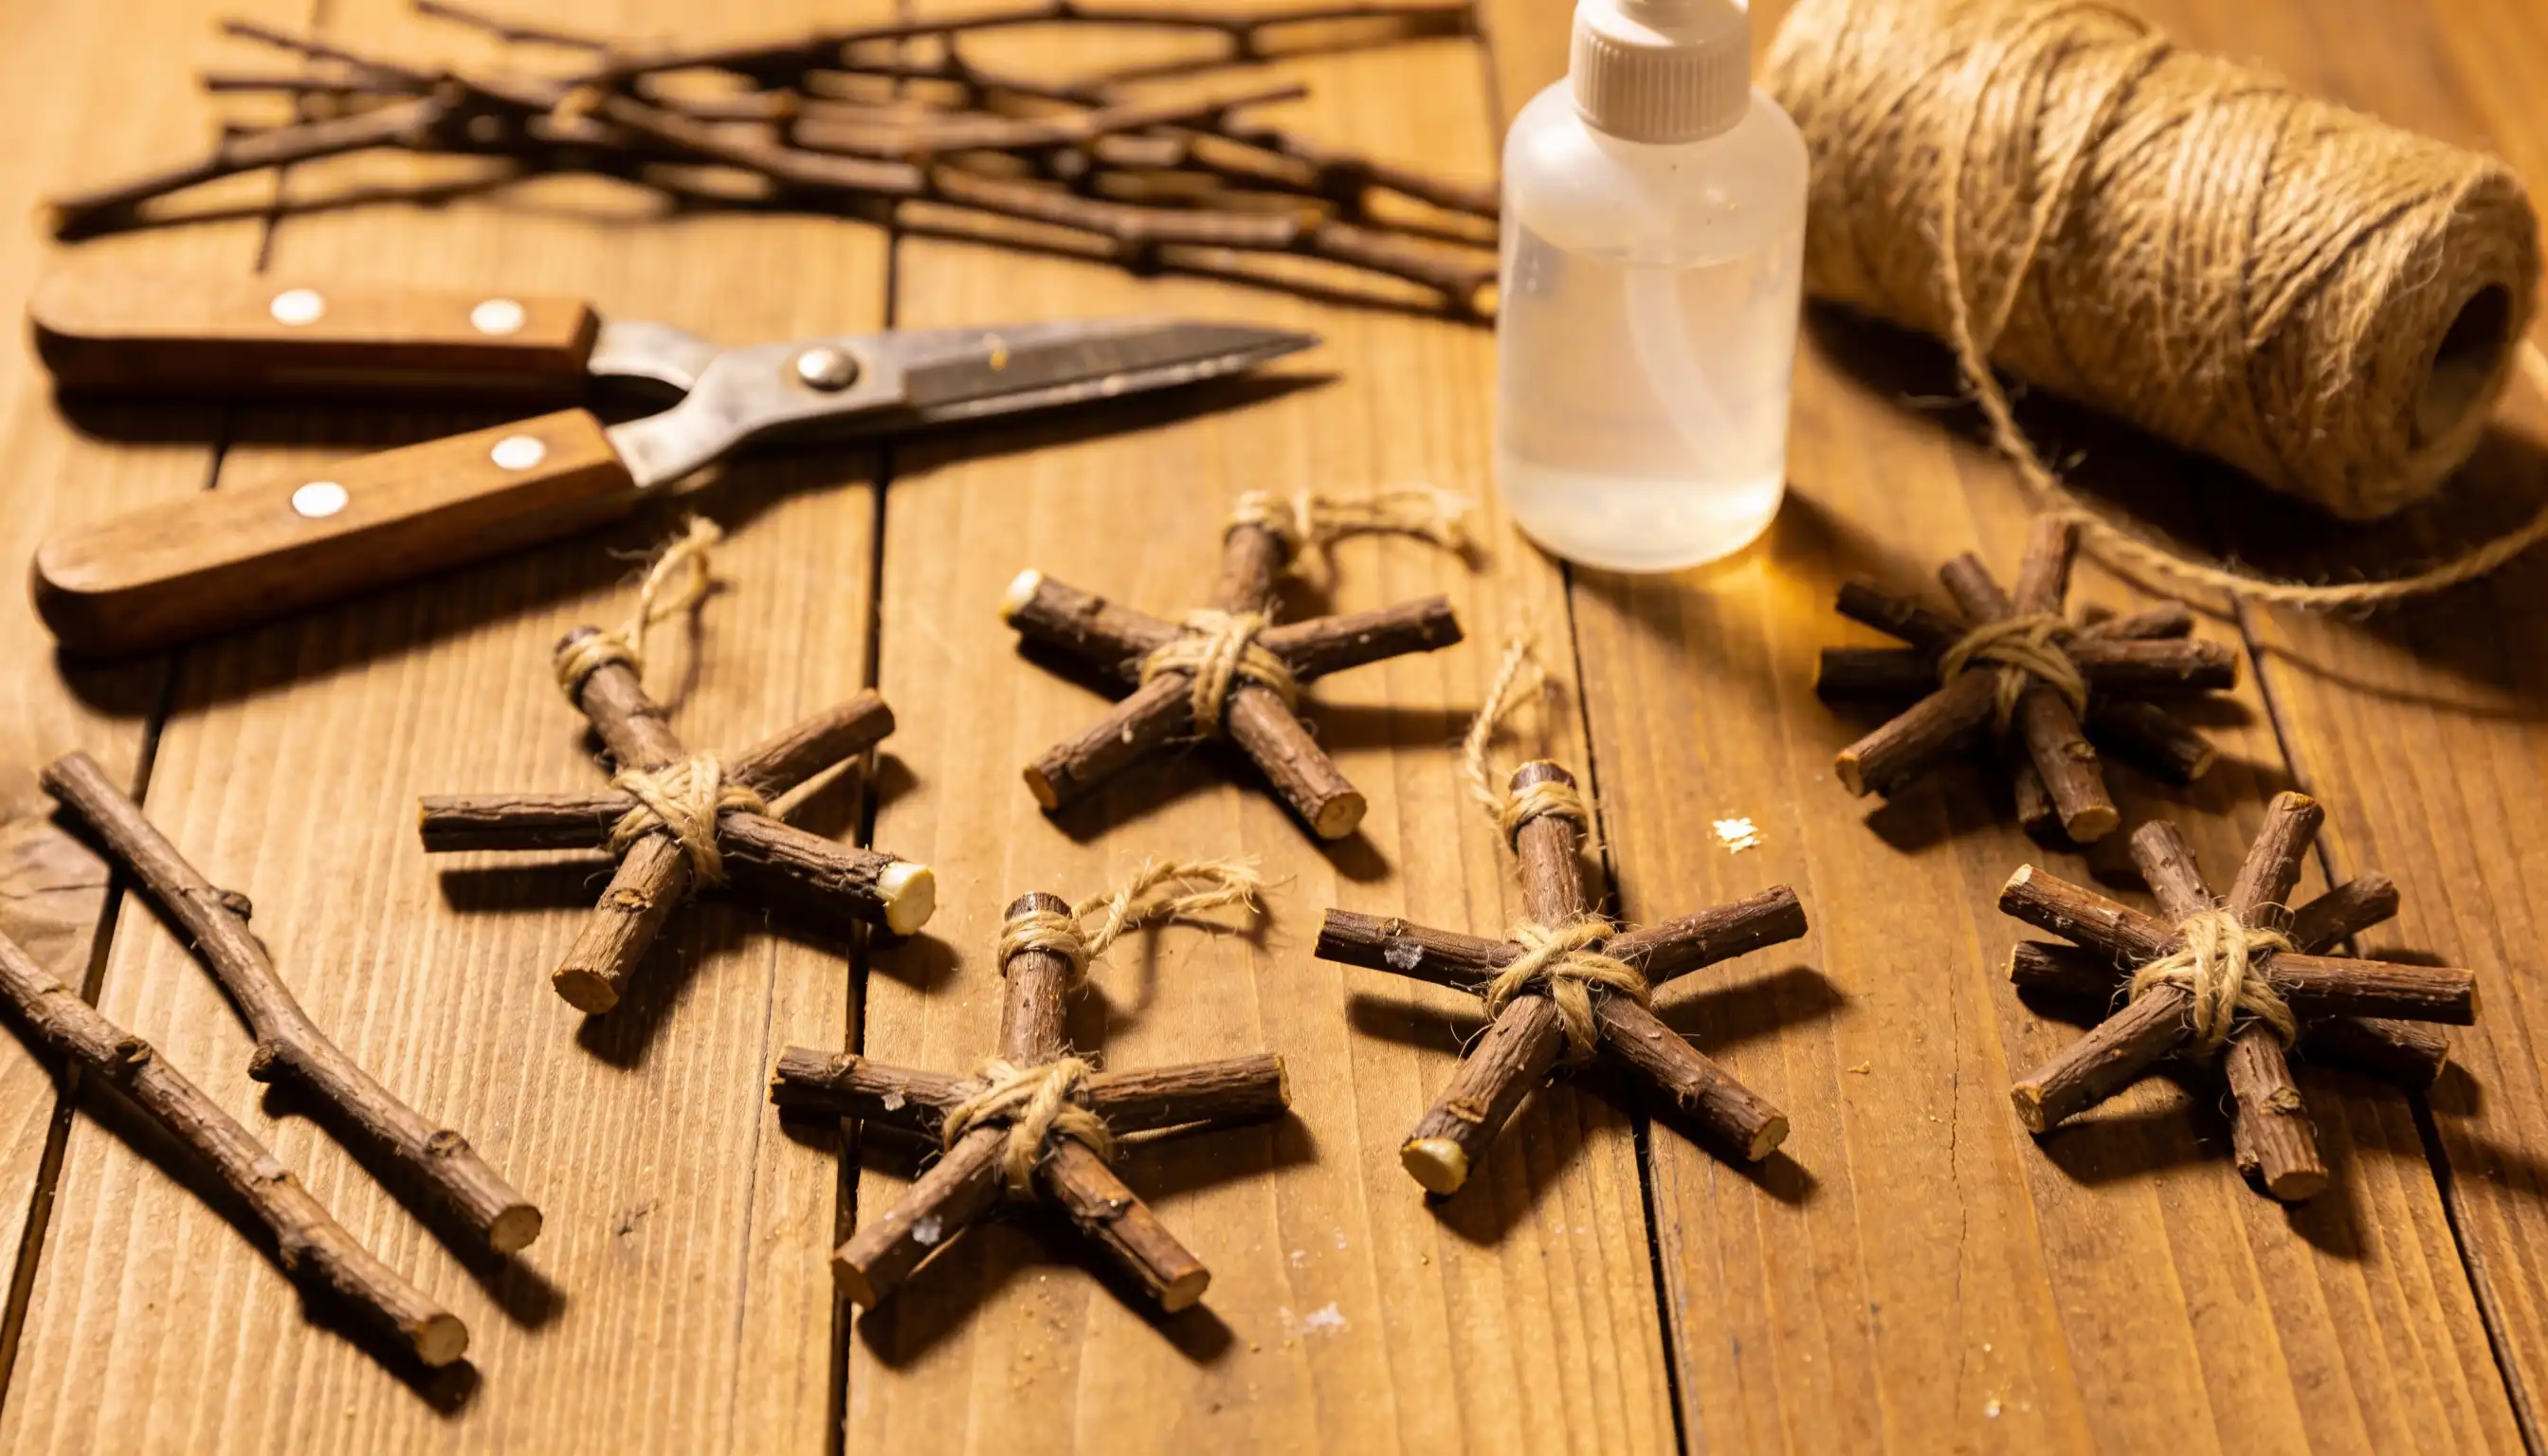
Snap 5 small twigs to roughly the same length, about 4 inches each. Lay them out into a star shape, overlapping the ends.
Dab hot glue at each of the 5 points where they cross. Hold each joint for 10 seconds so it sets.
Wrap a bit of twine around each corner for extra hold. Add a loop at the top.
Simple, rustic, and free from your own backyard.
20. Acorn Cap Bells
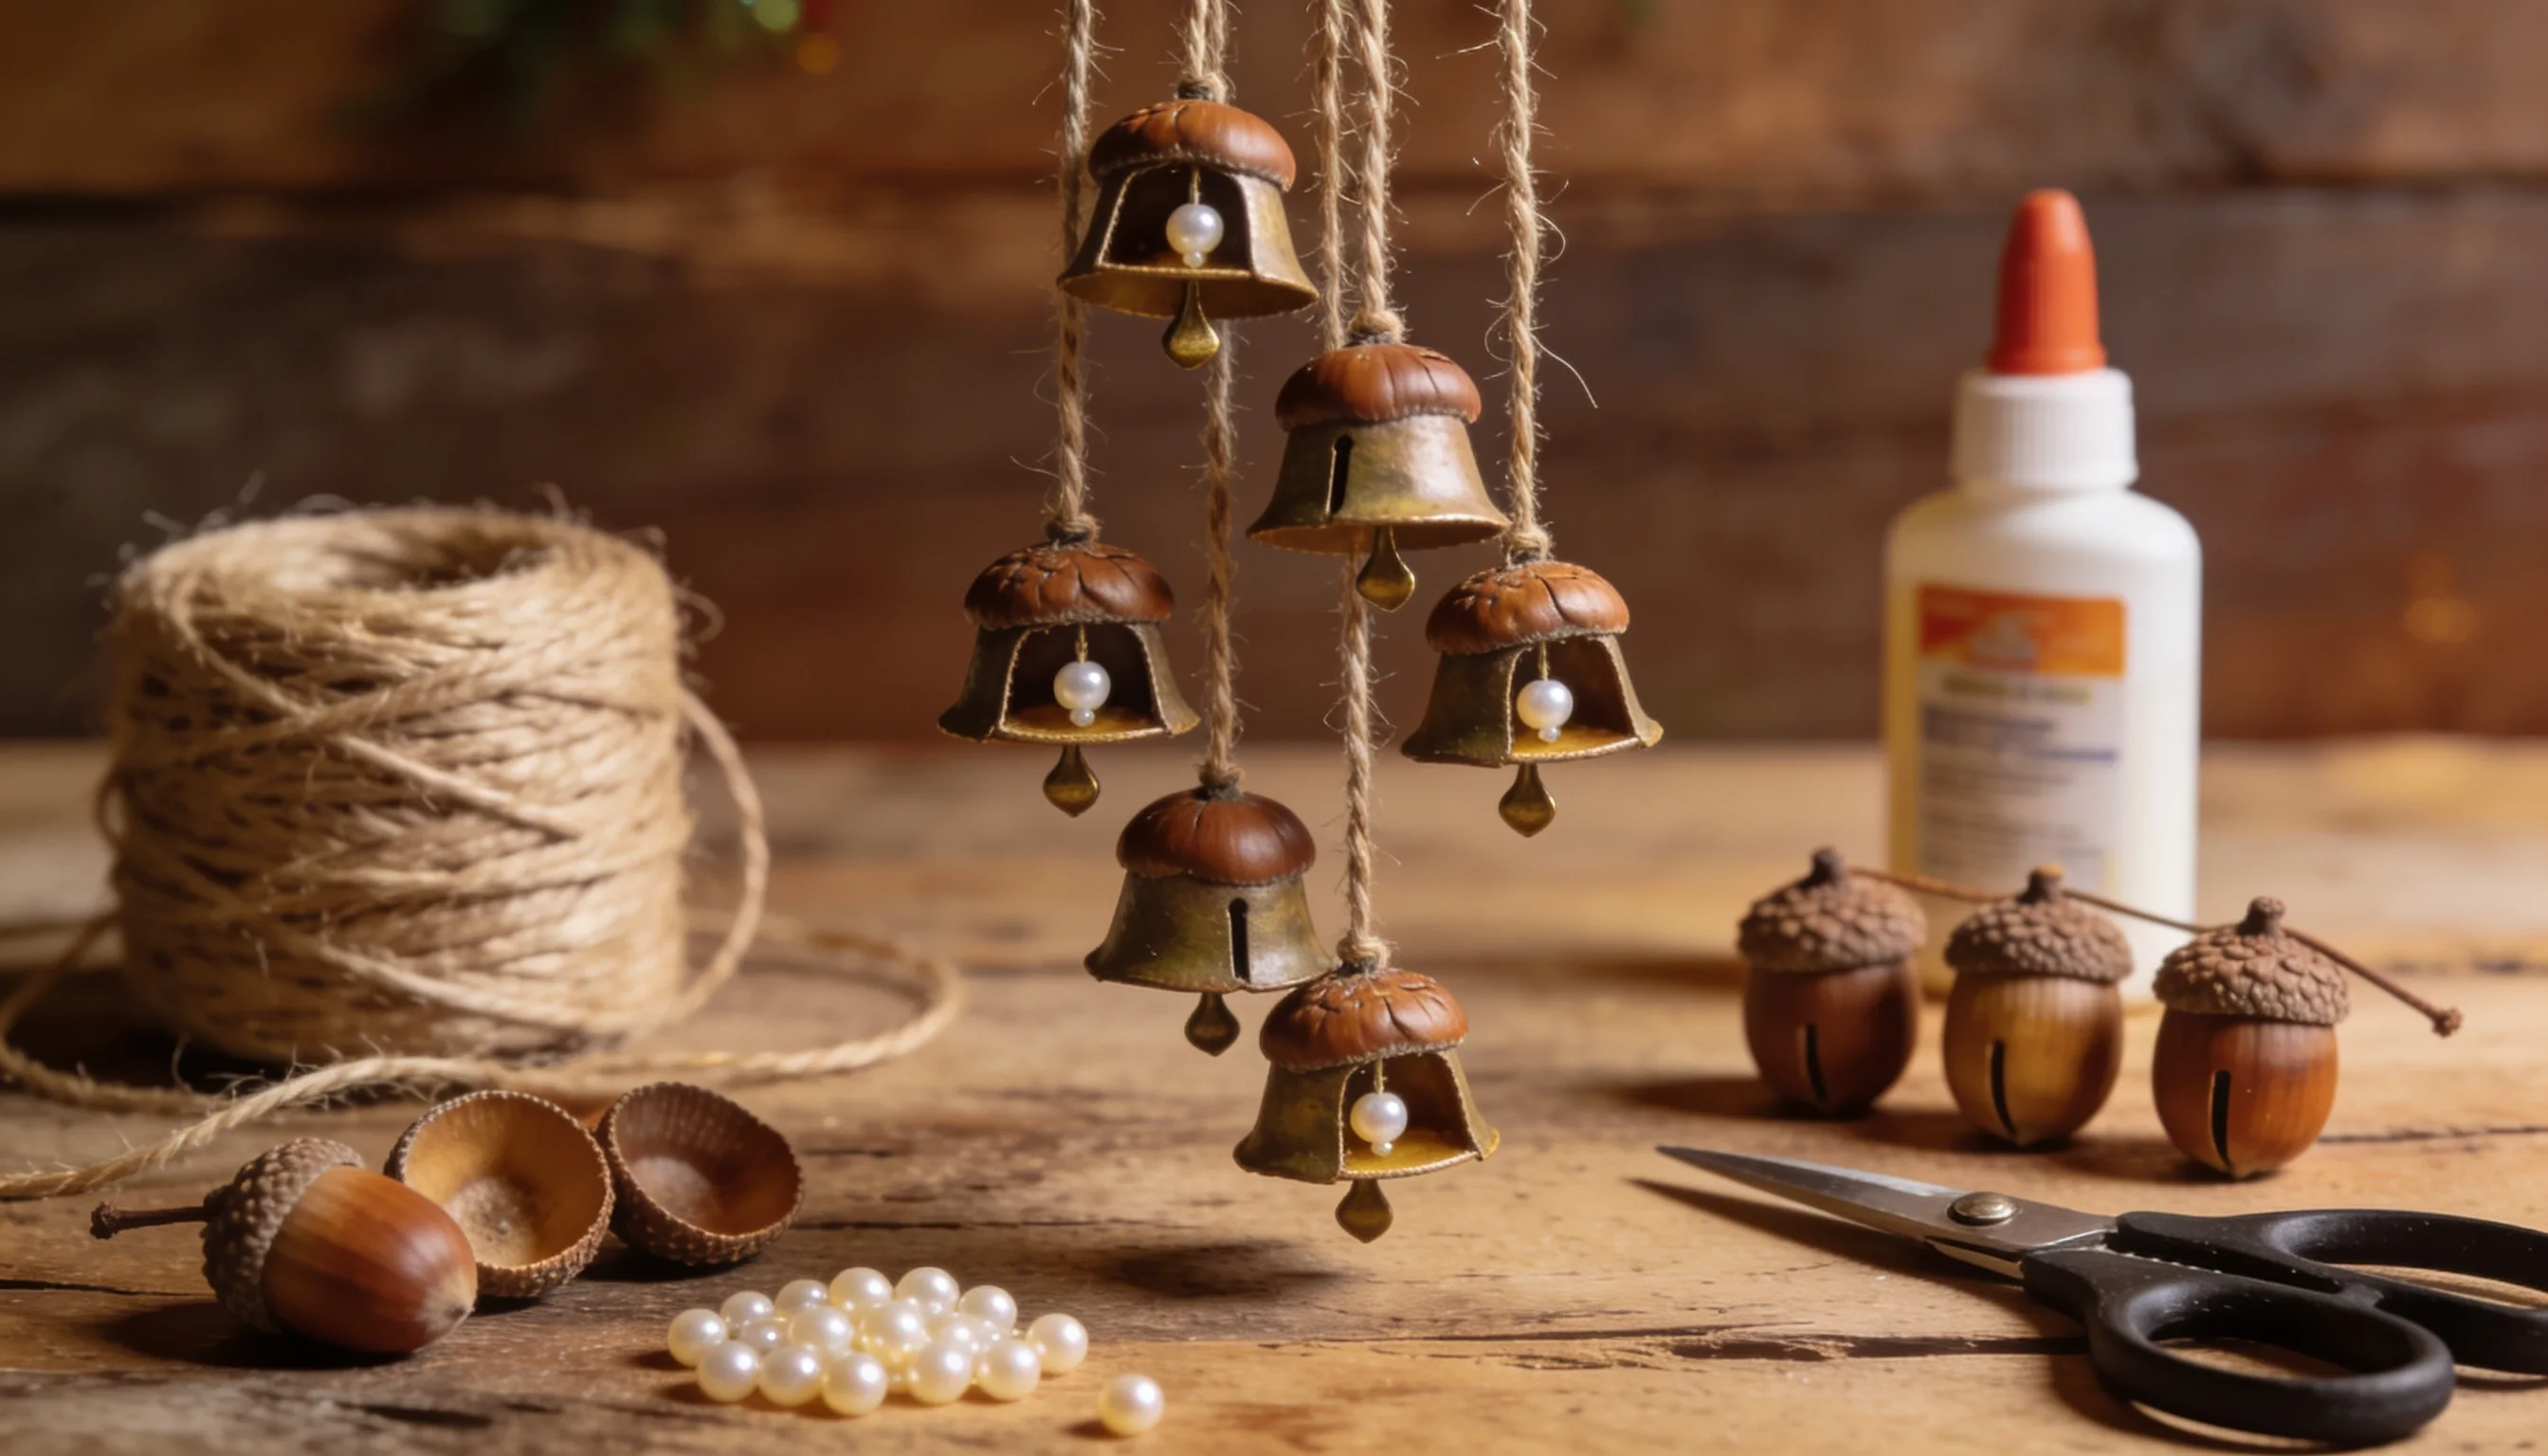
Save a handful of acorn caps from under an oak tree. Brush off any dirt and let them dry for a day.
Glue a small bead inside each cap to act as a clapper.
Thread a string up through the top of each cap. Space 3 or 4 caps down the length of the string.
Knot them in place, then add a loop. They dangle like tiny woodland bells.
21. Dried Berry Sprigs
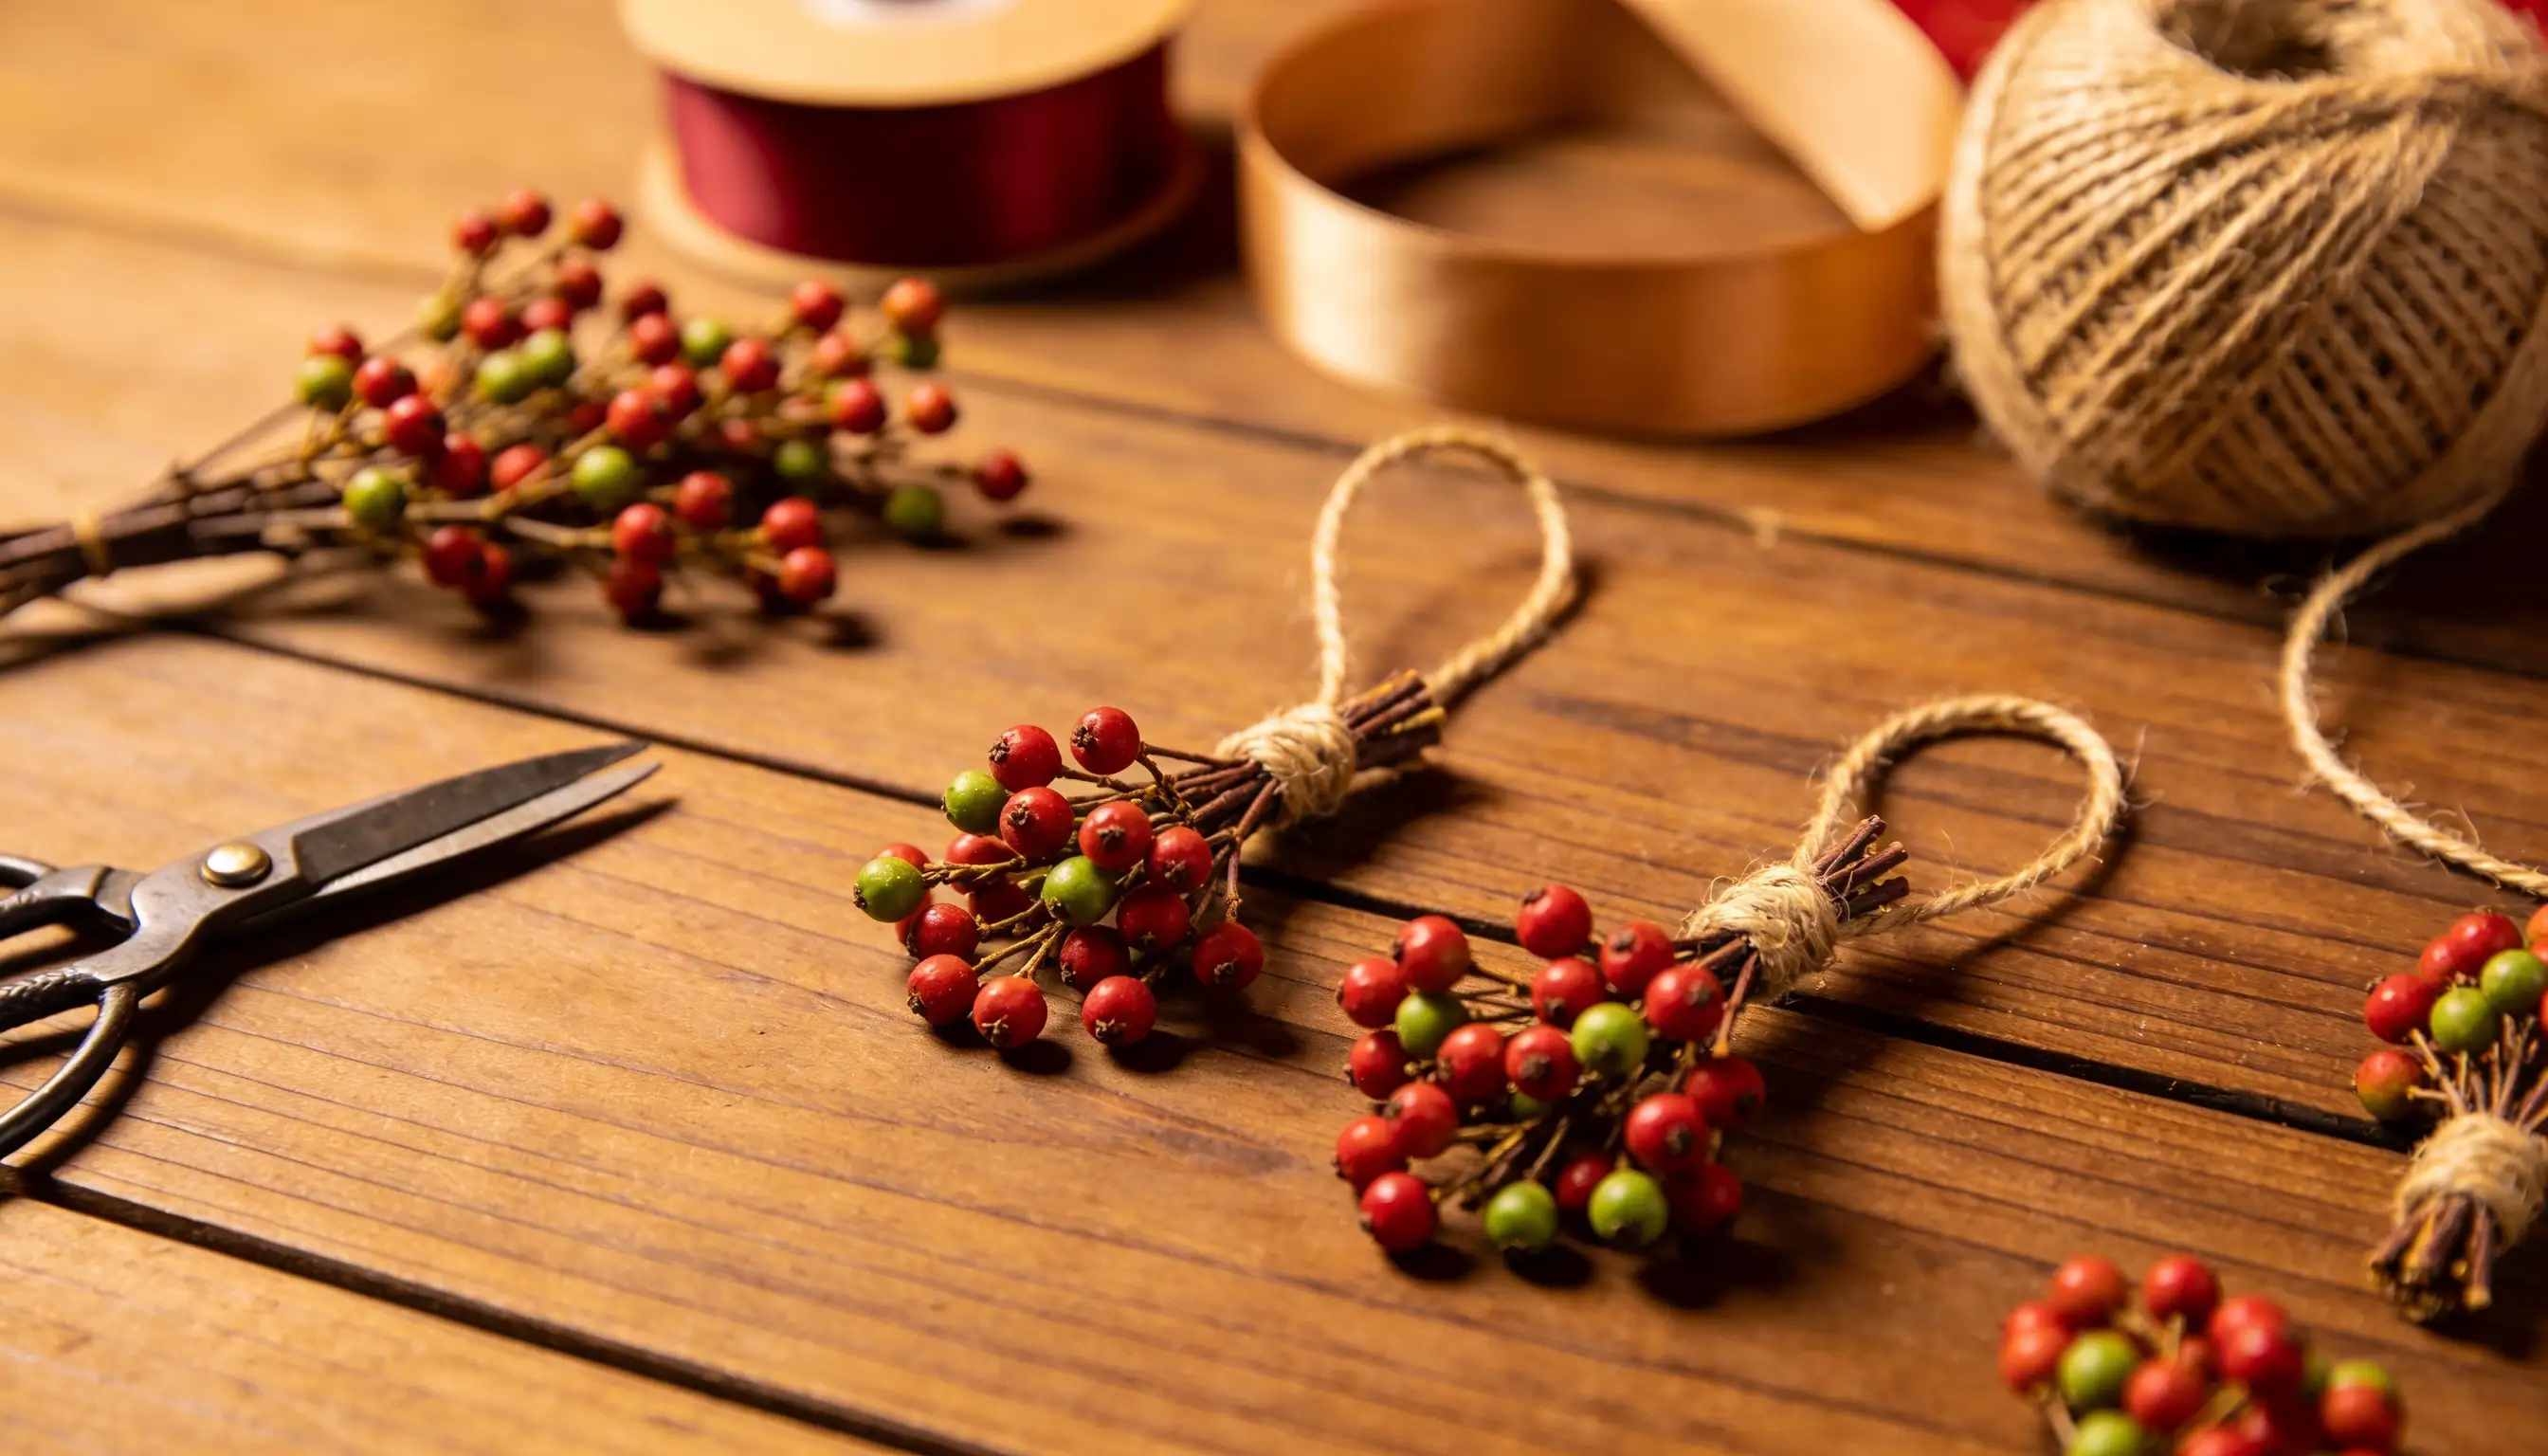
Dried berry sprigs bring a pop of red to your tree with almost no effort. A quick trip to the yard usually turns up everything you need.
- Gather small branches with dried berries still attached
- Bundle 2 or 3 sprigs together and wrap the stems with twine
- Add a small bow or a sprig of greenery if you want more color
- Make a loop at the top for hanging, then check that the berries are safe around pets and kids
Final Thoughts
Making DIY ornaments turned out to be one of my favorite holiday habits. What started as a way to save a few dollars became something I look forward to every year.
The best part is that every DIY comes out different. Some come out a little crooked, and that is exactly why I love them.
So grab your kids, dig out your leftover craft supplies, or go hunt for a handful of pinecones outside. And just start it today.
You will mess up a few, and that is fine. Pick one idea from above this week and give it a go.
Frequently Asked Questions (FAQs)
1. What Are the Easiest DIY Ornaments to Make?
Painted glass balls top the list, since you just pour paint inside, swirl, and let it dry.
2. What Can I Use to Seal Handmade Ornaments?
A coat of clear varnish or acrylic sealer works best, keeping moisture out and stopping crumbling.
3. What Are the Current Trends in Ornaments?
This year leans toward velvet finishes, vintage looks, nature-inspired pieces, and handmade touches made from recycled materials.
4. What Household Items Can I Use to Make Ornaments?
Old buttons, fabric scraps, paper, jar lids, wine corks, and dried orange slices all work great.