A handmade bouquet can transform simple flowers into a thoughtful gift, home decoration, or personal creation. Learning how to make a bouquet does not require professional floral skills.
With fresh flowers, basic supplies, and a simple arranging process, beginners can create attractive bouquets at home.
The process includes selecting flowers, preparing stems, building a base, arranging blooms, securing the stems, and adding a finishing wrap.
Choose and Prepare Fresh Flowers Before Arranging
Choosing fresh flowers and preparing them correctly creates a healthier bouquet with better shape and longer-lasting blooms. Select flowers with firm petals, strong stems, and bright green leaves.
Avoid blooms with brown edges, soft stems, damaged petals, or signs of wilting. A mix of open flowers and closed buds helps the arrangement look fresh as the buds continue to bloom.
Before arranging, remove damaged petals, unwanted leaves, and any parts that affect the bouquet’s appearance.
Cut stems at a 45-degree angle to improve water absorption and remove leaves below the waterline.
Keep prepared flowers in clean water until use. For roses, remove only damaged outer petals while keeping healthy layers intact.
What You’ll Actually Need
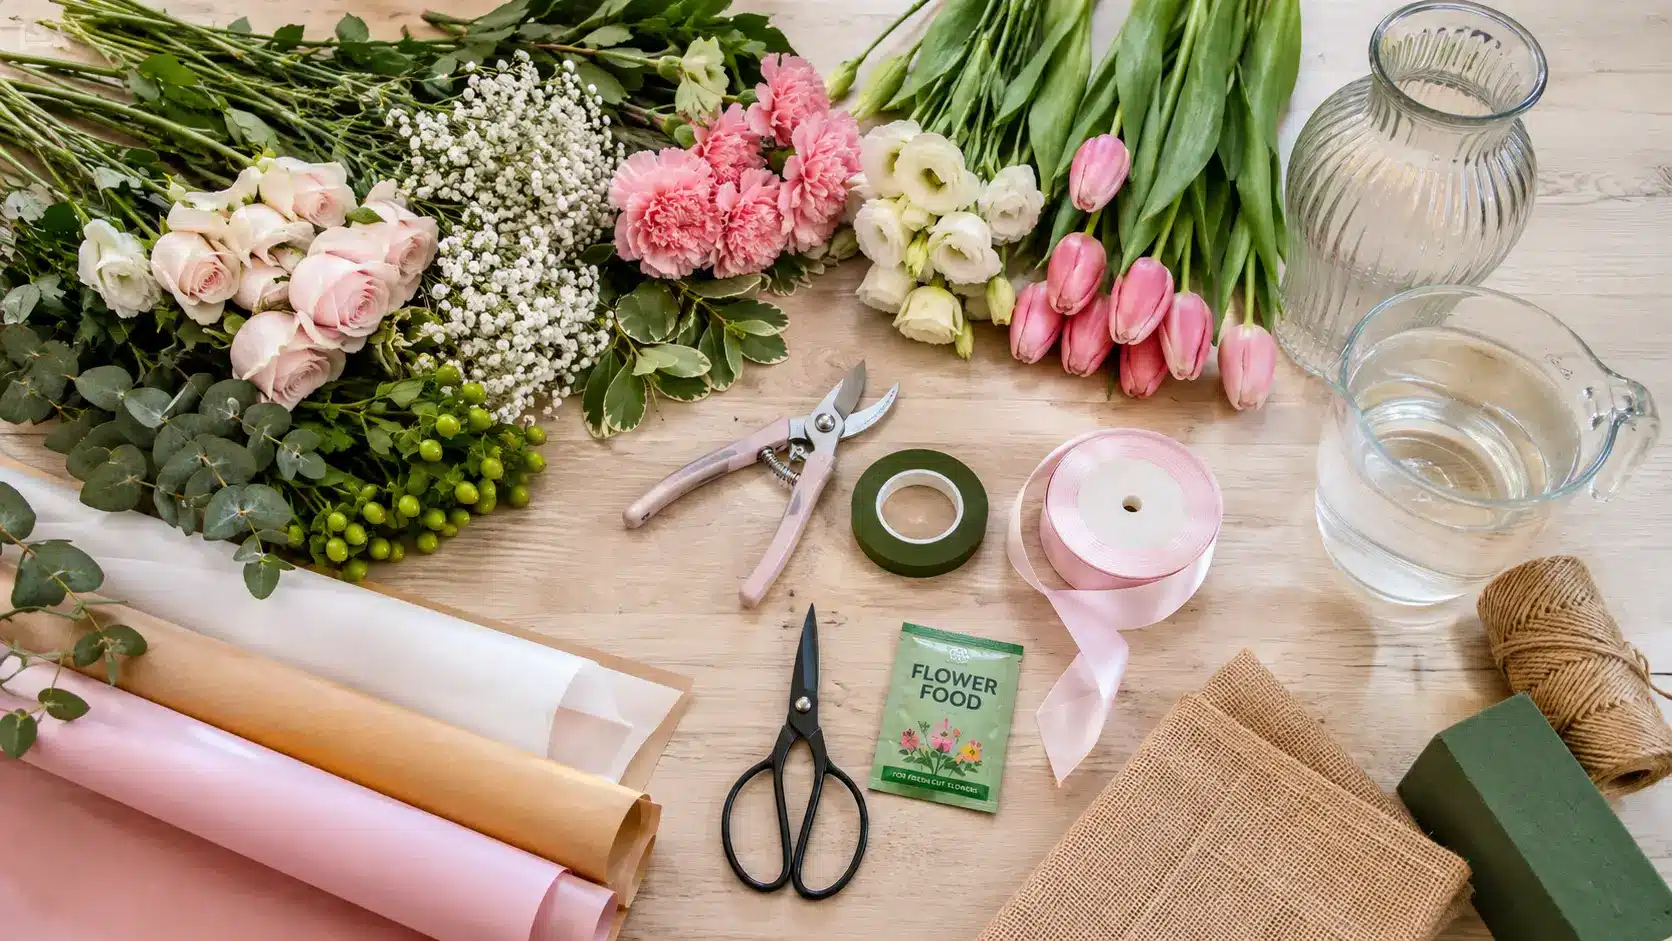
Preparing the right supplies before arranging flowers makes the process smoother and helps maintain freshness.
- Floral Shears: Cut flower stems cleanly without causing damage. Avoid regular scissors that may crush the stems and reduce water absorption.
- Floral Tape: Holds stems together and helps maintain the bouquet shape. Wrap it below the flower heads for better support.
- Ribbon or Wrapping Paper: Adds a finished look to the bouquet. Choose colors that complement the flowers for a balanced appearance.
- Clean Vase: Keeps flowers hydrated and healthy. Wash the vase properly before use to remove bacteria and residue.
- Flower Food: Supports flower freshness and helps extend bloom life. Follow the package instructions for the correct amount.
- Water Container: Keeps stems fresh while preparing the bouquet. Replace the water regularly to maintain flower quality.
For beginners, fresh flowers, clean water, sharp shears, and wrapping material are the most important supplies. Extra tools like floral tape and decorative ribbons can help improve the final presentation.
Step-by-Step Bouquet-Making Process
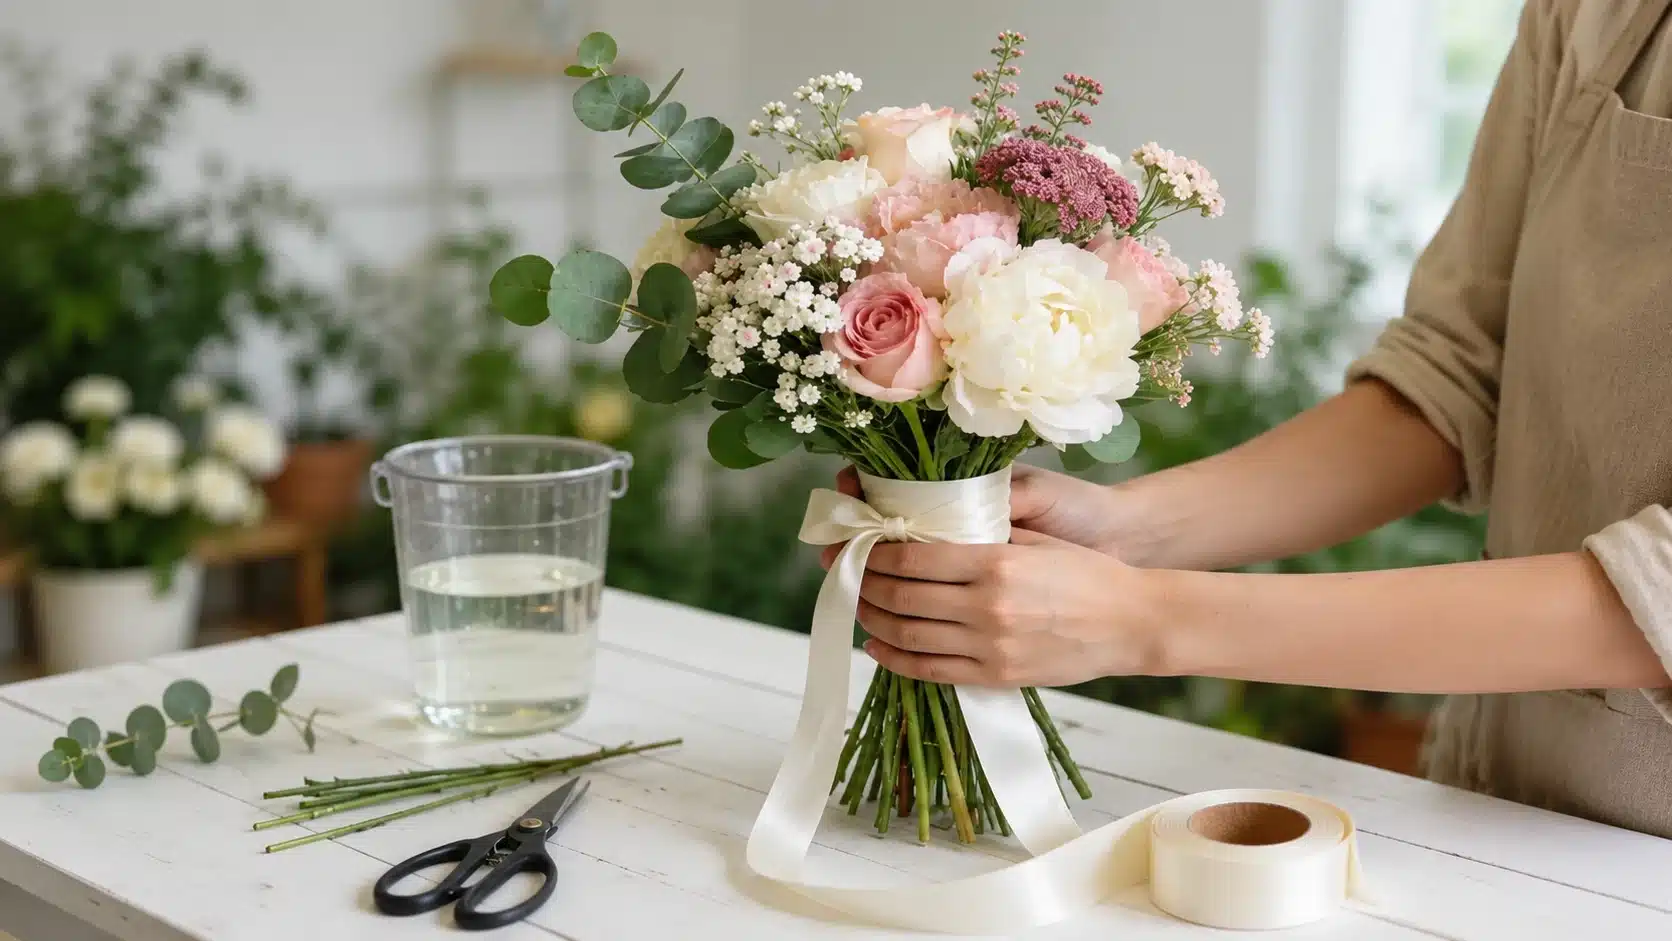
Creating a bouquet becomes easier when each stage is completed in order. The process below covers arranging flowers from preparation to final wrapping while keeping the structure neat and easy for beginners to follow.
Step 1: Prepare and Trim the Stems
Cut each flower stem at a 45-degree angle using sharp floral shears.
Remove damaged leaves and any extra foliage that may affect the bouquet’s appearance or that may remain below the waterline.
Step 2: Create a Greenery Base
Start with a few stems of greenery to form the foundation of the bouquet. Hold them together in one hand and slightly cross the stems to create support.
The greenery helps create the overall shape and provides a base for adding flowers.
Step 3: Add Focal and Supporting Flowers
Place larger focal flowers first to establish the main structure. Spread them evenly instead of grouping them in one area.
Add supporting flowers around the main blooms to introduce more volume and connect different flower sizes.
Step 4: Add Filler Flowers and Adjust the Shape
Place filler flowers in smaller spaces between larger blooms. Rotate the bouquet as you arrange to check the shape from different angles.
Adjust flower positions, stem heights, and spacing until the arrangement looks complete.
Step 5: Secure the Bouquet
Once the flowers are arranged, hold the stems firmly and wrap floral tape around the joining point.
Keep the tape below the flower heads so the bouquet remains secure and comfortable to hold.
Step 6: Wrap and Finish the Bouquet
Cover the floral tape with ribbon, wrapping paper, or other decorative material, depending on the occasion.
Before completing the bouquet, check that flowers are visible, greenery is placed naturally, and the arrangement looks even from all sides.
Match the wrapping material to the flower colors and occasion for a finished look.
Flowers That Actually Work Together
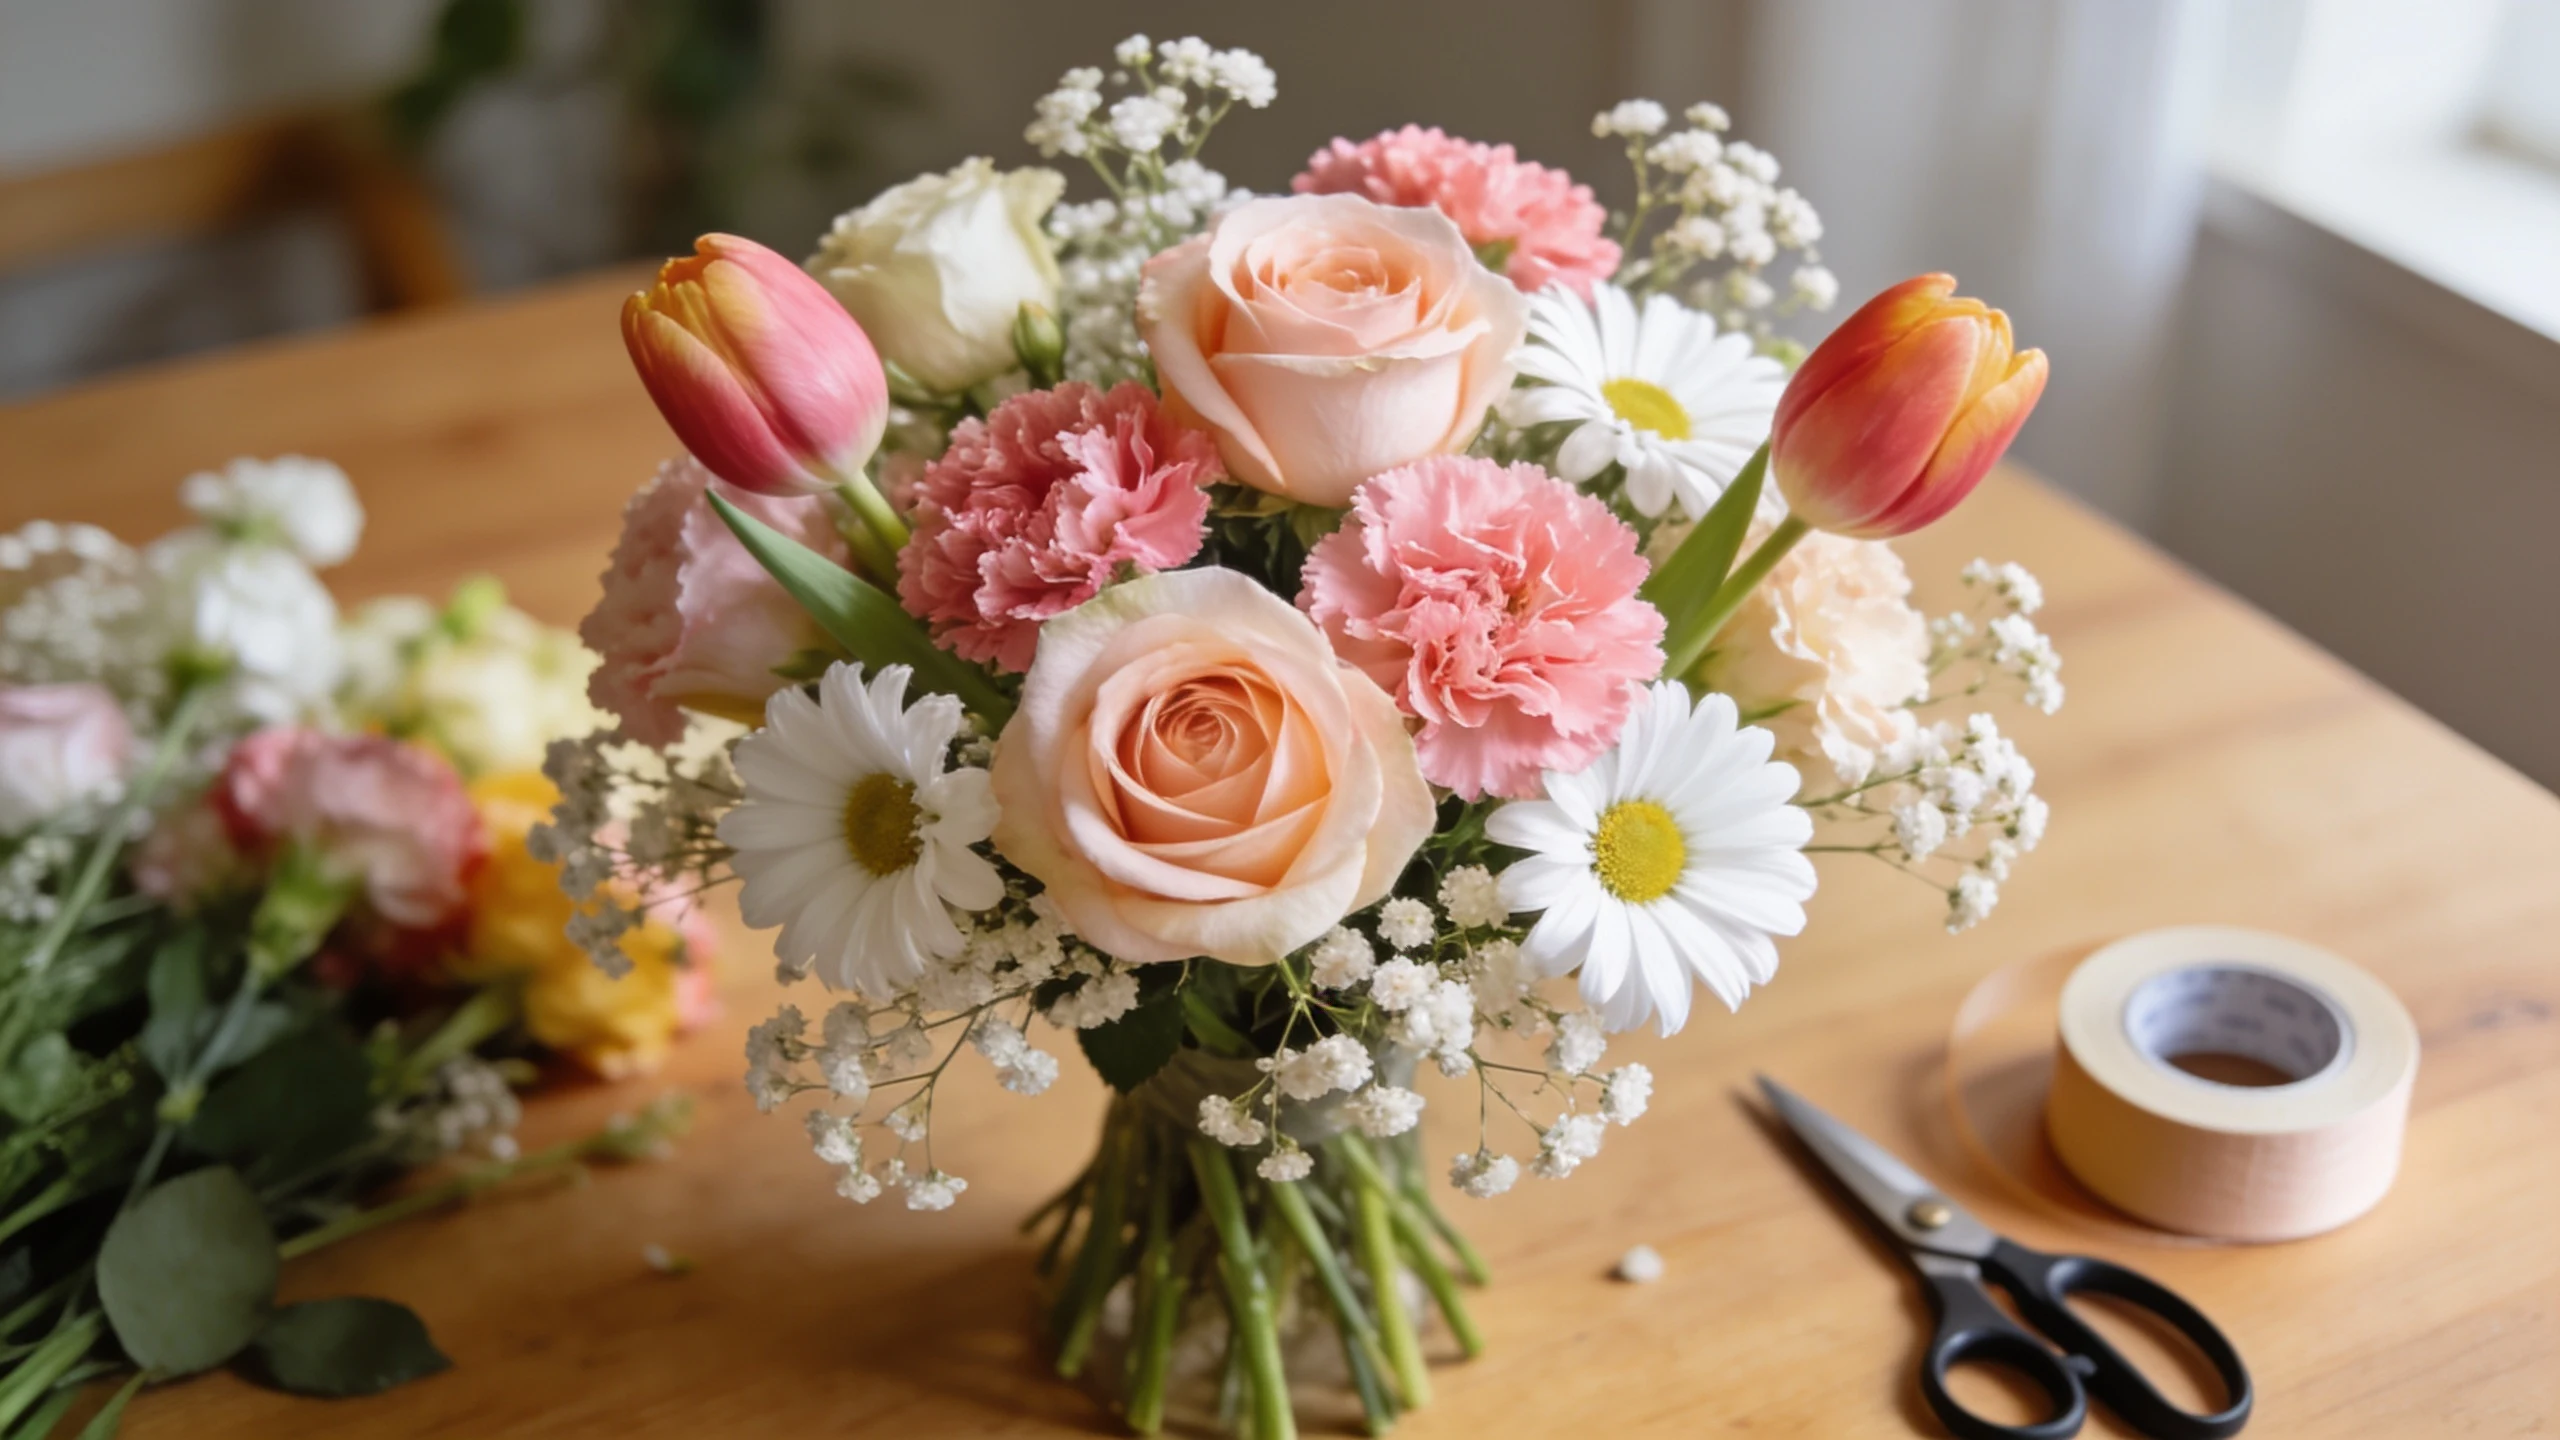
A successful bouquet uses different types of flowers rather than relying on a single variety. Each flower has a specific role that helps create shape, texture, and structure.
- Focal Flowers: Create the main visual point of the bouquet with larger, eye-catching blooms such as roses, peonies, lilies, and dahlias.
- Supporting Flowers: Add fullness and help connect larger blooms while creating a balanced arrangement. Examples include carnations, tulips, and statice.
- Filler Flowers: Fill smaller spaces and add softness between flowers. Baby’s breath and waxflower are common filler choices.
- Greenery: Provides structure, shape, and a natural base that supports the overall bouquet design. Common options include eucalyptus, ruscus, and ivy.
Using a mix of flower sizes and textures creates a fuller arrangement while allowing each bloom to remain visible.
How Many Flowers Do You Need for a Bouquet?
The number of flowers needed depends on the bouquet size, flower type, and the fullness you want to create. Smaller arrangements are easier to handle, while larger bouquets require more stems and a stronger structure.
| Bouquet Size | Number of Stems |
|---|---|
| Small Bouquet | 10–15 stems |
| Medium Bouquet | 20–30 stems |
| Large Bouquet | 40+ stems |
A small bouquet works well for simple gifts, small spaces, or casual occasions.
Medium arrangements are suitable for celebrations and home decoration, while larger bouquets create a fuller appearance for weddings, events, or special gifts.
The stem count also affects the bouquet’s weight, shape, and overall cost.
Best Flowers You Can Use for a Bouquet
Some flowers forgive mistakes. Roses hold their shape even if you jostle them; ranunculus does not, and you’ll know within an hour if you handled it too roughly. Start with the forgiving ones.
- Roses: Strong stems and classic shapes make them suitable for many bouquet styles.
- Carnations: Long-lasting blooms that add fullness and a variety of colors.
- Tulips: Simple flowers that work well in smaller arrangements.
- Daisies: Easy-to-handle blooms for casual bouquets.
- Baby’s Breath: Lightweight filler flowers that soften larger arrangements.
Choosing manageable flowers makes the arrangement process easier while helping beginners achieve cleaner results.
Bouquet Arrangement Techniques
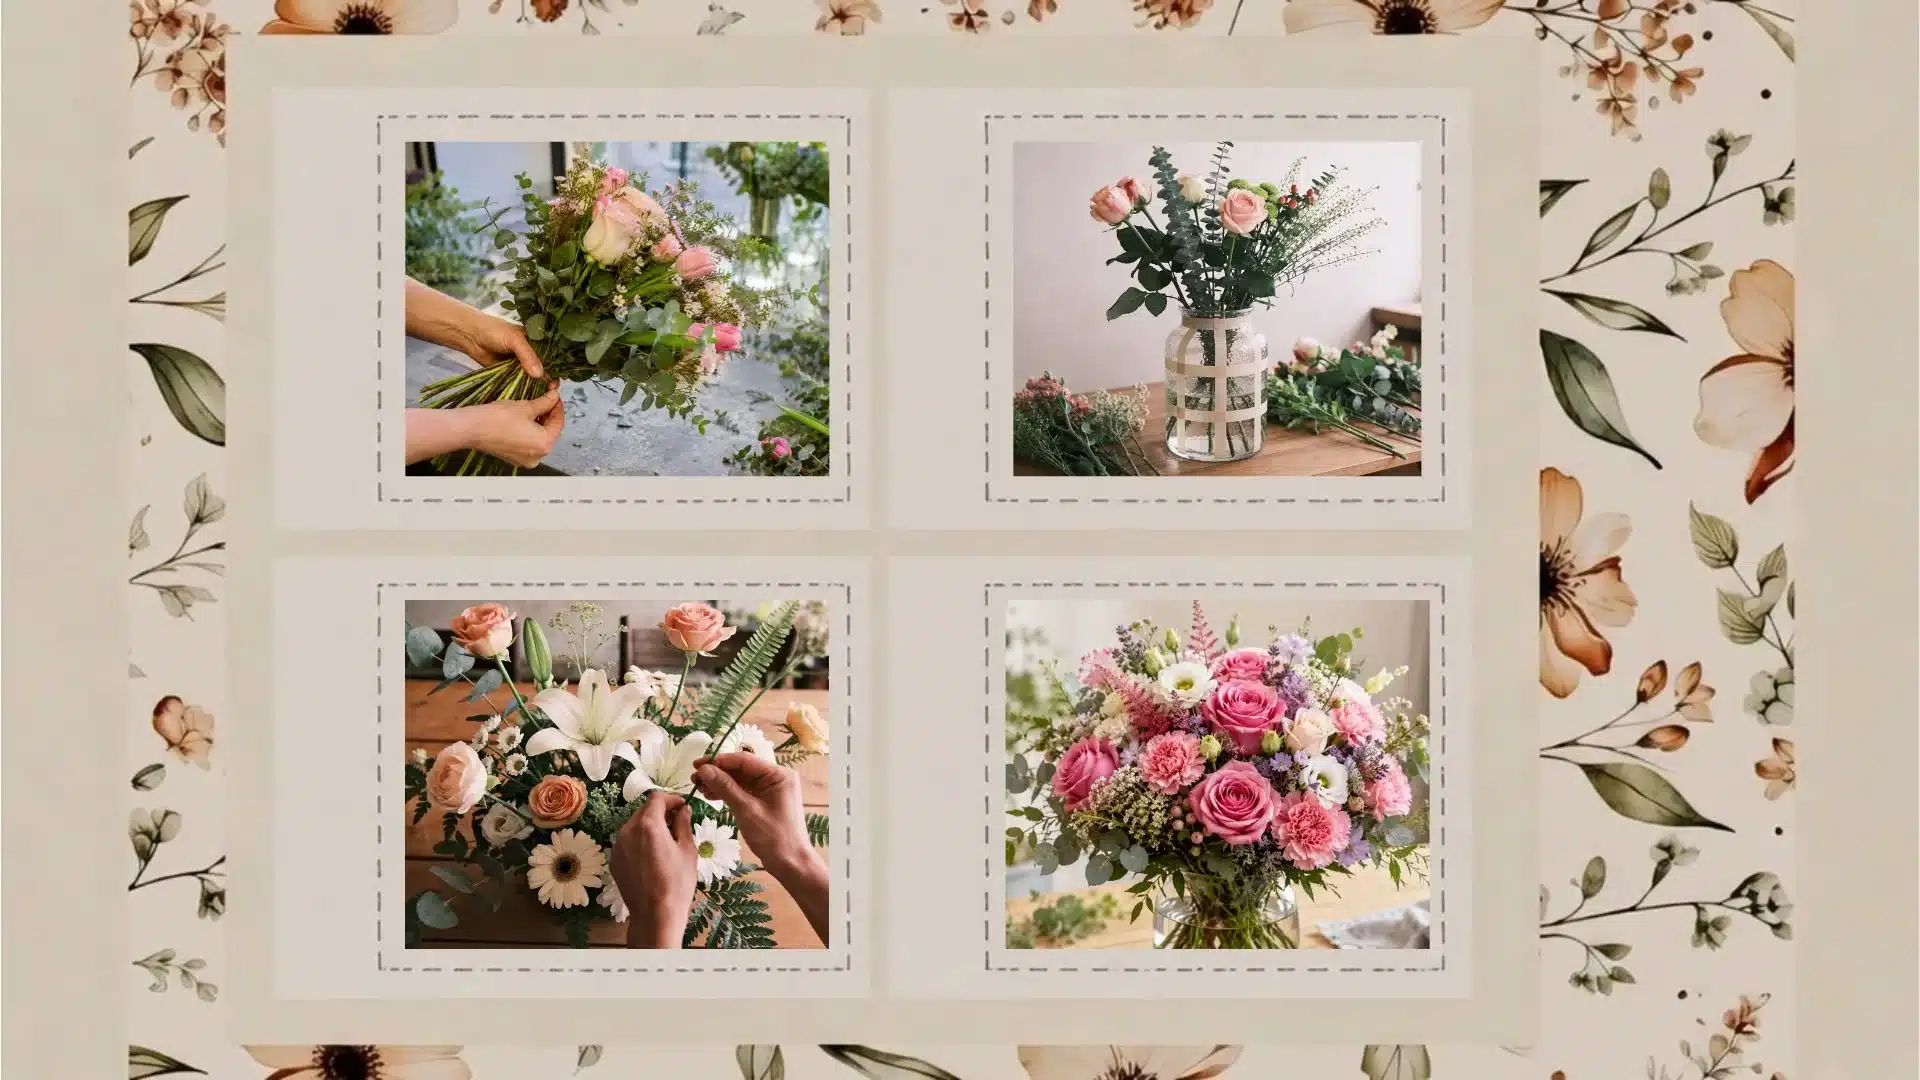
Simple techniques can improve the structure and appearance of a bouquet without requiring professional tools. These methods help create different shapes and make flower placement easier.
1. The Spiral Hand-Tied Method
The spiral method is commonly used for hand-tied bouquets.
Hold one stem as the center point and add new stems at an angle while rotating the bouquet in the same direction. This creates a rounded shape and keeps the stems organized.
Best for:
- Hand-tied bouquets
- Gift arrangements
- Wedding-style bouquets
2. The Grid Method for Vase Arrangements
The grid method works well when placing flowers directly into a vase. Create sections along the vase opening with floral tape, then place stems through the openings.
This helps keep flowers separate and prevents them from spreading outward.
Best for:
- Table arrangements
- Wide vases
- Beginner displays
3. Vary Your Stem Heights
Keeping every flower at the same height can make an arrangement look flat. Using different stem lengths adds depth and allows each flower to remain visible.
- Taller Stems: Add movement and height to the bouquet while drawing attention to the overall arrangement.
- Middle-Height Flowers: Create the main shape of the bouquet and provide balance between different blooms.
- Lower Flowers: Fill empty spaces around the base and create a fuller, more complete arrangement.
4. Balance Color and Texture
Mix different flower sizes, colors, and textures. This creates a more natural-looking arrangement.
A simple approach is to choose one main flower color, one or two supporting shades, greenery, and smaller filler blooms.
Different Bouquet Styles to Try
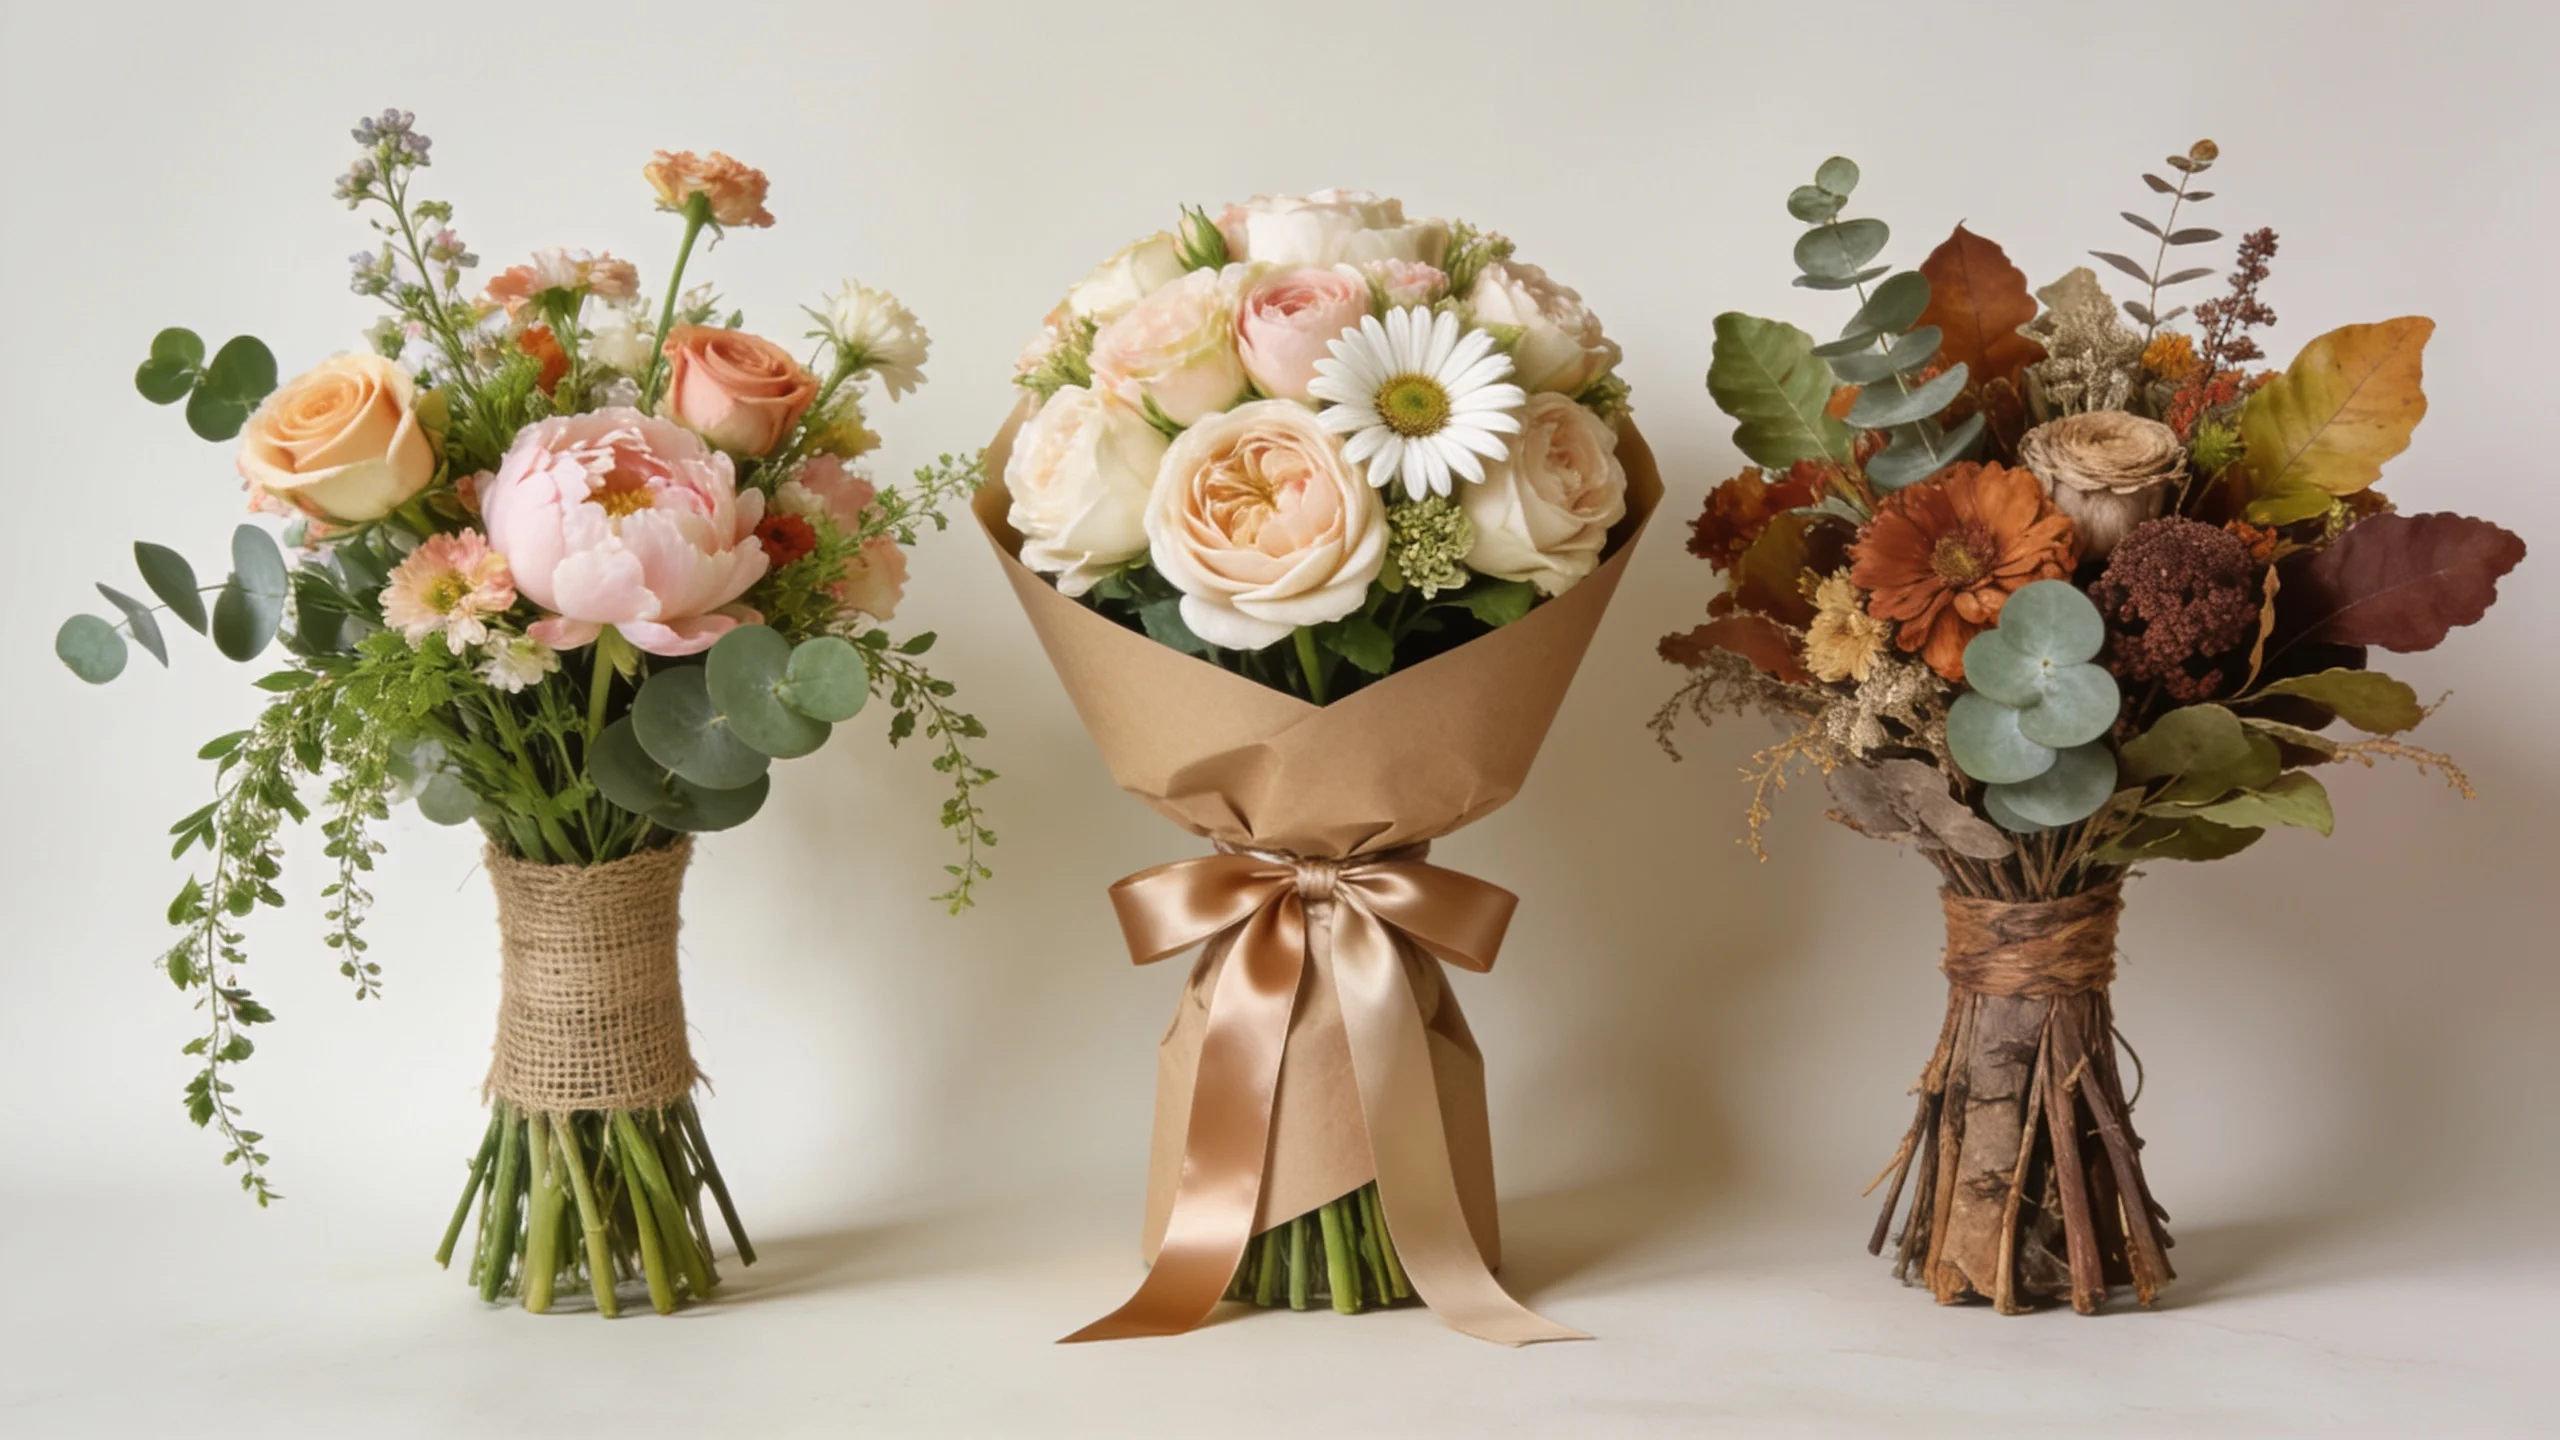
Choosing a bouquet style before arranging helps determine flower selection, shape, and wrapping choices.
Different styles work well for different occasions and personal preferences.
1. Loose Garden-Style Bouquet
A loose garden bouquet uses varied flower heights, flowing greenery, and a relaxed structure. It does not require perfect symmetry and works well for casual arrangements.
Key features:
- Uneven flower heights
- Plenty of greenery
- Relaxed shape
- Simple wrapping
2. Tight Rounded Bouquet
A rounded bouquet places flowers closely together to create a compact appearance. This style is often used for traditional arrangements and formal occasions.
Key features:
- Closely placed blooms
- Rounded shape
- Balanced colors
- Clean finish
3. Seasonal Rustic Bouquet
A rustic bouquet uses seasonal flowers with simple materials such as kraft paper or natural ribbons. It creates a relaxed arrangement suitable for gifts and decorations.
Key features:
- Seasonal blooms
- Natural colors
- Simple wrapping
- Casual appearance
How to Keep a Homemade Bouquet Fresh Longer
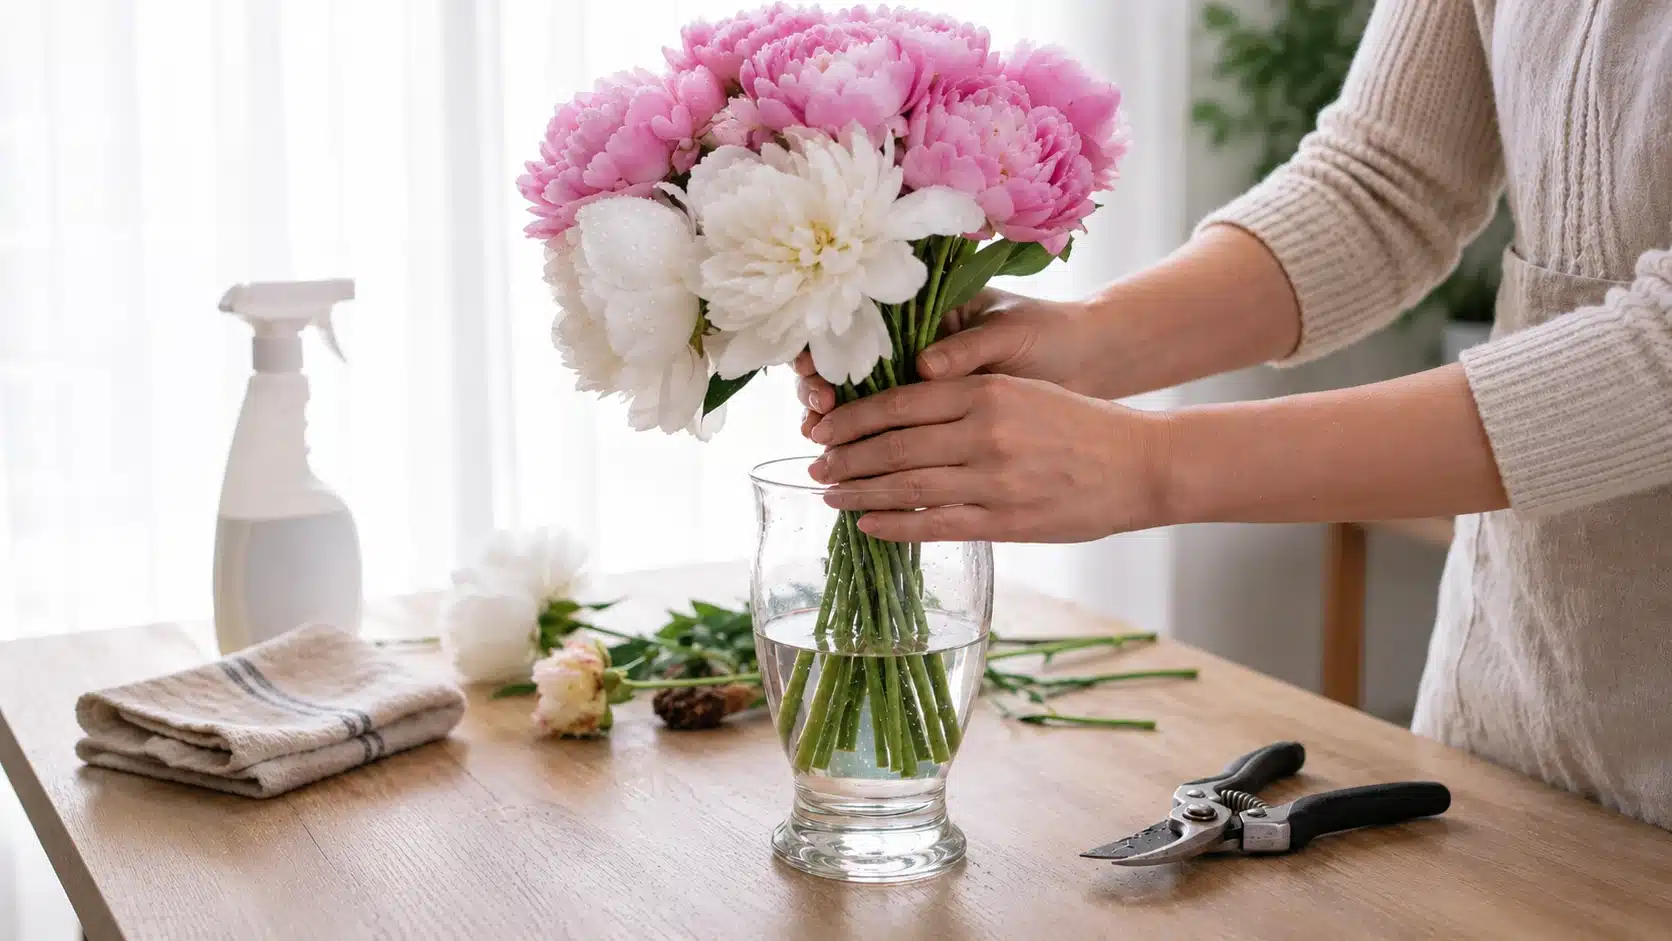
Proper care after arranging helps flowers maintain their shape, freshness, and appearance for longer. Simple maintenance steps can protect the blooms and prevent early wilting.
- Change the water regularly: replace it every 2 days to reduce bacterial growth and keep flowers fresher for longer.
- Clean the Vase: Wash the container before refilling to remove buildup and keep stems healthier.
- Trim Stems: Cut small sections from the stems every few days to improve water absorption.
- Remove Wilted Flowers: Take out damaged or fading blooms to maintain the bouquet’s overall appearance.
- Choose the Right Location: Keep the bouquet away from heat sources and direct sunlight to slow flower aging.
One rotten stem in the water will take down the whole bouquet faster than any of the other factors combined. Check for it first if the flowers are wilting early.
Keep Flowers Away From Wilting Triggers
The location of a bouquet can affect how long it stays fresh. Avoid placing flowers near direct sunlight, heating vents, air conditioners, and ripening fruit.
Fruits release ethylene gas, which can accelerate flower aging and cause blooms to wilt more quickly.
Keeping bouquets in a cool area with stable temperatures helps protect their shape, color, and freshness.
How Much Does It Cost to Make a Bouquet?
The cost of a homemade bouquet depends on factors such as flower choice, arrangement size, season, and additional supplies.
| Bouquet Type | Estimated Cost | Best For |
|---|---|---|
| Simple DIY Bouquet | $10–$25 | Beginners and small gifts |
| Medium Arrangement | $25–$60 | Celebrations and home décor |
| Premium Bouquet | $60+ | Weddings and special events |
Bouquet prices depend on flower rarity and season, arrangement size, and extra materials like ribbon, wrapping, and containers. In-season flowers are usually cheaper and easier to source. Costs also vary by location, and where you buy, local markets, grocery stores, or florists each differ.
Final Takeaway
None of this requires a floral design course. It requires sharp shears, a bit of patience with the spiral method, and a willingness to redo the wrap if it looks lopsided the first time.
Choosing suitable flowers, preparing stems correctly, creating a strong base, and arranging blooms carefully are the key parts of a successful arrangement.
Trying different flowers, colors, and styles allows each arrangement to match the occasion while keeping the process creative and enjoyable.
Frequently Asked Questions (FAQs)
1. Can You Make a Bouquet without Floral Tape?
Yes, bouquets can be created without floral tape by using the spiral hand-tied method or securing stems with ribbon, string, or a rubber band.
2. How Can You Make a Bouquet Look More Expensive?
A bouquet can look more refined by combining different flower sizes, adding greenery, choosing a structured shape, color palette, and using neat wrapping.
3. What is the Easiest Bouquet Style for Beginners?
A loose garden-style or simple hand-tied bouquet is usually easiest for beginners because it does not require perfect symmetry. These styles allow natural flower placement and work well with mixed blooms.