Tired of tripping over shoes? Every rushed morning turns into a hunt for the matching pair.
The pile spreads, the floor disappears, and guests definitely notice, but you can build a solid DIY shoe rack this weekend, and it costs about as much as lunch.
It fits your space, holds your shoes, and takes only a few hours, no workshop and no fancy tools required.
Keep reading to build one.
Tools and Materials You Will Need
Before you start cutting, gather everything in one spot. This build needs just a few basic tools and cheap lumber.
The list below tags each item so you know what you truly need and what is a nice-to-have.
Materials
- Four 1×3 pine boards, 8 feet long
- 1.25-inch wood screws, one small box
- 120-grit sandpaper
- Wood sealer or polyurethane, one small can
- Wood glue
Tools
- Power drill with a screwdriver bit
- Tape measure
- Pencil
- Handsaw or miter saw
- Safety glasses
- Sanding block
- Clamps
How to Make Diy Shoe Rack?
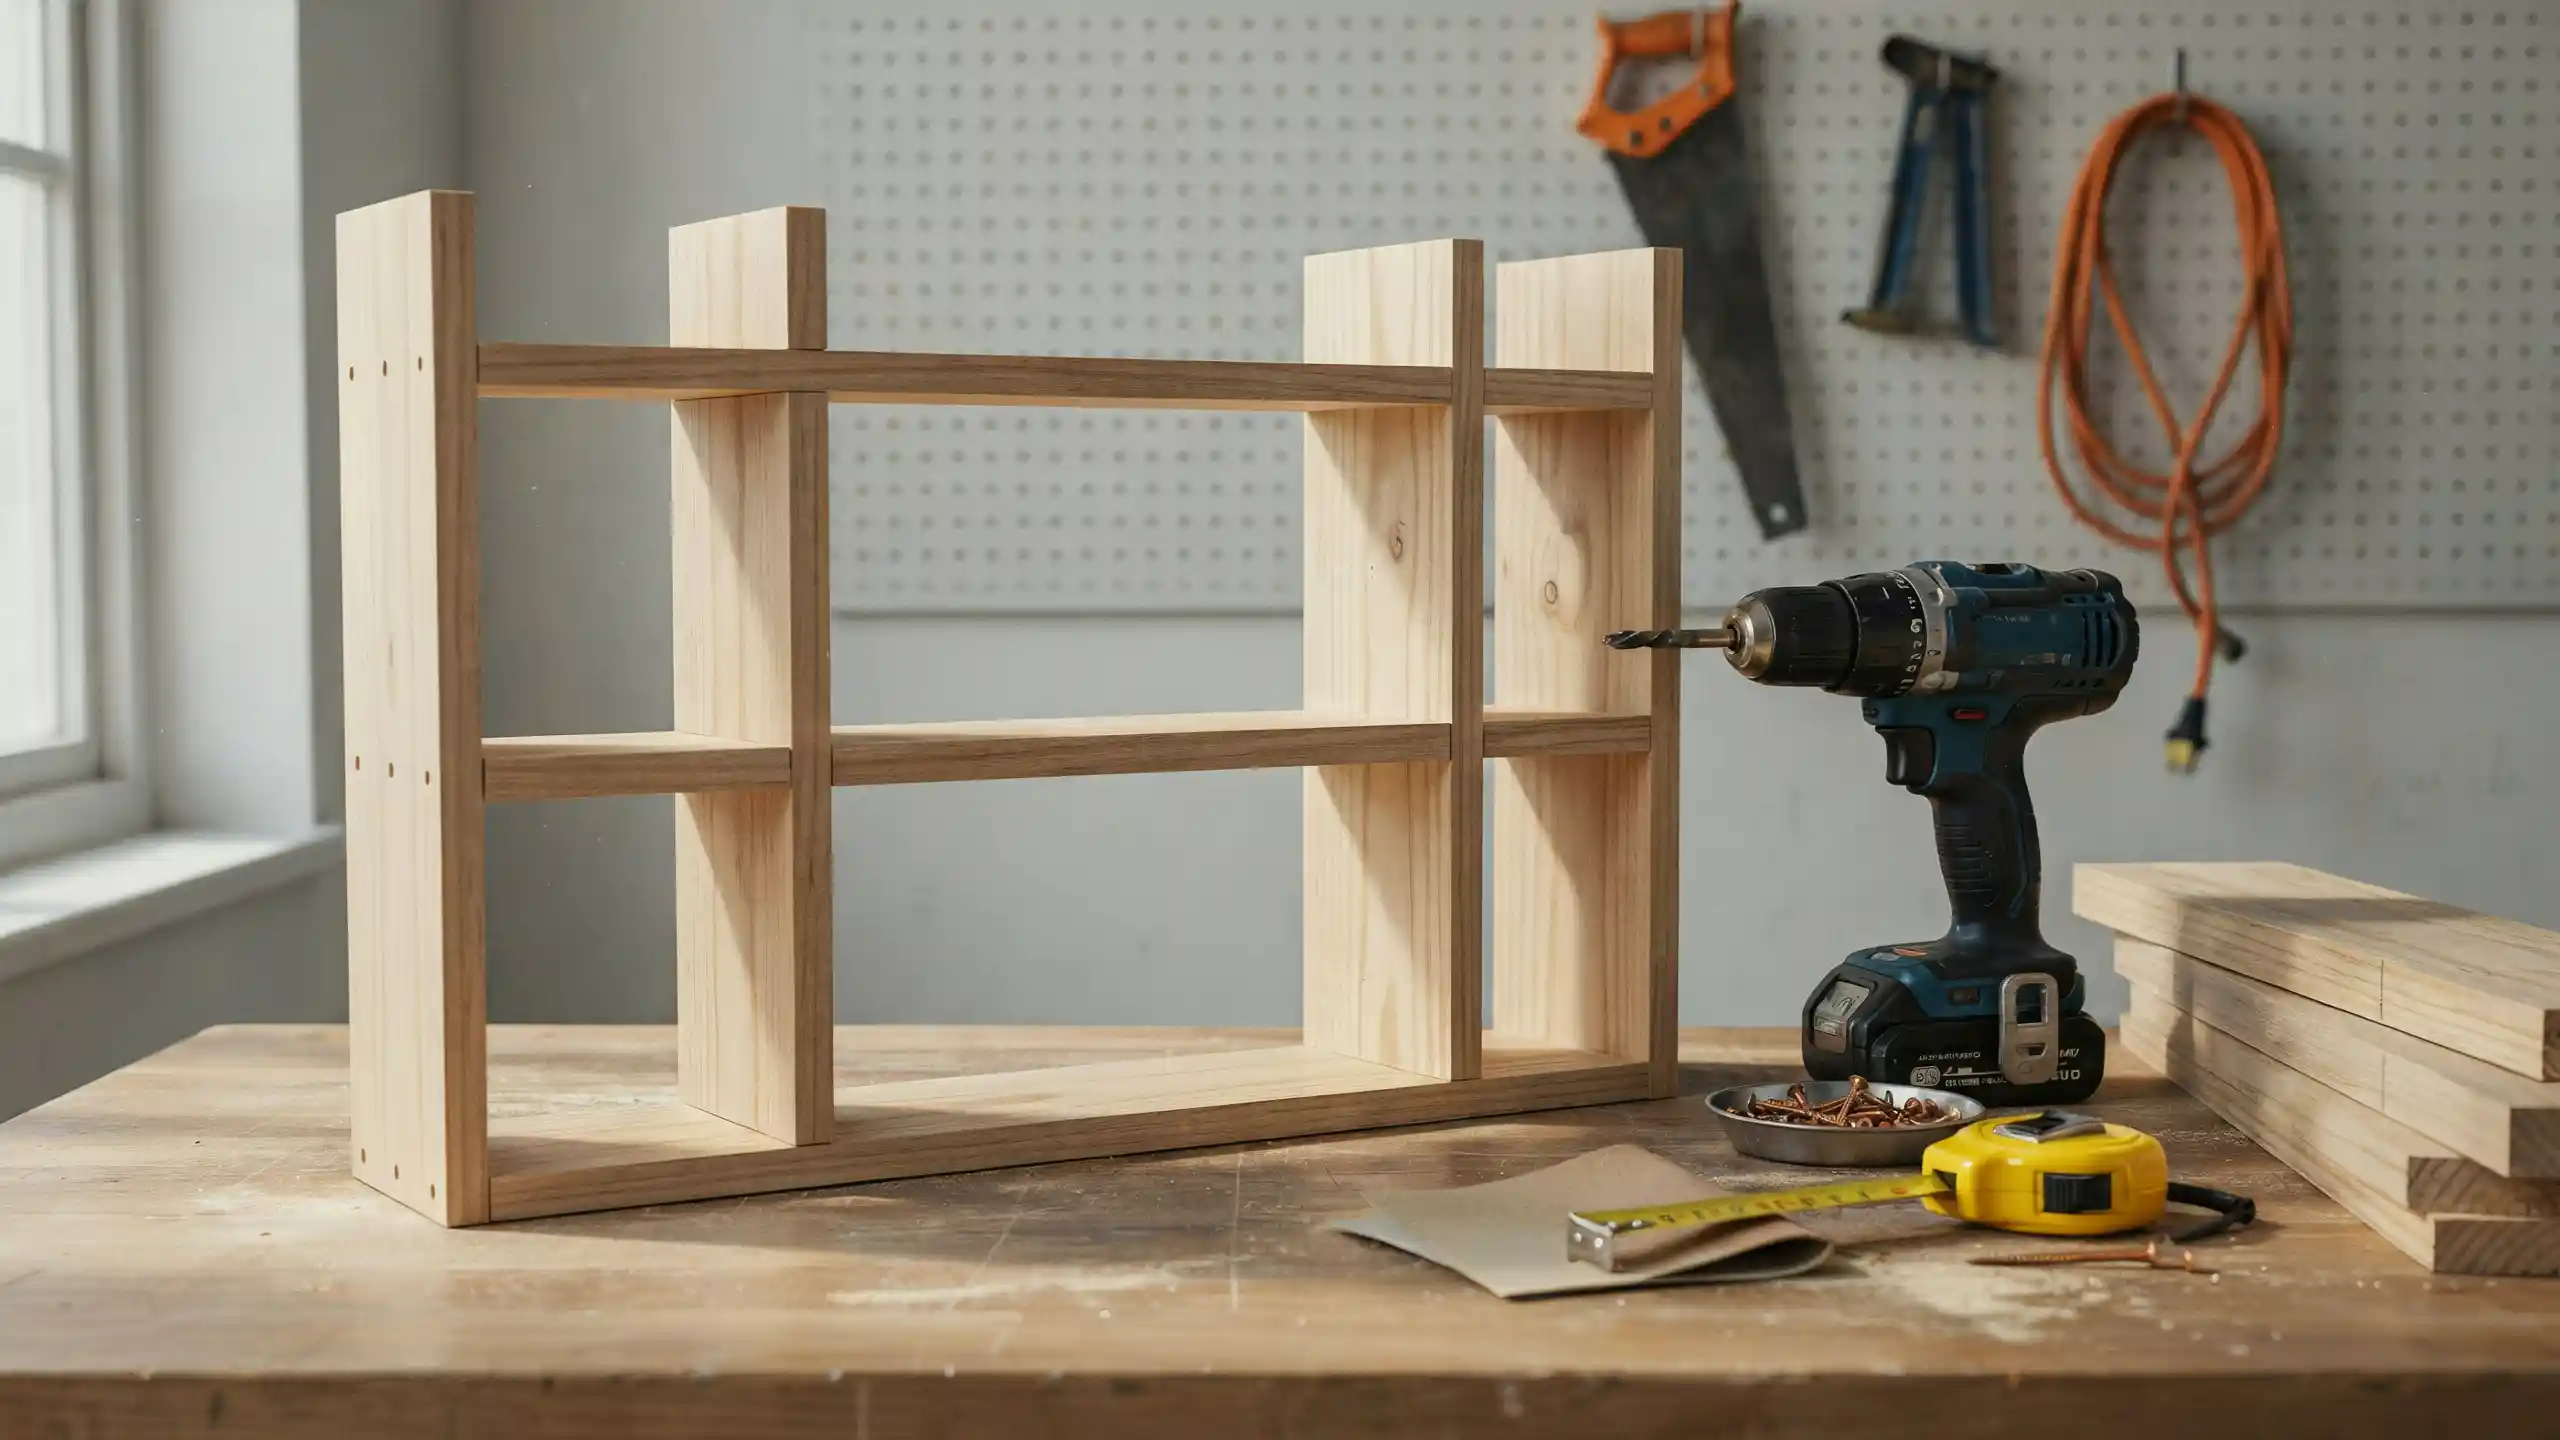
Building takes just a few boards, some screws, and one afternoon.
You cut the legs and slats, join them into a frame, then add shelves. Sand and seal it, and your rack is ready for shoes.
Step 1: Cut the Legs and Shelf Slats to Size
Measure and mark your boards with a pencil first. Cut four legs at 30 inches each.
These are the vertical supports. Then cut eight slats at 24 inches each for the shelves. Remember, a 1×3 board’s actual width is 2.5 inches.
Double-check every mark before you cut.
Cut slow and stay on the pencil line. A short cut cannot be undone. Cut one board long and test-fit before cutting the rest.
Step 2: Sand Every Piece Smooth
Sand all twelve pieces with 120-grit sandpaper. Focus on the cut ends, which splinter most.
Run your hand over each edge to check. Rough spots snag socks and catch dust. Wipe the sawdust off with a dry cloth when done.
Step 3: Build the Two Side Frames
Lay two legs flat and parallel, 24 inches apart. Attach a slat across the top with two screws per end.
Attach another slat across the bottom, 4 inches up. Repeat with the other two legs. You now have two matching side frames.
Keep the legs square before you drive screws. A crooked frame will rock later. Check corners with a book edge if you lack a square.
Step 4: Attach the Shelf Slats
Stand both side frames upright and facing each other. Screw the remaining slats between them to form shelves.
Space each shelf about 7 inches apart vertically. That gap fits most adult shoes. Use two screws at every joint.
Drill a small pilot hole first at each screw point. This stops the thin wood from splitting near the ends.
Step 5: Seal and Finish the Wood
Brush one thin coat of sealer over the whole rack. Let it dry for 2 to 4 hours.
Sand lightly with the 120-grit, then wipe clean. Add a second coat for better protection. Let it dry fully before loading shoes.
Step 6: Test the Rack for Wobble
Set the rack on a flat floor. Press down on each corner and shelf. A little rock means a leg sits unevenly.
Sand the long leg down slightly to fix it. Load your shoes only once they sit firmly.
How to Know You’ve Done It Right?
Push down hard on the top shelf. A solid rack stays put. If it shifts, tighten every screw and test again. A finished rack passes four quick checks:
- It stands flat with no rocking on a level floor.
- Every shelf holds a pair of shoes without sagging.
- The screws sit flush, with no sharp points showing.
- The edges feel smooth when you run a hand over them.
DIY Shoe Rack Ideas for Inspiration
Building your own shoe rack means you pick the size, style, and finish.
These are some simple ideas to spark your next weekend project. Each one suits a different space and skill level.
1. Wooden Slat Shoe Rack
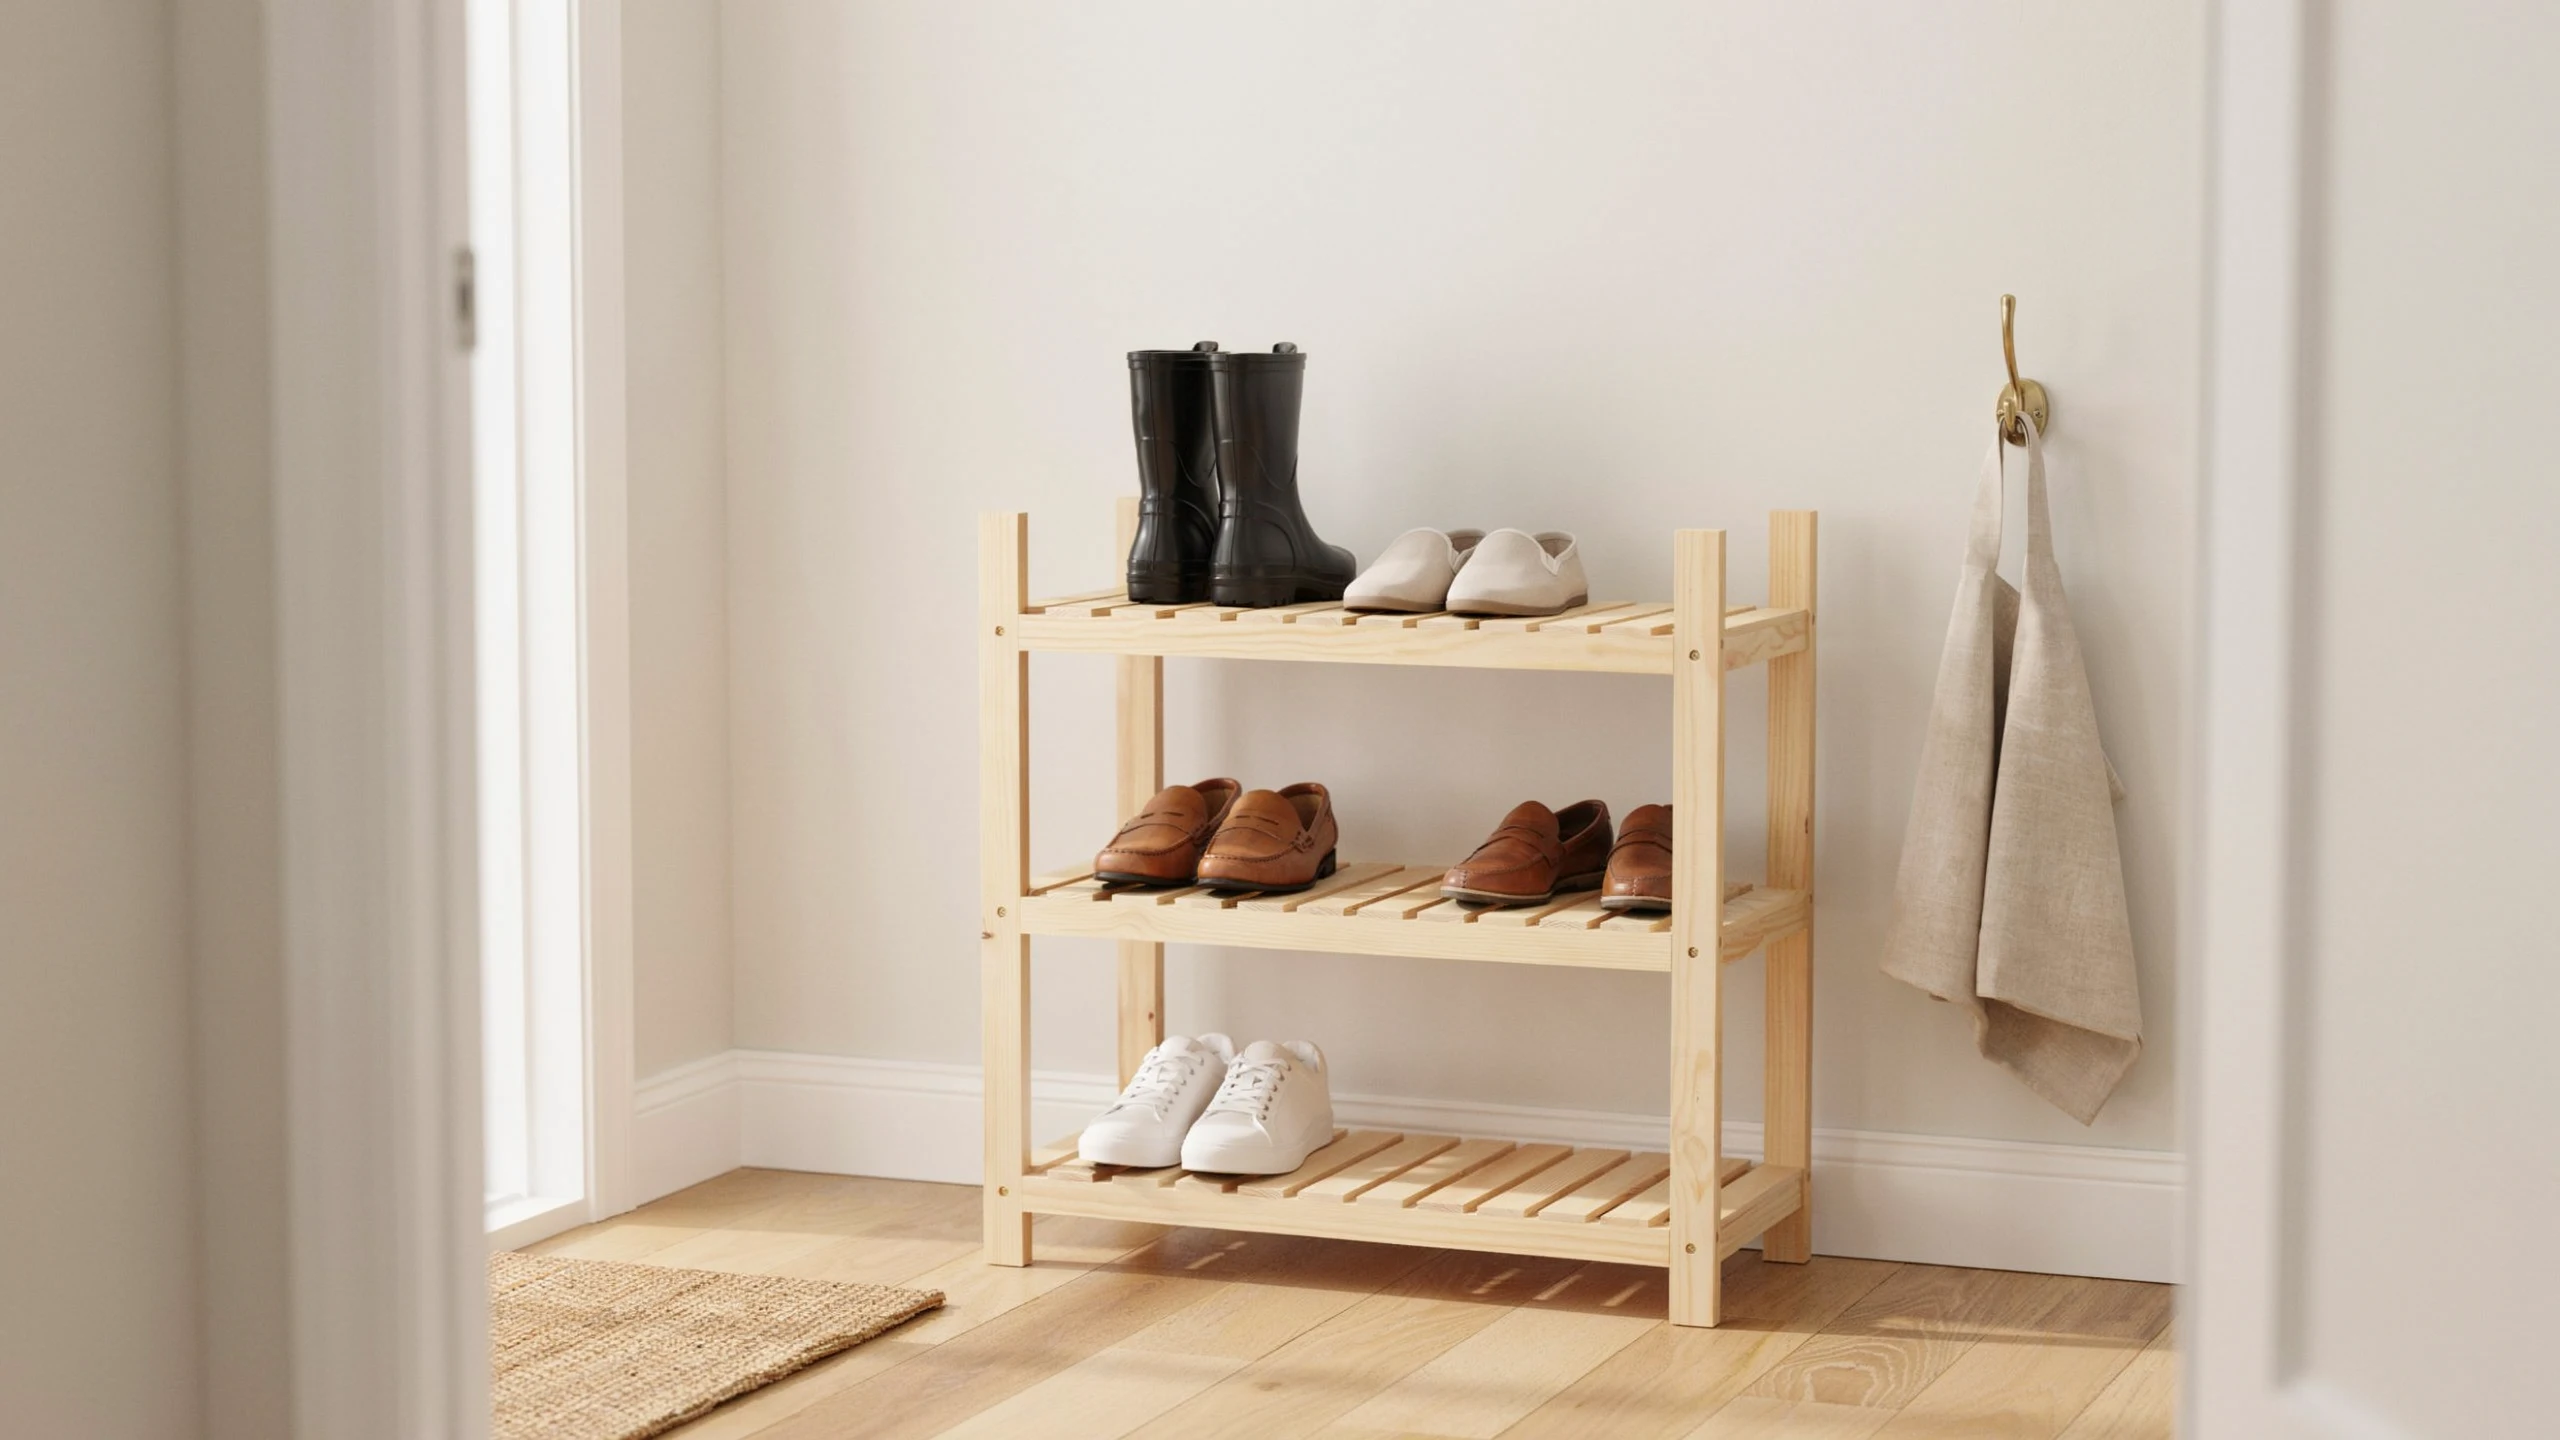
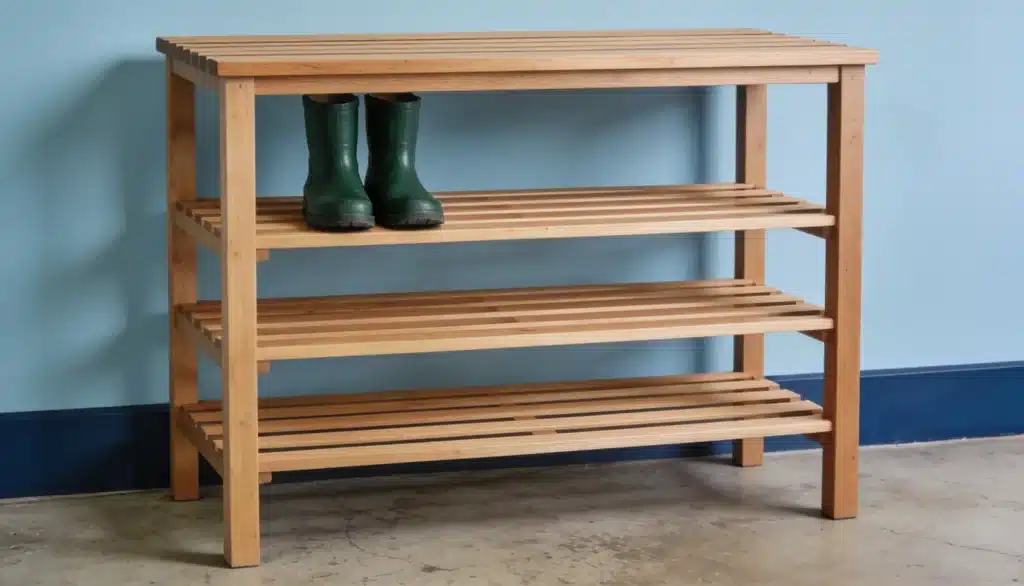
This is the classic build from this guide. Straight pine slats form open shelves on four legs. It fits eight to ten pairs and takes one afternoon.
The open design lets wet shoes breathe and dry. Paint or seal it to match your entryway.
2. Shoe Storage Bench
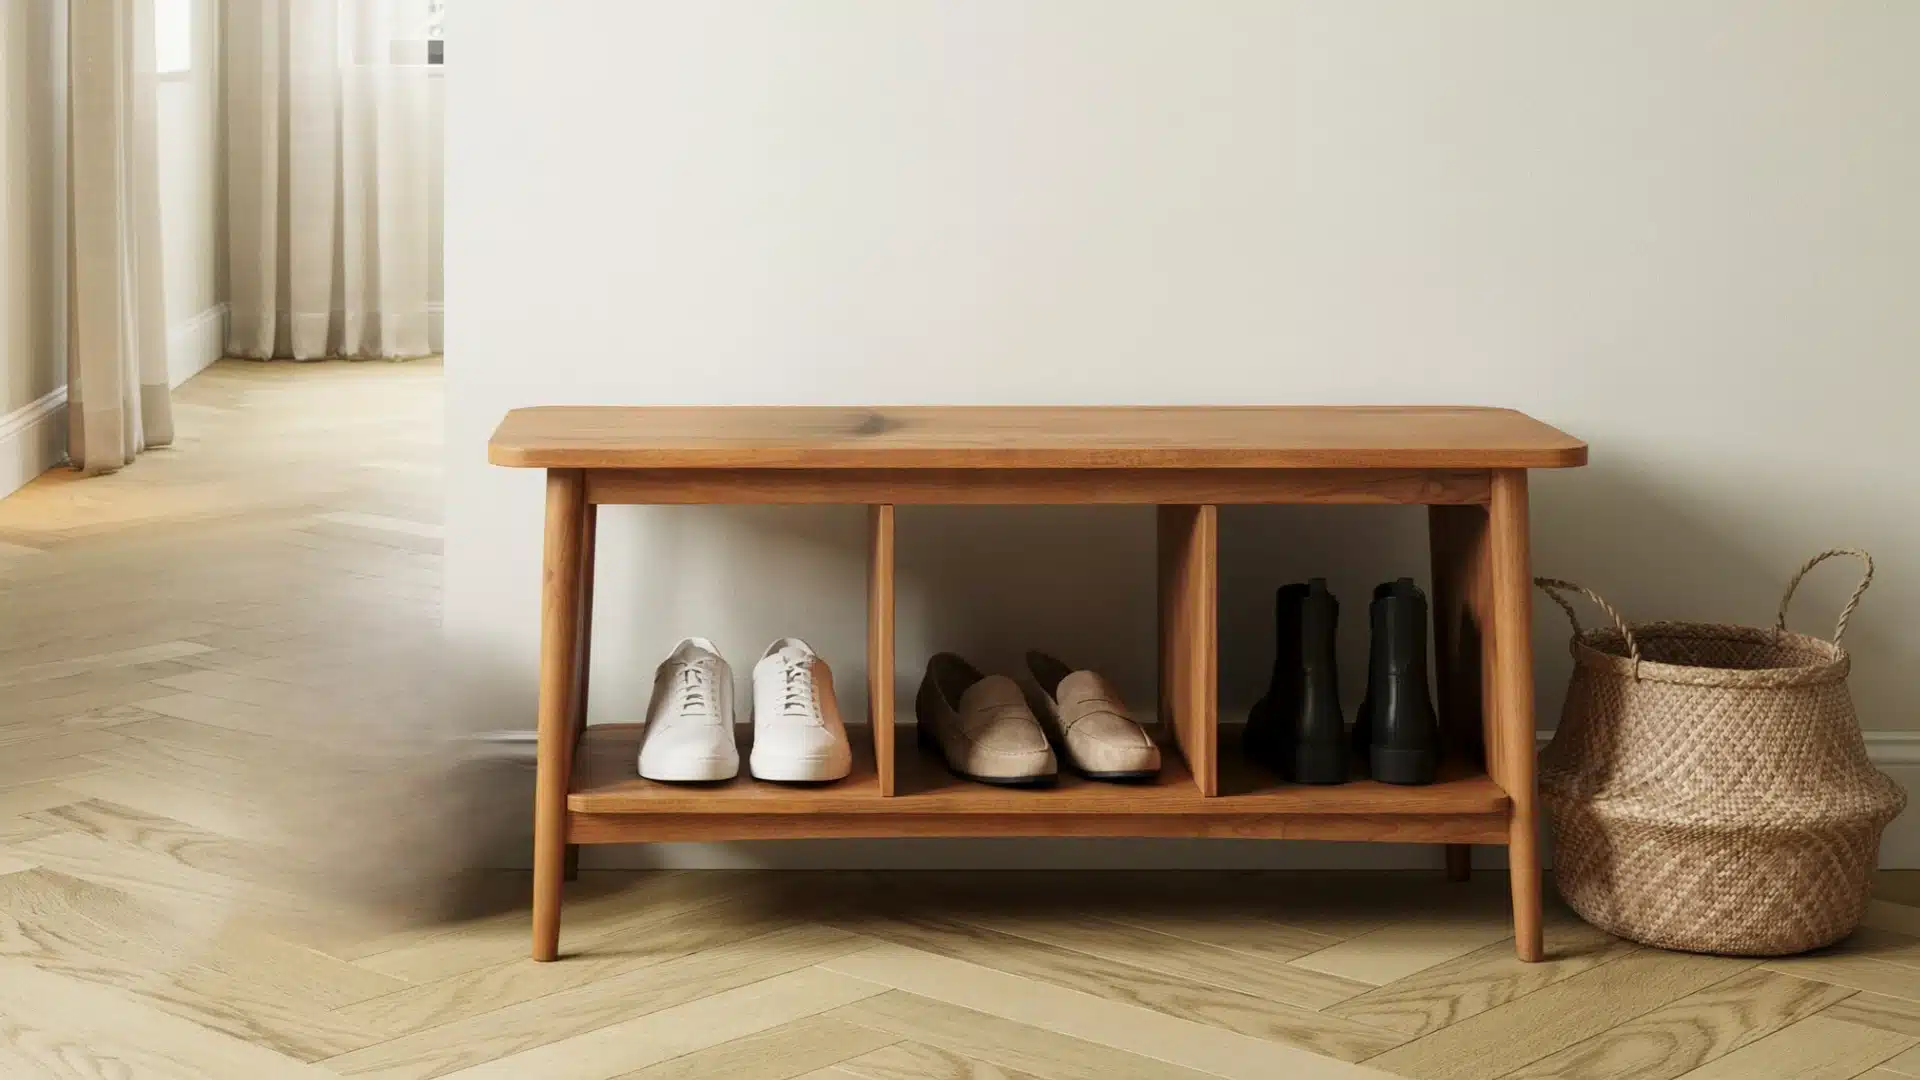
A bench does double duty near the door. You sit to tie your laces, and your shoes tuck below.
Build a simple box frame with a slatted lower shelf. Add a cushion on top for comfort. It works best in a wide hallway or a roomy mudroom.
3. Wooden Crate Shoe Rack
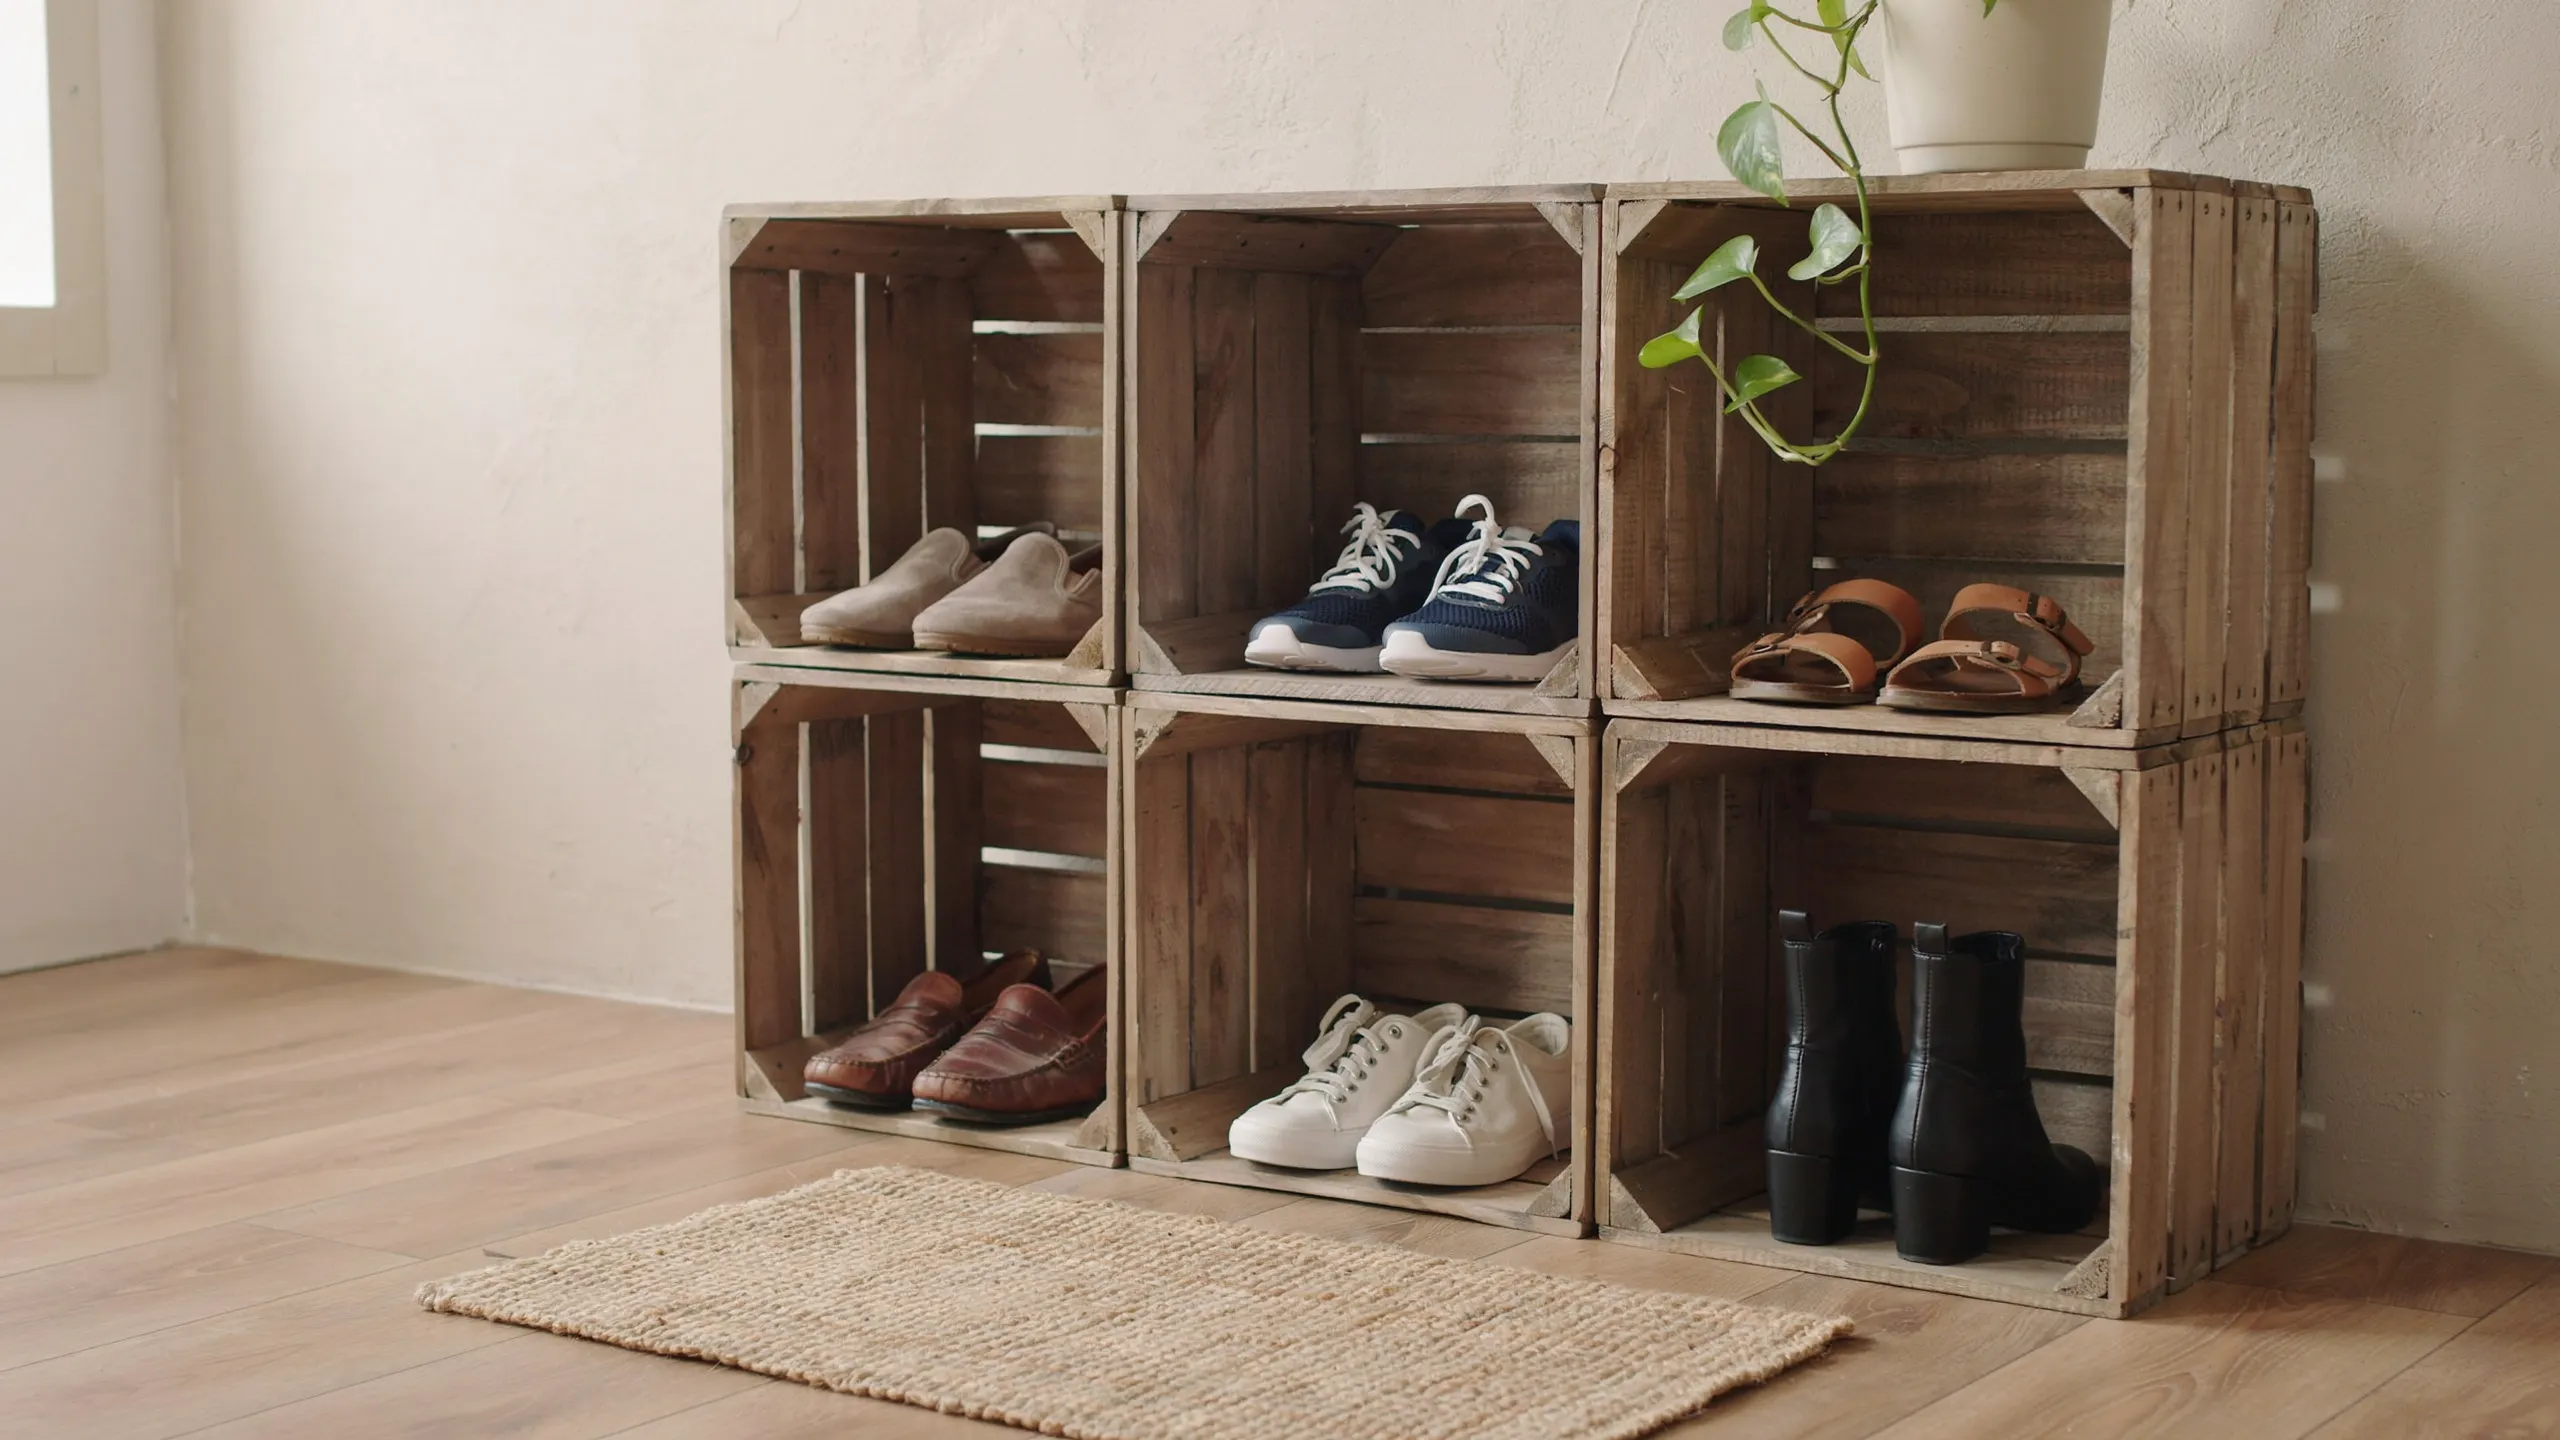
Stack a few wooden crates for the easiest build here. No cutting is needed if the crates come pre-made.
Screw them together so the stack stays put. Turn the open sides out to slide shoes in. It suits renters and anyone short on tools or time.
4. Wall-Mounted Shoe Rack
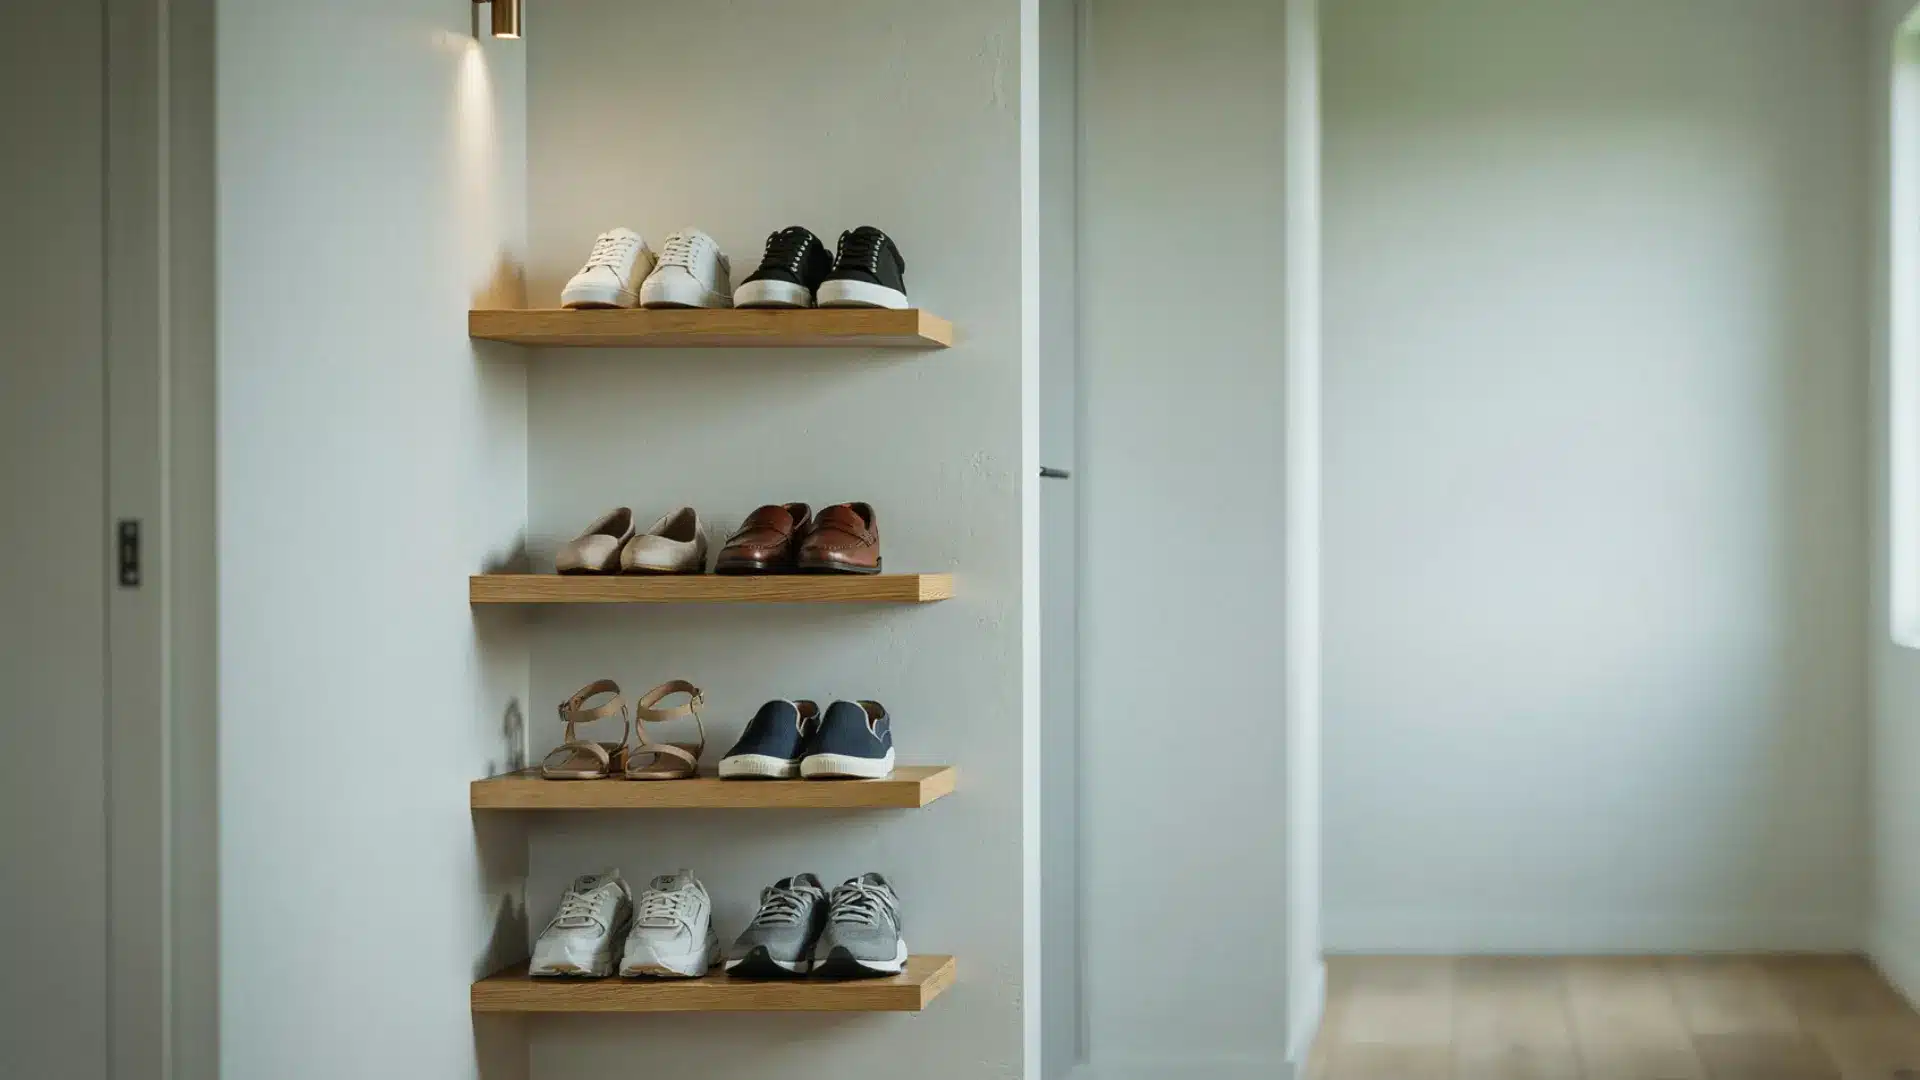
Mounting shoes on the wall frees up your floor. Two straight boards hold rods or angled slats for the shoes.
One builder pre-drills the holes and uses a level to ensure the boards are straight. Great for tight closets. Anchor into studs for weight.
When NOT to DIY a Shoe Rack?
For a heavy or very tall rack, buy a steel unit instead. It will outlast a thin wood frame under load. Skip the build in a few cases:
- You need it to hold weight today. Sealer needs a full day to cure.
- You have no safe spot to cut and sand. Sawdust and fumes need airflow.
- You want a tall unit over 4 feet. Thin 1×3 lumber bends and tips at that height.
Final Thoughts
A DIY shoe rack fixes your cluttered entryway for about the price of lunch.
You now know how to cut, assemble, sand, and seal one in an afternoon. A tidy doorway makes every rushed morning calmer. No more digging through a pile for the matching shoe.
A store-bought rack rarely matches your space or shoe count. Yours will, because you built it that way. Beginners finish this build with basic tools and a free store cut.
Ready to start? Grab your boards this weekend and clear that floor for good.
Frequently Asked Questions (FAQs)
1. What Wood is Best for a Diy Shoe Rack?
Pine is the top pick for beginners. It costs little and cuts easily. Skip MDF, which absorbs moisture and warps near damp entryways.
2. How Far Apart Should Shoe Rack Shelves be?
Space shelves about 7 inches apart for most shoes. That matches a popular DIY plan. Leave one shelf 12 to 16 inches high for boots.
3. Can I Build a Shoe Rack without Power Tools?
Yes. Most stores cut boards for free. Then you only need a screwdriver and patience. Sanding and sealing take no power tools at all.
4. How Many Shoes Will This Rack Hold?
This four-leg design holds about eight to ten pairs. Each 24-inch shelf fits two to three adult pairs. Keep the rack under 4 feet tall.