Layering everyday organic materials can turn an ordinary patch of lawn into a productive garden bed without traditional digging.
Lasagna gardening uses cardboard, leaves, compost, grass clippings and other materials to build fertile soil gradually from the ground upward.
The method can suppress weeds, reuse garden waste and reduce some of the physical work involved in preparing new growing areas.
However, success depends on proper layering, moisture, timing and plant selection. Keep reading to learn how lasagna gardening works and how to build a productive bed step by step.
What is Lasagna Gardening?
Lasagna gardening is a no-dig method that builds a garden bed by layering organic materials directly on top of existing soil or grass.
The name comes from stacking materials in layers, similar to assembling a lasagna, rather than from anything food-related.
It is also called sheet composting or sheet mulching because broad layers of cardboard, leaves, compost, grass clippings and other organic matter cover the ground.
Over time, these layers break down and create nutrient-rich soil for growing plants.
How to Build the Layers in a Lasagna Garden

Building the bed in the correct sequence helps suppress weeds, balance organic materials, retain moisture, and support steady decomposition. Creating a productive garden bed often starts with improving the soil and choosing methods that support healthier growing conditions over time.
Step 1: Remove Persistent Weeds
Start by removing persistent weeds that may push through the organic layers and compete with future plants.
Pull or cut back aggressive perennial weeds, especially those spreading through deep roots, runners or underground stems.
Ordinary grass and smaller annual weeds can usually remain because the cardboard layer will block their access to sunlight.
Clear away mature seed heads as well, since leaving them behind may introduce new weeds as the bed settles and begins decomposing.
Step 2: Layer Cardboard or Newspaper
Cover the prepared ground completely with overlapping sheets of plain cardboard or several layers of newspaper.
Extend each sheet over neighboring pieces so grass and remaining weeds have fewer openings to grow through.
Remove tape, staples, glossy coatings, labels and other non-compostable materials before placing cardboard on the ground.
Lightly wet the sheets after positioning them so they stay in place, soften gradually, and begin breaking down beneath the organic materials you add in the next steps.
Step 3: Add Nitrogen and Carbon Materials
Build the main bed by alternating nitrogen-rich green materials with carbon-rich brown materials across the damp cardboard.
Greens can include grass clippings, vegetable scraps, coffee grounds, aged manure and fresh garden trimmings.
Browns may include dry leaves, straw, shredded paper, small wood chips, and untreated cardboard. Keep brown materials more plentiful overall, while spreading green materials in thinner layers.
Continue alternating both types until the bed reaches a generous depth that allows natural settling as it decomposes.
Using natural materials and sustainable practices can help reduce waste while creating healthier outdoor spaces
Step 4: Water Each Layer as You Go
Add water gradually as you build the bed, rather than waiting until you’ve added every organic layer.
Each layer should feel evenly damp, similar to a wrung-out sponge, without becoming saturated or producing standing water.
Moisture creates the conditions microorganisms and other decomposers need to work through the carbon and nitrogen materials.
Pay particular attention to dry leaves, straw, and cardboard because they can resist moisture at first and may require slower watering to become evenly damp throughout.
Step 5: Cover the Finished Bed
Finish the lasagna garden with a protective surface layer that keeps exposed green materials covered while giving the bed a tidy appearance.
Suitable options include straw, shredded leaves, finished compost or another loose, carbon-rich material that lets moisture reach the layers underneath.
This covering can help reduce moisture loss and keep lightweight materials from blowing around the yard. Organic materials used around outdoor areas can also support attractive and functional garden spaces throughout the year
Leave the completed bed to settle and decompose, adding more surface material later if the original covering becomes noticeably thin.
What to Plant and What to Avoid

Plant selection matters because fresh lasagna beds are loose, nutrient-rich, and continually settle as their organic layers gradually break down.
What to Plant
- Tomato
- Squash
- Cucumbers
- Peppers
- Leafy greens
- Broccoli
- Cabbage
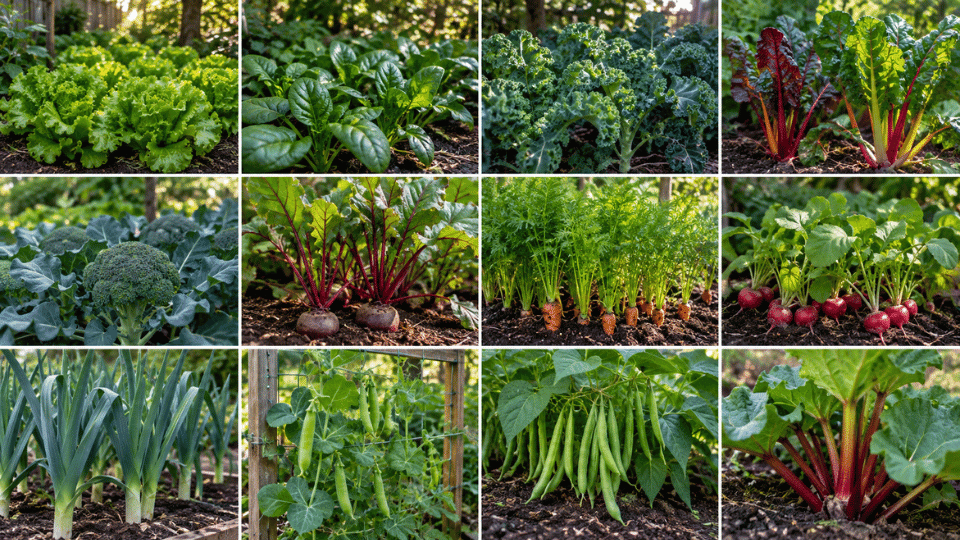
These vegetables generally suit mature lasagna beds, particularly crops that benefit from fertile soil containing plenty of decomposed organic matter.
What to Avoid
- Carrots
- Parsnips
- Long radishes
- Potatoes
- Trees
- Shrubs
- Long-lived perennials
Deep root crops can struggle with uneven, partially decomposed layers, while permanent plants are less suitable as newer beds settle.
Pros and Cons of Lasagna Gardening
Lasagna gardening can improve soil and reduce garden work, but decomposition time, material needs, and available space matter before you start.
|
Pros |
Cons |
|---|---|
|
Suppresses many existing weeds |
Takes time to decompose |
|
Improves soil structure |
Layers may break down unevenly |
|
Requires little or no digging |
Early plant growth may be slower |
|
Reuses organic garden waste |
Requires plenty of materials |
|
Reduces soil preparation work |
Takes up more vertical space |
When to Start a Lasagna Garden
Fall is often the most convenient time to start because fallen leaves are plentiful and the layers can decompose naturally through winter.
By spring, much of the material may have settled into a softer growing medium ready for planting. Seasonal preparation is an important part of maintaining outdoor spaces and keeping garden projects on track.
Spring and summer starts can also work, but fresh beds may need extra preparation before immediate planting.
Gardeners planting sooner should add finished compost or garden soil around seeds and transplants, giving roots a stable growing area while deeper layers continue breaking down.
Conclusion
Lasagna gardening offers a practical way to build fertile growing space without digging or removing existing grass first.
Layering cardboard, brown materials, and green materials lets organic matter decompose gradually while building healthier soil over time.
Starting in fall provides more time for decomposition, although spring and summer beds can also succeed with proper preparation.
Choosing suitable crops and maintaining consistent moisture can make the method easier to manage throughout the growing season.
Have experience with lasagna gardening? Share favorite materials, crops, or helpful tips in the comments below.
Frequently Asked Questions
How Deep Should a Lasagna Garden be?
A finished lasagna garden can start relatively deep because organic layers naturally shrink and settle as they decompose.
Does a Lasagna Garden Need a Raised Bed Frame?
No, you can build layers directly on open ground, although edging can help keep loose materials contained.
Can Lasagna Gardening Attract Pests?
Improper food scraps may attract pests, so avoid meat, dairy, oily foods and keep suitable scraps completely covered.