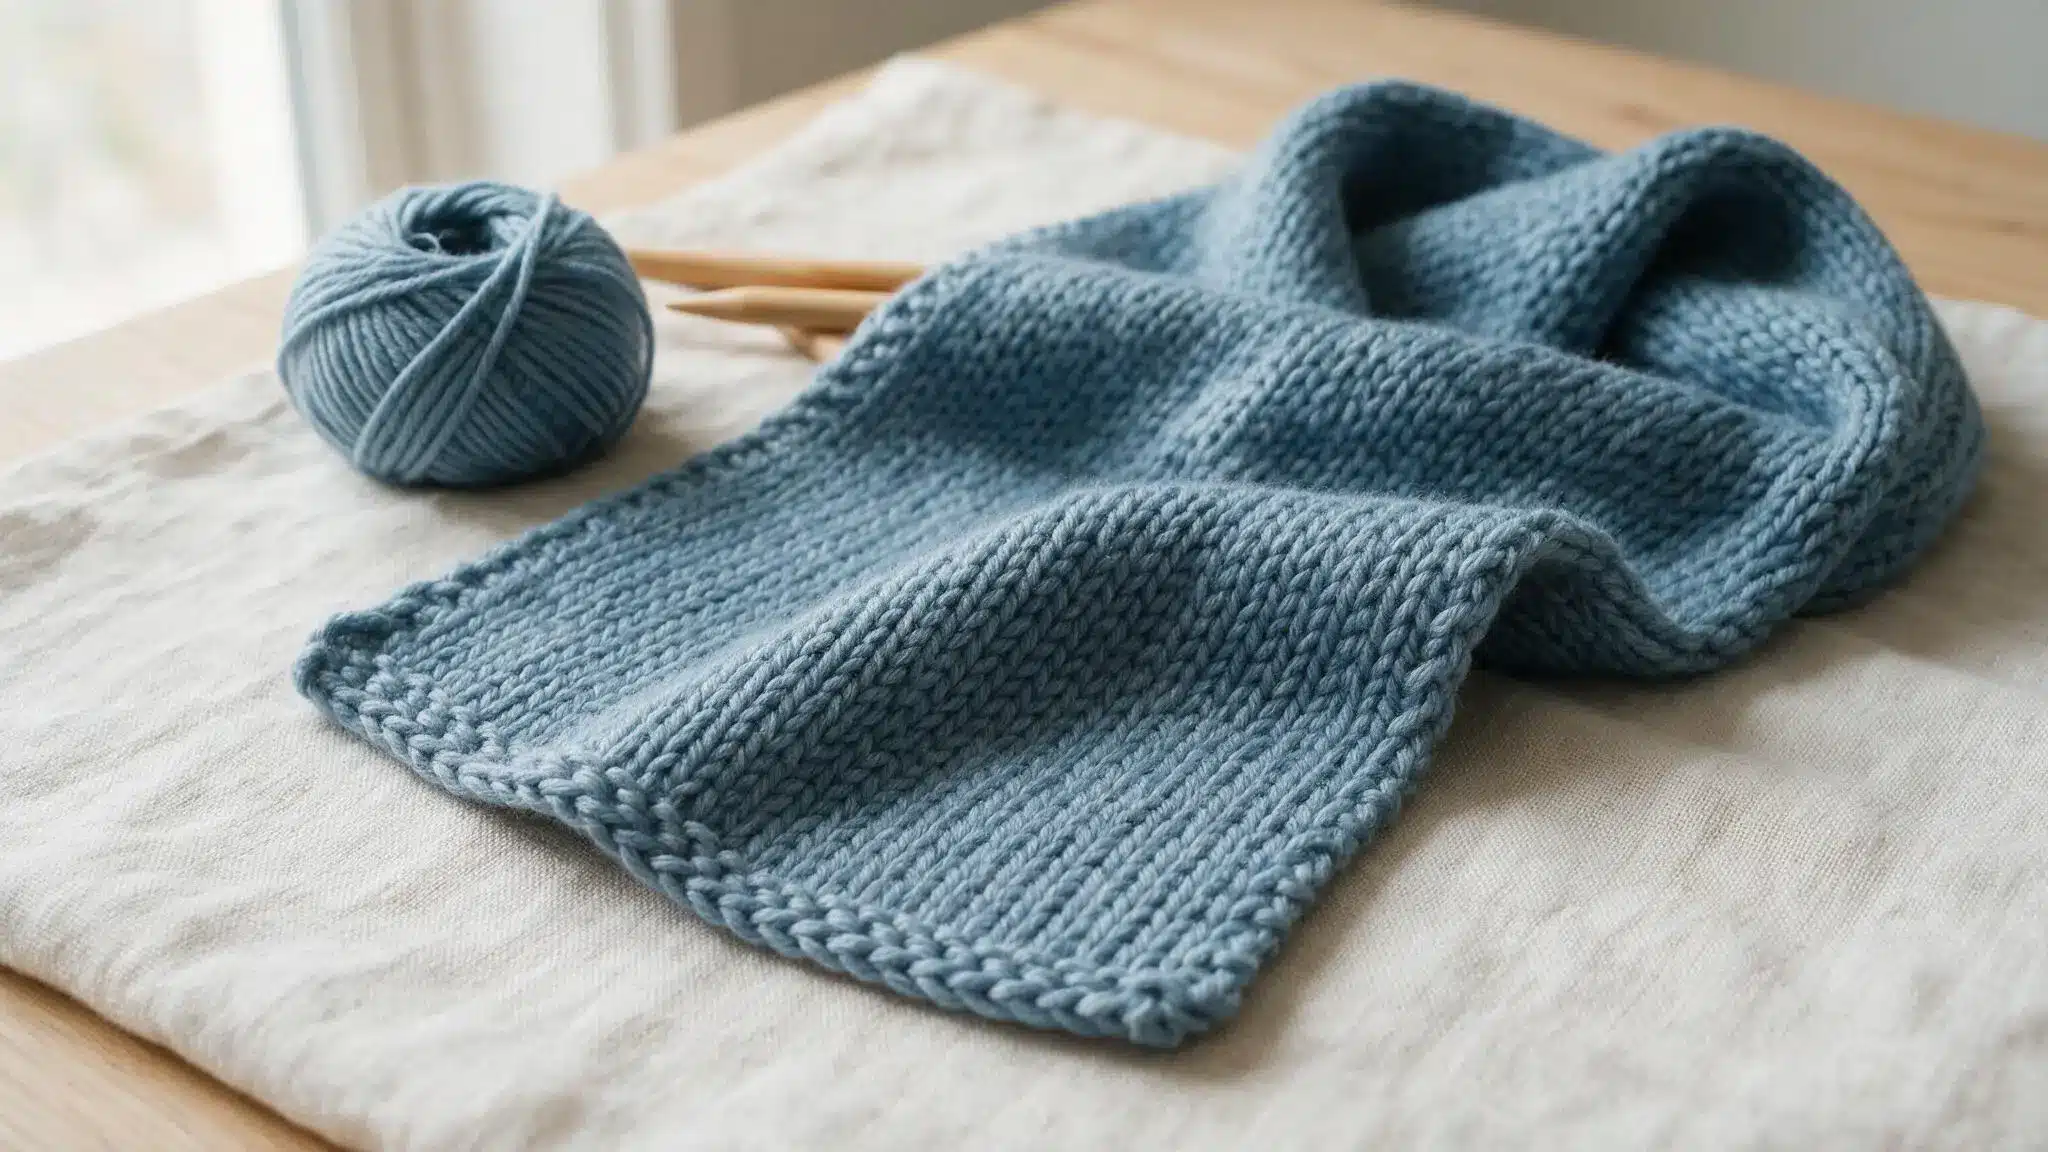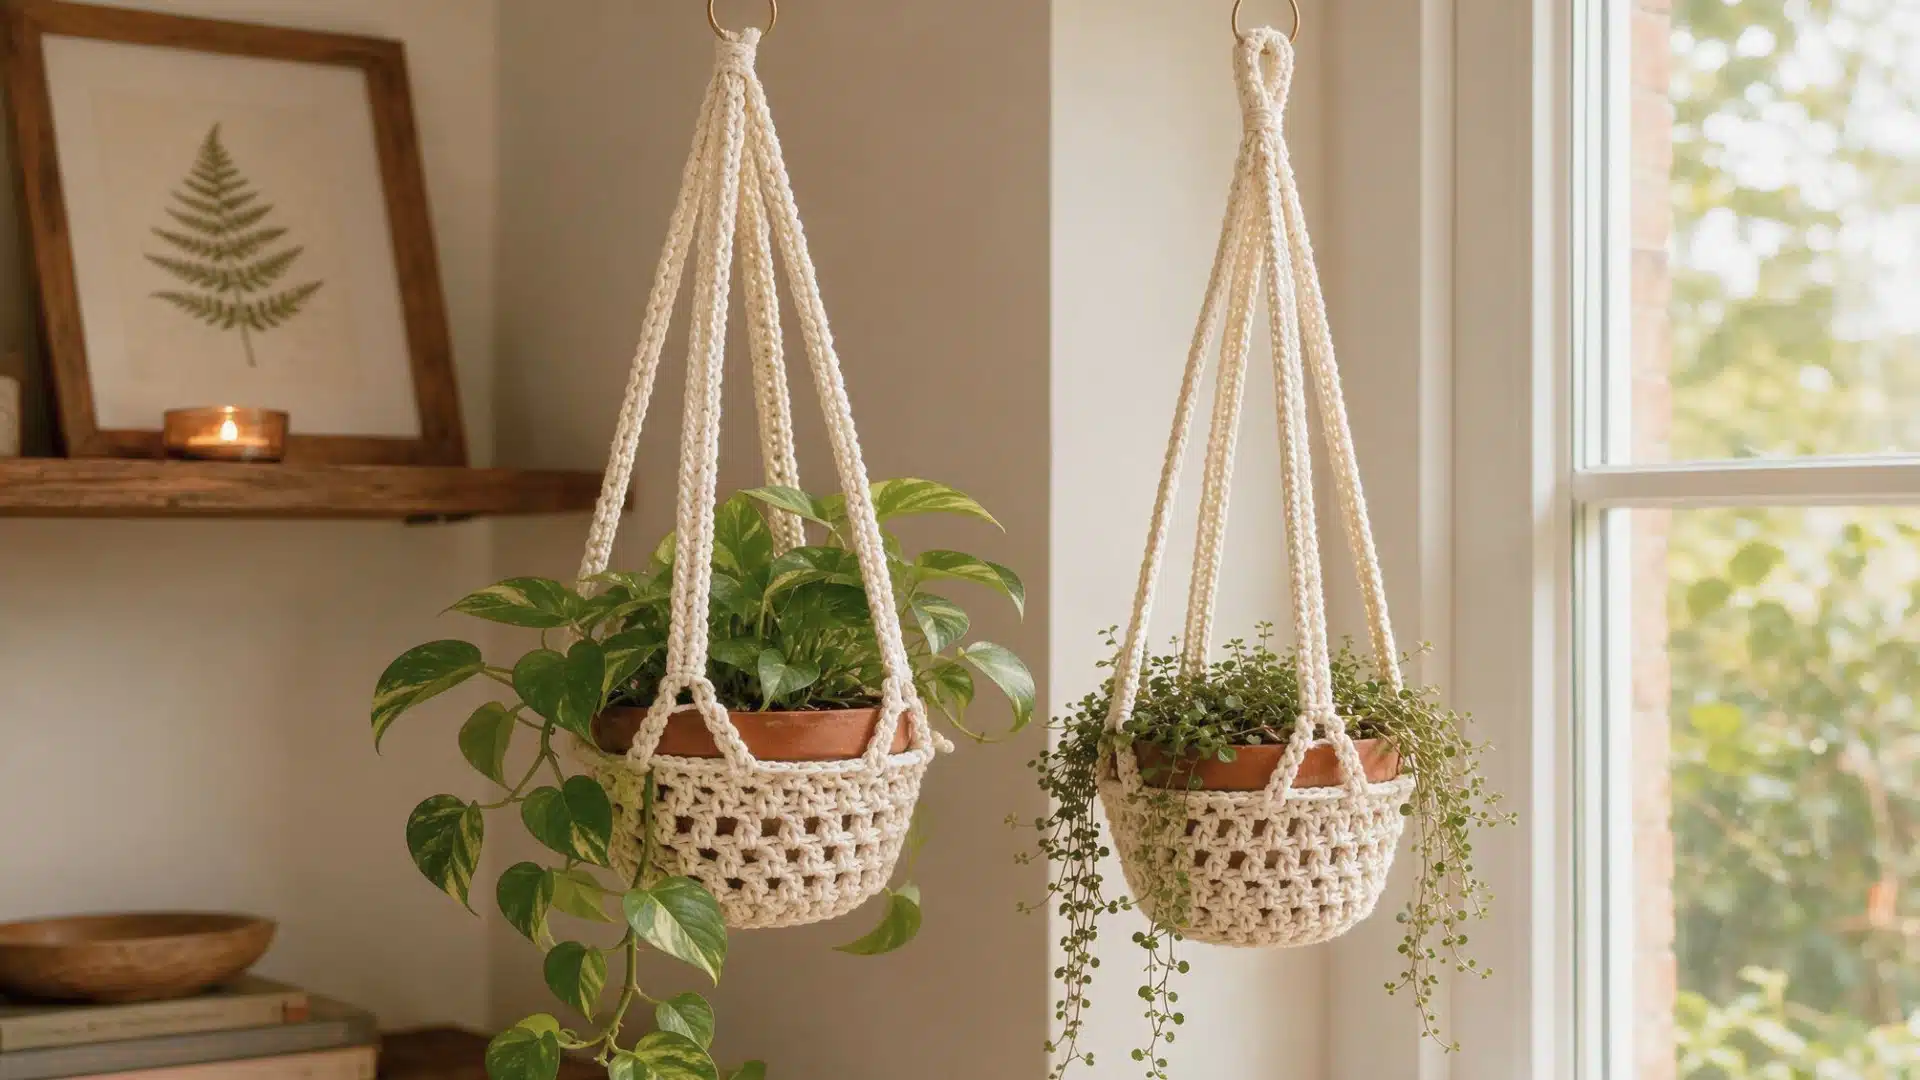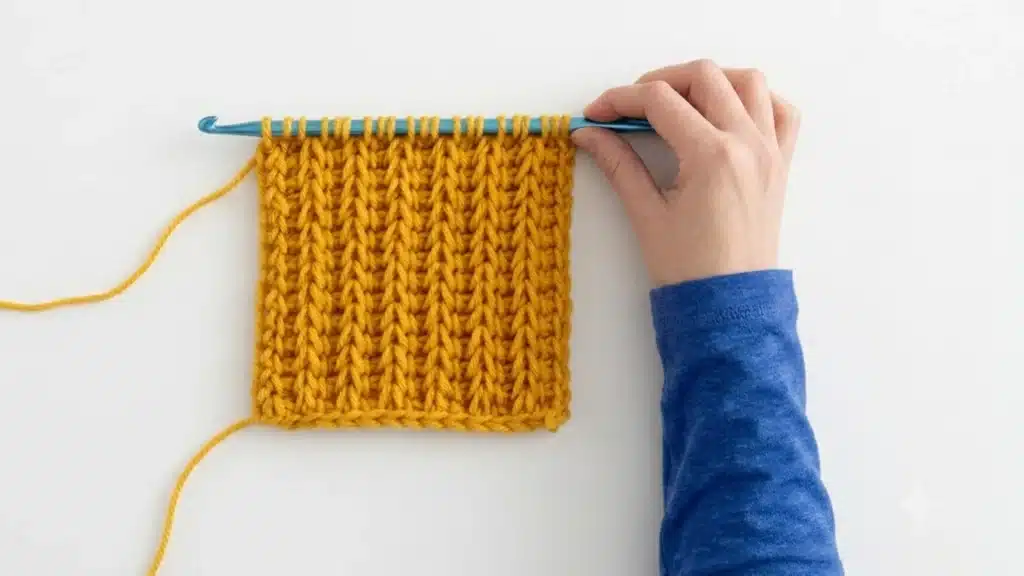
There is something satisfying about a stitch that looks woven rather than crocheted, and that is usually the first thing people notice about Tunisian crochet.
You see it in cozy blankets, structured bags, and sweaters with a knit-like finish.
For a long time, this technique was seen as a niche skill, something only experienced crocheters bothered to learn.
More beginners are picking this up early on, drawn in by how different the finished fabric looks and by how much control it gives over texture and thickness.
What is Tunisian Crochet?
Tunisian crochet combines elements of knitting and crochet, using a long hook (often with a stopper on one end) to hold multiple loops at once, similar to a knitting needle.
Stitches are worked in two passes: a forward pass that picks up loops, and a return pass that works them off. This creates a dense, woven-like fabric.
Its origin is debated, but it likely developed in North Africa or the Middle East before spreading to Europe in the 19th century.
It became especially popular in Victorian England, where it was sometimes called “Tunisian,” “hook knitting,” or “Afghan stitch,” since it was often used for Afghan blankets.
It is a strong choice for projects where you want the finished piece to hold its shape, whether that is a bag, a garment, or a home decor item that needs to keep its structure over time.
Essential Supplies for Beginners
You don’t need a long list of items to begin crocheting.
Almost all of the items you will be using are already used in regular crochet, except for a single important item without which it is impossible to perform the craft – a special hook capable of holding several loops at once.
Your choice of yarn also plays an important role in the entire process.
Tunisian Crochet Hooks
A Tunisian crochet hook has a long, straight shaft with no thumb rest, since it needs to hold every loop from a row at once.
Some come with a cord attached, similar to a knitting needle, letting them hold more stitches for wider projects like blankets.
You can also find interchangeable sets that swap hook tips onto a shared cable. A 5.0mm to 6.0mm size works well for most beginners starting out.
Best Yarn
Smooth, medium-weight yarn is usually the easiest choice when you are just starting out.
A worsted-weight yarn in a light, solid color lets you see each stitch clearly, making it much easier to spot mistakes early on.
Avoid dark colors, fuzzy textures, or highly variegated yarns at first, since they tend to hide stitch definition and make the learning process more frustrating than it needs to be.
Understanding the Two Passes
Every row in this technique is built from two separate passes, and getting familiar with what each one does before you start will make the actual steps much easier to follow.
Once you understand the role each pass plays, the rest of the process starts to feel less like memorized instructions and more like a rhythm you can repeat without thinking too hard about it.
Forward Pass
The forward pass is where you build up loops on your hook, working across the row from right to left.
Rather than closing each stitch as you go, you simply gather loops one after another until the entire row is sitting on the hook at once.
This is what gives the fabric its width and sets up the stitches that get closed off on the way back.
Return Pass
The return pass is where those gathered loops finally get closed off, working back across the row from left to right.
You close them two at a time, aside from the very first one, until a single loop remains on the hook.
This pass is what locks the row into place and prepares you to begin the next one.
How to Tunisian Crochet Step by Step?
Once you have the basics, the process is simply a series of tasks you repeat throughout your work. It will be easier for you to remember the pace if you take it slow at first.
Step 1: Make the Foundation Chain
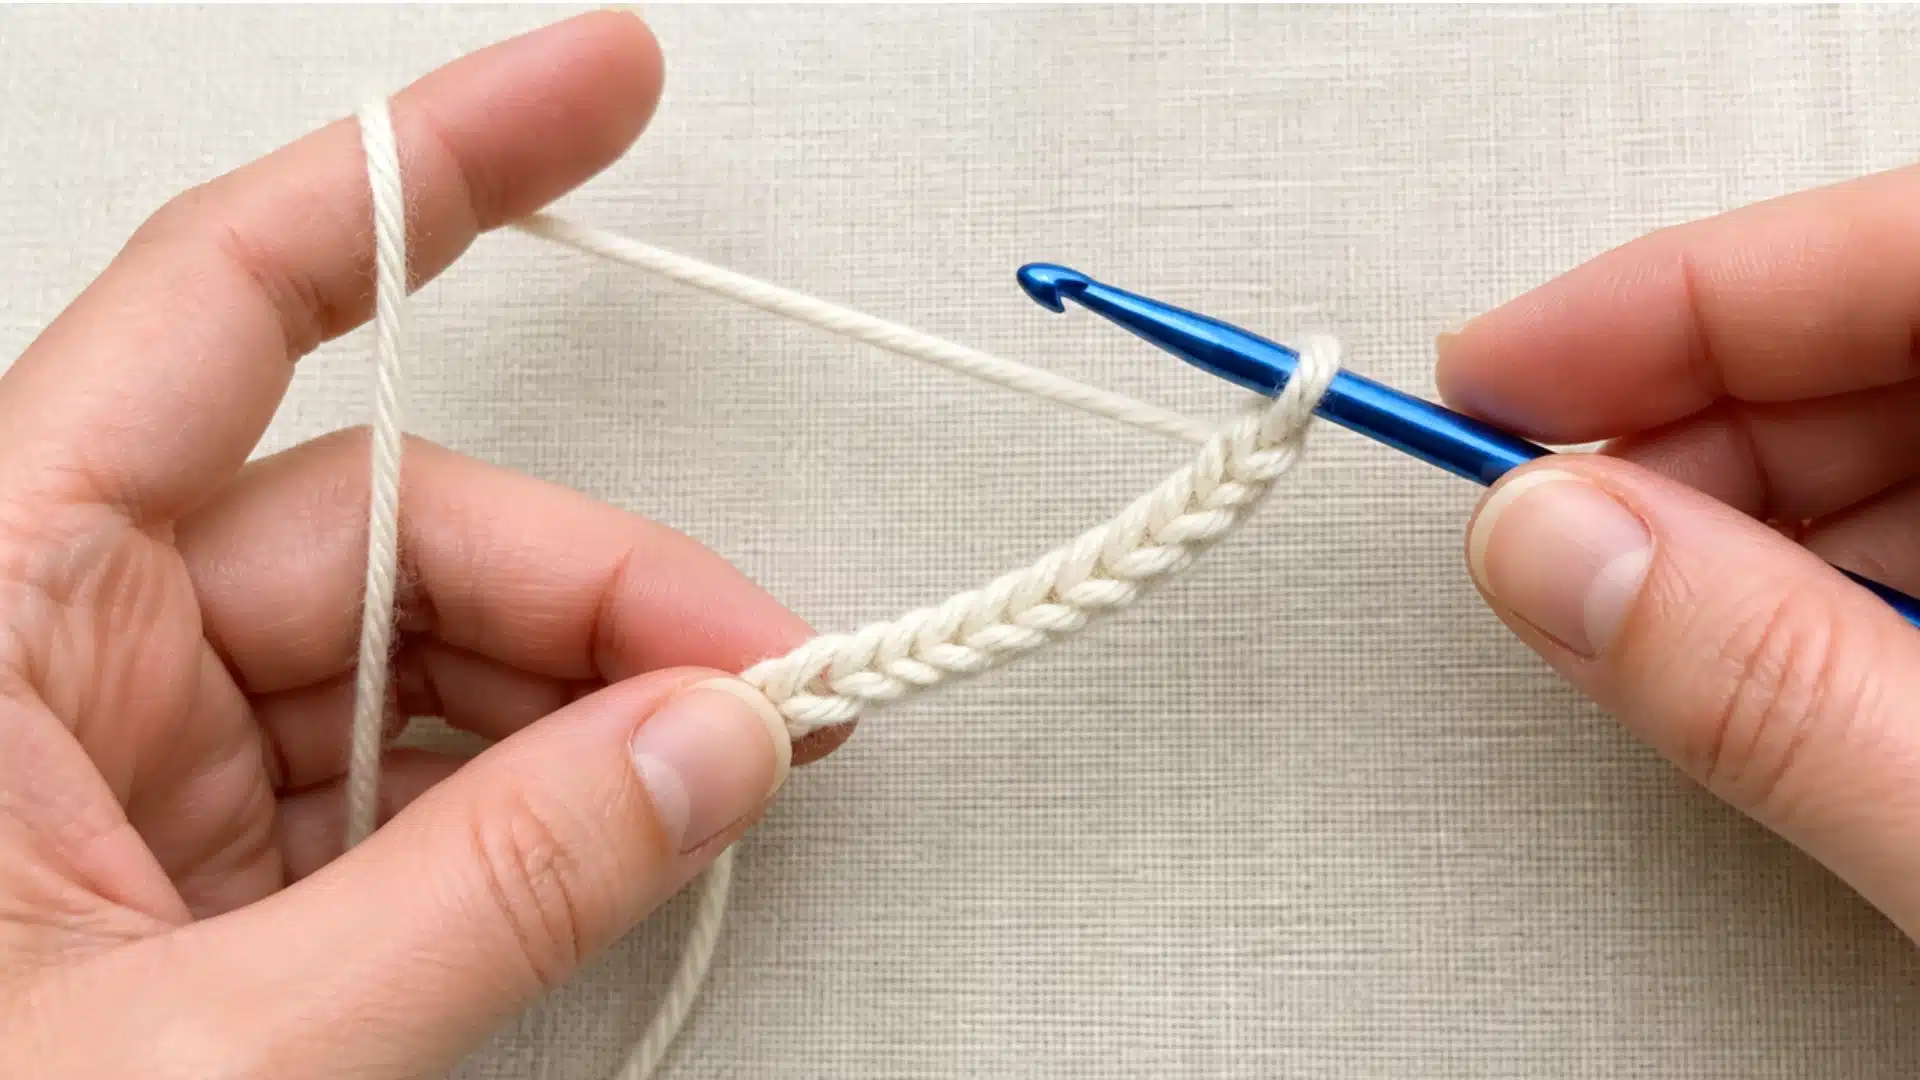
Chain the number of stitches your pattern calls for, just as you would with regular crochet.
Keep your tension even and avoid pulling too tight, since a snug chain can make the first row harder to work into.
Step 2: Work the Foundation Forward Pass
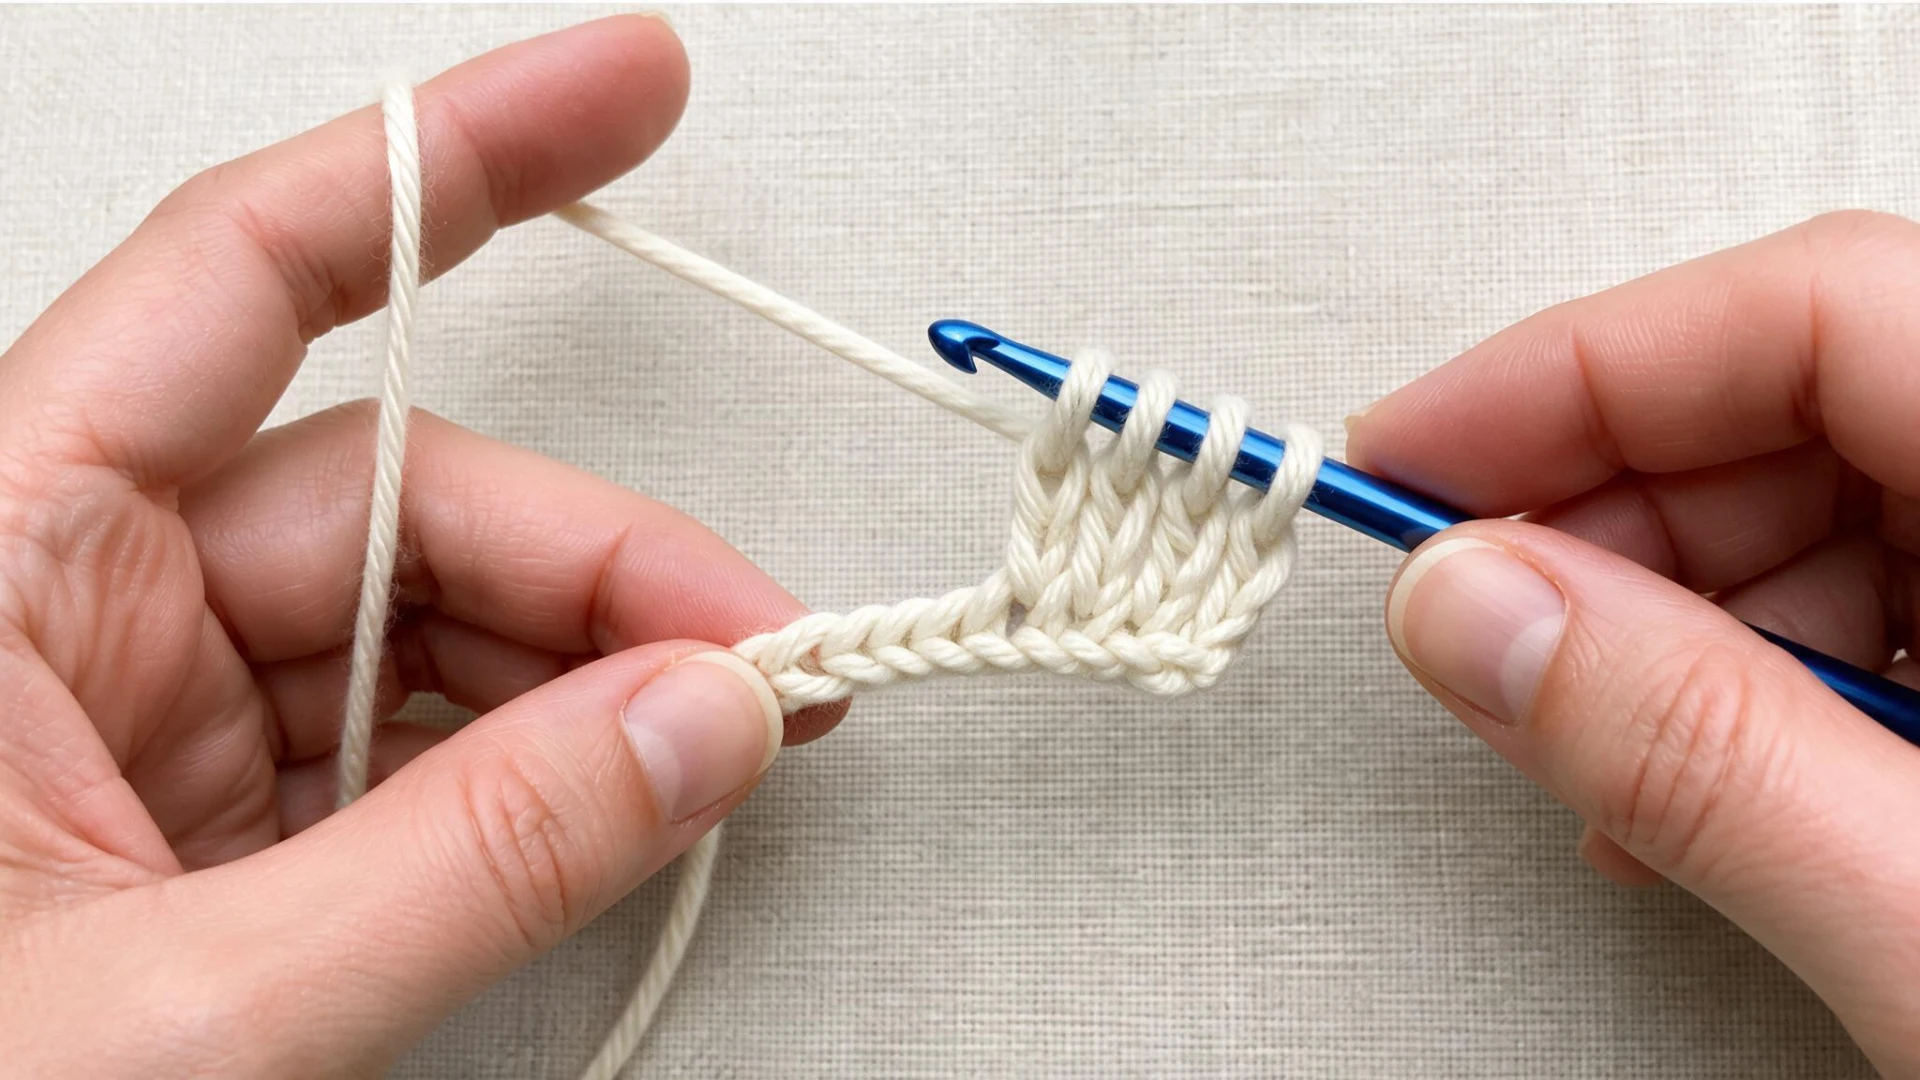
Insert your hook into the second chain from the hook, yarn over, and pull up a loop, leaving it on the hook instead of closing it off.
Move to the next chain and repeat, picking up one loop from each stitch across the row, until you have a loop on the hook for every chain made.
Step 3: Work the Foundation Return Pass
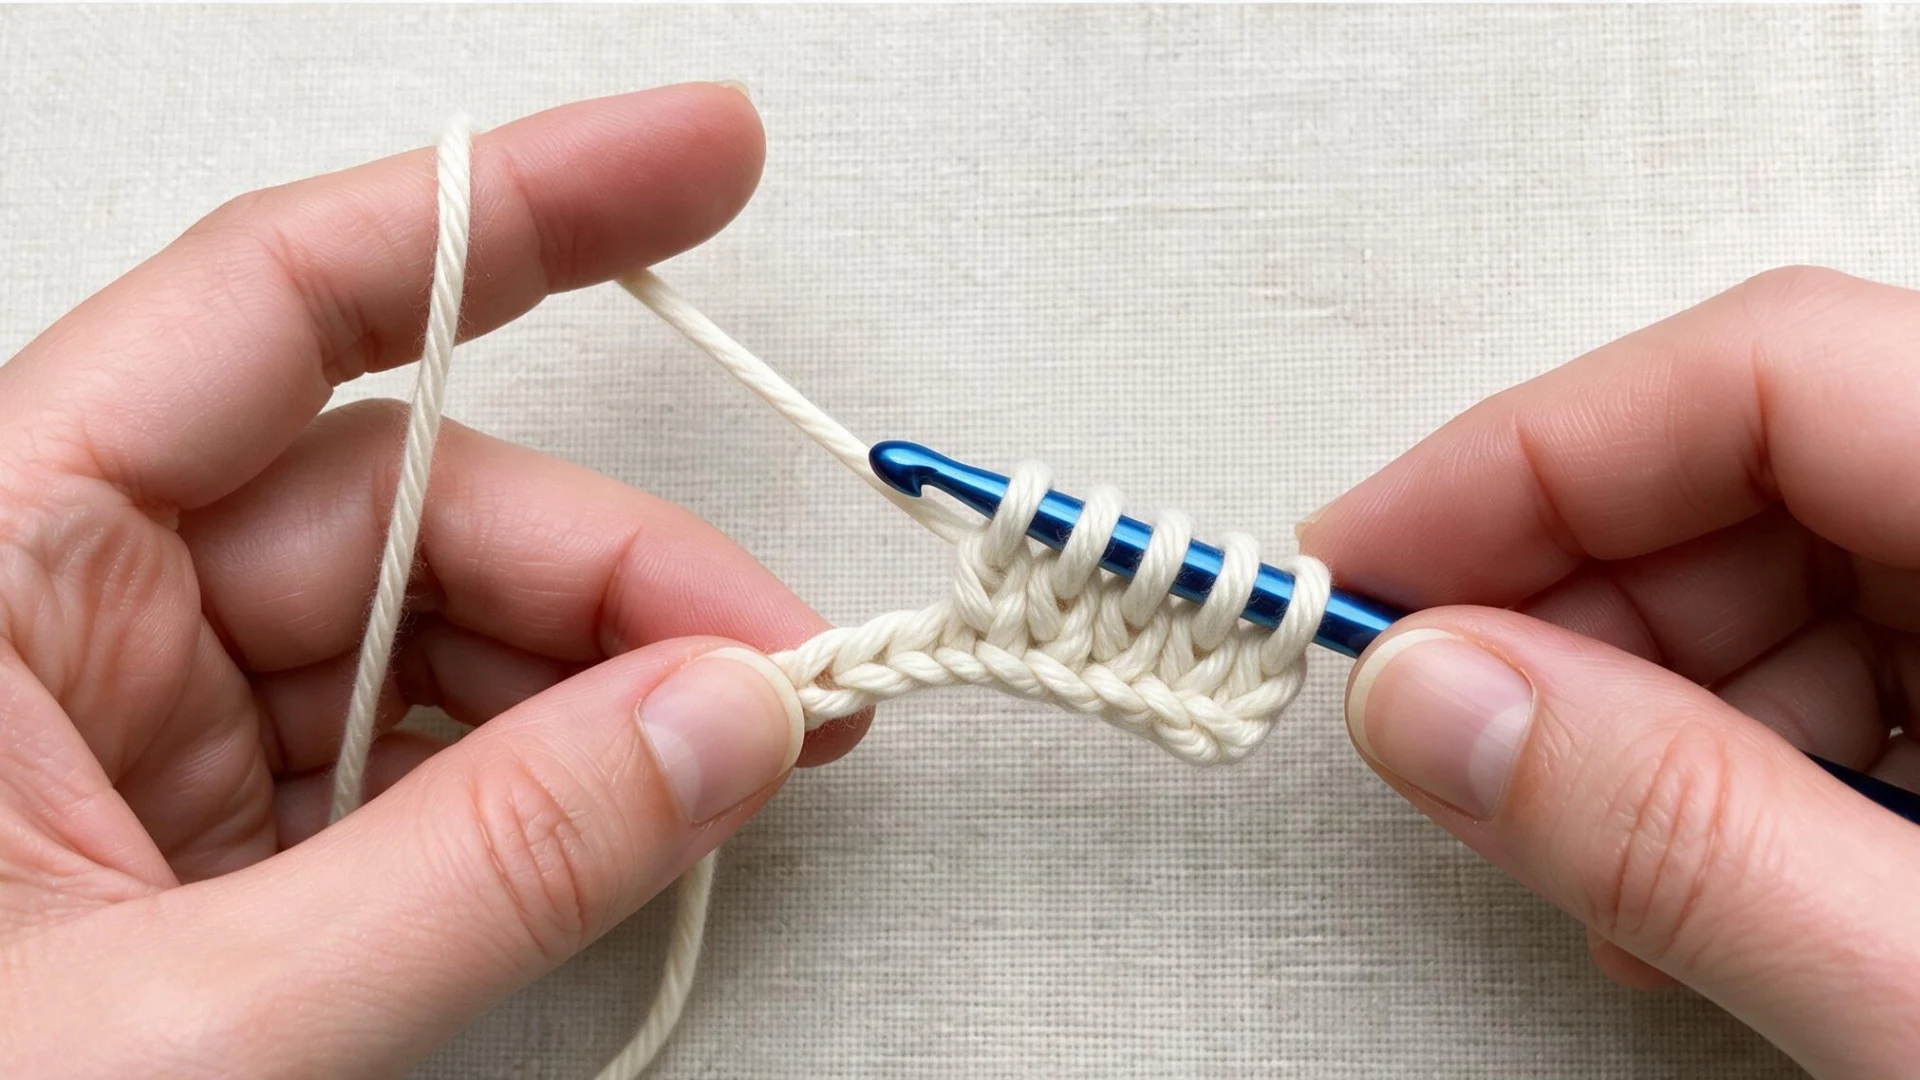
Yarn over and pull through only the first loop on the hook, since it does not pair with another.
From there, yarn over again and pull through two loops at a time, working across until only one loop remains. Keep that final loop on the hook, since it begins your next row.
Step 4: Start the First Tunisian Crochet Row
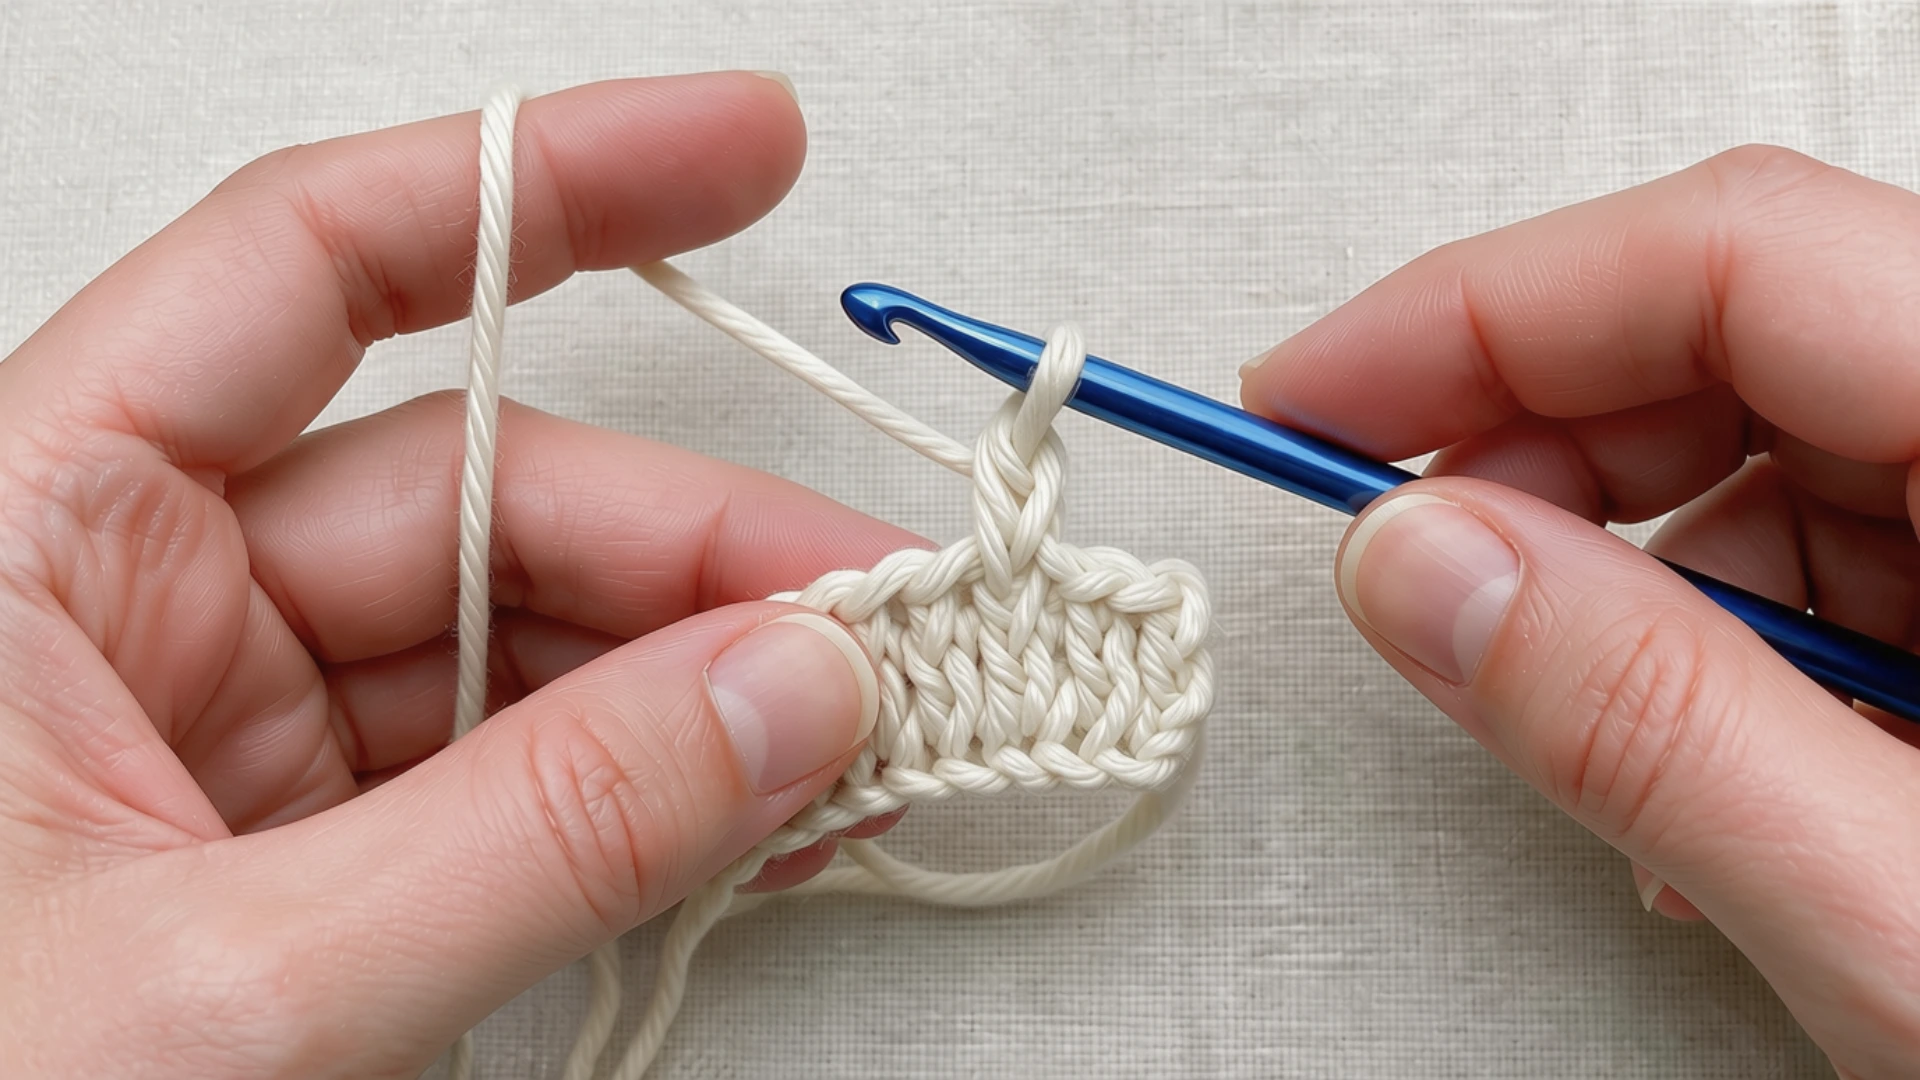
Skip the first vertical bar at the edge, since that one is not worked on this pass.
Insert your hook under the second vertical bar, yarn over, and pull up a loop, leaving it on the hook.
Continue across the row, picking up a loop under each bar, until you reach the last stitch; work this one under both edge strands instead of a single bar to keep your side edge even.
Step 5: Complete the Return Pass
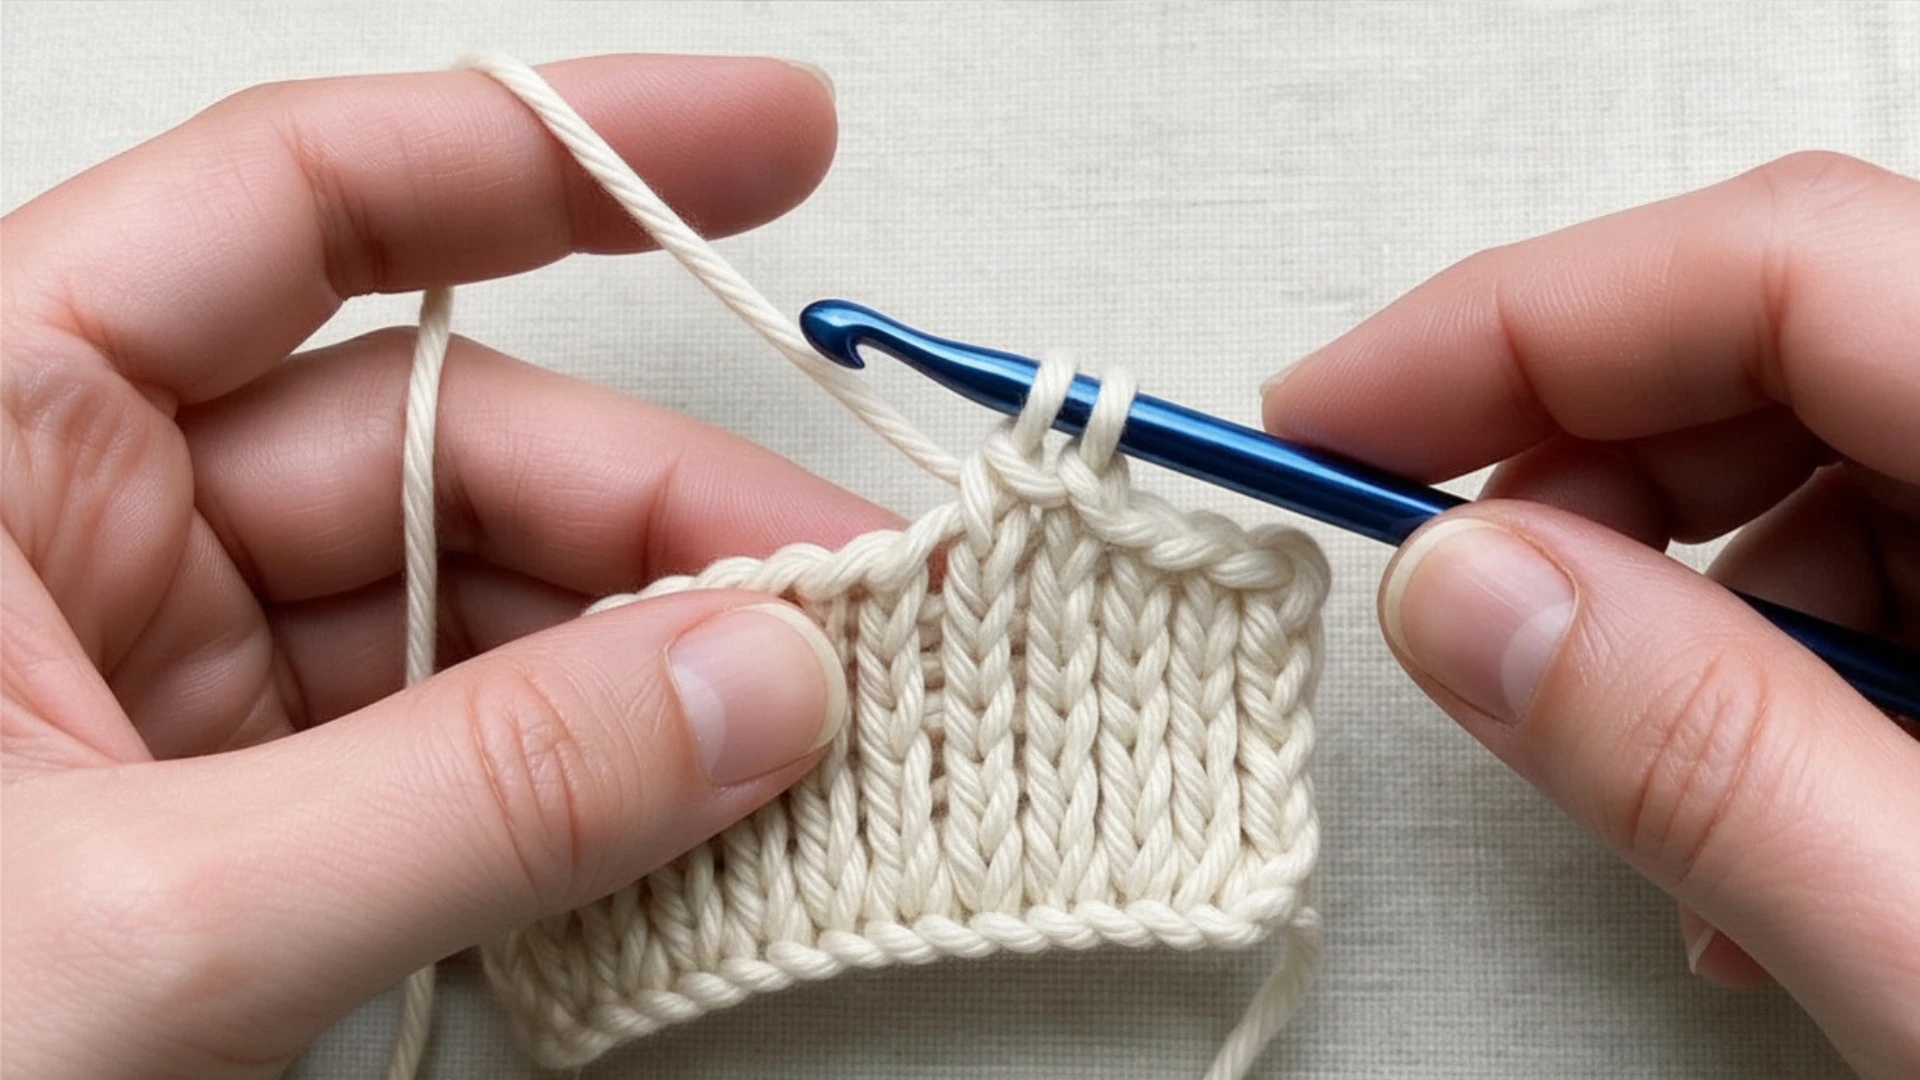
Yarn over and pull through the first loop on the hook, then yarn over again and pull through two loops at a time.
Repeat this across the row until a single loop remains on the hook. Keep that loop in place, since it becomes the starting point for your next row.
Step 6: Repeat the Rows
Work the forward pass by picking up a loop under each vertical bar across the row. Follow it with the return pass, closing those loops back down to one.
Repeat this two-part process for every single row until your piece reaches the length your chosen pattern calls for.
Step 7: Bind Off Your Tunisian Crochet
Insert your hook under the next vertical bar as you would for a normal forward pass, then yarn over and pull through both the loop on the hook and the stitch, closing them together in one motion.
Repeat across the row until only one loop remains, then fasten off.
Basic Tunisian Crochet Stitches
Each stitch in this technique produces a slightly different texture, from a flat, woven surface to something closer to knit ribbing.
Learning to recognize and work each one gives you far more control over how your finished project looks and feels.
Tunisian Simple Stitch
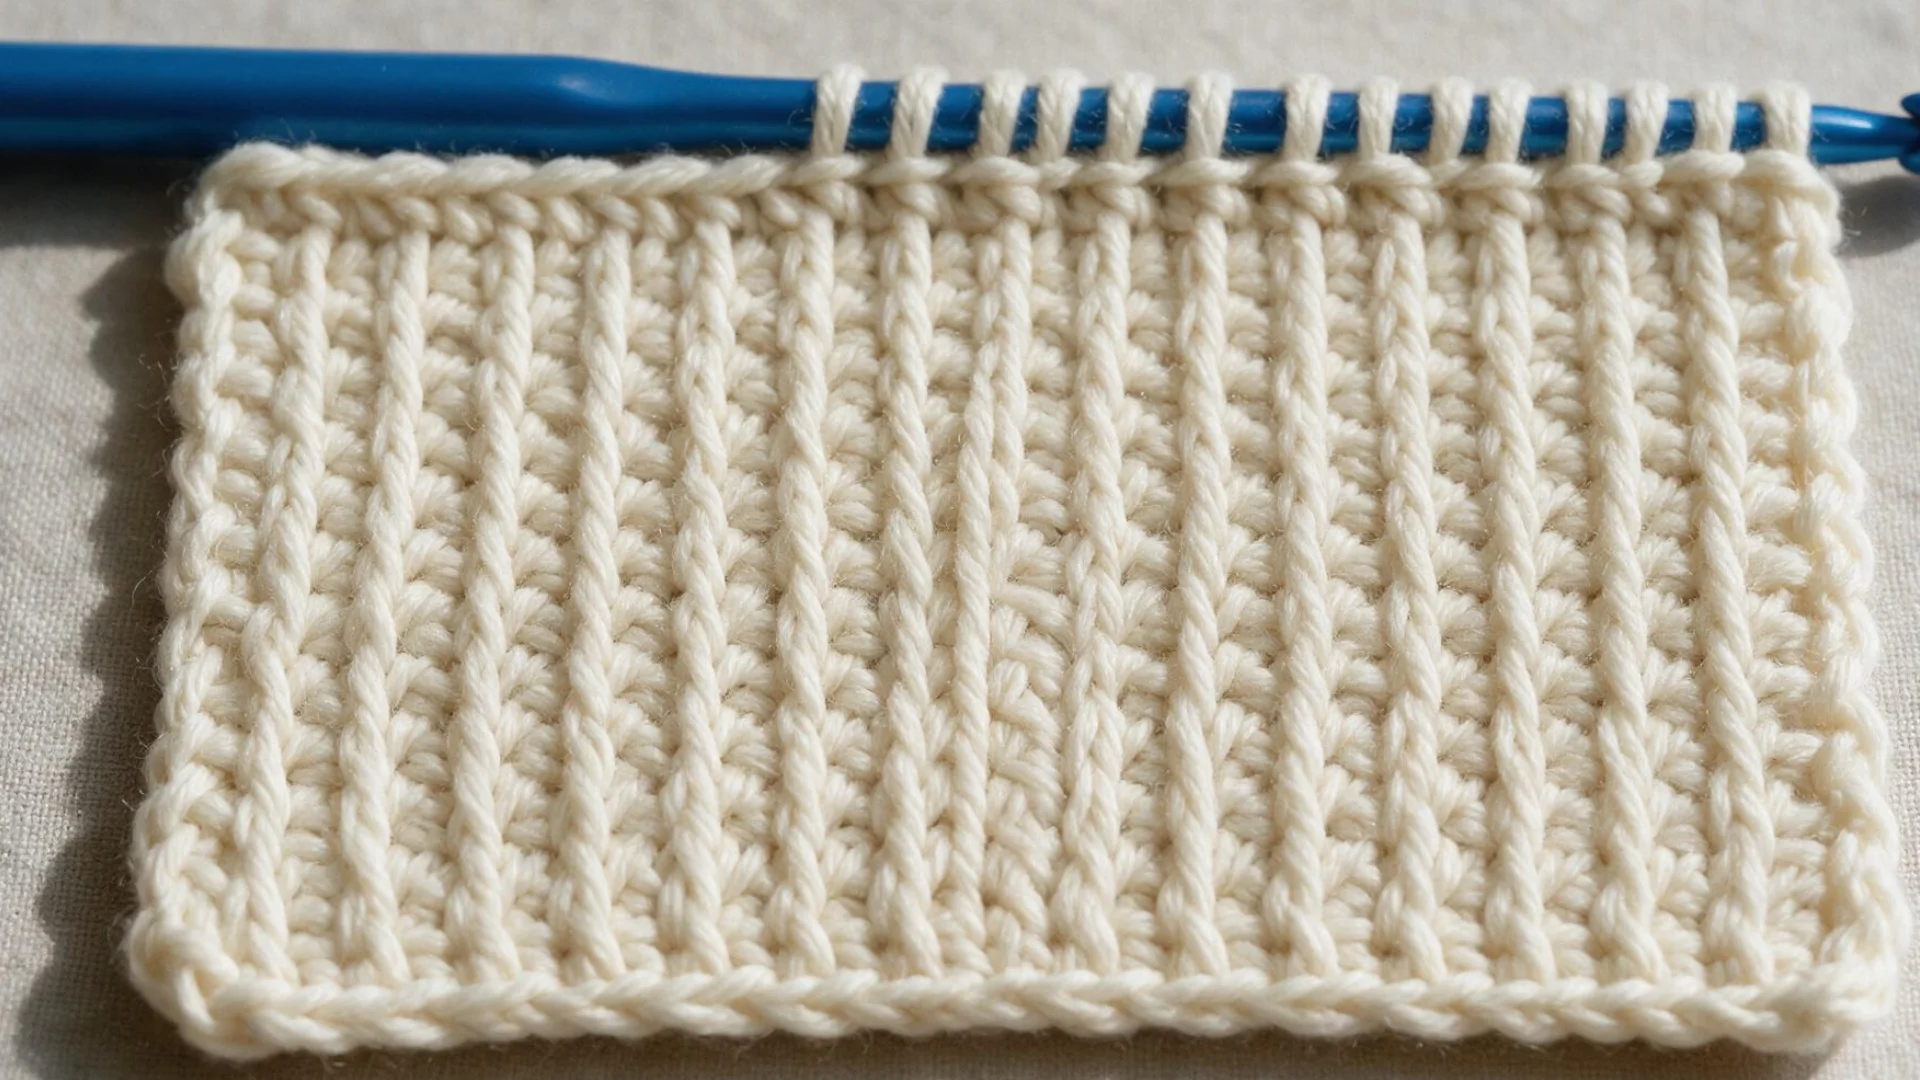
The Tunisian simple stitch is the most basic stitch and the one most patterns start with.
Insert your hook under the next vertical bar, yarn over, and pull up a loop, leaving it on the hook. Repeat across the row for a flat, woven surface.
Tunisian Knit Stitch
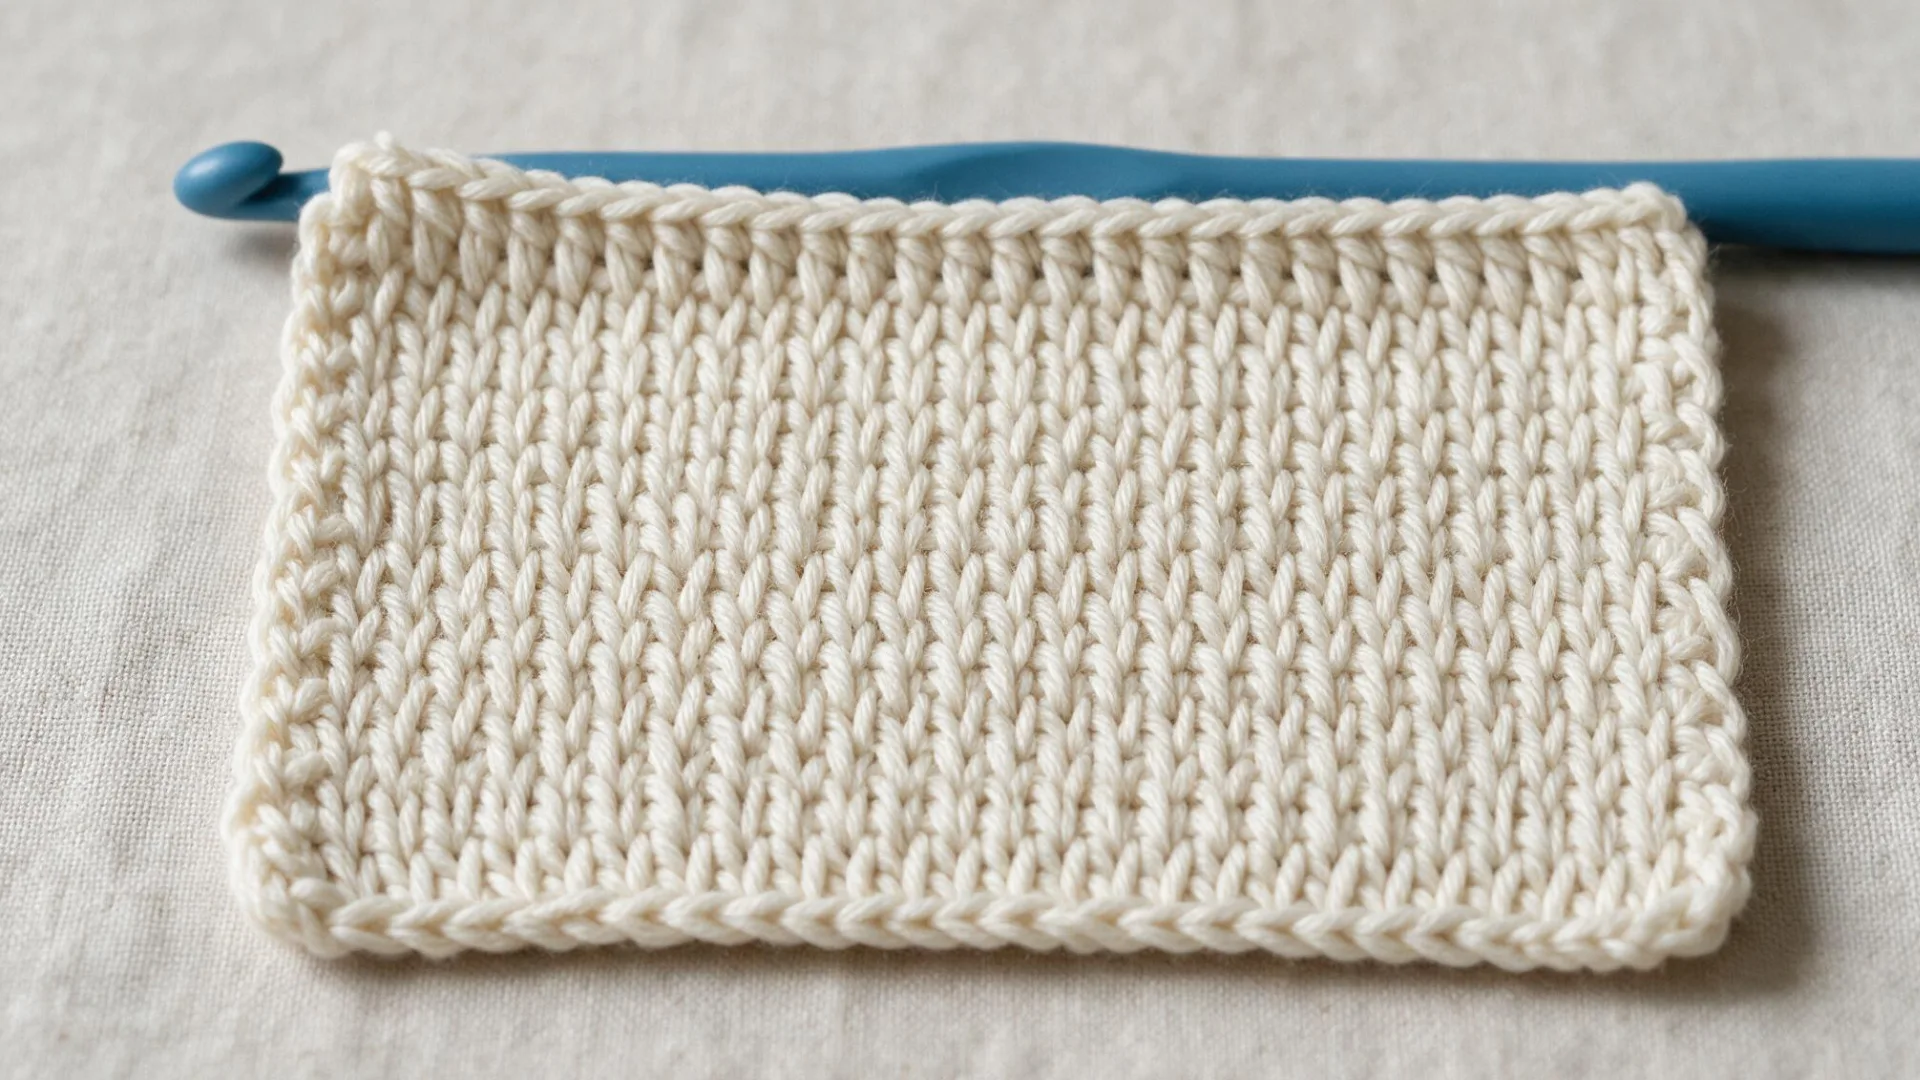
Once you switch to inserting your hook between the front and back strands of each vertical bar, rather than under the whole bar, you get the knit stitch.
The loops sit differently on the hook, and the fabric that comes out looks remarkably close to actual knitting.
Tunisian Purl Stitch
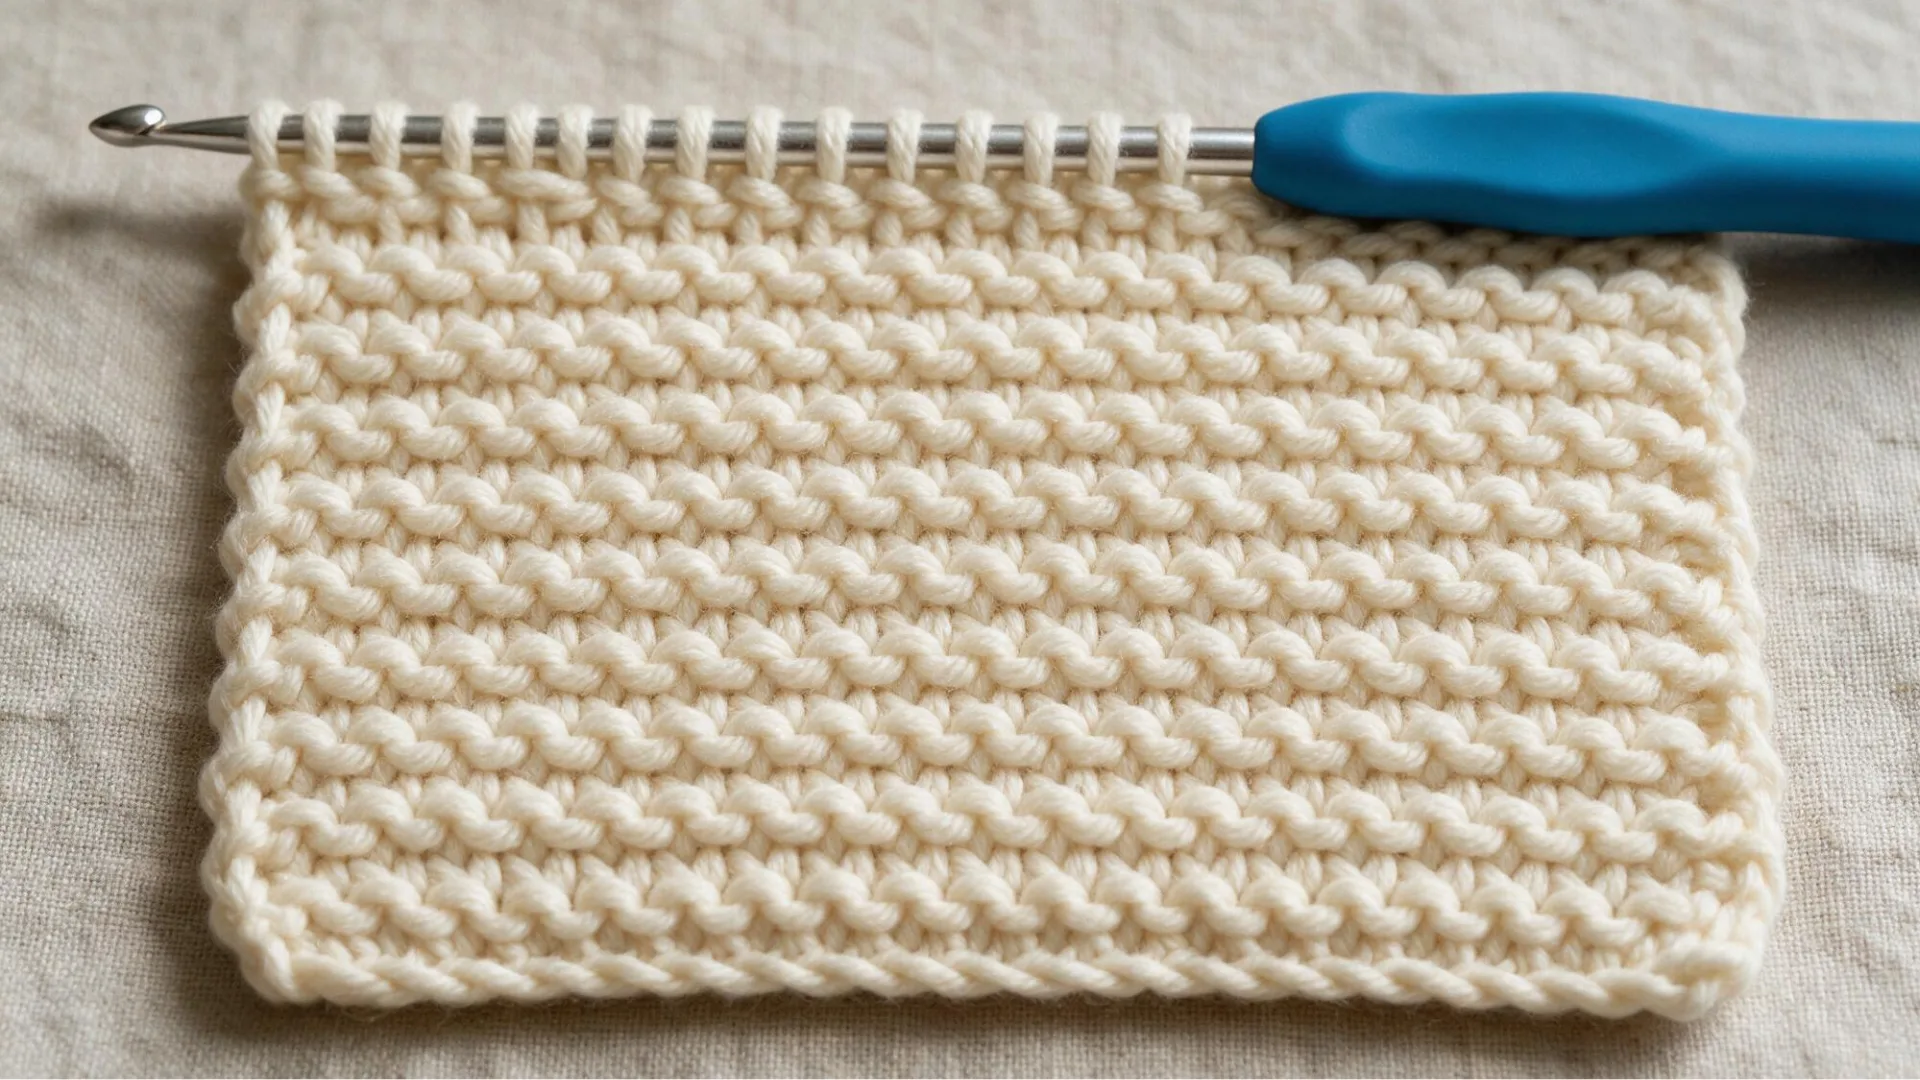
The Tunisian purl stitch adds a bumpy texture, similar to purling in knitting.
Bring your yarn to the front before inserting your hook under the next vertical bar, then push the yarn back and pull up a loop.
This stitch is often paired with the knit stitch for ribbing.
Tunisian Full Stitch
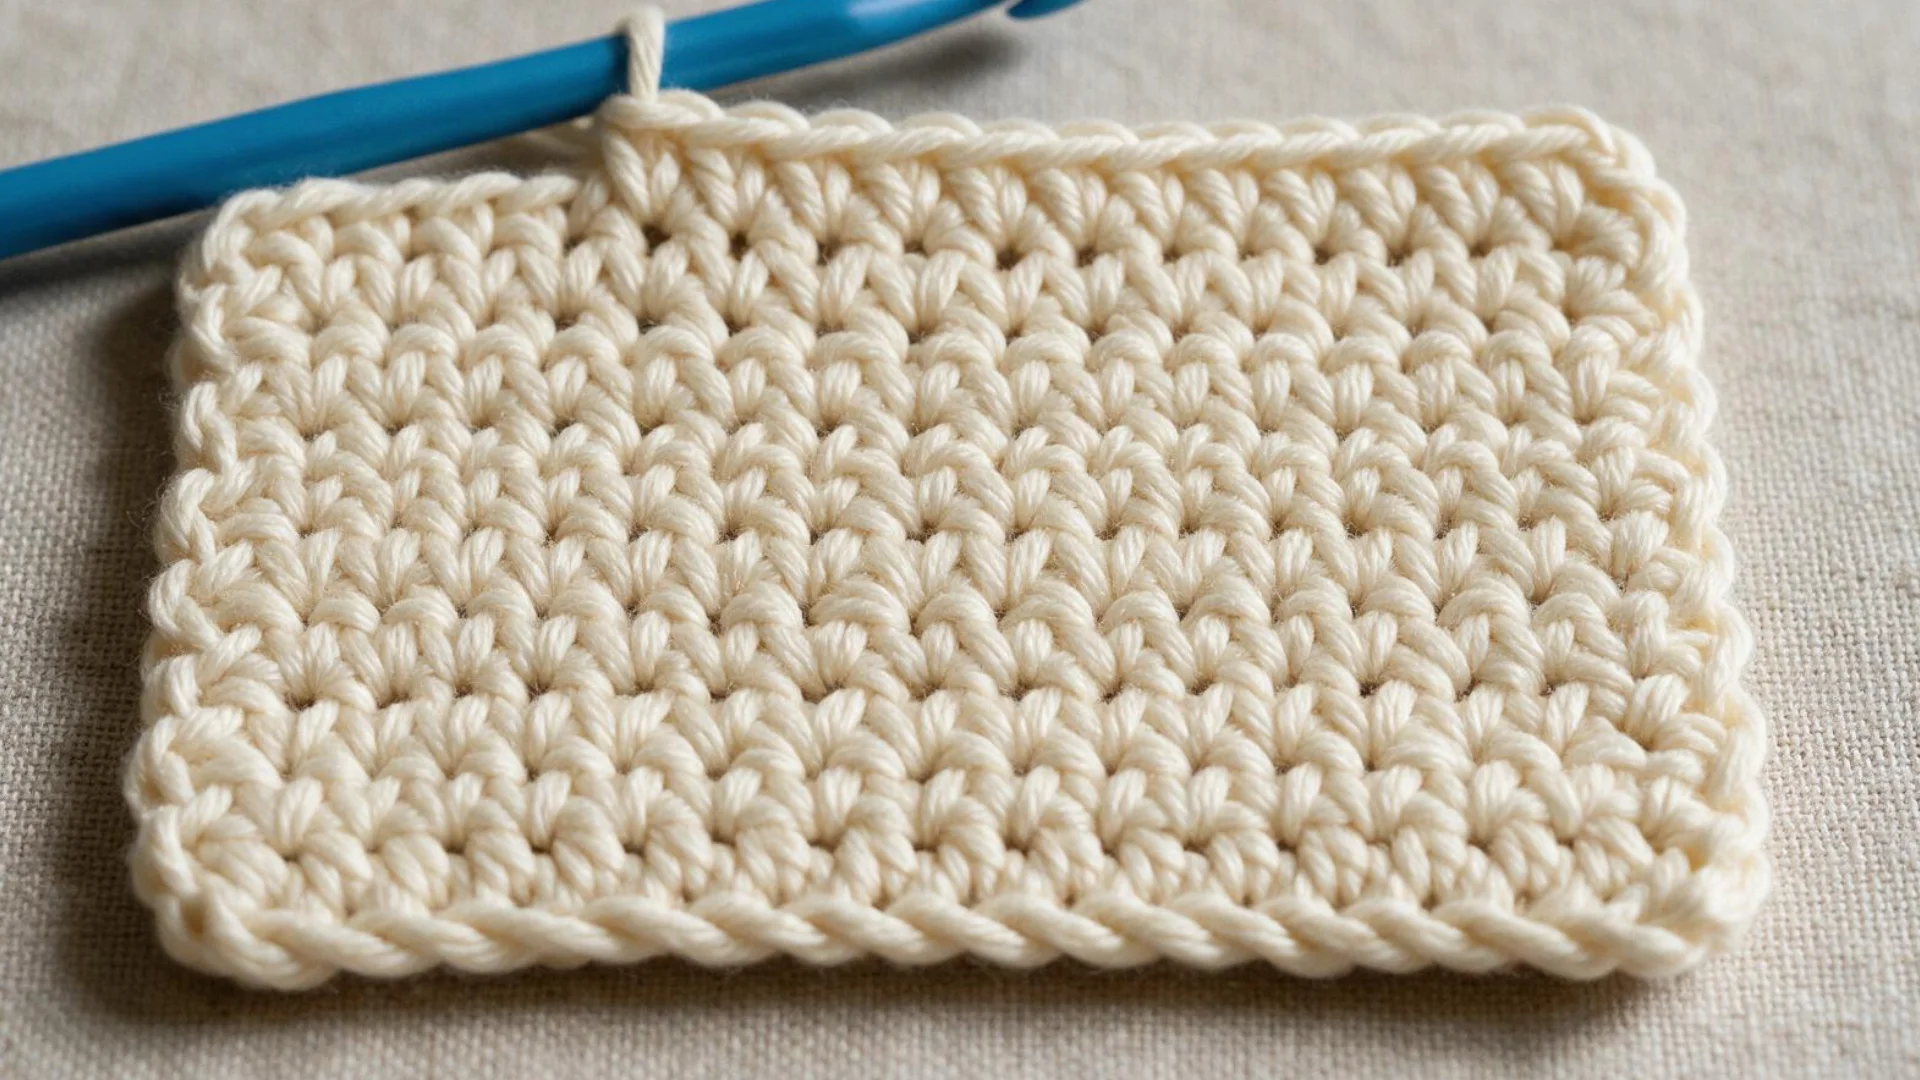
Instead of working under a vertical bar, the full stitch has you inserting your hook into the space between two bars.
Yarn over and pull up your loop from there. This leaves almost no gaps between stitches, making the fabric noticeably denser and a good match for blankets or sturdy bags.
Tunisian Reverse Stitch
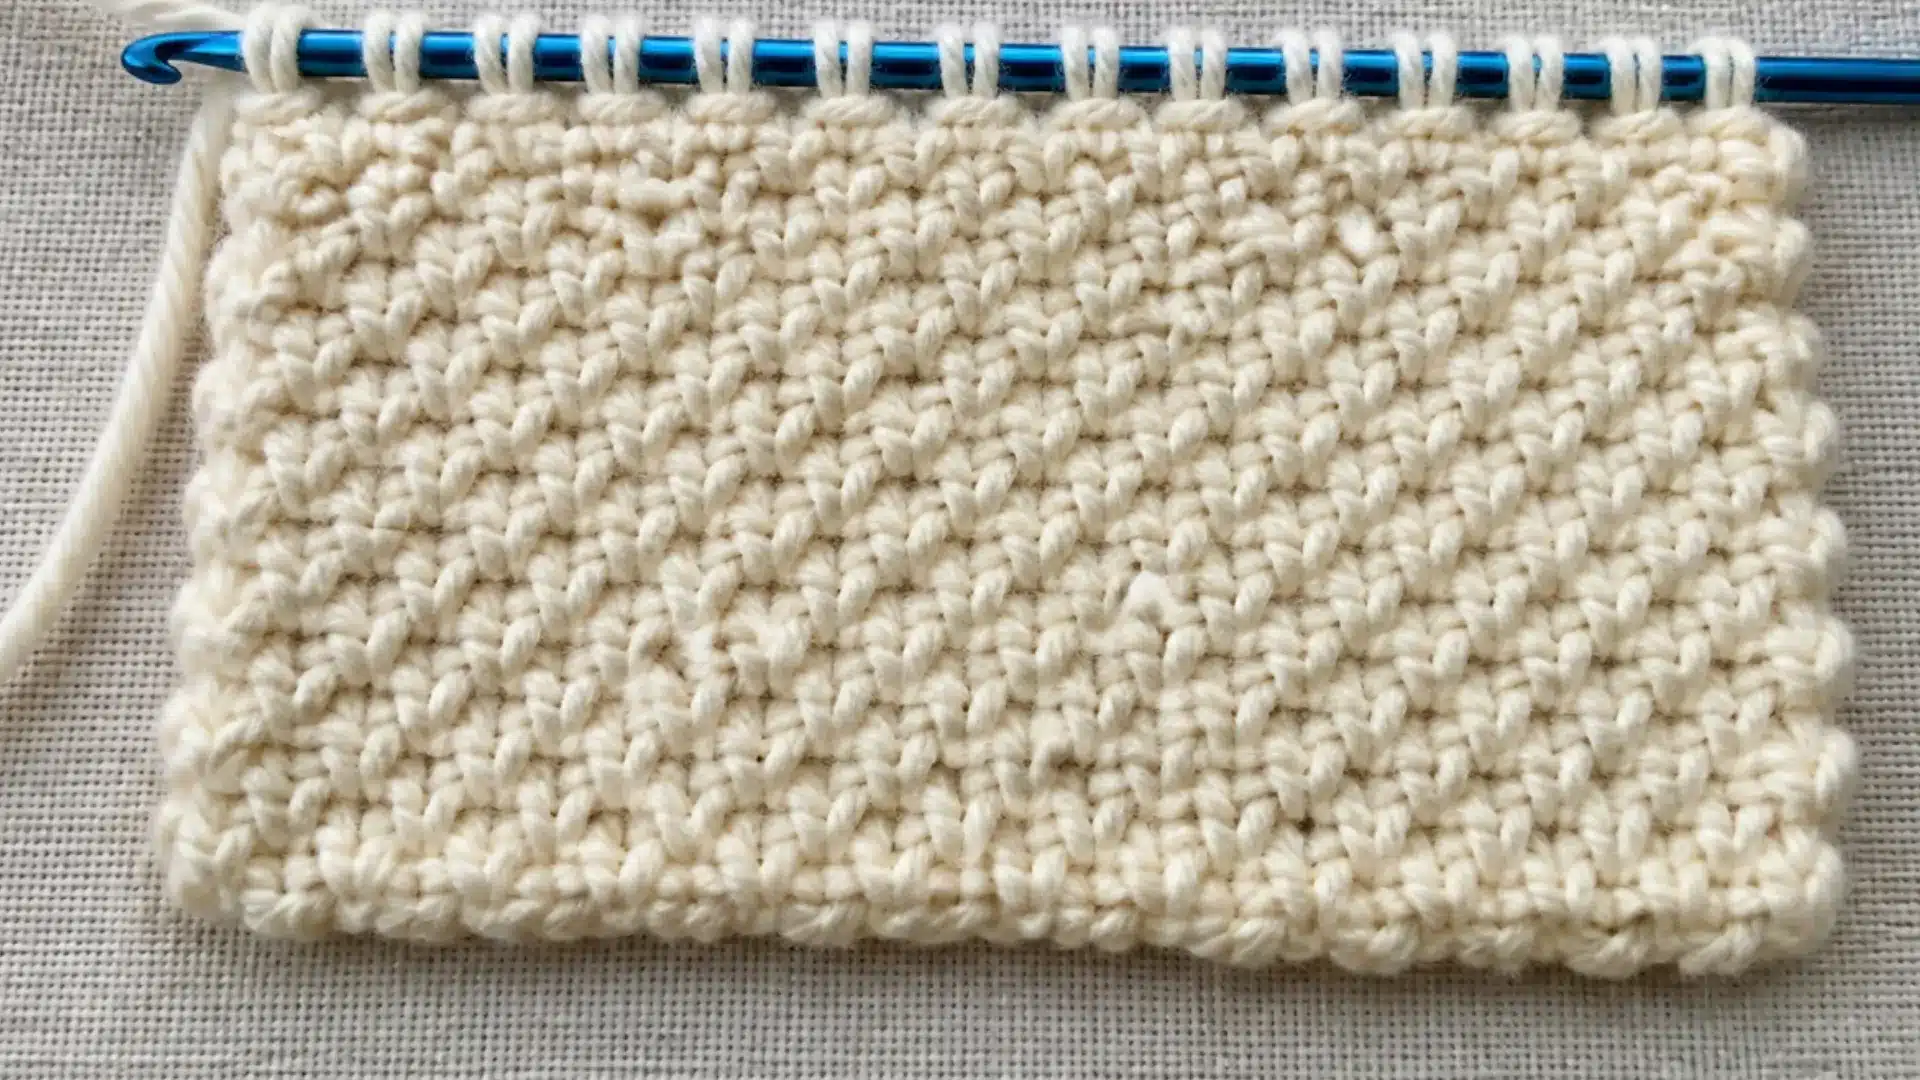
Changing your hook direction can change the outcome more than you might expect.
Insert your hook from back to front under the vertical bar, instead of the usual front to back, then continue as normal.
The bumpy side of the stitch ends up facing forward instead of hiding at the back.
How to Count Tunisian Crochet Stitches?
A row that looks even at a glance can still be off by a stitch or two, and that small gap tends to snowball as your project grows taller.
Knowing exactly where to look, both for stitches and for rows, makes it far easier to catch a mistake before it becomes a bigger problem to fix.
Find the Last Stitch
The last stitch often gets skipped by accident, mostly because it sits right at the edge and can be mistaken for part of the border rather than a stitch itself.
Look for the vertical bar closest to the edge, along with the extra loop or chain that usually sits right next to it.
Working into both of these keeps your edges even and prevents your project from gradually narrowing over several rows.
Count Tunisian Crochet Rows
Counting rows is usually simpler than counting stitches, since each completed forward and return pass equals one full row.
Look at the horizontal ridges along the side edge of your fabric, as each one represents a single row you have already worked.
Counting them periodically as you go helps you stay on track, especially for longer projects.
Final Thoughts
Getting comfortable with Tunisian crochet really comes down to practice, more than anything else.
The forward and return pass will feel a little clumsy for the first few rows, but that rhythm settles in faster than most beginners expect.
Once it clicks, you will have a whole new set of stitches and textures to bring into your projects, from cozy blankets to structured bags that hold their shape well.
Frequently Asked Questions (FAQs)
1. Is Tunisian Crochet Easy to Learn?
Yes, most beginners pick up the basics within their first few rows, especially if they already know how to chain.
2. Is Tunisian Crochet Easier Than Regular Crochet?
Neither is really easier, since they involve different skills, though many beginners find the rhythm just as approachable.
3. What is the Easiest Tunisian Crochet Stitch?
The simple stitch is considered the easiest to start with, producing a flat, woven fabric that most patterns introduce first.