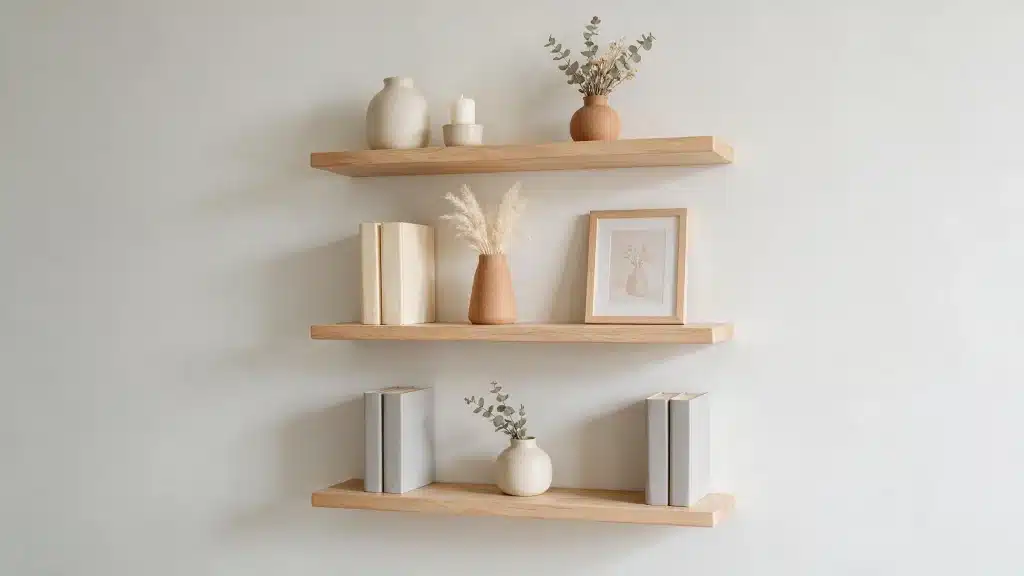
Floating shelves make it easy to turn empty walls into functional storage solutions without installing wall mounts. They are ideal for kitchens, living rooms, bathrooms, and home office areas.
Building floating shelves is one way to save quite a lot of money instead of buying them, and you get to choose the size that suits you.
If done right, the quality of floating shelves that you make is just as good as those sold in stores, just more affordable.
All you need are basic tools and patience for the finishing touches.
What You Need to Build Floating Shelves
Preparation of all tools and materials beforehand will speed up the process of building and eliminate trips to the hardware store while at it.
Most of the materials needed for floating shelves are common household items, and the list is short.
Tools
- Tape measure
- Pencil
- Level
- Stud finder
- Drill or driver
- Circular saw or miter saw
- Sander
- Nail gun if needed
Materials
- Lumber or plywood
- Wood screws
- Wood glue
- Brad nails if needed
- Wood filler
- Sandpaper
- Paint, stain, or sealer if desired
DIY Floating Shelf Plans and Cut List
Four components are used in making the conventional floating shelf. These include the top, bottom, and two side panels, which create an empty box.
The additional cleat or ledger strip is attached to the wall and slides into the box.
If you are making a 24-inch floating shelf, your cut list should be the following:
| Piece | Dimensions | Quantity |
|---|---|---|
| Top and bottom panels | 24″ x 8″ | 2 |
| Side panels | 8″ x 3.5″ | 2 |
| Back panel (optional, for extra rigidity) | 22″ x 3.5″ | 1 |
| Wall cleat | 22″ x 3″ | 1 |
Adjust these numbers based on the wall space available and how much weight the shelf needs to hold. Deeper shelves need thicker cleats and stronger screws.
How to Build DIY Floating Shelves
The construction of a floating shelf basically boils down to three fundamental phases: cutting out the materials, putting together the invisible support structure, and securing everything to the wall.
Following the sequence ensures the shelf is level and secure.
Step 1: Measure and Plan the Shelves
Choose the placement of your shelves and measure the available wall space. Use a pencil and a level to mark the desired shelf height and length.
If installing multiple shelves, allow 10 to 12 inches of space between shelves.
Step 2: Cut the Wood Pieces
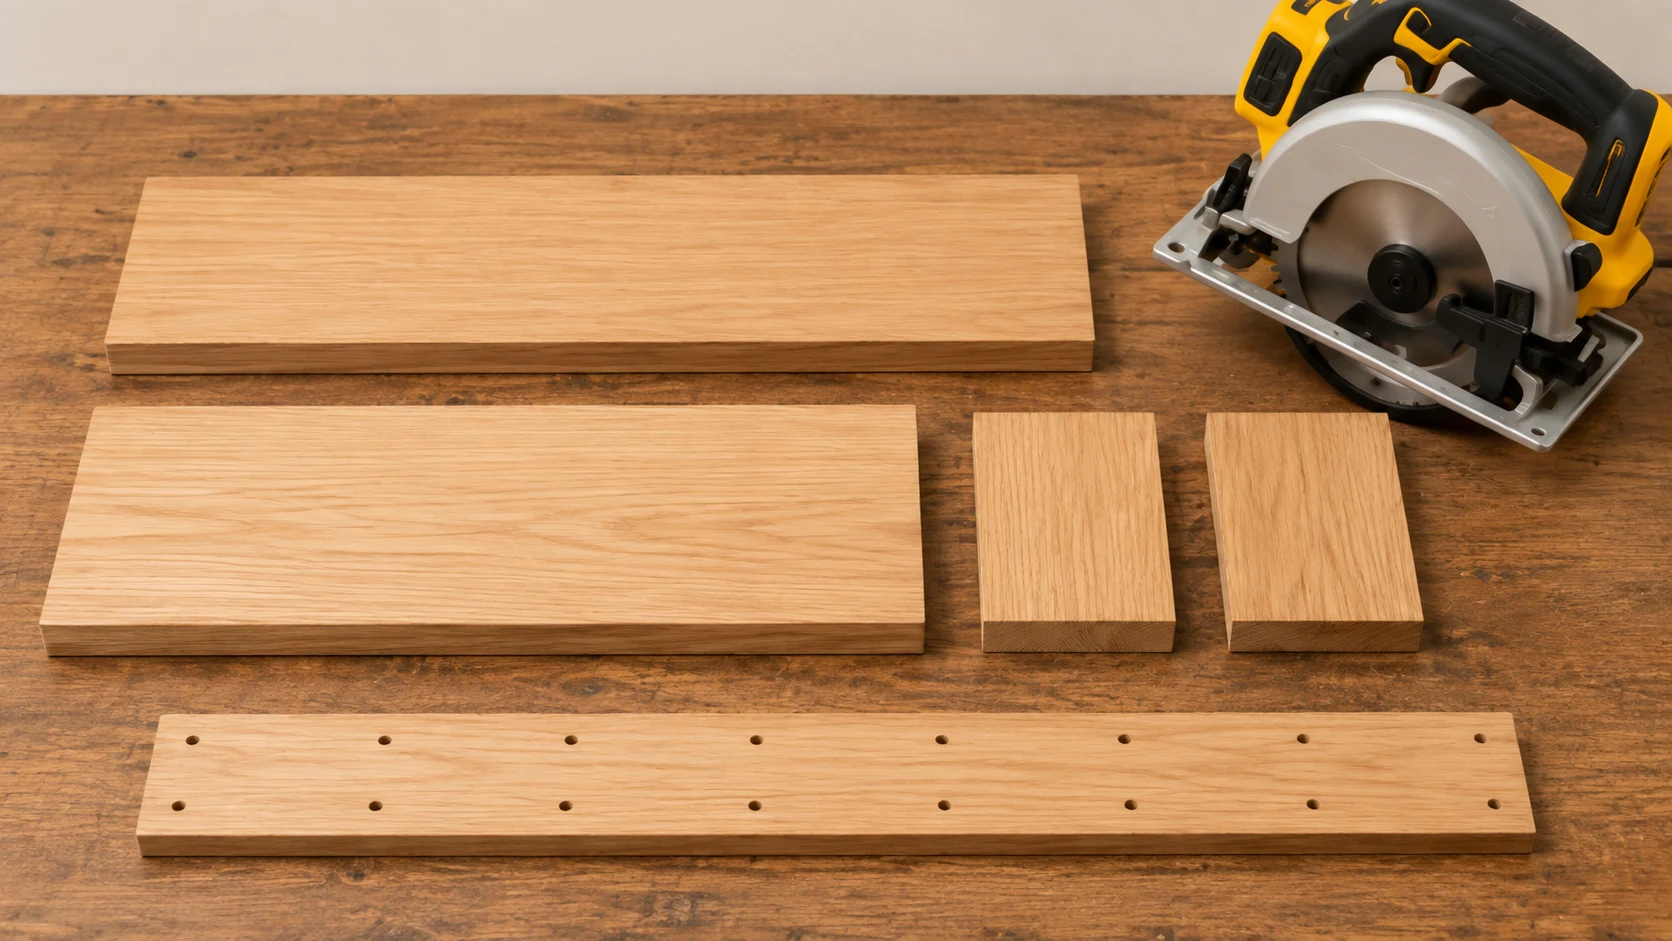
Cut the top, bottom, side panels, and back panel to size using a circular saw or miter saw.
Cut the wall cleat slightly shorter than the shelf’s interior width so it stays hidden. Lightly sand rough edges before moving on to assembly.
Step 3: Build the Hidden Support Frame
The wall cleat carries the shelf’s full weight, so cut it from thick plywood or hardwood at least 3/4 inch thick.
Drill pilot holes along the cleat where it will meet wall studs, preparing it for mounting before the shelf box goes together.
Step 4: Build the Floating Shelf Box
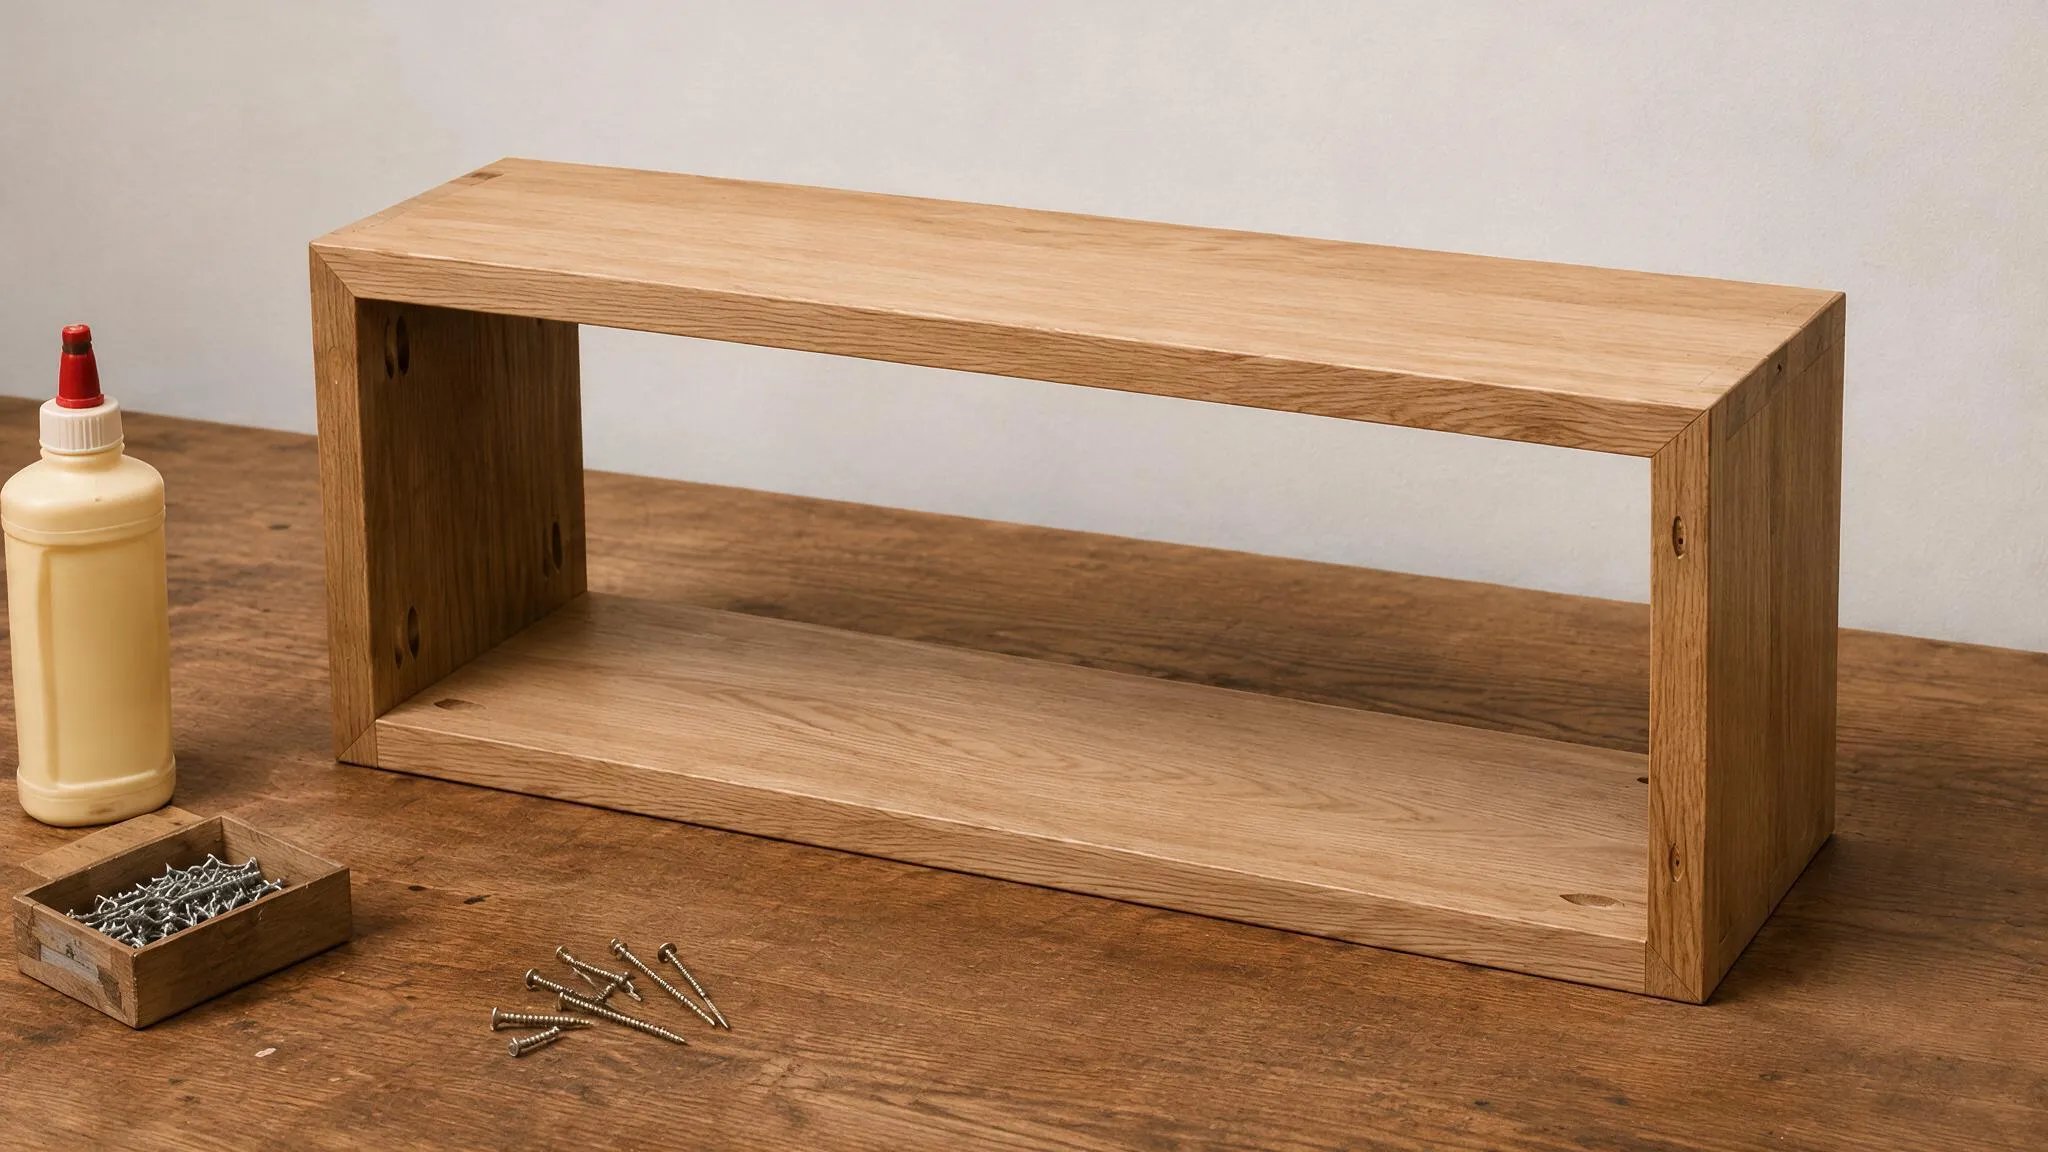
Join the top, bottom, and side panels with wood glue and screws to form a hollow rectangular box.
Add the back panel if you need extra rigidity. Leave enough clearance at the back for the wall cleat to slide inside snugly.
Step 5: Sand and Prepare the Shelf
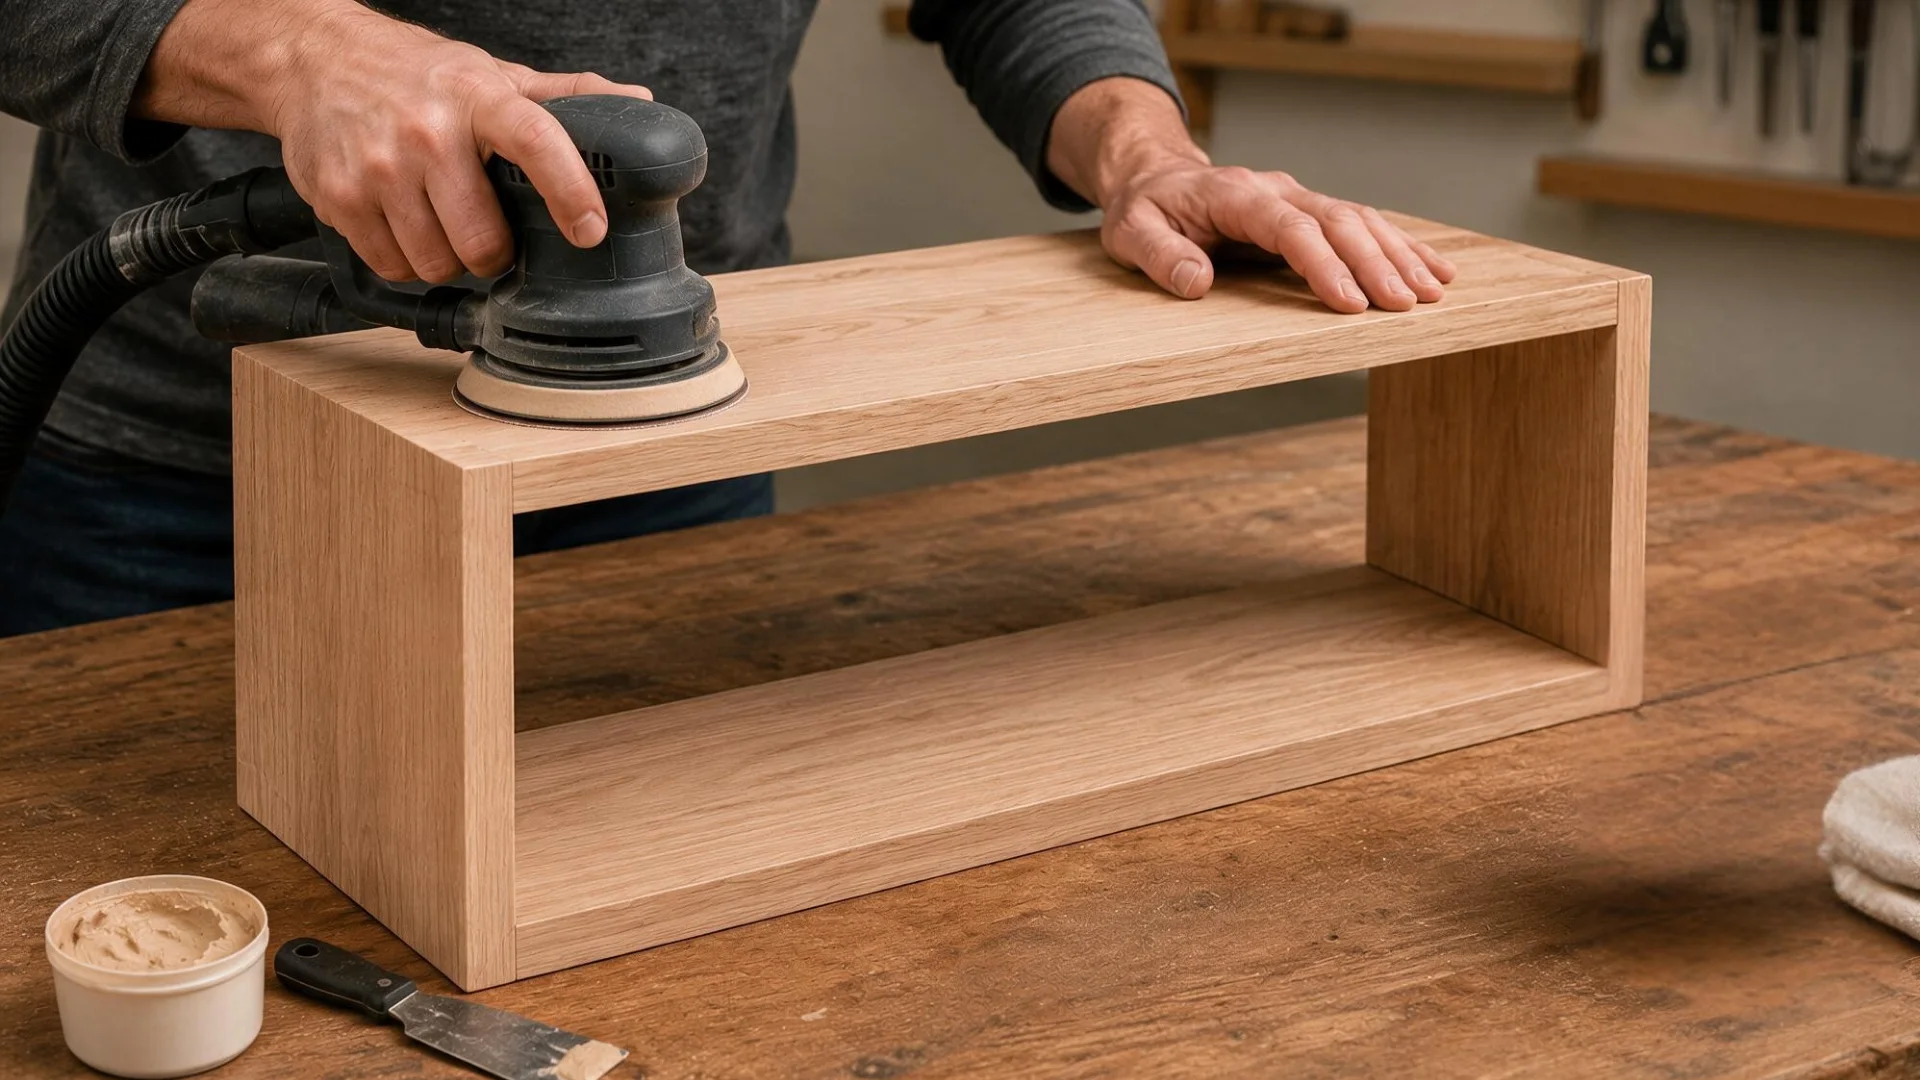
Sand the shelf box, moving from a coarser grit to a finer one for a smooth finish.
Fill screw holes and gaps with wood filler, then sand again once dry. Apply paint, stain, or sealer before mounting the shelf on the wall.
Step 6: Find Studs and Mount the Support
Use a stud finder to locate wall studs and mark their centers for the strongest hold. Attach the wall cleat directly into the studs with long wood screws.
Use a level before fully tightening to keep it straight.
Step 7: Attach and Secure the Shelf
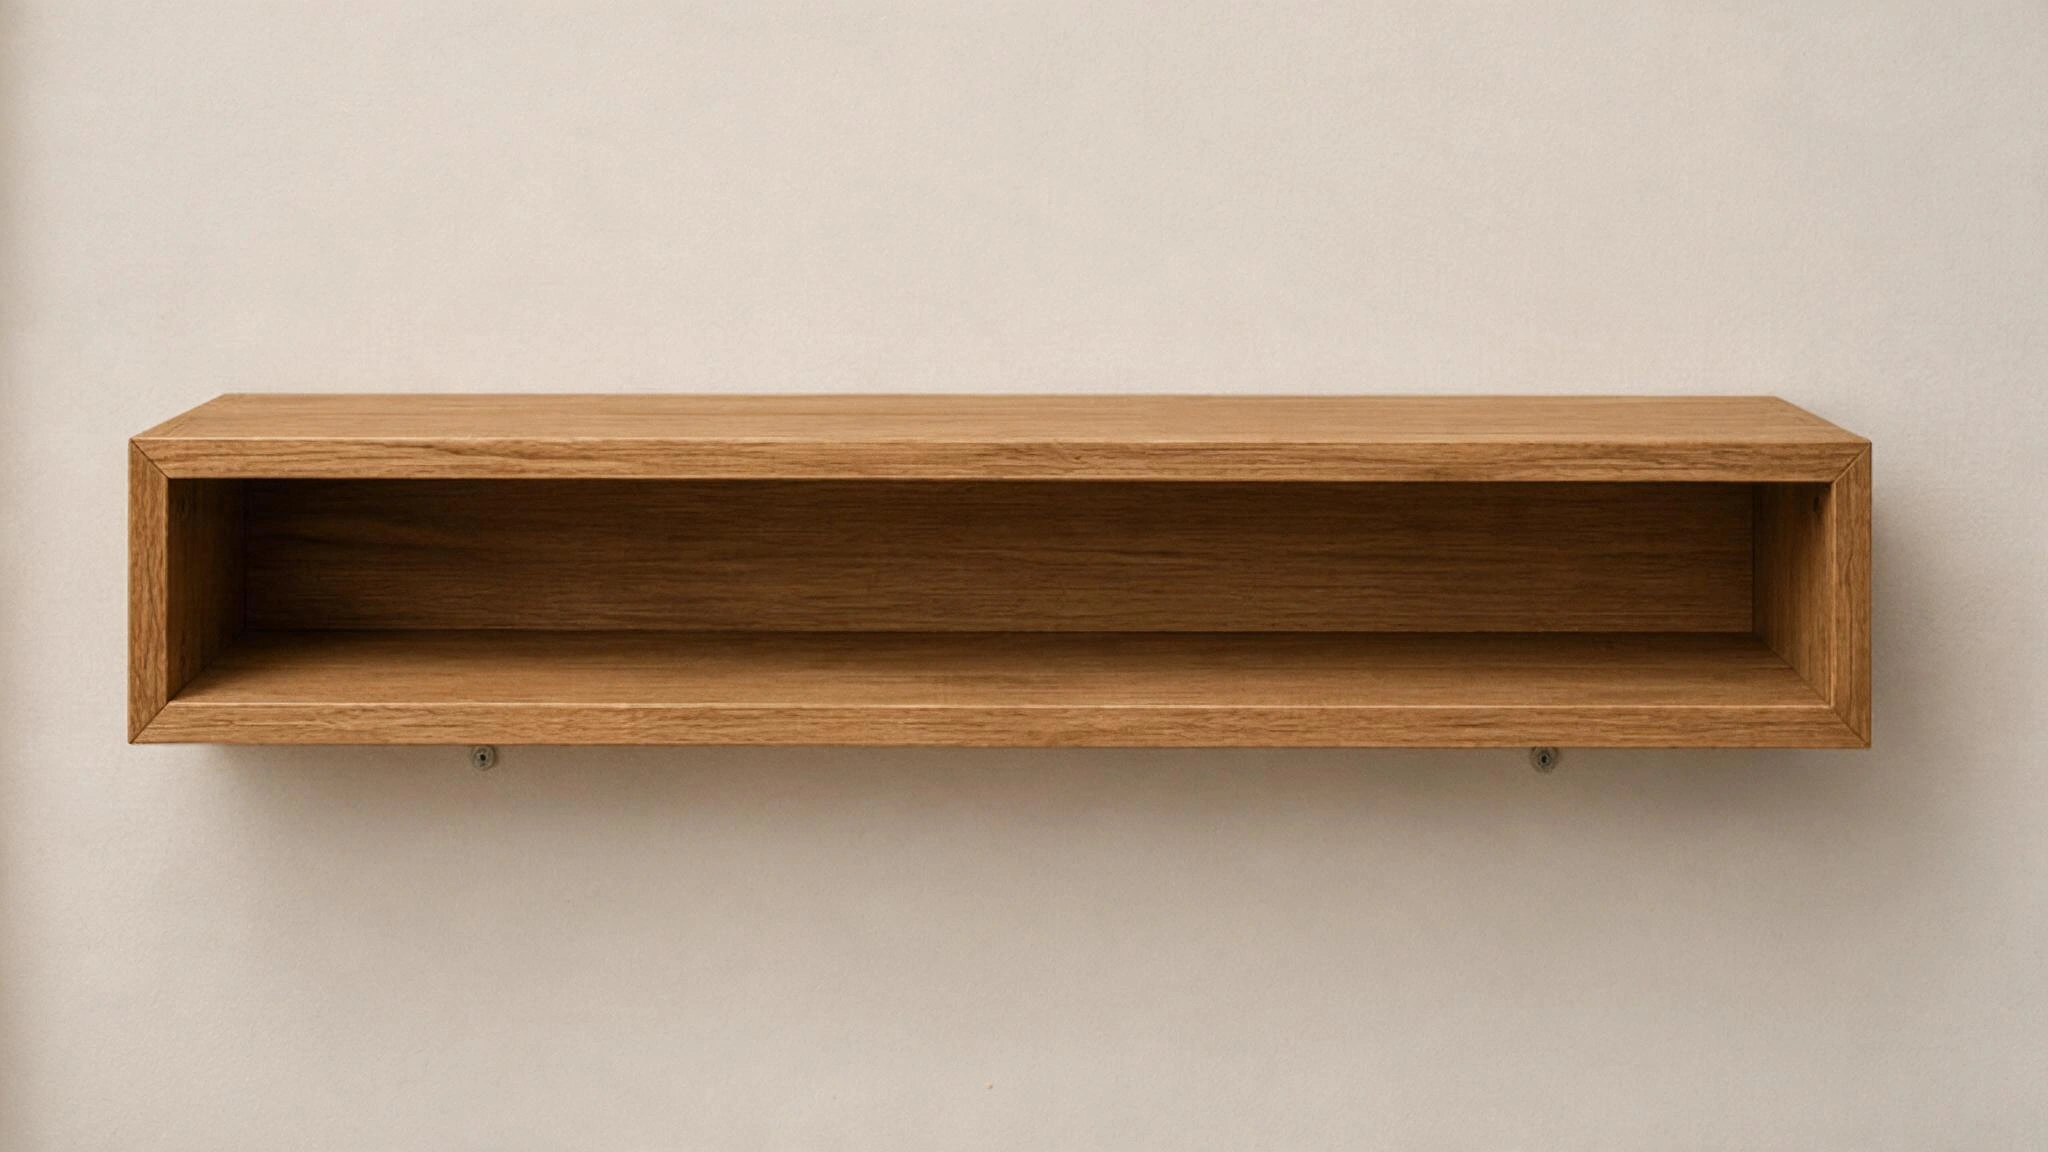
Slide the finished shelf box over the mounted cleat until it sits flush against the wall. Secure it from underneath with additional screws for extra hold.
Check the shelf with a level and test it gently before adding items.
Best Wood for DIY Floating Shelves
The type of wood you use affects how much weight a shelf can hold, how it looks when finished, and how much it costs to build.
Some woods work better for heavy-duty storage, while others suit a lighter, decorative shelf.
Pine
Pine is a soft and light wood that can be easily worked with, hence ideal for novice woodworkers.
It readily accepts paint but can dent and scratch more easily than hardwoods.
Pine is relatively inexpensive compared to other materials, making it ideal for building shelves that carry lighter objects such as books and other decorations, not dishes.
Poplar
Poplar is an economical hardwood that is easy to cut and sand smooth. It takes paint better than pine and resists warping well.
The grain pattern is not very attractive, so it is best used where the shelf will receive a coat of paint and not be stained.
Oak
Oak is a dense, strong hardwood that holds up well under heavier loads. Its visible grain pattern gives it a rich look once stained, making it a go-to choice for shelves meant to stand out.
Oak costs more than pine or poplar and takes more effort to cut, but the extra durability pays off for shelves in high-use areas like kitchens.
Plywood
Because of its multi-laminated structure, plywood is stronger and resists warping better than solid woods.
It accepts screws easily and is relatively inexpensive when compared to other solid hardwoods.
Use birch or maple plywood if you want clean edges to stain, but other plywoods work fine for shelving that will be painted or covered by other items.
Different Ways to Build Floating Shelves
Not every floating shelf uses the same hidden support method.
The right approach depends on the tools available, the weight the shelf needs to hold, and how much building from scratch feels manageable.
Solid Wood Floating Shelves
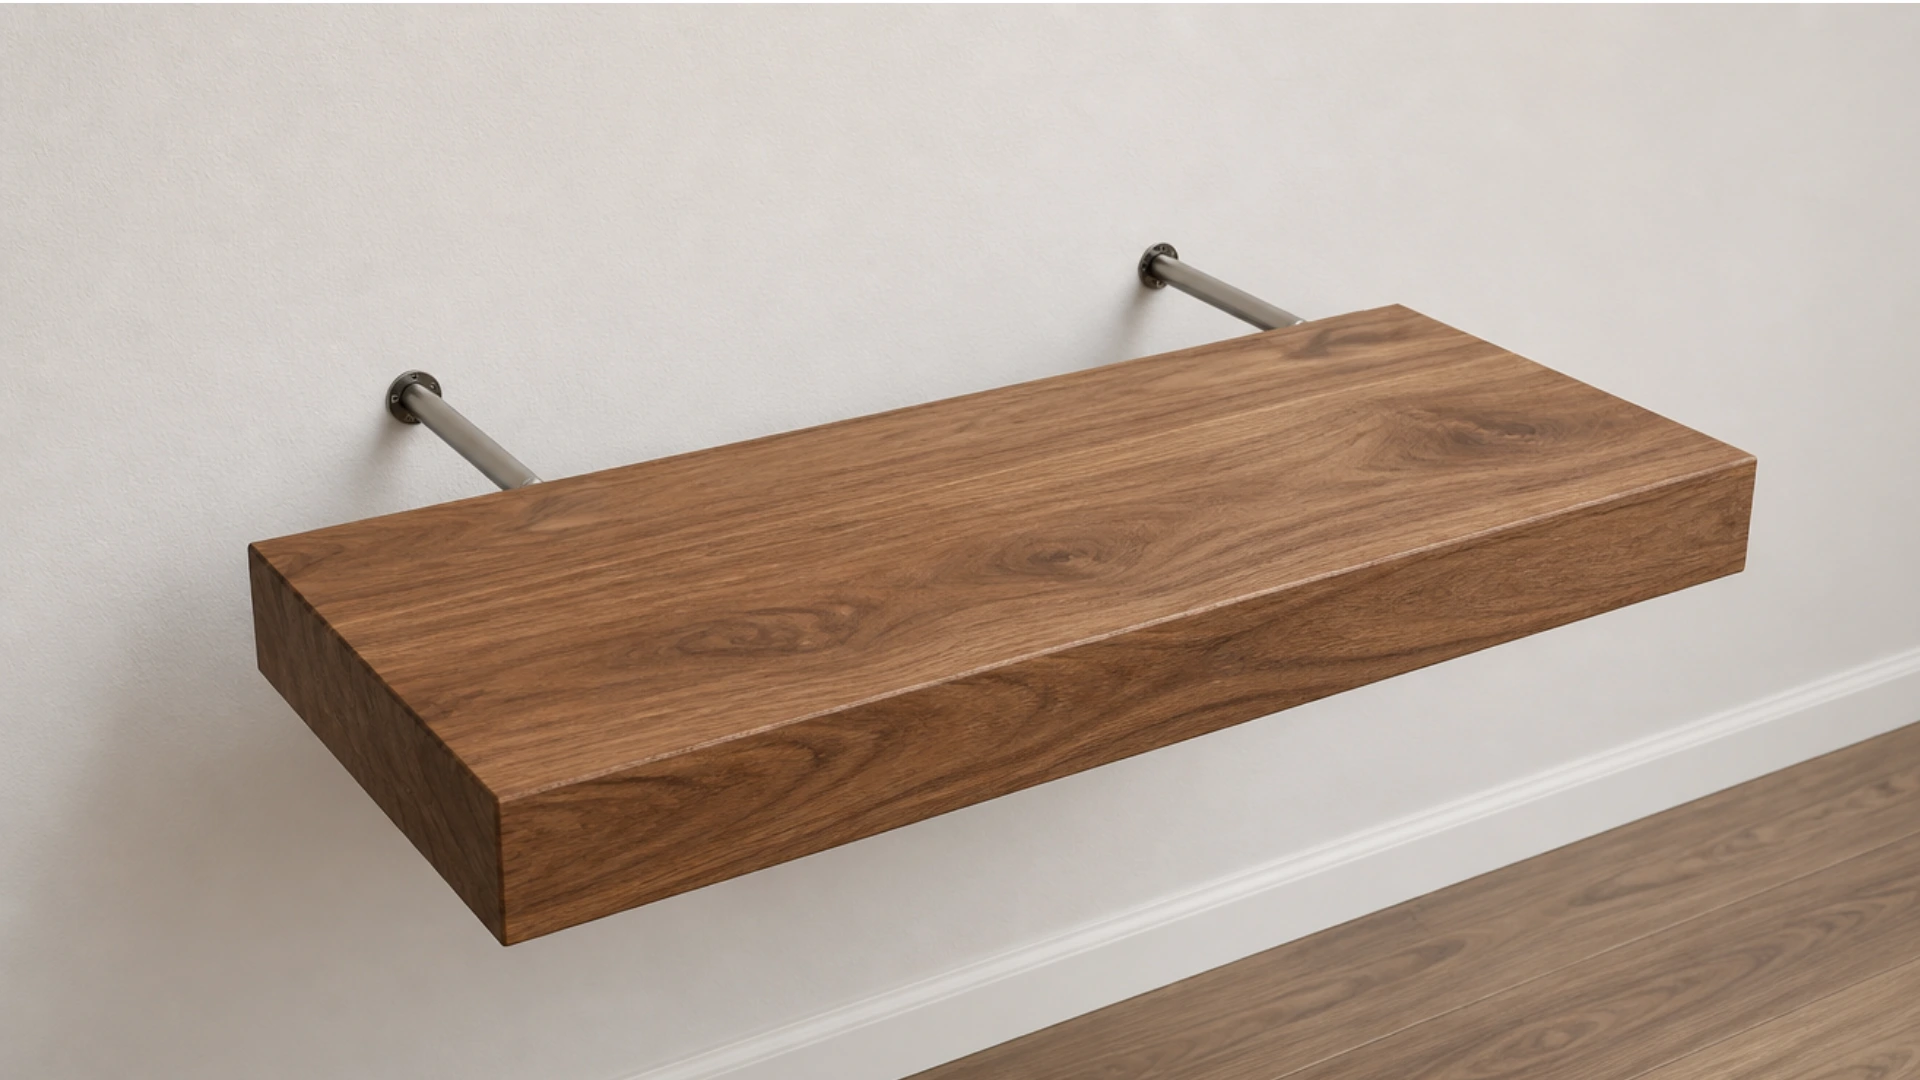
Rather than using an empty wooden box, this construction method utilizes a solid wood board.
It also uses a metal or wooden rod attached by drilling through the board into the back of the wall.
The shelf slides onto the rod, which is inserted into the wall studs.
Hidden Bracket Floating Shelves
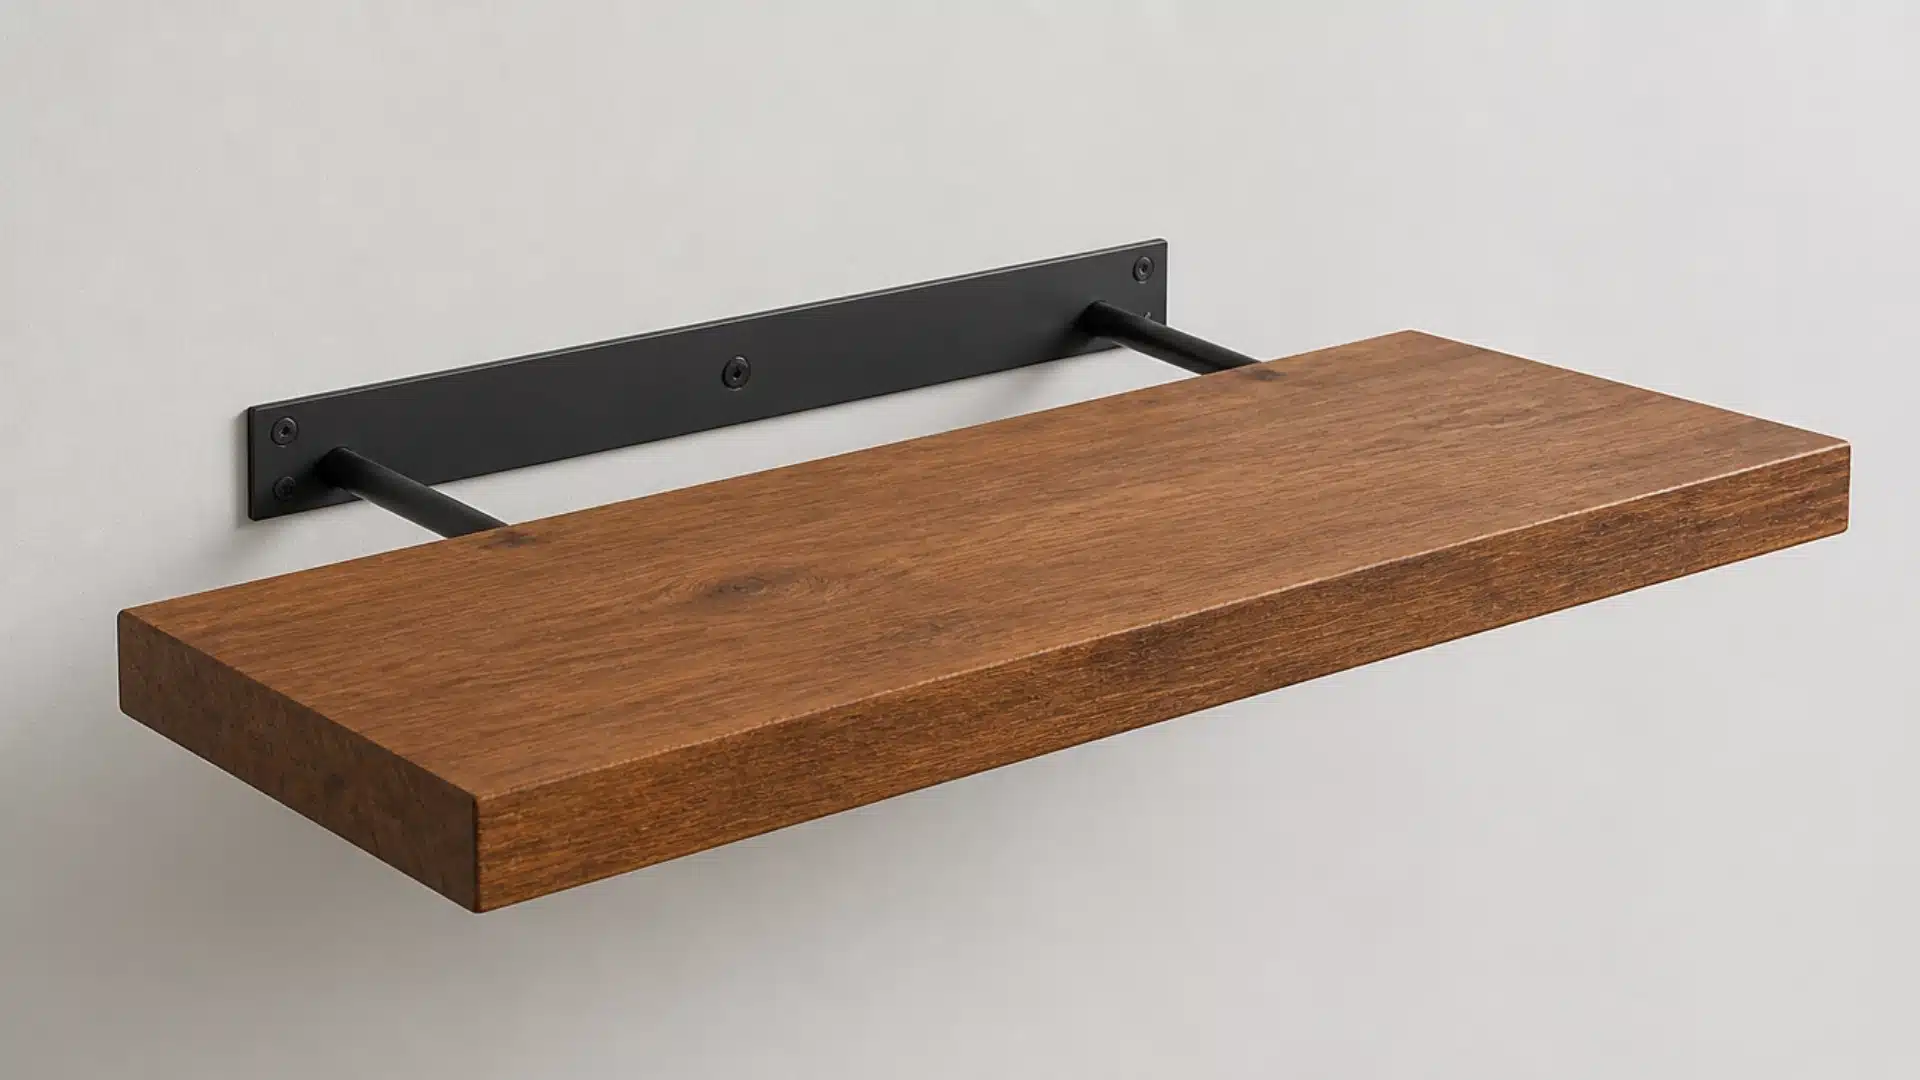
This method uses manufactured floating shelf brackets, which are metal rods or plates that mount to the wall first.
A solid or engineered wood shelf then slides onto the bracket, eliminating the need to build a support frame from scratch.
Wood Cleat Floating Shelves
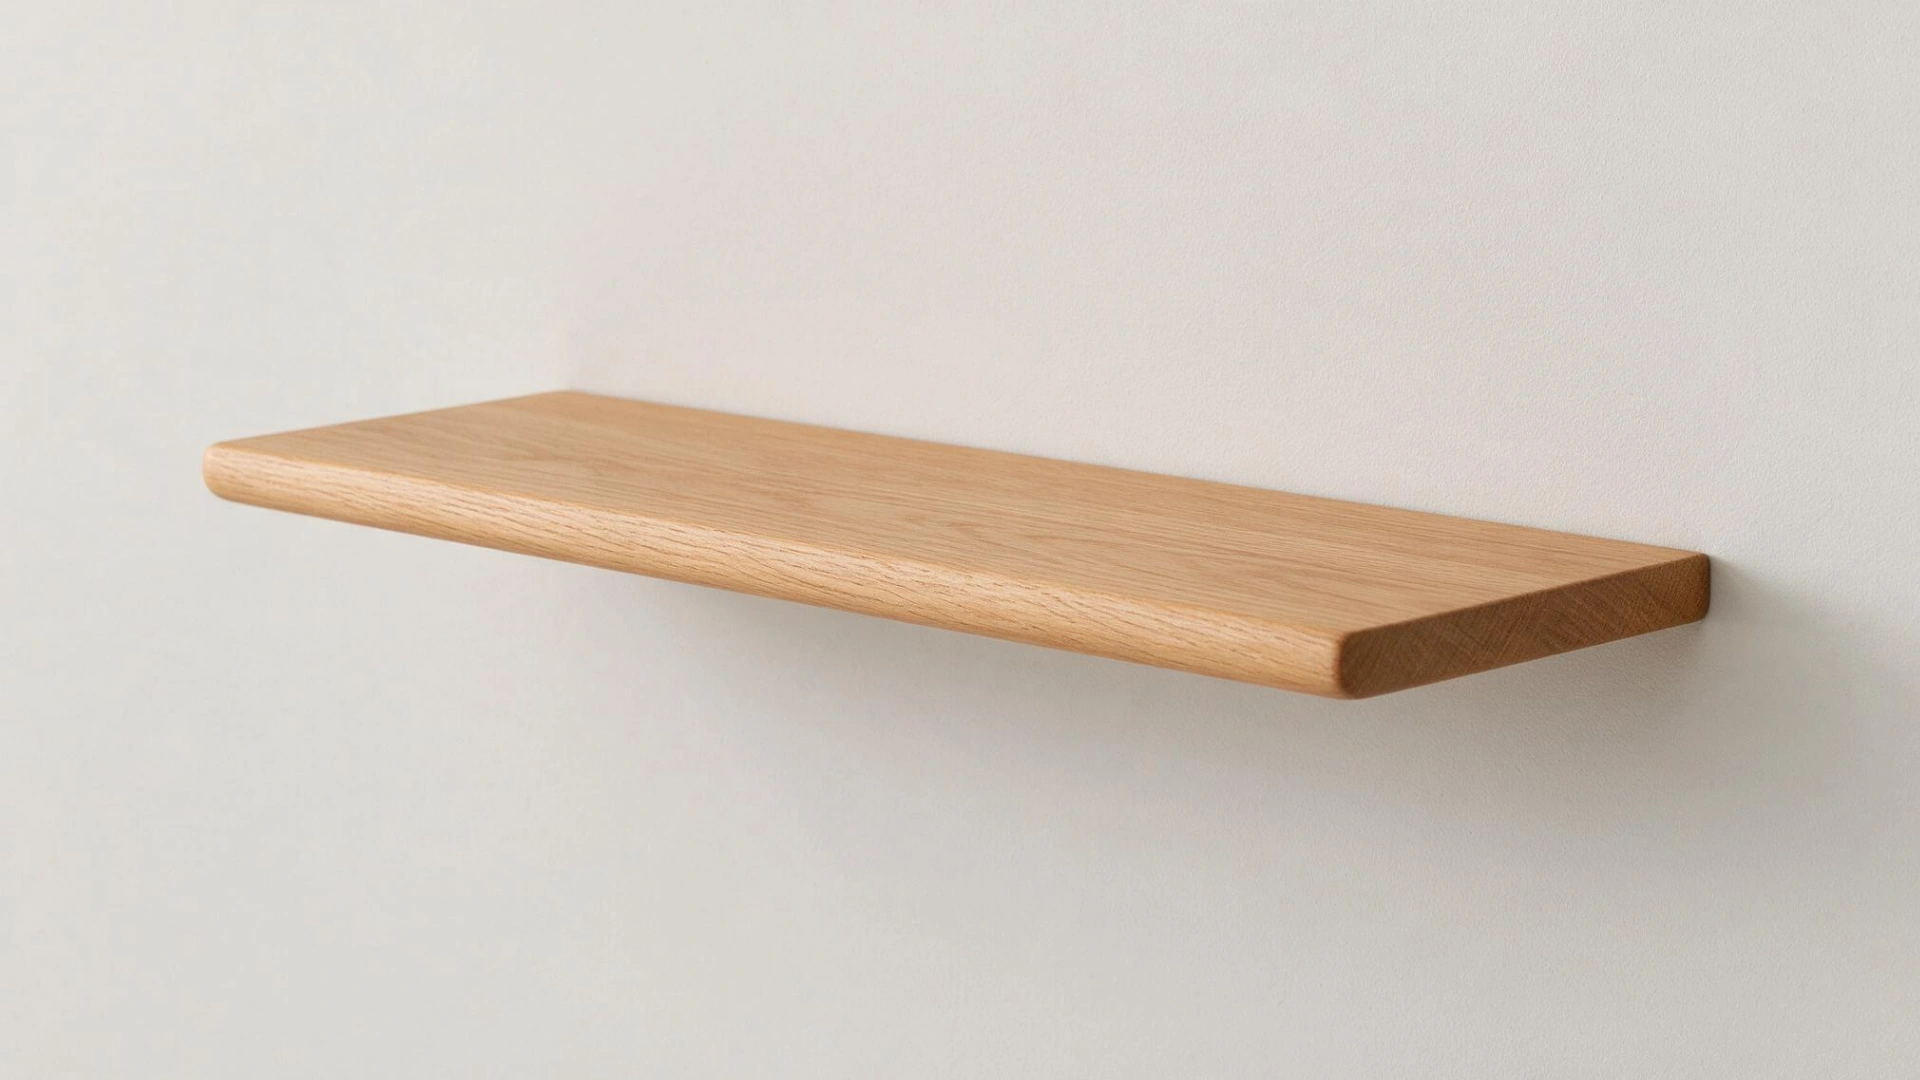
Similar to the hollow box method, but simpler.
A single wood cleat mounts to the wall, and a shelf with a matching groove cut into the back slides onto it, suiting thinner, lightweight shelves that skip a full box structure.
Final Word
Making your own DIY floating shelves is a relatively easy weekend project that adds both utility and beauty to your room without requiring any visible fasteners.
It all boils down to three main things: building a sturdy, concealed support system; securing it to the wall studs; and ensuring your shelf complements the surroundings.
The proper materials and some basic tools will allow you to build your very own floating shelves in no time at all.
Frequently Asked Questions (FAQs)
1. Can Floating Shelves Hold Books?
Yes, as long as they’re anchored into studs with a solid cleat or bracket. Thicker wood also helps it hold more weight.
2. How Deep Should Floating Shelves Be?
A standard depth is 8 to 10 inches. Kitchen shelves sometimes go up to 12 inches to hold plates or cookbooks.
3. Do Floating Shelves Need to Go Into Studs?
Yes, for anything that will hold real weight. Studs give a much stronger hold than drywall anchors alone.
4. What is the Easiest Way to Make Floating Shelves?
A manufactured hidden bracket kit is easiest since it skips building a cleat from scratch, though it still needs to be mounted into studs.