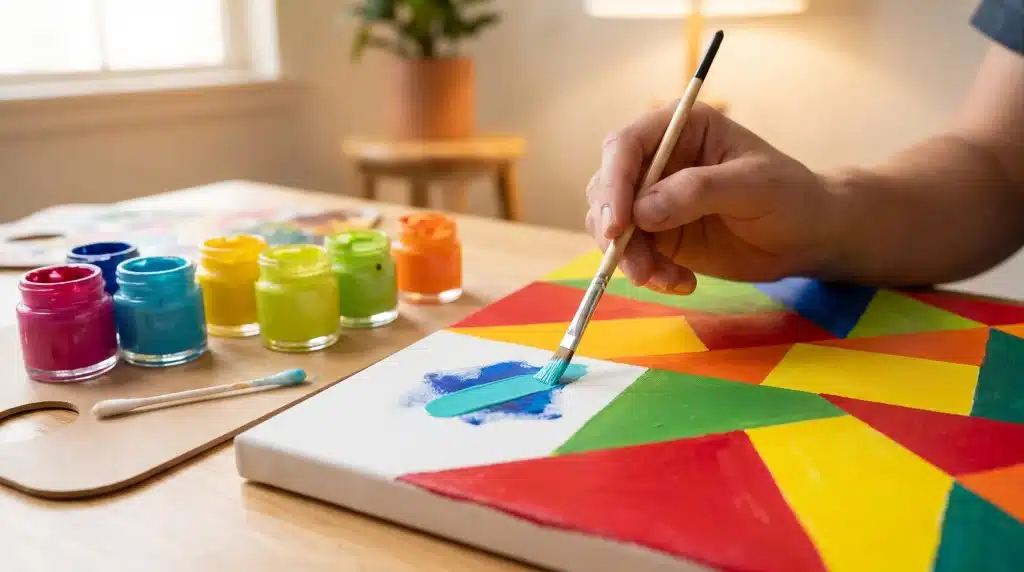
Mistakes on a paint by numbers canvas feel frustrating in the moment, but they’re almost never permanent. Acrylic paint – the kind most kits use – dries fast and layers well, which means a stray brushstroke or a color dropped into the wrong section is usually a five-minute fix. You don’t need special supplies or professional experience to correct errors. What you do need is a clear method and a little patience, and this article walks you through exactly that.
Understanding Why Acrylic Paint Lets You Fix Almost Anything
Most people assume a mistake ruins the whole canvas. It doesn’t. Many of the best relaxing paint by numbers projects go through several rounds of correction before the finished piece looks clean and polished. Acrylic paint’s opacity matters here: because it dries to a solid, matte finish, a fresh layer of the correct color will cover an incorrect one without any ghost bleeding through, provided you apply it at the right thickness. That’s a meaningful advantage over watercolor or oil paint, where corrections are far more complicated. The only condition is that the paint underneath must be fully dry before you apply the cover layer. If you try to paint over a wet mistake with a different color, the two will mix, and you’ll end up with a muddy blend instead of a clean fix.
Why Wet Mistakes Are the Easiest to Handle
Catching an error while the paint is still wet gives you the most options. Fresh acrylic stays workable for roughly five to fifteen minutes depending on how much you loaded onto the brush, the humidity in the room, and how thickly you applied it. If you notice a stray brushstroke or an accidental drip during that window, pick up a clean, slightly damp brush and gently lift the wet paint from the surface. Work from the outer edge of the mistake inward so you don’t spread it further across the canvas. A cotton swab is useful for smaller smears – it absorbs the wet paint without dragging it across a larger area. Once you’ve removed as much as possible, let the spot dry completely before going back over it with the correct color. Don’t rush that drying step. Even a slightly tacky surface will cause the cover paint to mix at the edges, which creates a soft, uneven boundary rather than the sharp, clean line the numbered sections require.
What Dry Mistakes Actually Need
A fully dried error requires a different approach. The goal is to build up enough opacity in the correct color to block out what’s underneath entirely. Start by checking whether the wrong color is darker or lighter than the one that belongs there. Covering a dark color with a light one takes more coats – sometimes three or four thin layers – because light pigments have less inherent opacity. Covering a light color with a dark one is usually a single-coat job. Apply each layer thinly and let it dry fully before adding the next. This matters more than most people expect: a thick single coat tends to look streaky and can peel at the edges once it dries, while two or three thin coats build a smooth, even surface that blends into the surrounding sections naturally. The section outline on the canvas is still visible through most paint layers, so use it as your guide to stay within the correct boundary as you build up coverage.
Practical Techniques That Keep Your Canvas Looking Clean
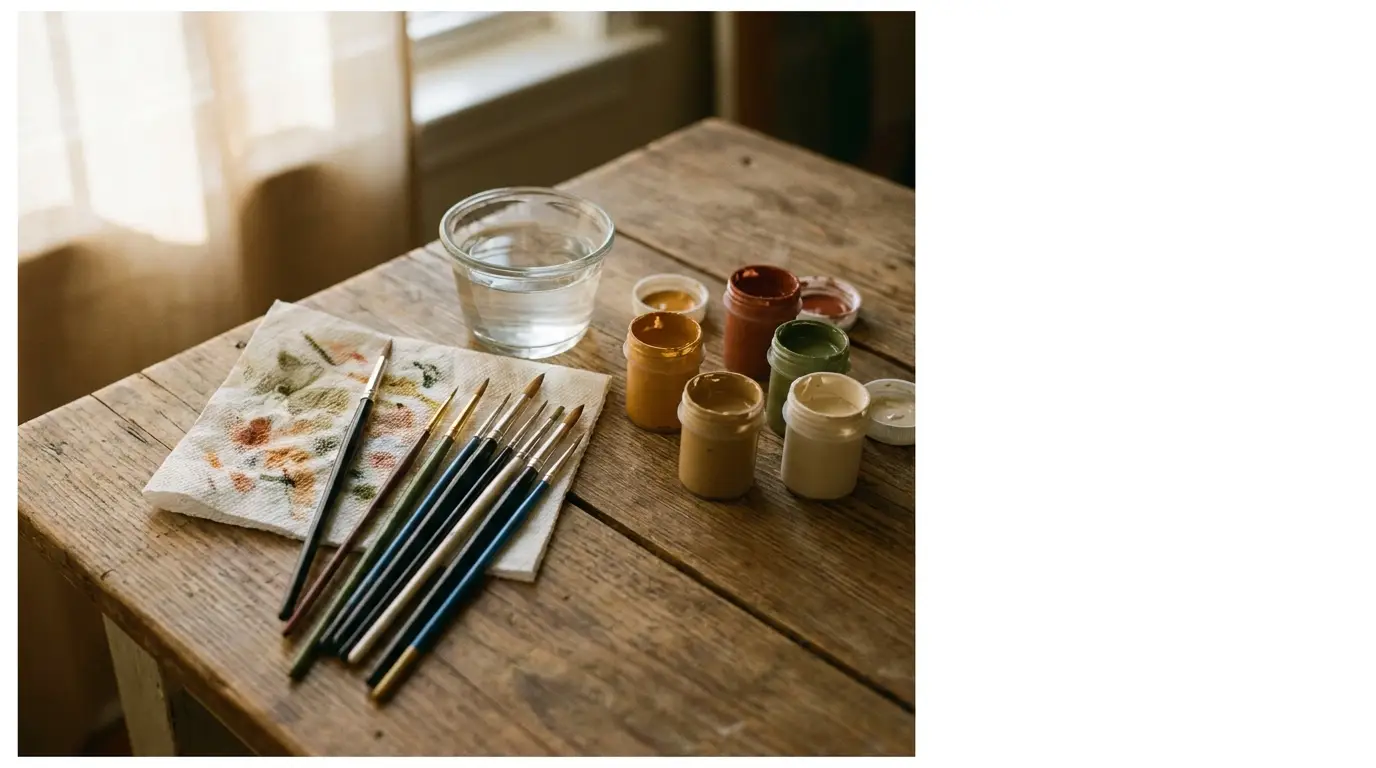
Good error correction is really about process, and a few small habits make a big difference. Before you start fixing a mistake, make sure your brush is the right size for the section you’re working in. A large brush in a small numbered section is one of the most common causes of color bleeding into neighboring areas in the first place, so switching to a fine-tipped brush for tight corrections gives you much better control. Rinse your brush thoroughly between colors, since residual pigment in the bristles will tint the correction paint and make a clean fix harder to achieve. Also, keep a separate cup of clean water nearby for rinsing during corrections, separate from the water you use while painting normally. That way, you’re not accidentally introducing muddy water into a correction you’ve worked carefully to build up.
Mixing Paint to Match the Original Color
One complication that comes up in corrections is running out of the original paint color before you’ve finished fixing the mistake. Most paint by numbers kits include specific pre-mixed colors in small pots, and the exact shade isn’t always easy to recreate from scratch. If you’re low on a color, use it sparingly on the visible outer layer of the correction and save any remaining paint for final touch-ups. For the base layers underneath, a similar shade – even if it’s not a perfect match – works fine because it will be fully covered by the time you finish. But if you run out of a color completely, look at the remaining colors in your kit and test small amounts mixed on a palette or spare paper before applying anything to the canvas. Some shades can be approximated by blending, and it’s worth spending a few minutes on a test mix rather than applying a noticeably off shade to a section you’ve already spent time fixing.
Preventing Smears and Bleeds During Normal Painting
Correction is easier when you’ve avoided spreading a mistake in the first place. Paint each section with a brush that matches its size – the kits often come with multiple brush sizes for this reason. Load just enough paint to cover the area without excess pooling at the edges, and let each section dry for a few minutes before you paint an adjacent one. If two neighboring sections share a color, it can help to paint all instances of that color across the canvas in a single session before switching. That rhythm reduces the number of brush rinses and color transitions you make, which in turn reduces the chance of accidental cross-contamination between sections. Keep a paper towel nearby to blot the brush after rinsing – a wet brush dilutes the paint and weakens coverage, which makes corrections more necessary later.
Conclusion
Fixing mistakes on a paint by numbers canvas comes down to one practical question: is the paint wet or dry? Wet errors lift cleanly with a damp brush or cotton swab. Dry errors respond to thin, layered coats of the correct color built up gradually until the original mistake disappears. Neither situation requires you to start over, and neither requires special art skills. The more you understand how acrylic paint behaves – its opacity, its fast drying time, its layering properties – the easier it is to correct any error you encounter and keep your finished piece looking exactly the way it should.