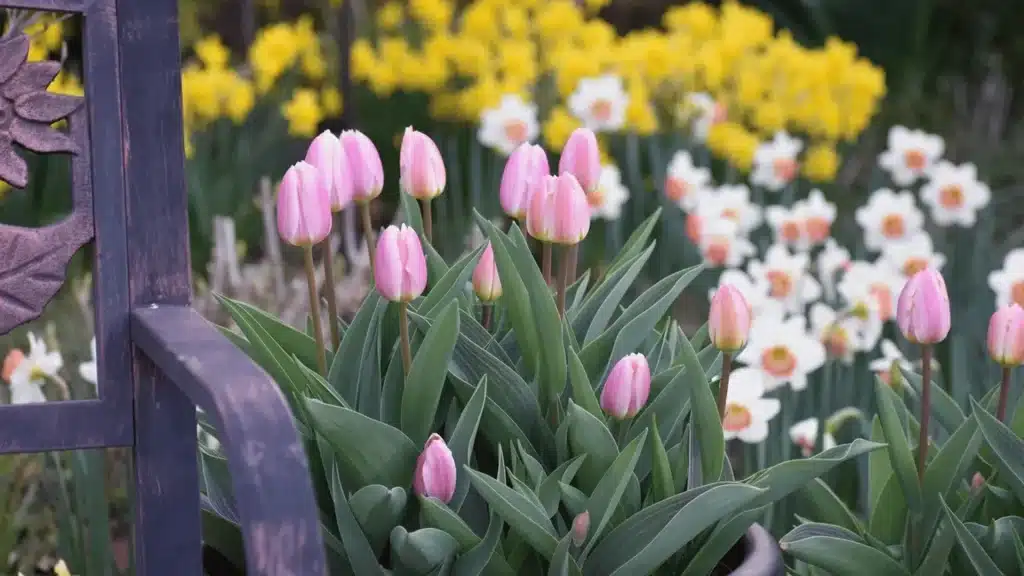
Tulip bulbs look good in spring only if you plant them in cold soil the fall before. Get the timing wrong, and you either lose the bed to a hard freeze or end up with short, weak stems in April.
Knowing when to plant tulip bulbs really comes down to two things: your local soil temperature and how many weeks are left before the ground locks up for winter.
This piece walks through both, along with the depth, spacing, and aftercare details that turn a handful of bulbs into a real spring display.
Gardeners in warmer climates have one extra step to plan around too, and it’s worth knowing before bulbs ever show up in the mail.
When to Plant Tulip Bulbs?
Tulips need weeks of real cold before they’ll bloom, so timing has less to do with a date circled on the calendar and more to do with what’s actually happening in the ground.
Get the window right, and roots form solidly before winter sets in. Get it wrong either way, and bulbs either sit in soil that’s still too warm and wet or run out of time to root before everything freezes over.
Watch the Soil Temperature
The reliable trigger is soil temperature, not a specific week on the calendar. The soil should read 60°F measured about six inches down, cooler in most of the country by mid to late fall.
Pairing that with nighttime air temperatures in the 40 to 50°F range gives you a second, easier-to-check signal that soil is heading in the right direction.
Once soil cools to that point, bulbs shift from trying to push up leaves toward growing roots instead, which is exactly the order you want heading into winter.
Plant Before the Ground Freezes Solid
Six to eight weeks before your area’s typical hard freeze date is the standard window most bulb growers work from.
That window gives roots enough time to establish without leaving bulbs sitting for months in soil that’s about to lock up completely.
Waiting past that point usually means weaker rooting rather than a lost season, but it’s still worth avoiding if the forecast gives you any choice.
Match Timing to Your USDA Zone
The soil-temperature rule stays the same everywhere, but when to plant tulip bulbs in practice still shifts by USDA hardiness zone. The National Gardening Association’s planting chart is a useful reference point for figuring out your own window:
- Zones 1 to 3: early to late September
- Zones 4 and 5: late September to early October
- Zone 6: mid-October
- Zones 7 and 8: early November
- Zones 9 to 11: early to late December
What Happens if You Plant Too Early?
Bulbs planted while the soil is still warm often push up leaf growth before winter, and the first real frost kills it.
The bulb usually survives, but it burns energy it needed for spring on foliage that never had a chance. If a warm spell hits right after planting, there’s not much to do but wait it out.
Mulch a Little Extra in the Coldest Zones
Gardeners in zones 1 through 4 get one extra step. A three- to four-inch layer of straw, hay, or shredded leaves added about a month after planting helps protect bulbs through the deepest part of winter.
It’s not required everywhere, but it matters more the colder the zone gets.
How to Plant Tulip Bulbs Step by Step?
Once the timing lines up, the actual planting is fairly simple. Pick a spot, dig to the right depth, and let winter handle the rest of the work.
The steps below cover the details that matter most once bulbs are actually in your hands.
1. Choose a Sunny, Well-Drained Spot
Tulips want at least six hours of direct sun and soil that drains fast after rain. Standing water rots bulbs before they get the chance to root, so raised beds, gentle slopes, or amended soil beat low, soggy corners of the yard every time.
A quick check after a heavy rain will usually tell you which spots to avoid.
2. Set Bulbs at the Right Depth and Spacing

Plant bulbs about six to eight inches deep, roughly three times the bulb’s own height, and space them four to six inches apart.
Deeper planting also makes bulbs harder for squirrels and other diggers to find before spring, which on its own is reason enough in some yards.
3. Point the Tip Up and Backfill Gently

Set each bulb with the pointed end facing up and the flatter root side down, then backfill with loose soil. Firm it down by hand so the bulb makes good contact with the surrounding soil without packing it too tightly.
Working row by row instead of digging one hole at a time also keeps depth and spacing more consistent across a full bed.
4. Water Once, Then Let Dormancy Do the Work

Give the bed one good watering right after planting to settle soil around the bulbs. After that, tulips don’t need regular water until spring growth starts, and extra moisture over winter often causes more problems than it solves.
Rain usually covers whatever tulips need over the cold months, so there’s rarely a reason to step in unless the season turns unusually dry.
5. Plant in Clusters for a Fuller Look

Bulbs planted in loose clusters of five or more tend to read as a real patch of color come spring, rather than a thin, scattered line.
Growers who sell cut tulips often plant this way for the same reason, and it costs nothing extra to arrange bulbs in clusters while you’re already digging.
Pre-Chilling Tulip Bulbs in Warm Climates
In USDA hardiness zones 9 to 11, there is not normally sufficient naturally occurring cold to allow tulips to behave as advertised on the seed packets.
Instead, you can chill your bulbs before planting, but this requires some advance preparation.
Give Bulbs Ten to Fourteen Weeks of Cold
A common recommendation is ten to fourteen weeks at 40 to 45°F before planting.
That means starting the chill period well before local soil cools down, since the refrigerator time must finish before you plant the bulbs.
Keep Bulbs Away from Fruit in The Fridge
Store your growing bulbs in an additional refrigerator or somewhere nothing else is growing. Fruits emit ethylene gas, which can harm the flower that develops in the bulb even before planting it.
Using a designated refrigerator to store bulbs is ideal, and checking on them after a few weeks helps prevent problems like mold or rotting spots.
Aftercare Tips for Stronger Spring Blooms
Getting bulbs in the ground on time is most of the work, but a little attention after bloom season affects how well tulips come back the following year. None of it is complicated; it just goes against instinct in a couple of spots.
A few extra minutes in early summer and again in fall are usually all it takes to keep a planting reliable year after year.
Let the Foliage Die Back on Its Own
Leave the leaves in place after flowers fade, even once they start looking rough.
The bulb still pulls energy from those leaves to store for next year, and cutting them back early is one of the most common reasons tulips bloom weaker each season.
Skip Watering During Summer Dormancy
Once foliage has died back completely, stop watering that part of the bed for the summer.
Tulips rest underground during the warmer months, and consistent moisture during that stretch is one of the more common reasons bulbs rot or simply fail to return.
Divide Crowded Clumps Every Few Years
Clumps of tulips that have grown in the same place for several years usually produce smaller flowers because of overcrowding.
Lifting them, dividing them when the leaves have died back, and replanting them at normal spacing will usually restore flower size the following spring.
Conclusion
Getting the timing right is really the whole game here. Once you know when to plant tulip bulbs in your zone, the rest (depth, spacing, sun, and a little patience over winter) comes together fast.
The same holds for planting tulip bulbs correctly the first time: a sunny spot, well-draining soil, and bulbs set at the right depth do most of the heavy lifting.
Warmer climates just add one extra step in the form of pre-chilling, planned out weeks in advance. Get bulbs in the ground on schedule through fall, and spring mostly takes care of itself.
Miss the window, and tulips can still go in late; just expect shorter stems and a lighter bloom.
Frequently Asked Questions (FAQs)
1. Can Tulip Bulbs Go in the Ground During Spring Instead of Fall?
No, tulips need a real cold period to form flowers, so spring planting mostly produces leaves and no blooms.
2. What Happens if a Hard Freeze Hits Before Bulbs Have Rooted?
Rooted bulbs handle frozen soil fine, but bulbs planted too close to a freeze may not root at all.
3. Is Fertilizer Necessary at Tulip Planting Time?
A bulb-specific fertilizer worked into the hole helps, though tulips still bloom their first year without one.
4. Do Squirrels Actually Target Newly Planted Tulip Bulbs?
Yes, squirrels and other rodents go after tulip bulbs specifically, which is one reason deeper planting helps.