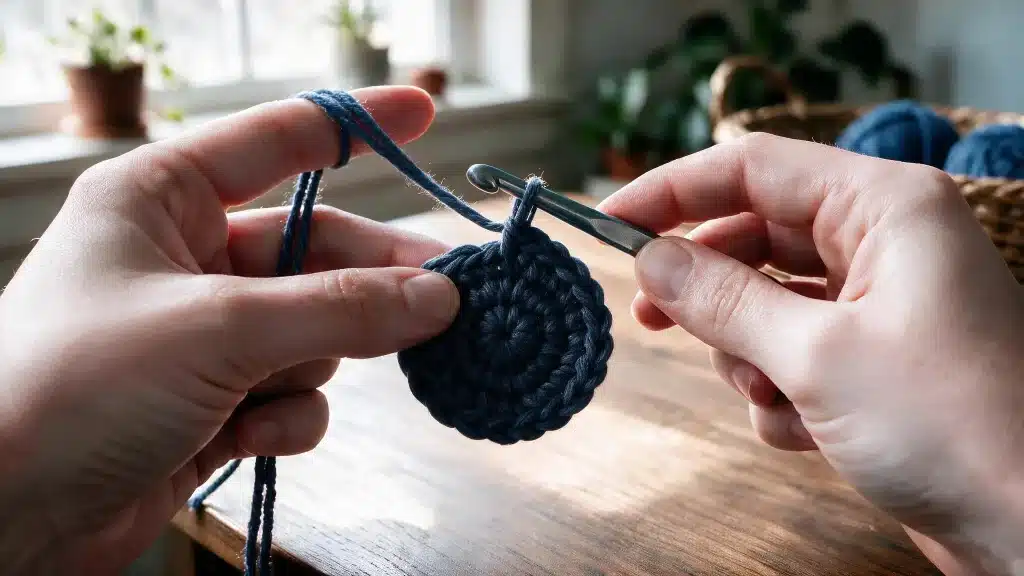
A crochet project can look almost finished, then that small hole at the center gives it away.
Stuffing shows through the amigurumi, or the hat crown never quite lies flat, no matter how carefully the stitches were counted.
Magic ring crochet solves this exact problem by creating a loop that pulls shut with no gap left behind.
Getting the hand position right takes a little practice, but the payoff shows up in every round crocheted after that. A few simple steps turn that frustrating gap into a smooth, flawless start.
What is a Crochet Magic Ring?
A magic ring is an adjustable loop of yarn used to start crocheting in the round.
Instead of chaining a small circle and joining it with a slip stitch, the loop stays open until the first round of stitches is finished. Pulling the tail afterward closes the center completely, leaving no gap behind.
Crocheters reach for this method whenever a project starts from a single point and needs to look finished from the very first round.
Materials You’ll Need
A magic ring doesn’t call for anything special. Yarn, a hook, and a yarn needle cover the basics.
- Yarn: medium worsted weight (weight 4) is the easiest starting point for a first attempt.
- Crochet Hook: match it to the yarn. 4mm to 5.5mm covers most worsted weight projects.
- Yarn needle: needed later to weave the tail in once the ring pulls shut.
- Stitch marker: not required, but dropping one into the first stitch saves time hunting for it afterward.
Stick with a light, solid color for the first few tries. Fuzzy or dark yarn tends to blur the loop, and spotting exactly where the hook needs to go gets harder than it should be.
Tail length shifts with yarn weight, too. Bulky yarn eats up more length when weaving in, so leave around 8 inches. Fingering weight barely needs 4.
Steps for Magic Ring Crochet
Six single crochet stitches make up the standard example here. Most patterns begin round projects this way.
Step 1: Make the Starting Loop
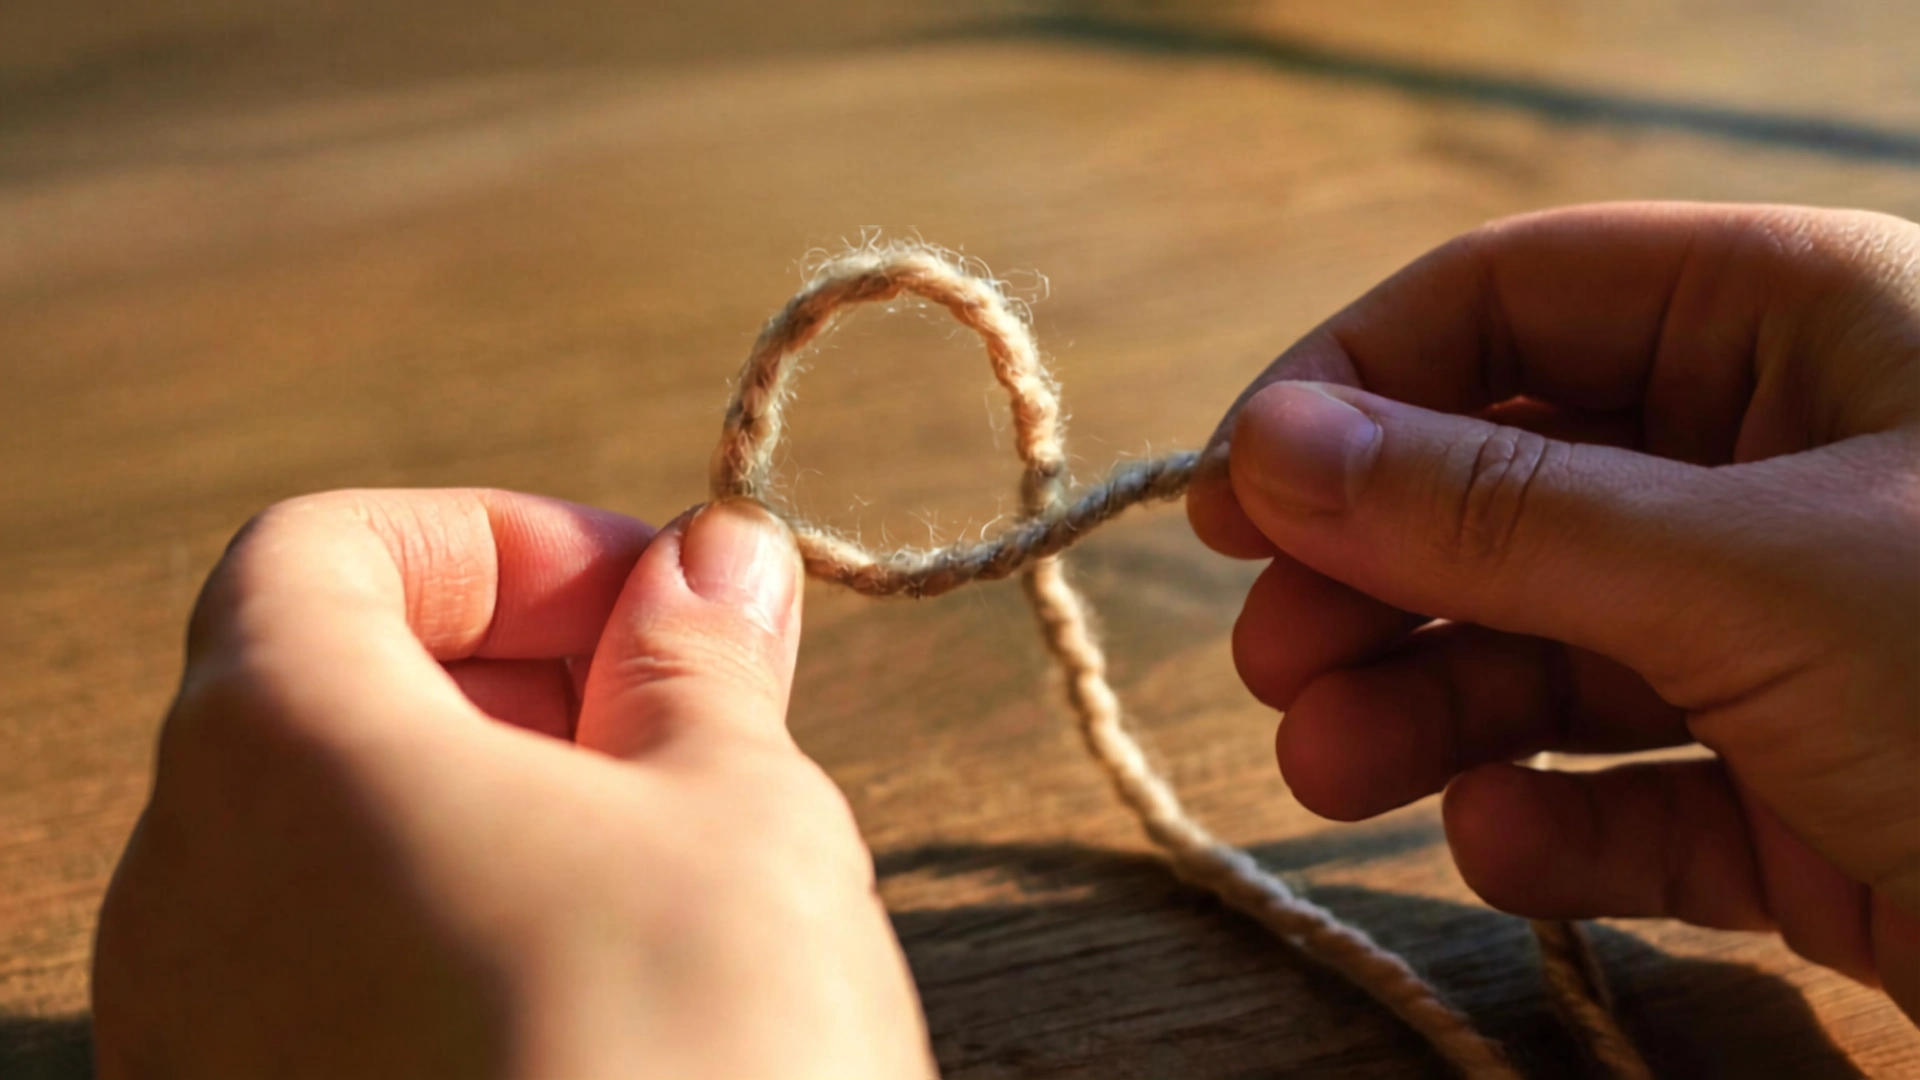
Cross the yarn over itself to form a loop. Leave a tail long enough to weave in later, around 8 inches for bulky yarn or 4 inches for fine yarn.
Keep the crossing point loose enough to slide the hook through without much resistance.
Step 2: Insert the Hook and Pull Up a Loop
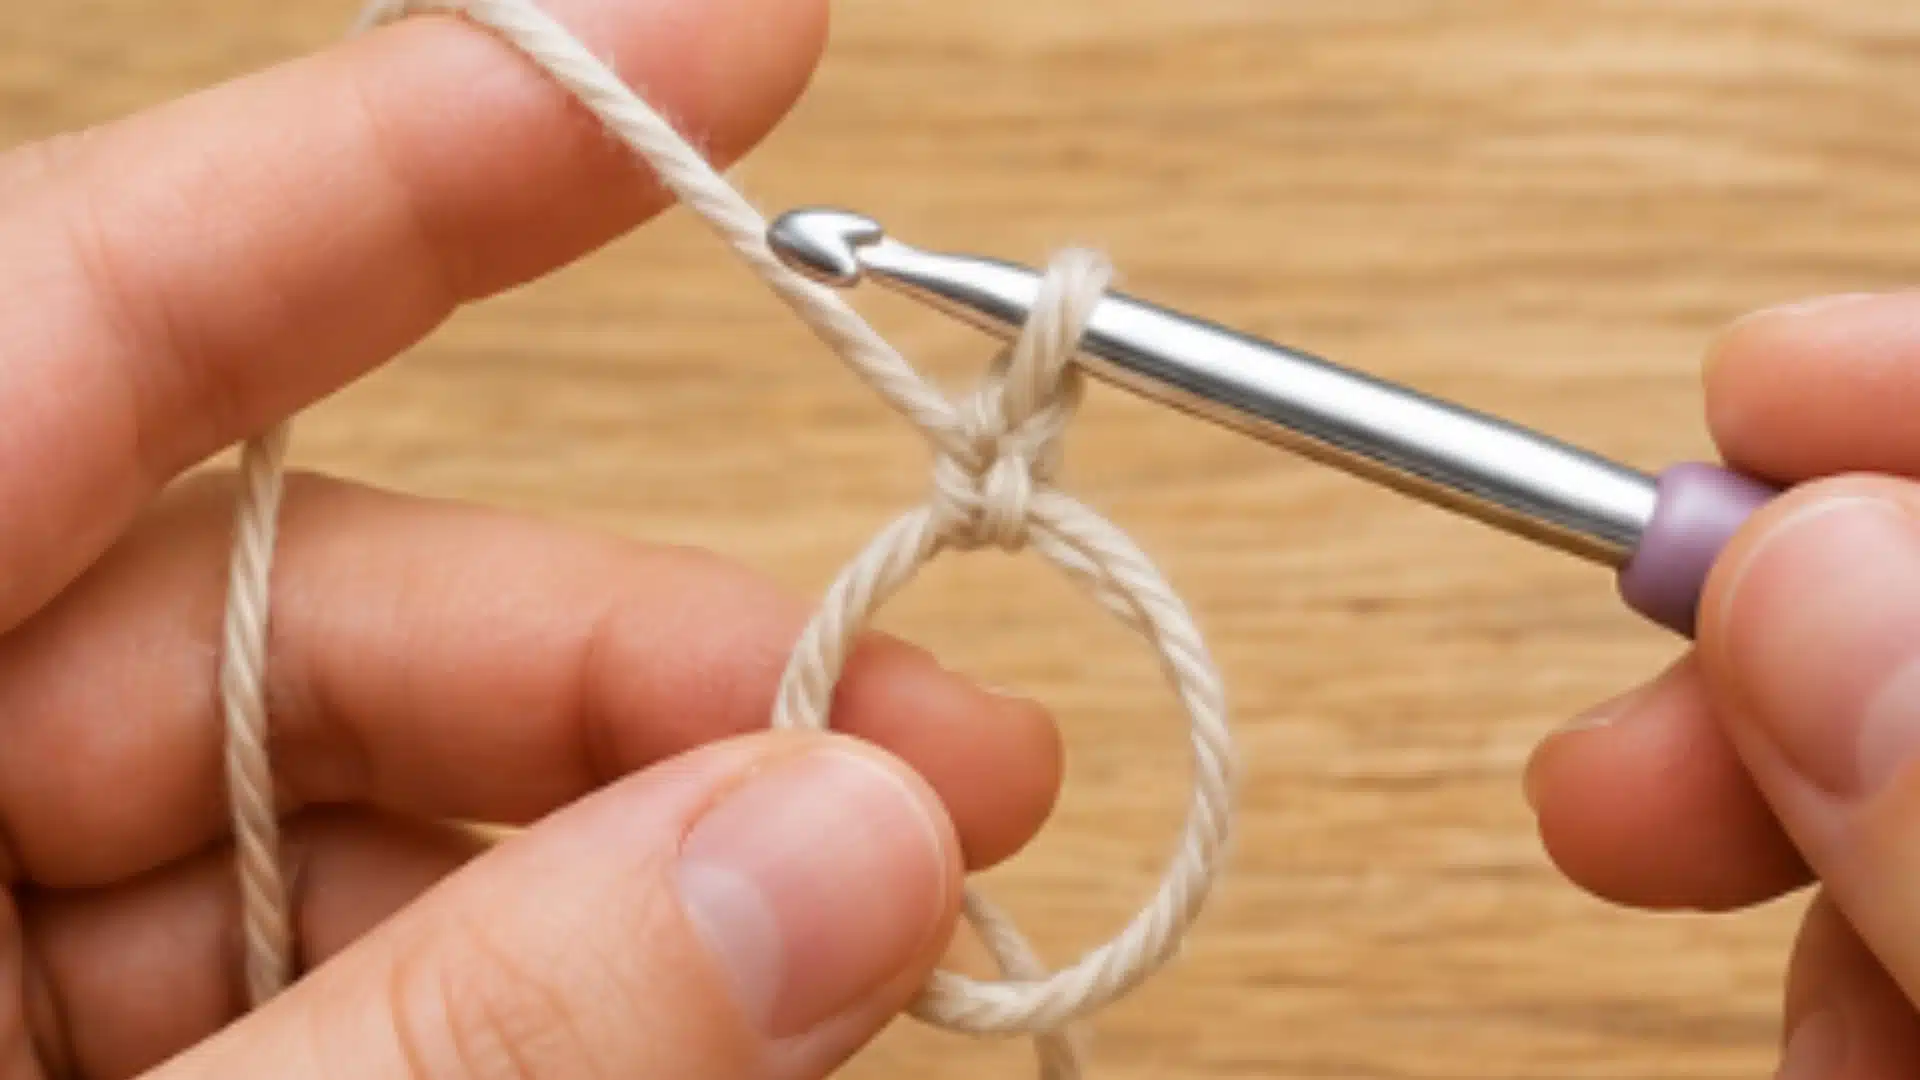
Slide the hook through the loop, front to back. Catch the working yarn and pull it through. Watch for the tail getting grabbed by mistake instead of the working strand.
Step 3: Chain to Lock the Loop
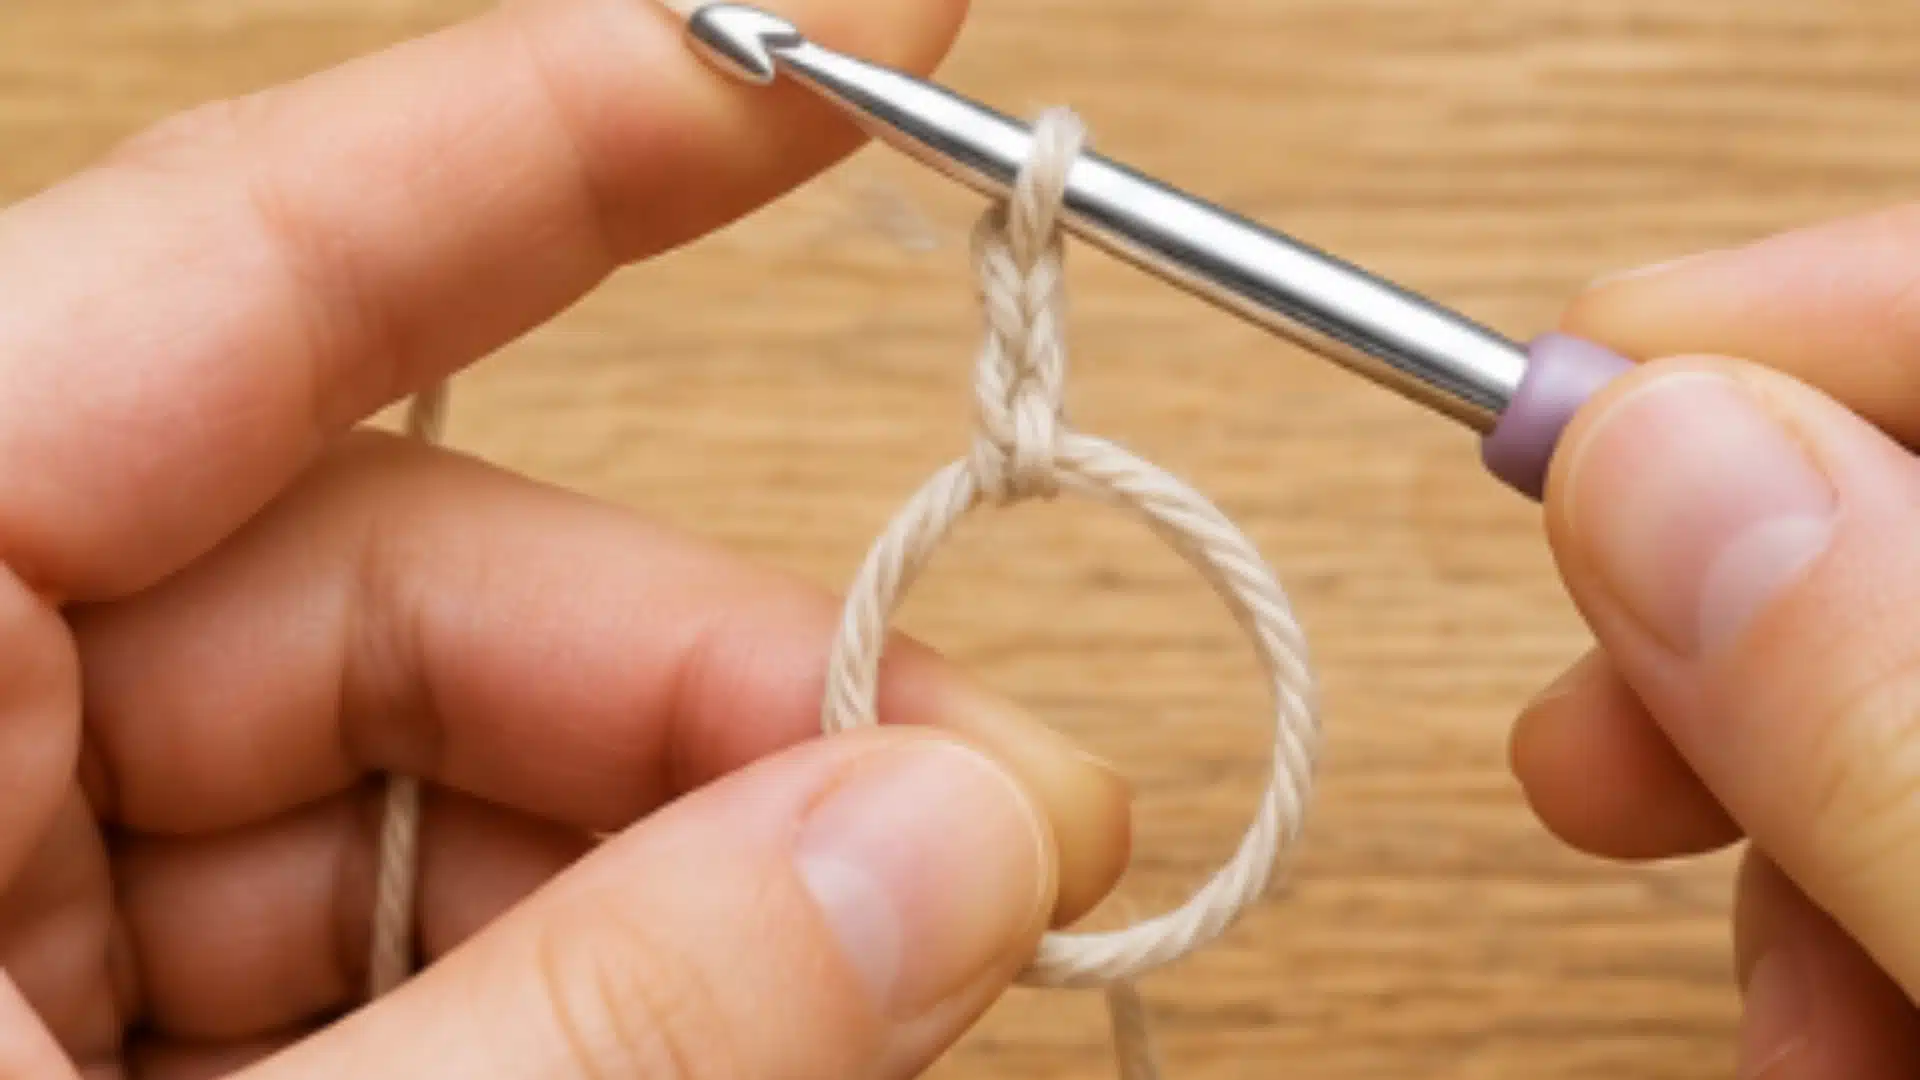
Double crochet calls for chaining 2 or 3 instead of 1 before working into the ring.
But unlike the single-chain anchor, this taller starting chain usually counts as the first stitch of the round, so factor it into your stitch count.
Step 4: Crochet the First Round Into the Ring
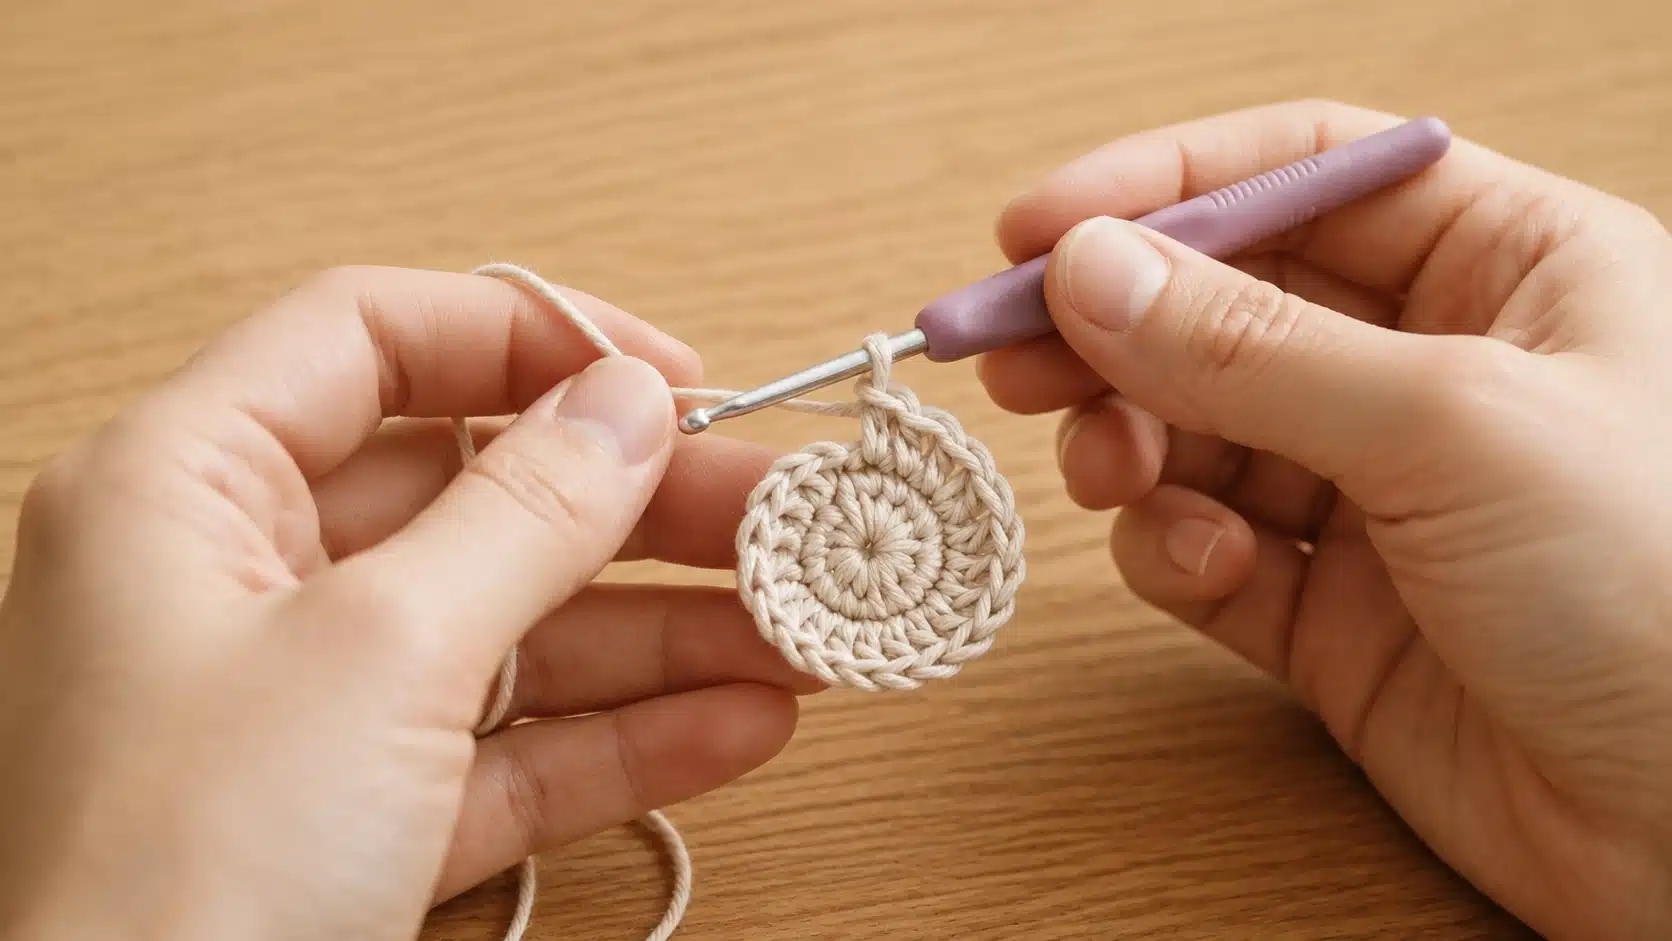
Work six single crochet stitches into the ring. Catch both the loop and the yarn tail with each one. A stitch marker dropped into the first stitch now saves the hunt for it later.
If a stitch seems to disappear when the ring closes, check that your stitch marker is still in the true first stitch; it’s usually still there, just pulled snug.
Avoid adding extra stitches to compensate, since that will throw off your final count.
A first stitch pulled too tight can be hard to find again in round two. A yarn needle poked through the stitch and wiggled gently loosens it enough for the hook to slide back in.
Step 5: Pull the Tail to Close the Ring
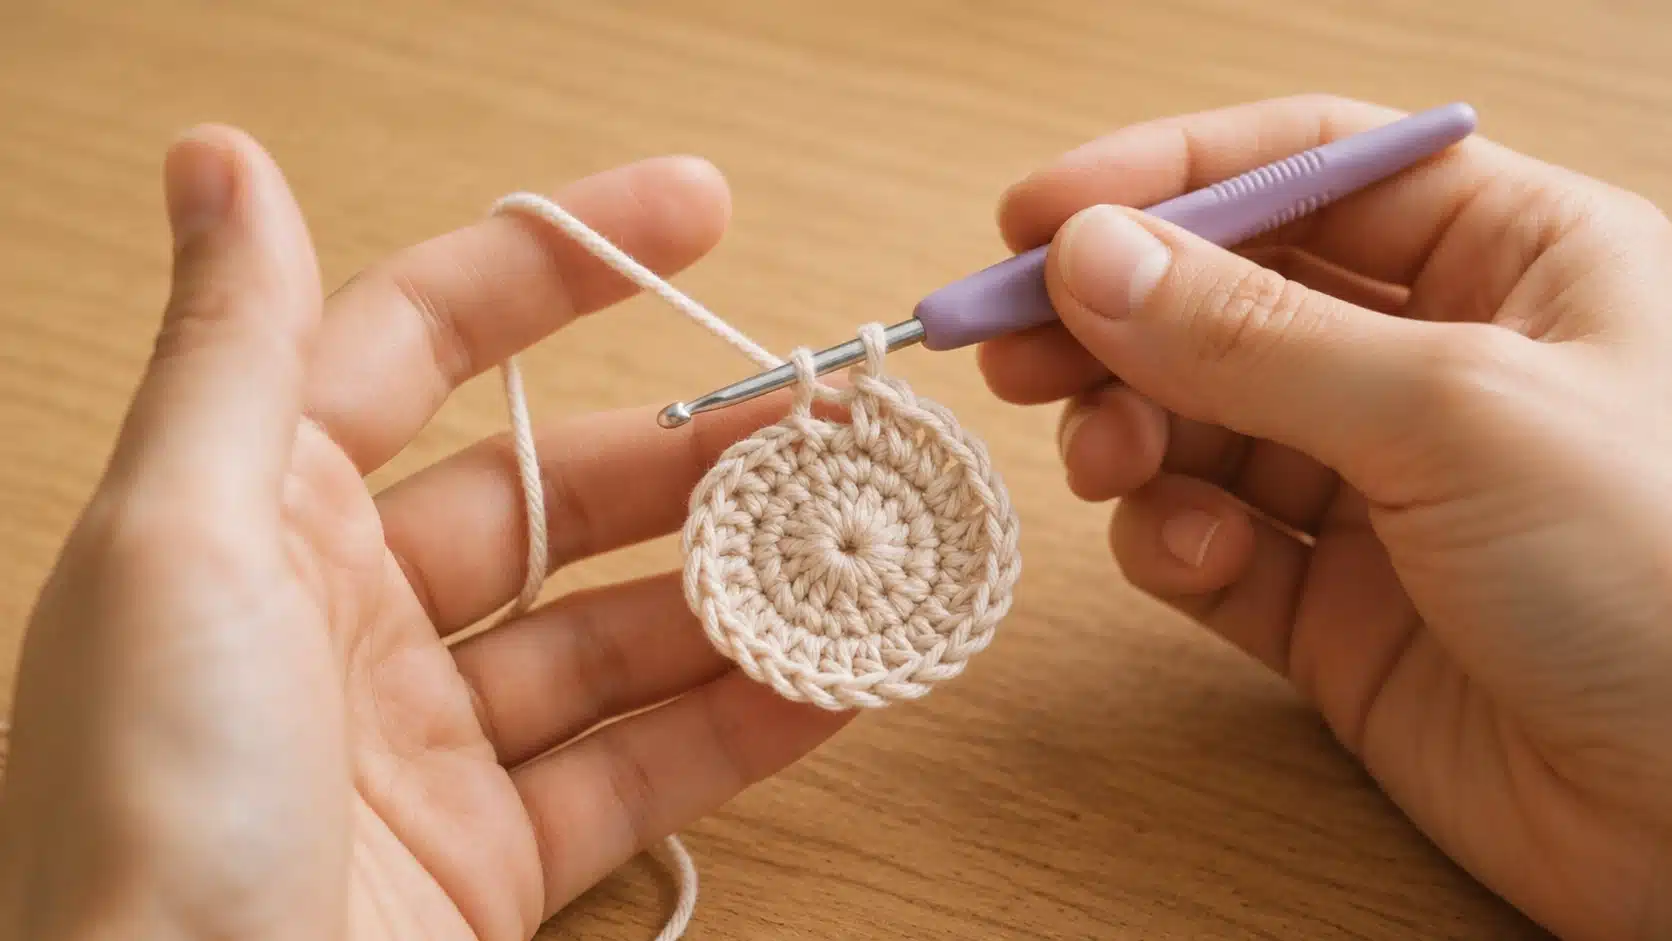
Pull the yarn tail steadily. The center should cinch shut. If nothing moves, you probably pulled the wrong strand. Sometimes the center needs a second tug after the next round.
Step 6: Join or Continue, and Secure the Tail
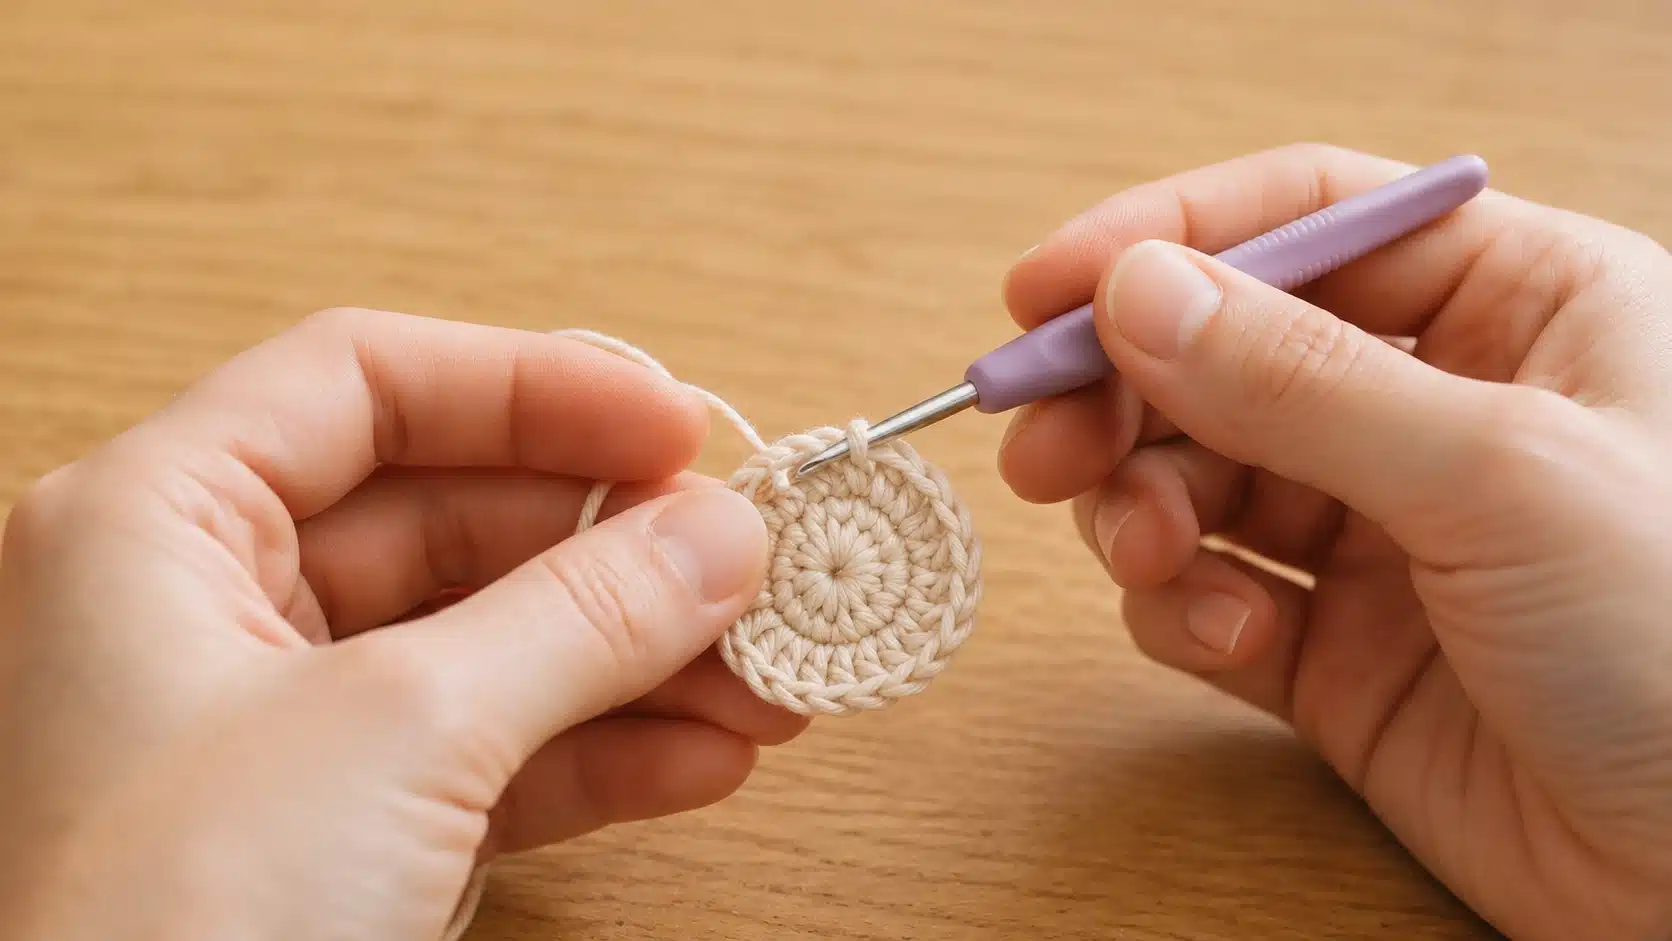
Slip stitch into the first stitch to join the round. For amigurumi, continue in a spiral instead.
Weave the tail through 4 to 6 stitches, reverse direction, and weave back through. One pass in a single direction won’t hold.
Cutting the tail right after closing the ring is one of the most common reasons centers come loose later, so leave it until you’ve finished weaving.
Two Ways to Hold a Magic Ring
Crocheters use two different finger techniques to form the loop, and both lead to the same closed center.
Single-Wrap Loop
The yarn crosses over itself just once, making a simple loop. This method comes together fast and closes with a single tug on the tail.
Slippery yarn sometimes loosens a bit more with this version, so keeping tension steady while working the first round matters.
Double-Wrap (Reinforced) Ring
Wrapping the yarn around the fingers twice creates two strands instead of one. Closing takes a bit more attention, since each strand needs to be pulled in the right order.
Amigurumi limbs and pieces that get squeezed or handled often benefit from this extra step.
Left-Handed Magic Circle Crochet
The same six steps apply for left-handed crocheters, with hand positions mirrored throughout.
- Hold the yarn tail with the right hand
- Let the working yarn sit on the right side, tensioned by the same hand
- Move the hook through the loop the same way, just approached from the opposite side
Crossing the yarn, chaining, and working the first round all happen exactly as described earlier, only flipped.
Practicing the motion a few extra times helps it feel less backward. A right-handed demonstration, flipped mentally step by step, tends to slow things down more than it helps.
Following left-handed instructions directly, instead of reversing someone else’s steps in real time, gets the technique to stick faster.
Projects That Use a Magic Ring
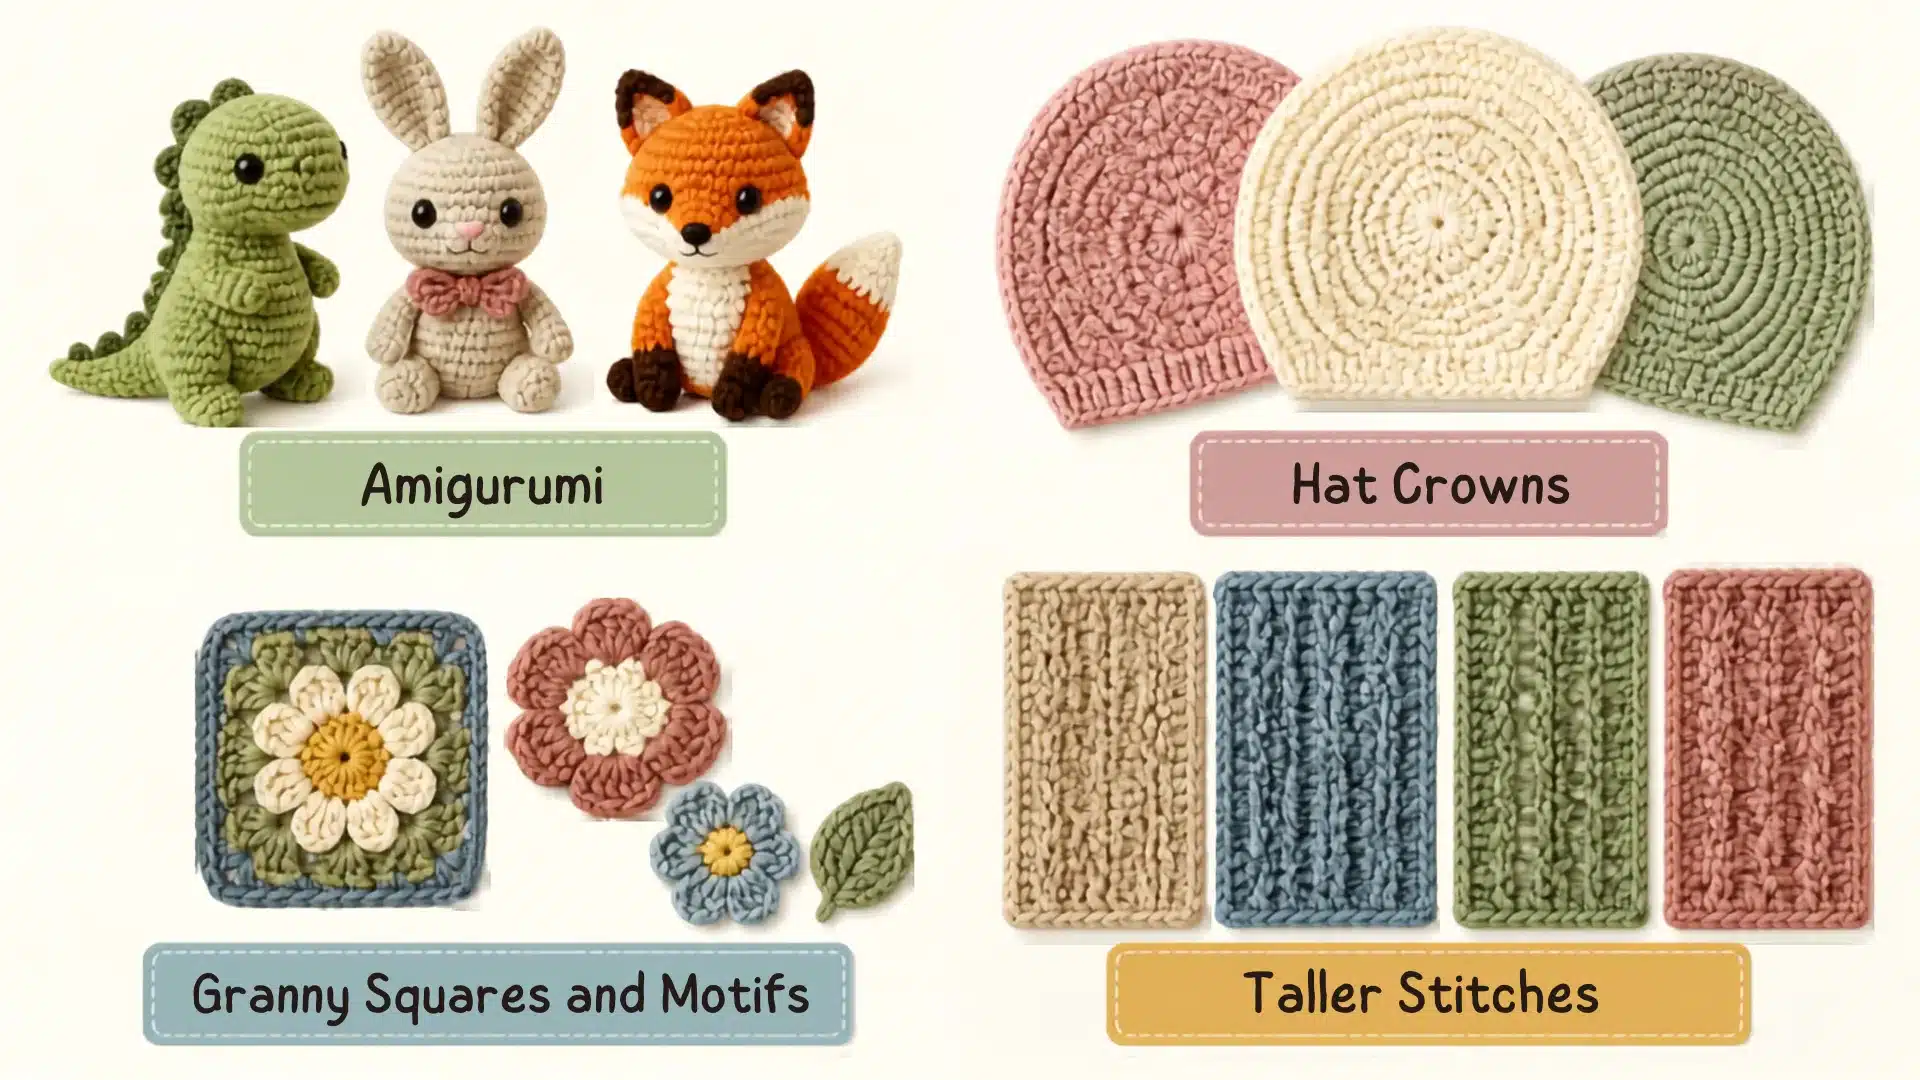
The magic ring shows up across a wide range of projects, wherever a closed, gap-free center matters.
Stuffing stays hidden behind a fully closed center, which a chain start rarely manages. This keeps the finished toy looking clean and professional.
Hat Crowns
Hats worked from the top down start with a magic ring, then increase outward until the crown reaches the right size for the head.
Granny Squares and Motifs
The first round closes tight, giving joined pieces a neat, consistent center. Multiple motifs joined together look far more polished this way.
Taller Stitches
Double crochet calls for chaining 2 or 3 instead of 1 before working into the ring, since the taller stitch needs more height to clear the loop.
Final Thoughts
Magic ring crochet starts with a loop and a chain, then a few stitches go into that loop before the tail pulls everything shut.
Both finger techniques get the job done, and left-handed steps mirror the same motion without changing a single detail.
Small adjustments come with repetition rather than memorization, whether that means a longer tail for thicker yarn or an extra chain for taller stitches.
The first few tries might feel clumsy, but the motion settles in fast and soon becomes just another step in the pattern.
Frequently Asked Questions (FAQs)
1. Can a Magic Ring Be Used with Knitting?
No, the magic ring is a crochet technique, and knitters use a cast-on circle instead.
2. Is a Magic Ring Required for Crocheting in The Round?
No, a standard chained circle works as an alternative, leaving a small hole visible at the center instead.
3. Does a Magic Ring Work with Two Yarn Colors Held Together?
Yes, both strands loop together, but each tail gets woven in on its own afterward.
4. Can a Magic Ring Be Undone if It’s Made Wrong?
Yes, pulling the working yarn unravels the whole loop back to nothing.