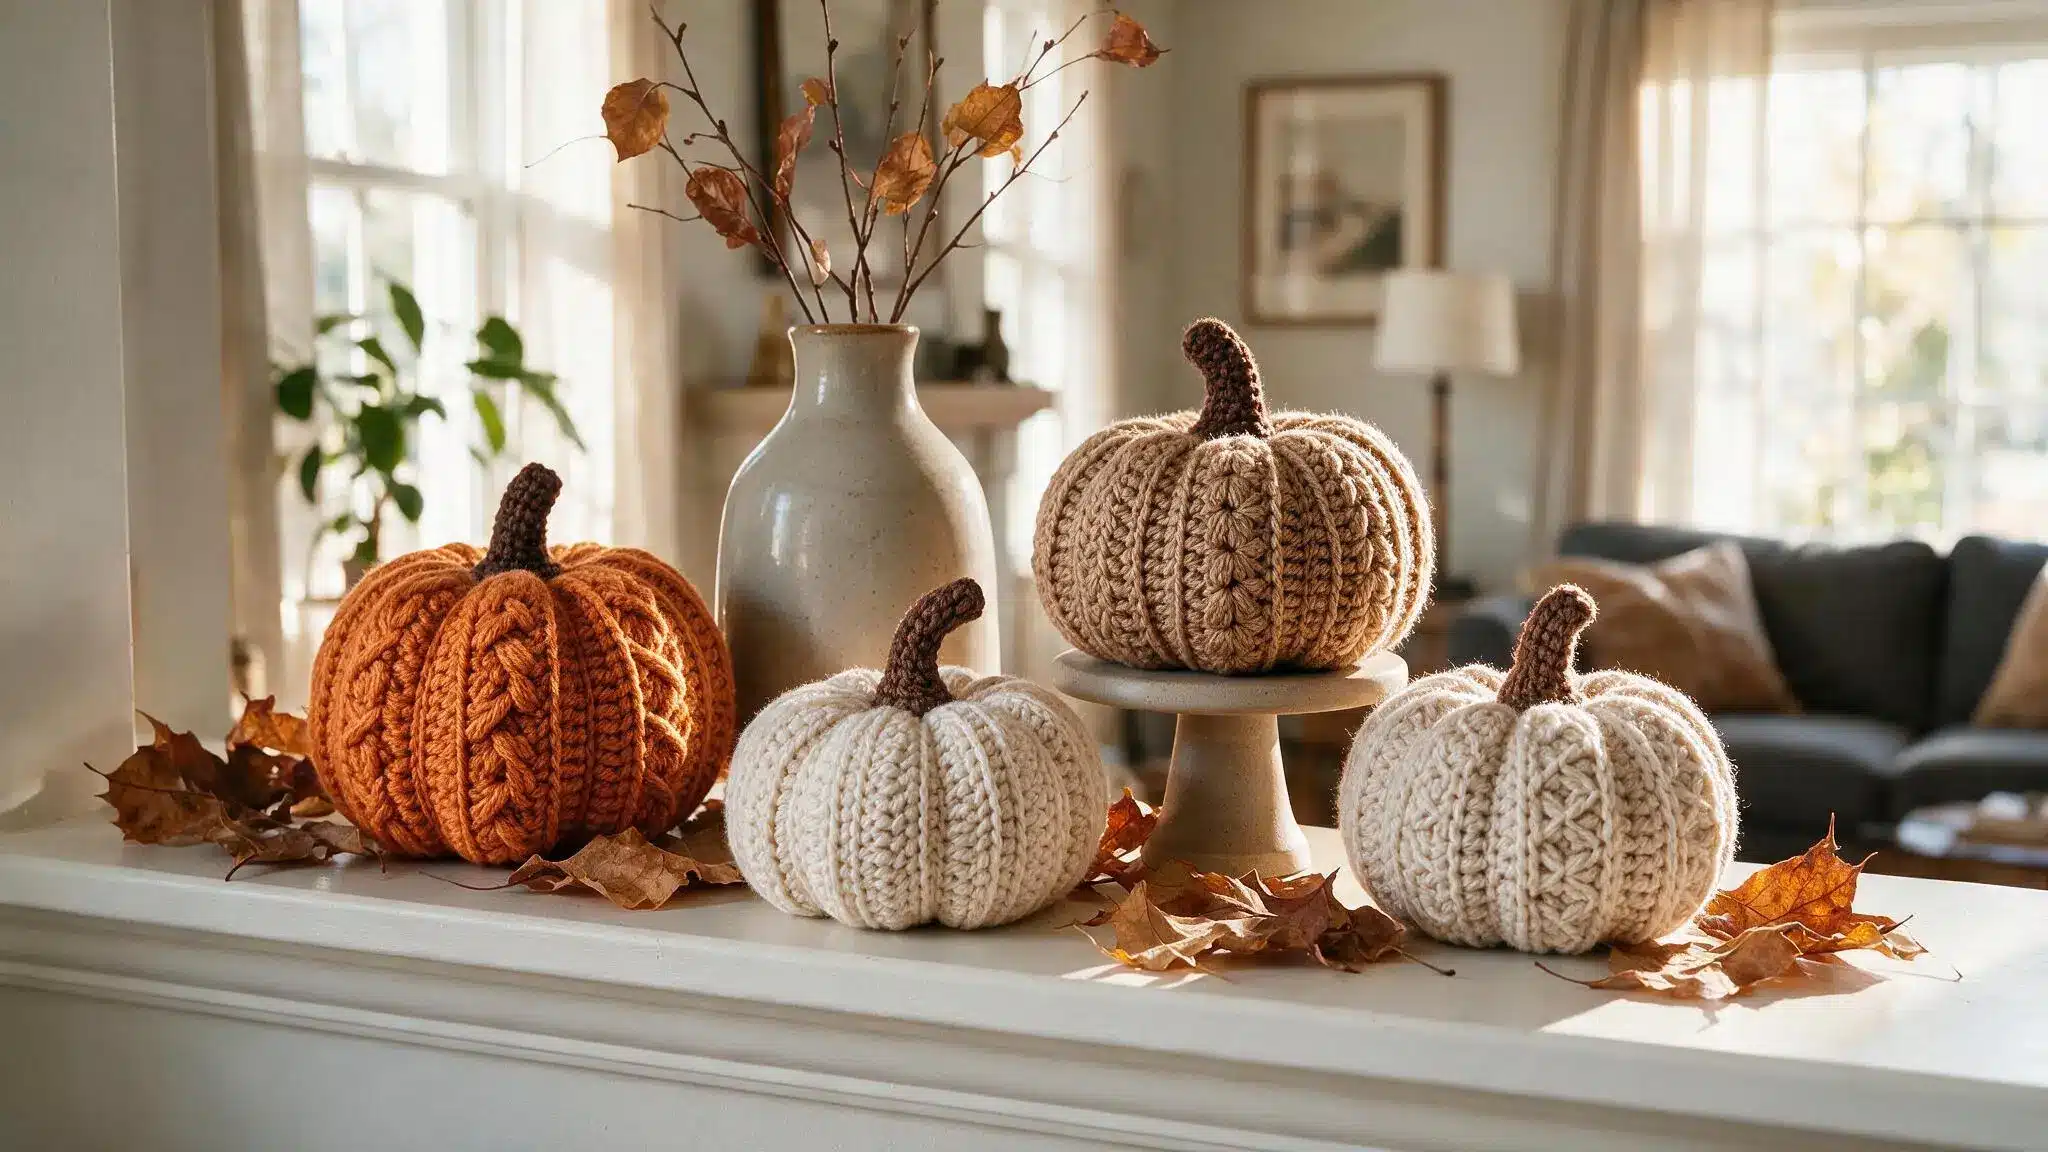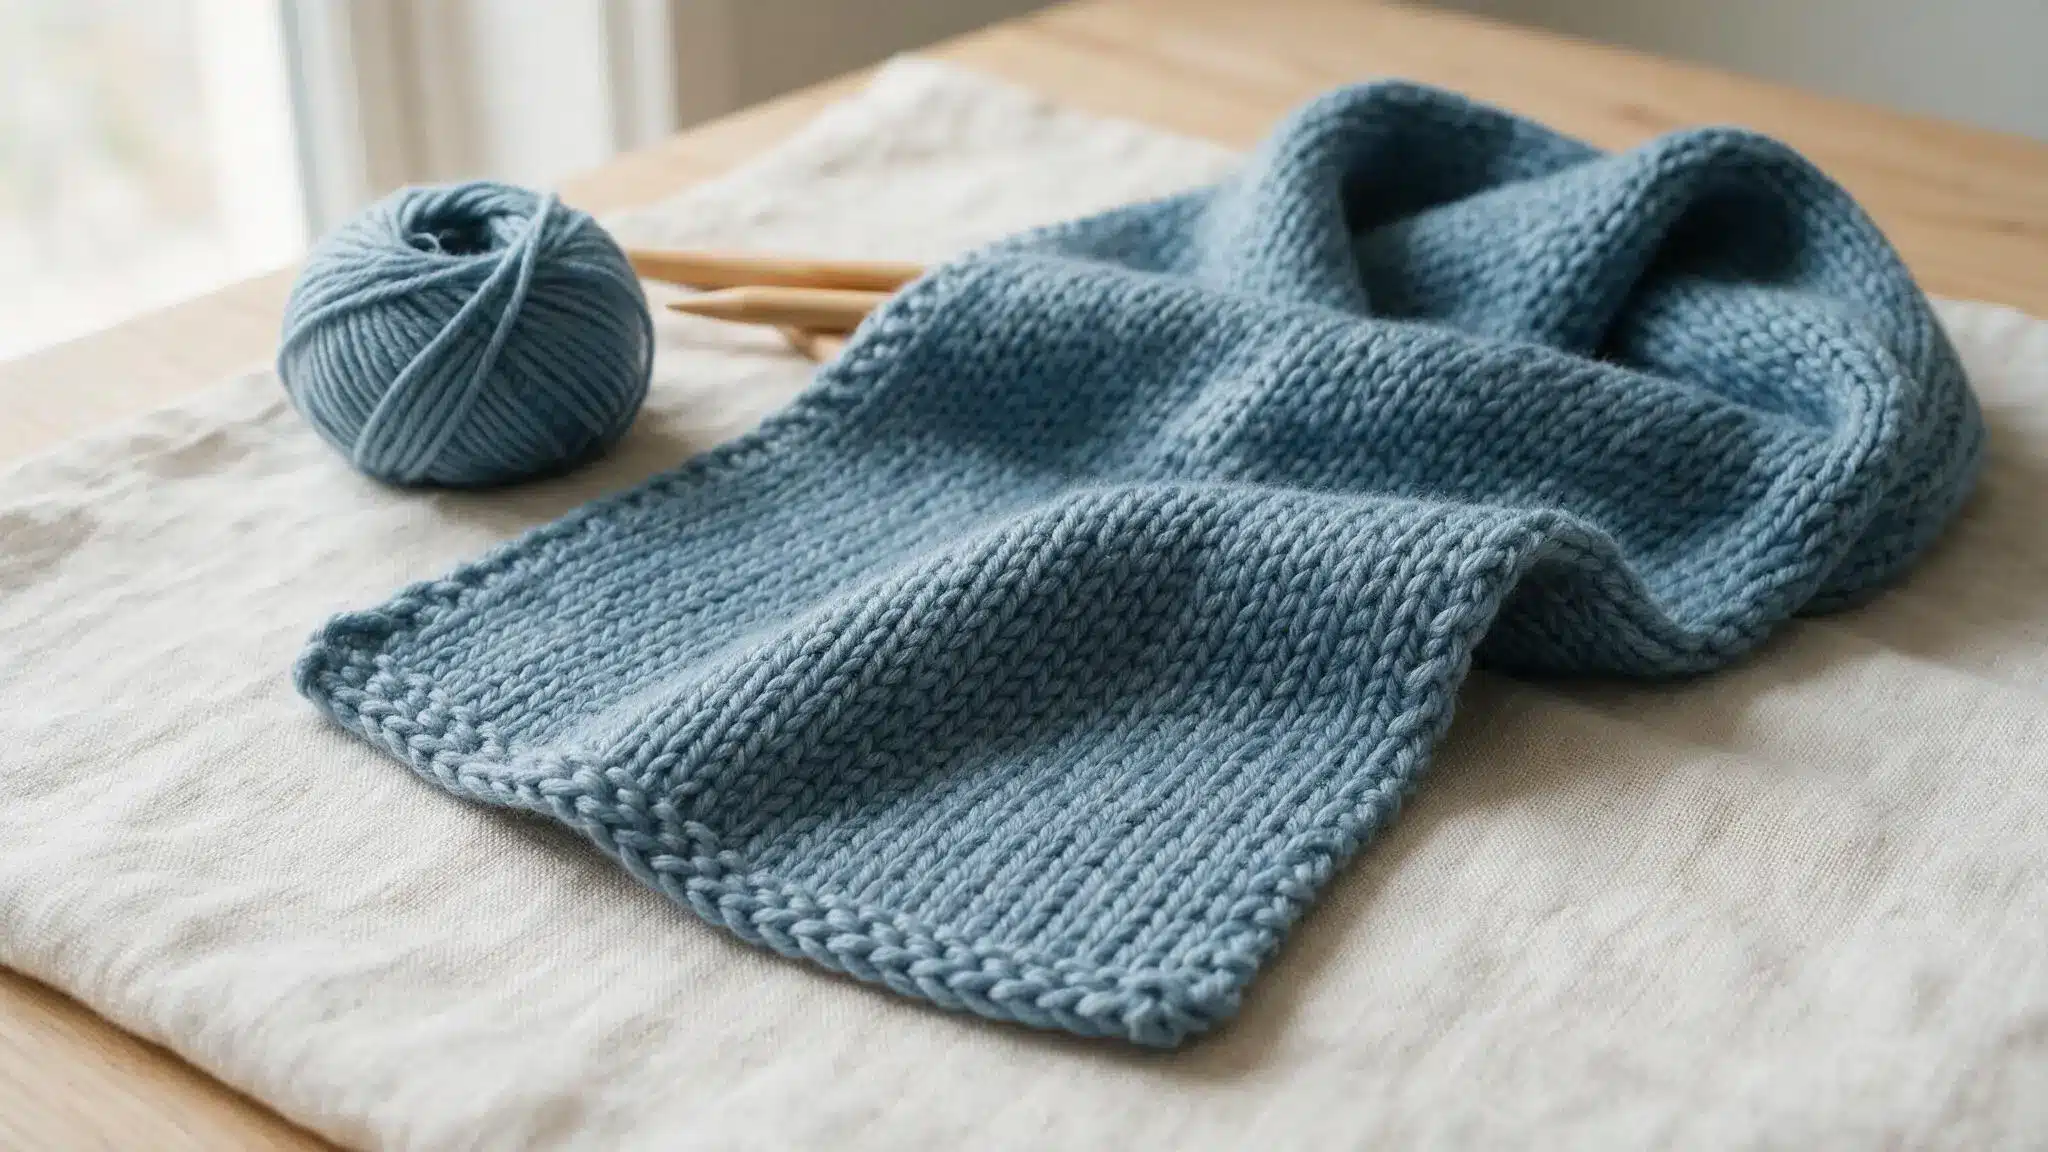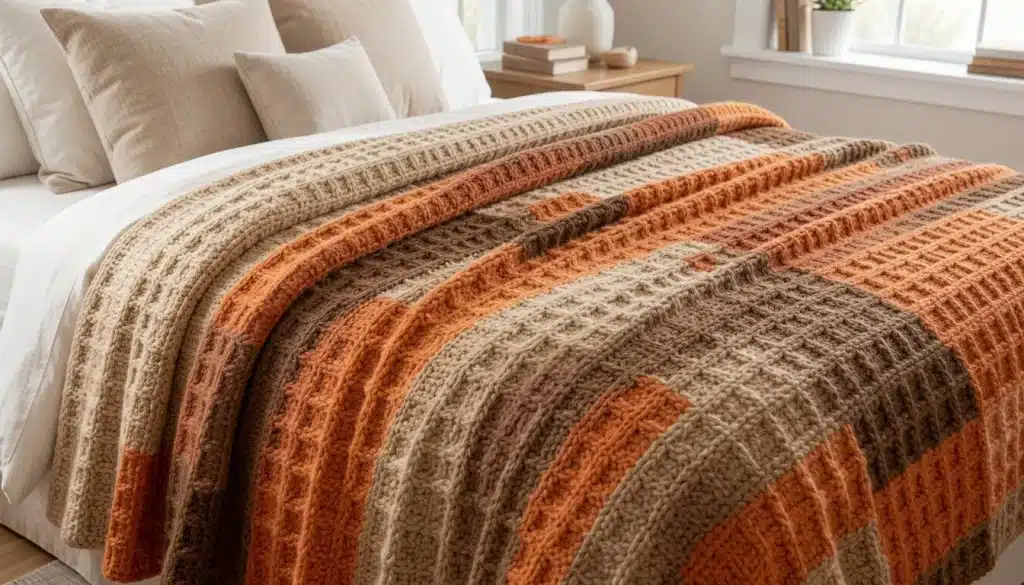
That waffle stitch pattern looks tricky, right? Those tiny squares appear difficult to create. But the reality is, it’s simpler than it appears.
Waffle stitch crochet can be divided into easy steps. No complex language, no confusing charts. Just clear instructions that anyone can follow.
First, you’ll learn the basic stitches. And then, you’ll gradually construct the complete waffle design, one row at a time. In the end, you’ll possess a soft, textured creation crafted by you.
Pick up a hook and some yarn, and let’s begin.
What is Waffle Stitch Crochet?
Waffle stitch crochet forms a pattern of raised small squares, which is how it derives its name.
The stitch combines double crochet, which creates the flat foundation, with front post double crochet, which encircles a stitch beneath and rises above the surface.
Turning chains are positioned at the beginning of each row to provide the appropriate height.
Each row swaps where the raised stitches sit, building bumps in both directions until a checkered grid forms.
The material feels dense and soft, with even, smooth spots next to gently raised bumps. It works well for blankets, scarves, and warm throws.
What You’ll Need to Crochet the Waffle Stitch
The waffle crochet pattern is quite simple to begin with. You only need a few essential materials to create your initial swatch. Gather the items below before grabbing the hook.
Yarn
For a beginner practice swatch, worsted weight yarn works best. It’s easy to handle and shows the stitch clearly. Thicker yarn makes a cozier, heavier fabric. Thinner yarn gives a lighter texture with less warmth.
Smooth yarn is best for learning this stitch, since textured yarn hides the raised squares and makes stitches harder to see.
Crochet Hook
Check the yarn label first. Most labels list a recommended hook size, which is a good starting point.
A larger hook gives a looser, drapier fabric. A smaller hook makes it tighter and denser. Both work well, depending on the project.
Other Materials
- Scissors, for cutting yarn
- A tapestry needle, for weaving in ends
- A measuring tape, for checking swatch size
- Stitch markers, optional but helpful for tracking rows
Yarn Colors
Solid colors show off the raised texture best, since nothing competes with the crochet stitch.
Neutral combinations work well for blankets and keep the waffle grid easy to see. Stripes and self-striping yarn are another option.
Variegated yarn, though, can make the squares harder to spot, since the color shifts often clash with the raised texture.
Crochet Stitches You Need to Know First
The waffle design uses several stitches, each contributing to the overall effect. This part analyzes every stitch in detail, ensuring that nothing is overlooked.
Chain Stitch (ch)
The chain stitch is the initial stitch in crochet. It’s simple, and it serves as the foundation for nearly all projects. Begin by forming a slip knot on the hook.
Wrap the yarn, then draw it through the loop on the hook. That is one link. Repeat to create a chain of any length.
This chain is more significant than it appears. The initial number of chains created determines how broad the final item will be.
A longer chain results in a broader blanket. A shorter one represents a more limited sample. Always double-check chains precisely before proceeding to the next row.
Double Crochet (dc)
Double crochet is a higher stitch and is frequently used in the waffle design. First, yarn over. Next, place the hook into the stitch.
Yarn over once more, and draw up a loop. There ought to be three loops on the hook at this point. Yarn over, pull through a pair of loops. Yarn over again, and pull through the final two loops.
This concludes a double crochet stitch.
Front Post Double Crochet (FPdc)
This stitch appears challenging at first glance, but it’s easier than it looks. The post refers to the vertical segment of a stitch, positioned between the upper and lower loops.
Rather than placing the hook into the top of a stitch, FPdc encircles that post instead.
This stitch requires additional focus. It is the element that produces the elevated, waffle-like surface throughout the design.
Waffle Stitch Crochet: Step-by-Step
This part goes through the entire procedure, one row at a time. Complete each step sequentially, and the waffle texture will soon begin to emerge.
Step 1: Make the Foundation Chain
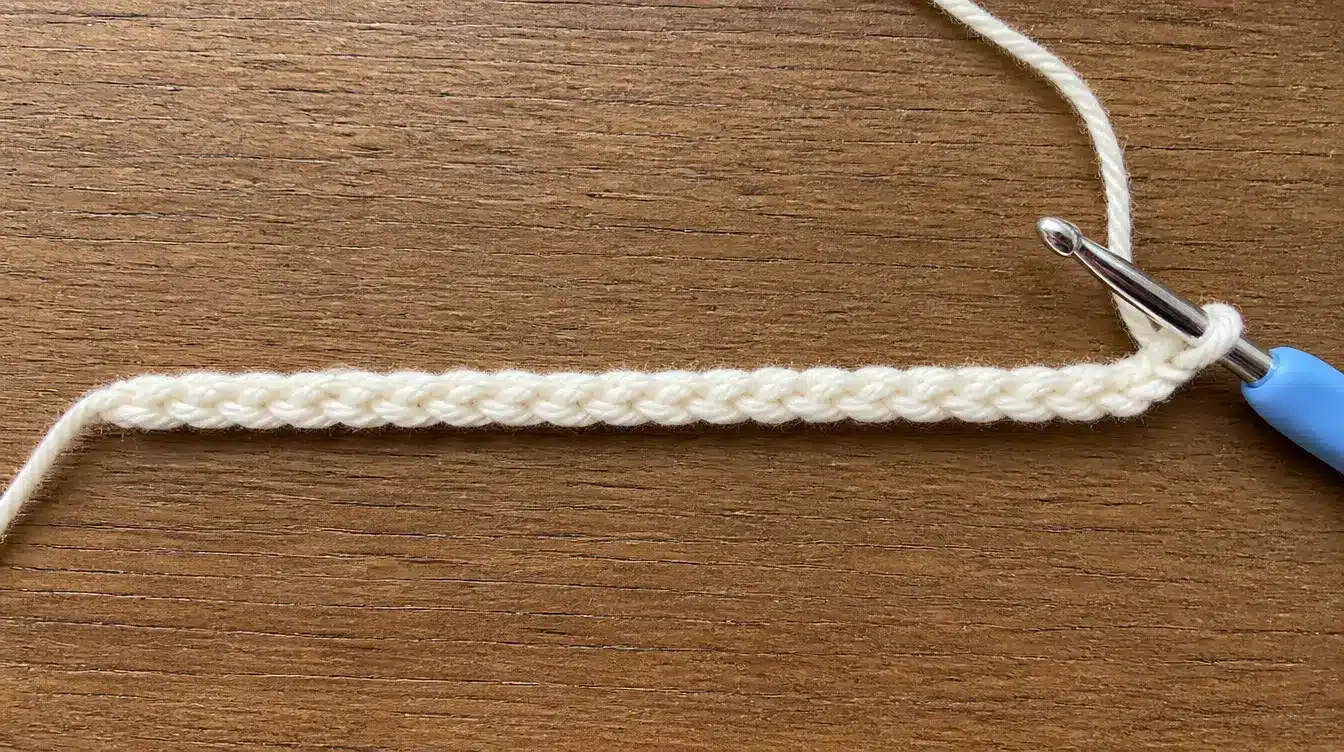
Begin with a sequence that is a multiple of 3, and add 2 more. For a sample swatch, a chain of 20 is effective. That provides ample width without consuming excessive yarn.
Count the chains carefully before proceeding, as this figure determines the width for the entire item.
Step 2: Crochet the First Row
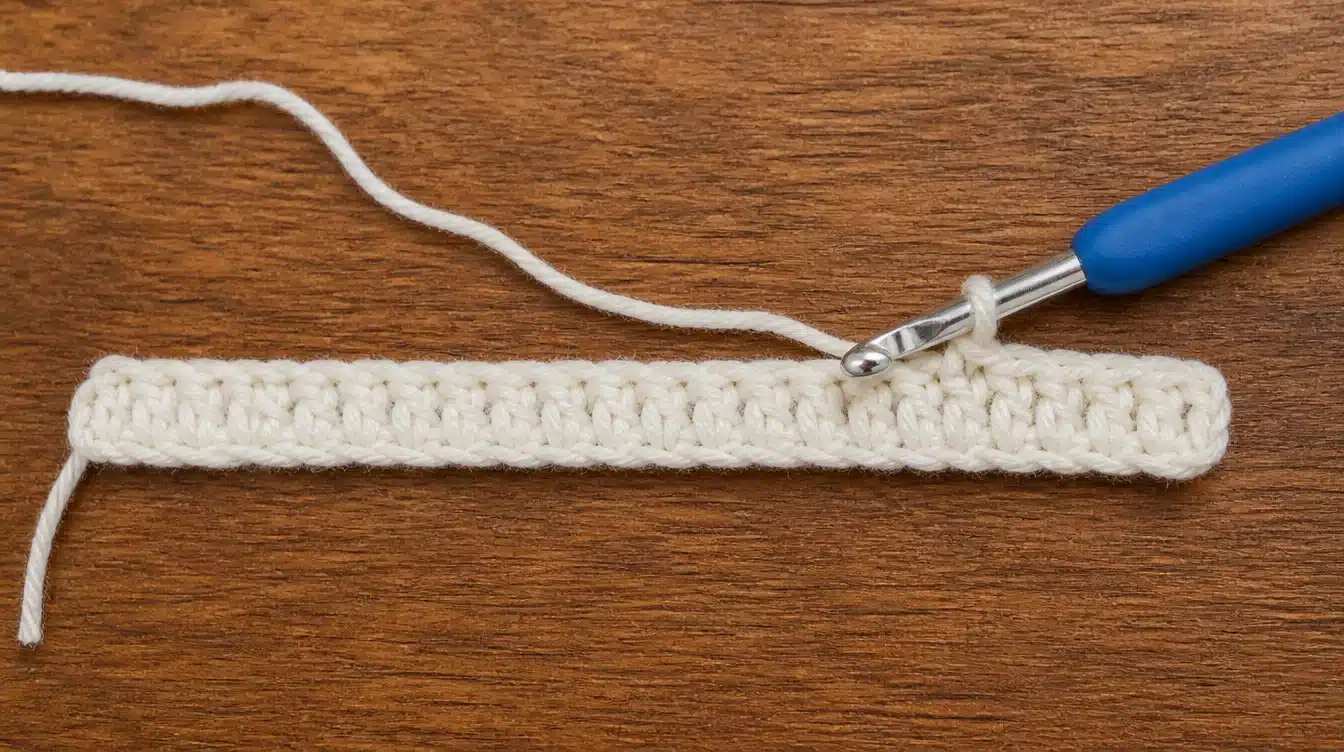
Create a double crochet into the third chain from the hook. Proceed with a double crochet in every chain throughout.
This row is simple, with no elevated stitches yet. It establishes the foundation for the textured rows to develop upon. Without this even row below, the FPdc stitches would lack a stable base to encircle.
Step 3: Start the First Waffle Row
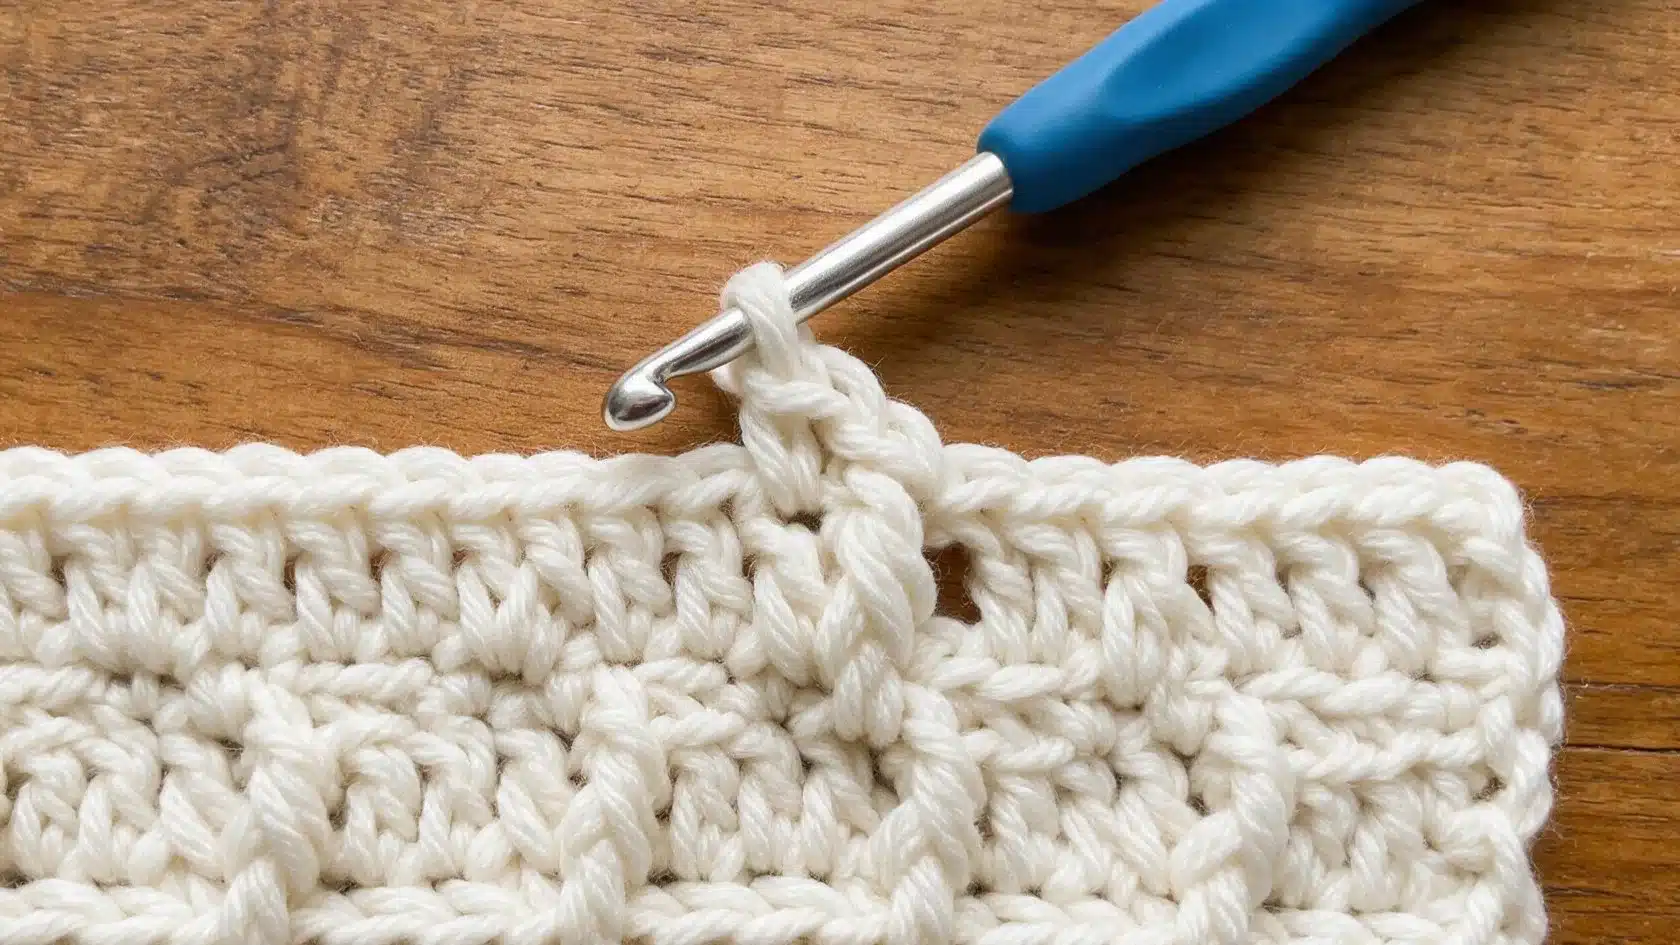
Chain 2 to turn. This counts as the first double crochet of the new row. Skip the first stitch, then do an FPdc around the post of the next stitch.
This is the initial raised stitch of the design. From that point, make 2 standard double crochets, followed by another FPdc, and continue this pattern along the row.
Step 4: Work the Next Waffle Row
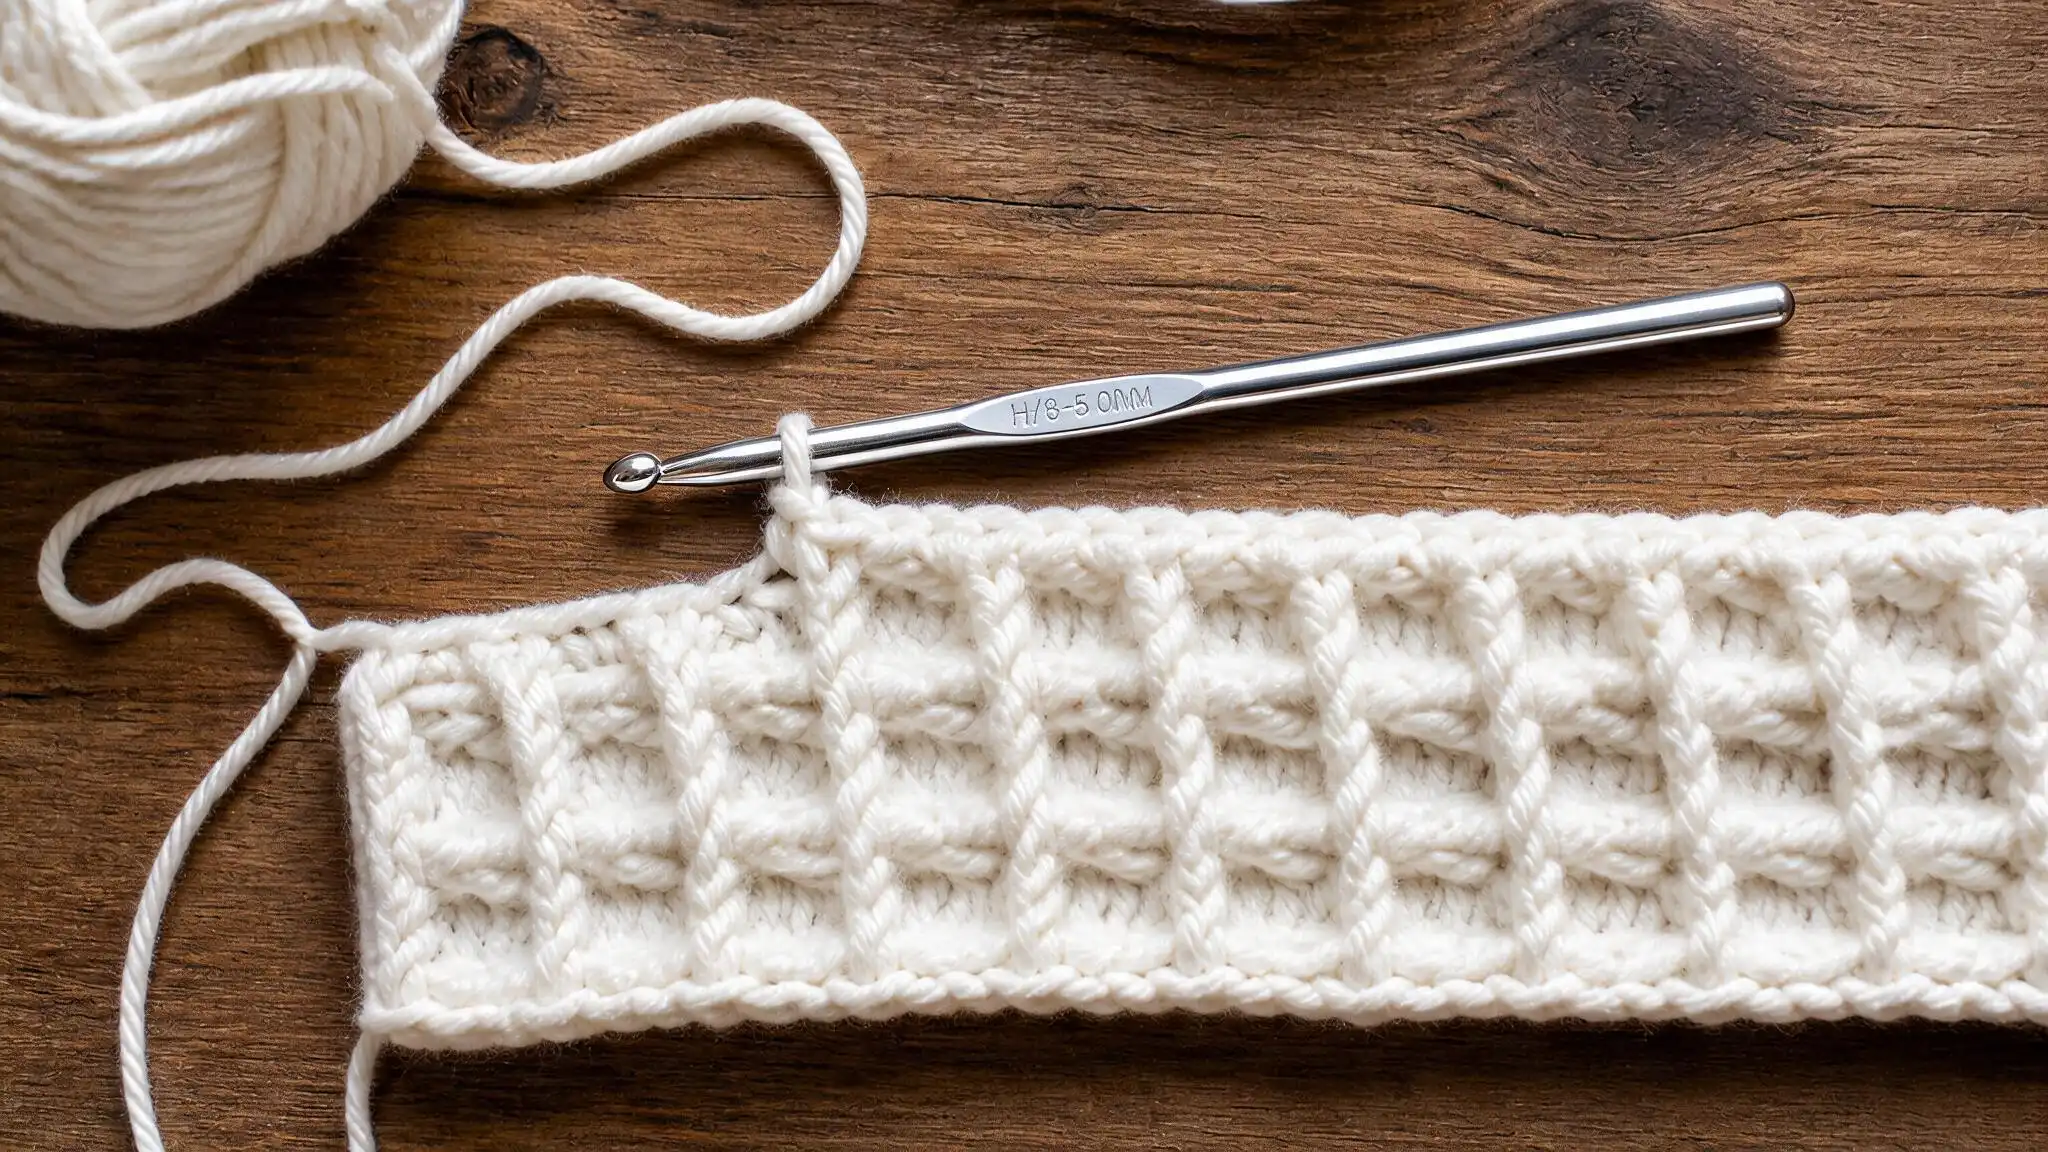
This row flips the pattern. In the row above, you used a plain dc, but this row features an FPdc; similarly, where Row 3 had an FPdc, this row replaces it with a plain dc.
That change is what creates new obstacles in a different location each time. Examine it carefully, and the raised stitches should create a staggered design rather than a straight line.
Step 5: Repeat the Two-Row Design
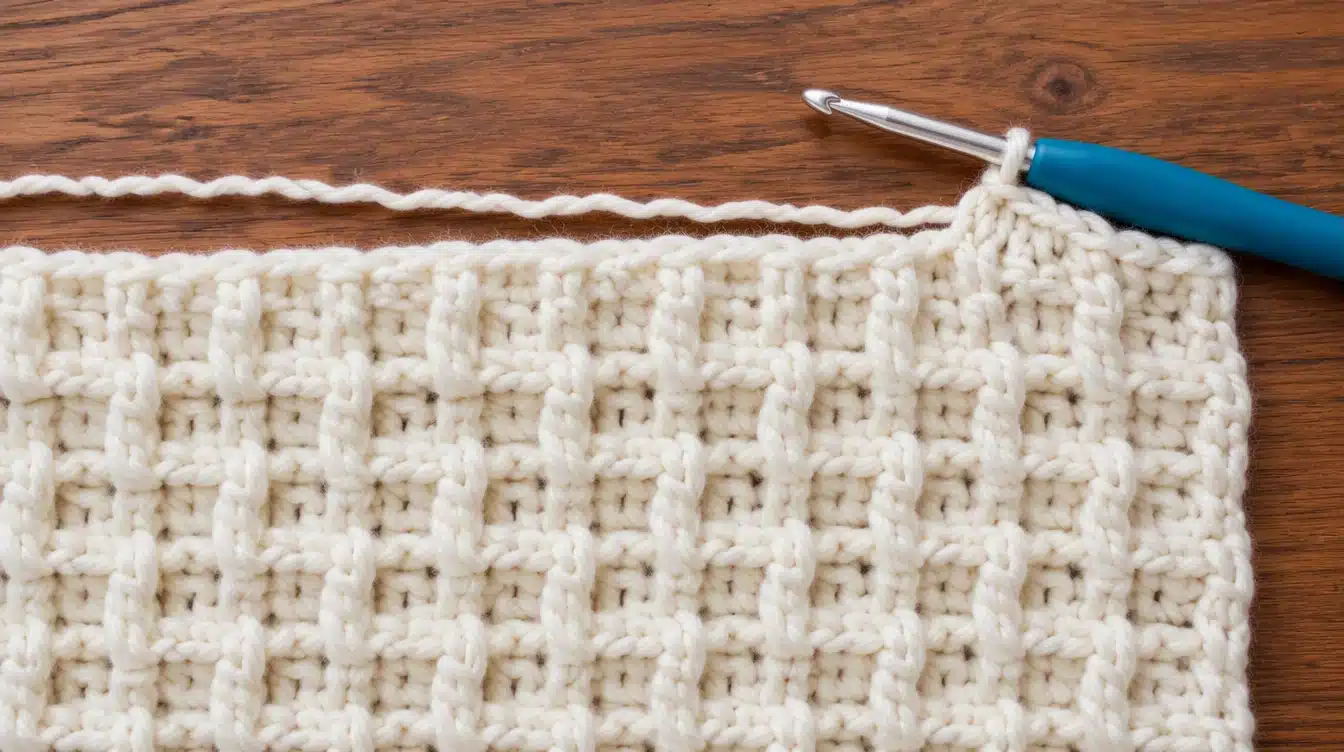
From this point, it’s merely a repetition. Alternate between Row A and Row B repeatedly until the item is the desired size.
- Row A: dc, dc, FPdc, dc
- Row B: dc, FPdc, dc, dc
These instructions maintain chain 2 all the way through, ensuring the edges remain uniform.
Combining methods from various sources may disrupt the stitch count, so it’s best to follow a single version throughout.
Step 6: Identify the Waffle Texture
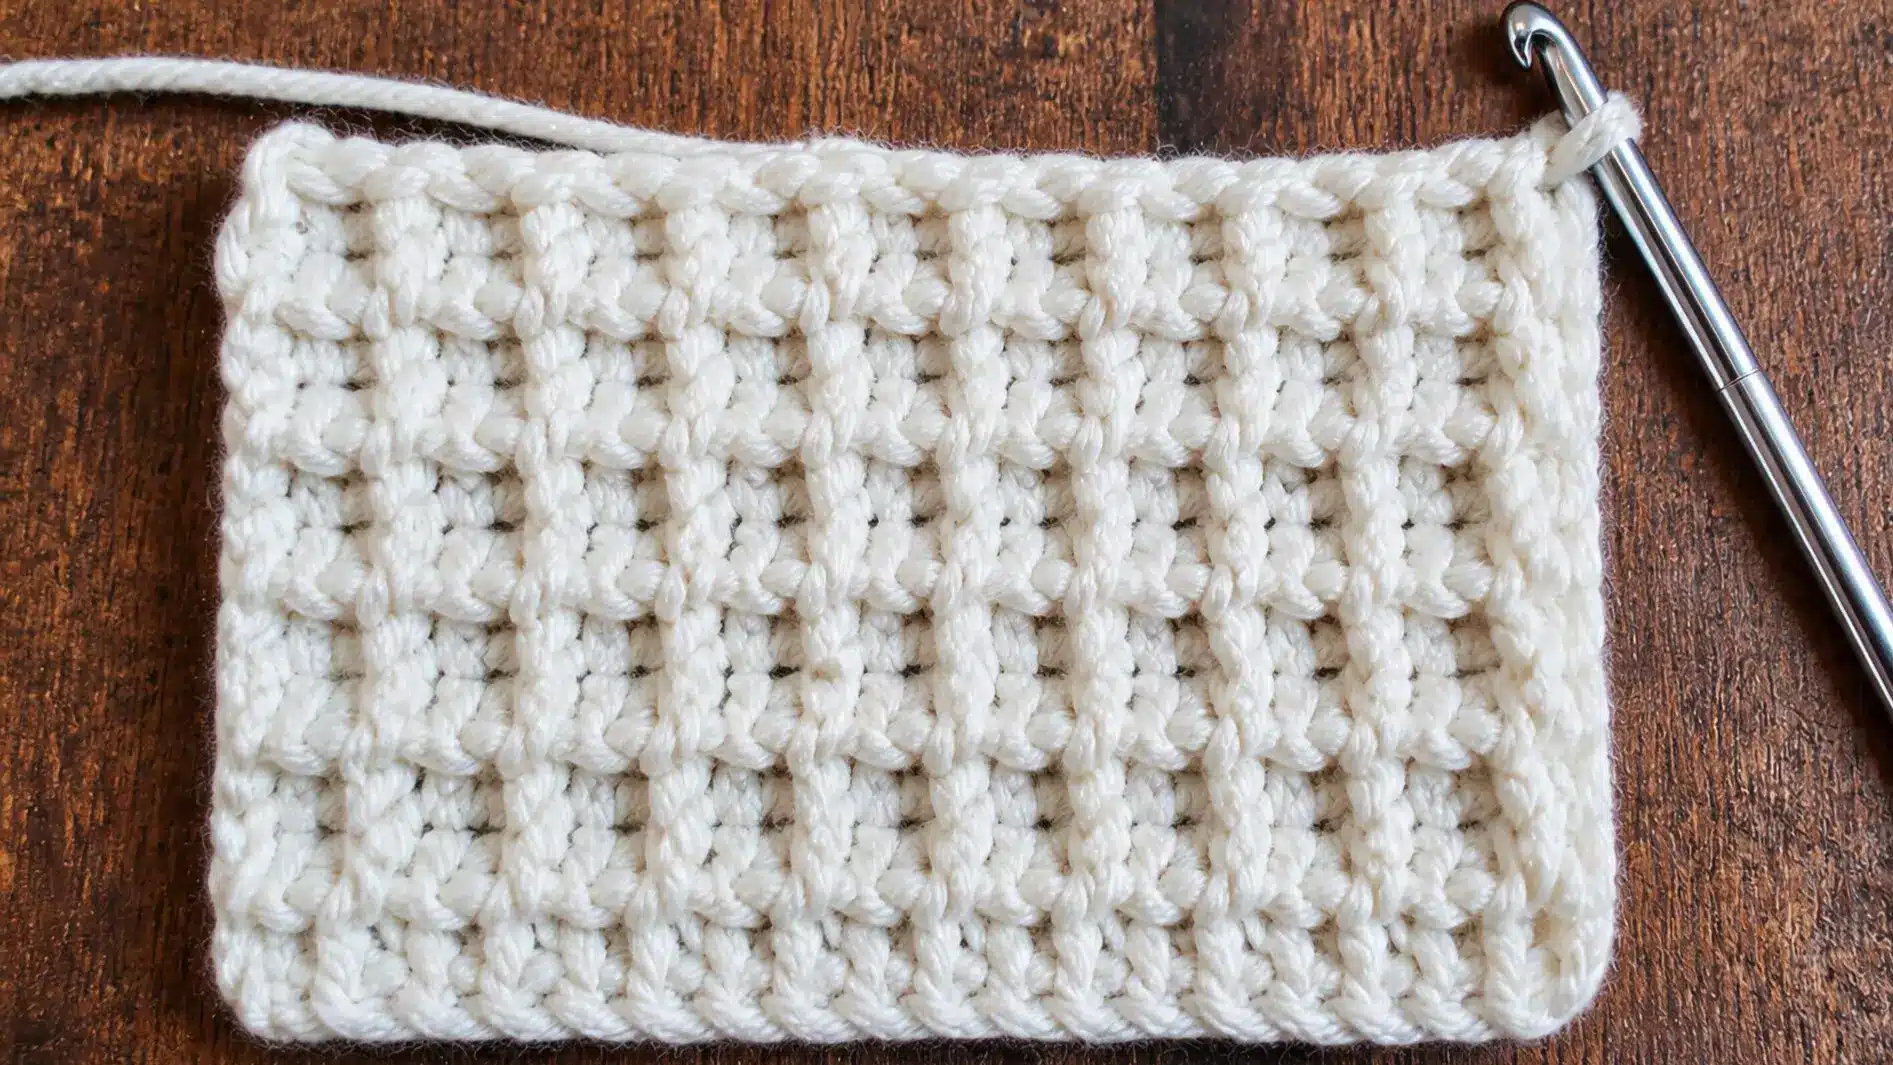
After several rows, the design begins to reveal itself. Small raised squares should appear in a checkerboard pattern, uniformly distributed across the material.
To verify the task, search for the FPdc stitches. They ought to be arranged in a zigzag pattern, rather than placed directly atop one another in straight rows.
If the raised stitches are aligned straight instead, it typically indicates a stitch was positioned incorrectly, so it’s advisable to review a row or two back.
Waffle Stitch Crochet Blanket Pattern
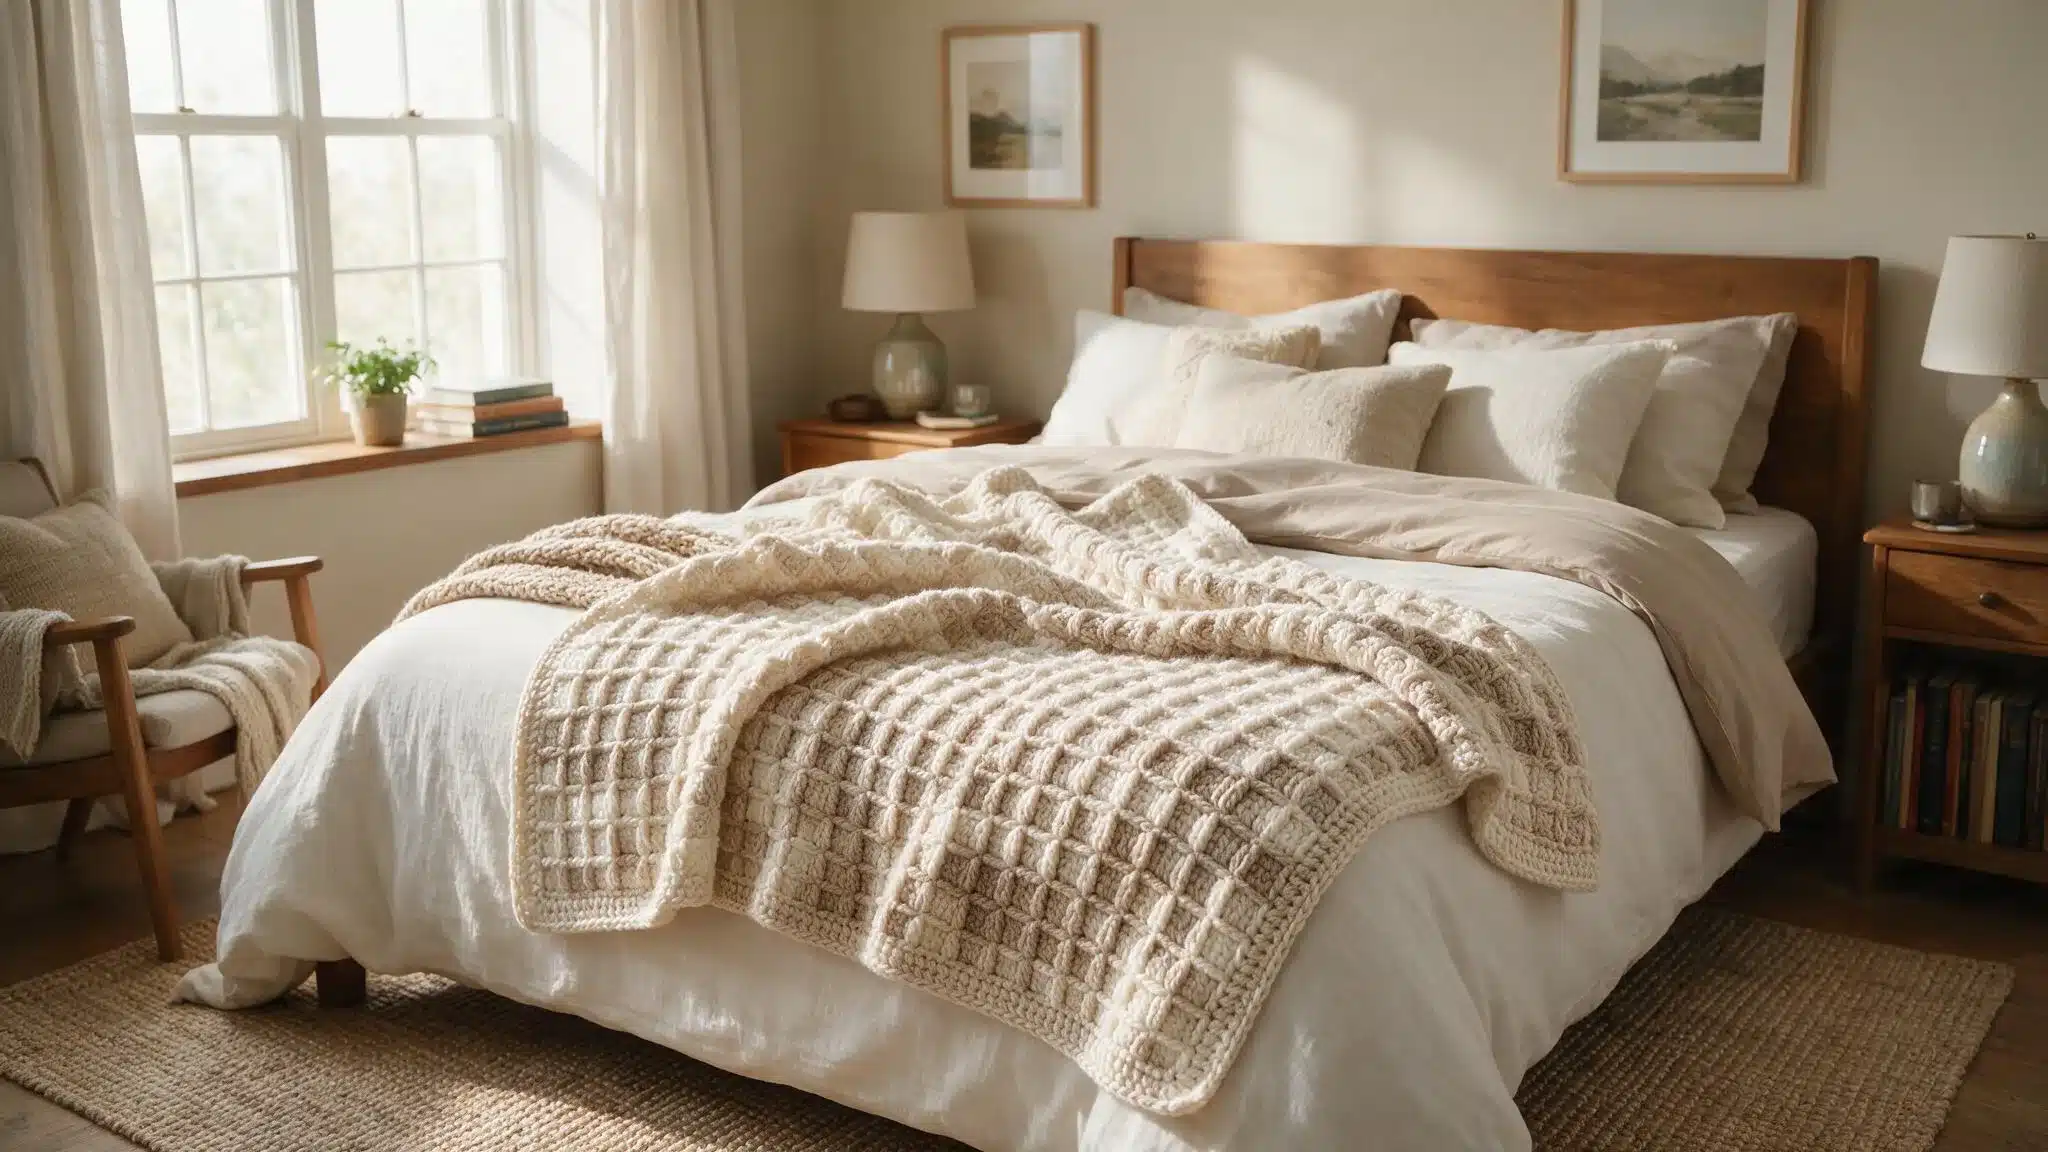
This section turns the waffle stitch into a full blanket project, using the same stitches and techniques covered earlier, just scaled up for a bigger, cozier finished piece.
Finished Blanket Size
This waffle crochet pattern makes a baby blanket, about 30 inches wide and 36 inches long. That size fits a crib or stroller nicely, and it’s a manageable first blanket project.
If you want a bigger blanket, just add more chains to the foundation chain, in multiples of 3. Add more rows for extra length. Keep count of the multiple as it grows, so the stitch pattern stays lined up.
Blanket Materials
- Worsted weight yarn, about 1,400 yards total
- A 5mm (H/8) crochet hook
- A tapestry needle
- Scissors
- A measuring tape
Blanket Gauge
Gauge matters more on a blanket than on a small swatch. If the stitches come out too loose or too tight, the finished size won’t match what’s expected, and there might not be enough yarn to finish.
Before starting the blanket, crochet a small waffle swatch, about 6 inches wide. Measure both the width and the height once it’s done.
Compare those numbers to the pattern’s gauge, and adjust the hook size if needed.
Waffle stitch makes a dense, thick fabric. It tends to use more yarn than simpler stitches, so it’s smart to buy a little extra before starting.
Foundation Chain
For this blanket size, chain 92. That number fits the required multiple of 3, plus 2 extra.
To change the size, keep that same rule in mind. Add or subtract in groups of 3, and always add 2 at the end. That keeps the stitch pattern working correctly across the whole row.
Blanket Body
Row 1: Dc in the 3rd ch from hook, and in each ch across. Turn.
Row 2: Ch 2 (counts as first dc). Skip first st. FPdc around next st. Dc in next 2 sts, FPdc around next st. Rep from across. Dc in last st. Turn.
Variations of Waffle Stitch Crochet
After the fundamental waffle crochet pattern becomes familiar, there’s ample opportunity to explore. These alterations keep the same fundamental stitches, simply arranged or colored differently.
Color-Block Waffle Stitch
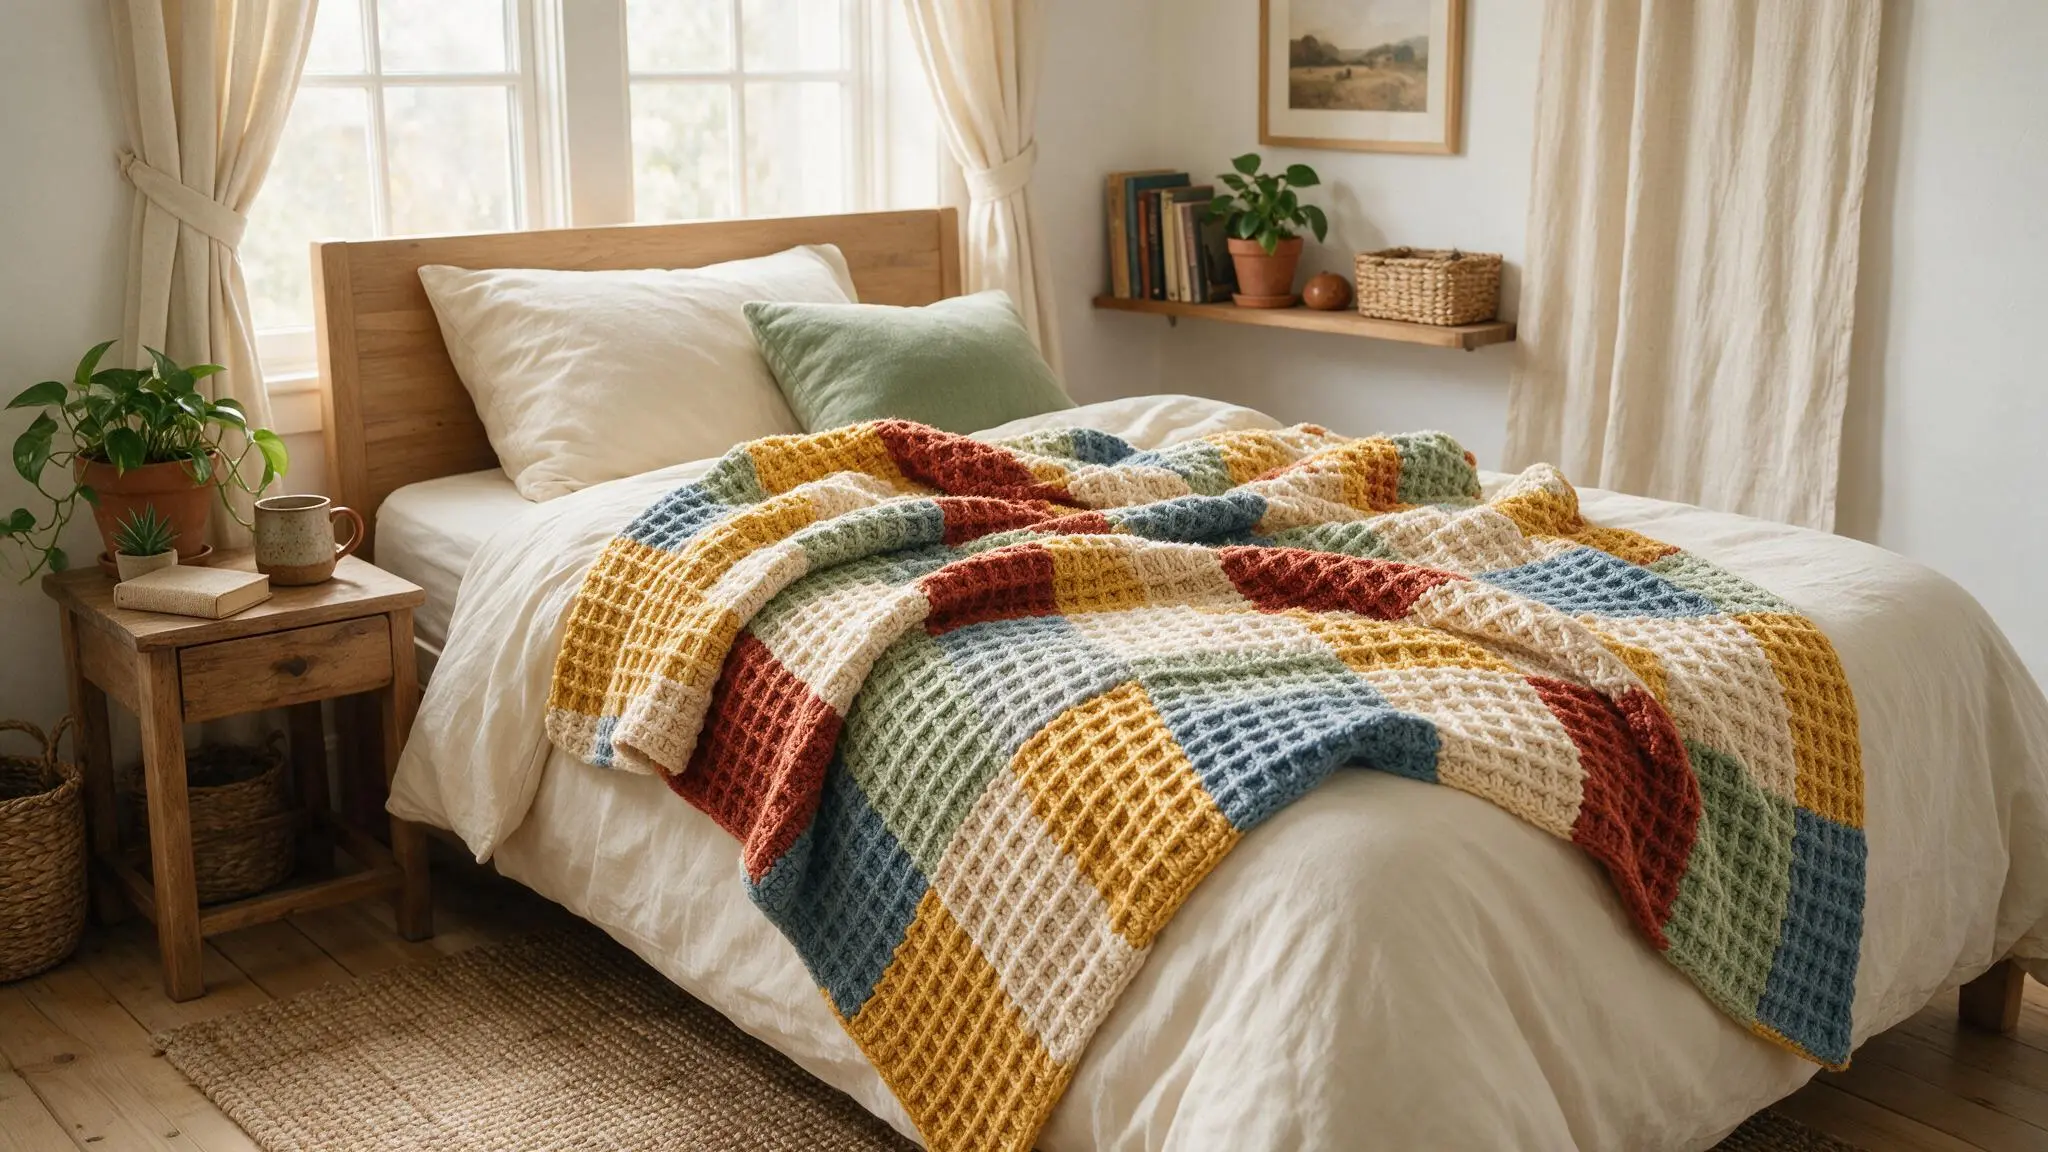
This variation alters the yarn color after several rows. It forms intense patches of color throughout the blanket, while the raised texture remains consistent underneath.
Striped Waffle Blanket
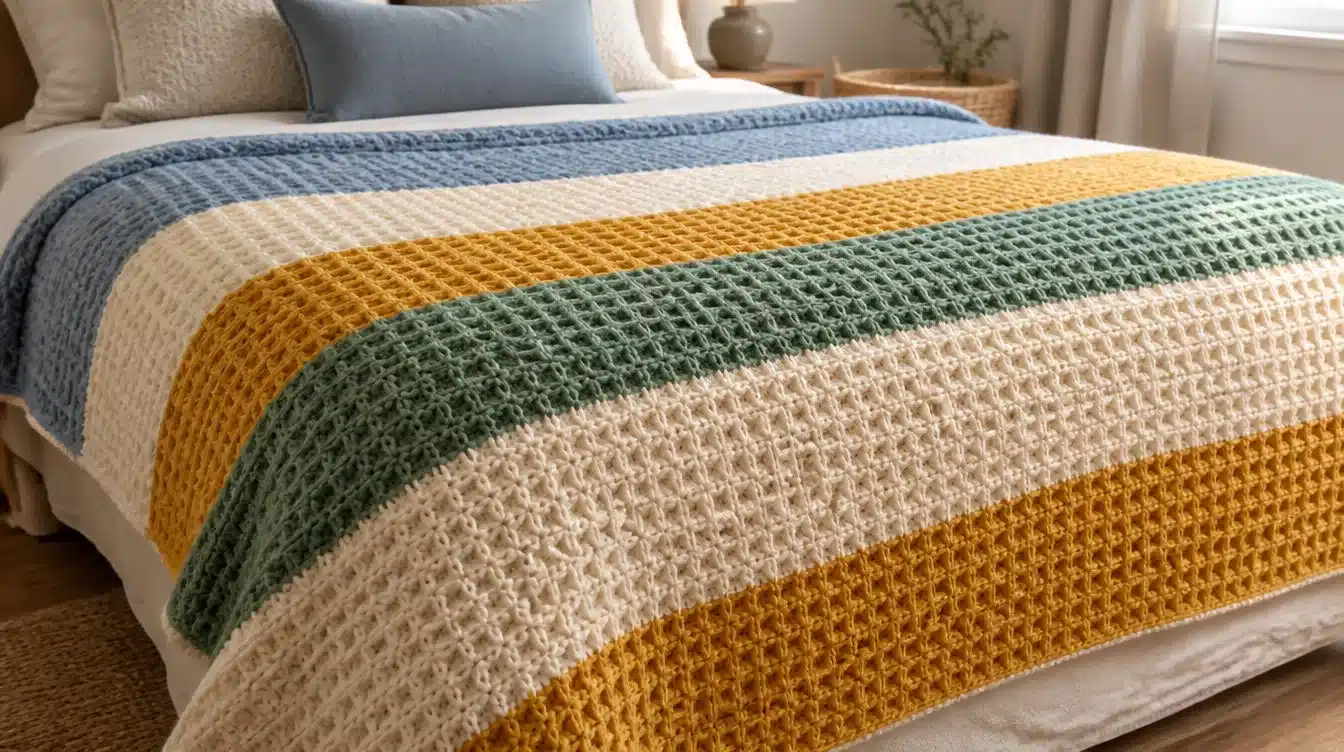
This design switches between two or more colors, either by rows or in segments. The raised stitches remain distinct, even with several colors in the mix.
Self-Striping Waffle Blanket
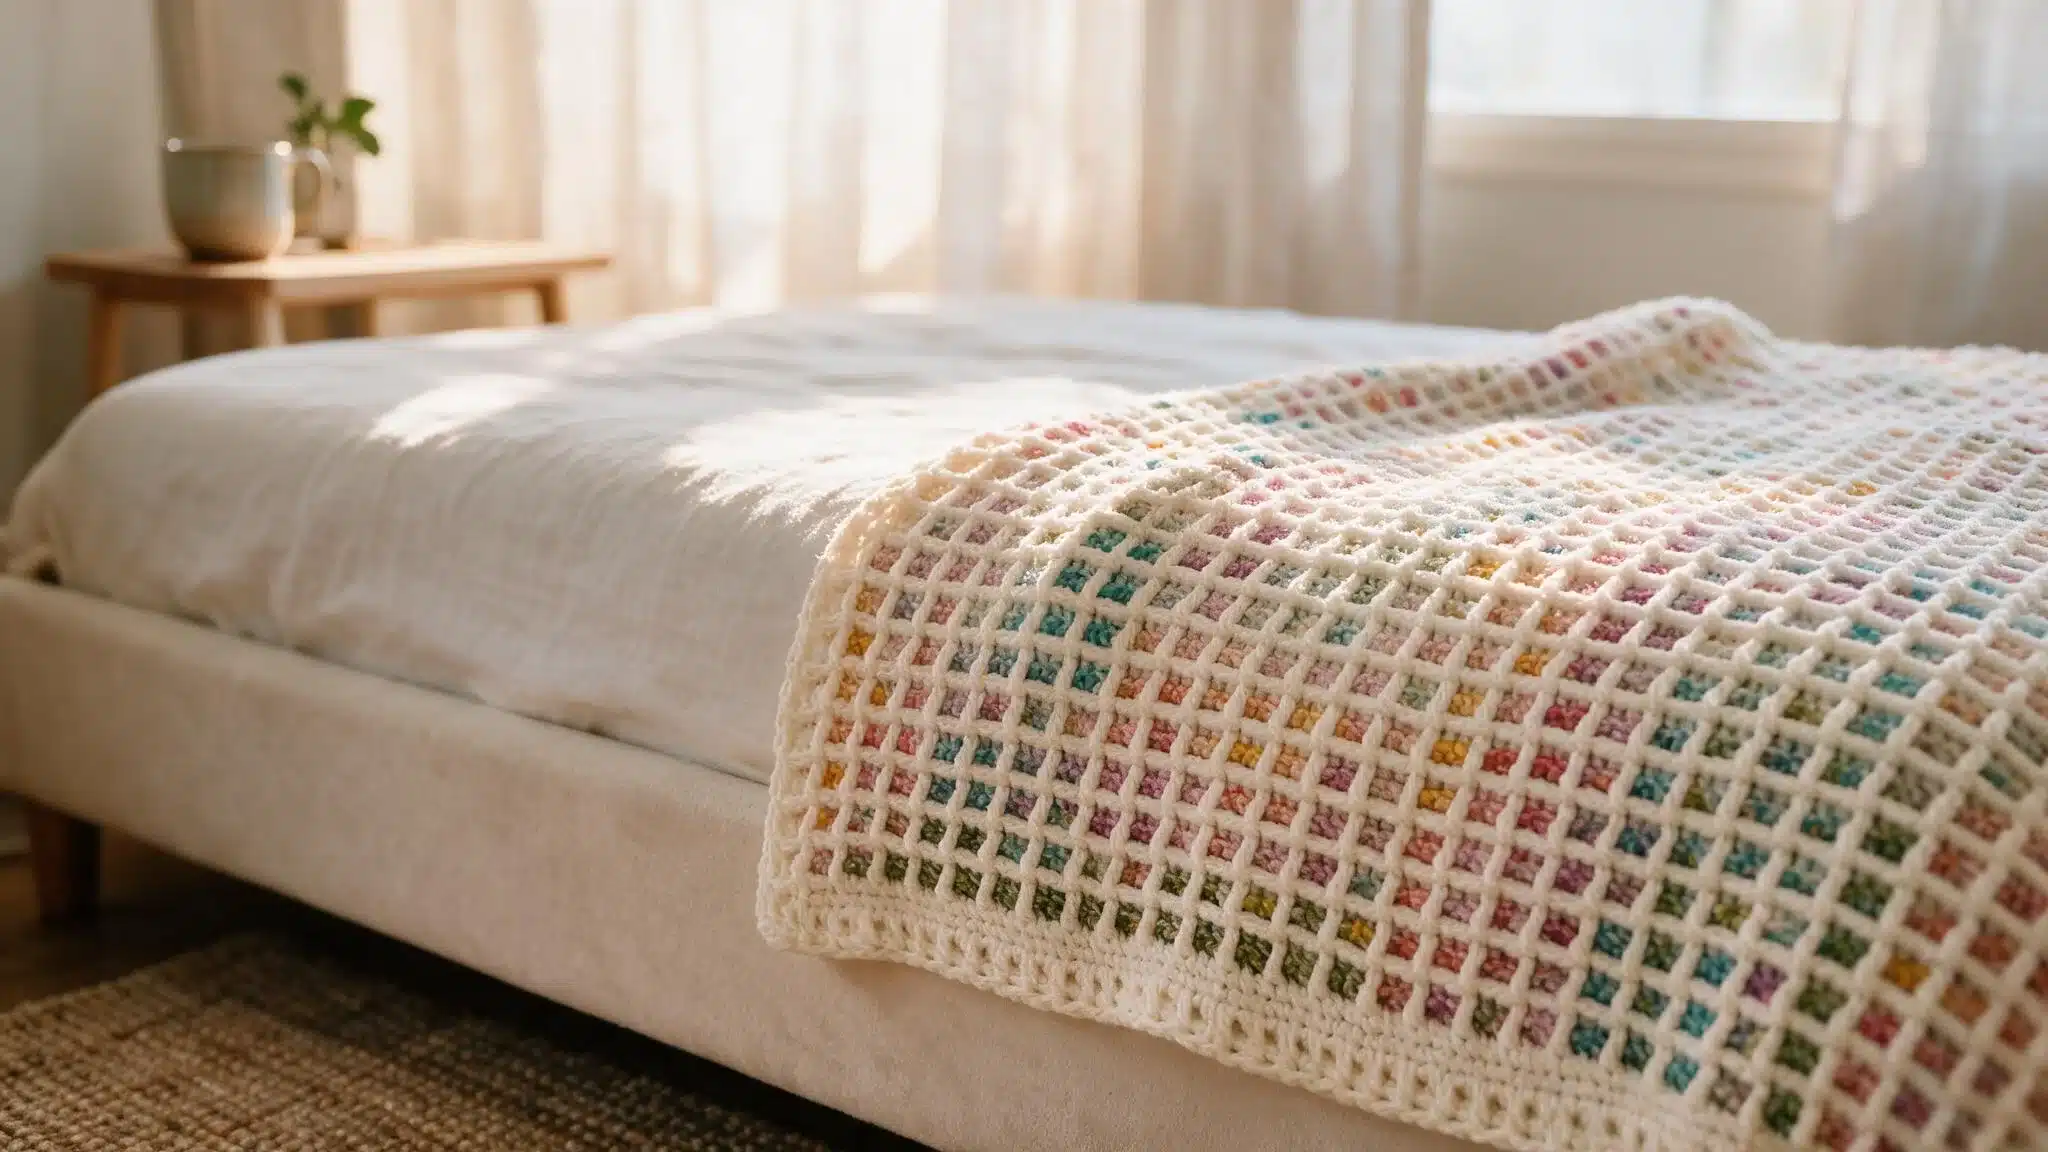
This edition employs self-striping yarn rather than manually changing skeins. The color transitions happen organically while crocheting, with no extra steps.
Tips for Beginners
Follow the tips below to get that ideal waffle crochet pattern.
- Tally stitches following each row. It’s the quickest way to catch an error before it spreads.
- Work on FPdc separately before beginning the blanket. A rapid sample boosts assurance swiftly.
- Keep tension relaxed throughout. Tight stitches make the fabric stiff and hard to work.
- Position a stitch marker at both the beginning and the end of each row. It marks the start of each row.
- Capture an image of the initial several rows. Analyzing it alongside subsequent rows helps identify any variations in stitch positioning.
- Do not tighten FPdc stitches excessively. A gentle, consistent tug maintains the softness of the elevated texture.
- Measure the project from time to time. The number of rows doesn’t always correspond to the true size.
Wrapping Up
The waffle crochet pattern turns two basic stitches into a textured, warm fabric that looks much more intricate than it is.
This stitch matters because it lets you create cozier, more textured projects without needing expert skills.
A novice who excels at double crochet and FPdc can now take on blankets, scarves, and dishcloths that have real texture.
Ready to try it? Take a hook, choose a soft yarn, and start with a practice swatch. As those squares begin to come together, a complete blanket will seem very close.
Frequently Asked Questions (FAQs)
1. Is the Waffle Stitch Reversible?
Not fully. One side shows raised squares clearly, while the other side looks flatter and less textured, though still fine to use.
2. What if I Spot a Mistake a Few Rows Back?
Unravel back to that row using a hook, then re-crochet from there. Fixing it early saves time later.
3. How Do You Wash a Waffle Stitch Blanket?
Hand wash in cool water with mild soap, then lay flat to dry. This helps the texture keep its shape.