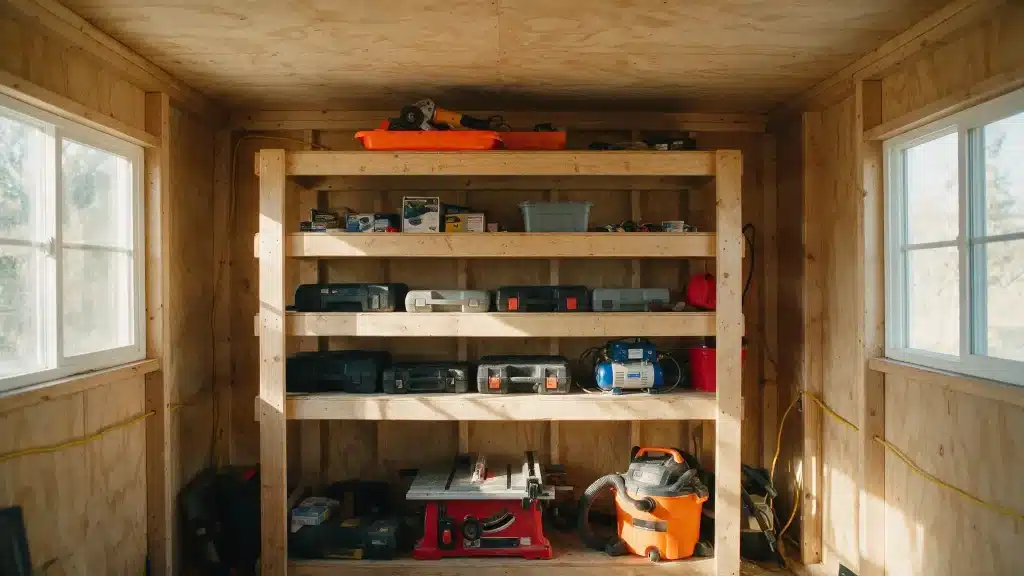
DIY garage shelves turn unused wall space into storage for tools, bins, paint, seasonal items, and workshop supplies.
Building shelves yourself also means picking the size, spacing, and layout to fit an actual garage, instead of settling for a fixed store-bought unit.
Most garage shelves use basic lumber, plywood, or OSB and common hardware, making them a solid weekend project for most homeowners.
Before you cut any wood, plan where the shelves will go, what they need to hold, and how they’ll attach to the wall.
A simple plan up front makes the finished shelves safer and sturdier.
What to Consider When Planning DIY Garage Shelves?
These kinds of garage shelves start with careful planning. Check the available space, storage needs, shelf size, mounting points, and layout before picking materials or cutting any lumber.
- Available Wall or Floor Space: Measure the wall or floor area where the shelves will sit. Leave enough room for vehicles, doors, windows, outlets, and other garage features you still need to reach.
- What You Plan to Store: Think through what’s going on the shelves, bins, tools, paint, gear, or seasonal items, since their size, shape, and weight all shape the shelf design.
- Shelf Depth and Height: Pick depth and height based on actual storage needs. Deeper shelves hold bigger bins, while a shallower depth keeps the garage walkway clear.
- Shelf Spacing: Plan the spacing around whatever gets used most. Leave enough room vertically for containers, but skip big gaps that waste storage space between levels.
- Wall Studs and Mounting: Find the wall studs before mounting anything to drywall. Studs give a stronger hold and help the shelves support heavier garage items safely.
- Customizing Dimensions: Adjust the length, depth, height, and number of levels to fit the garage itself. Building around the real space reduces wasted material and improves overall storage.
Tools and Materials You’ll Need
The right tools make measuring, cutting, assembling, and mounting much easier. Gather the basic gear first, then pick lumber, shelf material, screws, and other hardware that match the design.
1. Tools
- Tape measure
- Level
- Stud finder
- Drill or impact driver
- Circular saw or miter saw
- Carpenter’s square
- Clamps
2. Materials
- 2×4 lumber
- Plywood or OSB
- Wood screws
- Wall-mounting screws or anchors
- Wood shims if needed
- Storage bins or labels, if wanted
The exact materials depend on the shelf size and design chosen. Common builds use 2x4s with plywood or OSB, alongside tools like a drill, saw, level, and stud finder.
How to Build Garage Shelves: Step-by-Step
Building DIY shelves goes more smoothly with a clear order. Measure first, prep the lumber, put together the supports, attach the shelves, then check everything before loading them up.
Step 1. Measure and Mark the Shelf Location
Measure the planned shelf length and mark the height right on the wall. A level helps draw straight reference lines, and marking the stud locations shows exactly where supports will attach.
Double-check every measurement before cutting any wood. This step alone avoids a lot of headaches later on.
Step 2. Cut the 2×4 Lumber
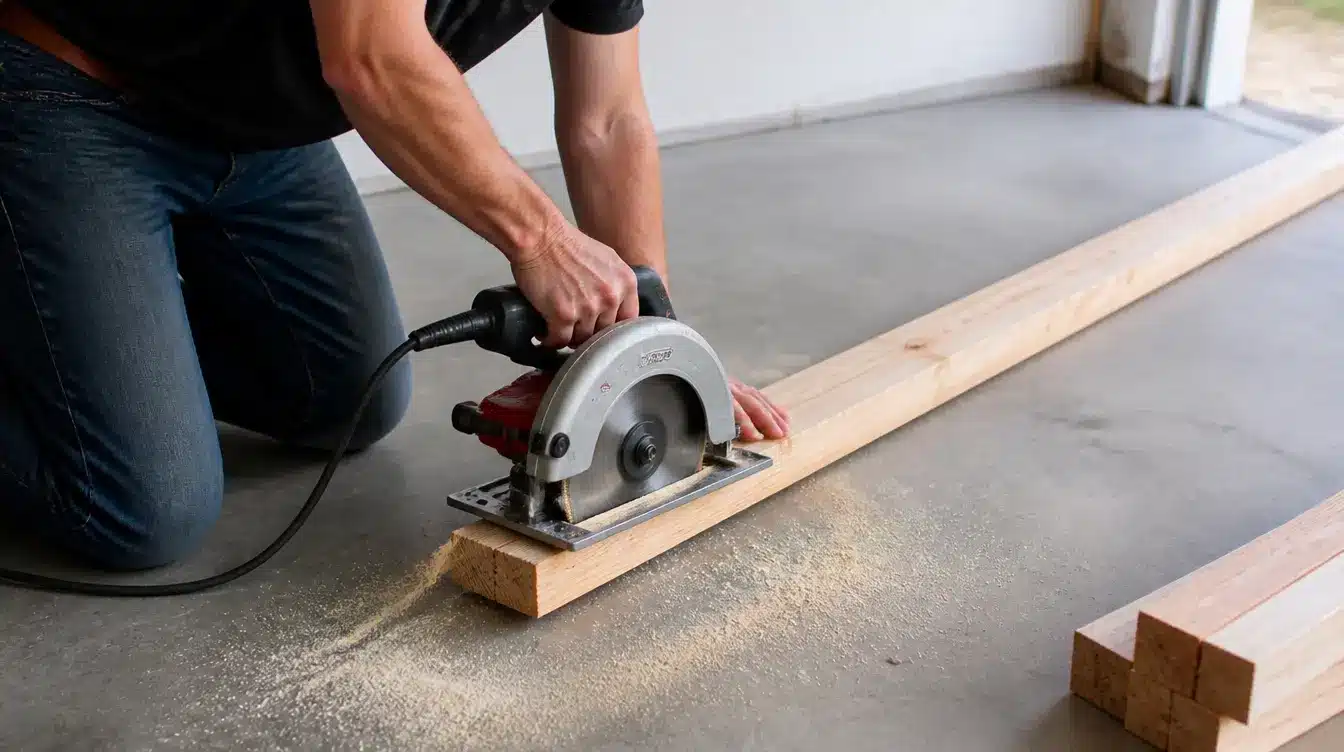
Cut the 2×4 lumber to match the planned shelf length, supports, and braces. Measure each piece with care, mark the cut lines clearly, and use whatever saw fits the setup best.
Keep matching pieces grouped for easier assembly later. Stick to the cut list made during the planning stage.
Step 3. Build the Shelf Supports or Frames
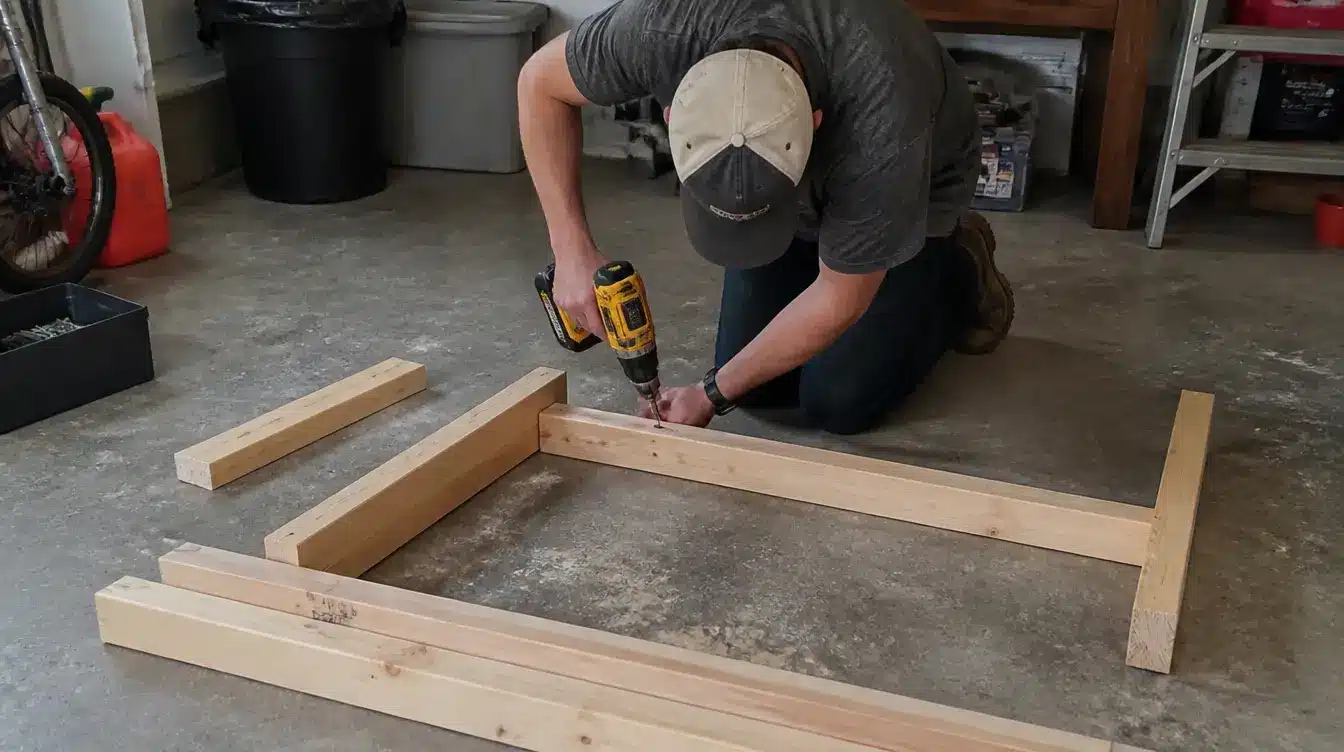
Build the shelf frames or brackets out of the cut 2×4 pieces. Keep each frame square while fastening the boards together, adding braces inside where movement or sag might show up.
Check the corners before starting the next support, since a stable base matters more than speed here.
Step 4. Attach the Supports to the Wall
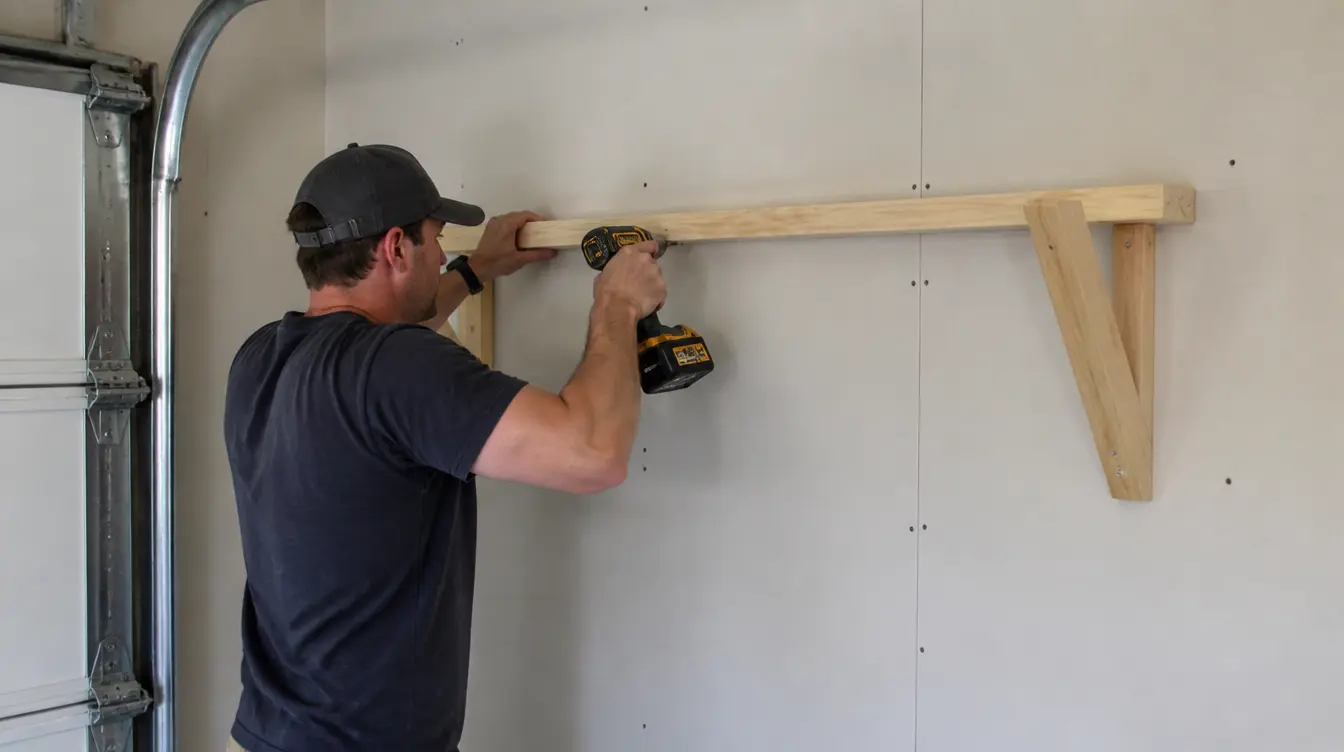
Line up the finished supports along the marked wall spots.
Match them to the studs, check that each one sits level, then fasten everything down with screws rated for the wall and the load it’ll carry. Keep the spacing even and aligned across the whole shelf.
Step 5. Add the Plywood or OSB Shelf Surface
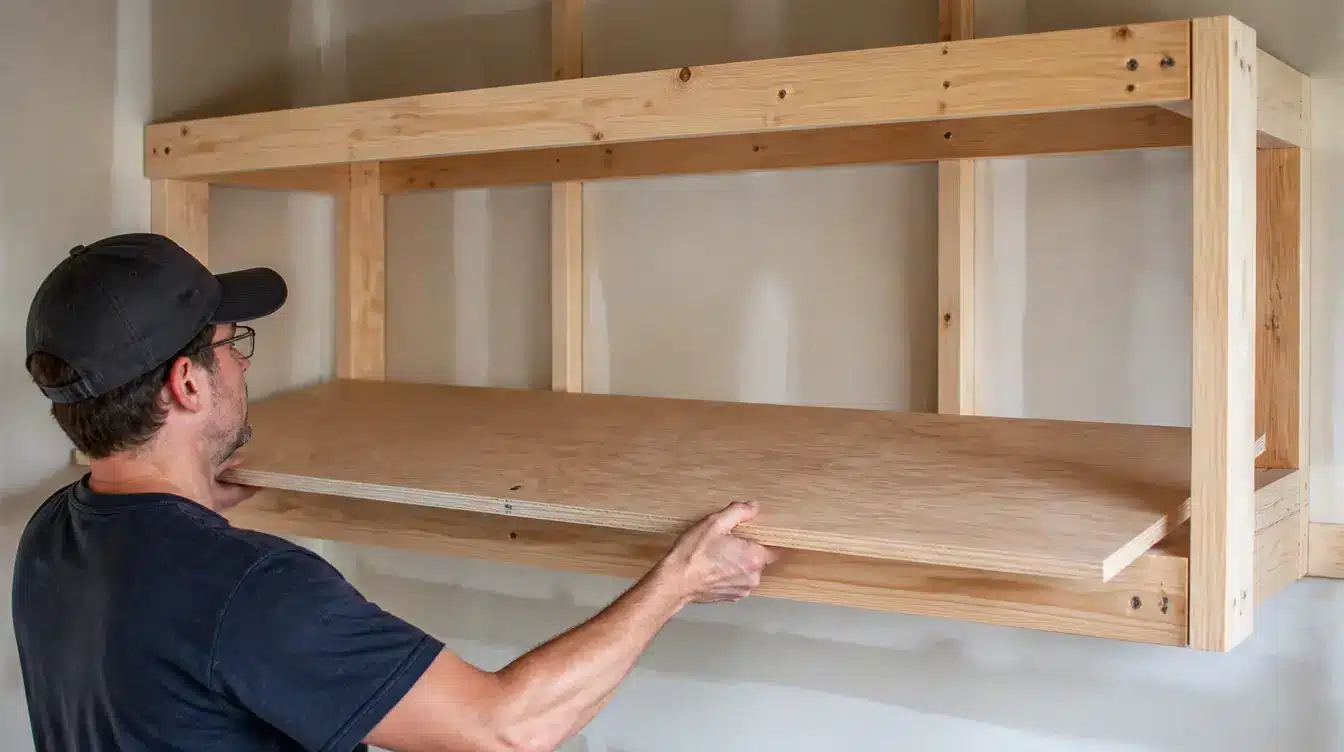
Cut plywood or OSB panels to match the shelf size. Set each panel over the supports, make sure the edges line up, then fasten the surface firmly to the frame.
Use enough screws or nails to keep the panel from shifting during regular use.
Step 6. Check the Shelves for Level
Run a level across each shelf to spot any uneven sections. If the garage floor or wall leans a bit, use small shims to fix it before final tightening.
Recheck the shelf once the nearby supports are secure. This one step keeps containers from tilting or sliding off later.
Step 7. Secure and Test the Finished Shelves
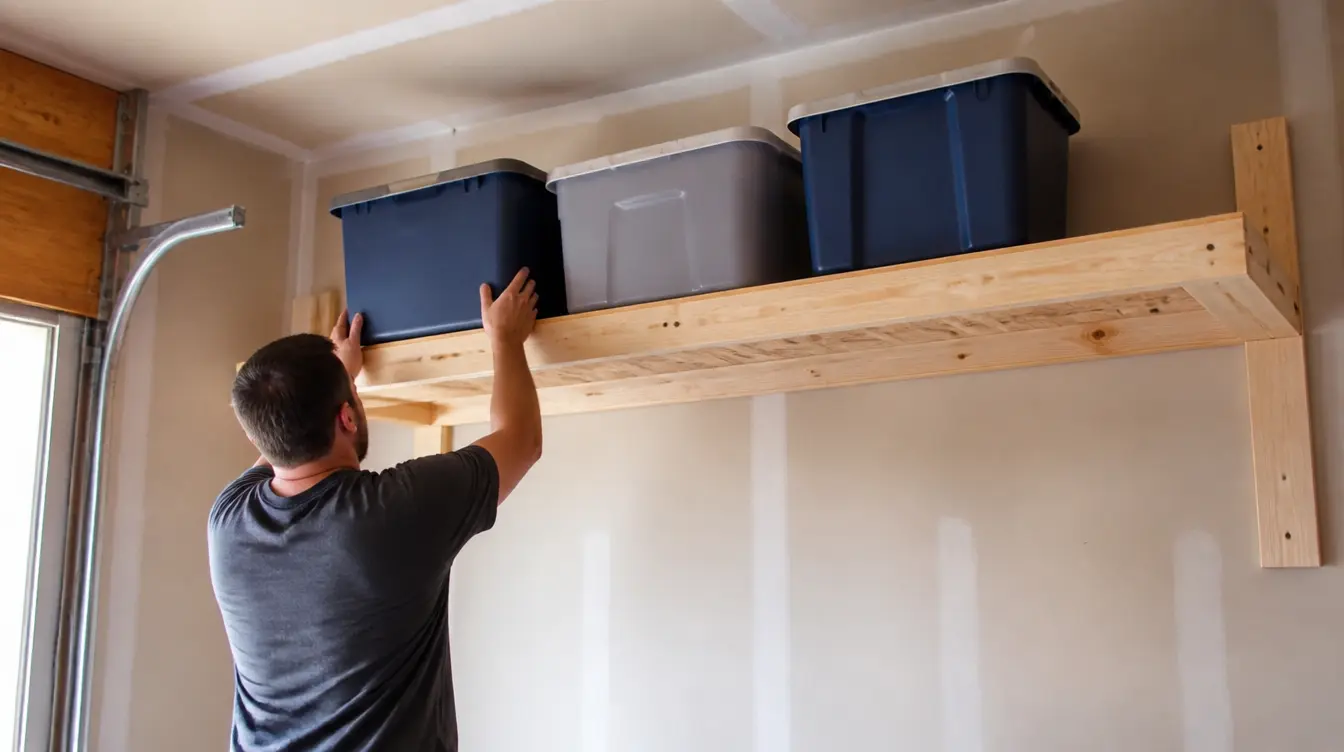
Before loading anything up, check every connection and make sure the shelves feel solid. Test with lighter items first, then move to heavier ones only once the structure holds steady.
Watch for movement, loose screws, or any bending before trusting the shelves with a full load.
How to Make Garage Shelves Safe and Sturdy?
Strong shelves need more than thick lumber alone. Good mounting, balanced storage, solid support spacing, and honest weight limits all keep garage shelves holding up well over time.
1. Choose Proper Materials
Match the lumber and panels to whatever load they’ll carry. Heavier storage calls for thicker, stronger material, while lighter household items work fine with lighter boards.
Check every board for damage before it goes into the build.
2. Secure Shelves to Studs
Studs beat drywall alone every time when it comes to holding weight. Use fasteners built for the actual wall type, and don’t rely on drywall alone for anything carrying real weight.
Tighten every connection firmly without splitting the wood, then check it once more after mounting.
3. Add Supports or Bracing
Long, deep, or heavily loaded shelves need extra built-in bracing. The right support spacing keeps sagging in check and the surface steady over time.
Add that extra support before any bend shows up, especially on wider sections that see more weight.
4. Distribute Heavy Items
Heavy boxes, tools, and gear belong on the lower shelves whenever that’s possible. Lighter or rarely used items can sit higher up instead, balancing the whole setup out.
That balance also makes heavy items easier and safer to lift down. Keep walkways and garage doors clear the whole time too.
5. Avoid Overload
A shelf looking strong isn’t the same as a shelf built for a heavy load. Think through the lumber, panels, screws, brackets, and wall connection together before piling anything large or heavy on top.
If anything shifts or bends, it’s time to pull the load off and check the supports again.
How to Organize Garage Shelves?
Good organizing keeps the shelves useful long after the building work wraps up. Sort items by purpose, weight, and how often they get used, and the storage stays easy to manage.
Hand tools with hand tools, gardening gear with gardening gear, automotive stuff, and seasonal decorations each in their own spot.
Grouping like this makes finding anything a lot faster.
Use Labeled Bins
Small parts, hardware, cords, and seasonal items work best in labeled bins.
Clear or labeled containers make contents easy to spot, keeping loose pieces from scattering across the shelves.
Keep Heavy Items Lower
Lower shelves handle heavy items best whenever there’s a choice.
That cuts the risk of something falling and makes bulky boxes or equipment easier and safer to lift.
Keep Frequently Used Items Accessible
Whatever gets grabbed often belongs on the easiest shelves to reach. Push seasonal or rarely used items up higher, out of the way of daily access.
Keep Walkways Clear
Walkways, doors, electrical panels, and garage equipment all need clear space around them. Leave enough room near the shelves to move through the garage and grab stored items safely.
DIY Garage Shelves vs. Store-Bought Shelving
DIY shelves offer more control over size and layout, while store-bought units win on convenience.
Weigh the differences below before picking whichever option actually fits the garage and the storage needs at hand.
| Feature | DIY Garage Shelves | Store-Bought Shelving |
| Customization | Size, depth, spacing, and layout can be adjusted | Usually available in fixed sizes and layouts |
| Cost | Depends on lumber, panels, hardware, and tools | Depends on the size, material, and design of the unit |
| Installation | Requires measuring, cutting, assembly, and mounting | Usually requires less building work |
| Durability | Can be designed around your storage needs and supports | Depends on the product’s materials and construction |
| Space Requirements | Can be built to fit unusual walls or areas | Must fit the available product dimensions |
Conclusion
DIY garage shelves put unused space to work while giving you real control over shelf size, spacing, and layout.
A good build starts with careful measurements and the right materials, then moves into secure supports and careful mounting.
Once the shelves are done, sorting items by weight and how often they’re used keeps the whole garage easy to use.
Whether it’s one small wall shelf or a full storage system, planning builds shelves that actually fit the space and hold up to everyday use.
Frequently Asked Questions (FAQs)
1. What Wood is Best for DIY Garage Shelves?
2×4 lumber works well for shelf frames since it’s strong and easy to cut and join. Plywood or OSB usually covers the shelf top itself.
2. How Deep Should Garage Shelves Be?
Depth really comes down to what you’re storing. Leave enough room for bins and tools, but don’t go so deep that walkway space starts shrinking.
3. Can Garage Shelves Be Mounted without Finding Studs?
Wall-mounted shelves need strong attachment points either way. Without studs, use the right anchors for that wall type instead, but avoid heavy loads without solid backing.