Hardwood floors will not tolerate a bad day of cleaning. Vinyl and tile floors may tolerate water and hard scrubbing; however, hardwood will not.
In one careless moment, you can find yourself staring at dull spots, streaking, scratches, or stains that cannot be removed.
It happens to most people, usually from a small misstep in the cleaning process.
The best part about it is that there’s a cleaning process designed specifically for hardwood floors. Read on to find out what it is.
Do Hardwood Floors Require More Cleaning Than Other Floors?
Hardwood floors require more maintenance, but not more frequent cleaning than tile or vinyl. Other floor types can withstand water, strong chemicals, and rough tools more often.
Because of this, the cleaning technique matters more than the frequency.
Routine sweeping and light mopping protect wood. Dullness or scratches may appear sooner than expected if you neglect basic care, even for a short time.
How to Clean Hardwood Floors Without Damaging Them?
If you follow the proper order, cleaning hardwood floors becomes simple. Streaks, dullness, or scratches often result from skipping a step or using the wrong tool.
The following steps make the operation quick and easy while preventing damage to the wood. Follow them in order
1. Remove Rugs and Furniture
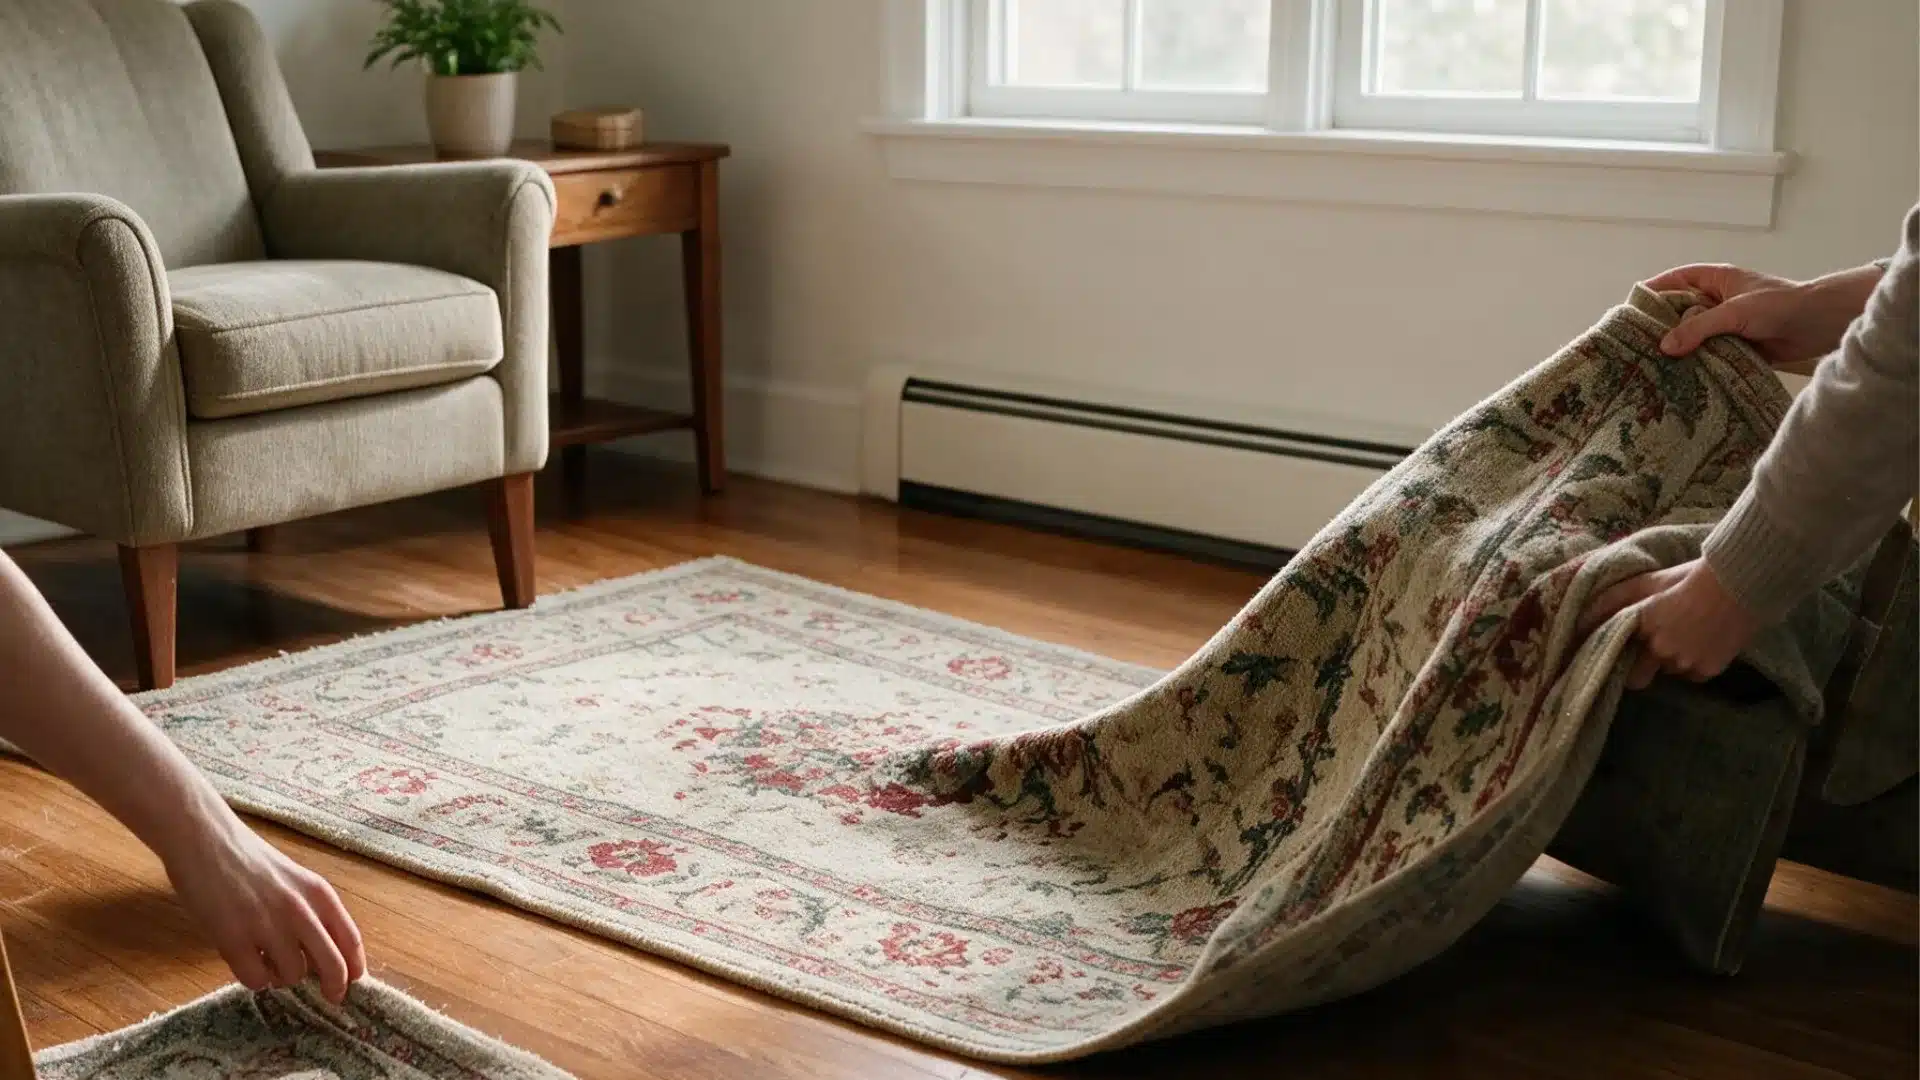
Clear the area you intend to clean first. First, move small furniture, rugs, and mats out of the way.
Before moving heavy pieces, slide furniture pads underneath. This small step gives you full access to the floor while preventing scratches.
2. Sweep or Vacuum the Floor
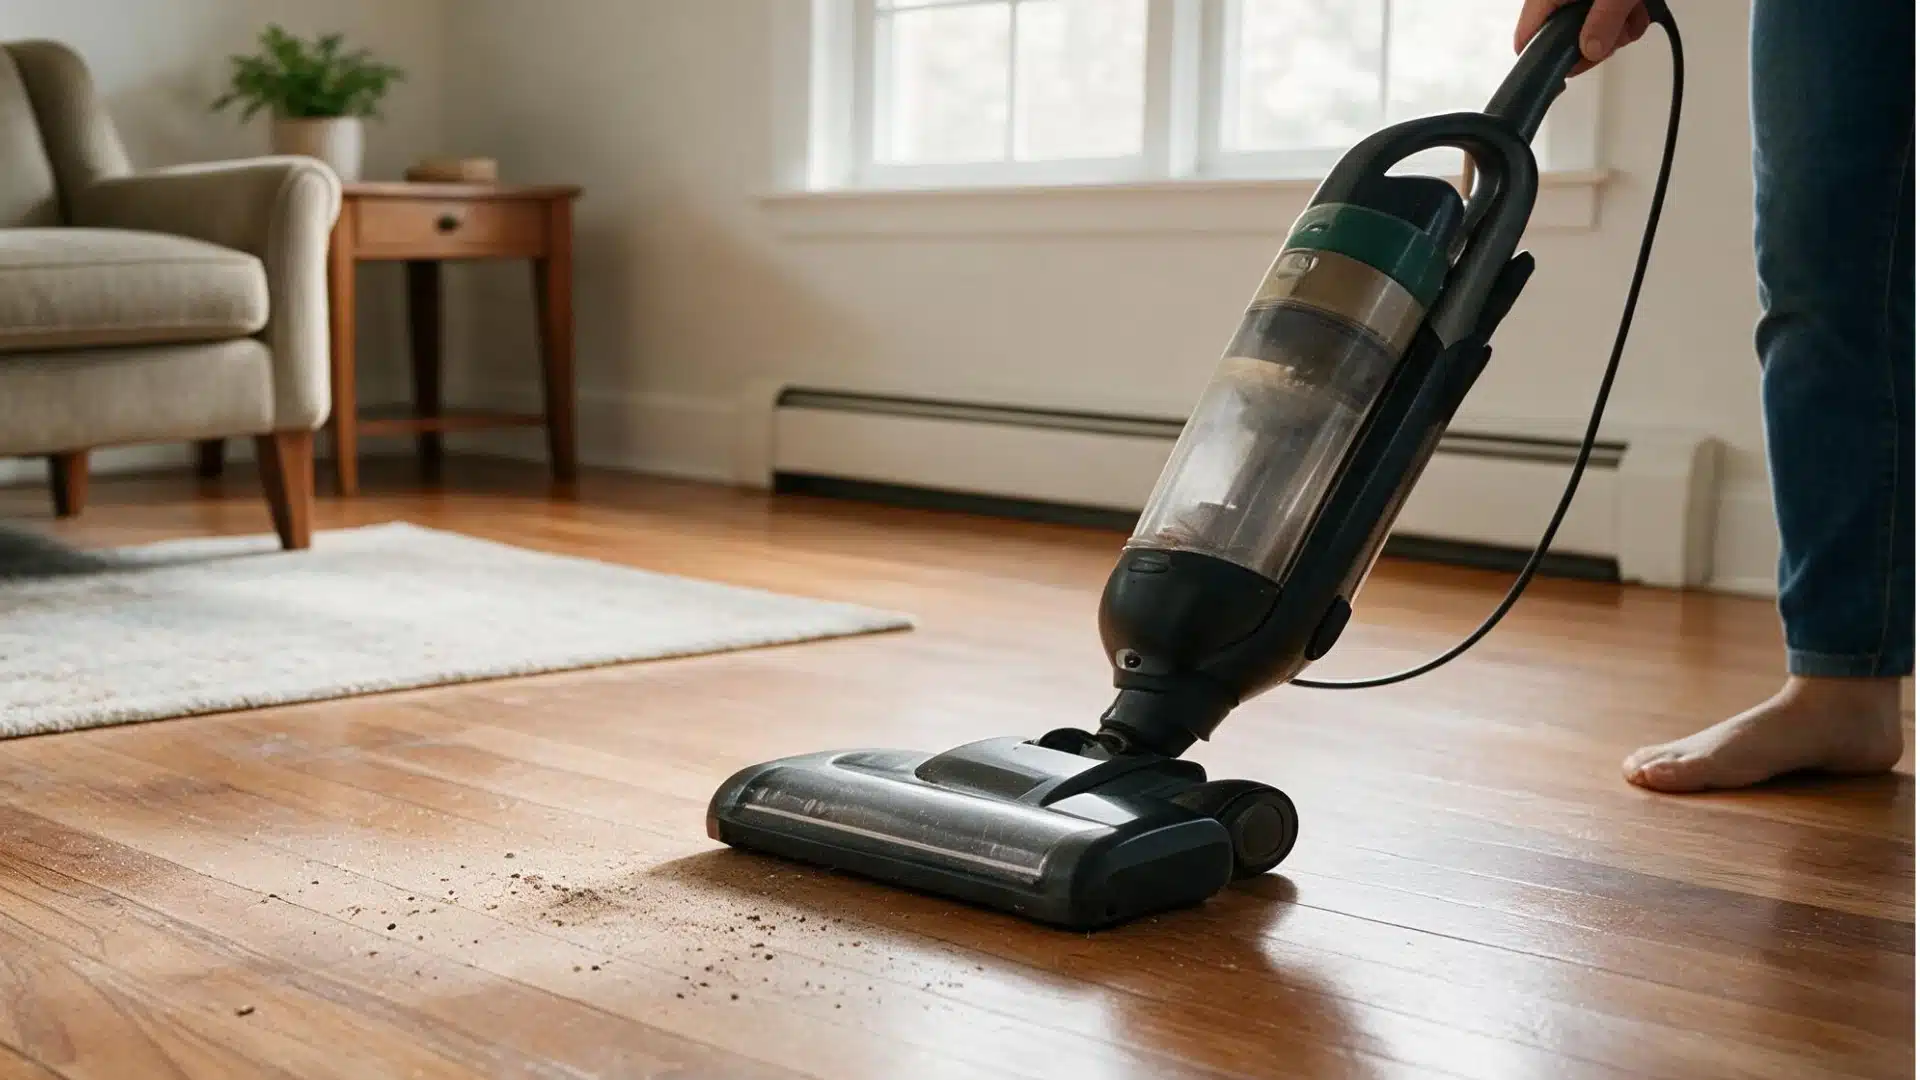
Over time, dust, grit, and pet hair can collect on the surface and scratch hardwood. To remove this debris, use a dust mop or a broom with soft bristles.
Change to the hardwood floor option if you’re using a vacuum. Avoid vacuum beater bars, as they can damage the finish.
3. Choose a Hardwood Floor Cleaner
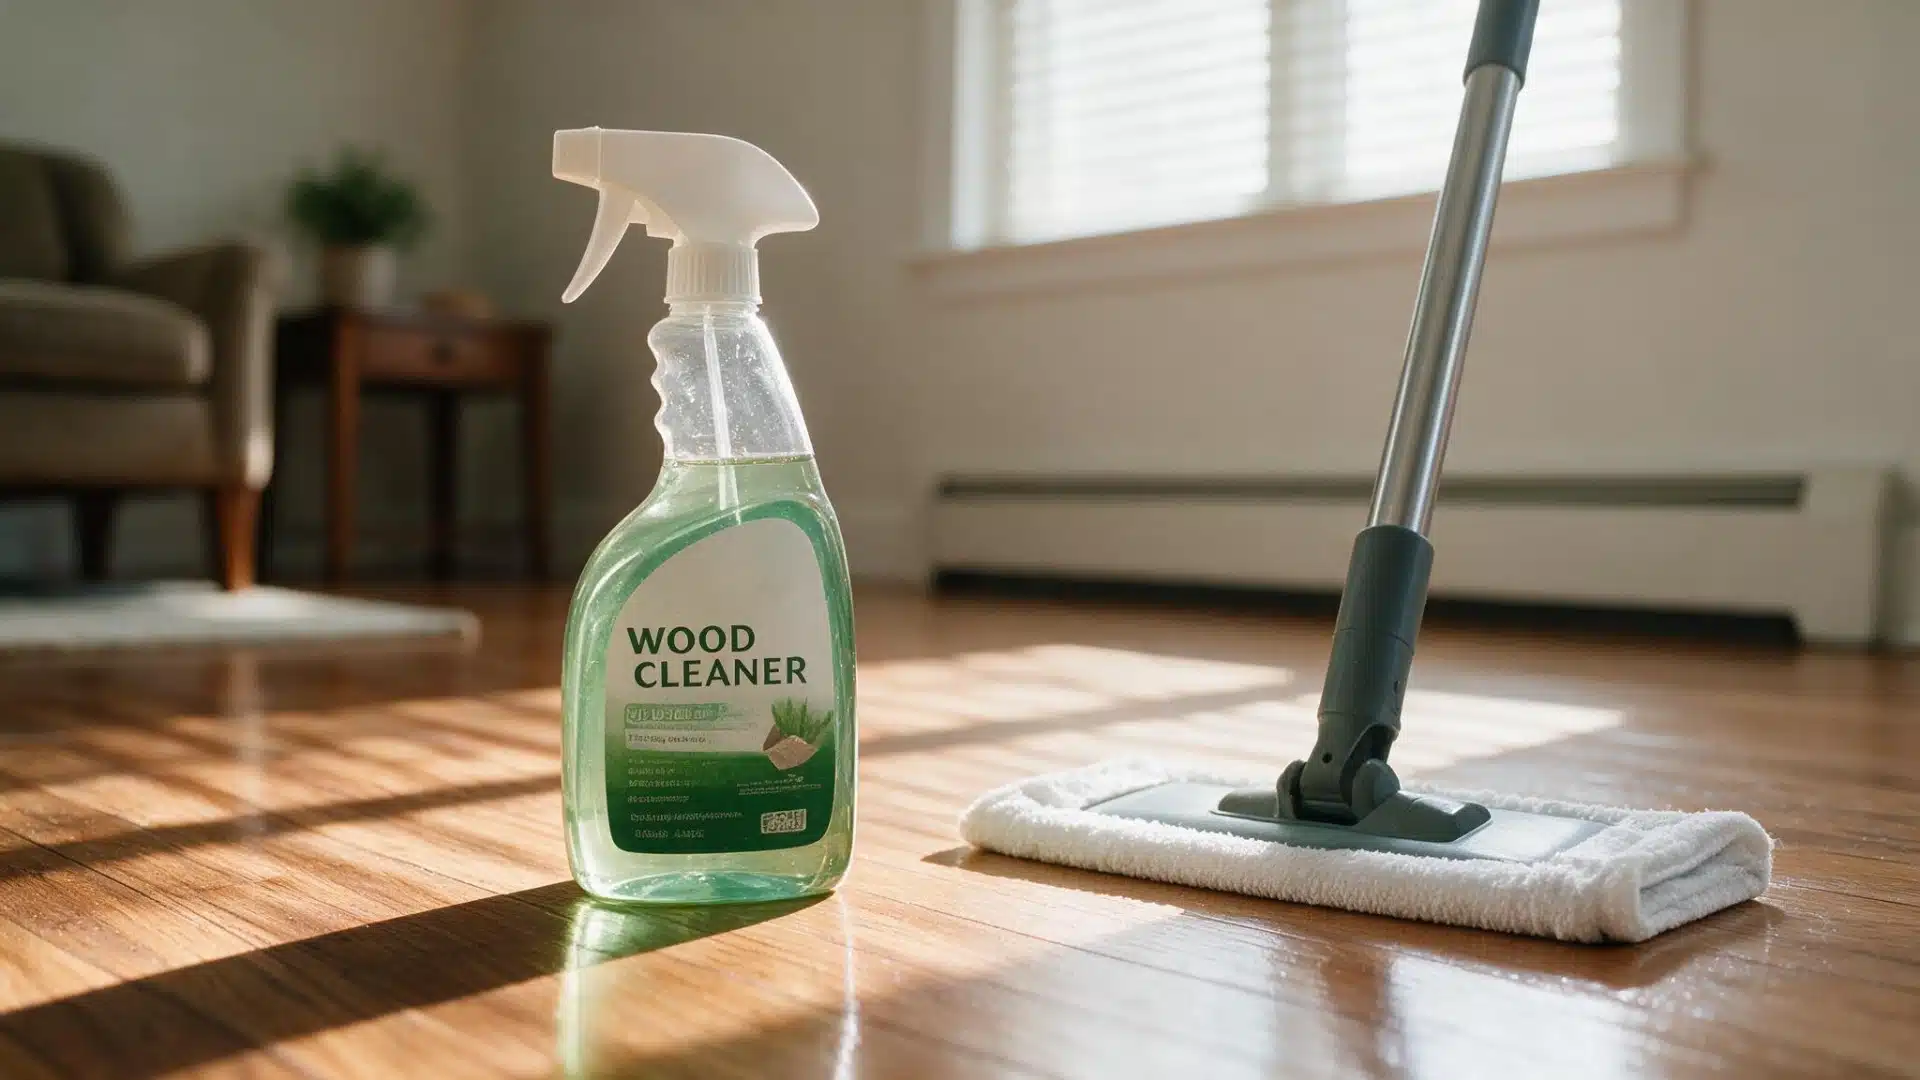
The incorrect cleaner can deteriorate the finish, and not all cleaners are suitable for hardwood floors. Select a product designed especially for the type of floor you have.
Before using anything new, go to the manufacturer’s care instructions. Avoid cleaners with abrasive chemicals or harsh ingredients.
4. Spot Clean Stains
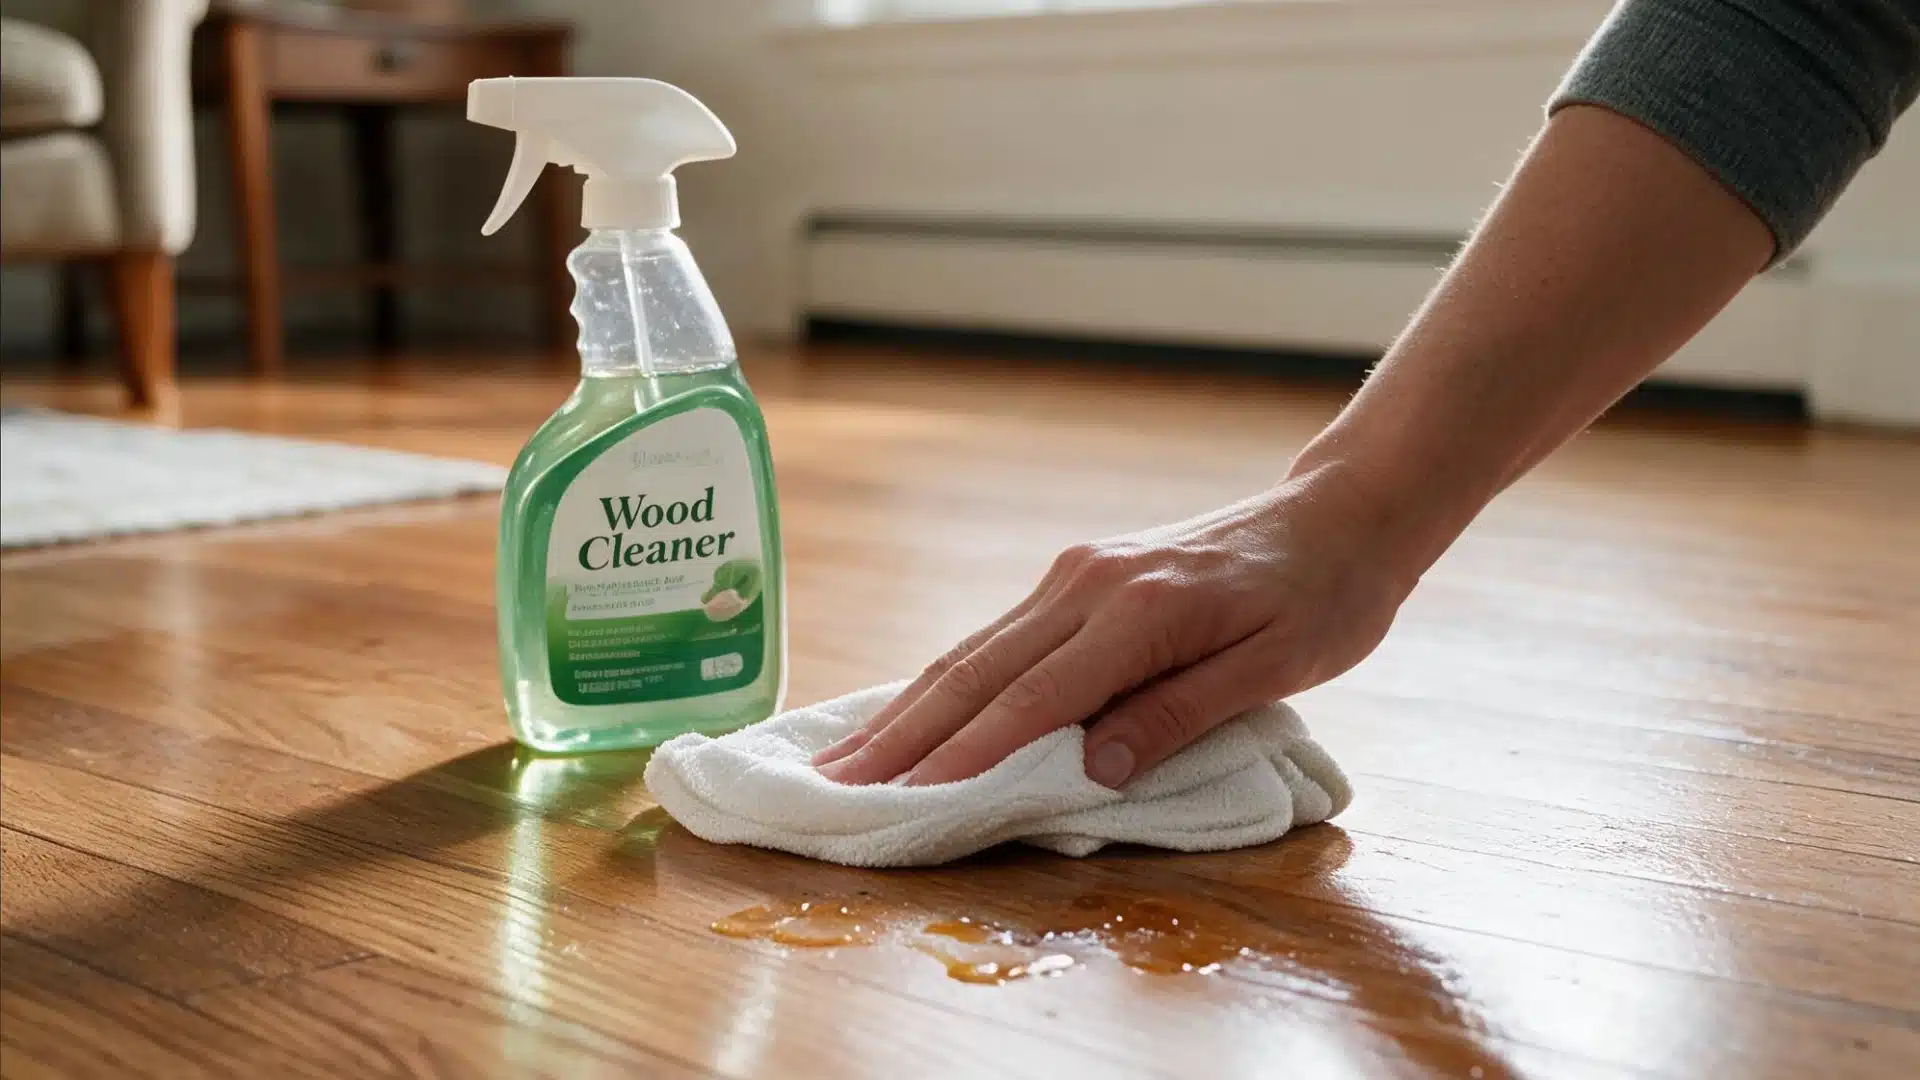
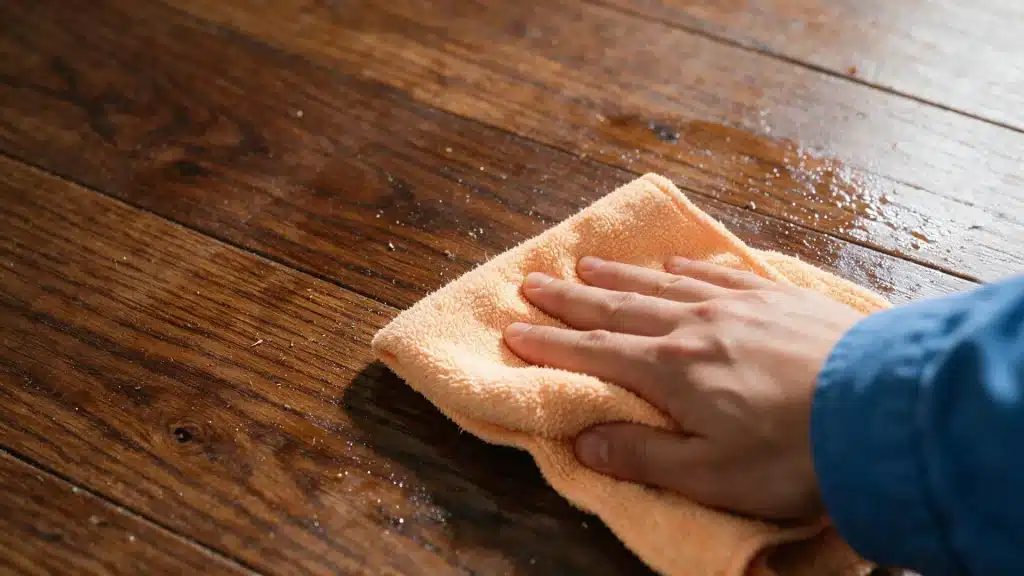
Before wiping the entire floor, clean up spills, sticky areas, and marks. Use a gentle microfiber cloth for each stain.
Rough scrubbing can harm the wood surface; instead, gently wipe the area. This prevents stains from spreading.
5. Damp Mop the Floor
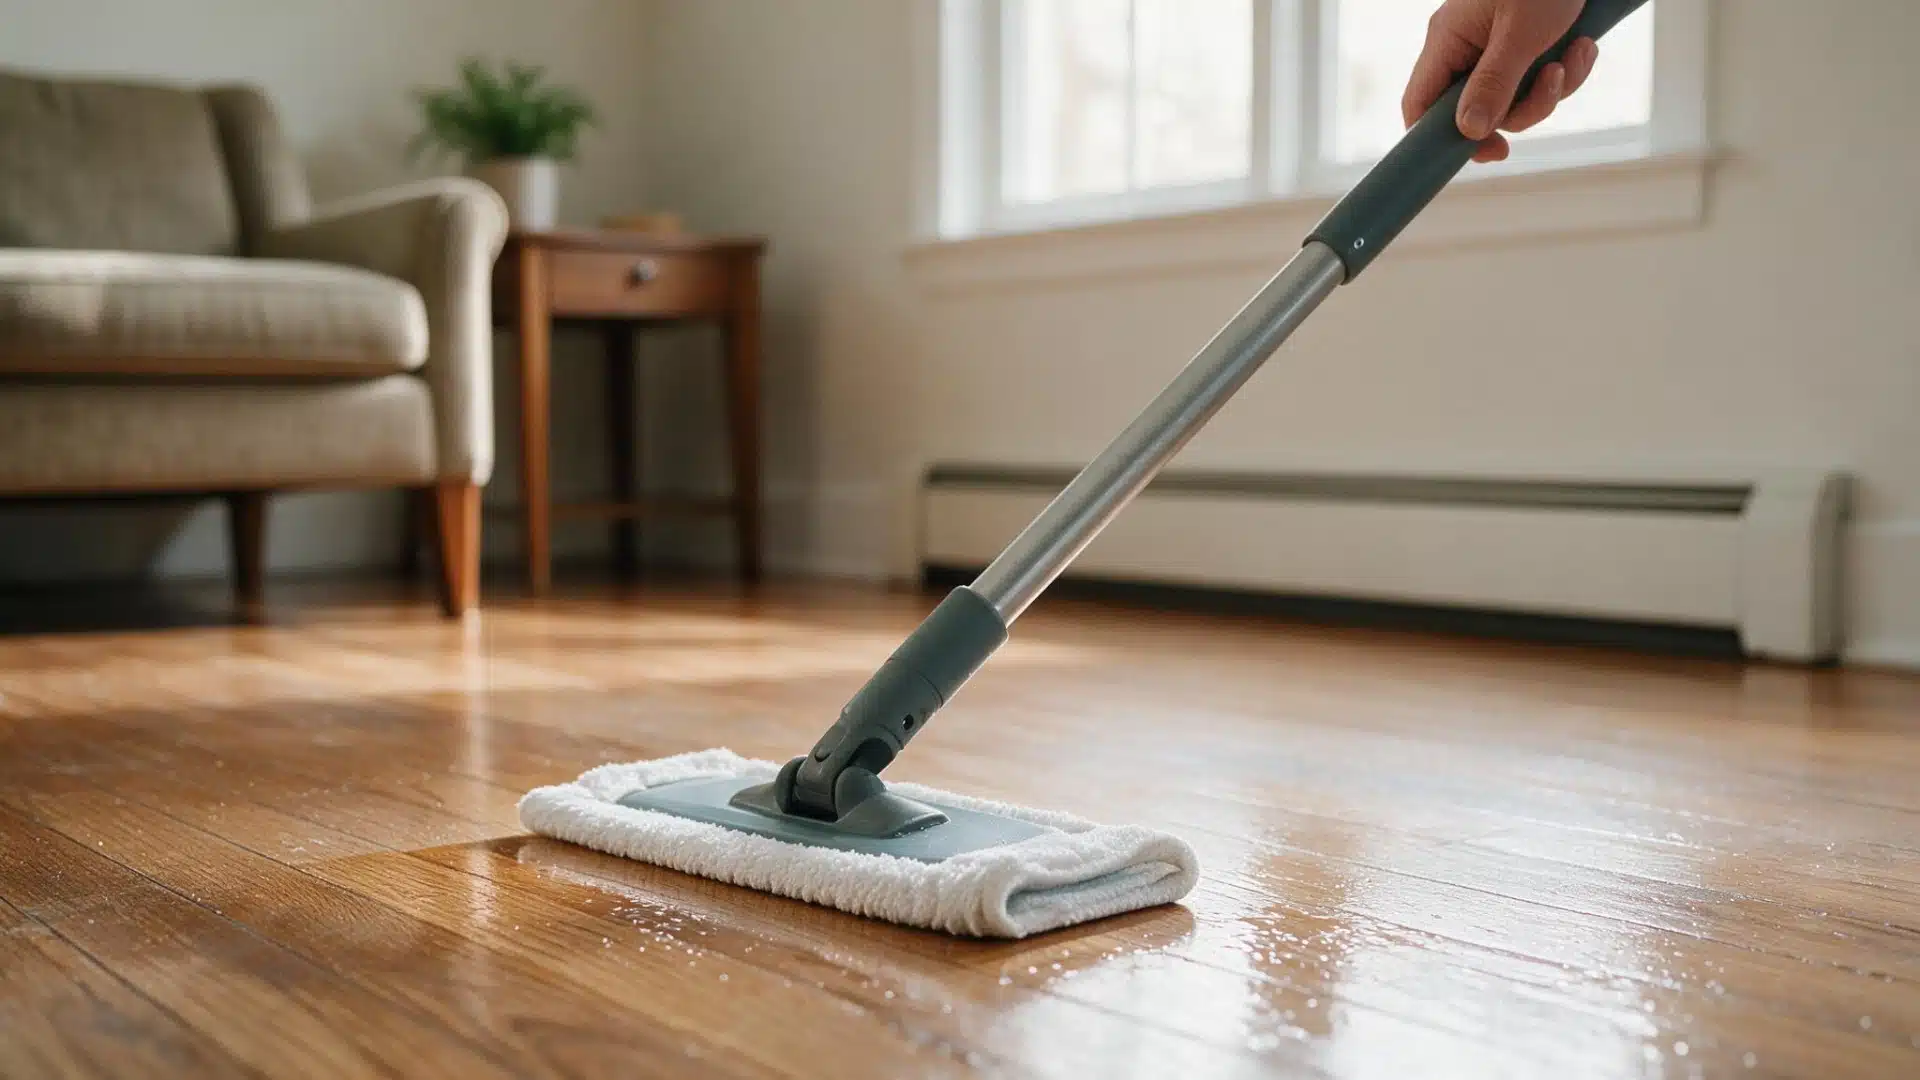
Mop the floor after you’ve cleared it of dust and stains. Wring it out completely with a microfiber mop until it feels slightly damp, not wet.
Instead of cleaning the floor all at once, do it in reasonable chunks. This keeps water from staying on the wood for too long.
6. Follow the Wood Grain
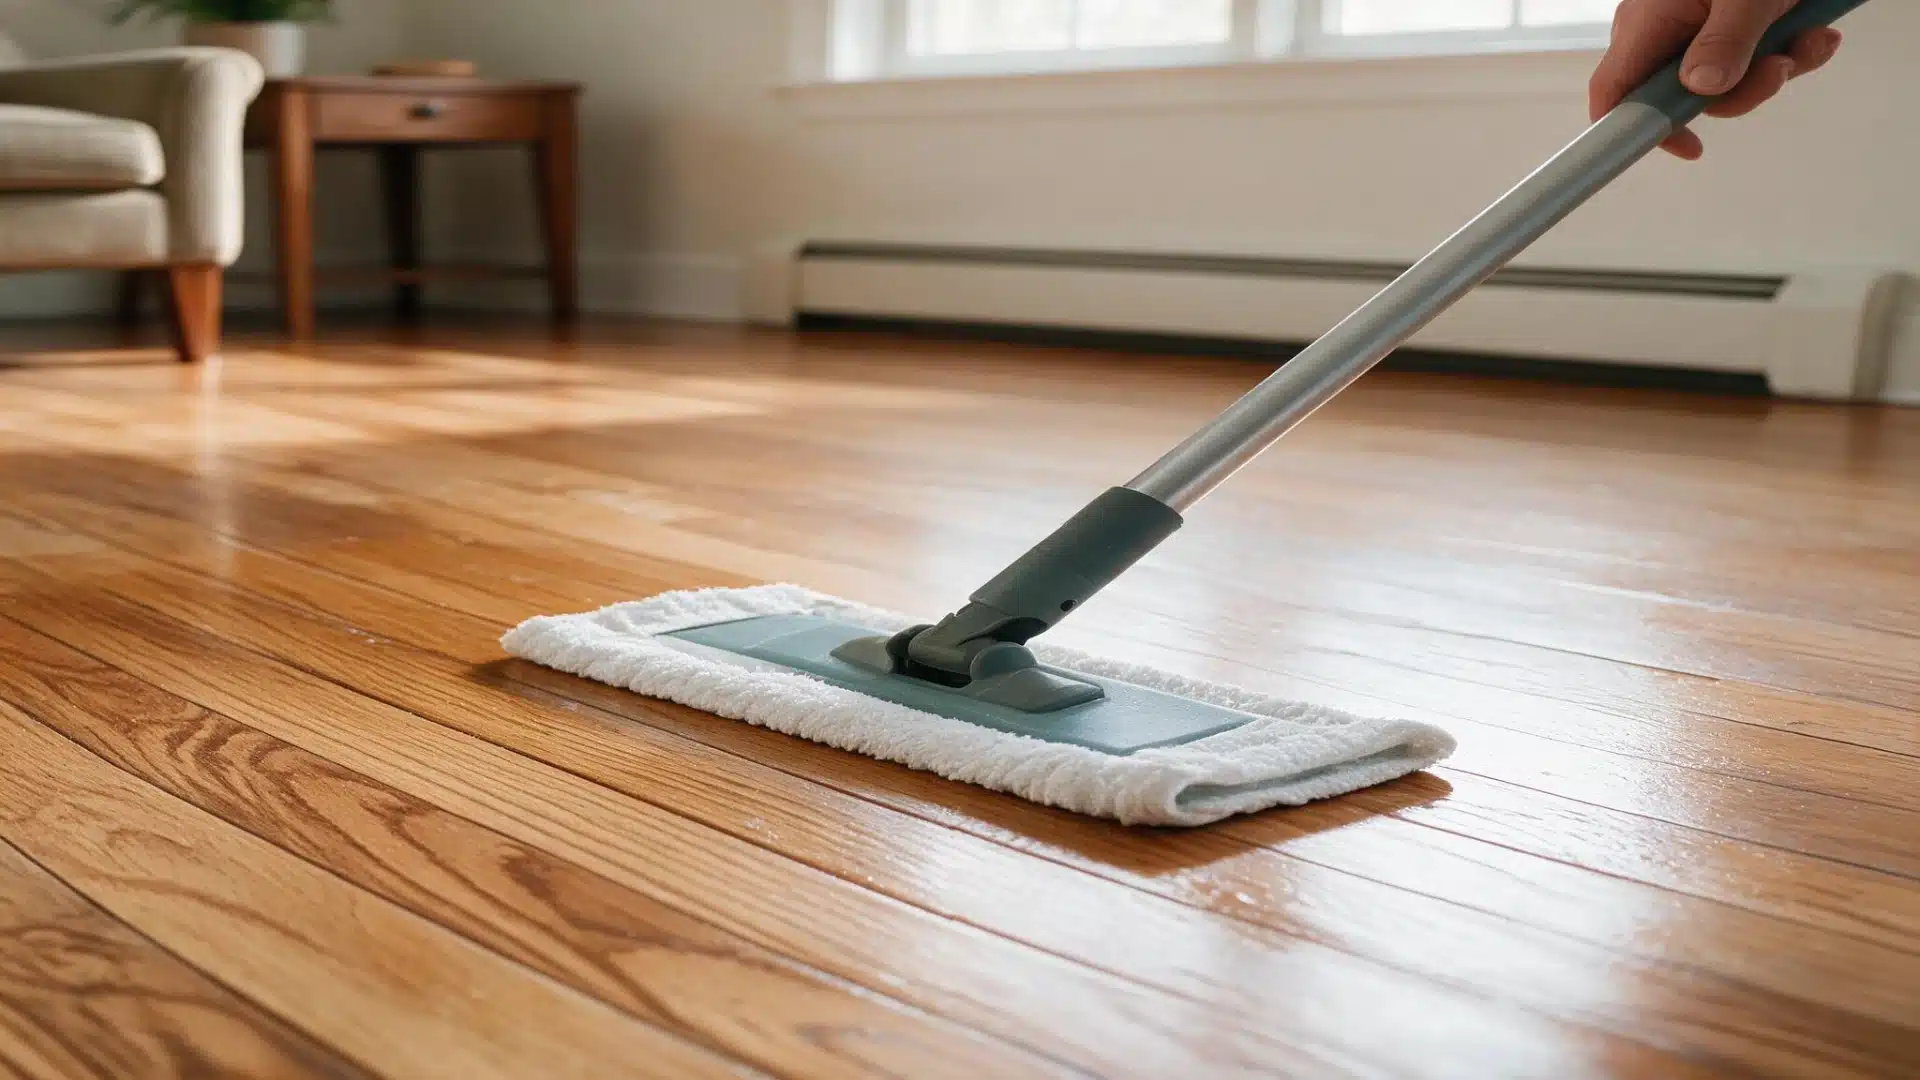
The direction you mop affects how clean the floor is. Mop in the direction of the wood planks, not across them at all times.
Because dirt and grime can gather at seams and edges, pay special attention to these areas. This technique lifts trapped dust more effectively.
7. Dry the Floor
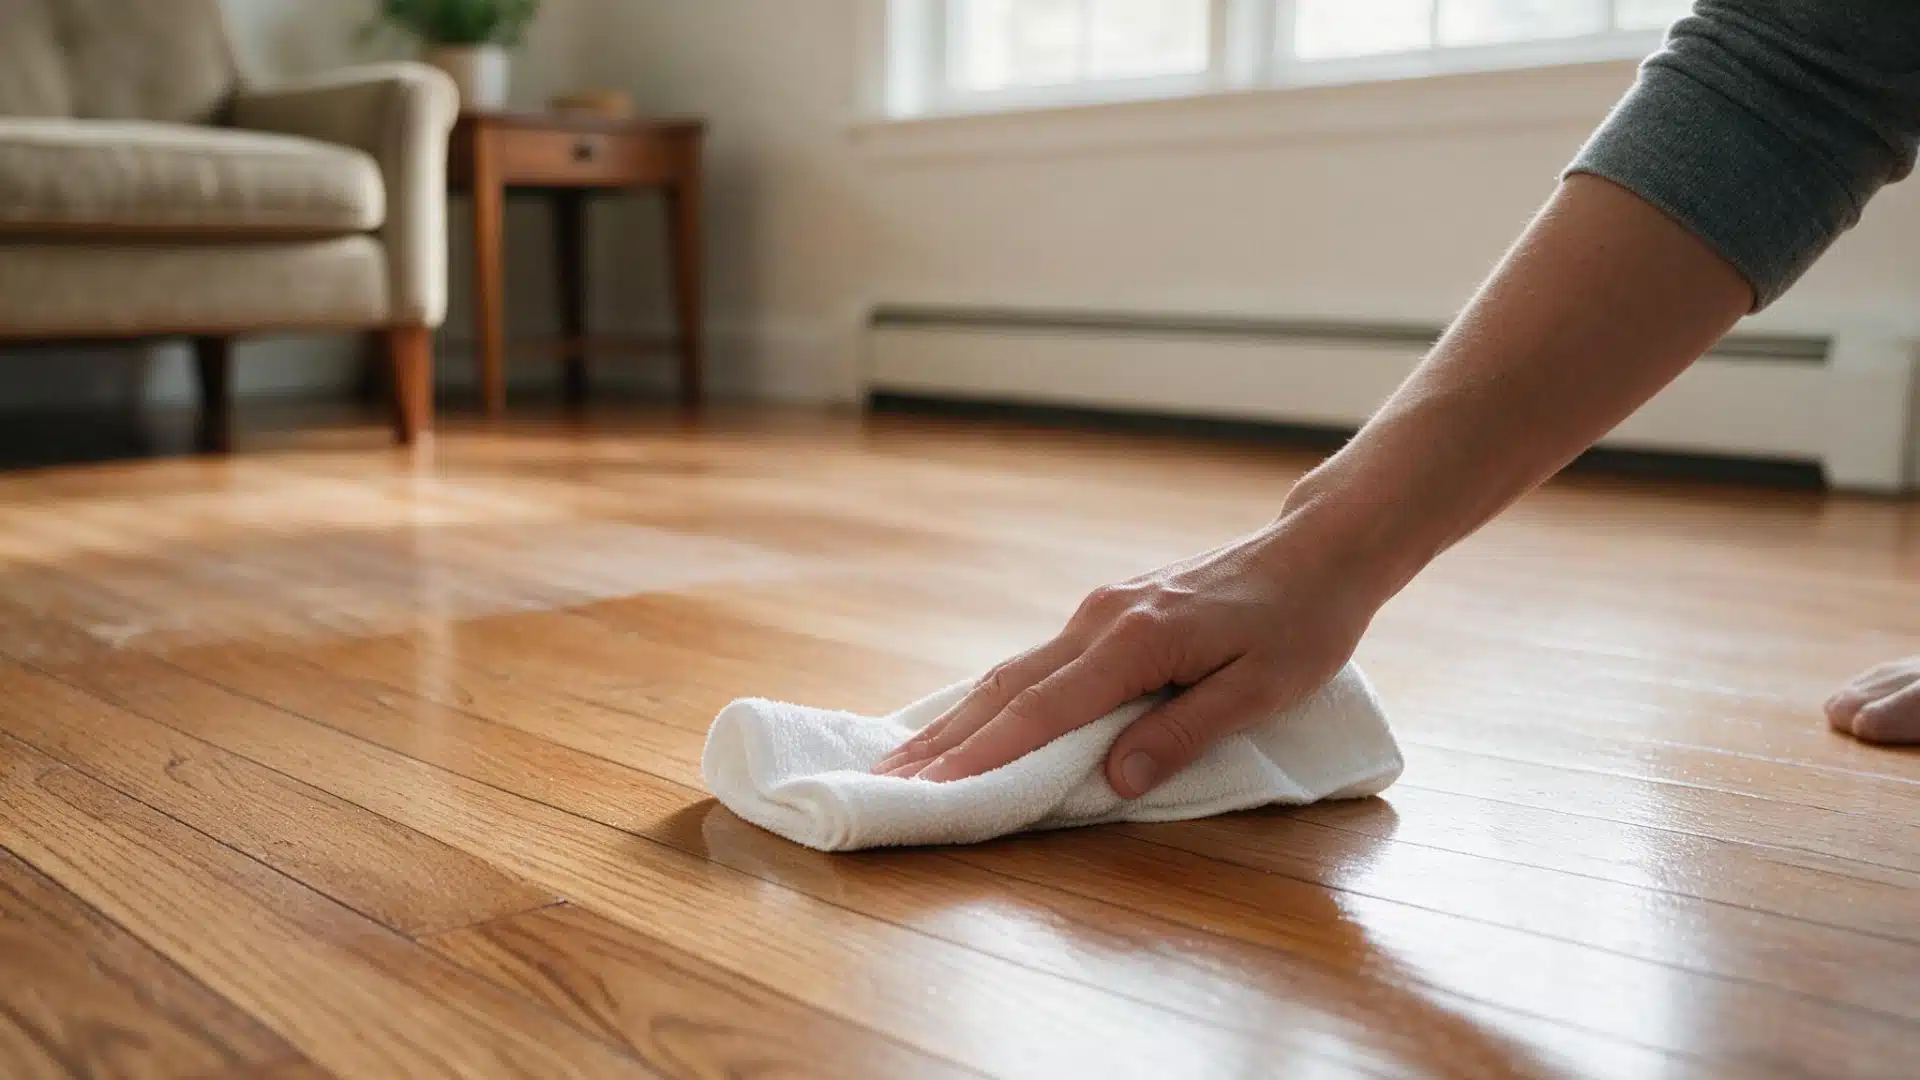
One of the biggest threats to hardwood flooring is standing water. After mopping, never leave any water on the surface.
Use a fresh microfiber cloth to clean any damp areas quickly. To ensure that the floor dries thoroughly and uniformly, let fresh air circulate throughout the space.
How to Clean Hardwood Floors Naturally?
Some people prefer natural cleaning solutions over store-bought ones. When applied correctly and to the right finish, these techniques can be effective.
For daily use, natural cleaners are also less expensive and require fewer chemicals.
Diluted Vinegar
You can lightly clean certain hardwood finishes with diluted vinegar. Before applying it to the floor, mix a tiny amount with water.
Because vinegar is slightly acidic, use it sparingly. Overuse can eventually cause the finish to deteriorate and lose its luster.
Mild Soap and Water
A few drops of mild soap and water clean light filth and daily grime. Before use, dip a mop into the solution and wring it out thoroughly.
Keeping the mop slightly damp protects the floor because a drenched mop forces more water into the wood.
When Homemade Cleaners Aren’t Suitable
Not all hardwood finishes are suitable for homemade cleaners. Certain coatings respond poorly to washing or vinegar, resulting in sticky residue or hazy areas.
Always test any DIY cleanser on a tiny, concealed area first. Checking with the manufacturer ahead of time can prevent damage to the entire floor.
What is the Best Thing to Use to Clean Hardwood Floors?
When cleaning hardwood floors, you need the proper tools. Even if the cleaning procedure is perfect, using the incorrect ones can result in dull areas, stains, or scratches.
The majority of issues with hardwood floors are caused by a single incorrect tool rather than a single incorrect action.
A microfiber dust mop handles fast daily cleaning without kicking dust back up. A soft-bristle broom works in tight spaces without scratching the wood.
A vacuum with a hardwood setting lifts grit safely, as long as you skip the beater bar. A microfiber wet mop cleans without soaking the floor.
And a cleaner matched to your finish won’t strip the coating or leave residue.
What Should You Not Clean Hardwood Floors With?
Certain standard tools and products can damage hardwood floors.
Warping, discoloration, and dullness can accumulate gradually, making the damage invisible until it becomes difficult to repair. Just as important as understanding what to use is knowing what to avoid.
Skip excess water; it seeps into the wood and can cause swelling, warping, or black stains.
Steam mops force moisture into the finish and the boards beneath it. Abrasive scrubbers leave scratches that dull the surface. Harsh chemicals strip protective coats and expose the wood.
Improper wax or polish builds up in hazy, sticky layers. And anything that leaves heavy residue just attracts more dust and grime
Avoiding these products prolongs the life of hardwood flooring.
How Often Should You Clean Hardwood Floors?
Depending on the work, hardwood floors require varying degrees of maintenance. Following a straightforward schedule prevents dirt buildup and protects the finish over time.
To prevent dirt and grit from being crushed into the surface, sweep or dust it away every day or every few days.
To catch what daily sweeping misses, use a dust mop once a week or vacuum with a hardwood setting.
To remove dust and light dirt that accumulates over time, damp mop the floor once a month or as needed. Clean spills immediately, as standing water can leave stains within minutes.
By following this schedule, hardwood floors stay consistently clean without extra work.
Conclusion
It doesn’t have to take hours to keep hardwood floors in good condition. A few simple routines keep the wood looking its best. Use the right tools, and mop and sweep regularly.
Knowing what to avoid matters as much as knowing what to use. Avoid steam mops, harsh chemicals, and excess water. This protects the floor for many years.
With this simple routine, cleaning hardwood floors just becomes second nature. These days, a little maintenance means less dullness, fewer scratches, and floors that keep sparkling with everyday use.
Frequently Asked Questions (FAQs)
1. How Long Does it Take for Hardwood Floors to Dry After Mopping?
Floors usually dry within 15 to 30 minutes with good airflow and proper ventilation.
2. Can You Use a Steam Mop on Hardwood Floors?
No, steam mops push moisture into the wood and can cause warping or damage.
3. Why Do My Hardwood Floors Look Dull After Cleaning?
Wrong cleaners, excess water, or leftover residue often make hardwood floors look dull after mopping.