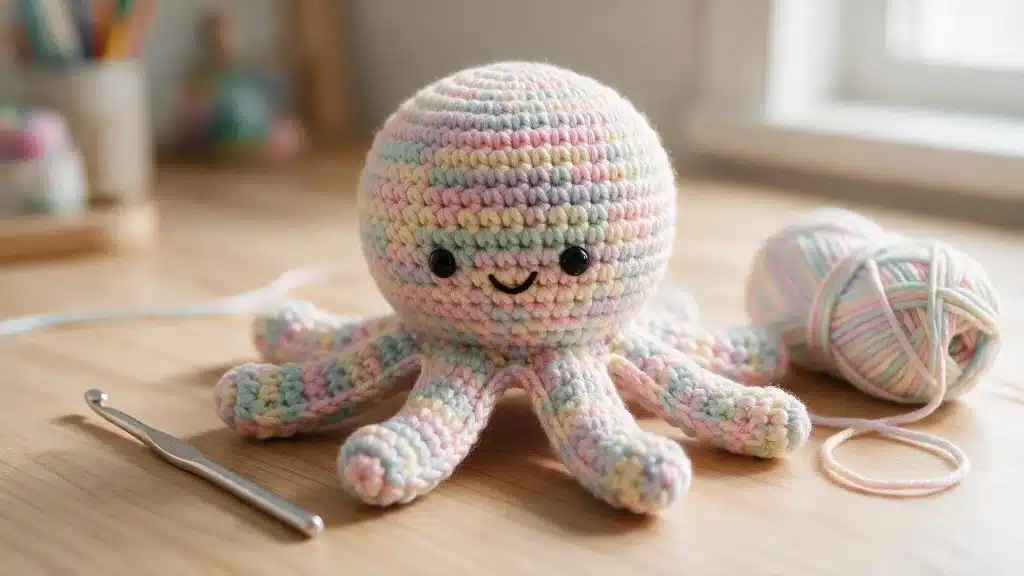
Small crocheted octopus toys turn up everywhere lately, at craft fairs, on nursery shelves, and clipped onto backpacks as keychains.
Eight curly tentacles and a round little body make one fun to hold. It’s just as fun to make with a hook and some yarn.
An octopus crochet pattern needs only basic stitches and a few rounds of careful counting. Building the head comes first, then the tentacles, then the last few stitches that finish the toy.
About This Free Crochet Octopus Pattern
If you are a beginner who already knows a magic ring, single crochet, increase, and decrease, you will find this easy to follow. This free crochet octopus pattern also suits newer crocheters with patience and steady practice.
Comfort with continuous rounds matters more than years of experience. The finished octopus measures a compact, palm-sized shape once stuffed.
Size can shift to a smaller keychain or a larger nursery shelf, depending on yarn and hook choice.
Construction stays simple throughout, worked mostly in continuous rounds without joining or turning at the end of each row.
The head, body, and tentacle base come together as one continuous piece. No separate parts need stitching together once the last round closes.
What You Need Before Crocheting
Gathering supplies first makes the actual crocheting go faster later, since nothing needs a mid-project store run.
Materials Required
A handful of everyday supplies covers this project from the first stitch to the last knot. Nothing here needs a specialty craft store.
- Yarn: Worsted weight (medium, size 4) works for the body and tentacles in any color.
- Crochet hook: A 4.00 mm (G) hook matches worsted weight yarn well. Going down a size tightens the stitches and closes up any gaps.
- Fiberfill stuffing: Holds the head and body in their round shape once packed in.
- Safety eyes or embroidery yarn: 9mm safety eyes fit this size. Embroidery yarn works better for toys made for young children.
- Stitch marker: Needed since the rounds run continuously, with no natural stopping point to mark where one ends.
- Yarn needle and scissors: Close the last round and trim the ends once everything else is done.
Crochet Abbreviations
- MR: Magic ring
- ch: Chain
- sc: Single crochet
- inc: Increase
- dec: Decrease
- sl st: Slip stitch
- BLO: Back loop only
- FLO: Front loop only
Pattern Notes and Amigurumi Basics
Rounds run continuously here, without joining or chaining up between them.
Mark the first stitch of each round. Otherwise, it’s easy to lose count. Check stitch counts at the end of every round before moving on.
Recount right away if something feels off, since unraveling one round beats unraveling five.
Keep tension even, so loose stitches don’t let stuffing show through the fabric later.
The first few rounds should roughly match the expected width. If not, catch it early rather than after you’ve used half the yarn.
Step-by-Step Octopus Crochet Pattern
This crochet octopus pattern is a free build from the top of the head down to the last curled tentacle, one round at a time.
Leaving a short starting tail on the magic ring helps close any small gap at the very top later.
Crochet the Head and Body
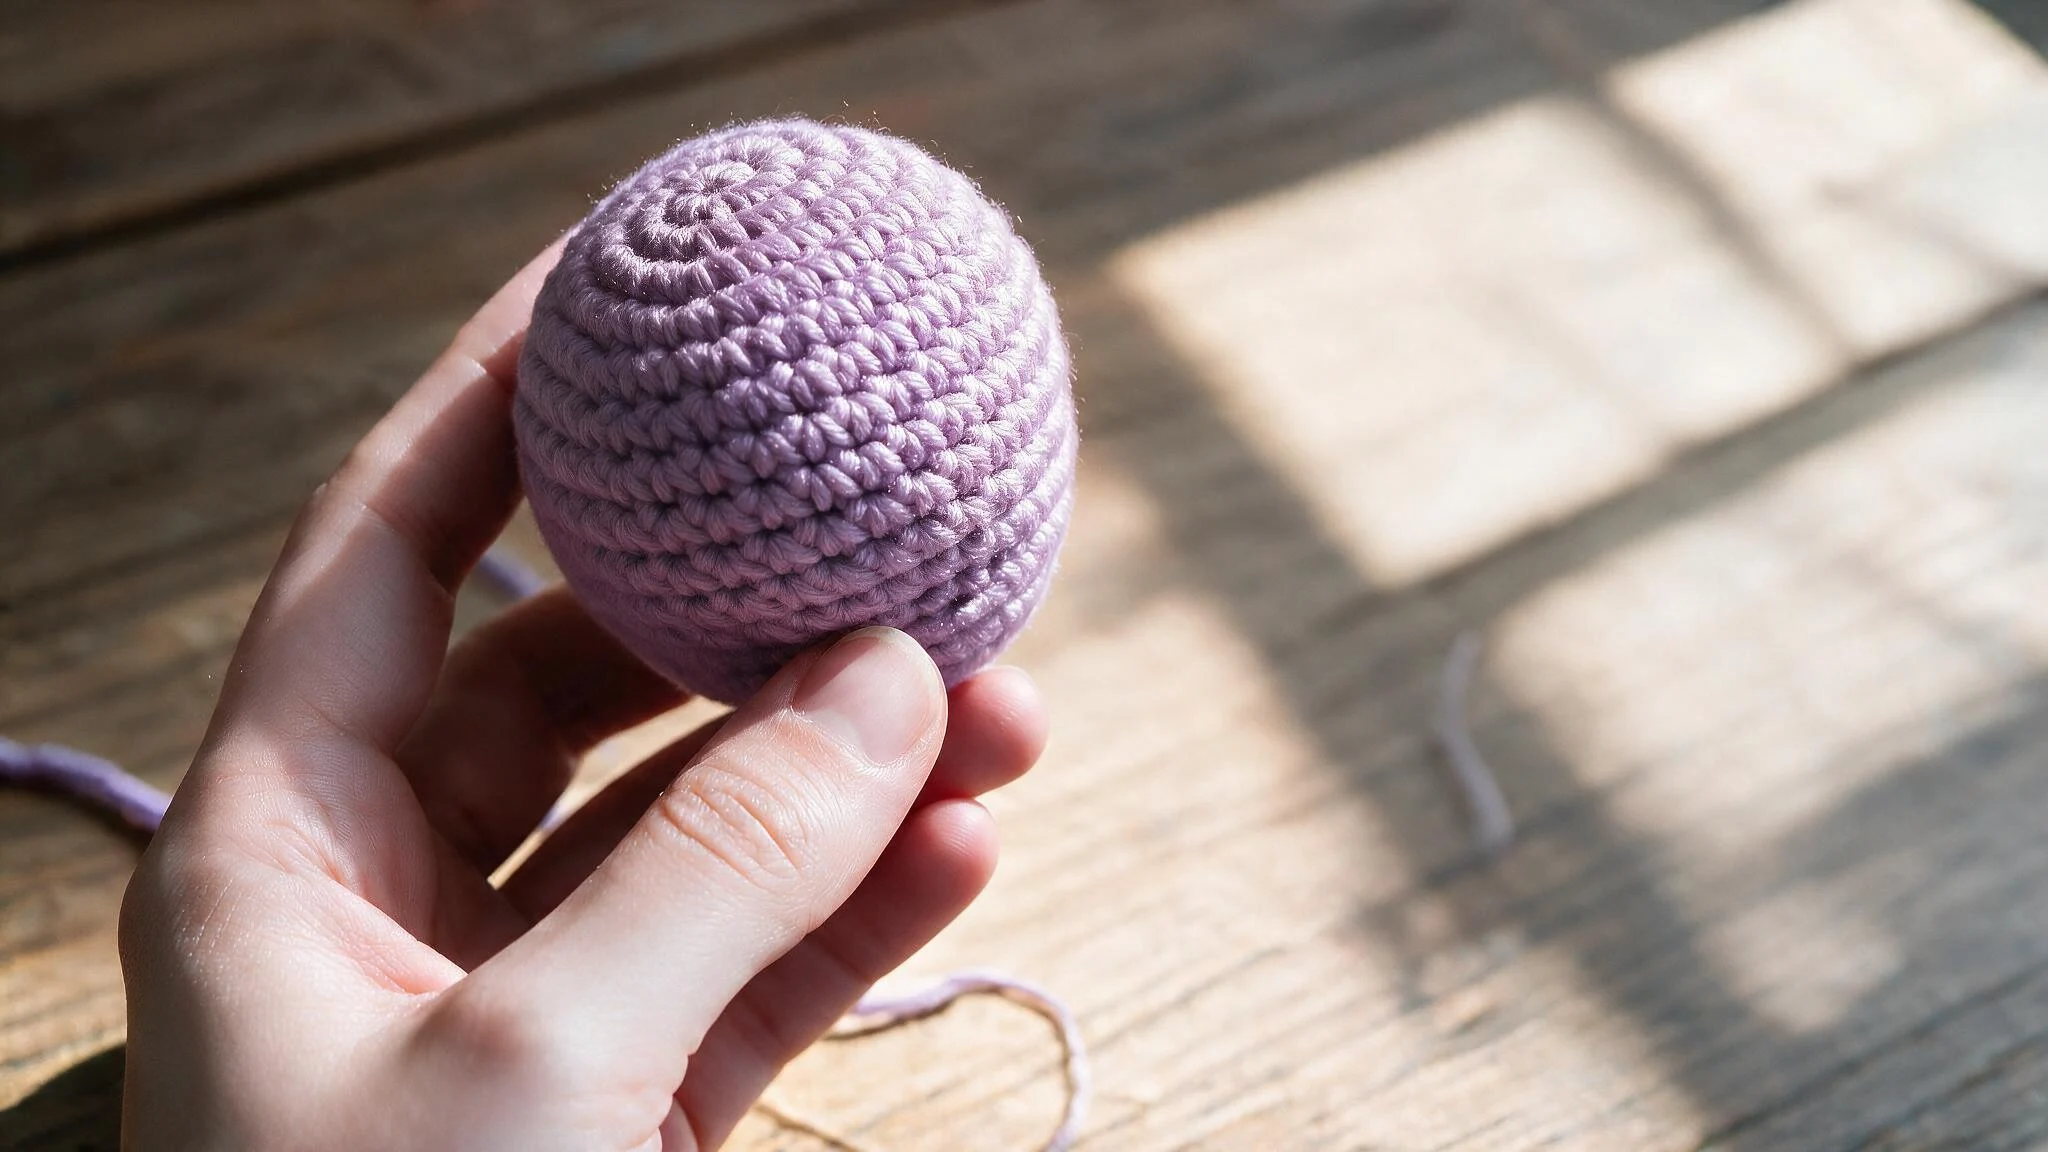
Round 1: 6 sc in a magic ring (6 stitches)
Round 2: Increase in every stitch around (12 stitches)
Round 3: Alternate one sc and one increase around (18 stitches)
Rounds 4 to 8: Sc around with no increases, holding the stitch count steady (18 stitches)
Add Eyes and Stuffing
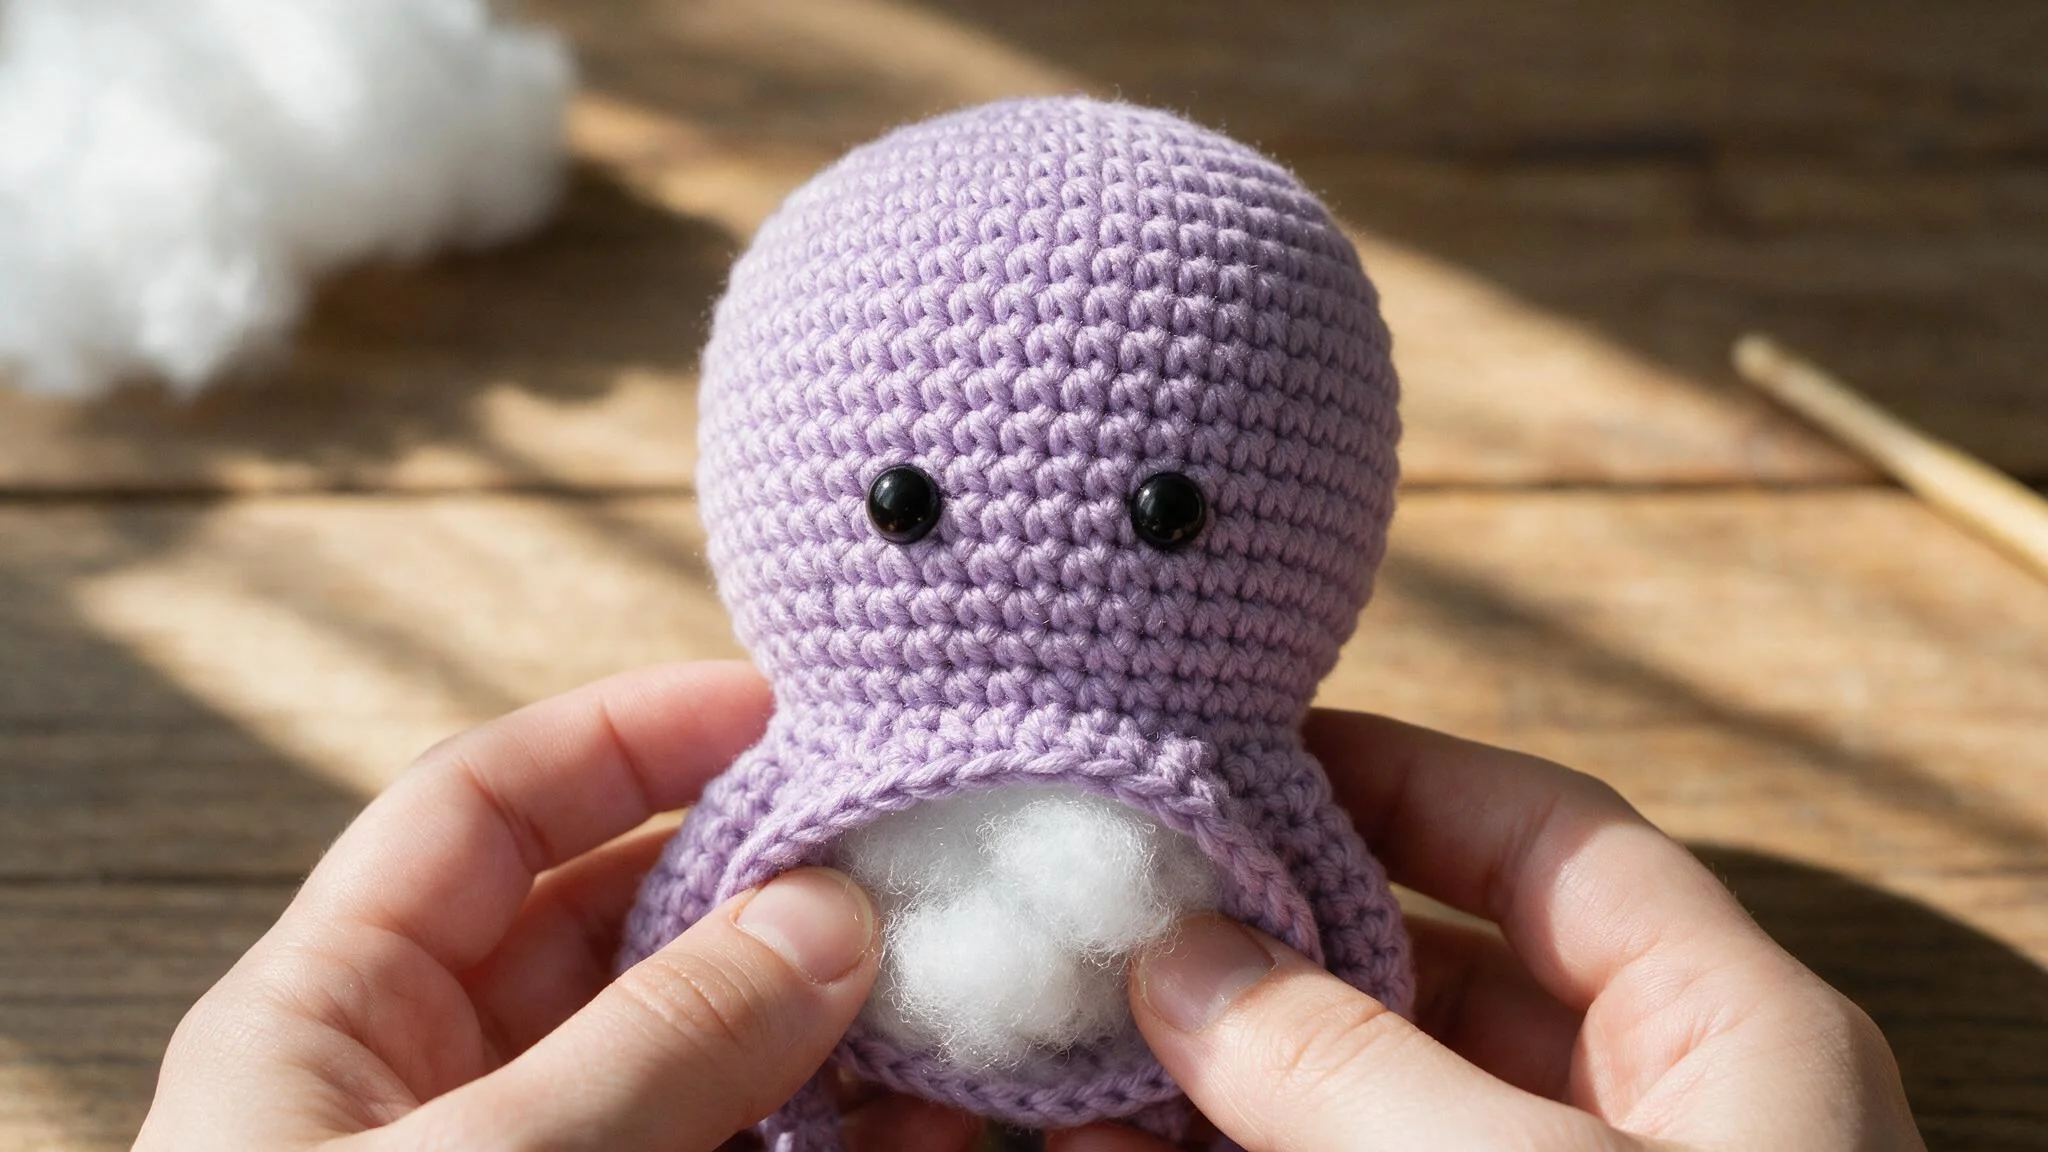
Insert safety eyes during Round 7, spaced about three stitches apart. Stuffing starts at Round 9, packed in firmly before the opening narrows any further.
Safety eyes carry a choking risk for children under three years old. Embroidered eyes are a safer alternative for younger children and are added once the body is complete.
Round 9: Alternate one sc and one decrease around (12 stitches)
Crochet the Eight Tentacles
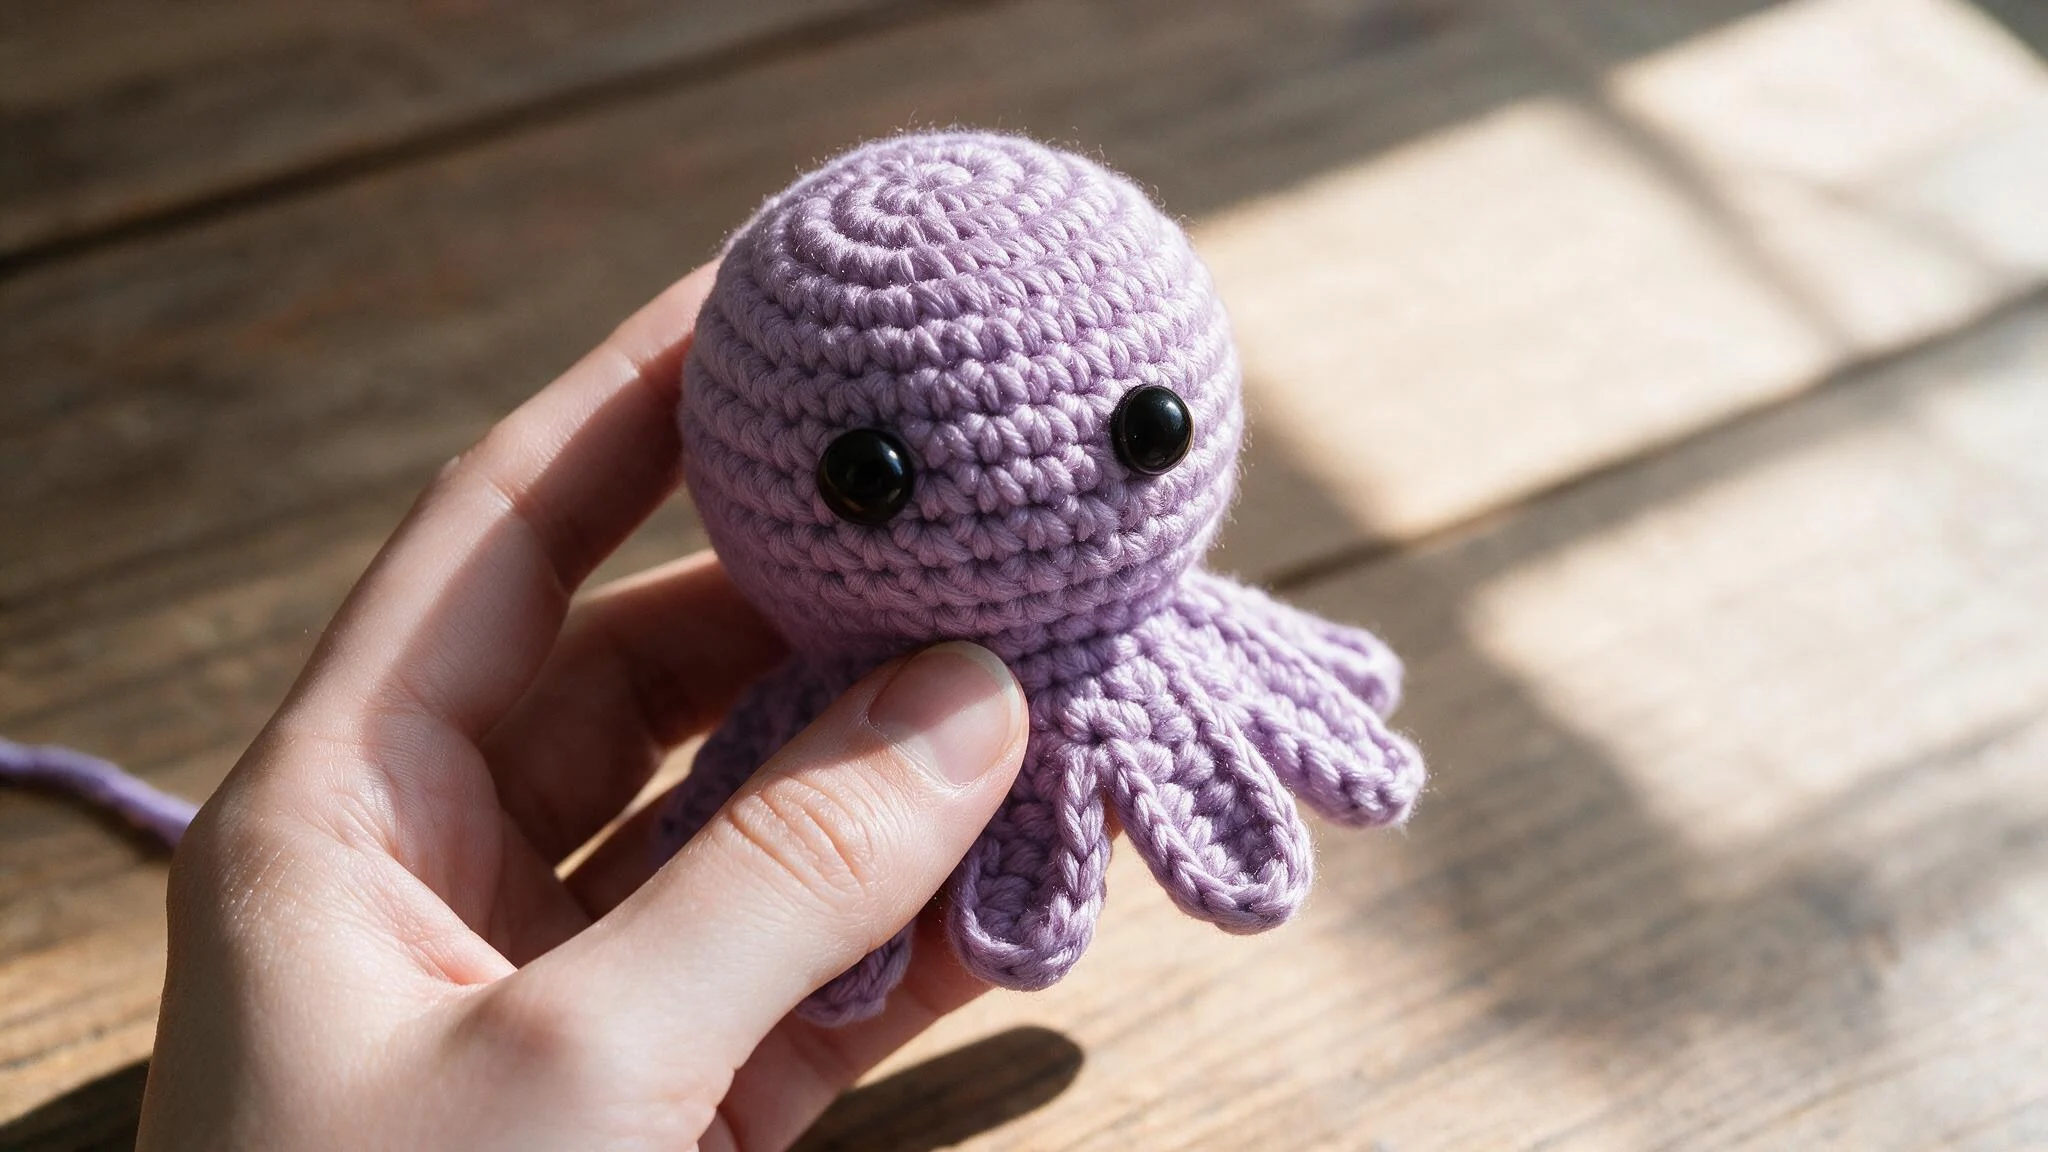
Round 10 builds all eight tentacles in one continuous round, working in the front loops only from Round 9. The sequence alternates two steps around the entire round until all eight tentacles are complete:
A single crochet into the next stitch starts the tentacle. Chain 6, then single crochet twice into each chain across from the hook and each stitch back toward the body. One tentacle is now complete.
A decrease is worked across the next two stitches, followed by the same chain-of-6 and single-crochet-back sequence (the next tentacle is finished).
A slip stitch joins the last tentacle back to the first to close the round. The doubled single crochet stitches worked into each chain pull the tentacle into its curled, spiral shape rather than leaving it flat.
Close and Finish the Octopus
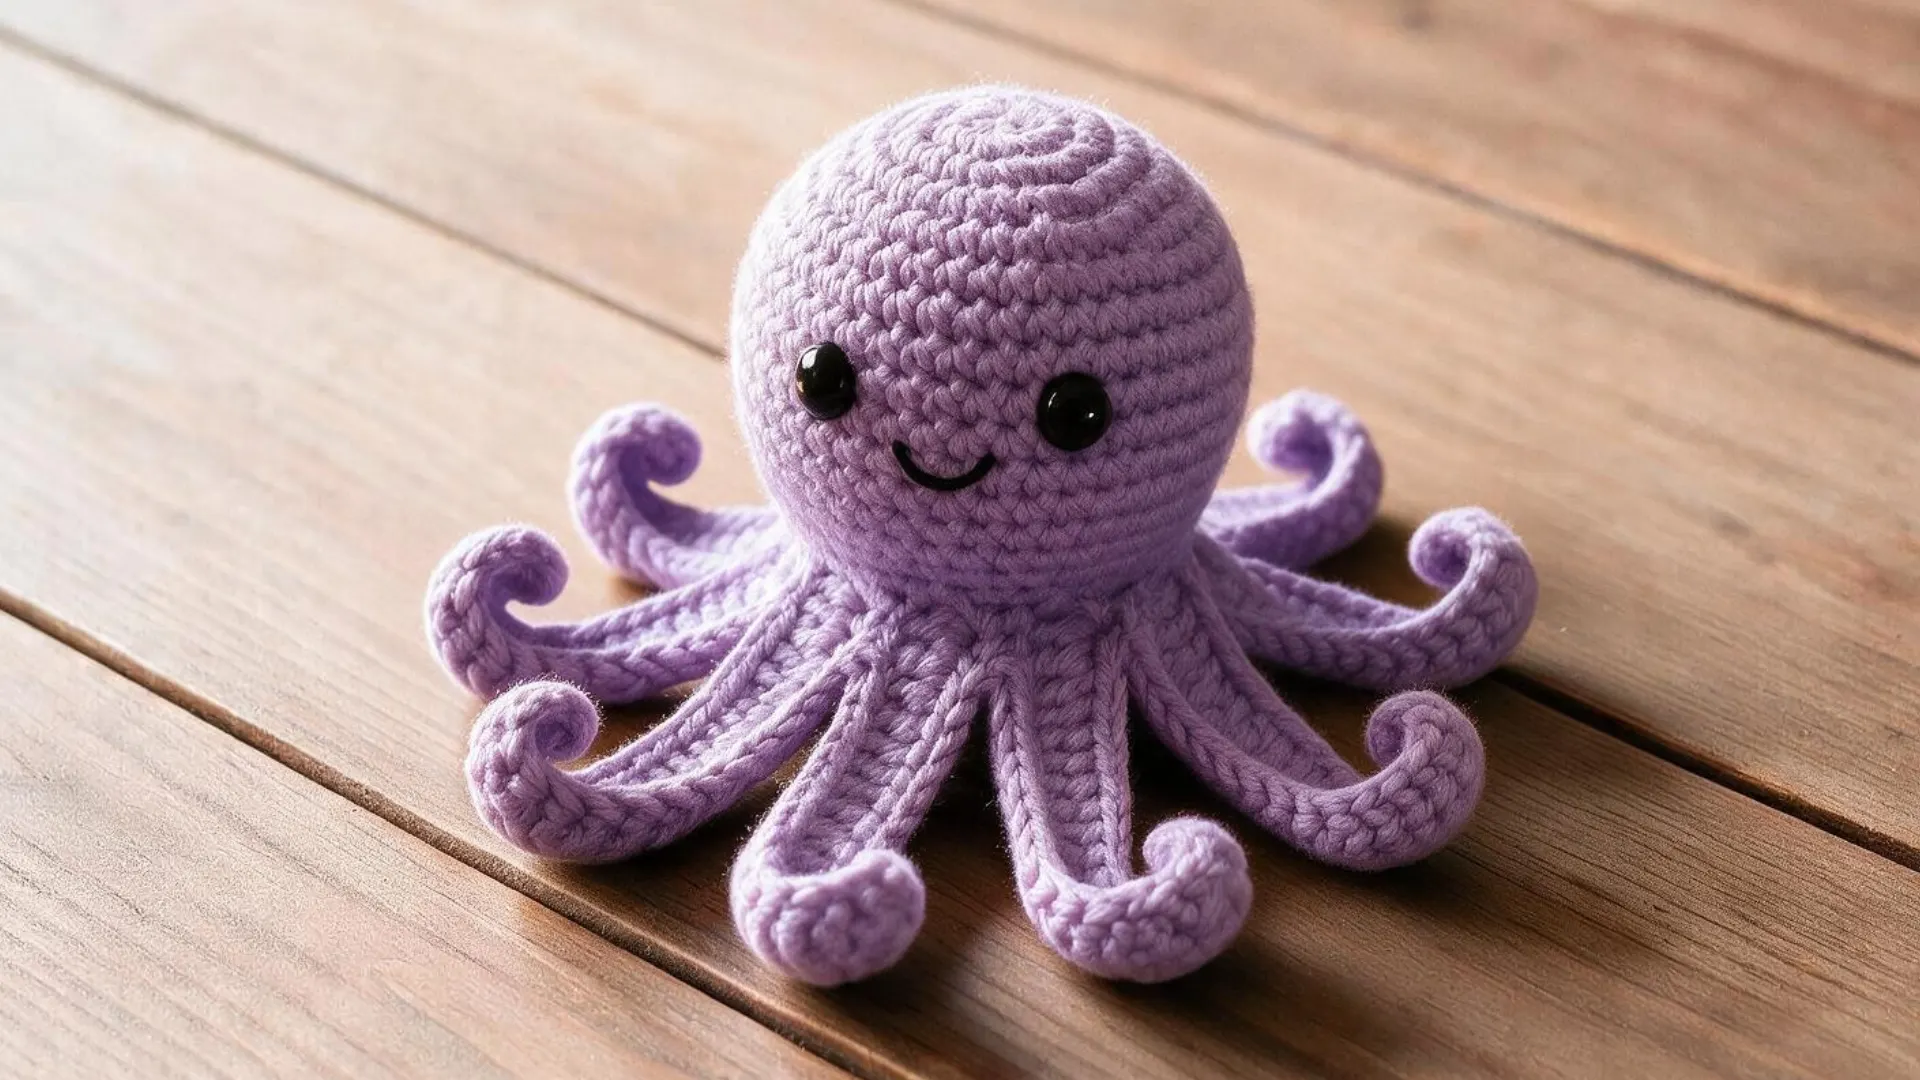
Round 9 leaves its back loops unworked once Round 10 is complete. Those loops sit on the underside of the octopus, hidden from the front.
Fastening off leaves a long tail, which gets threaded through those unworked back loops one at a time. Pulling the tail tight cinches the opening completely shut.
Weave in the loose ends and trim excess yarn to finish the shaping. What’s left is a rounded little toy with eight curled tentacles.
Is Your Octopus Lopsided? Fix It
A lopsided shape almost always traces back to stitch count. One round with an extra or missing stitch throws off everything built on top of it. Counting stitches at the end of each round catches this before it spreads further.
Uneven tension causes the same problem. Tight stitches on one side and loose ones on the other pull the shape off-center as rounds stack up. Keeping tension consistent throughout fixes this.
Uneven stuffing can also create a lopsided look, even with perfect stitch counts. Packing small amounts in gradually and checking the shape from all sides keeps it symmetrical.
A finished piece that still leans can sometimes be reshaped by hand while the stuffing is still soft.
Adjust and Customize Your Octopus
This octopus crochet pattern adapts easily once the basic rounds are down. Different colors, sizes, and small variations all build from the same core technique.
Change the Finished Size
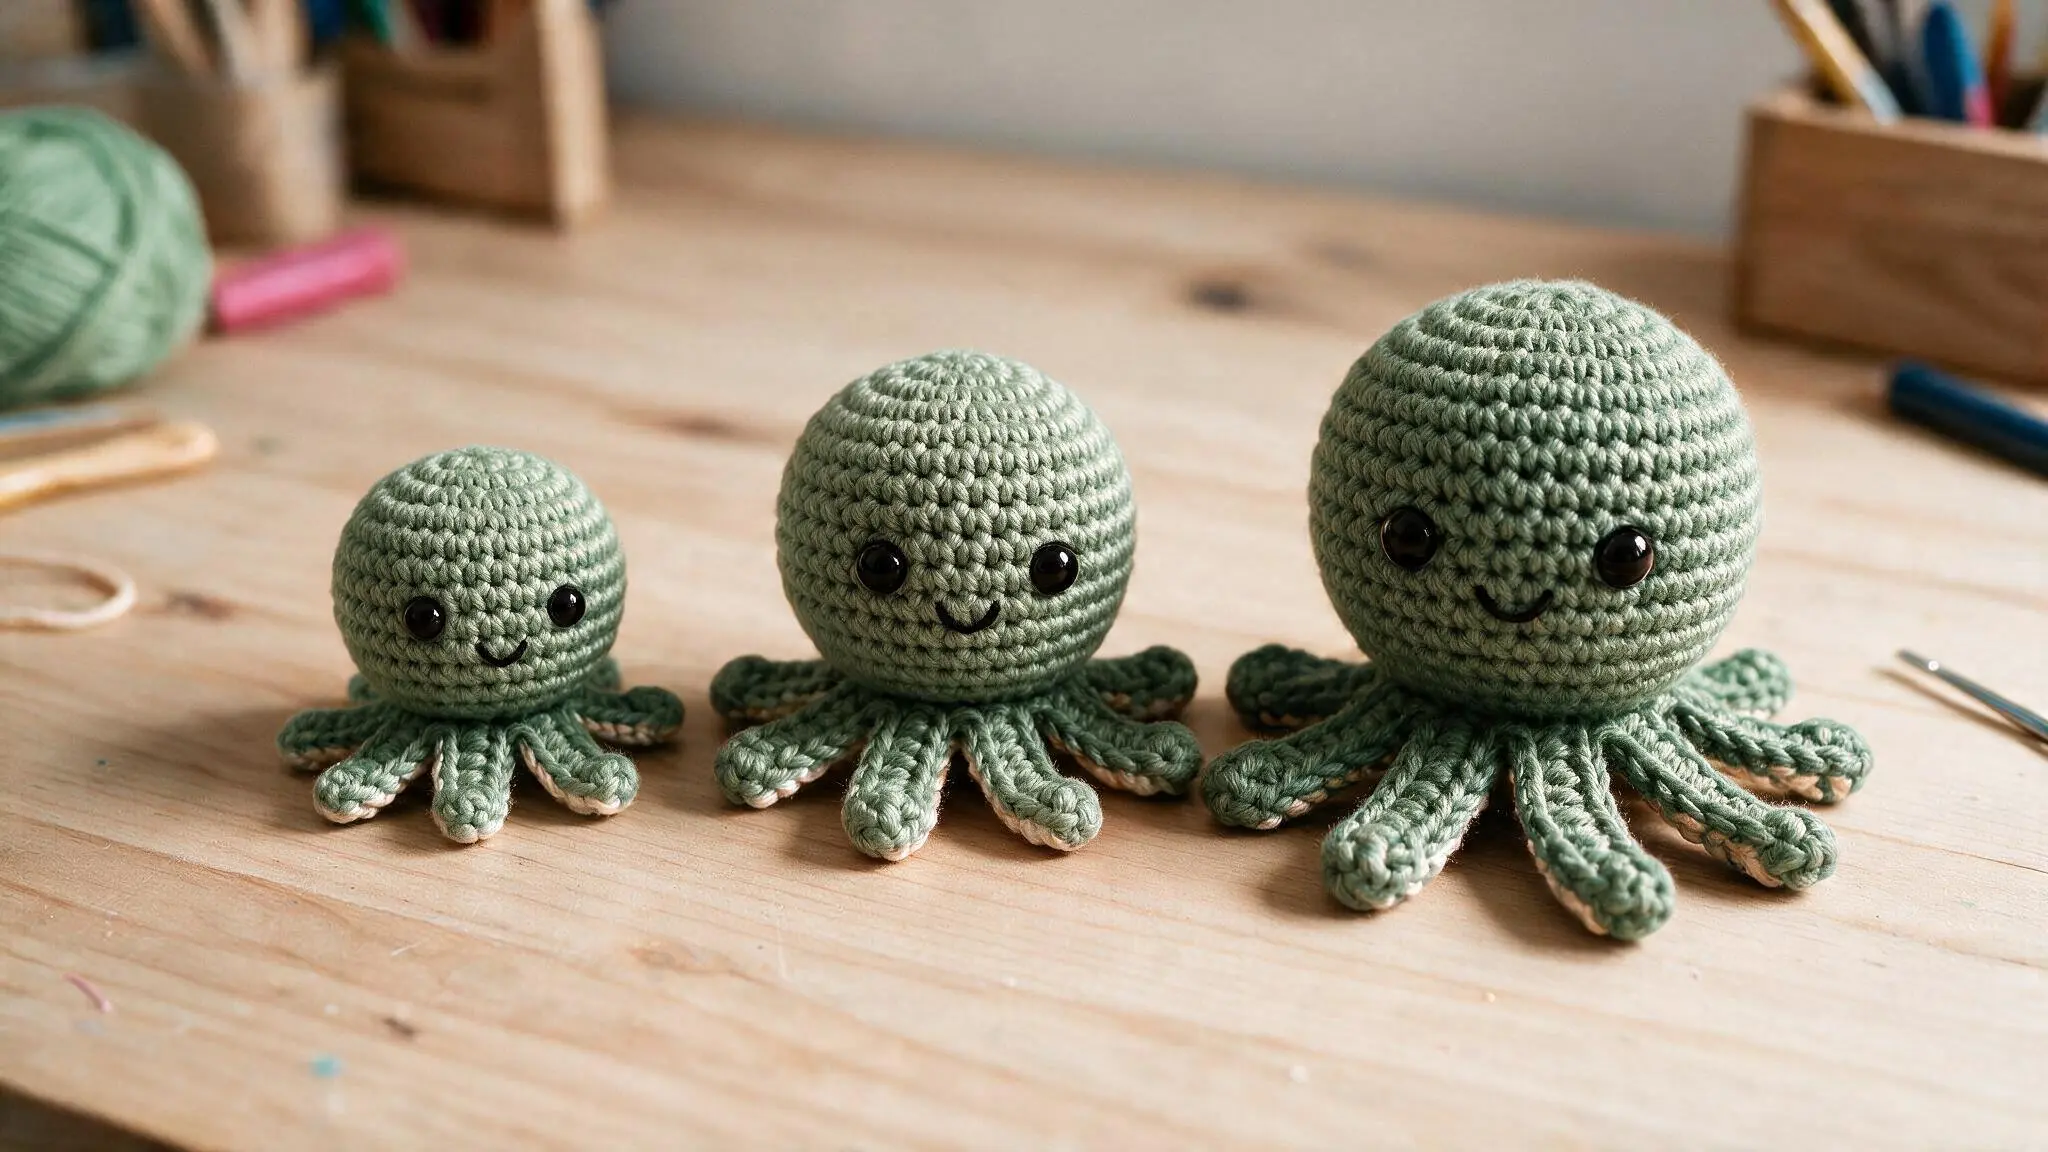
A bigger hook and thicker yarn make a larger plush, while a smaller hook and thinner yarn shrink it toward keychain size.
Swapping yarn fibers works too, though cotton holds shape more firmly than acrylic. Match the hook and safety eye size to the yarn weight you choose.
Try Different Colors and Faces
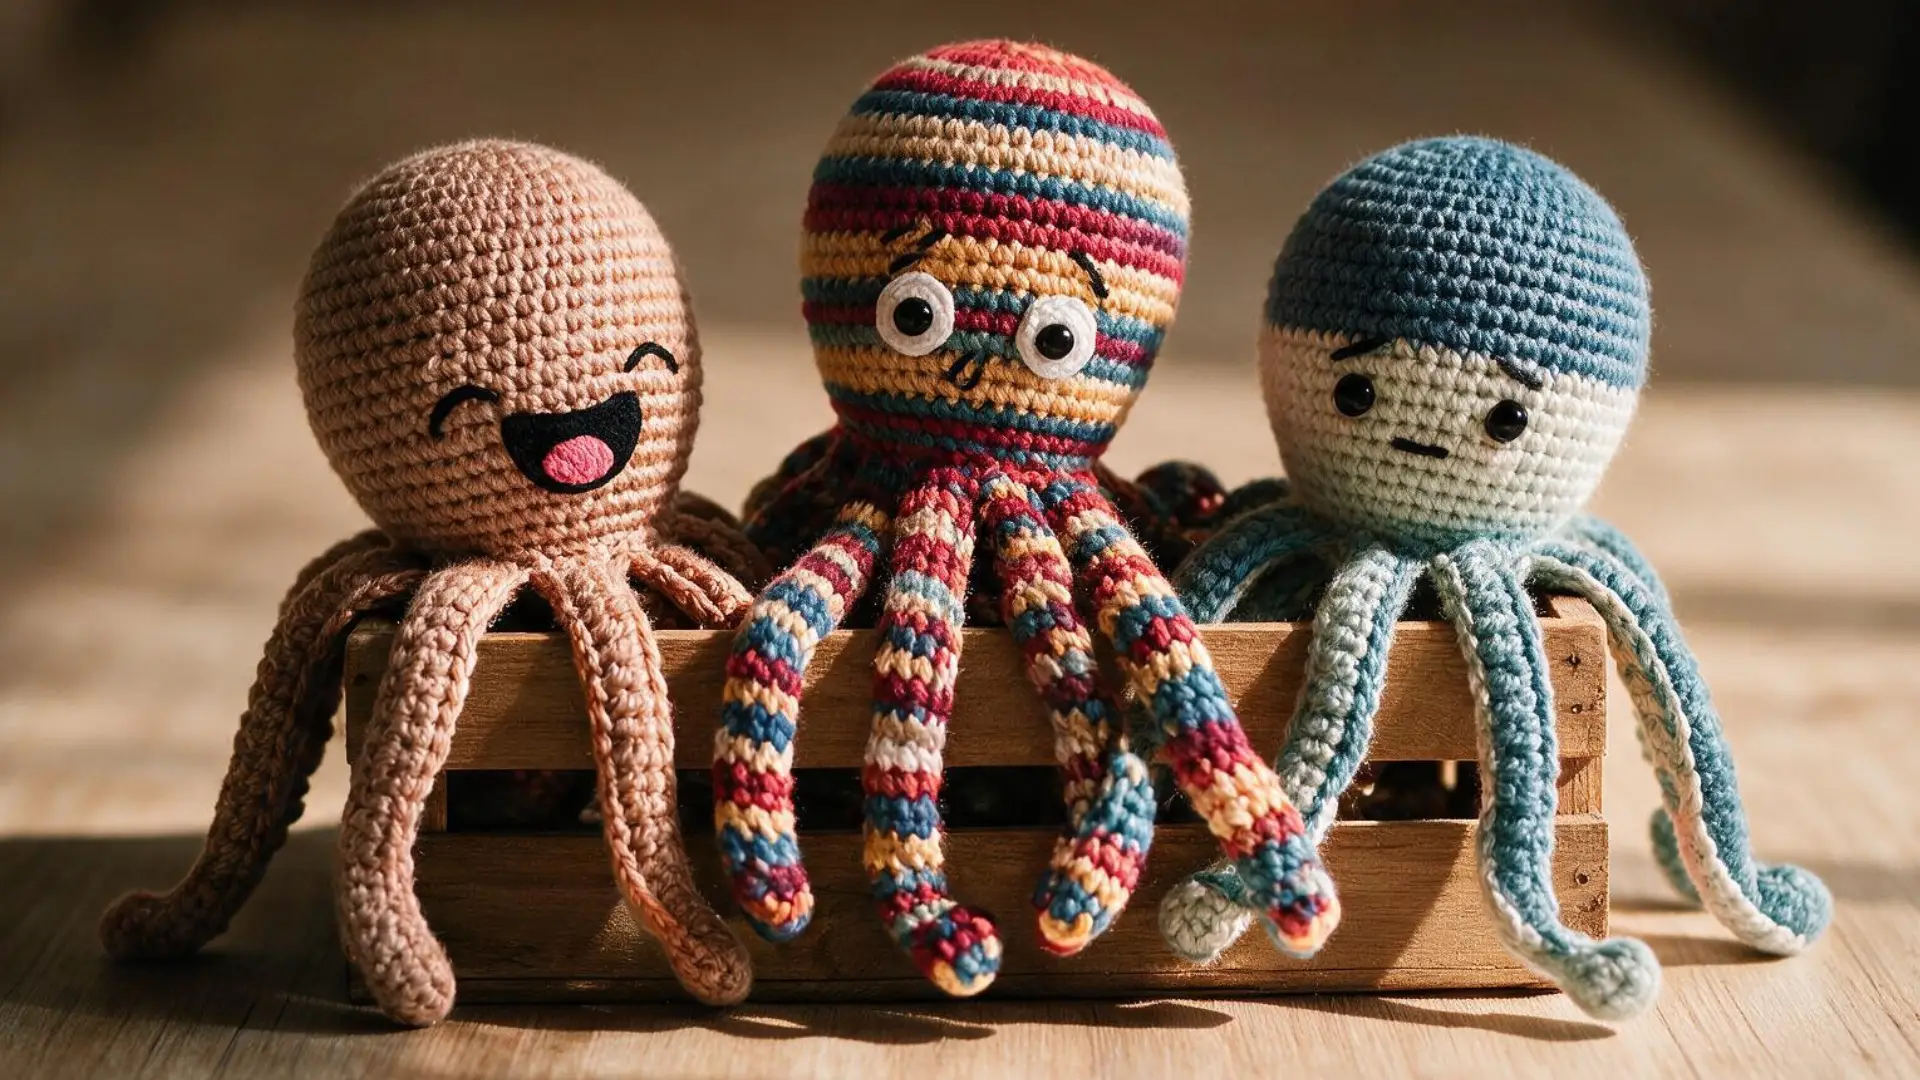
Solid colors keep things simple, while variegated yarn adds natural striping with no extra effort. Contrasting tentacles in a second color give a two-tone look.
A stitched mouth, rounded cheeks, or eyelashes add real expression beyond just eye choice, using a few stitches of contrasting floss.
Crochet Octopus Keychain
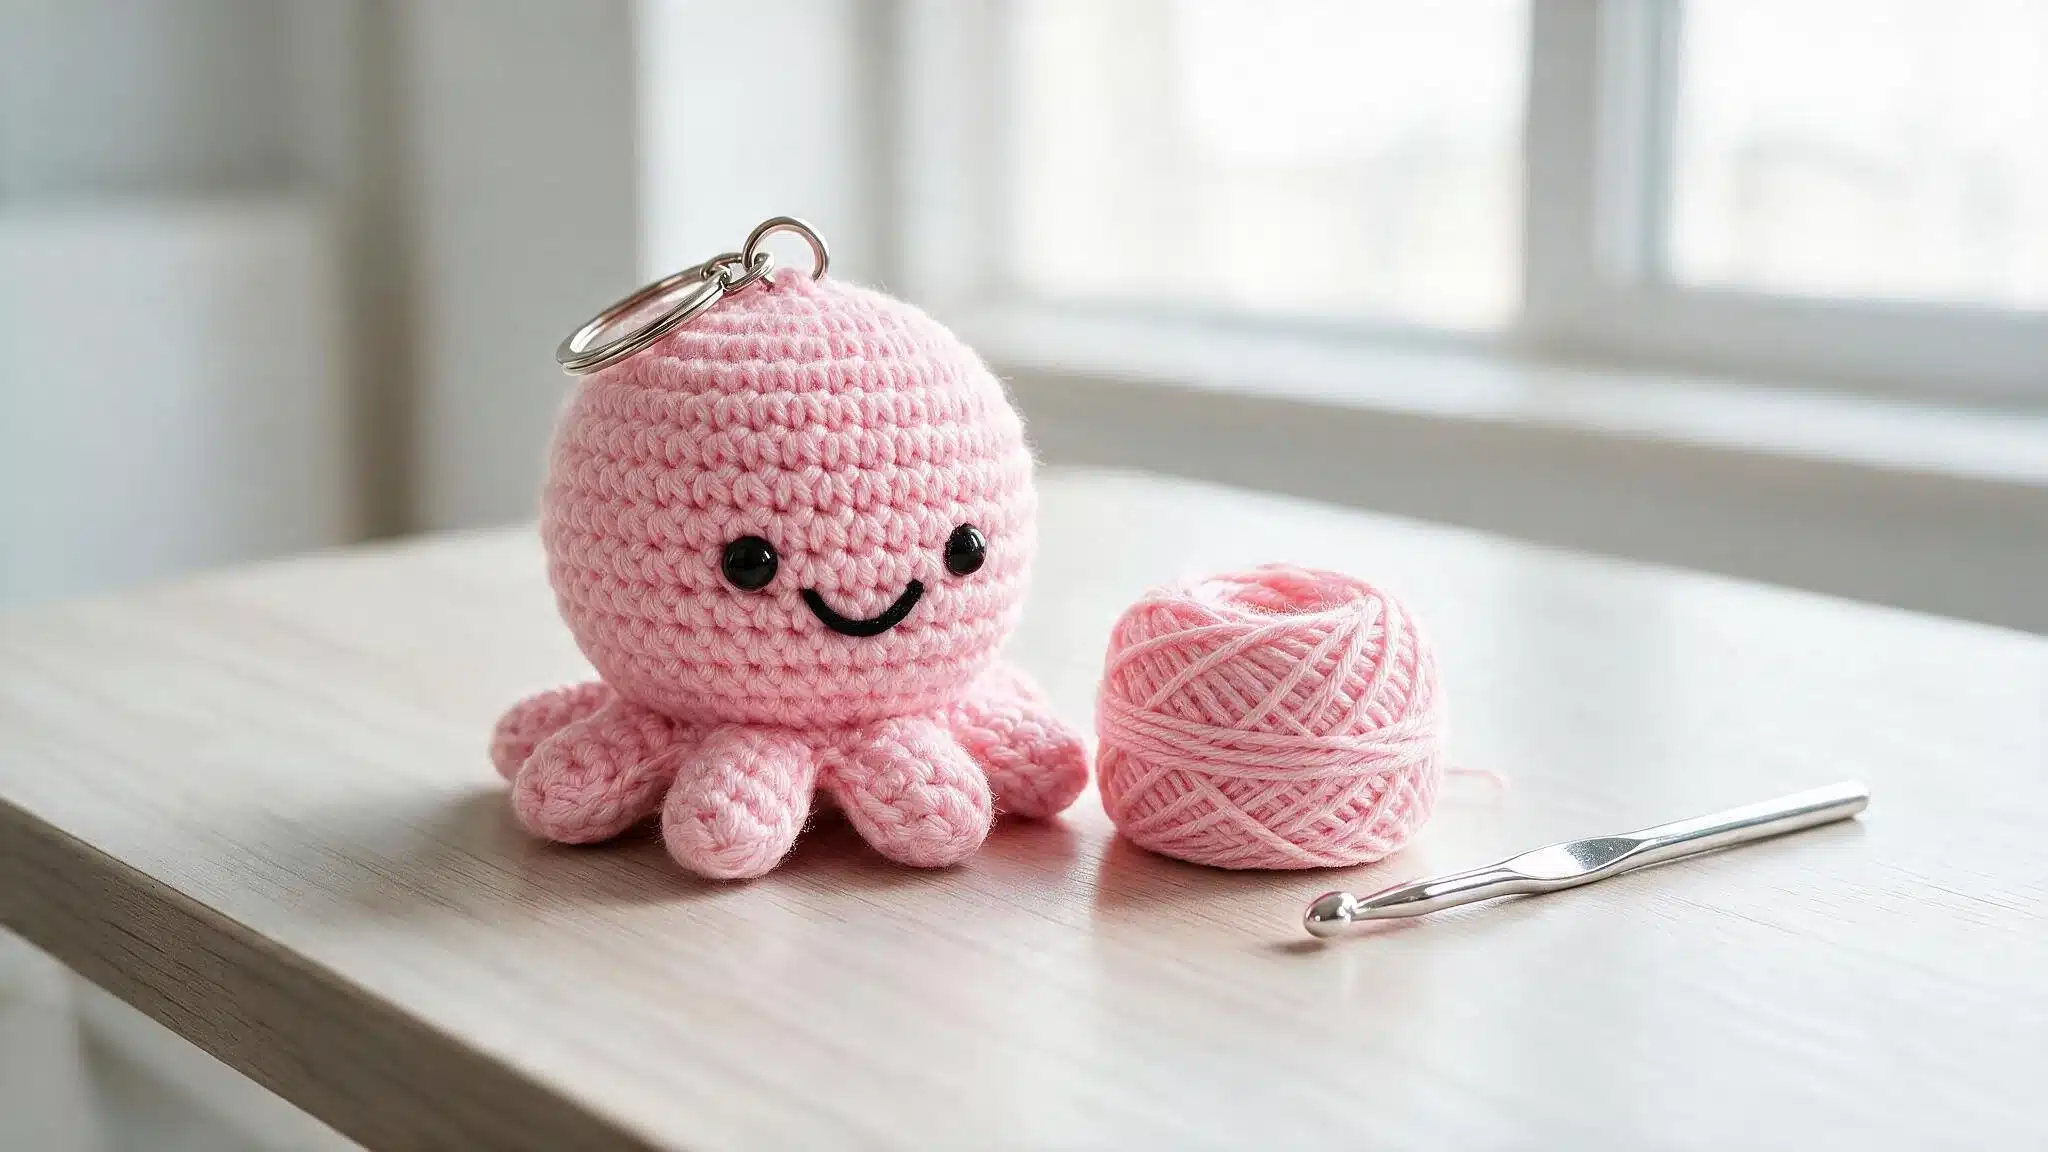
The same pattern at a smaller scale, with thinner yarn and a smaller hook, turns this into a keychain instead of a shelf toy. Once the last round closes, a small keyring or clasp attaches to the top of the head.
Wrapping Up
Making this octopus comes down to three things: a magic ring to start the head, steady unjoined rounds, and a curled chain for each of the eight legs.
You can size it up, change the color, or turn it into a keyring; same base rounds either way
It looks fiddly to shape with eight legs, but it’s really just a hook, some yarn, and careful counting.
Frequently Asked Questions
1. How Long Does It Take to Crochet an Octopus?
Two to four hours is typical, though a slower first attempt runs longer.
2. Can a Finished Crochet Octopus Go in The Wash?
Hand wash in cool water, since a machine tends to flatten the stuffing over time.
3. How Much Yarn Does One Octopus Need?
One skein of worsted weight yarn covers it, with plenty left over.
4. Is Polyester Fiberfill Safe for Baby Toys?
It’s a common choice for baby toys since it’s hypoallergenic and washes well.
5. Does This Same Technique Work for Other Amigurumi Animals?
The same core rounds work well for other round-bodied animals, not just an octopus.