Stockinette stitch looks simple, but it causes more problems than any other pattern.
Even careful knitters face curling edges, uneven rows, and confusing sides. Knit and purl stitches may look similar, making mistakes difficult to notice and correct in time.
Below are instructions for making stockinette, along with tips for correcting the most common errors. It will teach readers how to maintain an even tension, recognize the right side easily, and prevent edge curling.
Grab some yarn and needles, and follow along step by step.
What is Stockinette Stitch?
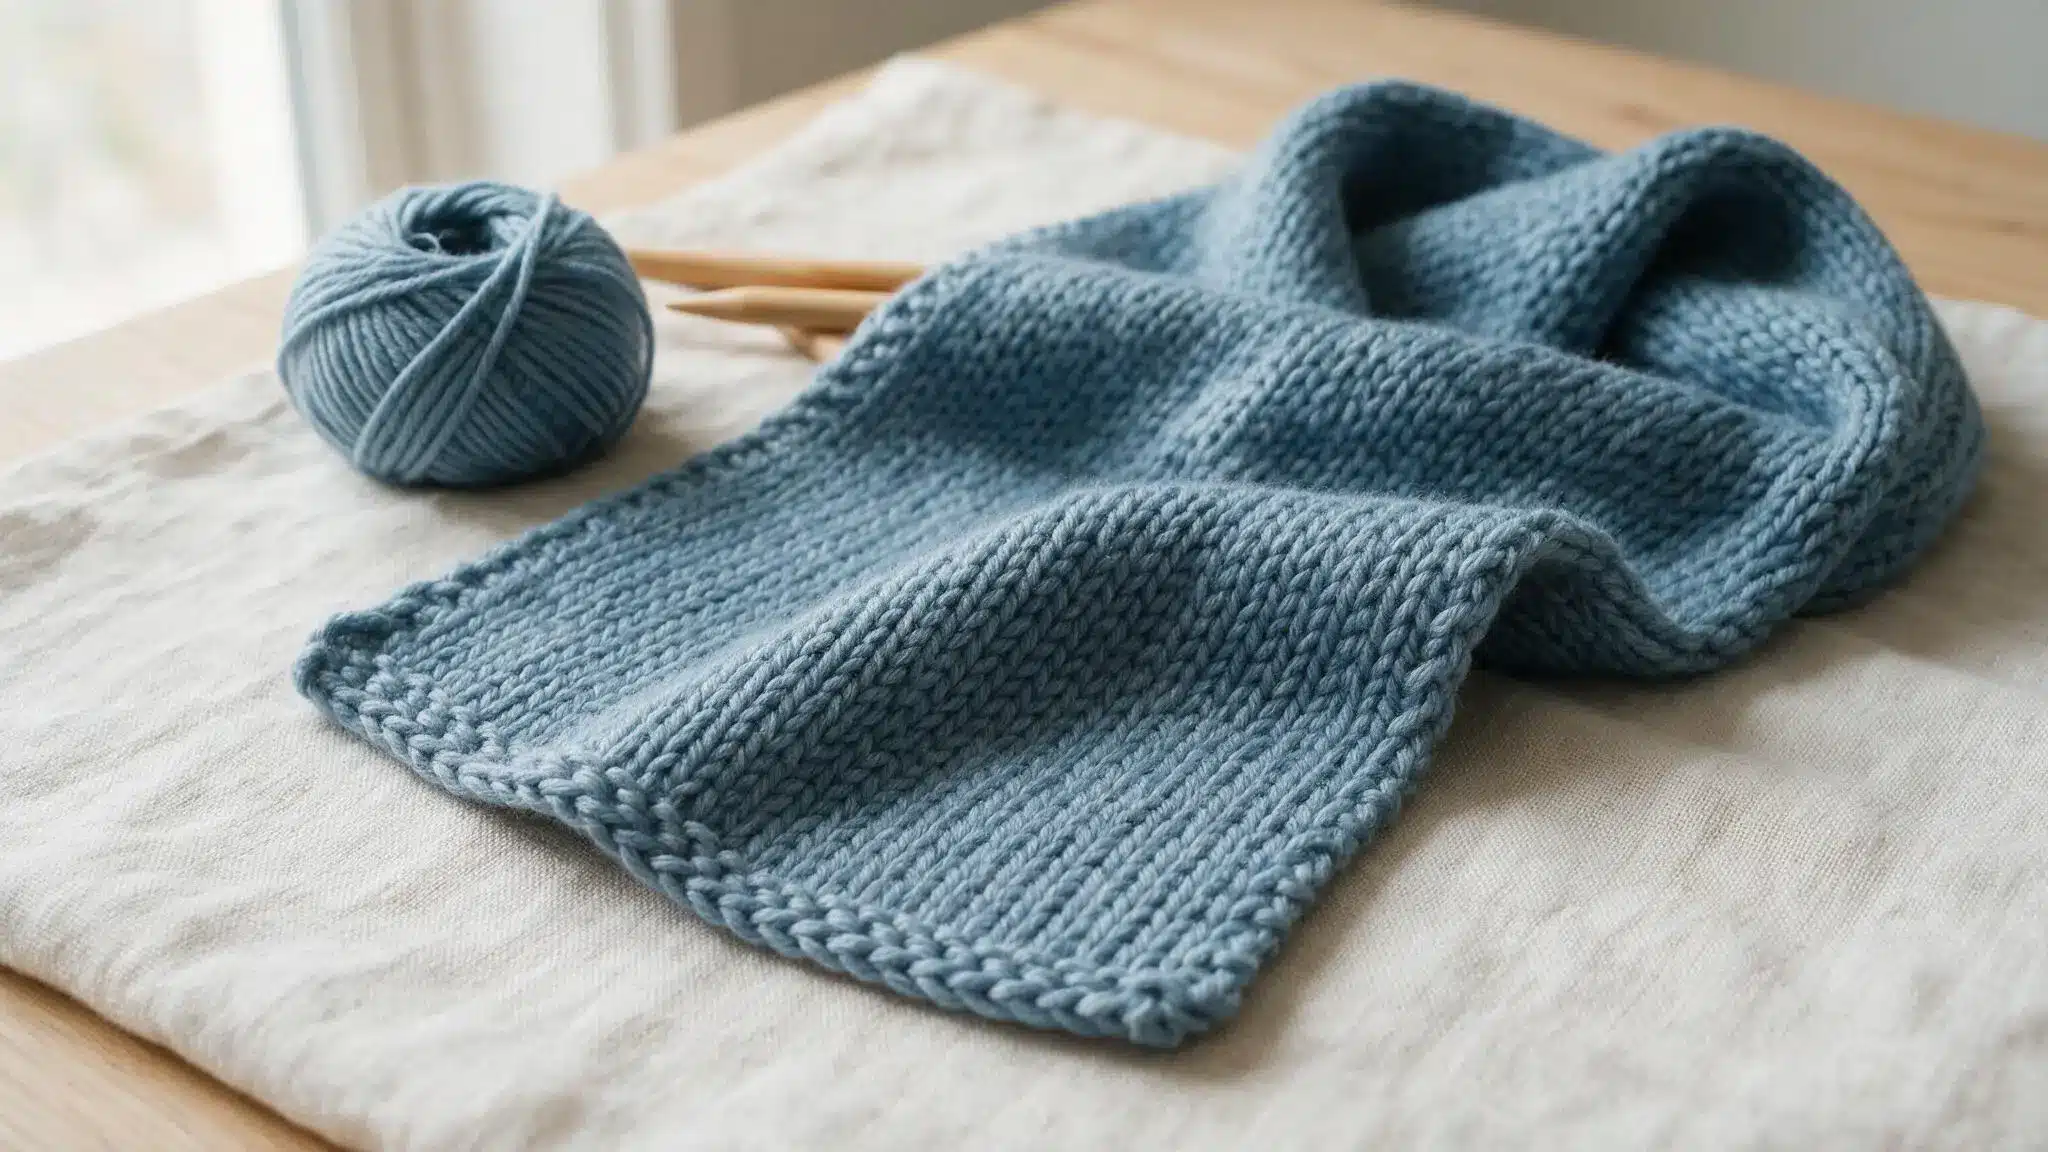
This is one of the most common types of knitting patterns. The pattern has two sides: smooth and rough. The smooth side is called the knit side, while the rough side is called the purl side.
In this stitch, you knit one row, then purl the next, and the process goes on. This pattern is useful for making sweaters, scarves, and hats.
The stockinette is often the first choice for beginner projects as it only involves two stitches.
How to Knit Stockinette Stitch: Step by Step
This stitch comes together with just two moves, repeated again and again. Once the pattern clicks, the rhythm feels natural. This is how to knit it from start to finish.
Tools Required
Knitting the stockinette does not need fancy supplies. A few basic tools make the process smooth from the very first row.
This is what to gather before starting:
- Knitting Needles: You can use straight or circular needles for this pattern.
- Yarn: You can use any type of yarn, but medium yarn is the easiest for beginners.
- Scissors: You’ll need scissors to cut the yarn when completing a project.
- Tapestry Needle: Used to weave in any remaining ends.
- Stitch Markers: Very helpful when counting rows in a long project.
Step 1: Cast On Stitches
Start by casting on the number of stitches needed for the project. Use the long-tail method for a stretchy, even edge. Leave a tail long enough to weave in later.
Count the stitches twice before moving on. A wrong count now causes problems in every row that follows. Take time here.
A slightly loose cast-on makes the first row easier to knit.
Step 2: Knit the First Row
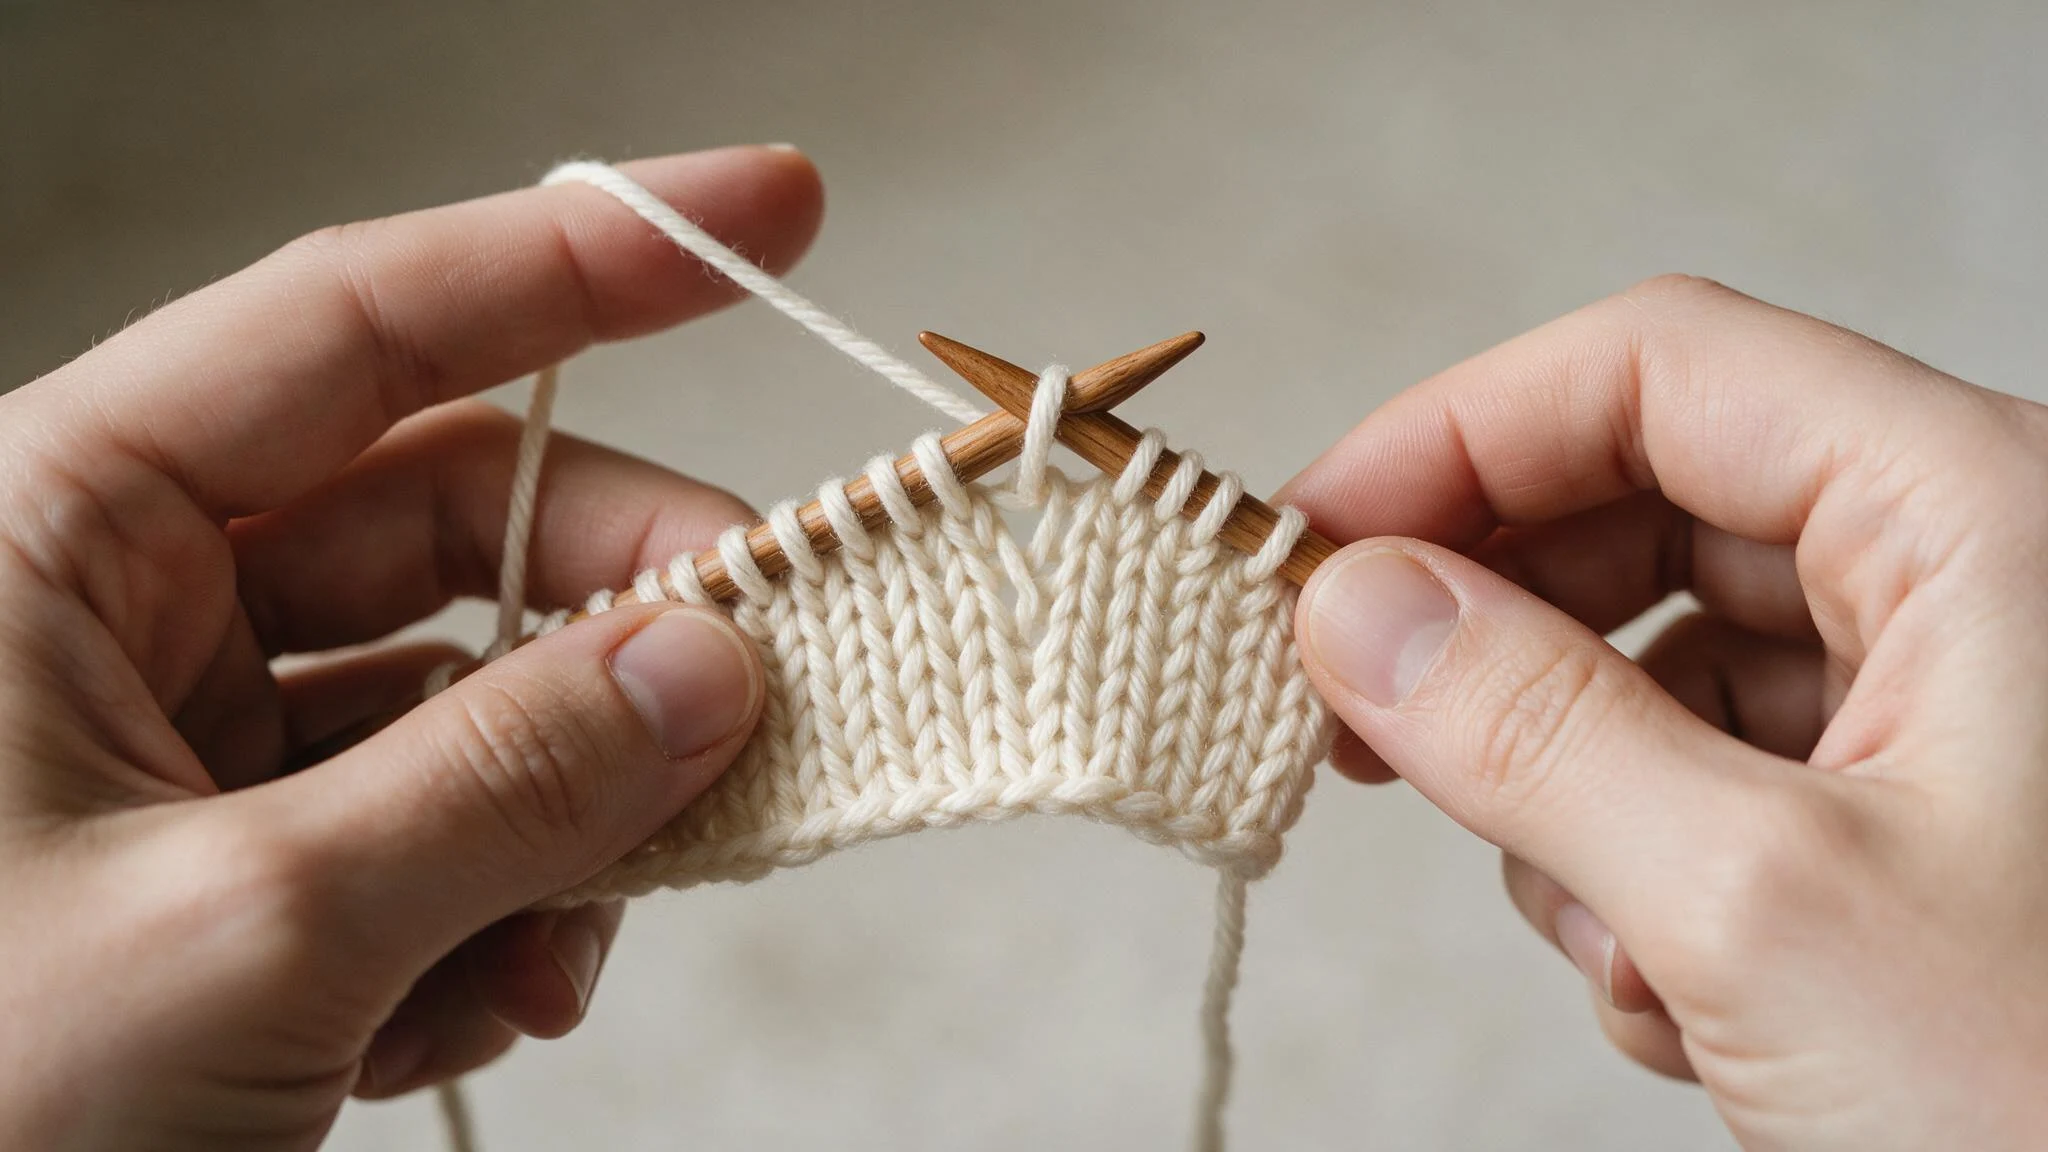
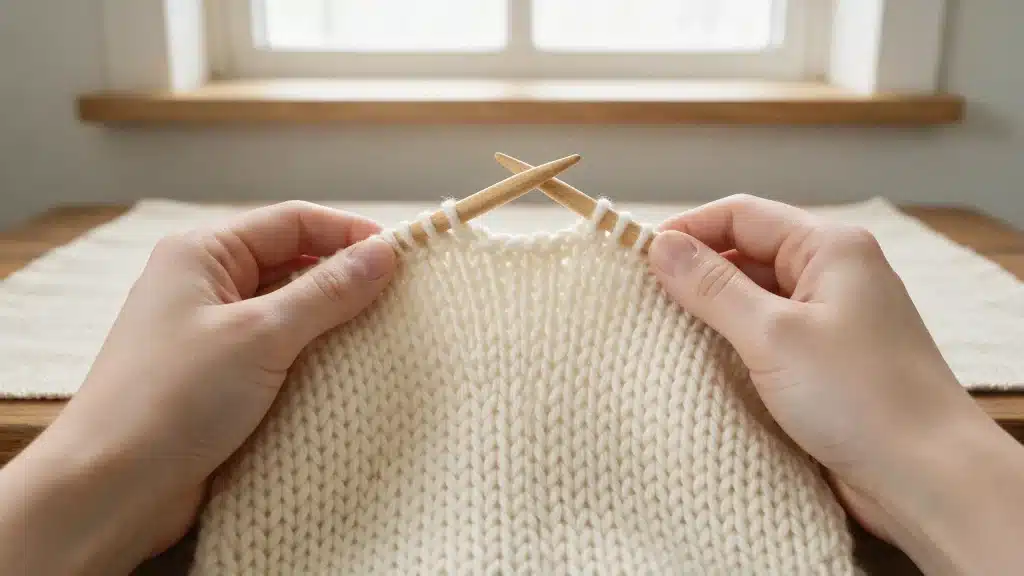
Hold the needle with cast-on stitches in the left hand. Insert the right needle into the first stitch, front to back. Wrap the yarn around and pull it through.
Slide the old stitch off. Repeat this across the entire row. This row forms the smooth side of the fabric, known as the right side.
Step 3: Purl the Second Row
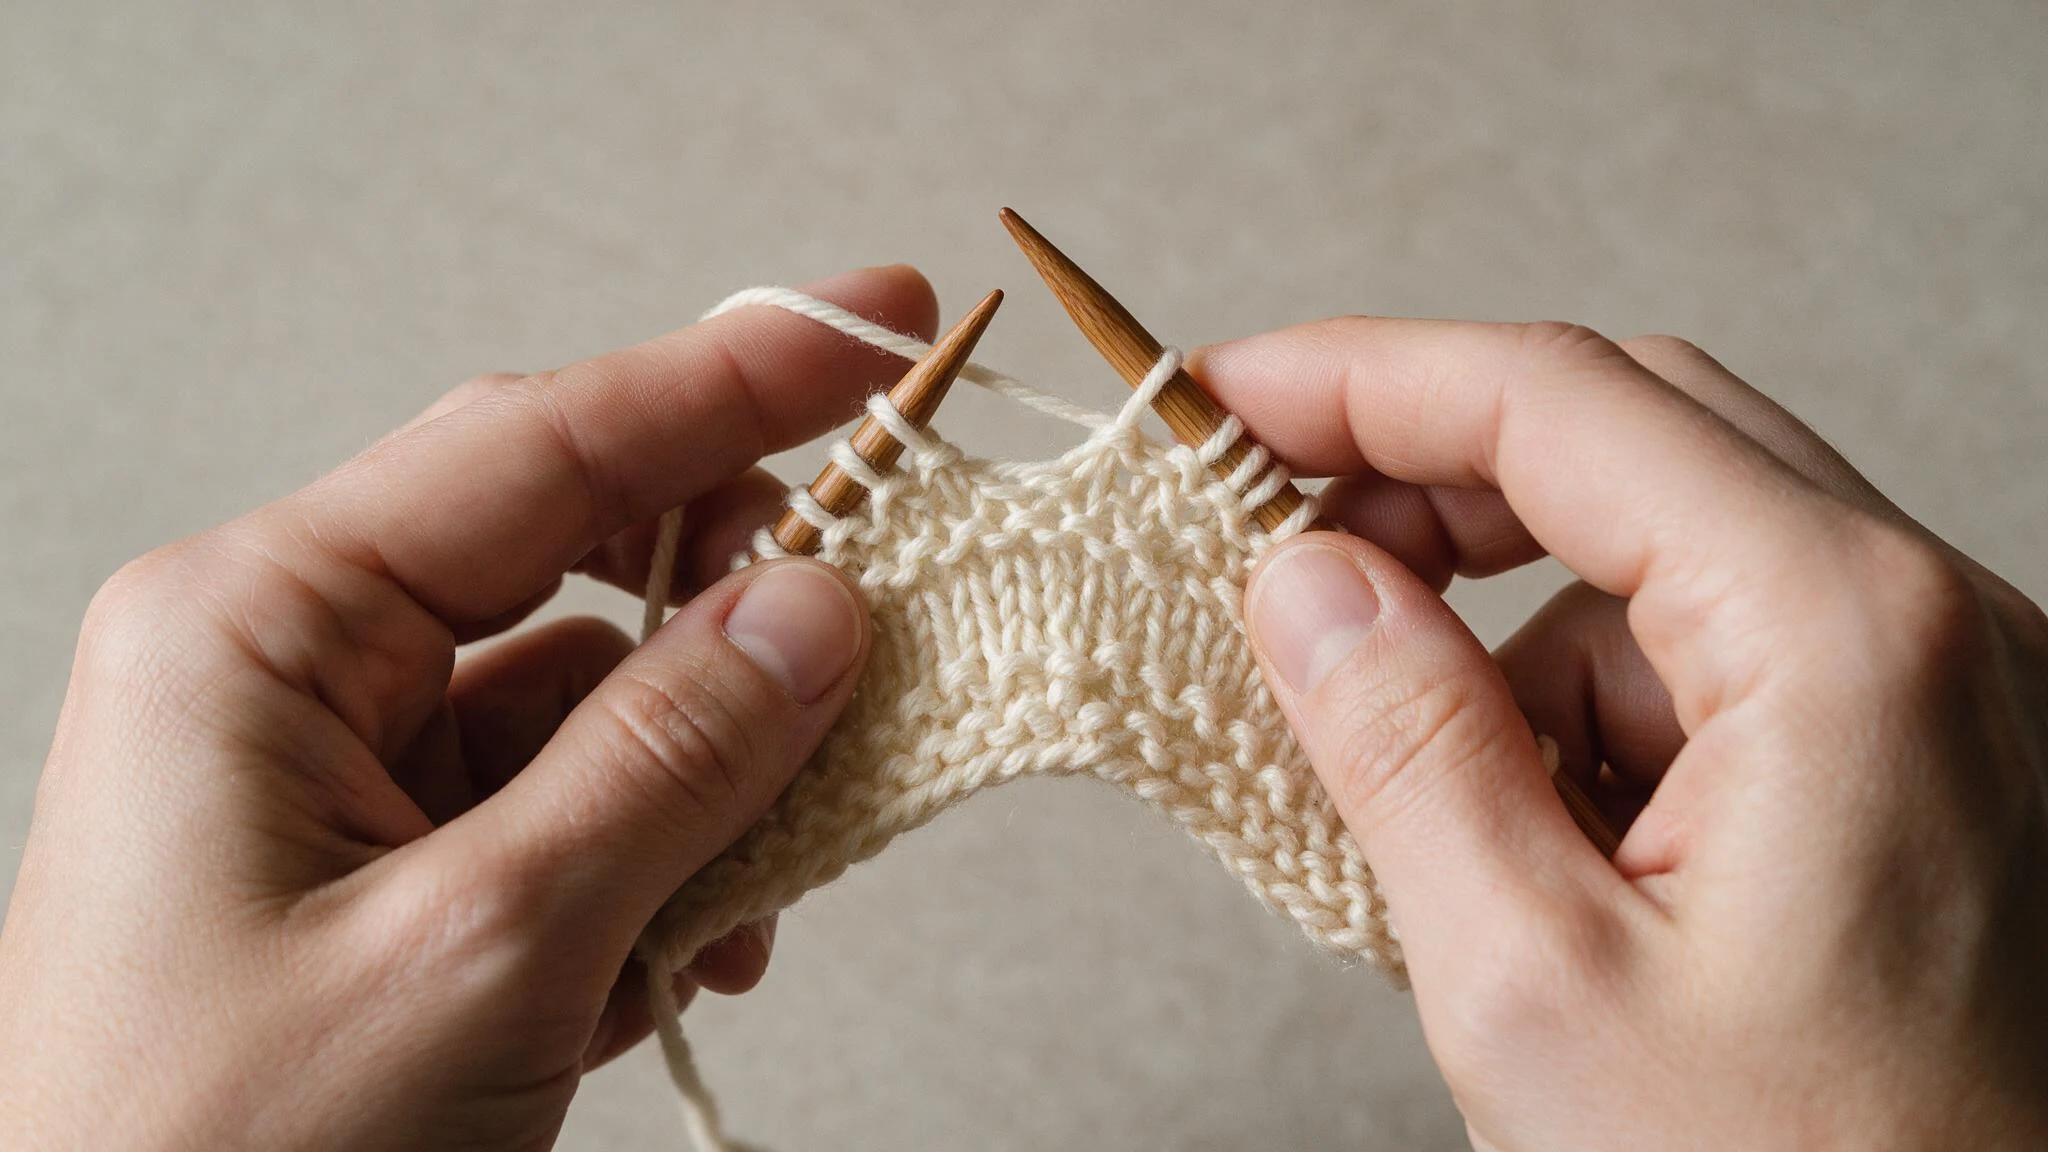
Turn your work around once you finish the knitting row. Put the needle through the first stitch, but do it differently than you started: from back to front.
Wrap the yarn around the needle and pull it through, then slip the stitch off. Repeat for the rest of the row. You will get the wrong side, which is bumpy.
Purling a little slower at first helps keep the tension steady.
Step 4: Repeat the Pattern
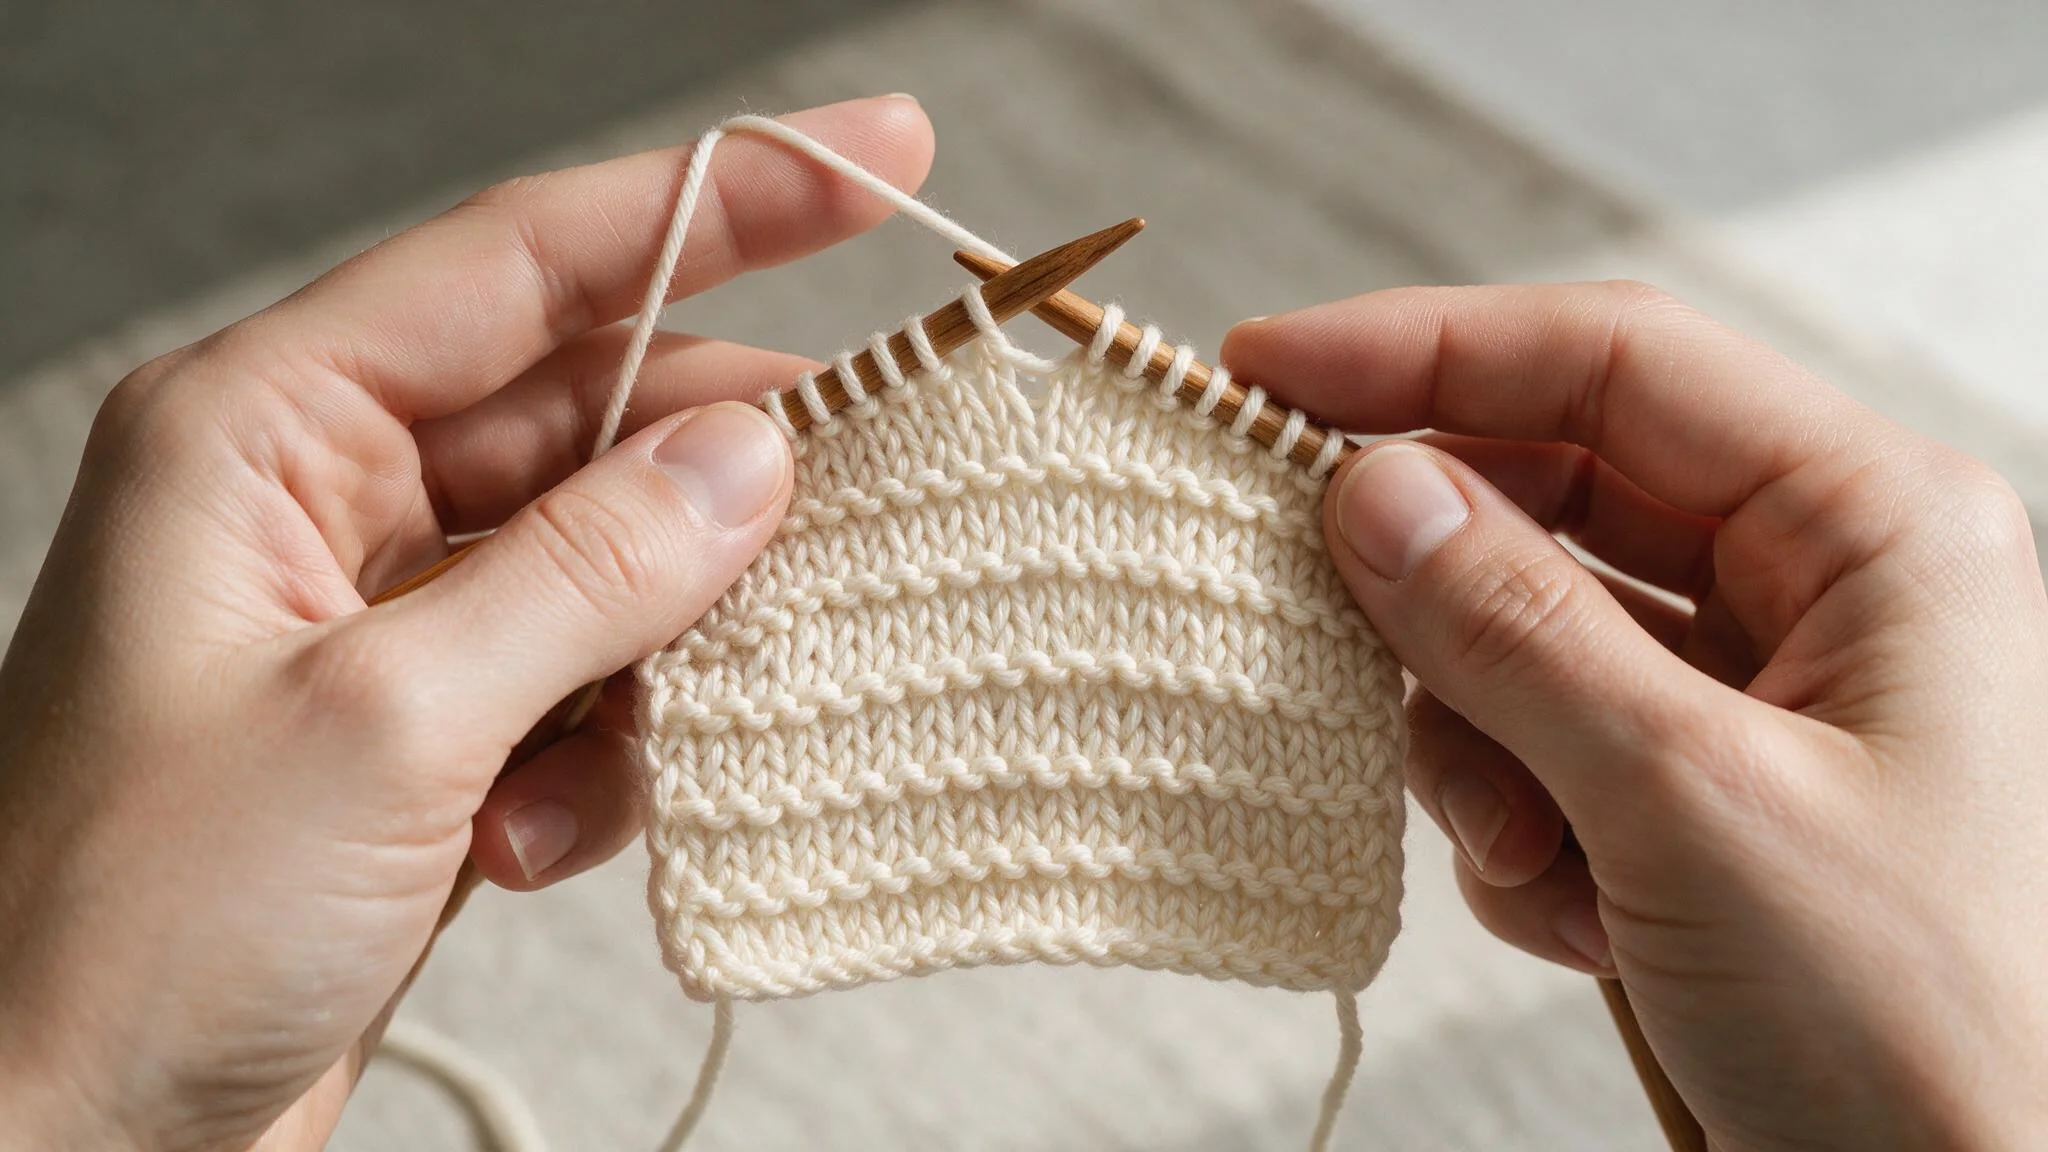
Continue to alternate rows of knit and purl. Every knit row will be followed by a purl row, and vice versa. That way, you will make stockinette stitch.
Remember to monitor your work from the right side. It is normal to get lost counting your rows, so a row counter can be useful.
Step 5: Bind Off
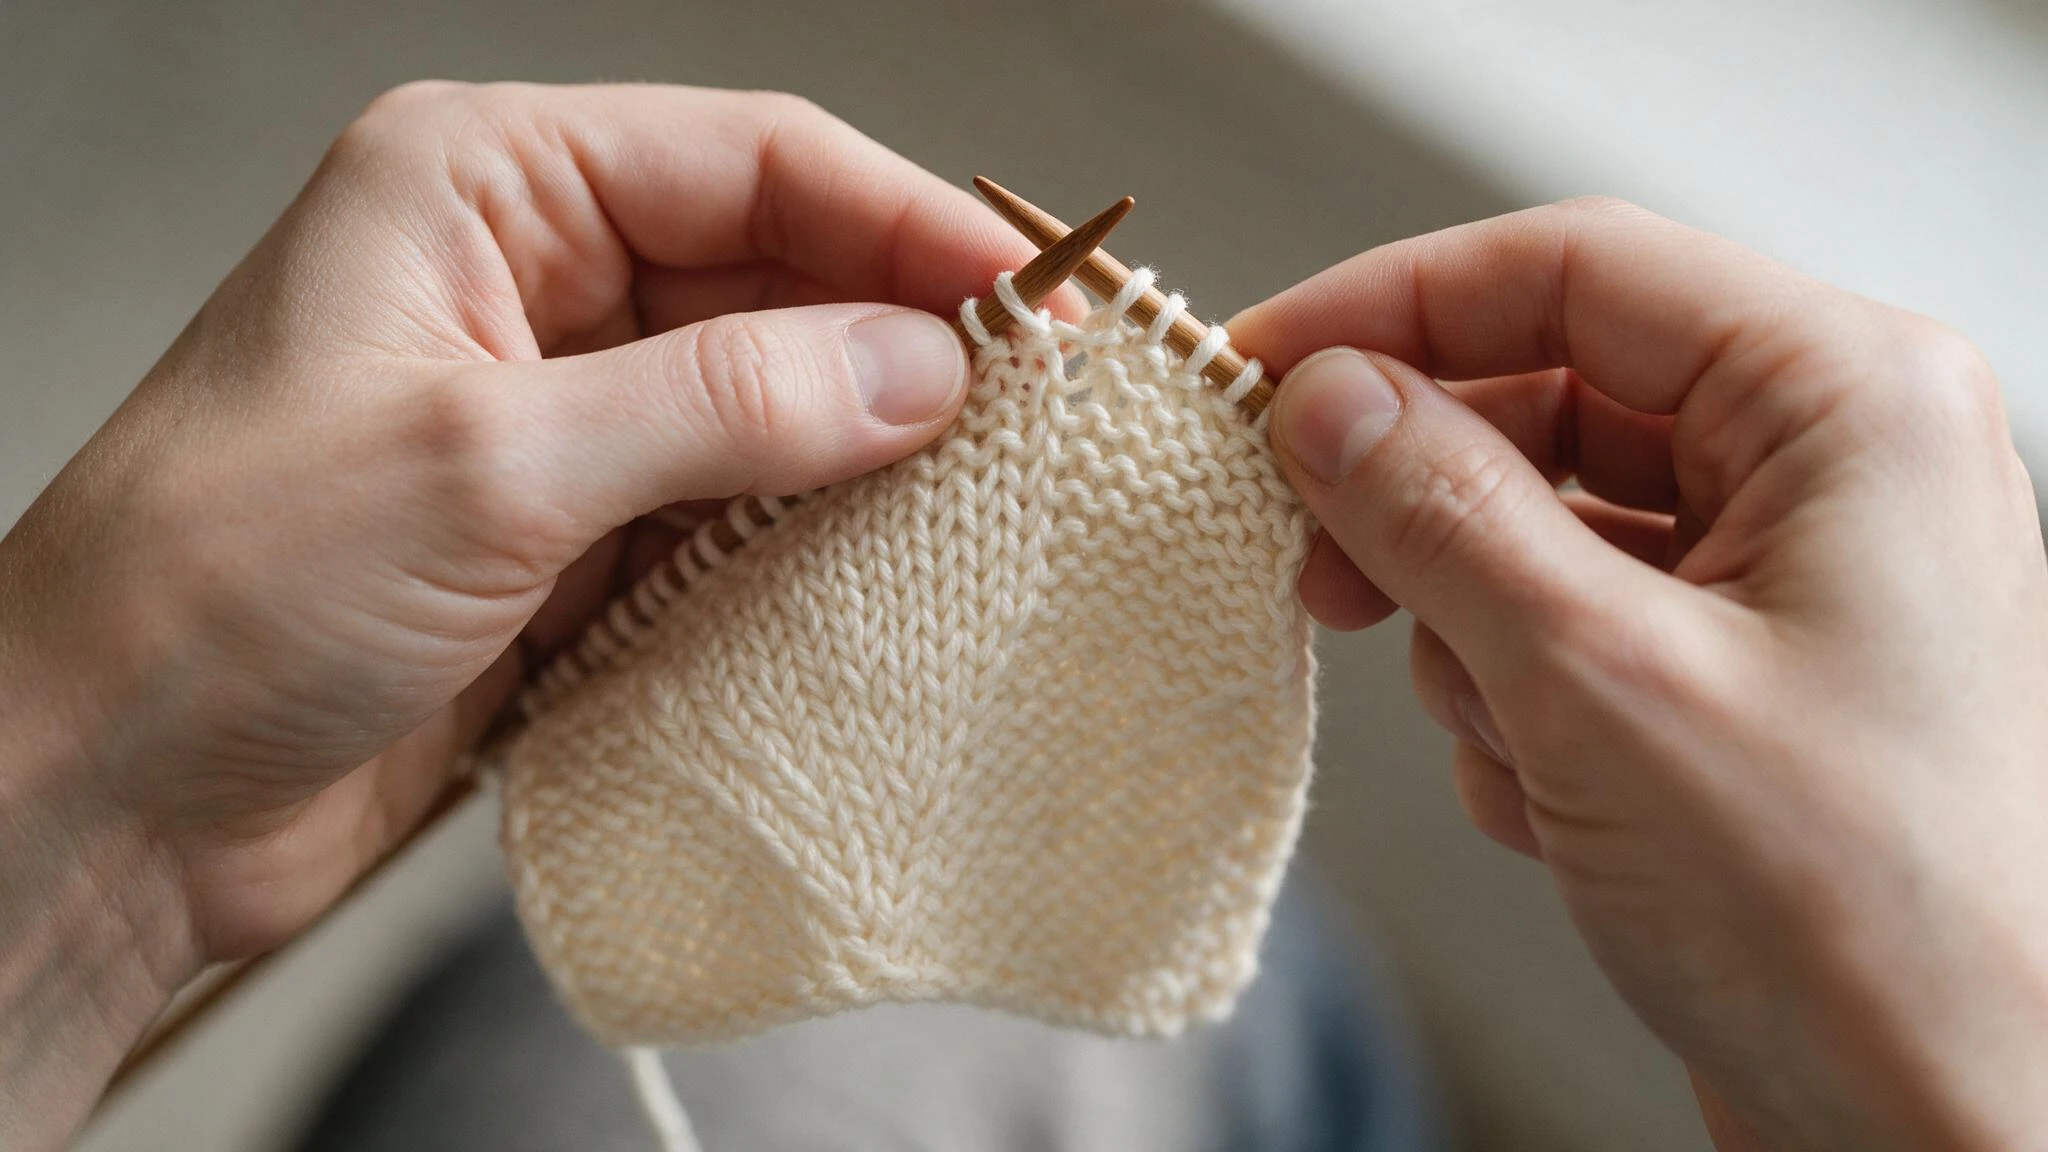
When your work reaches the required length, bind it off. Knit two stitches, then bring the first one over the second.
Knit one more stitch, and pass the previous one over again. Continue doing so until only one stitch remains. Cut the yarn and pass it through that final stitch.
Stockinette Stitch Patterns
This stitch works a little differently depending on how you’re knitting. Knitting flat and knitting in the round each uses its own easy pattern, yet produces the same results in the end.
Worked Flat
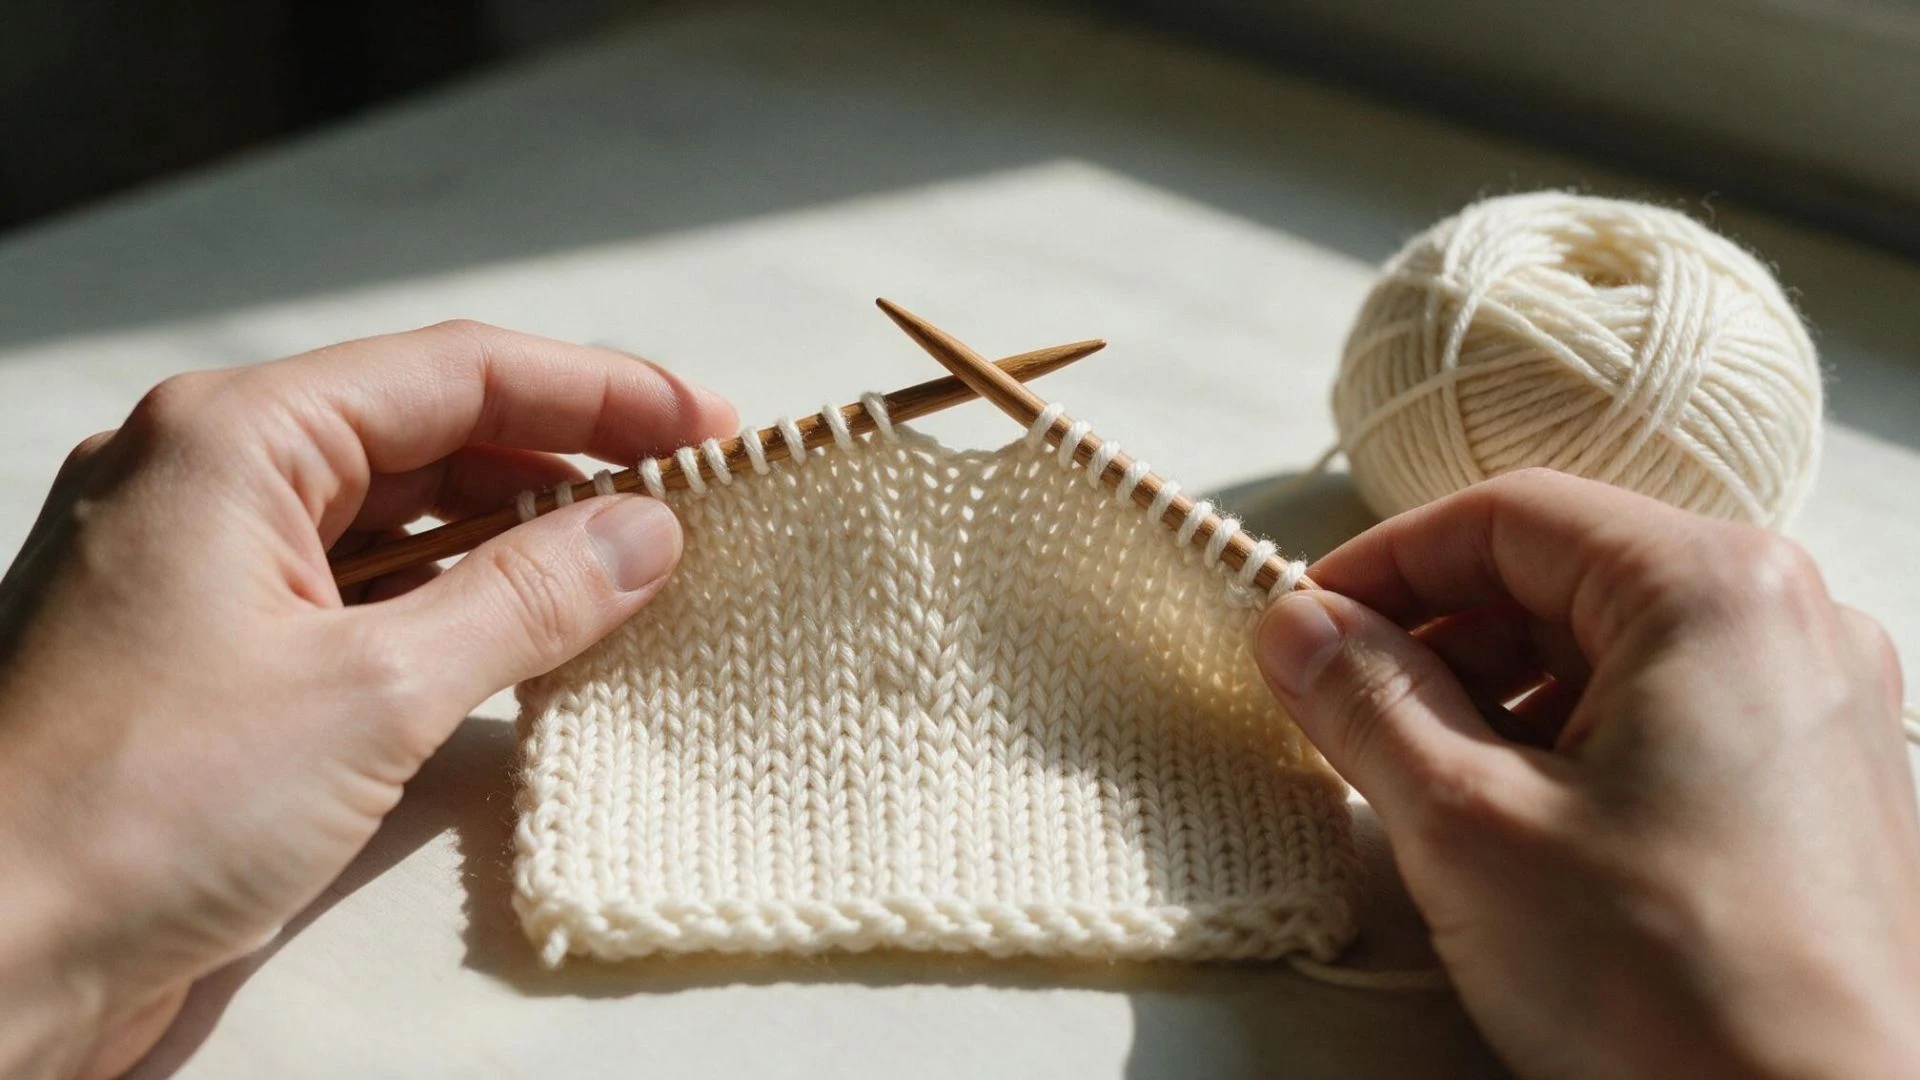
When knitting flat, the pattern consists of only two rows. Row 1 involves knitting all stitches. Row 2 requires purling all stitches.
Repeat these two rows until you finish your project. Use the version for scarves, blankets, and other flat pieces.
Place a marker on the right side to avoid losing track of rows.
Worked in the Round
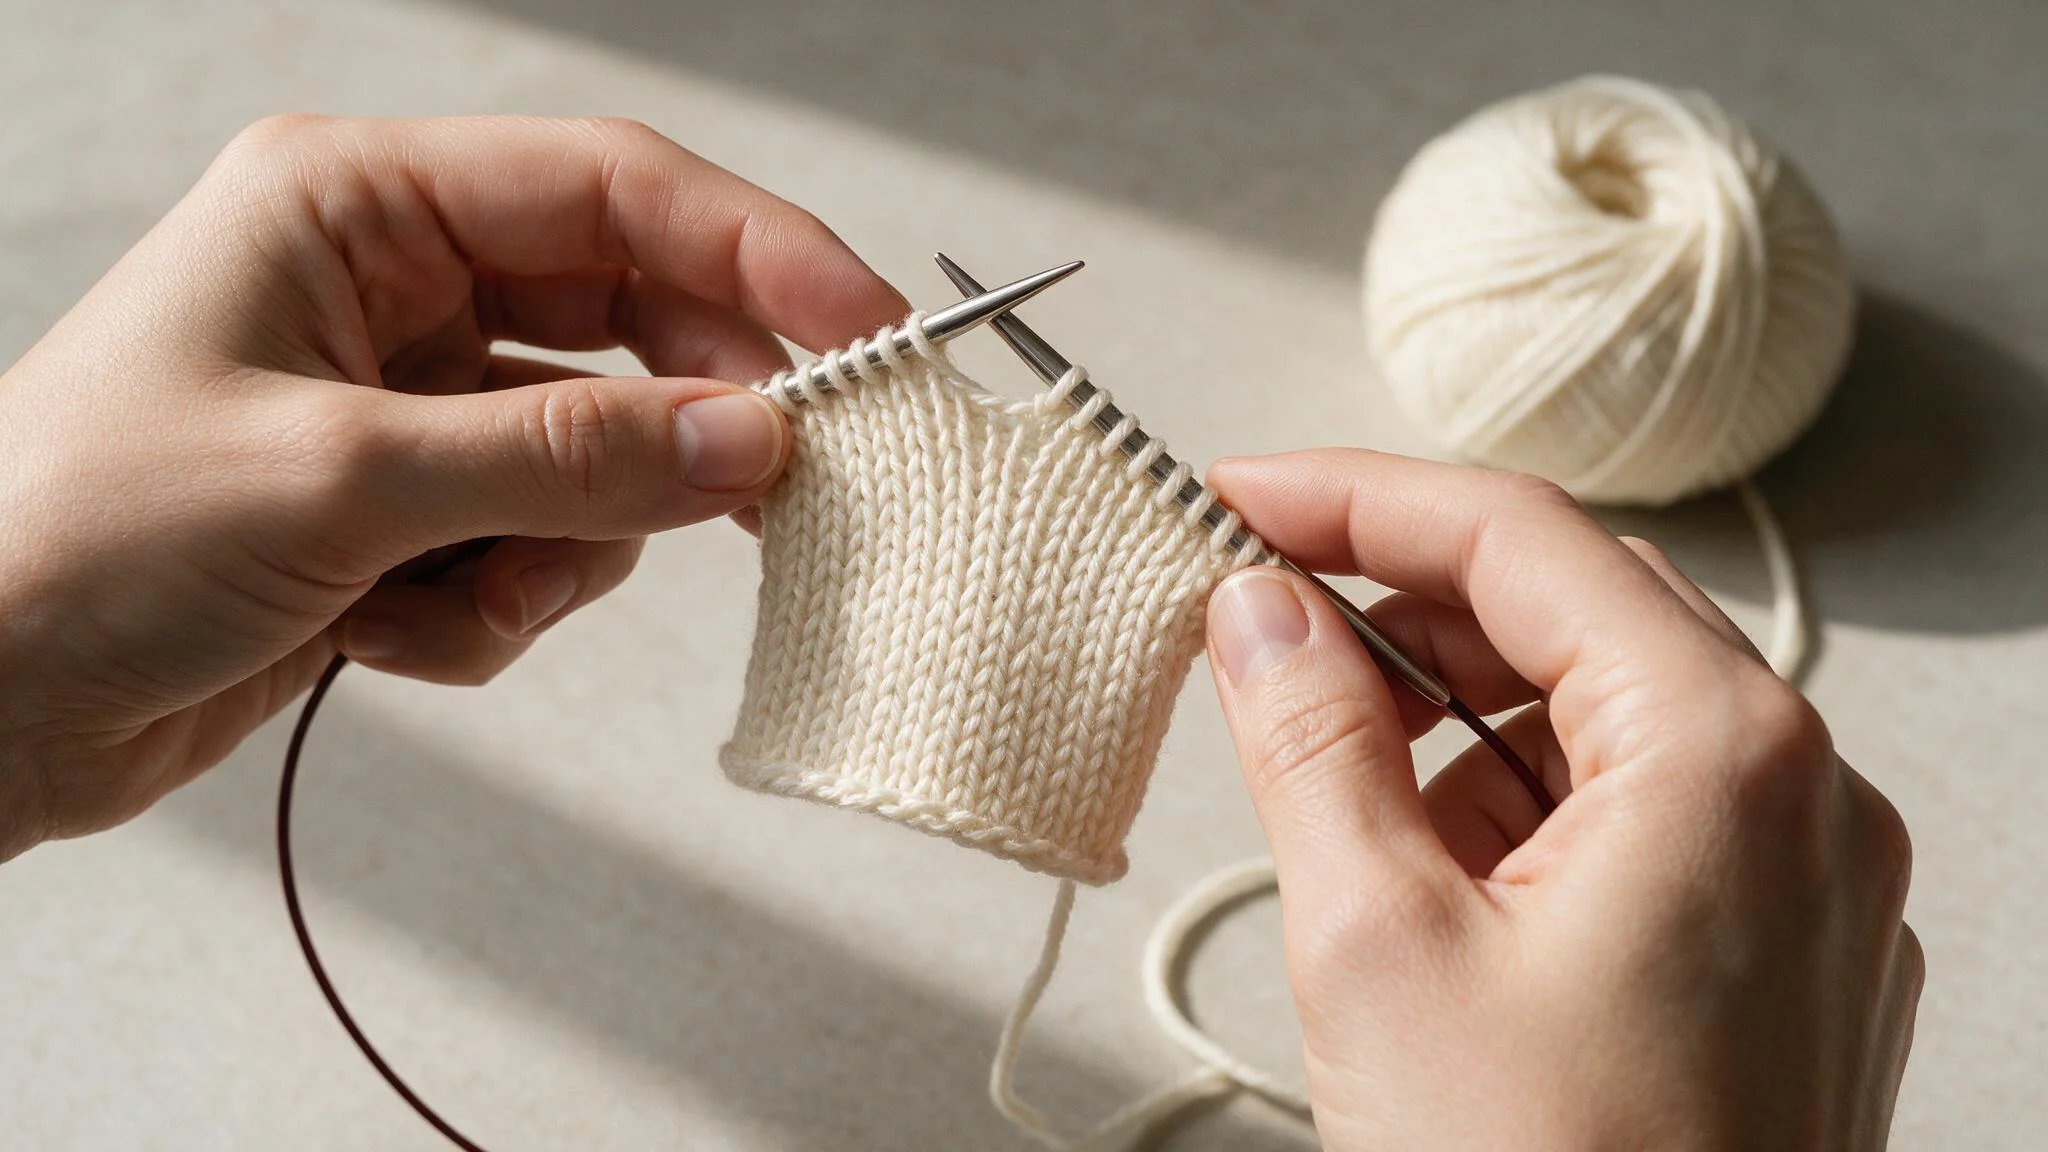
The purl row isn’t required when knitting in the round. Each round is knit, as the right side always faces outward while making this stitch.
Projects like hats, sleeves, and socks are made in this way. You don’t need to turn the work between rounds.
Use a stitch marker to mark the start of each round clearly.
How To Tell the Right Side from the Wrong Side?
This is much easier once you have knitting experience. The knit side is smooth with little V shapes running in even rows.
The purl side is somewhat lumpy and has little horizontal ridges. Looking at the fabric through light usually helps to tell the difference between the two sides.
Another useful trick: The working yarn usually hangs down from the last stitch knitted. If this stitch is on the smooth side, the next one must be purled. If it is on the lumpy side, the next one must be knit.
Marking the right side is also a good idea. Clip this marker on your work, and you will be able to look at it when confused.
Check the right side every few rows to catch mix-ups early.
Learn to Stop Stockinette Curling
This stitch tends to curl at the borders. This happens because knit and purl rows affect the fabric differently. As a result of this pull on both sides, the fabric curls.
There are several ways through which this problem can be resolved. First, a border of garter or rib stitches on the edges can prevent the rolling of the fabric.
Second, blocking the work after knitting is another solution. Soaking the piece and letting it dry flat while pinned helps flatten the fabric.
Moreover, thicker or stiffer yarns can curl slightly less noticeably, but the main fixes are borders, blocking, or seed-stitch edges.
Conclusion
Stockinette stitch turns two basic skills into dozens of possible projects.
Sweaters, hats, and scarves all begin with this basic sequence. Once you have learned the pattern, knitting and purling rows become second nature.
Smaller knitting issues, like curling edges or reversing sides, are common and don’t mean you’re failing. Every knitter experiences them occasionally, and borders, blocking, and other techniques usually solve them easily.
Practicing is very helpful at this stage. The more projects you complete, the faster and more confident you become with the stitch.
All you need to do is take your needles and yarn and try some small project first.
Frequently Asked Questions (FAQs)
1. Why Does My Stockinette Look Bumpy?
Bumpy spots often mean uneven tension while knitting or purling. Checking stitch size row by row helps fix this.
2. Can Beginners Knit Stockinette?
Yes, beginners can knit stockinette easily. It only needs two basic stitches: knit and purl.
3. When are Stitches Uneven?
Stitches turn uneven when tension changes between rows. Pulling yarn too tight or too loose causes this.