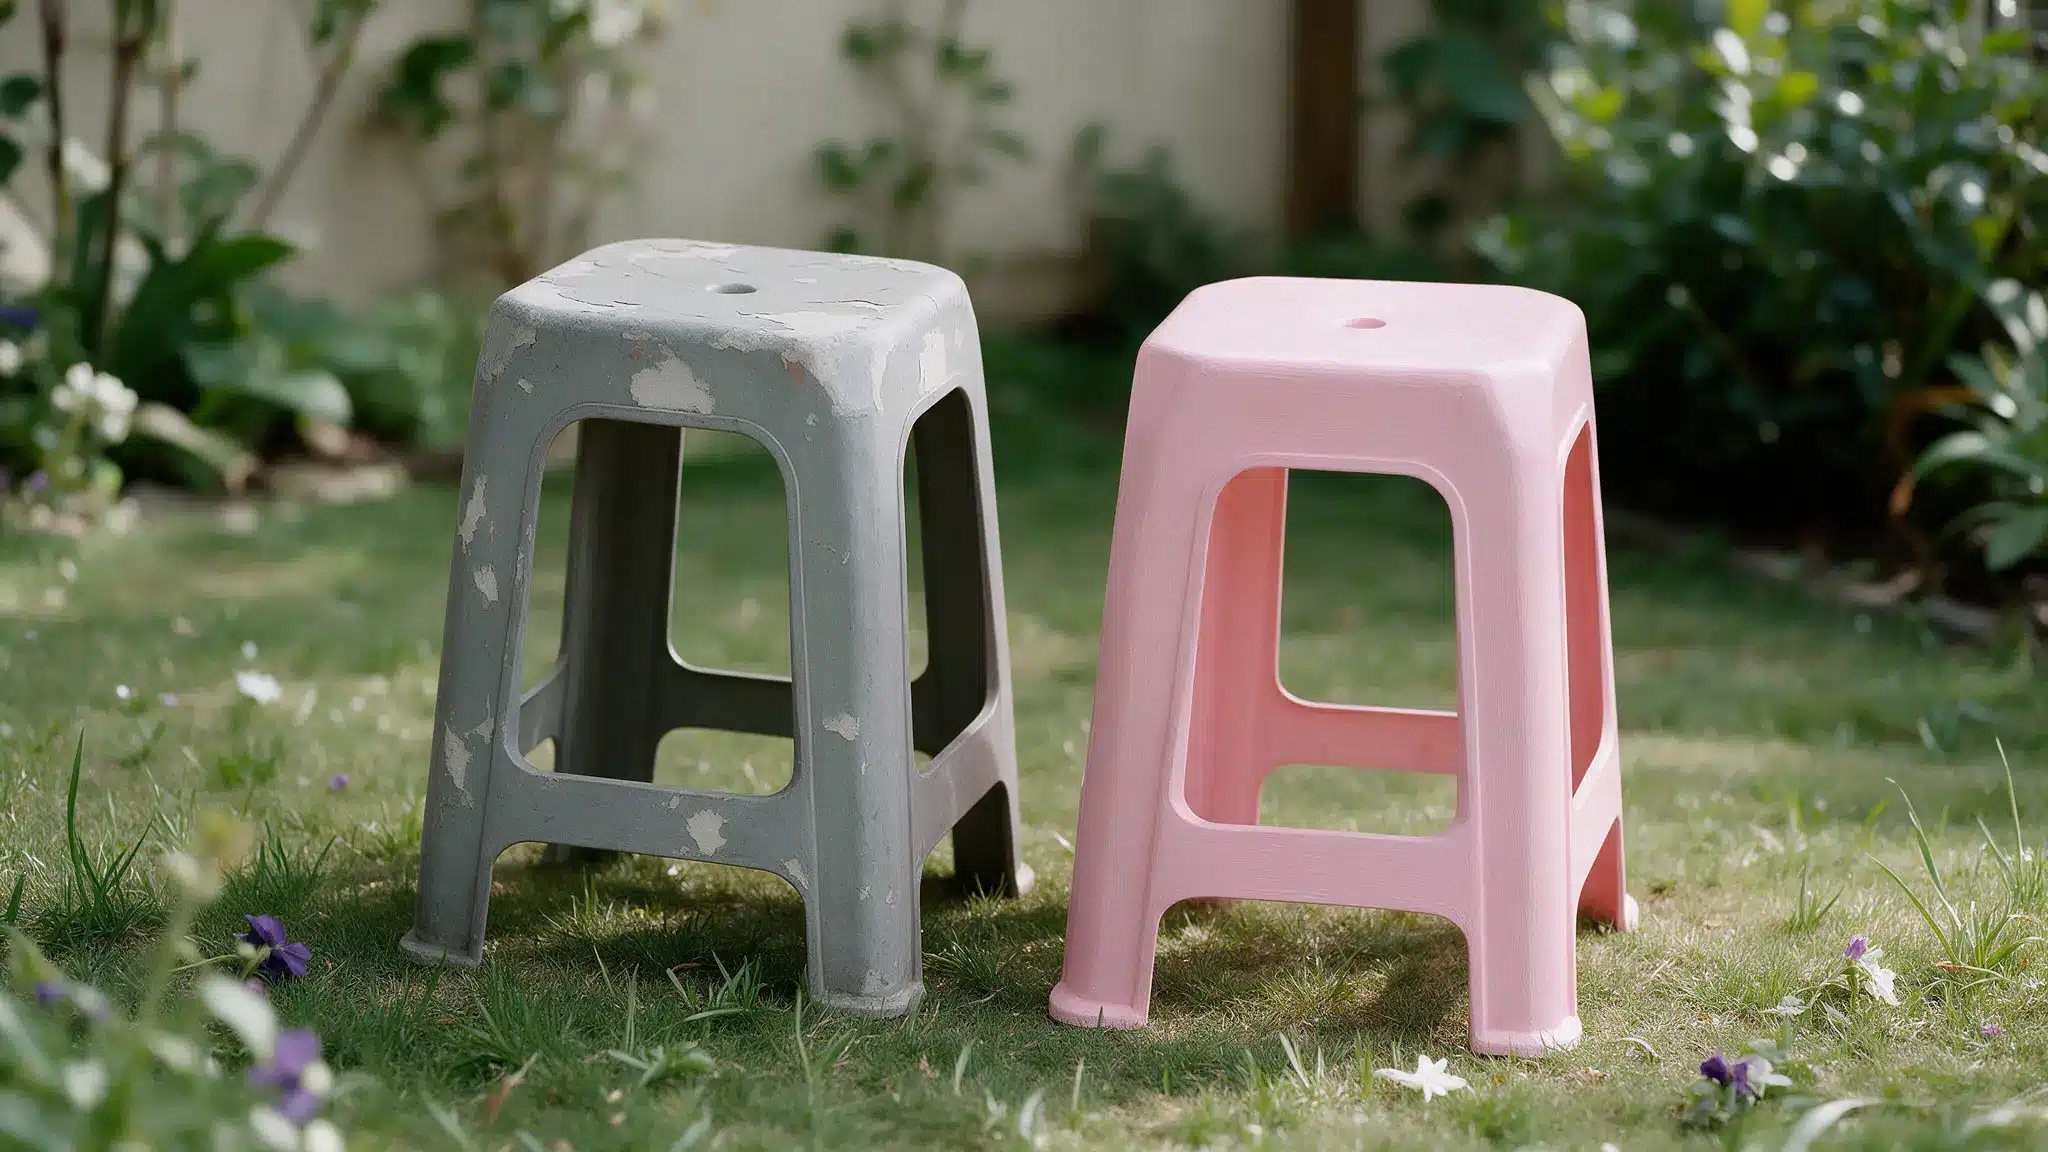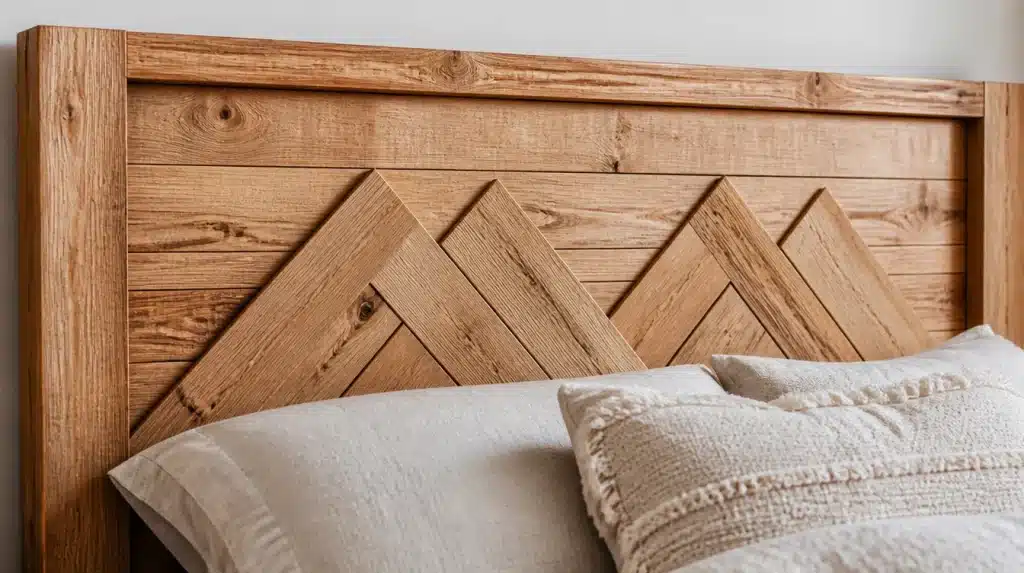
A bed frame can be perfectly nice and still leave the bedroom looking unfinished, because the wall right behind the pillows does more visual work than almost anything else in the room.
That’s the gap DIY headboard ideas are built to close; most take a weekend and a handful of supplies, with no upholstery experience needed.
DIY Headboard Ideas to Try This Weekend
The projects below run from a single can of paint to a full weekend build, and they’re grouped loosely by material so you can match one to the tools you already have on hand.
1. Simple Wood Slat Headboard
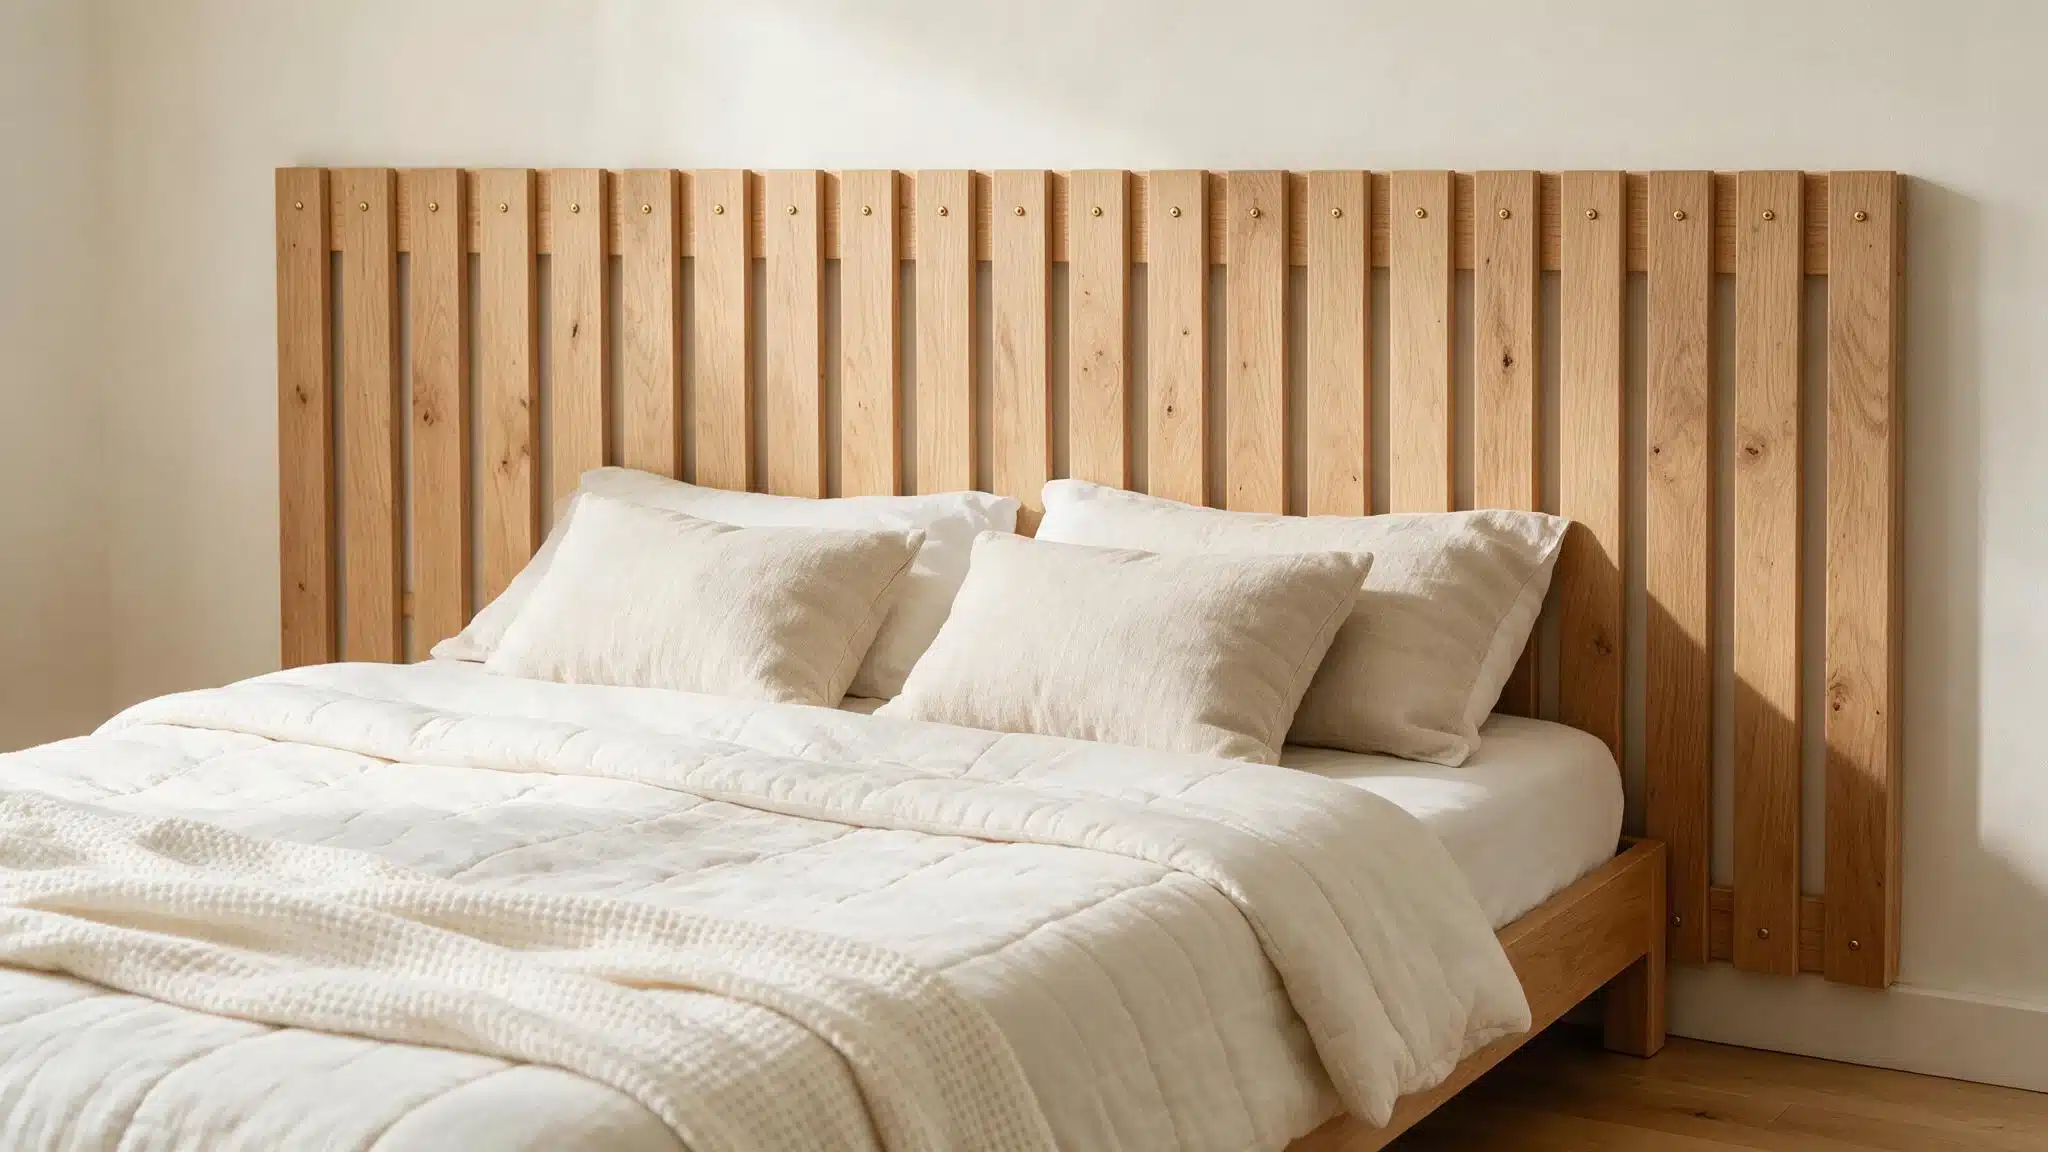
You’ll need: pine or poplar boards, a mounting board, wood glue or screws
- Cut matching lengths of wood for each slat
- Space them evenly across the mounting board, either vertically or horizontally
- Attach with glue or screws, then mount to the wall
The gaps between slats are what make the piece work; keep them consistent, and the finished design reads as intentional rather than unfinished.
2. Upholstered Fabric Panel
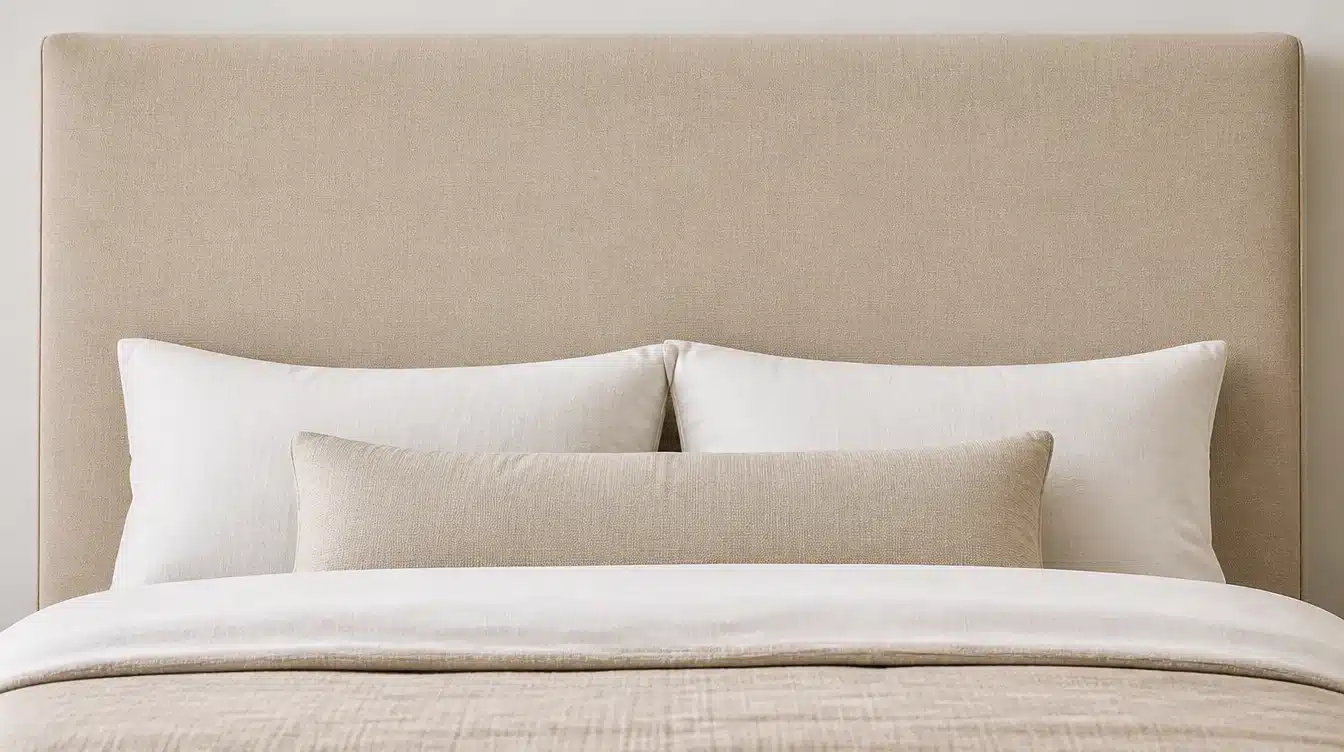
You’ll need: plywood, foam, batting, fabric, a staple gun
- Cut the plywood to size
- Layer foam and batting over the front
- Pull fabric tight around the edges and staple it to the back, folding corners like wrapping a gift box
You won’t need a sewing machine; the whole build usually comes together in an afternoon once the fabric is cut.
3. Channel Tufted Headboard
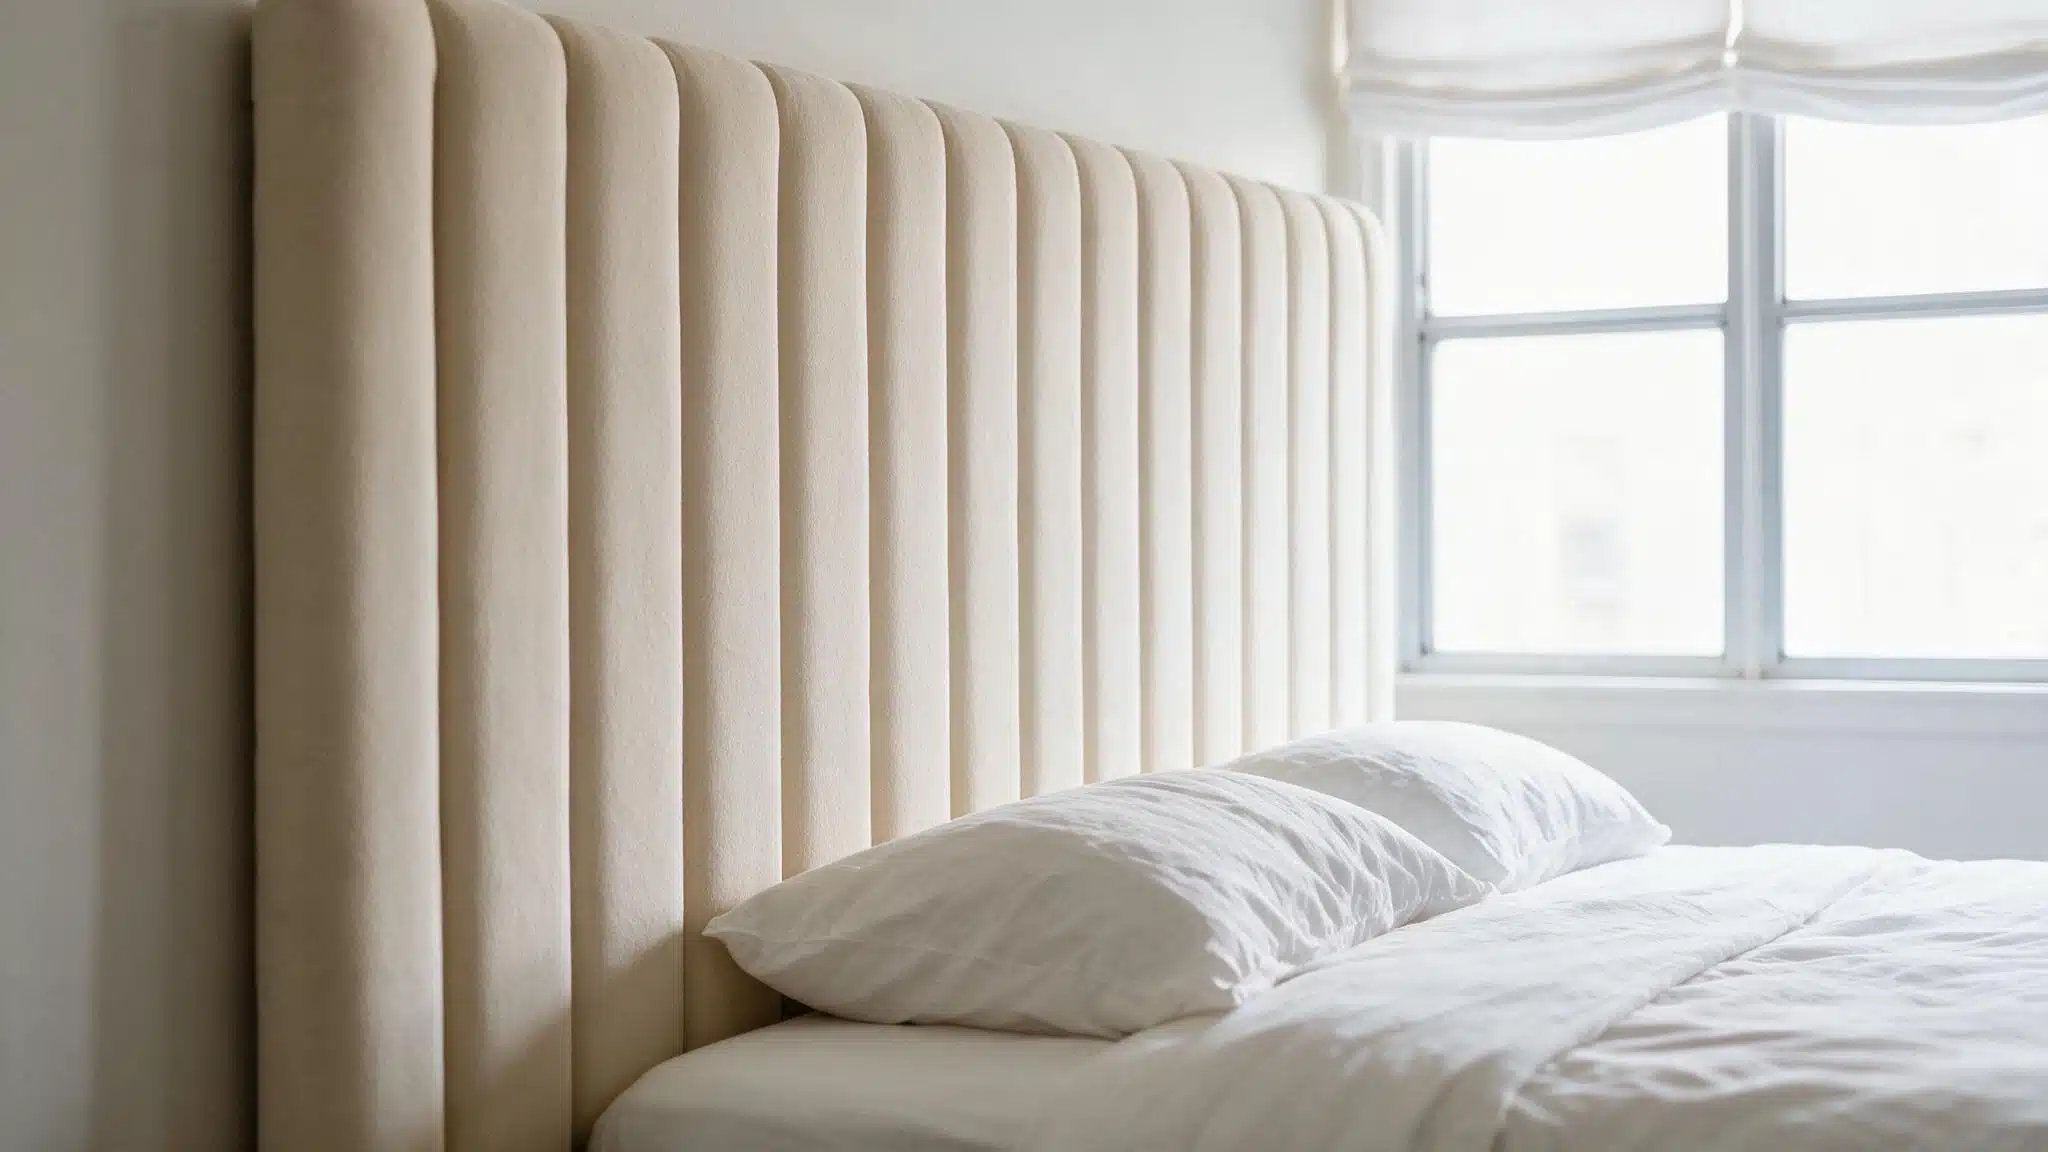
You’ll need: fabric, foam or batting, a sewing machine or staple gun, backing board
- Sew or staple fabric into narrow vertical channels
- Stuff each channel with foam or batting
- Mount the finished sections side by side on the backing board
This reads as a much more advanced project than it is; each channel is really just a smaller upholstered panel.
4. Cane Webbing Headboard
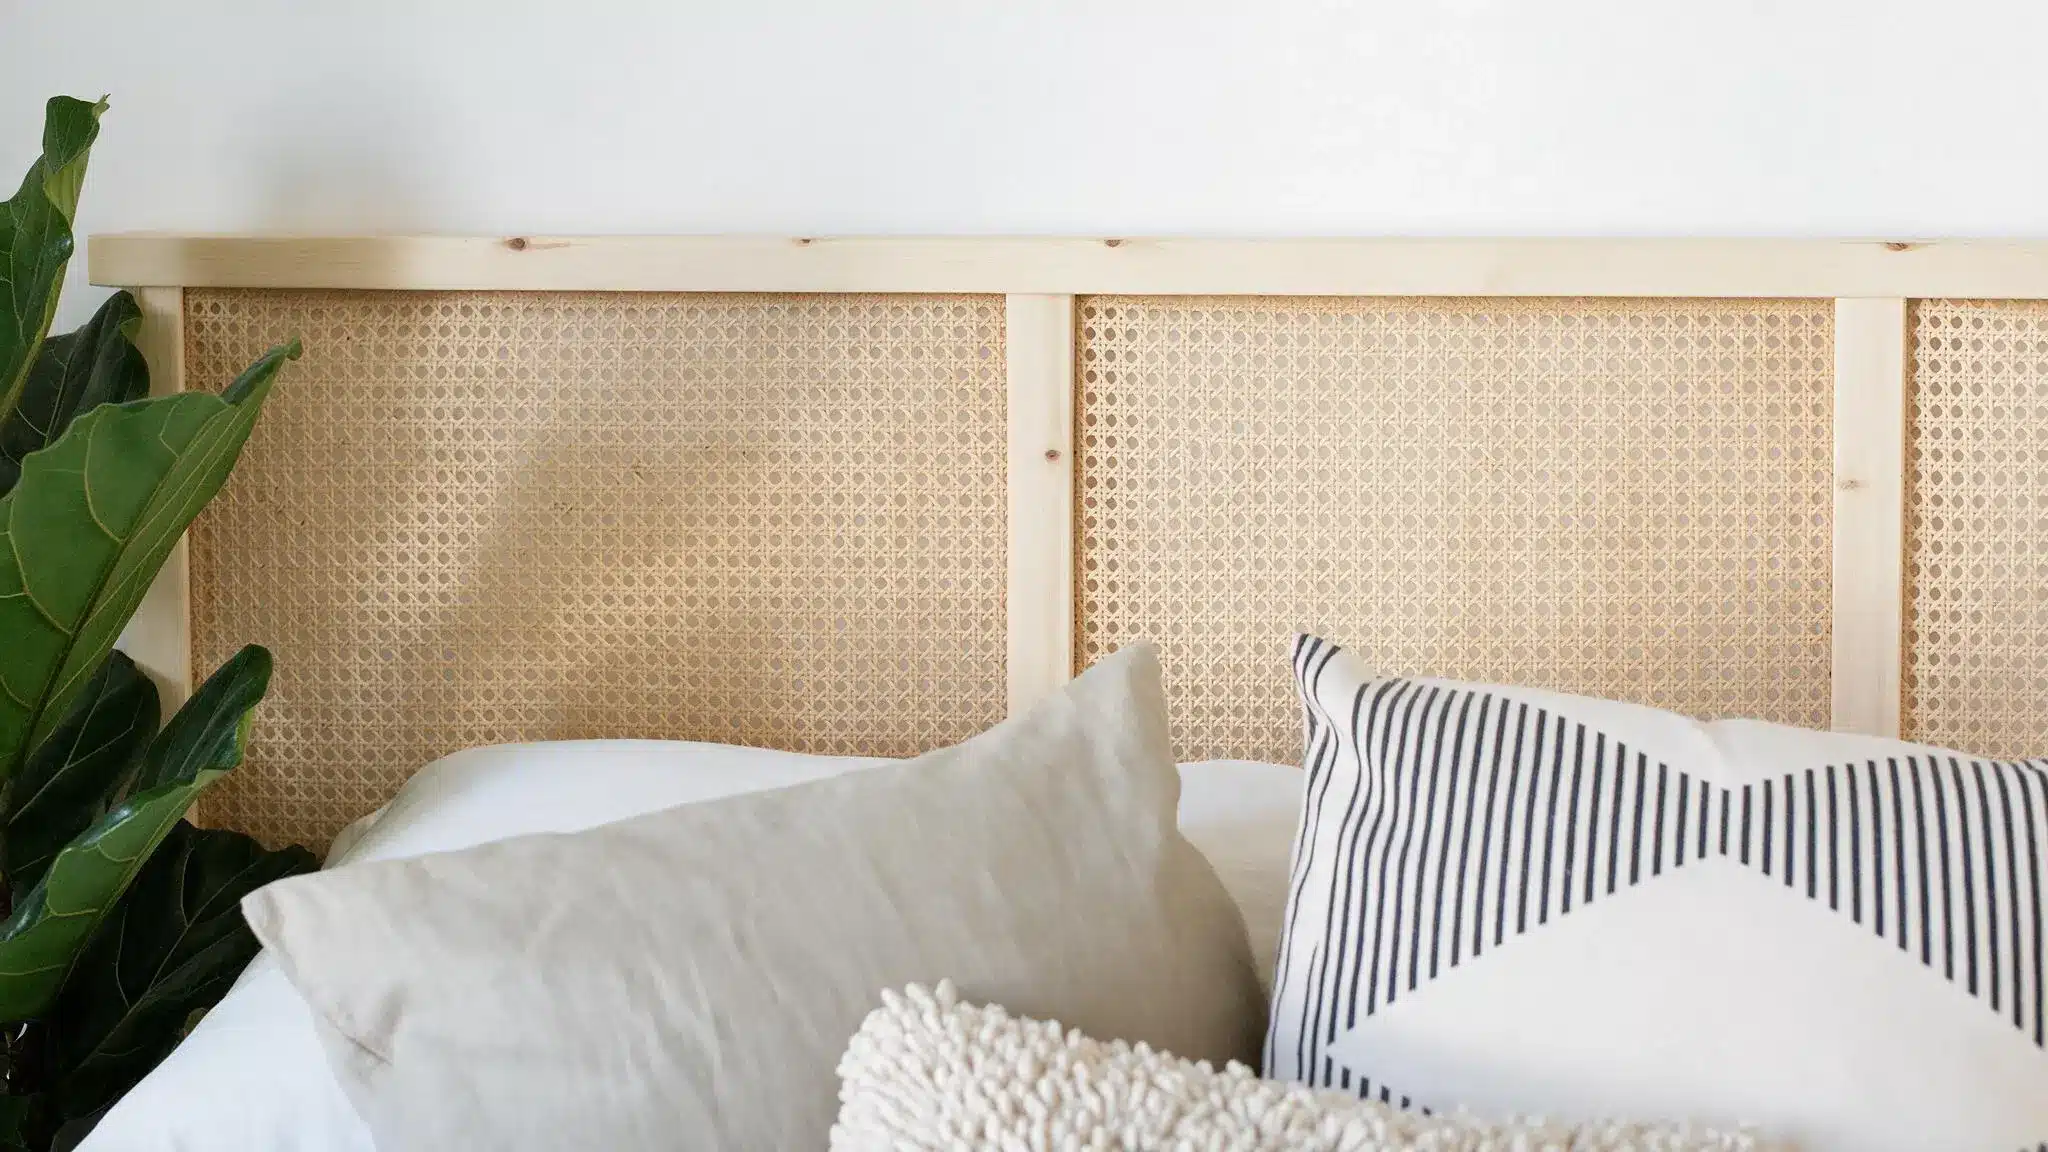
You’ll need: pre-woven cane webbing, a slim wood frame, spline, glue
- Soak the cane webbing to make it pliable
- Stretch it across the frame and secure with spline and glue
- Trim the excess once dry
The open weave keeps the piece from feeling heavy against the wall, one of the better options for a small bedroom.
5. Painted Arch Headboard
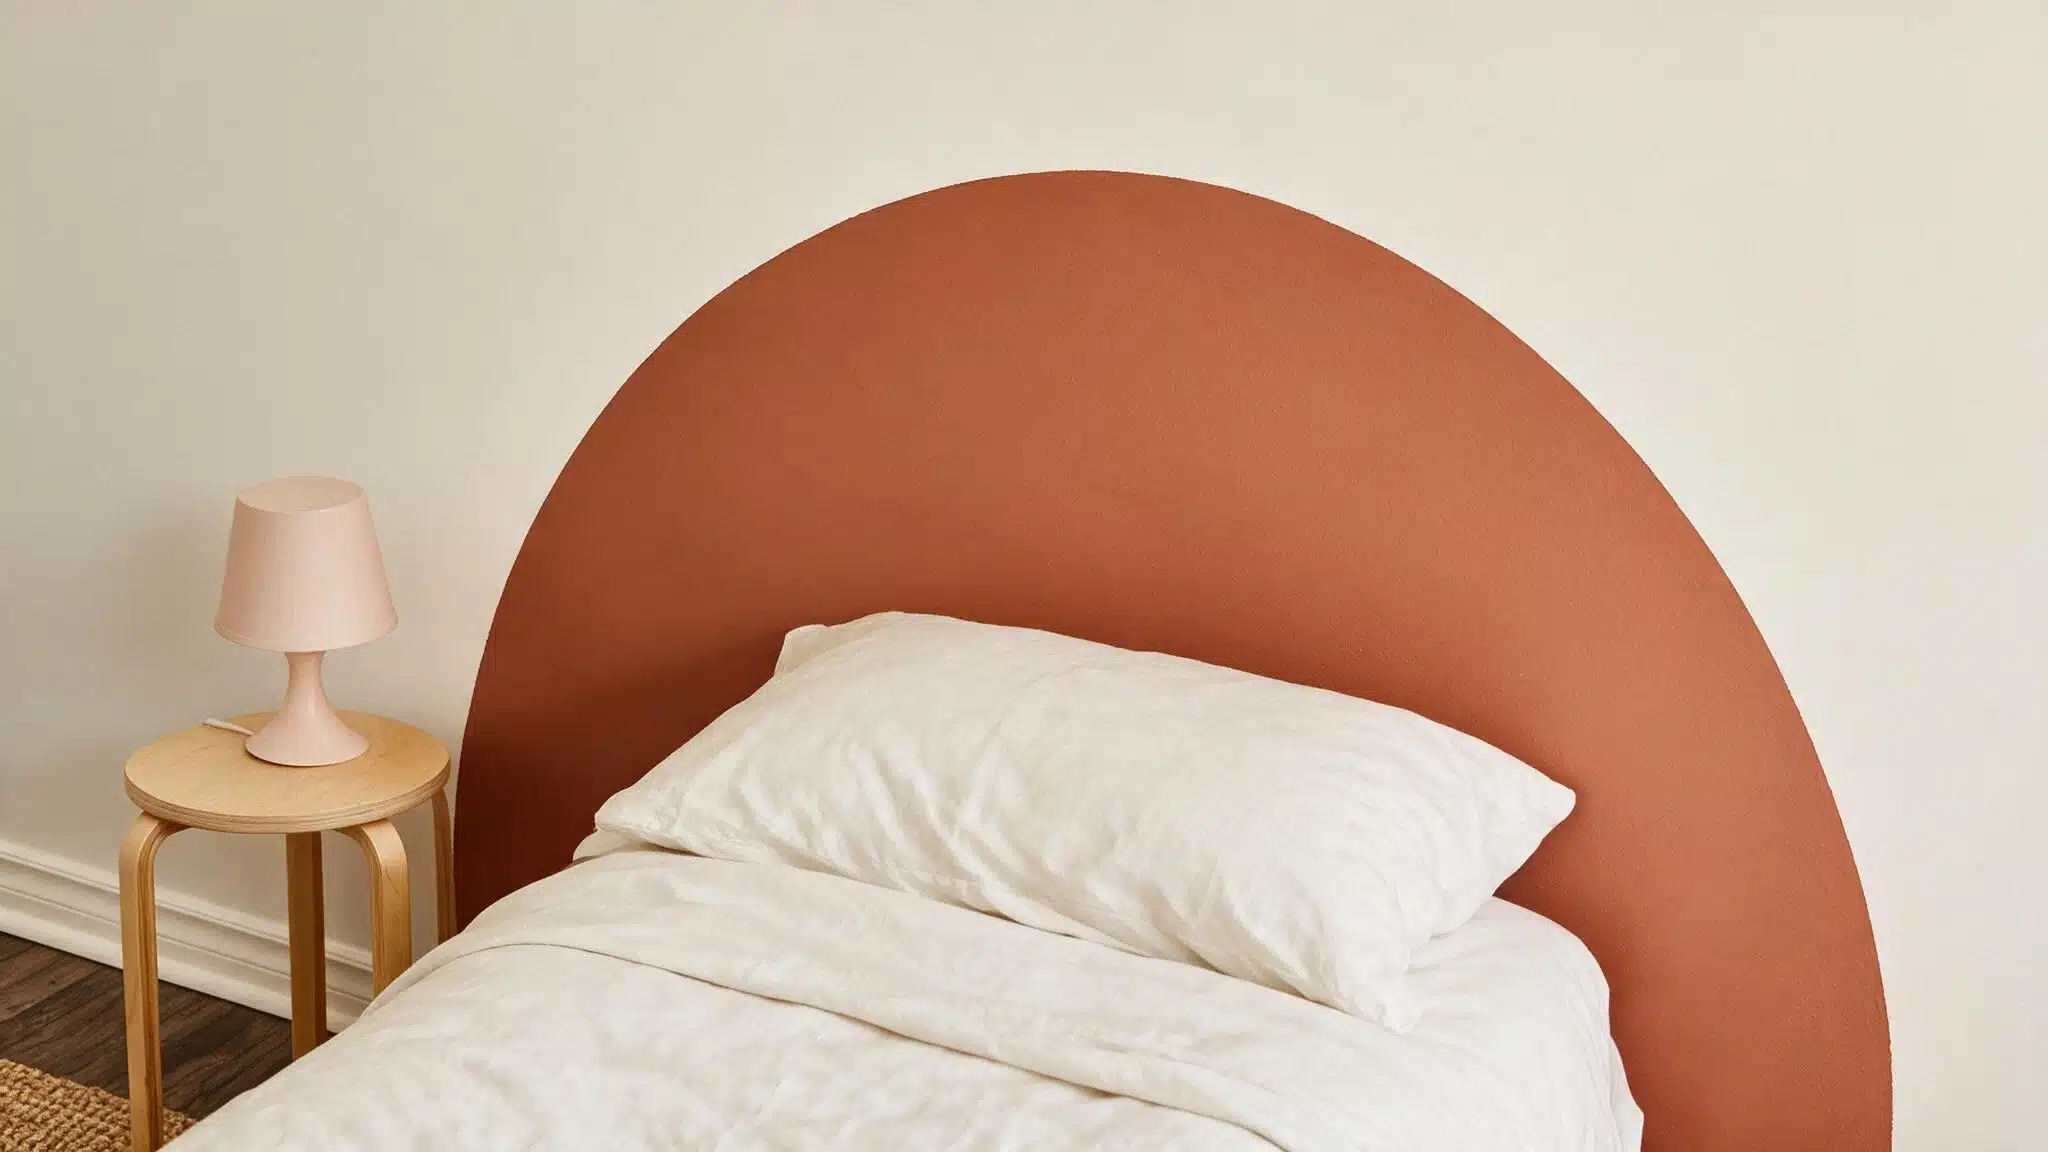
You’ll need: painter’s tape, wall paint, a brush or roller
- Sketch a large arch on the wall using string tied to a pencil as a makeshift compass
- Tape off the outline
- Fill in with a contrasting color and pull the tape while the paint is still slightly wet
There’s no building involved, which makes this the fastest project on the list and the safest bet for renters who can’t drill into the wall.
6. Geometric Wood Headboard
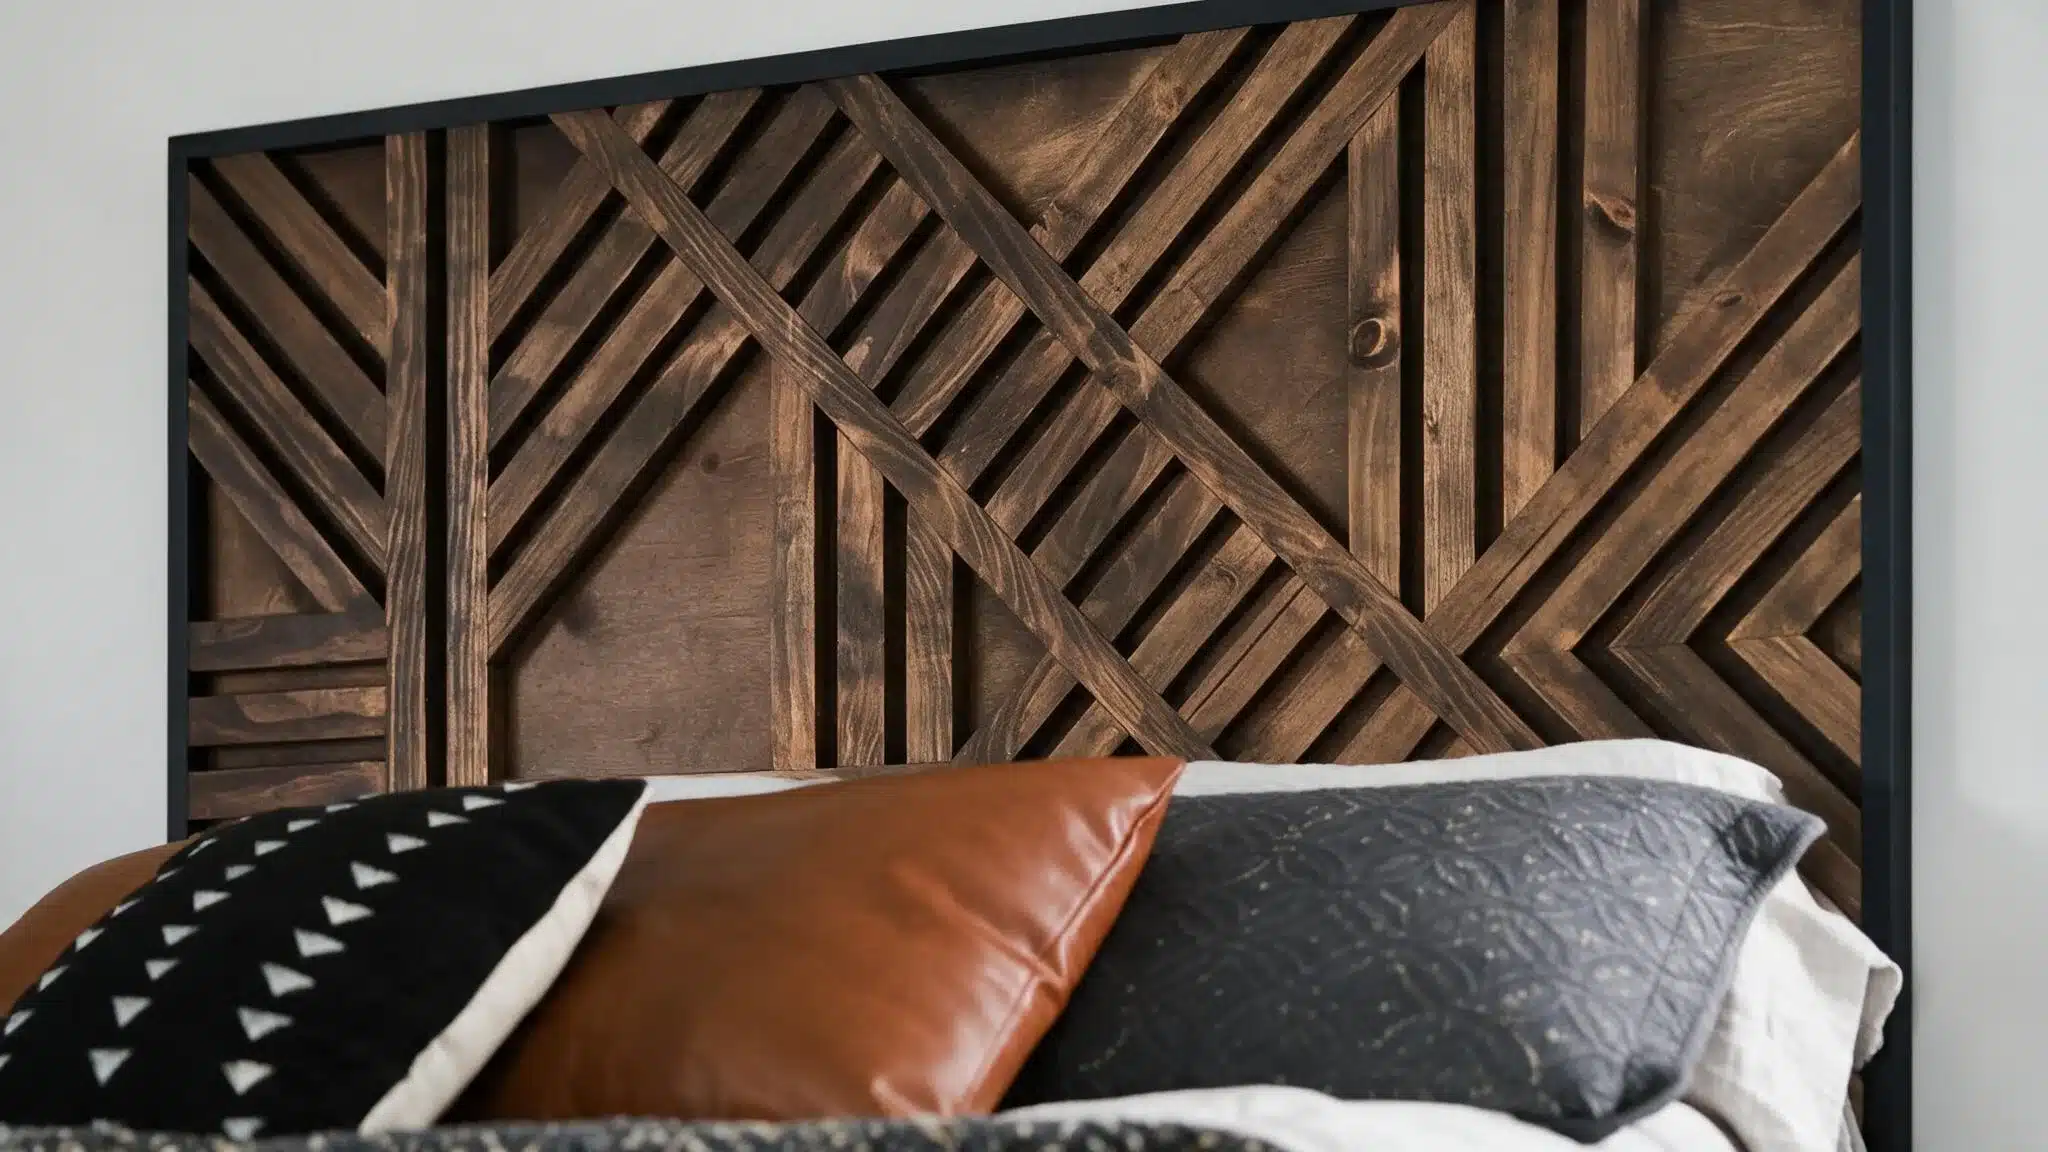
You’ll need: wood strips, a miter saw, backing board, stain or paint
- Sketch the pattern on paper first; it’s far easier to adjust with an eraser than a saw
- Cut strips into triangles, diamonds, or angled segments
- Arrange and glue them onto the backing board, then finish
It looks far more advanced than the actual build once it’s planned out ahead of time.
7. Chevron Wood Headboard
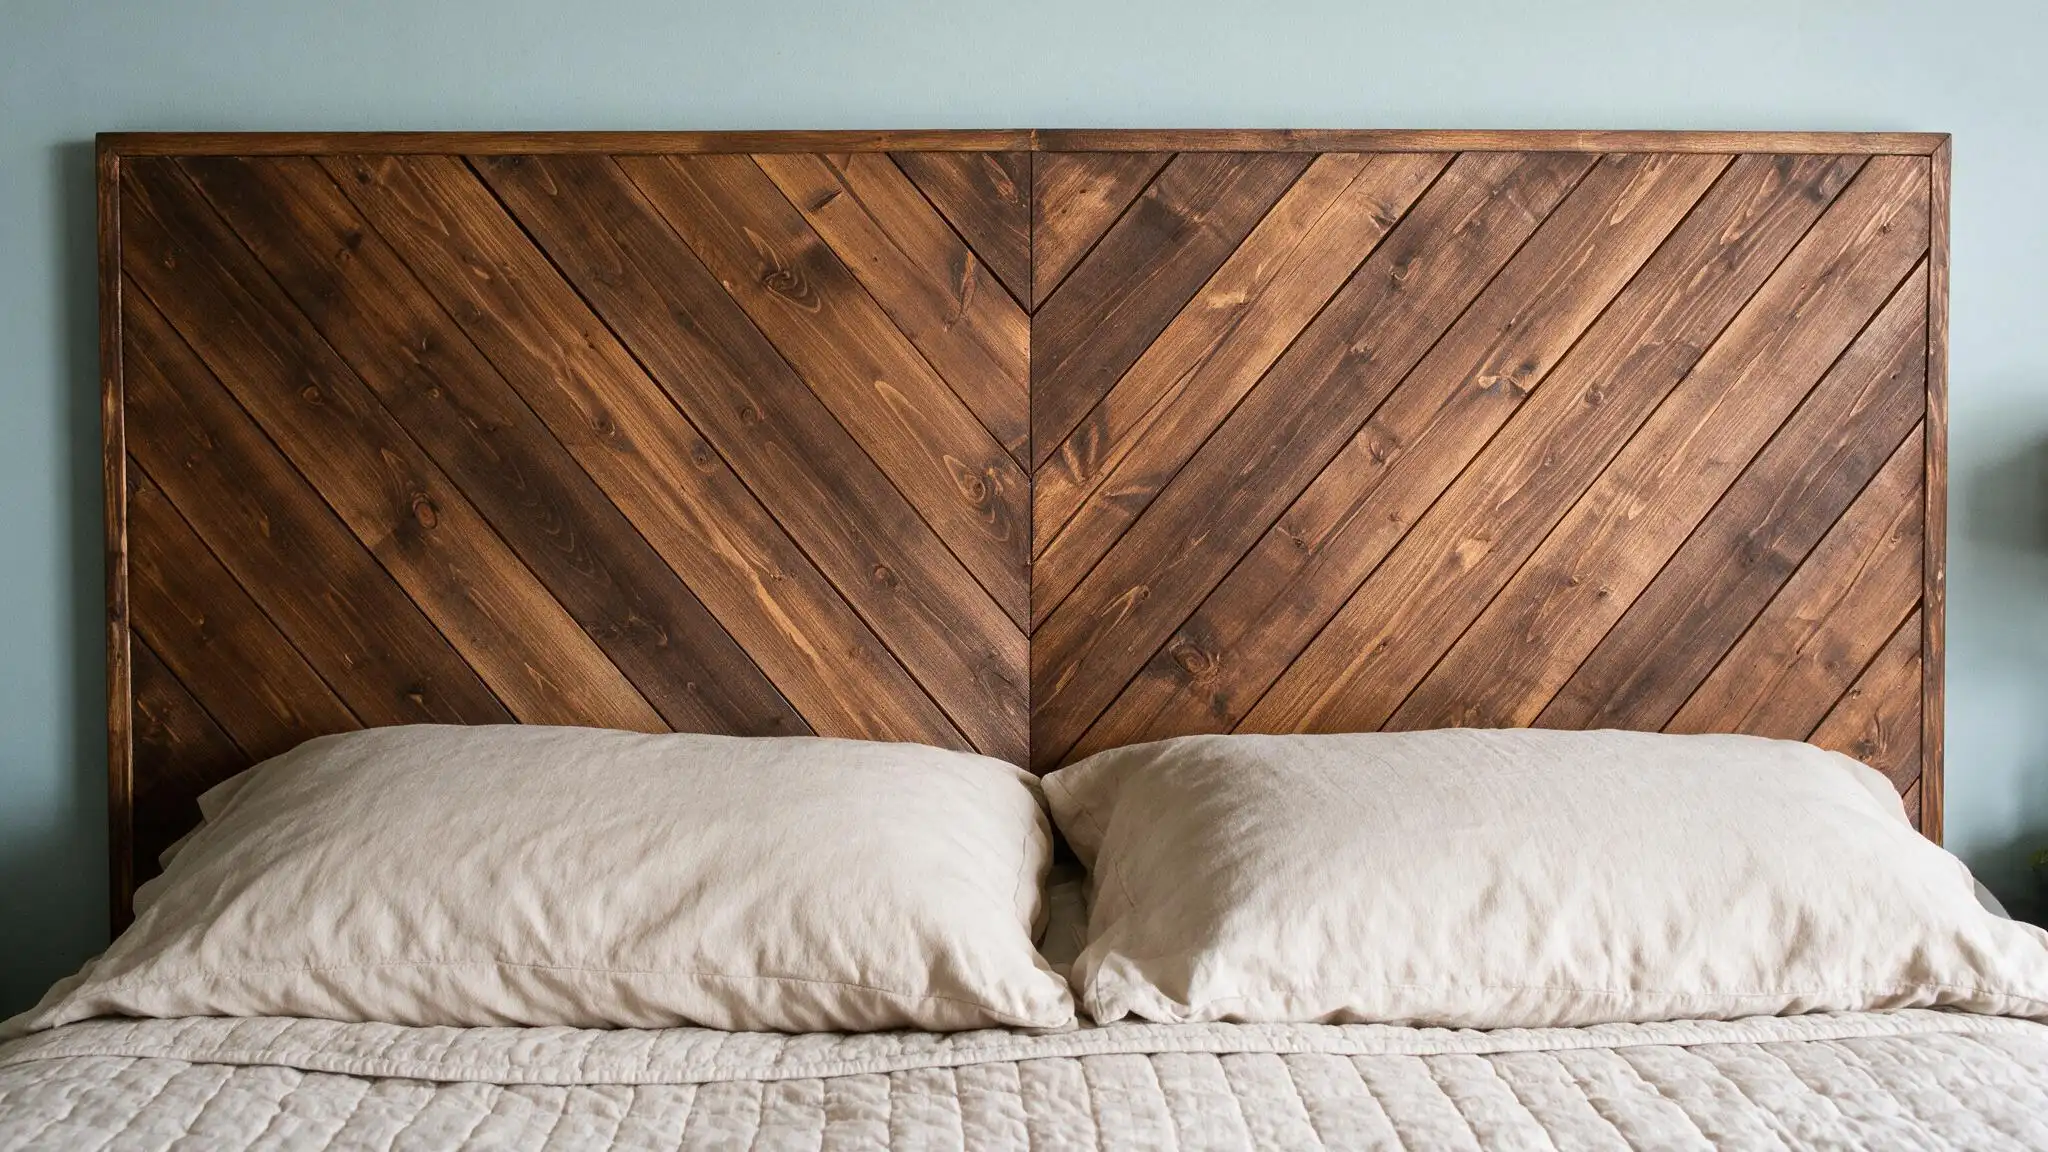
You’ll need: wood boards, a miter box or miter saw, backing board
- Miter each board at matching angles
- Arrange them so they meet in a repeating V shape down the center
- Glue and nail to the backing board
Consistent angles matter more here than in almost any other design on this list; measure each cut against the last one, not just the plan.
8. Plywood Headboard
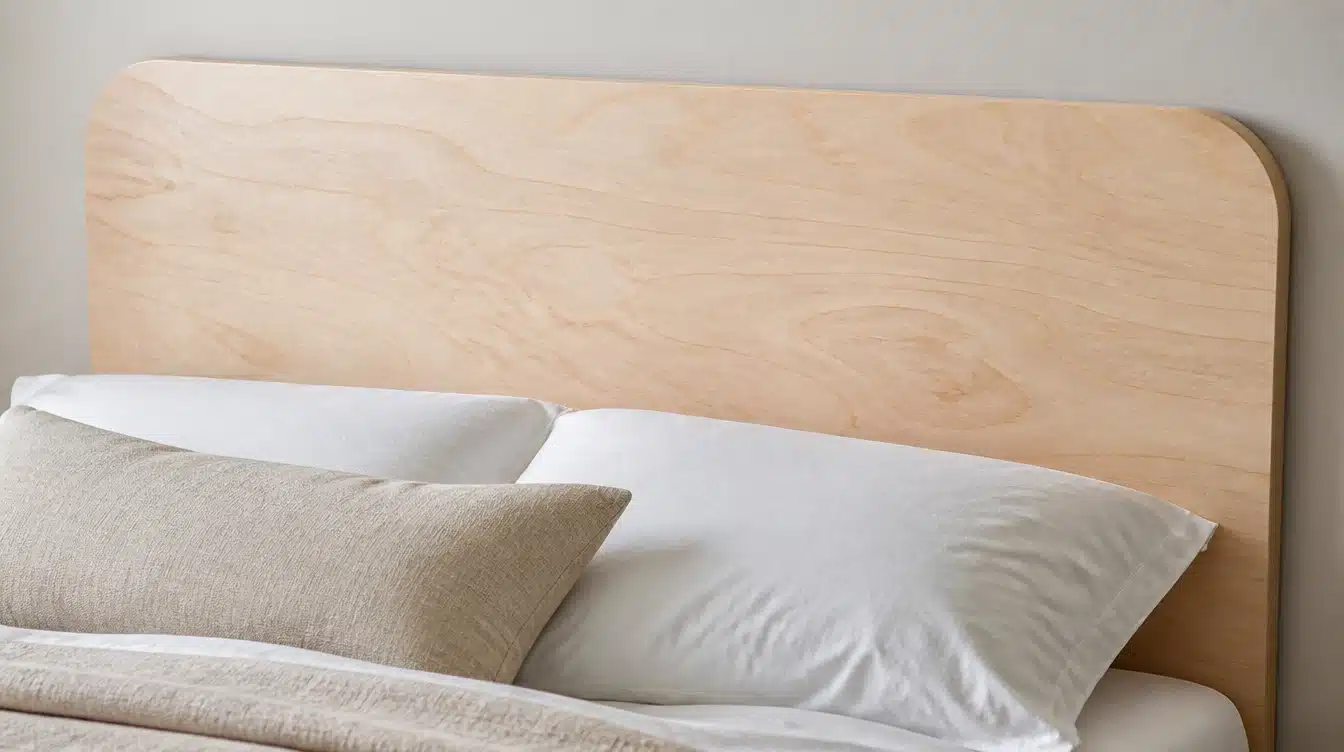
You’ll need: a sheet of birch or maple plywood, sandpaper, stain or paint
- Cut the plywood into a clean rectangle or a gently rounded top
- Sand the edges smooth
- Finish with stain or paint, then mount to the wall or bed frame
This is the least fussy build here, and it still looks deliberate once it’s mounted and lit properly.
9. Branch Headboard
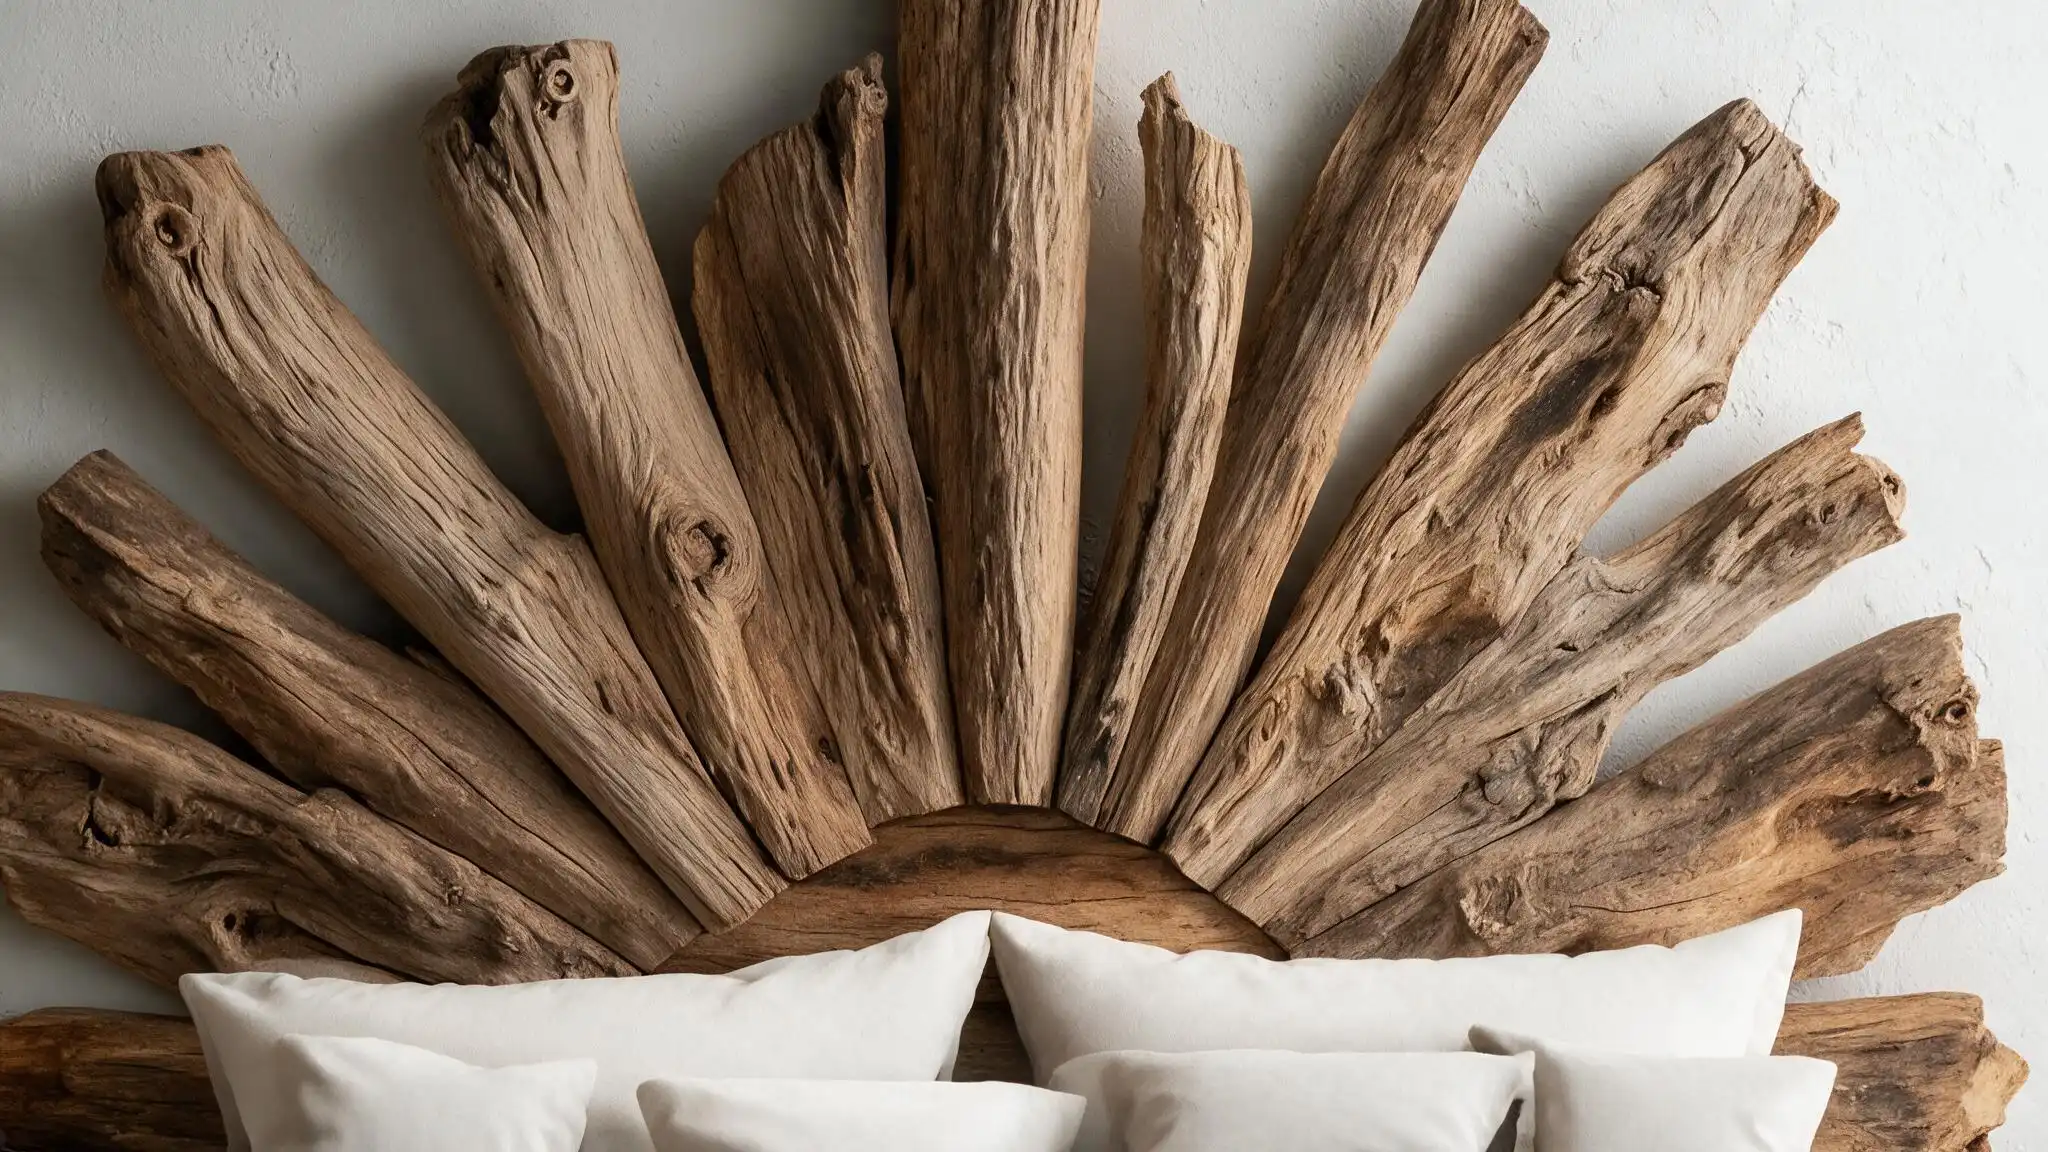
You’ll need: straight branches, driftwood, or birch logs, wire or lashing cord, a backing board
- Sort pieces by length and thickness so they’ll sit level side by side
- Wire or lash them across the backing board, leaving bark and irregular shapes visible
- Trim any stray ends once mounted
This design skips milled lumber entirely, which makes it a strong pick for a cabin-style or coastal bedroom that already leans rustic.
10. Shiplap Headboard
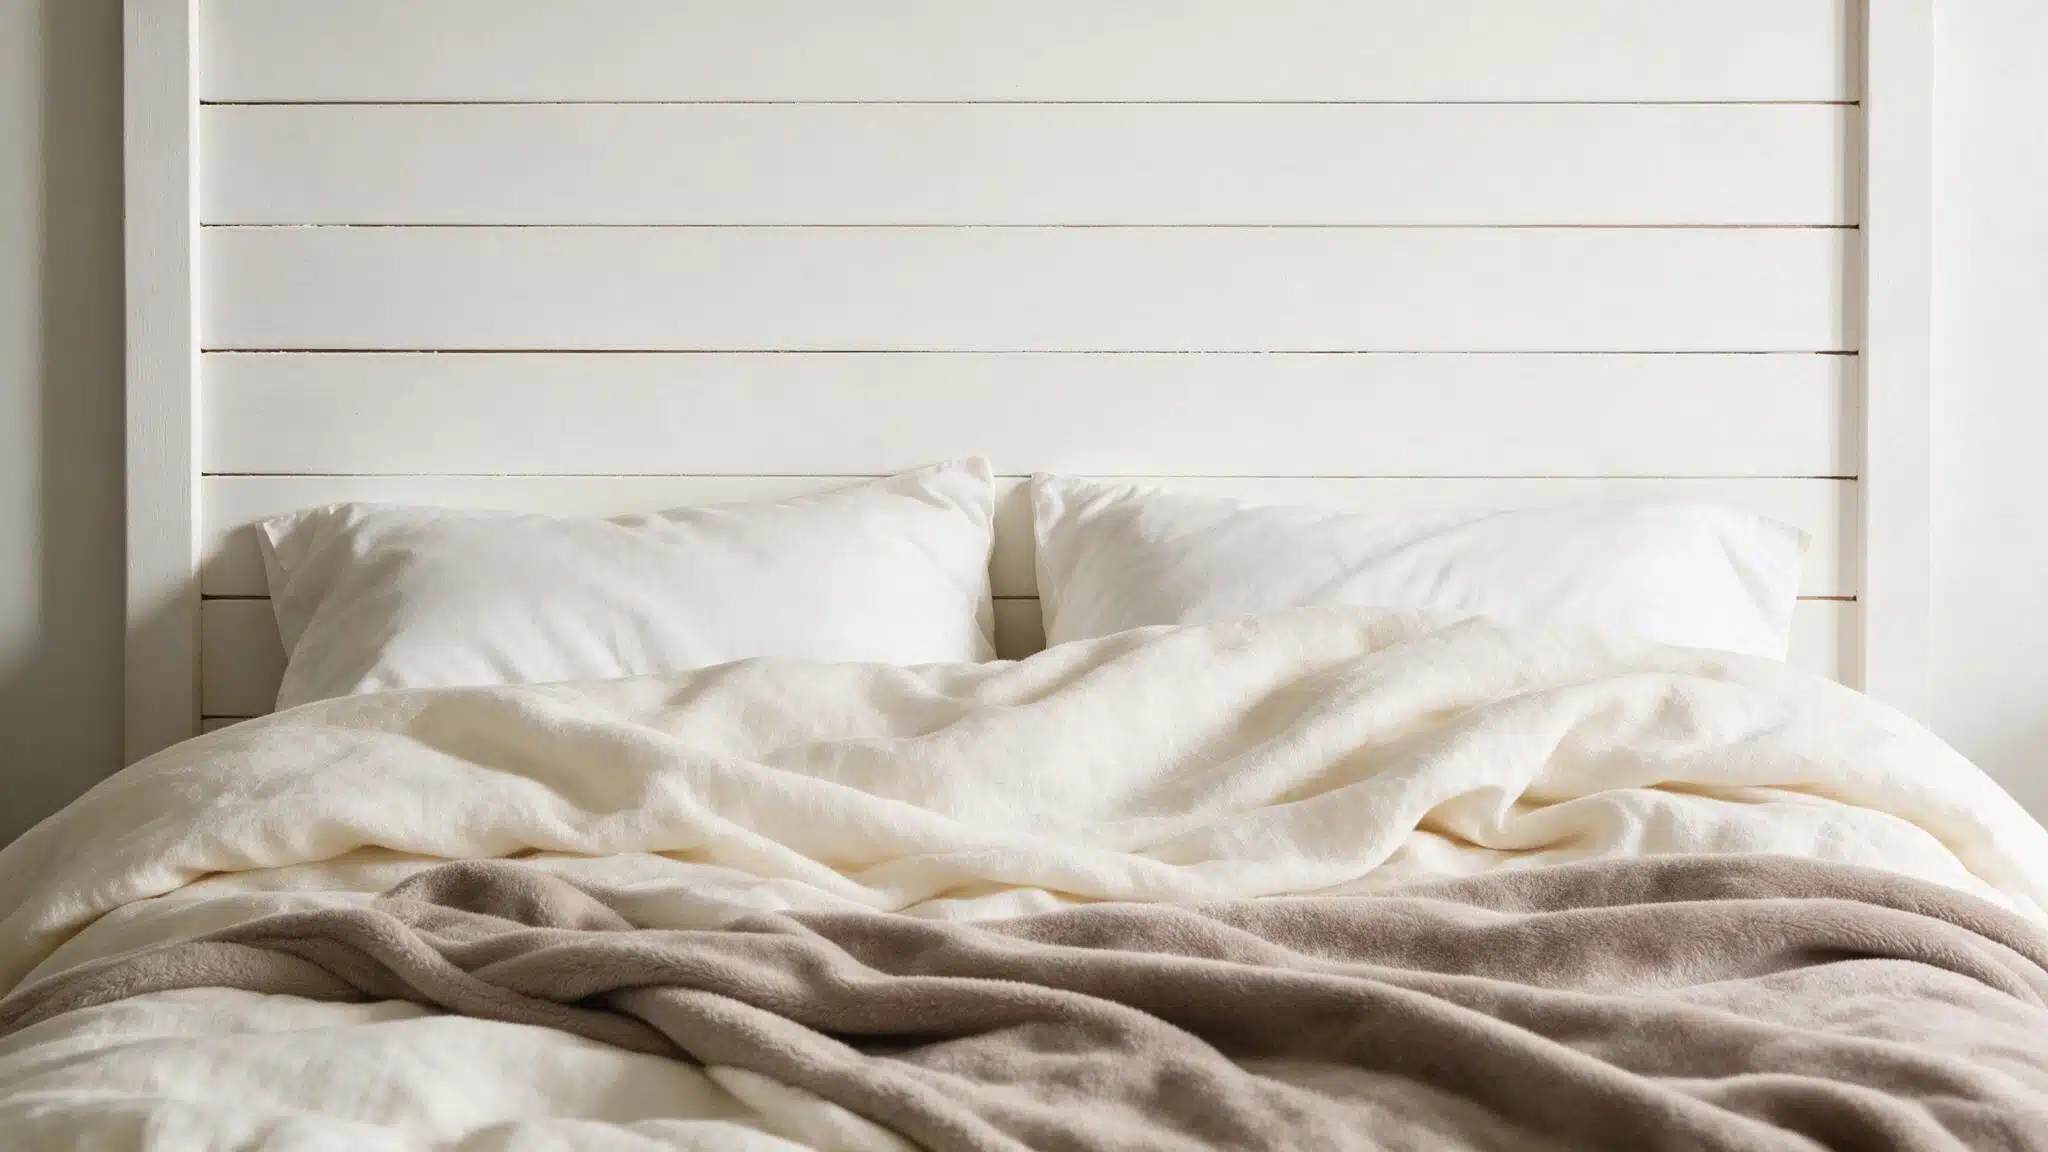
You’ll need: pre-milled shiplap boards, trim, nails
- Install horizontal shiplap boards behind the bed, working bottom to top
- Frame the edges with trim
- Paint or stain if desired
This is closer to an assembly project than a woodworking one, since shiplap is sold pre-milled at most hardware stores.
11. Pegboard Headboard
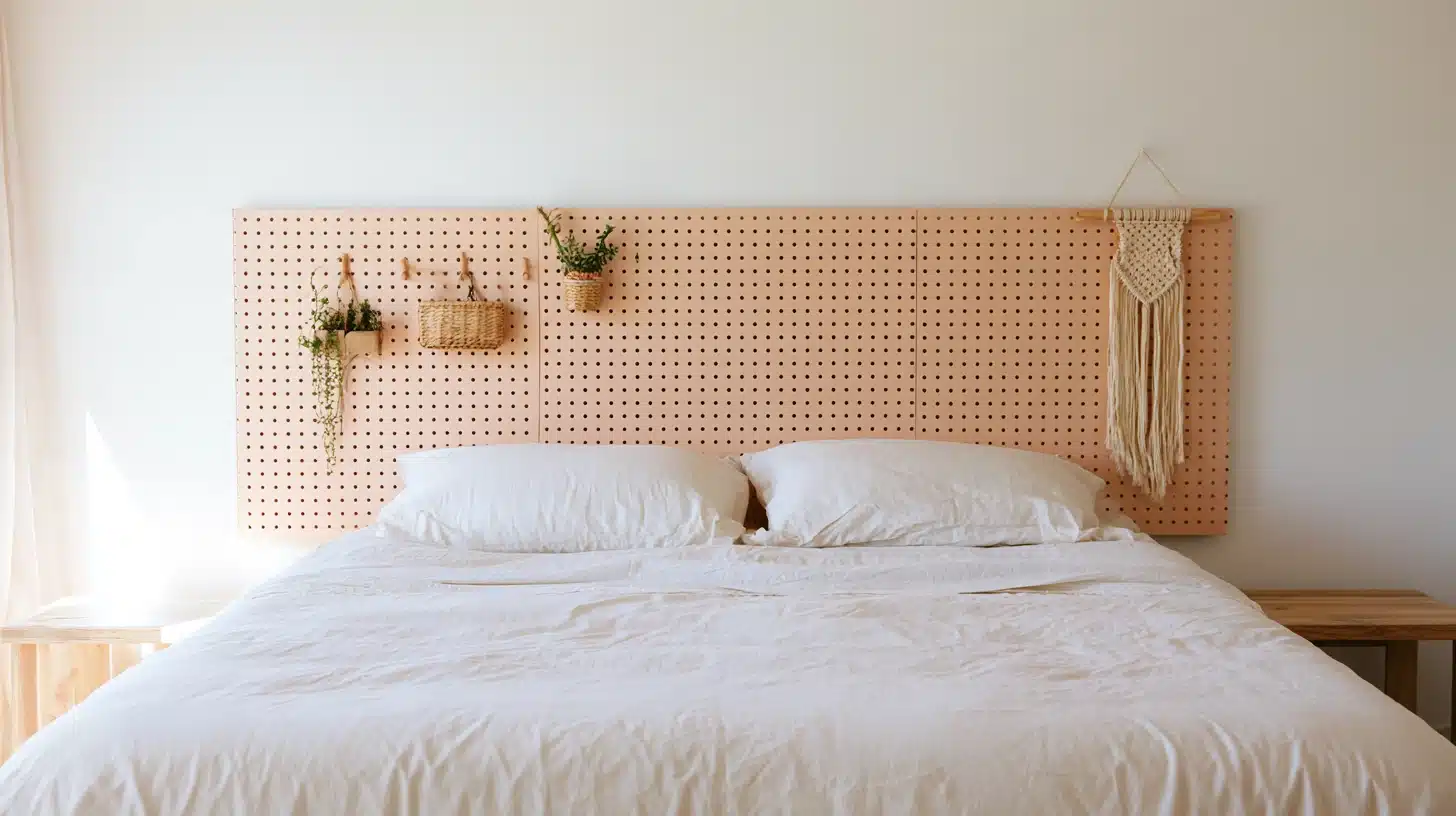
You’ll need: a sheet of pegboard, paint, hooks, or a small shelf
- Cut pegboard to the size of the wall space behind the bed
- Paint it to match the wall or contrast with it
- Mount and add hooks or a shelf for storage
It solves the “nowhere to put my glasses” problem that most headboards ignore.
12. Dowel Headboard
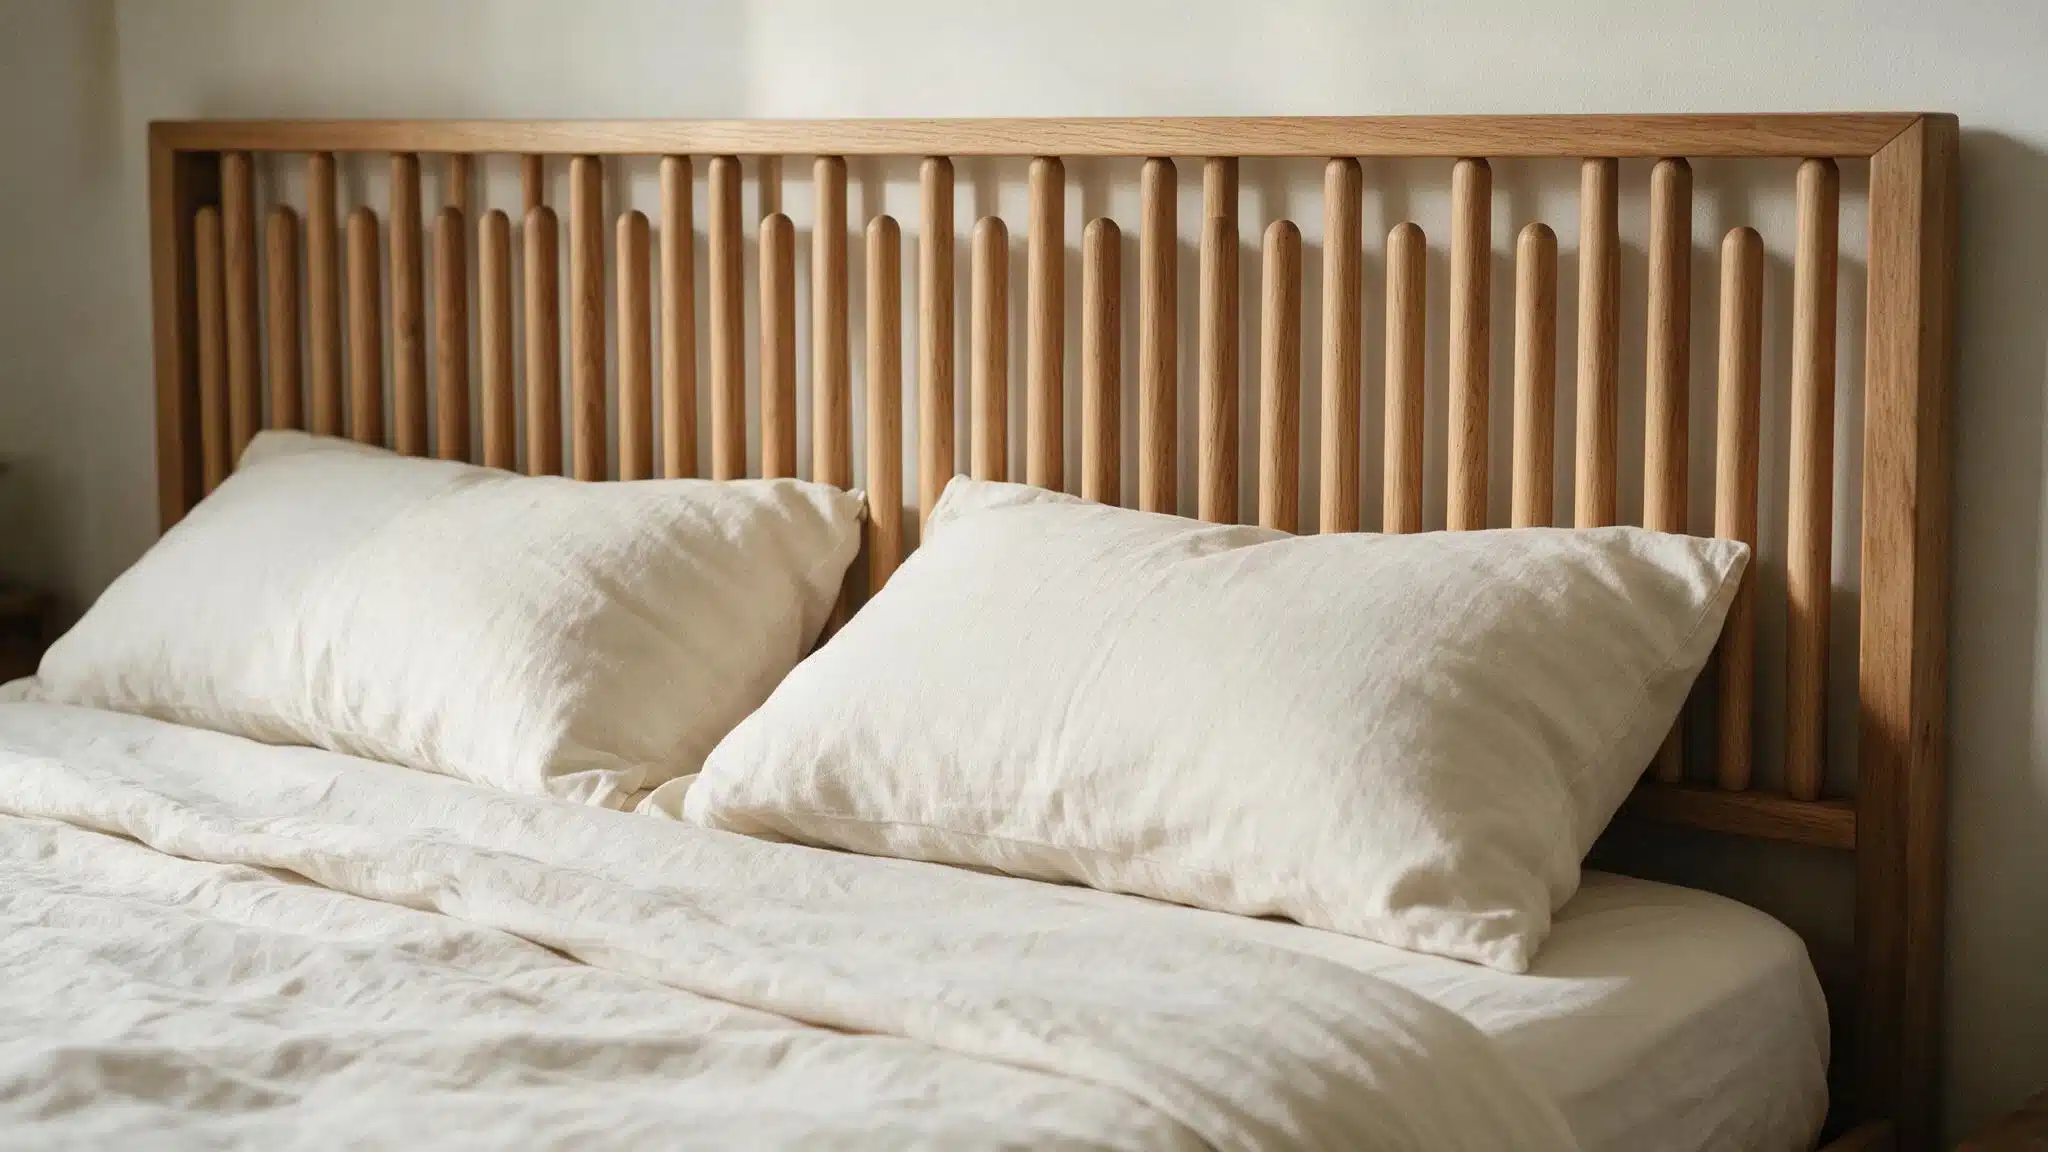
You’ll need: round wood dowels, a simple frame, wood glue
- Cut dowels to matching lengths
- Line them up vertically inside the frame, keeping the gaps even
- Glue or screw each dowel in place, then secure the frame to the wall
The rounded profile softens a room already full of hard edges, but the frame needs to be sturdy, or the dowels shift over time.
13. Wallpaper Panel Headboard
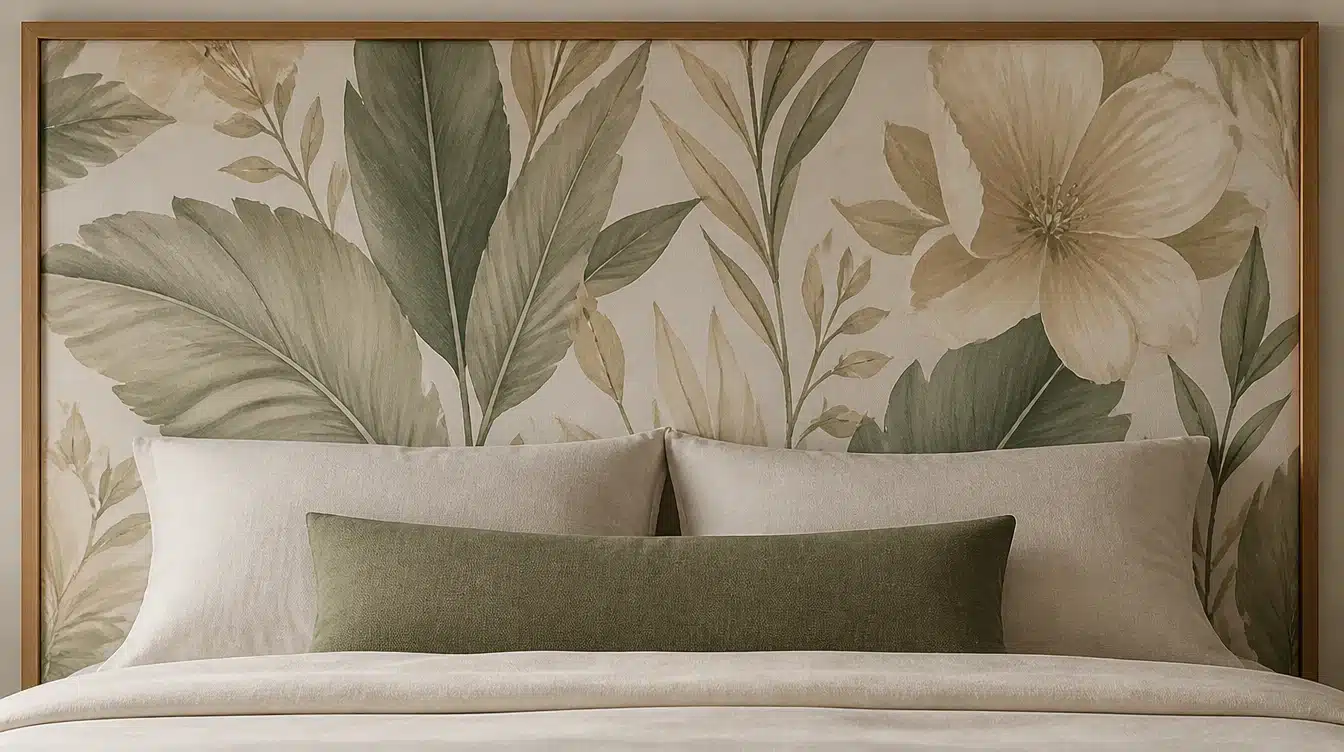
You’ll need: a wallpaper panel or peel-and-stick sheet, thin wood trim, adhesive or nails
- Cut wallpaper to the size of a large rectangle behind the bed
- Smooth it onto the wall with a squeegee, working out from the center
- Frame the edges with trim to hide the seams
This reads as a built-in architectural feature; small-repeat patterns can look cramped once boxed into a rectangle.
14. Picture Frame Molding Headboard
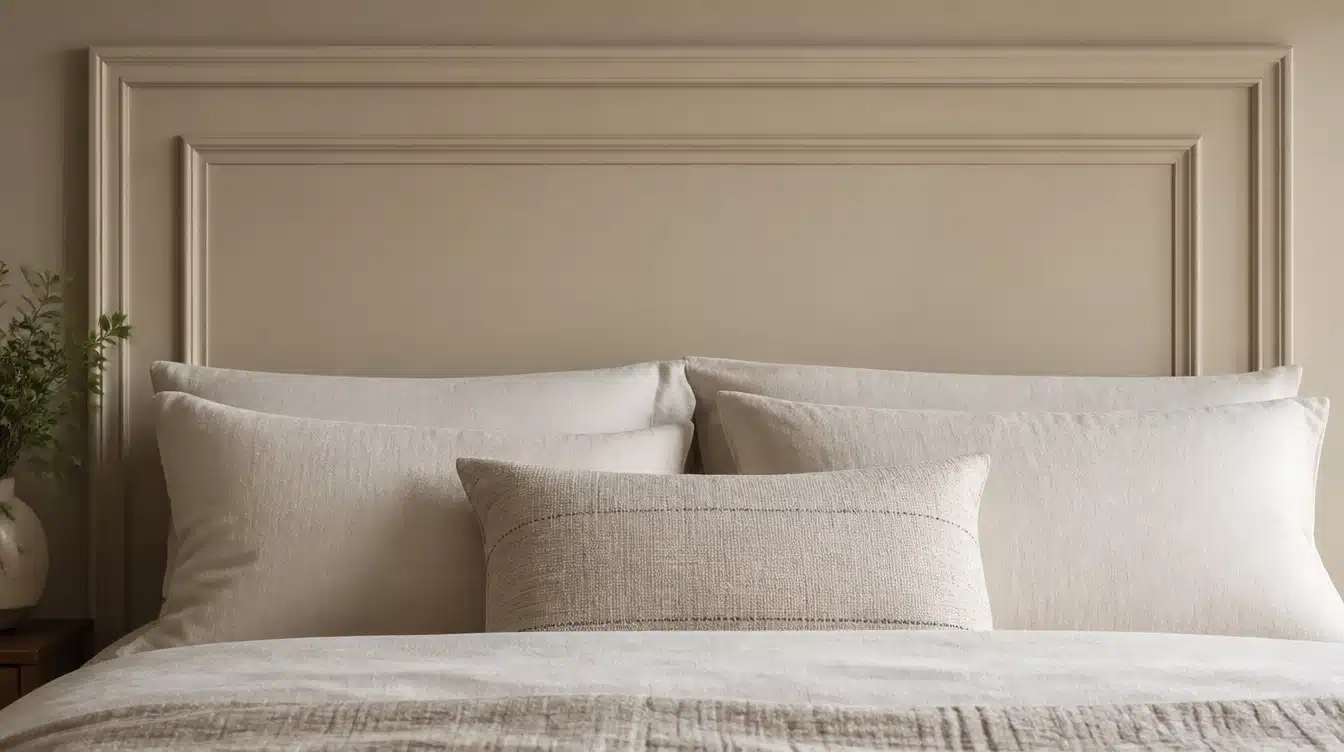
You’ll need: decorative molding, a miter saw, wood glue or nails, paint
- Measure and miter the molding into one large rectangle, or a layered set of them
- Nail or glue the pieces directly to the wall
- Paint to match or contrast with the wall color
Reads as a built-in architectural feature rather than a headboard, which is most of the appeal.
15. Half-Moon Headboard
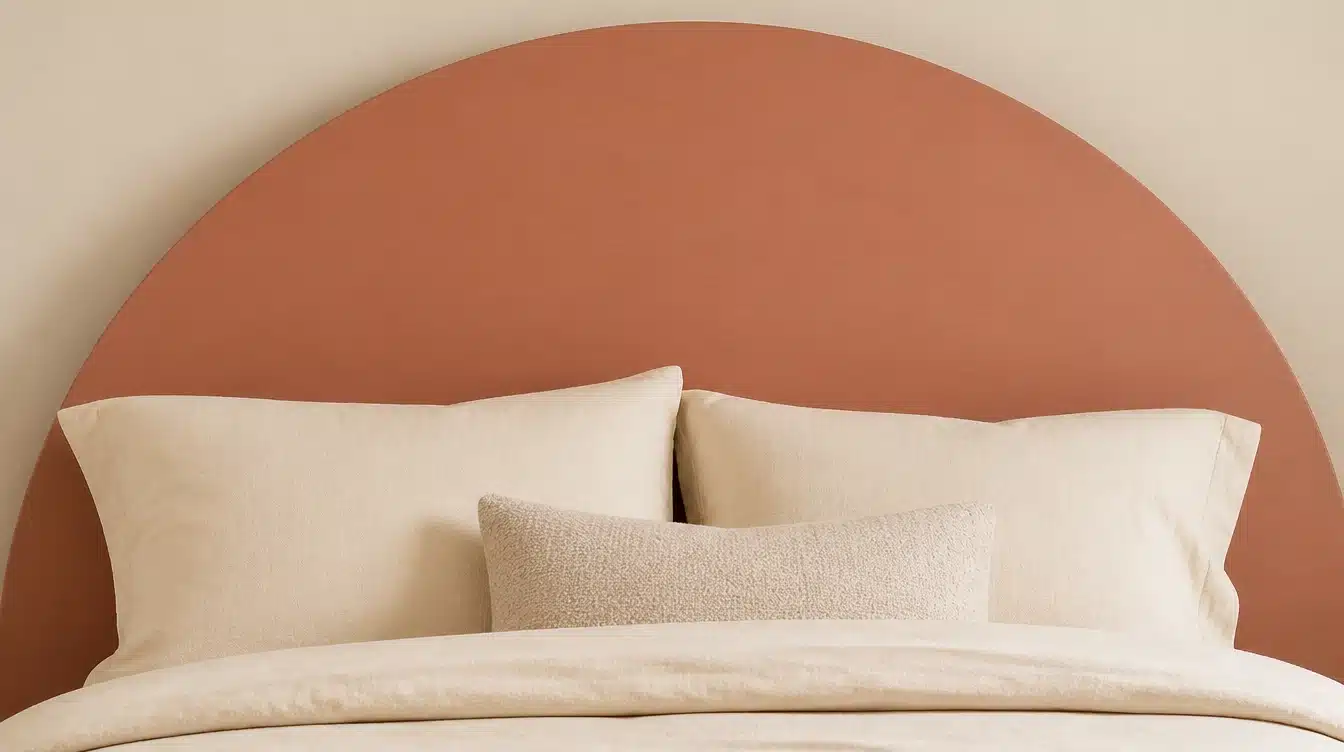
You’ll need: plywood, a jigsaw, sandpaper, paint or fabric
- Cut a wide semicircle from the plywood
- Sand the curve smooth
- Finish with paint or upholster it like the fabric panel above
The rounded top breaks up a room full of rectangles and squares, often the exact contrast a boxy bedroom needs.
16. Hanging Cushion Headboard
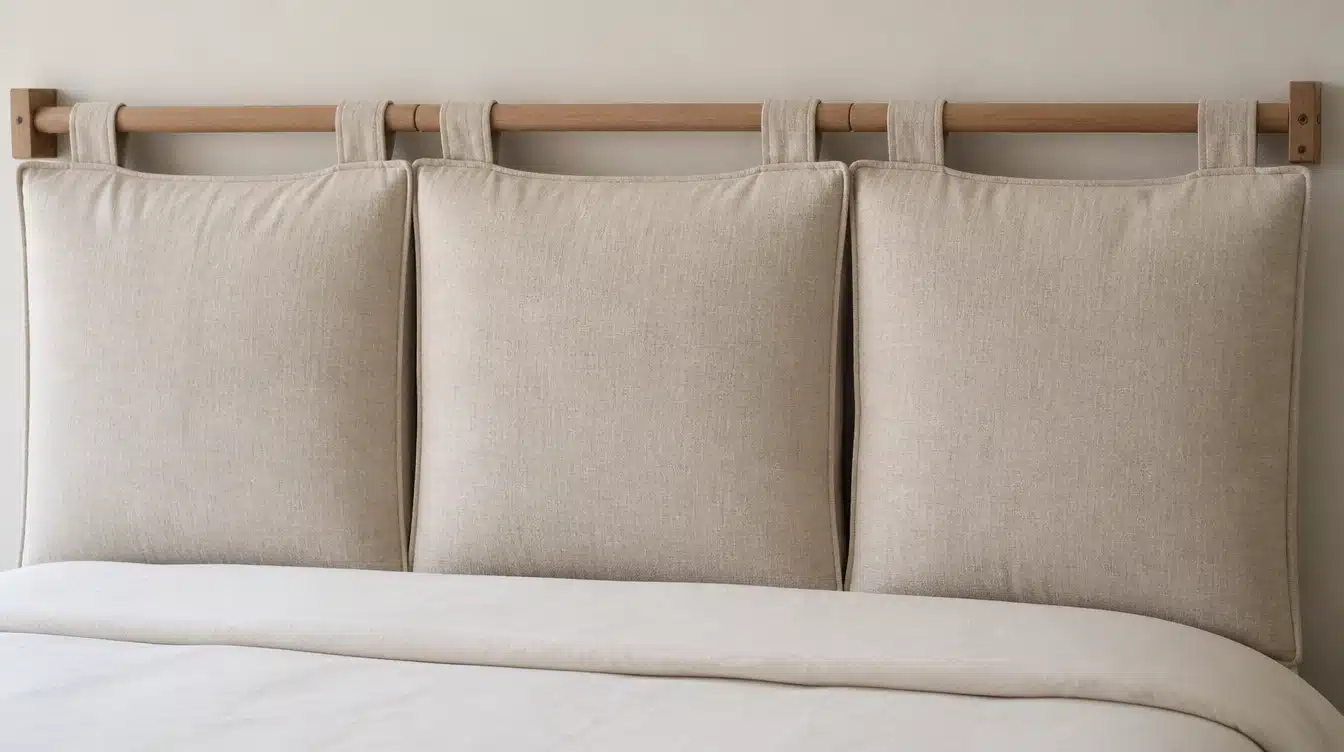
You’ll need: 2–3 fabric-covered cushions, a wood rail or rope, exposed hardware
- Mount the rail to the wall studs
- Attach the cushions to the rail with rope, ties, or hooks
- Space them evenly across the width of the bed
Because each cushion mounts on its own, this is one of the easiest projects to resize later if you switch bed sizes.
17. Leather Strap Headboard
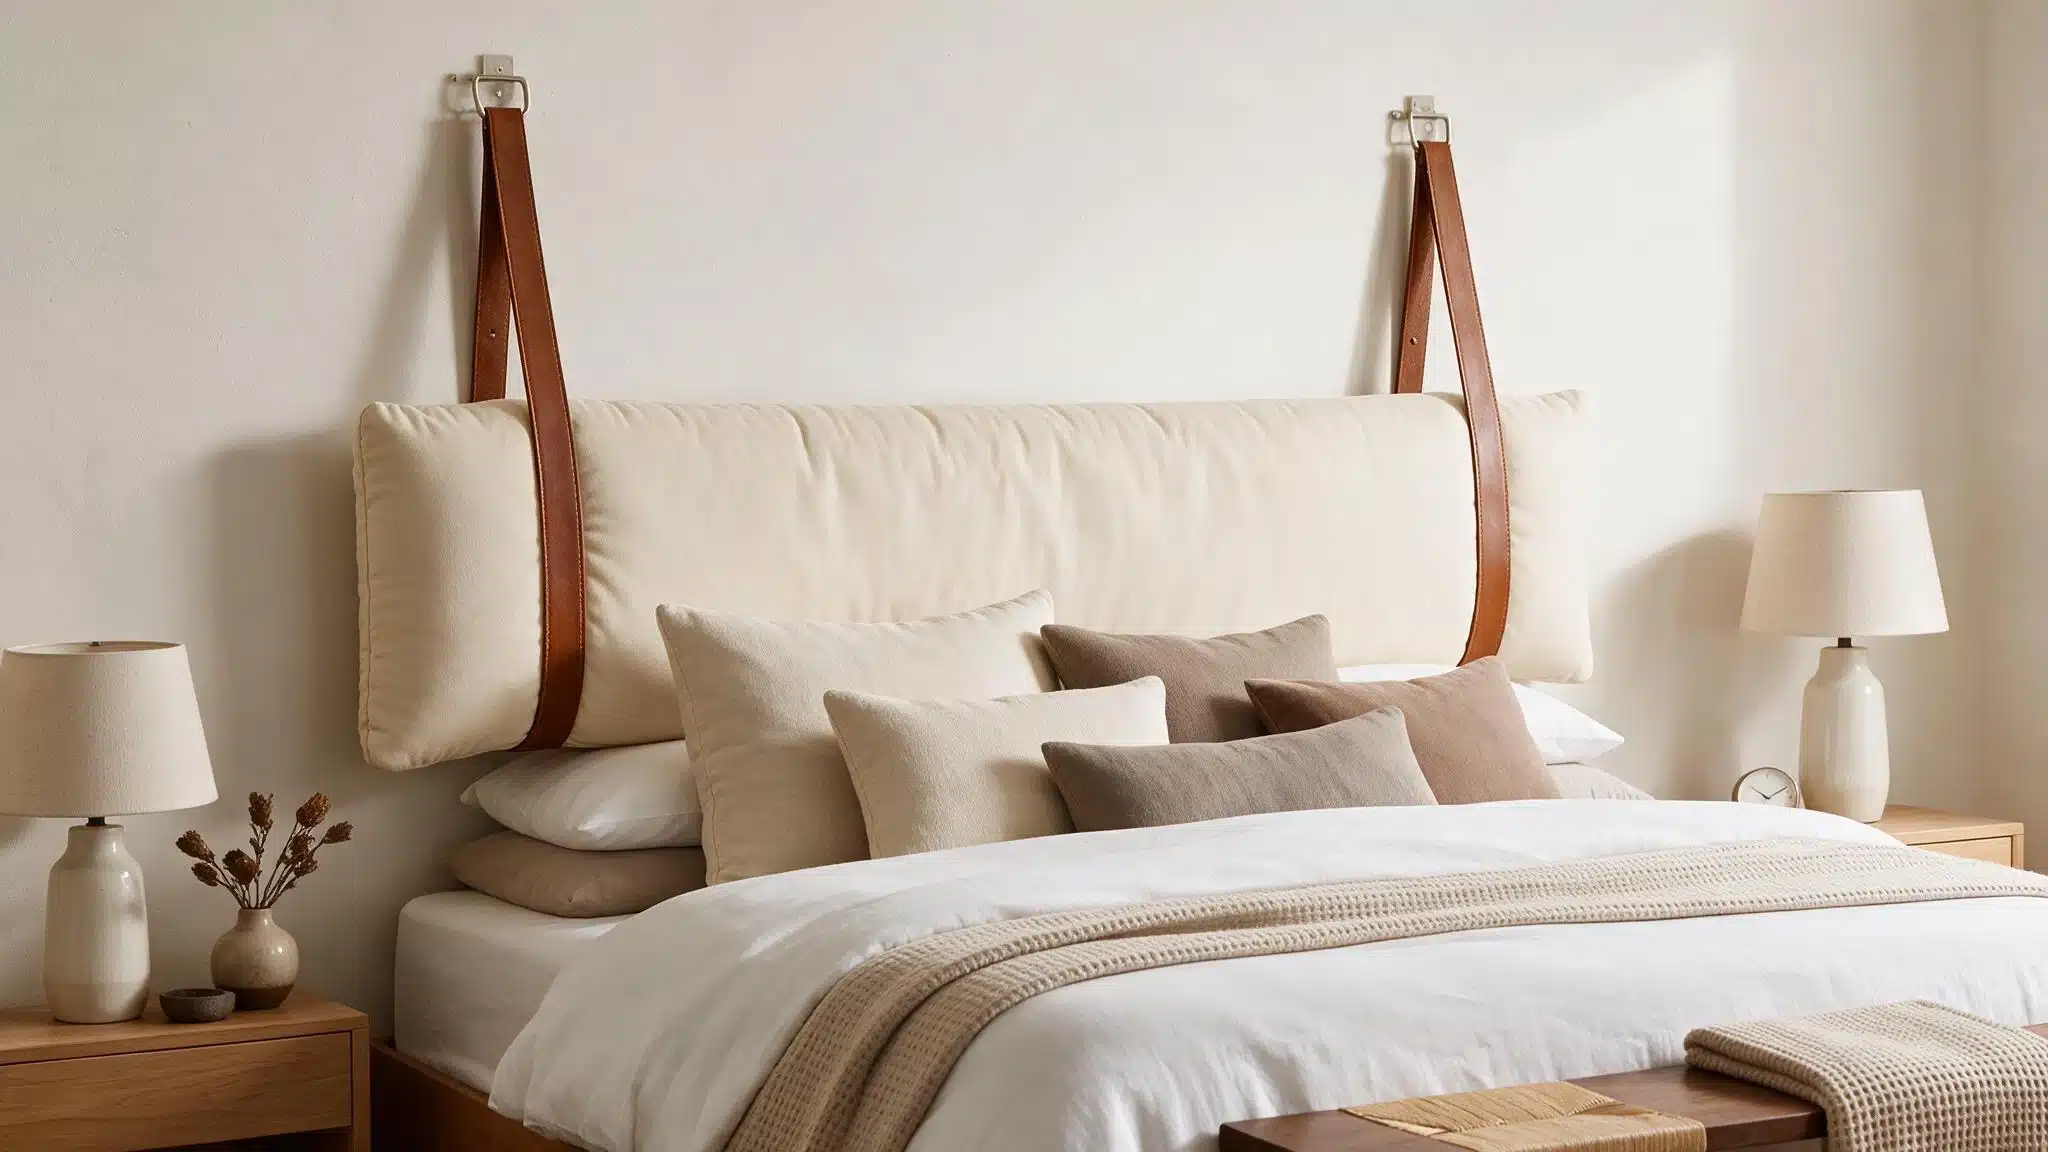
You’ll need: a padded cushion, wide leather straps, wall brackets
- Mount brackets into wall studs
- Suspend the cushion from the straps
- Secure strap ends to the brackets or nails
Real leather holds up for years, but heavyweight canvas or faux-leather webbing works just as well without the cost and upkeep.
18. Jute Headboard
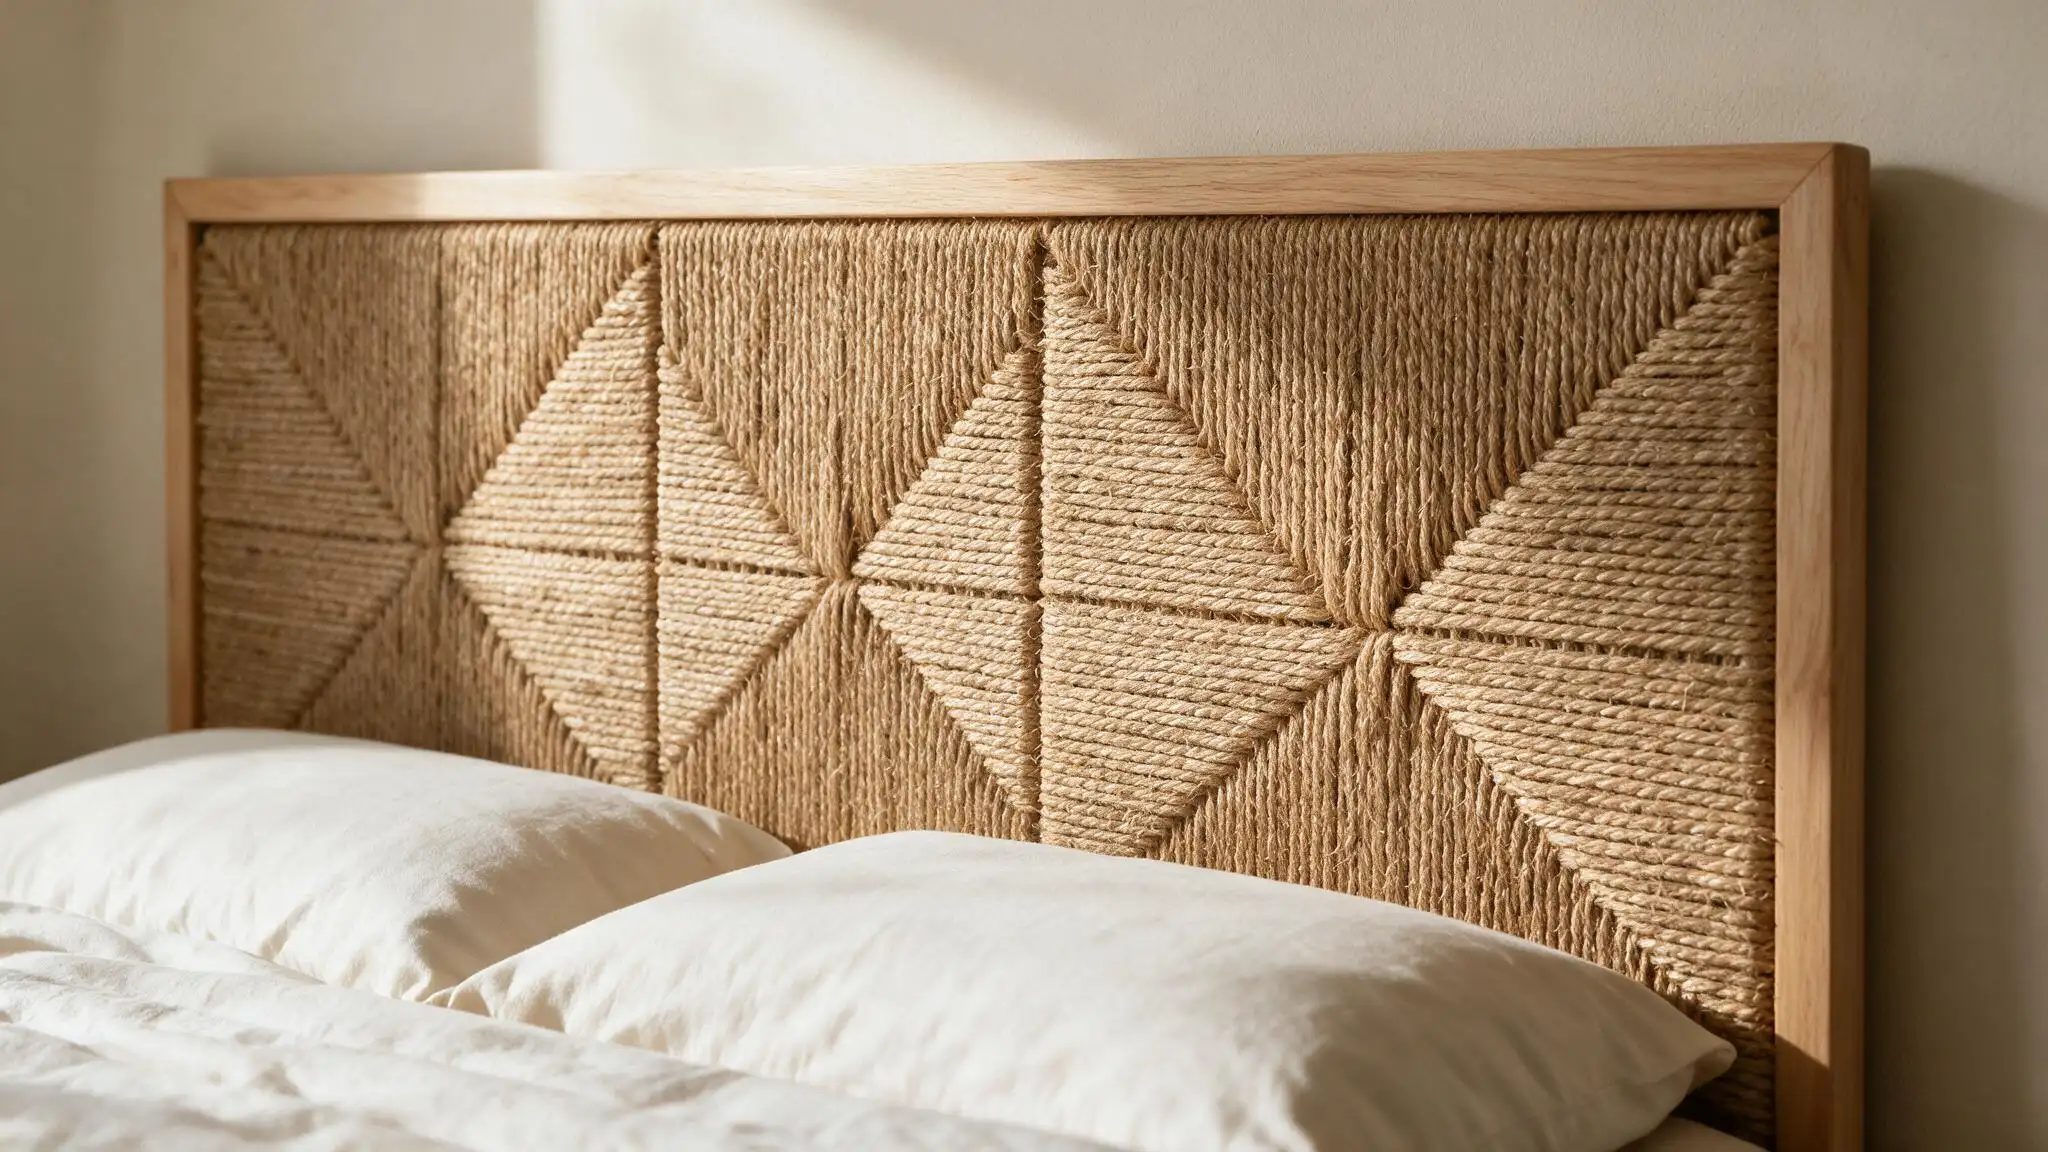
You’ll need: several jute rugs or runners, a needle and heavy thread or adhesive
- Join the rugs or runners edge to edge
- Trim to a uniform rectangle
- Mount the combined piece to the wall
Natural fiber hides wrinkles and wears better than smooth fabric, a practical pick for a household with kids or pets.
19. Macrame Headboard
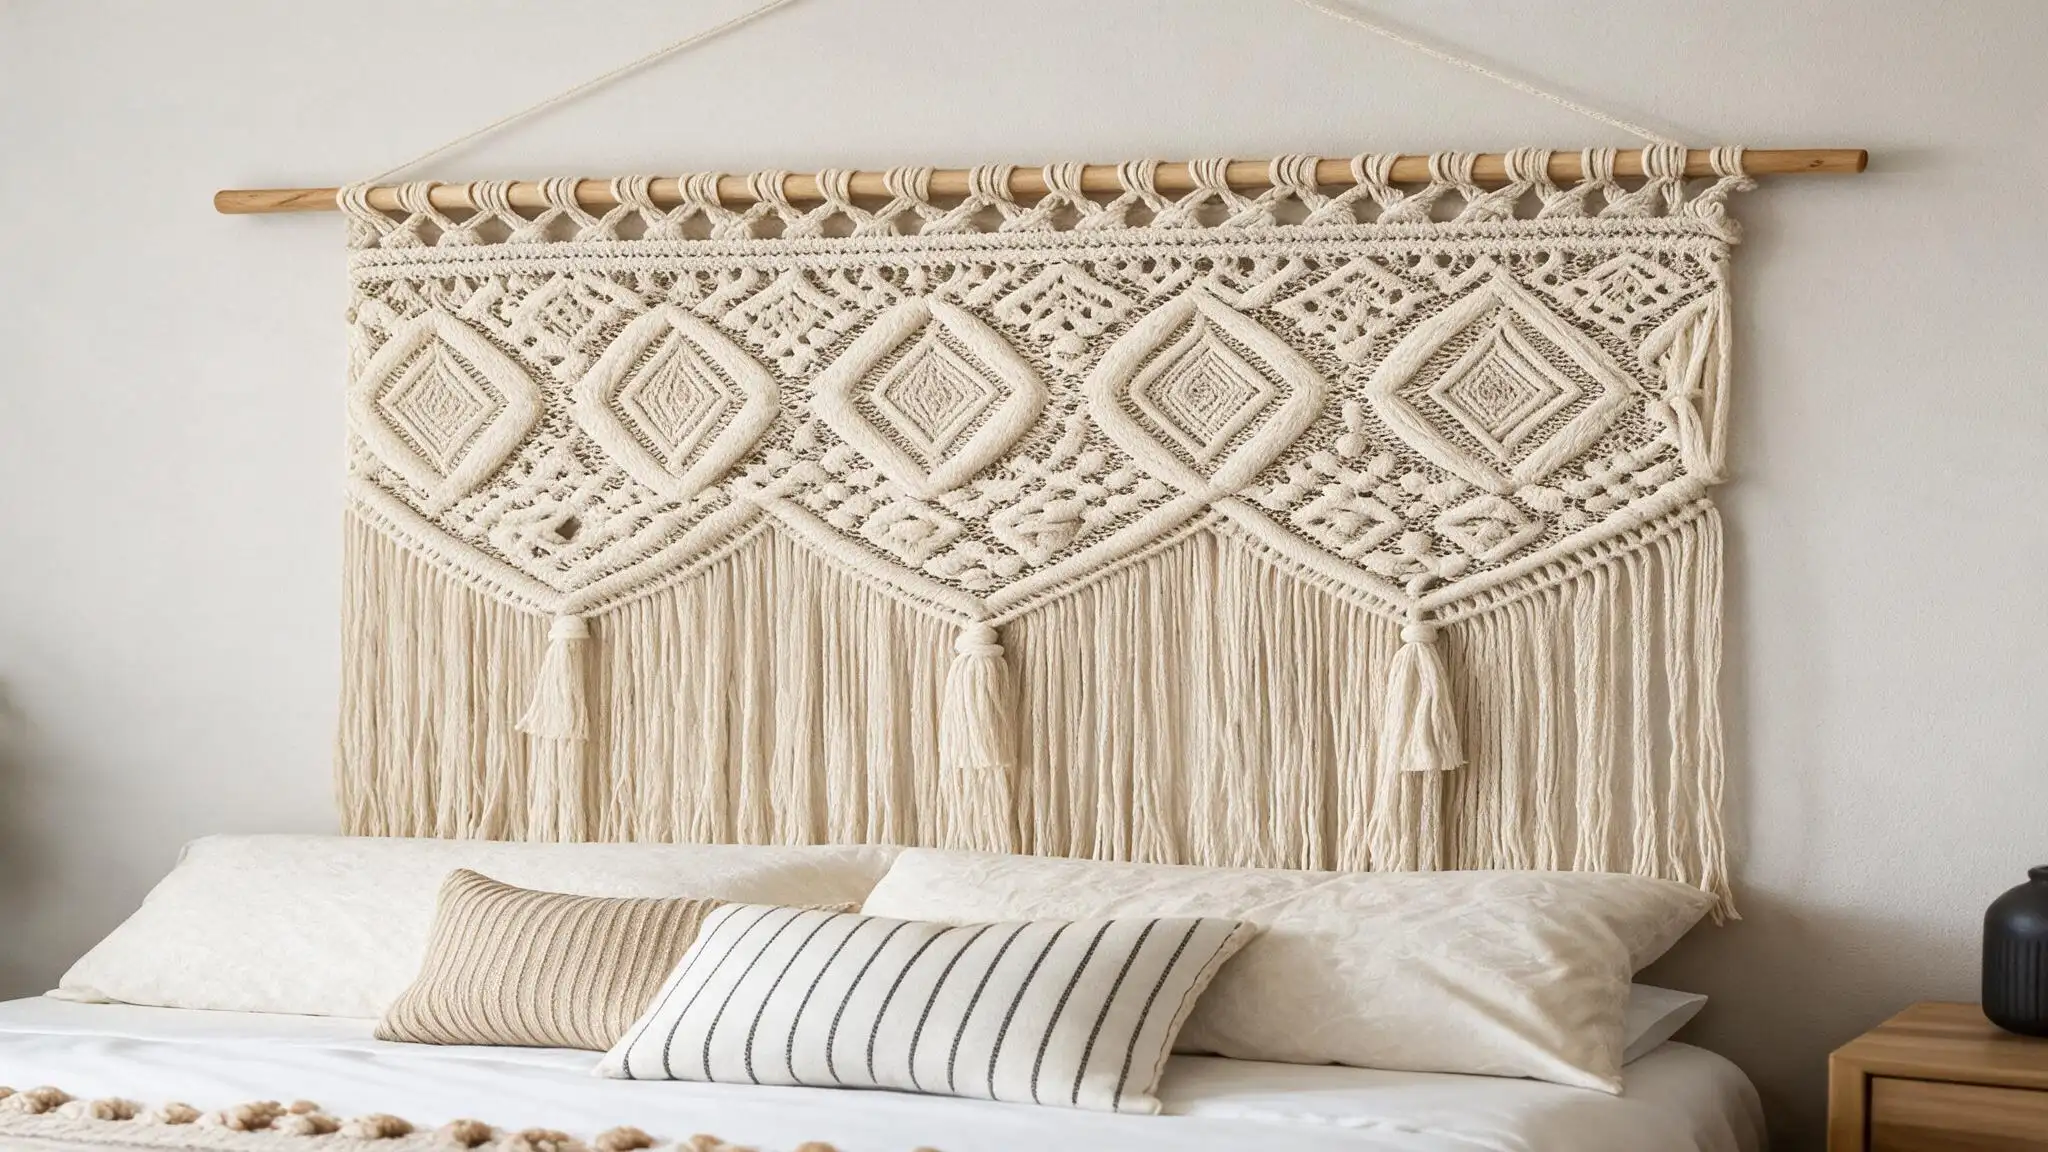
You’ll need: a macrame panel, a wood dowel or branch, mounting hardware
- Mount the dowel or branch above the bed with brackets
- Hang the macrame panel from it
- Adjust the drape so it’s centered over the pillows
This is one of the only designs here that adds texture without adding real weight, since most macrame panels are lightweight cotton cord.
20. Quilt Headboard
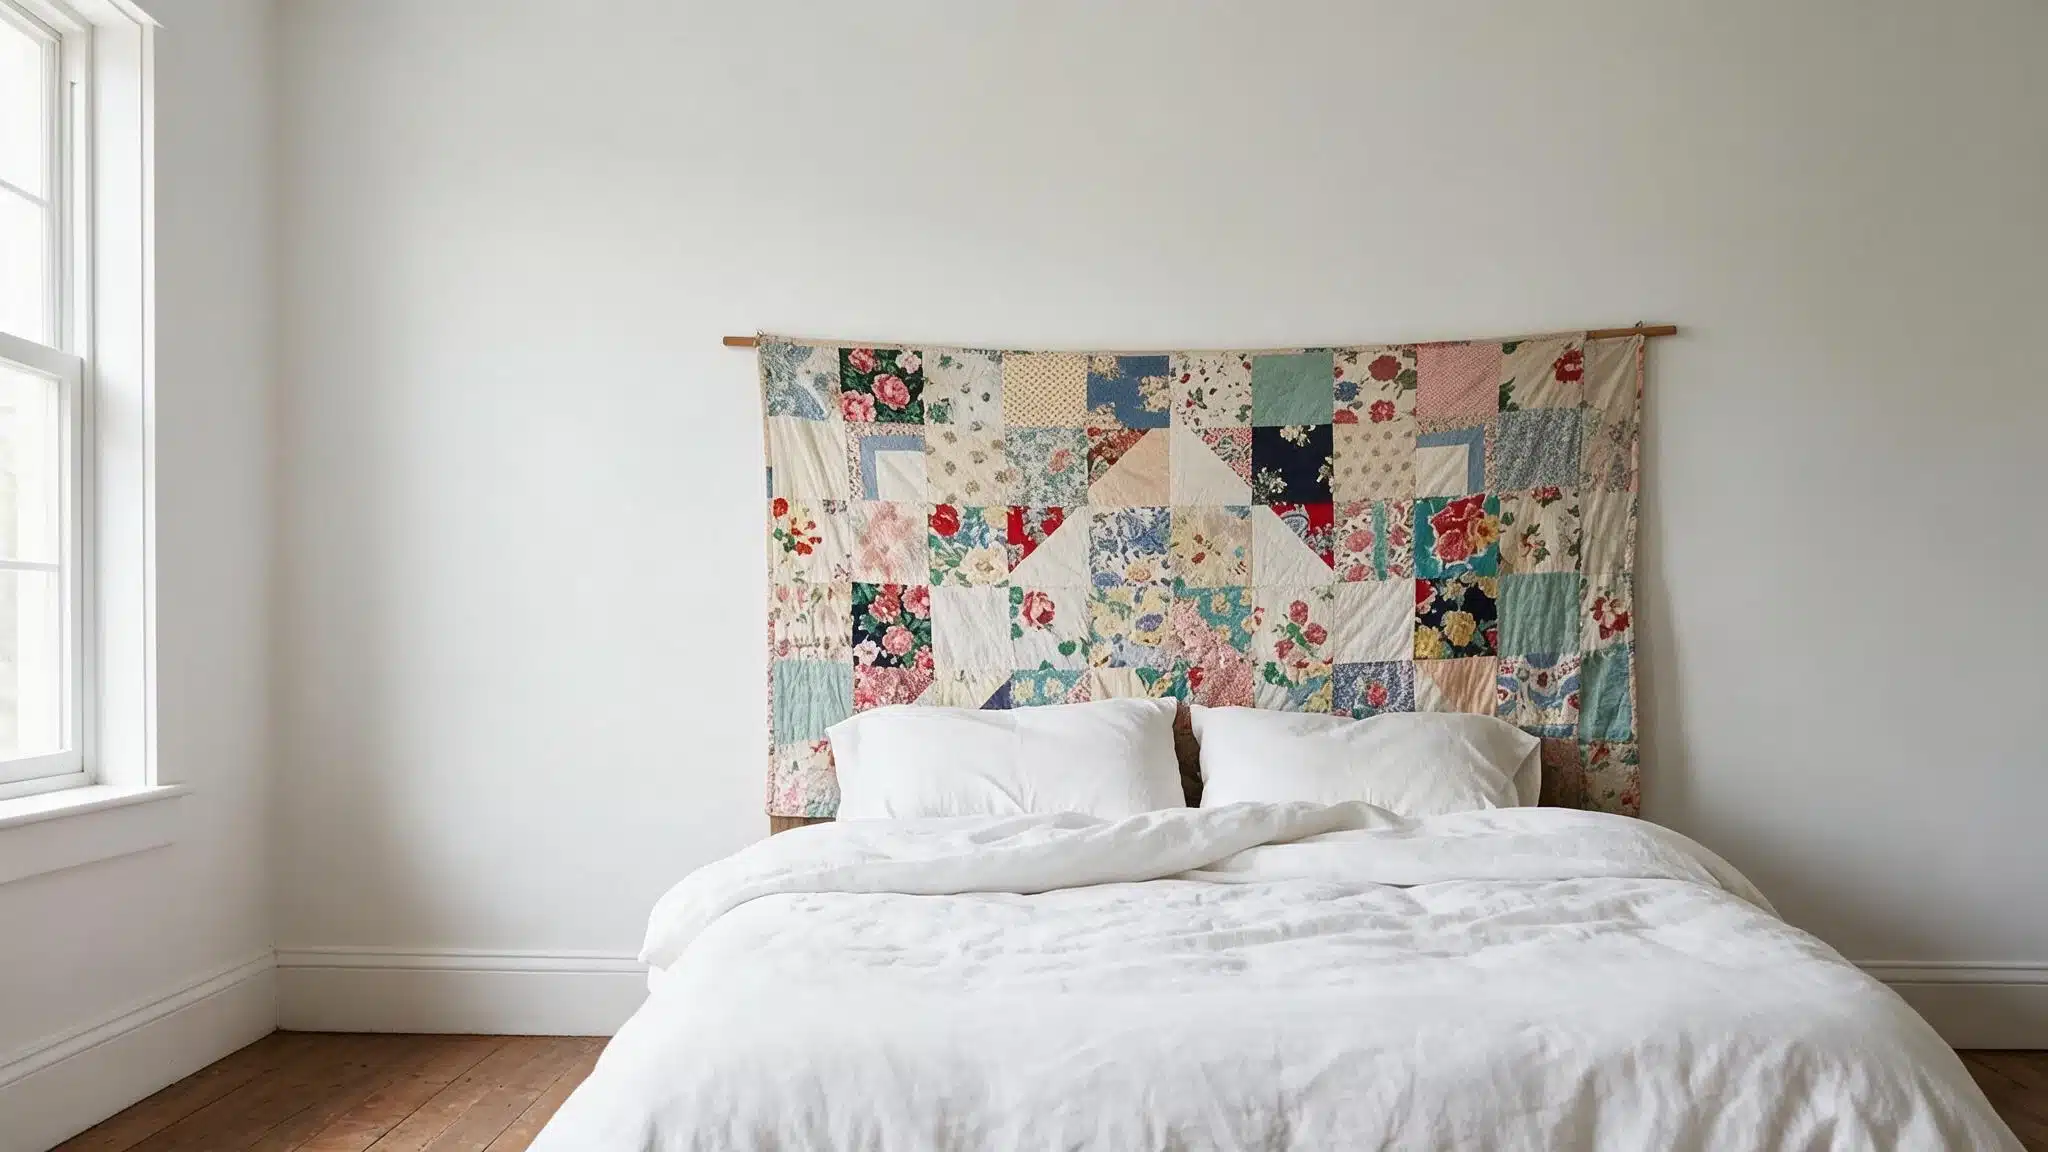
You’ll need: a quilt, a wood dowel, fabric for a sleeve (or an existing sleeve)
- Sew a fabric sleeve along the top edge of the quilt if it doesn’t already have one
- Slide the dowel through the sleeve
- Mount the dowel to the wall with brackets
This is an easy way to reuse a family quilt that’s too worn for the bed but too meaningful to store away.
21. Vintage Door Headboard
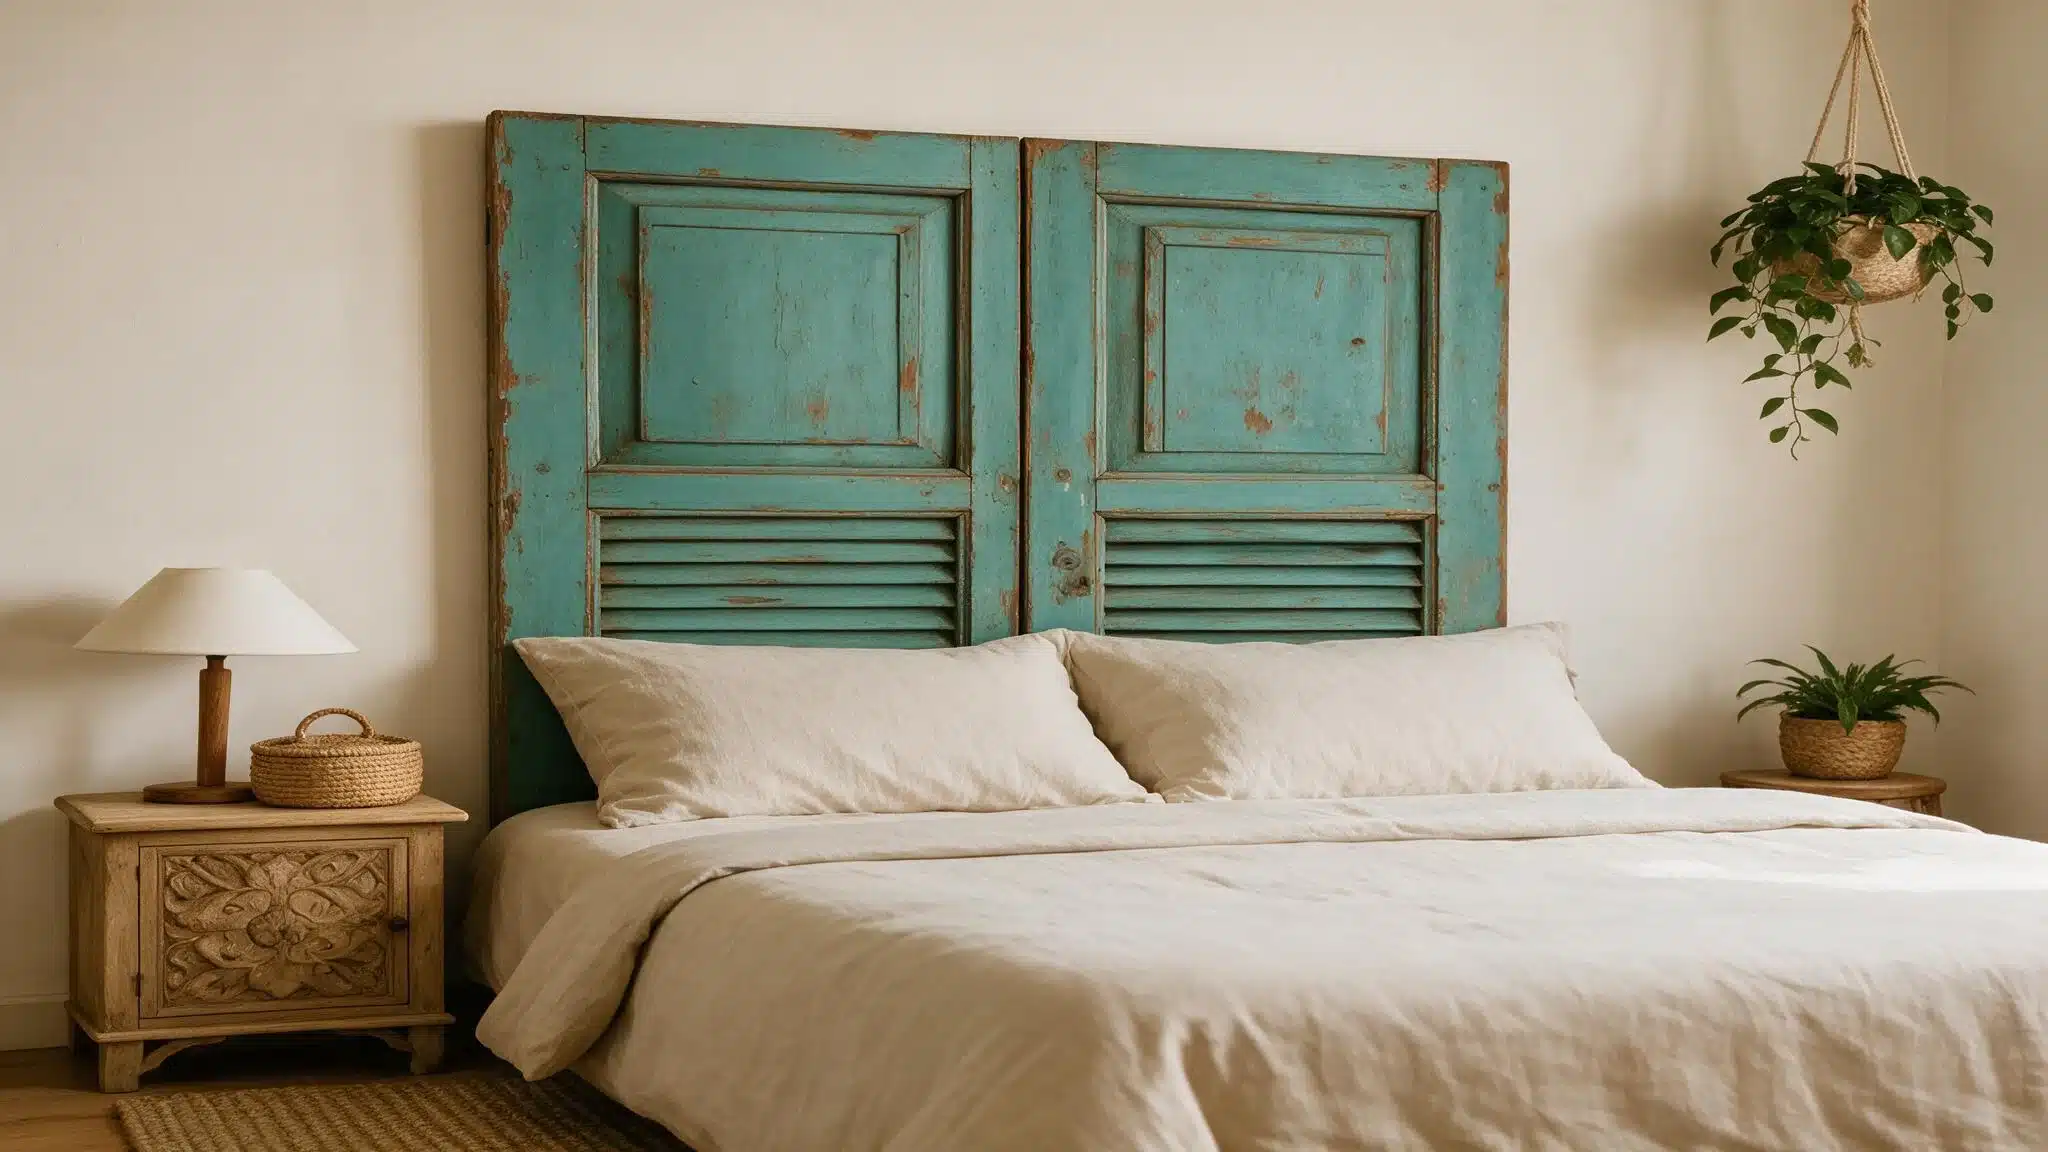
You’ll need: one or two salvaged doors, sandpaper, wall anchors or brackets
- Sand and refinish the door
- Stand it upright behind the bed
- Secure it to wall studs with brackets so it can’t tip
Doors with original glass panes or hardware tend to look more finished than a plain slab door once cleaned up.
22. Shearling Headboard
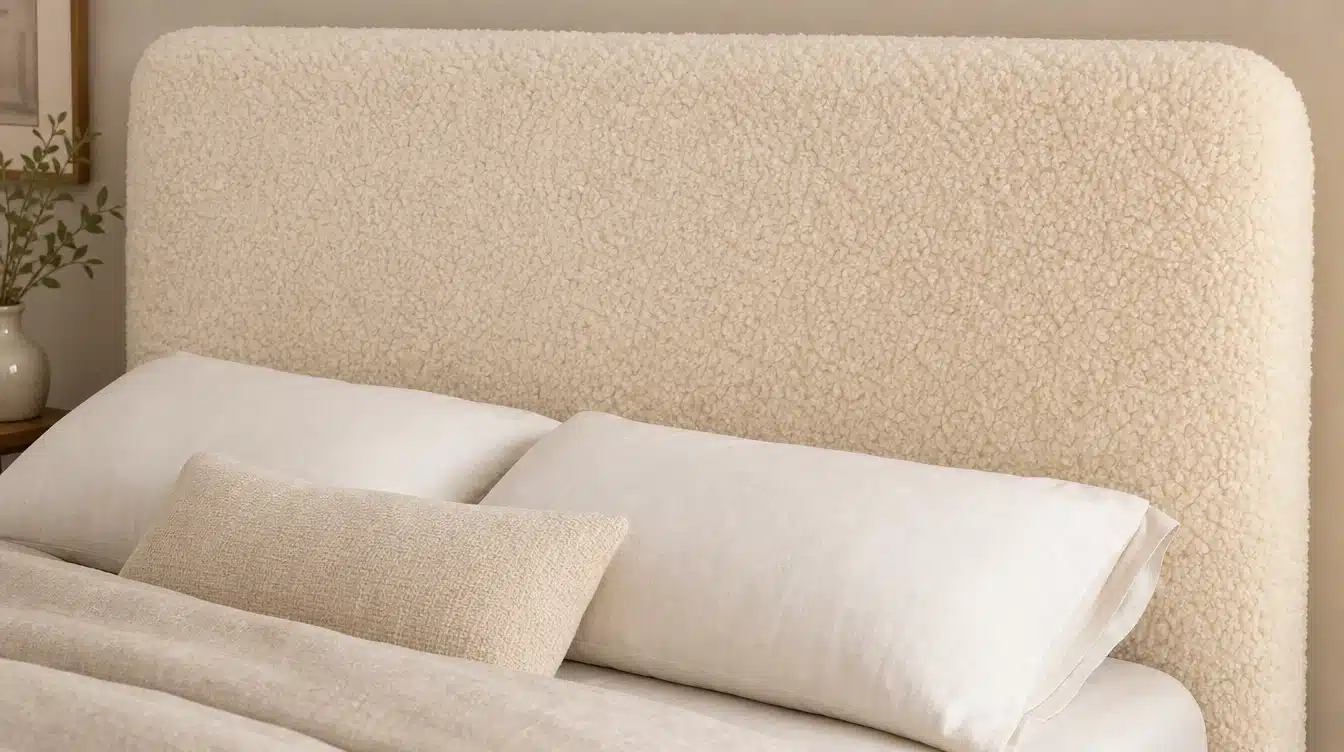
You’ll need: a plywood or foam-core panel, faux fur or faux shearling, a staple gun
- Cut the panel to size, as with the upholstered fabric panel
- Wrap the pile fabric tightly around the edges and staple it to the back
- Brush the pile in one direction with a wide comb to smooth out flattening from shipping
It brings a plush, tactile texture, none of the flatter fabric or wood options offer, and it tends to photograph especially well against a neutral wall.
23. Bookshelf Headboard
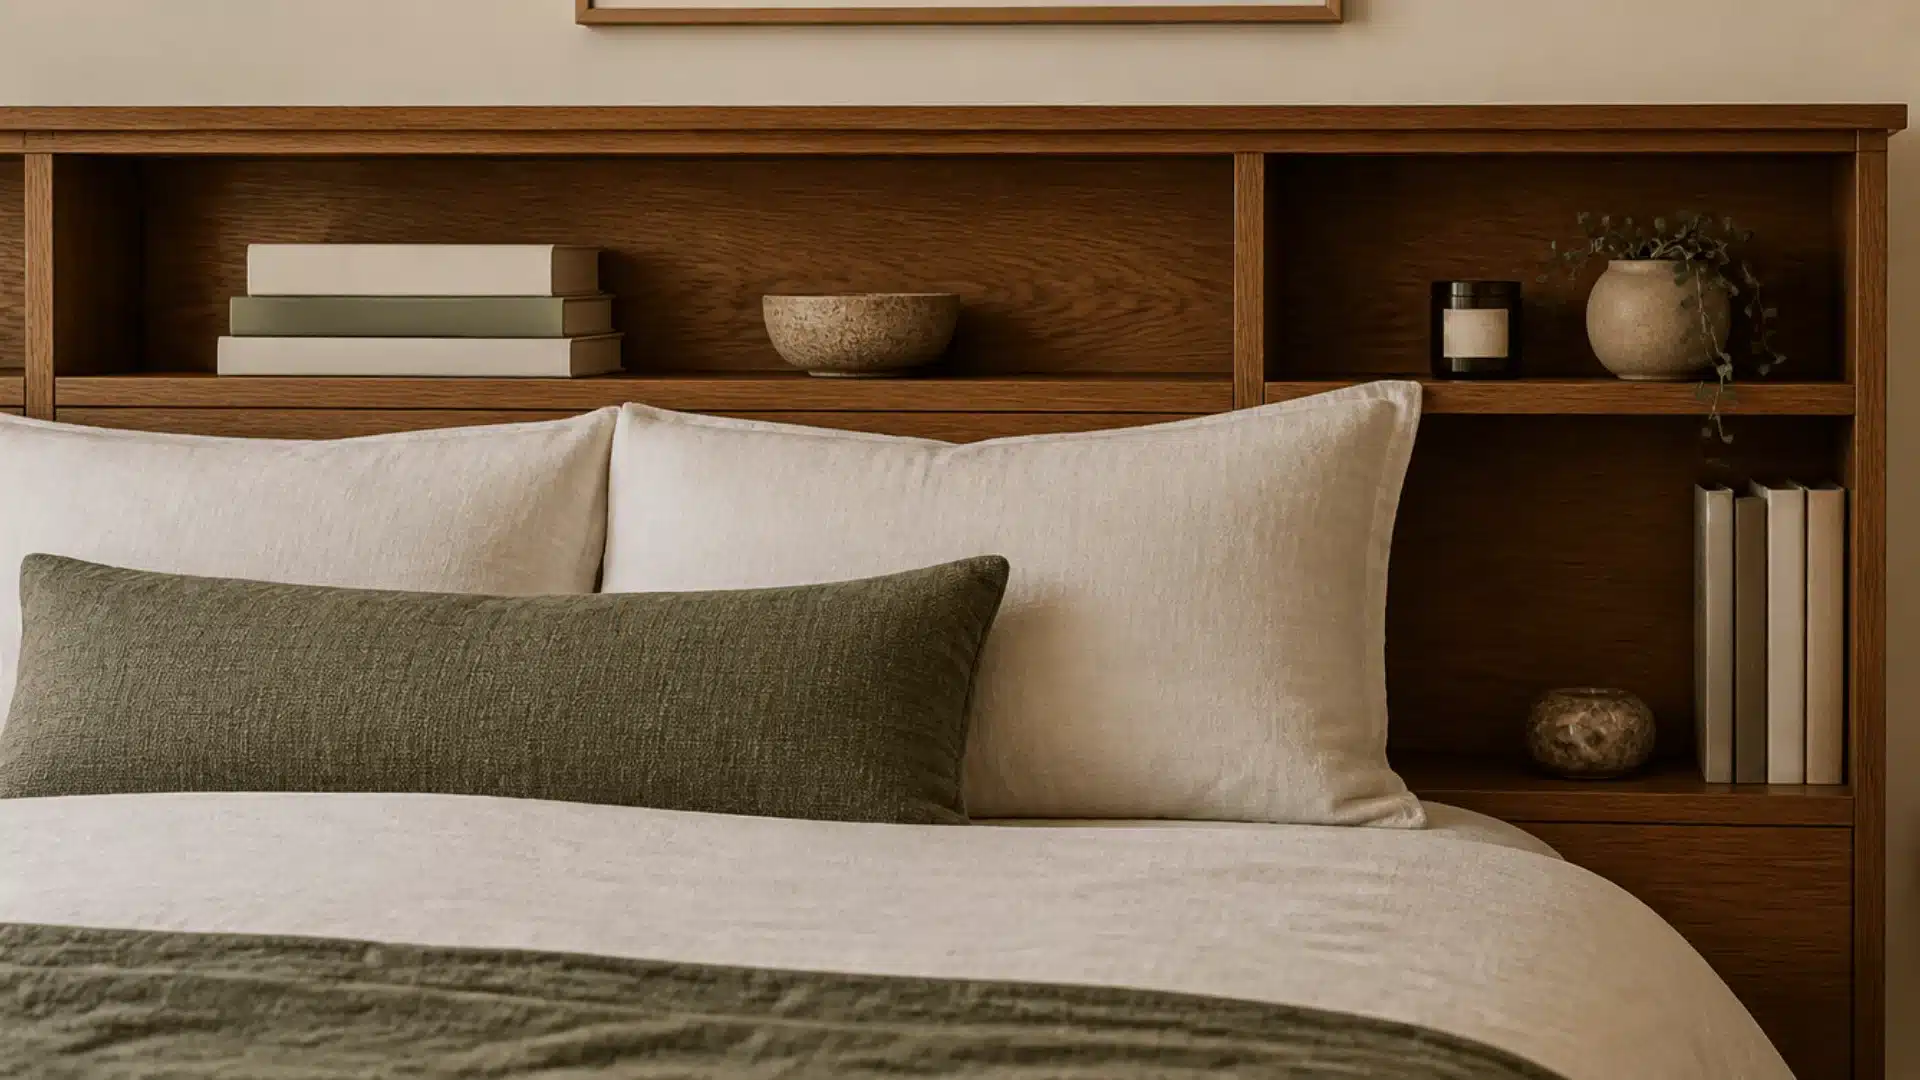
You’ll need: a low bookshelf, wall anchors
- Position the bookshelf behind the bed instead of a traditional headboard
- Anchor it to the wall if it’s tall enough to tip
- Style the shelves with books, a lamp, or plants within reach
One of the designs on this list that adds functional storage is worth considering in a small bedroom where every piece of furniture needs to do double duty.
How to Choose the Right DIY Headboard?
Picking a design from a list is the easy part; making sure it actually suits the room is where most DIY headboard ideas succeed or fall flat.
Skill level matters here; paint, wallpaper, quilts, and macrame are realistic first projects, while chevron and channel tufting need more tools and patience
Measure the actual mattress, not the bed frame’s listed size, to avoid an awkward gap once the bedding is on.
Some headboards attach to the bed frame, some mount to the wall, and a few, like the painted arch, are decorative only.
Fabric, quilts, and macramé need occasional spot cleaning, while painted wood, plywood, and cane wipe down easily.
Paint supplies, mounting hardware, and tools you don’t already own add up fast, too.
Working through those questions first saves a redo down the line and keeps the finished piece looking intentional rather than improvised.
Conclusion
The wall behind a bed doesn’t need a new bed frame to look finished; it just needs one deliberate choice, whether that’s a painted arch or a slab of stained plywood.
What ties these DIY headboard ideas together is that none of them demand a fully equipped workshop or a big budget; they ask for one weekend and a willingness to measure twice.
Pick the one that matches the tools already in your garage, and the rest of the room tends to fall into place around it.
Frequently Asked Questions (FAQs)
1. How Tall Should a DIY Headboard be Above the Mattress?
Roughly 10 to 24 inches for a low profile, up to 40+ inches for a dramatic, oversized design.
2. Does a DIY Headboard Need to Match the Bed Frame or Nightstands?
Not exactly; matching the wood tone or finish family reads as intentional even if the pieces differ.
3. What Tools Does a Beginner Actually Need to Start?
A staple gun, measuring tape, saw, and level cover most beginner-friendly diy headboard projects on this list.
4. Will a Fabric Headboard Damage the Wall Behind It Over Time?
Rarely, if mounted properly; the main risks are moisture buildup or friction marks from constant leaning.