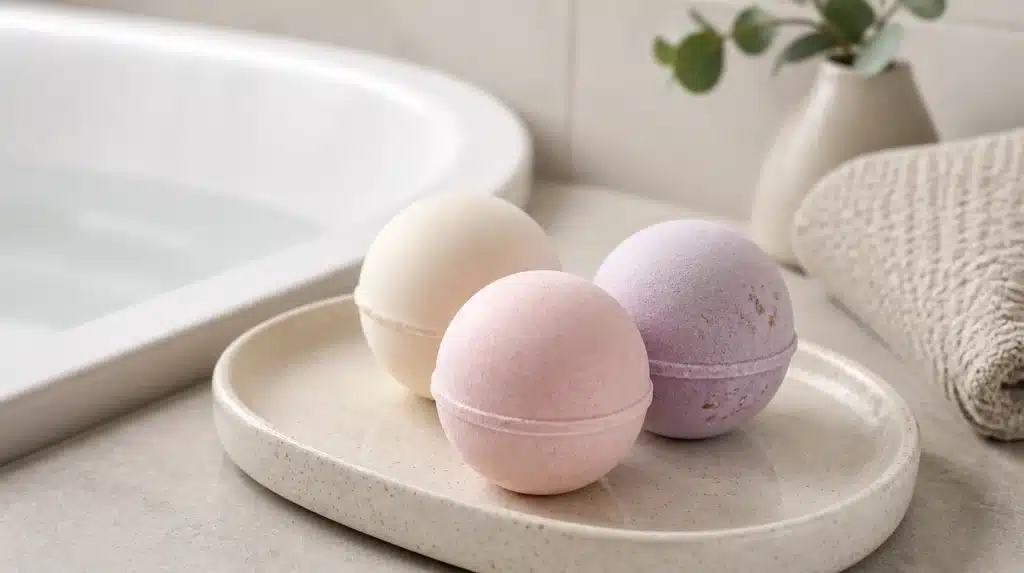
Store-bought bath bombs cost a lot, and most are packed with chemicals you aren’t even aware of. You already know this if you’ve checked ingredients on the internet or in stores.
You can make bath bombs at home for a fraction of that cost. All it takes is stuff sitting in your kitchen cabinet.
This blog breaks down how to make bath bombs step by step, from mixing to molding to drying. By the end, you’ll have a fresh batch ready for your tub tonight.
What Do You Need to Make Bath Bombs at Home?
You don’t need a shopping spree for this one. Making bath bombs at home comes down to a handful of ingredients and a few basic tools.
Essential Ingredients
Here’s what actually goes into a standard batch, plus how much of each one to use. This batch makes about 4 to 6 medium bath bombs.
- Baking soda – 1 cup
- Citric acid – 1/2 cup
- Cornstarch or Epsom salt – 1/2 cup
- Carrier oil, like coconut or olive oil – 2 to 3 tablespoons
- Witch hazel or rubbing alcohol – 2 teaspoons
- Essential oil – 15 to 20 drops
- Mica powder or soap-safe color (Optional) – 1/4 teaspoon
Tools and Molds
- Two mixing bowls, one for dry and one for wet
- A whisk or a fork
- A small spray bottle
- Gloves to keep your hands from drying out
- A kitchen scale for accurate measurements
- Bath bomb molds, silicone or plastic
How to Make Bath Bombs at Home Step by Step
You’ve got your ingredients lined up and your tools within reach. Now comes the part you’ve been waiting for.
This next stretch covers how to make homemade bath bombs in just seven simple steps, from mixing dry ingredients to letting your bombs cure. None of it needs special skills, just a little patience while everything sets.
Step 1: Mix the Dry Ingredients
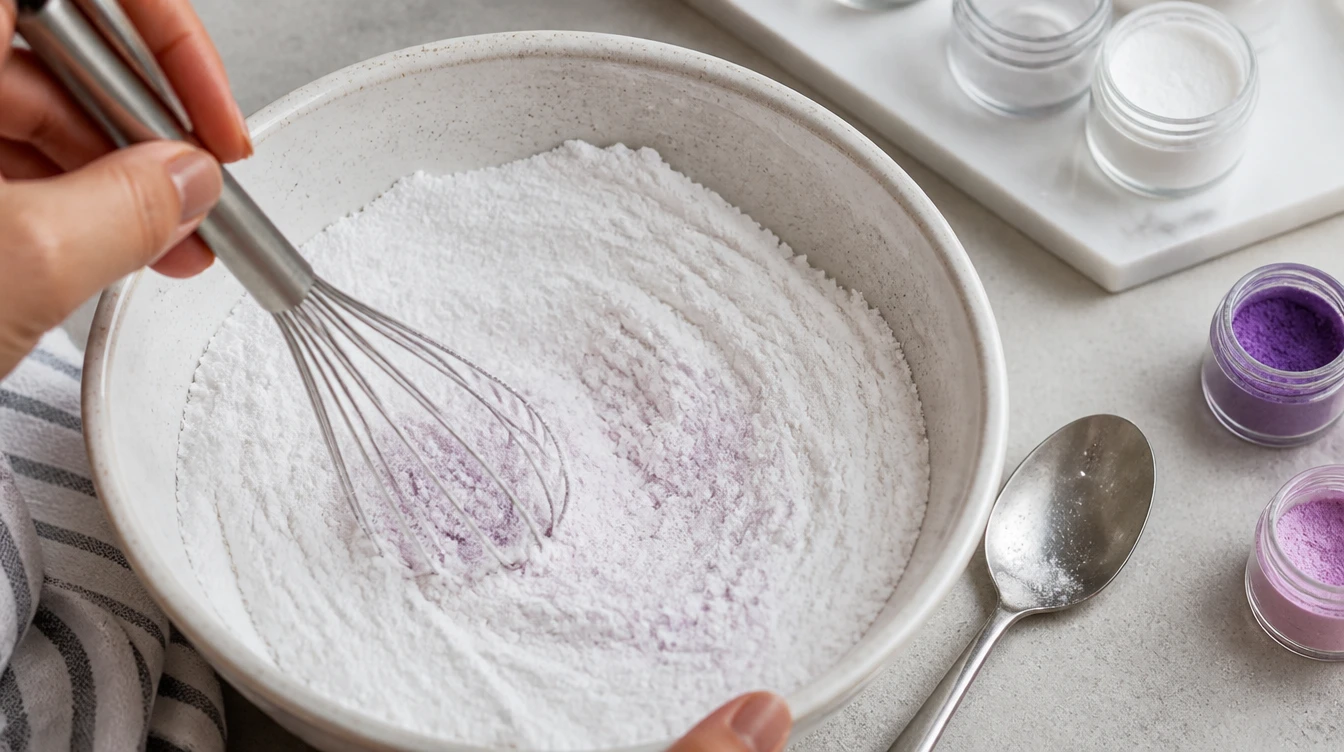
Take your large mixing bowl and add the baking soda, citric acid, and cornstarch or Epsom salt to it. Mix the ingredients until they form a single, fine powder.
Get rid of all lumps in the mixture by crushing them with the help of a spoon, particularly in the case of citric acid. Add the mica powder or soap-safe colorant and mix again.
Step 2: Prepare the Wet Ingredients
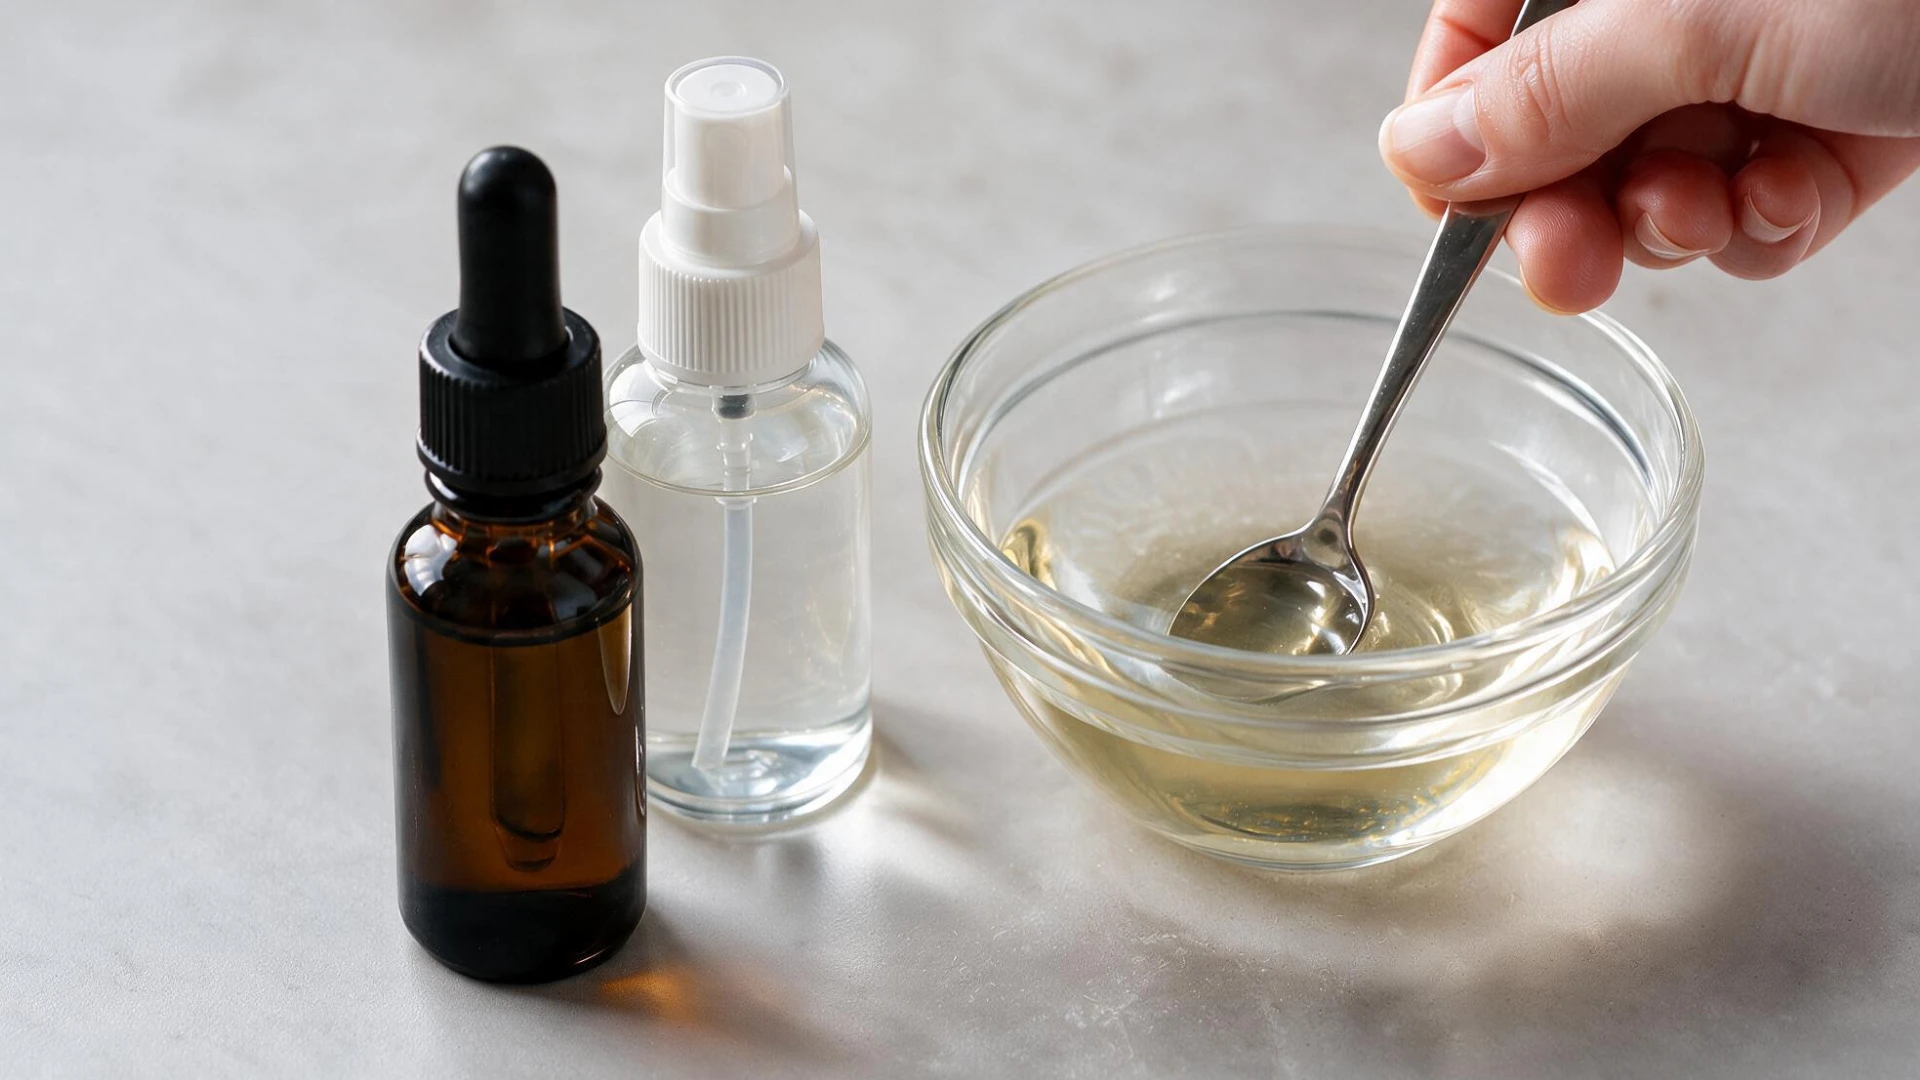
Prepare another smaller mixing bowl and pour the carrier oil into it. Then add either witch hazel or rubbing alcohol and mix well.
Finally, add 15 to 20 drops of your essential oil and stir. Keep this wet mixture small, since you will add it little by little.
You should keep a spray bottle available as well, just in case.
Step 3: Combine Slowly
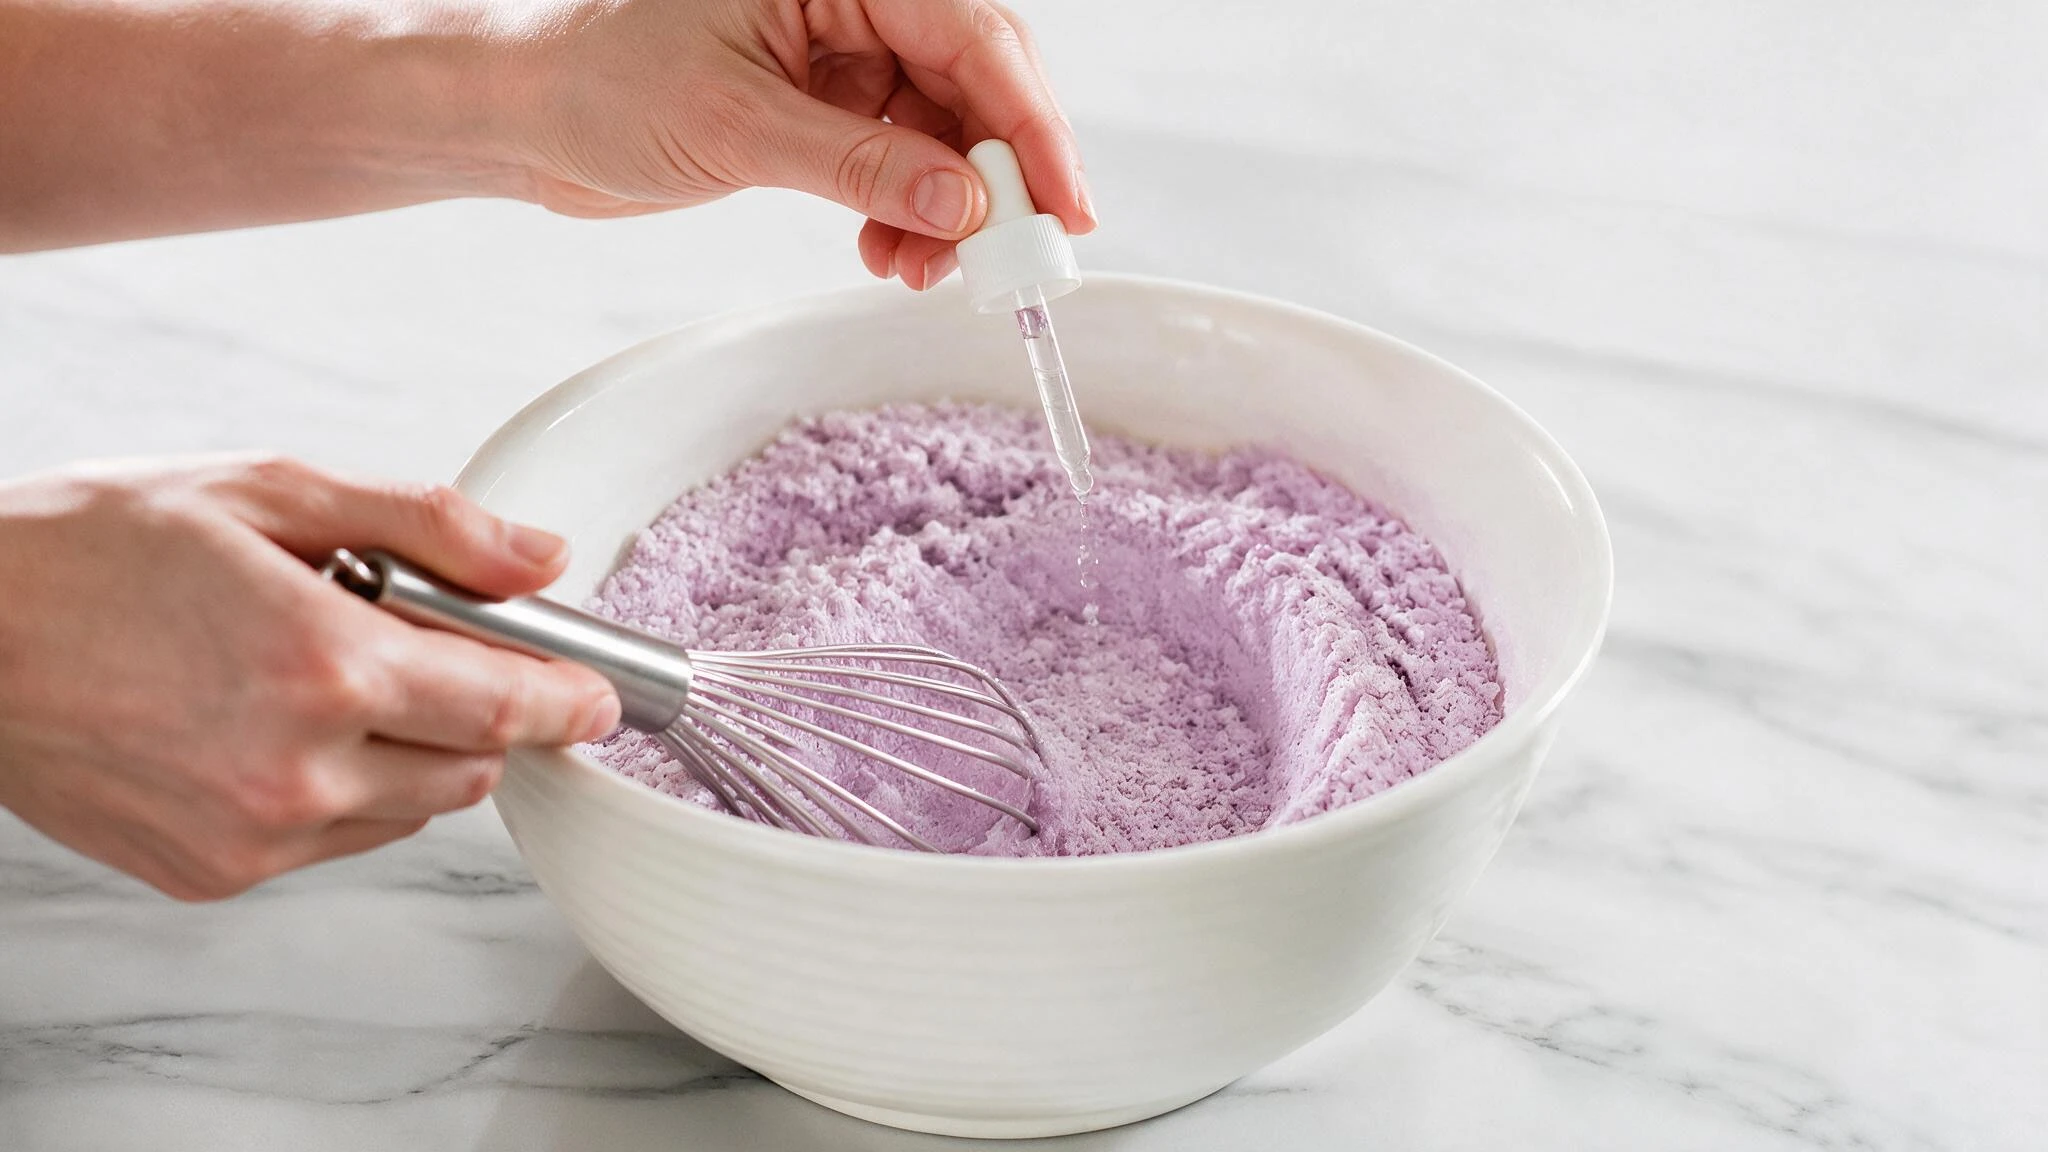
Now, add the wet mixture to the dry one drop by drop. After each drop, make sure the mixture does not fizz prematurely.
Fizzing is natural, but it must not be too vigorous. Continue in this fashion until all of the wet mixture has been added.
If possible, work in a dry environment because humidity accelerates the reaction.
Step 4: Check the Texture
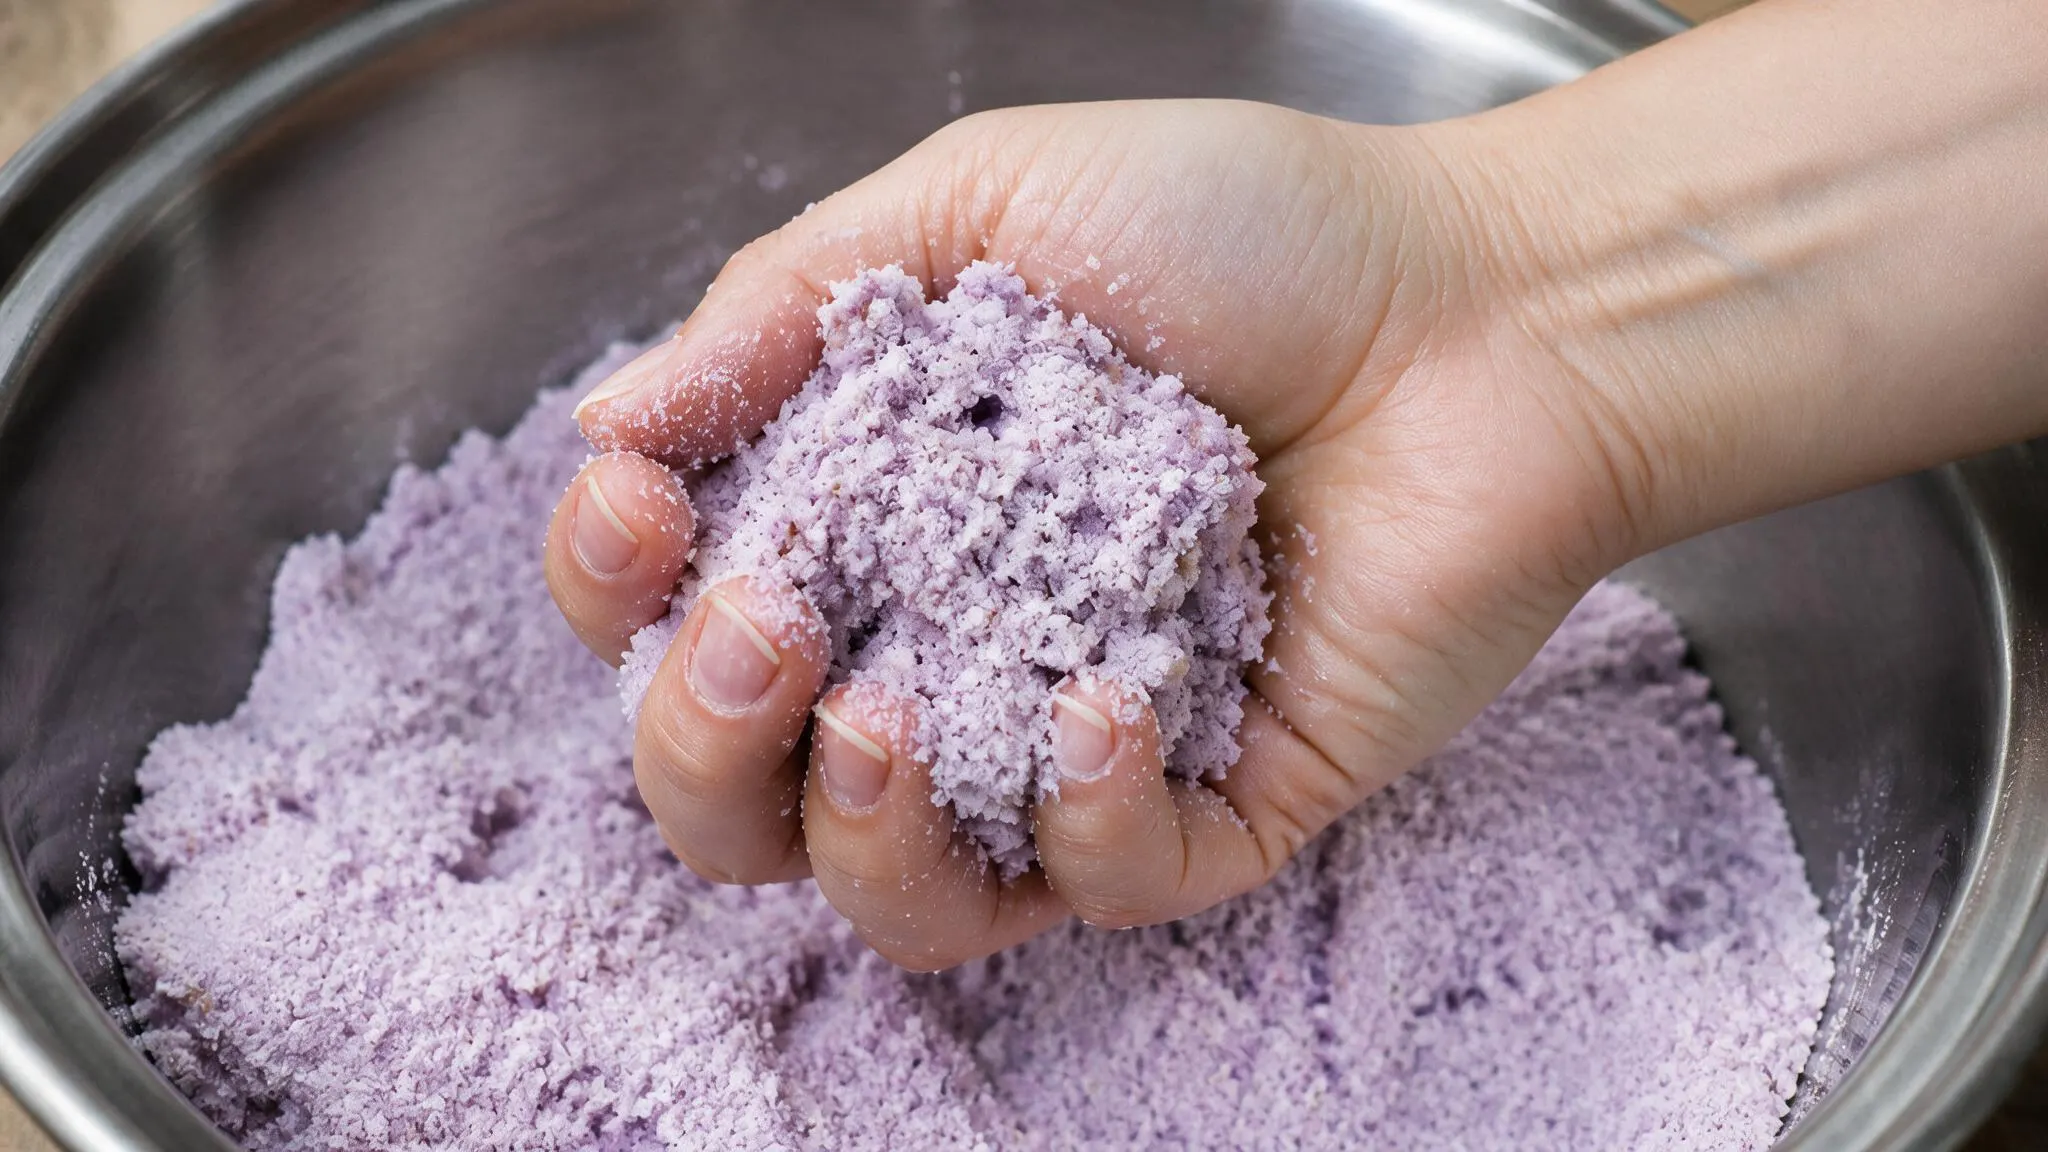
Squeeze a small handful of the mixture in your palm. It should hold together like damp sand, not crumble apart.
If it falls apart, mist in a little more witch hazel and mix again. If it feels wet or starts fizzing on its own, add a bit more baking soda and citric acid.
You’re aiming for a texture that packs tight but doesn’t feel soggy.
Step 5: Pack the Molds
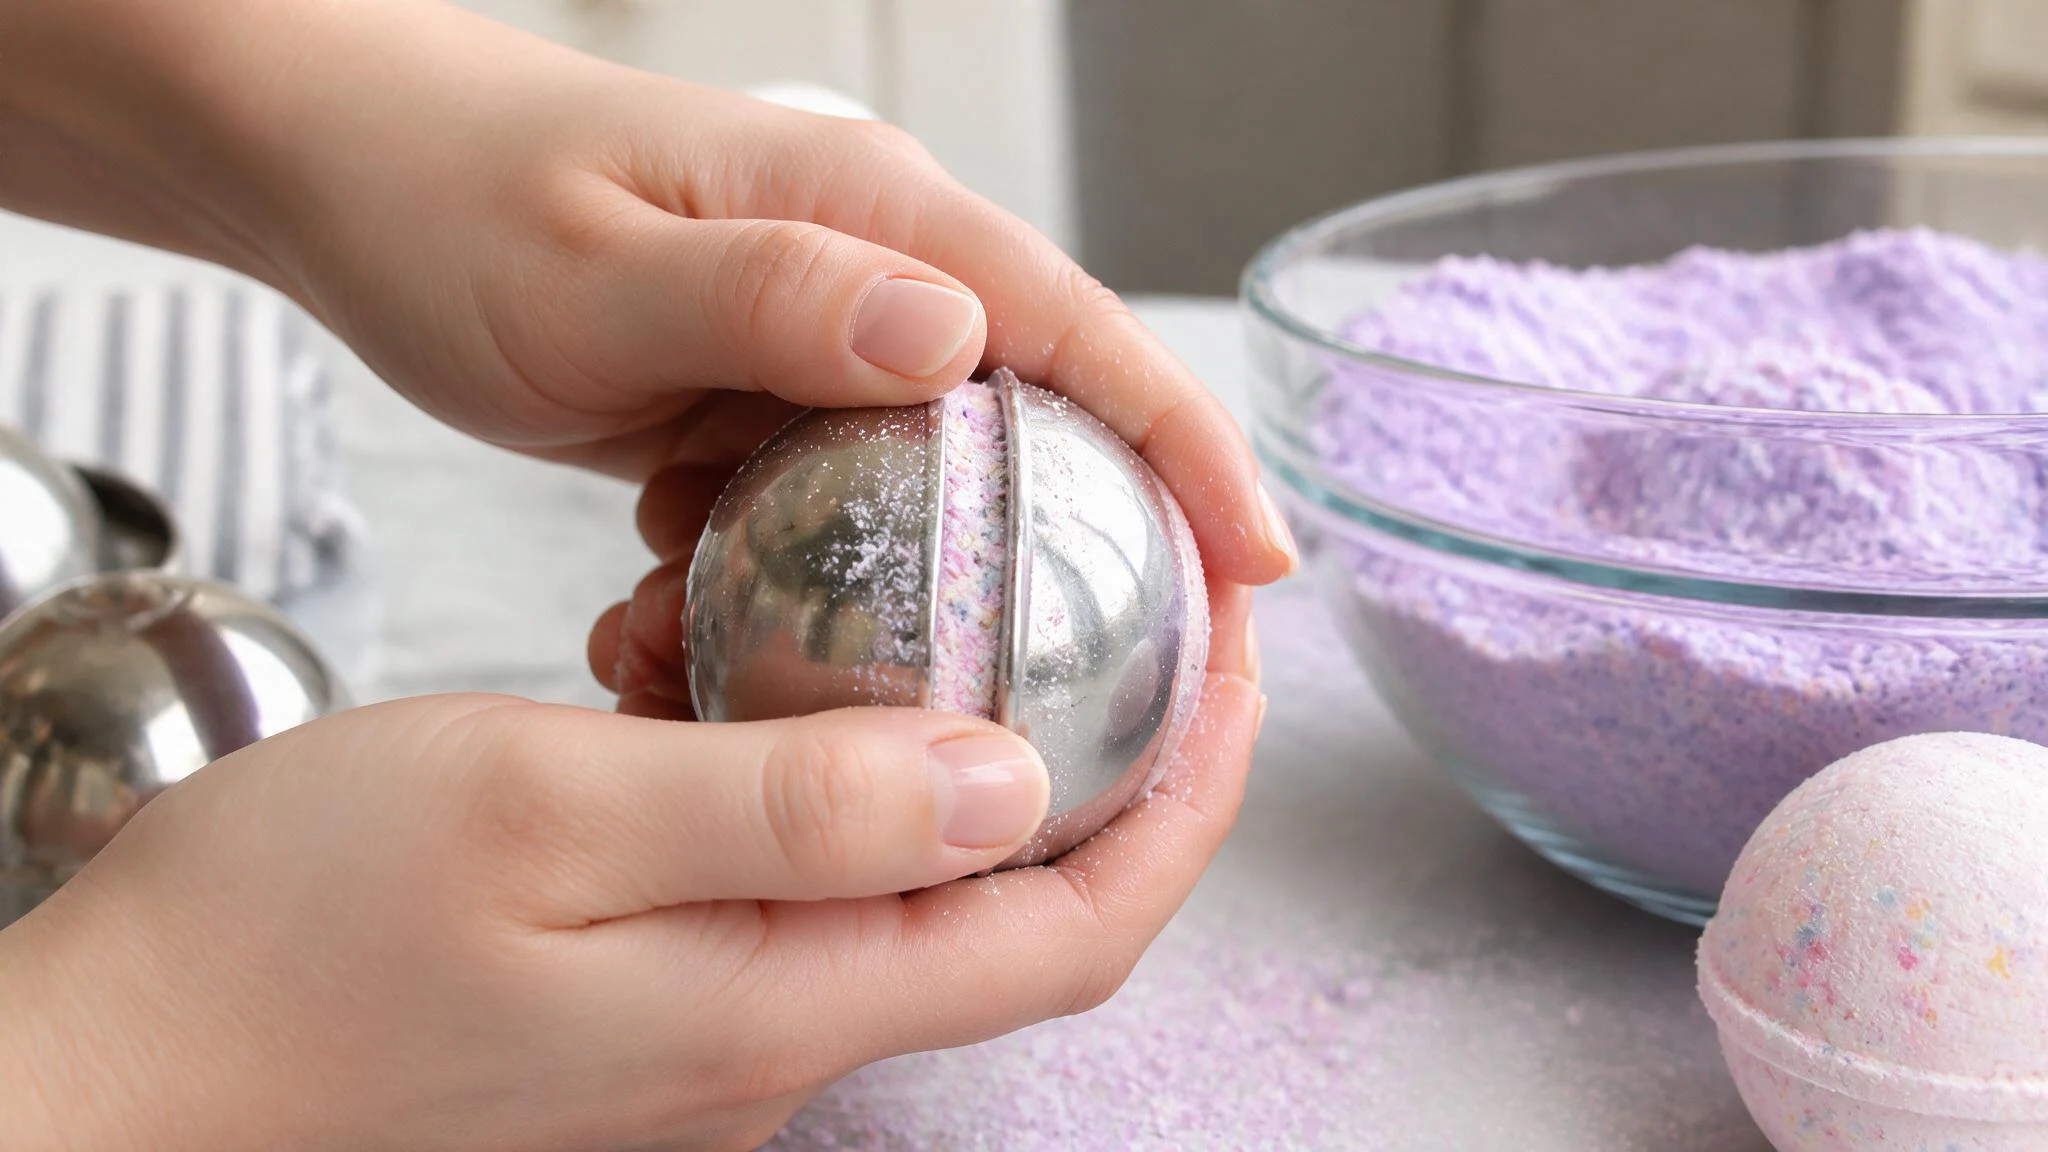
Take one half of your mold and pack the mixture in firmly. Press extra mixture on top so it mounds slightly above the edge. Do the same with the other half.
Press both mold halves together hard and hold for a few seconds. This tight seal is what keeps your bath bomb from falling apart later.
Step 6: Unmold Carefully
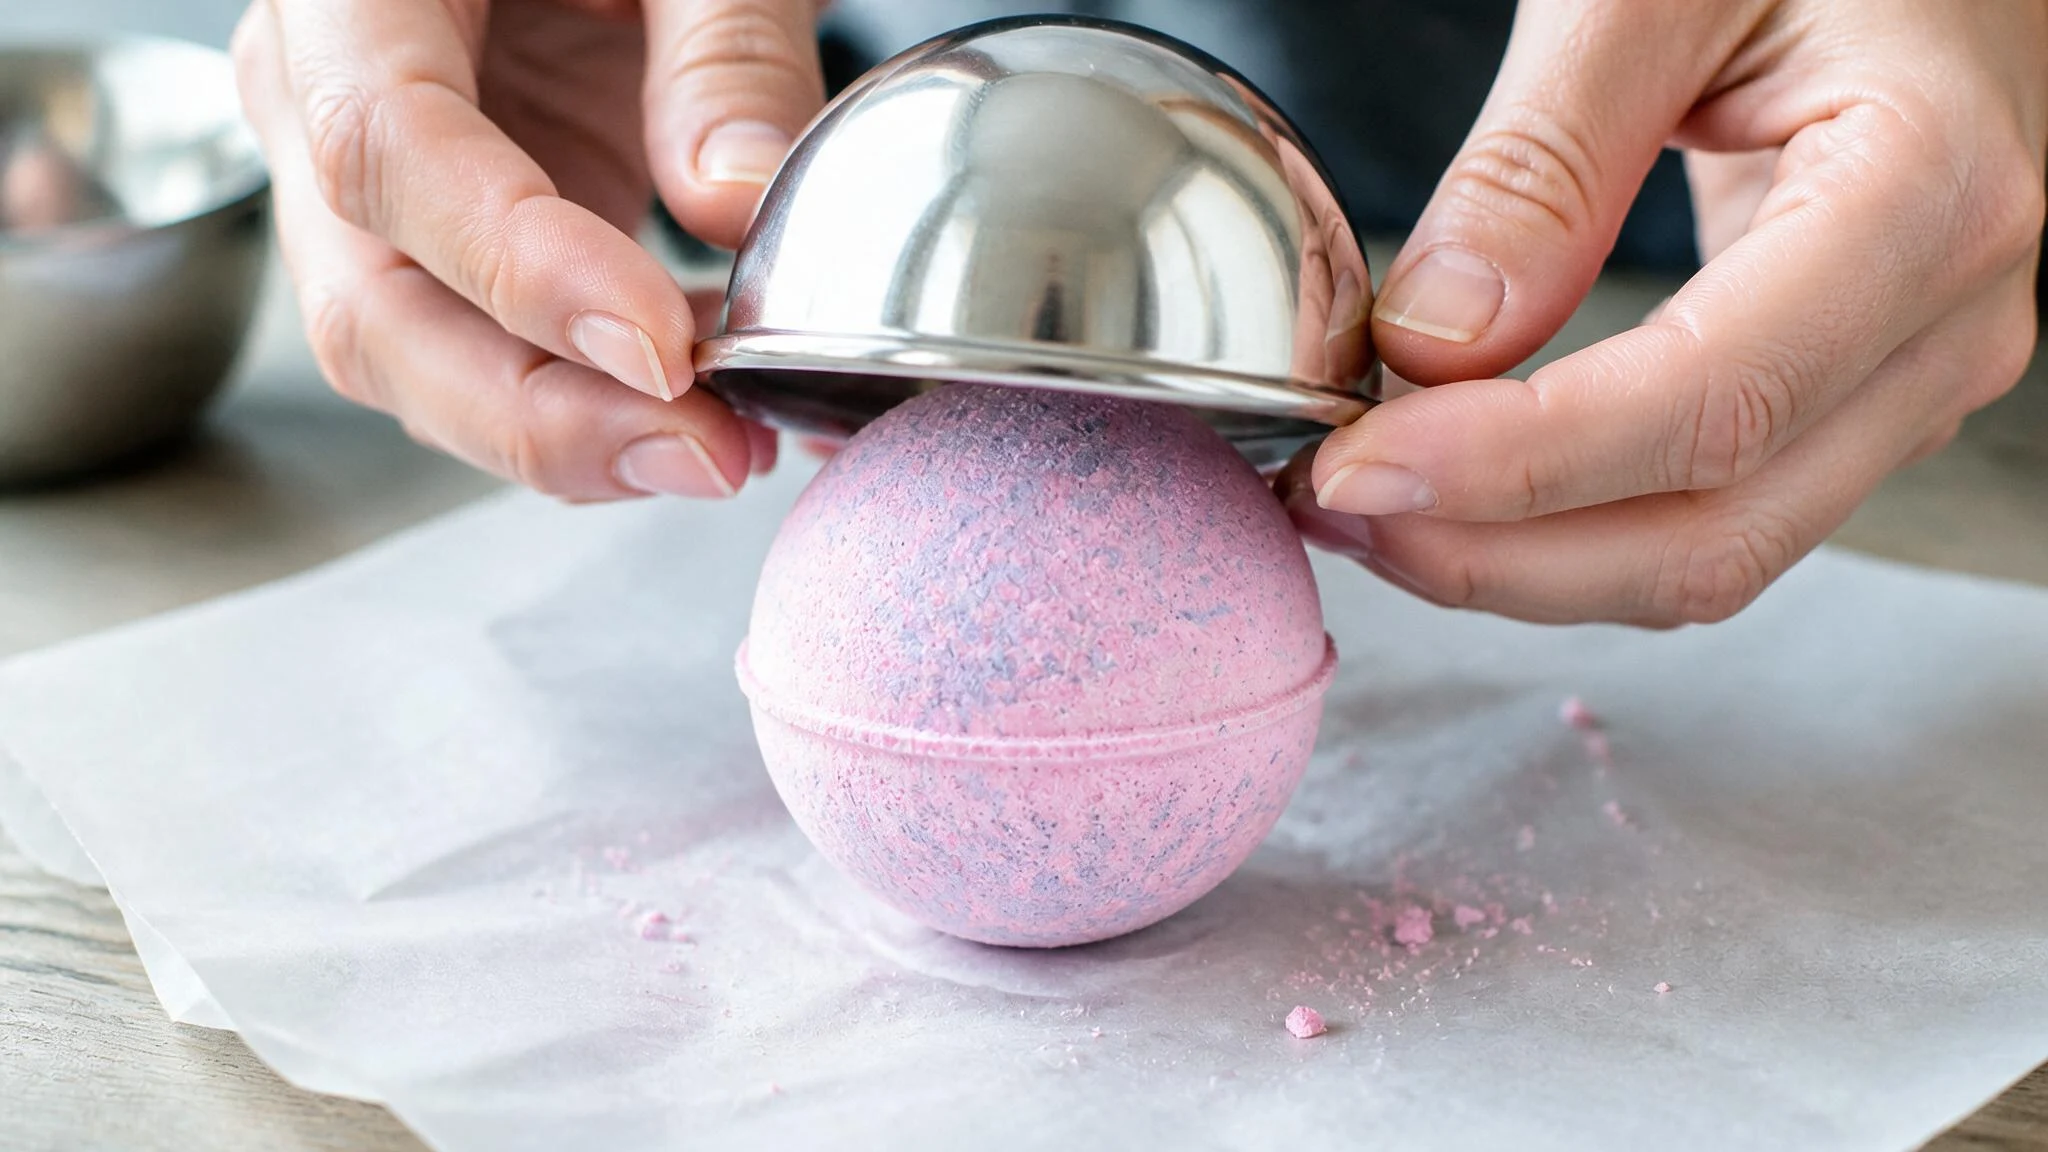
Wait for a minute or so until you open the mold. Gently tap the mold on the countertop to release the shape. Do not pull the mold directly off.
Remove the top half first, followed by the bottom half. Place your bath bomb on the parchment paper.
Twist, don’t yank; your bath bomb will thank you for the gentler exit.
Step 7: Let Them Dry
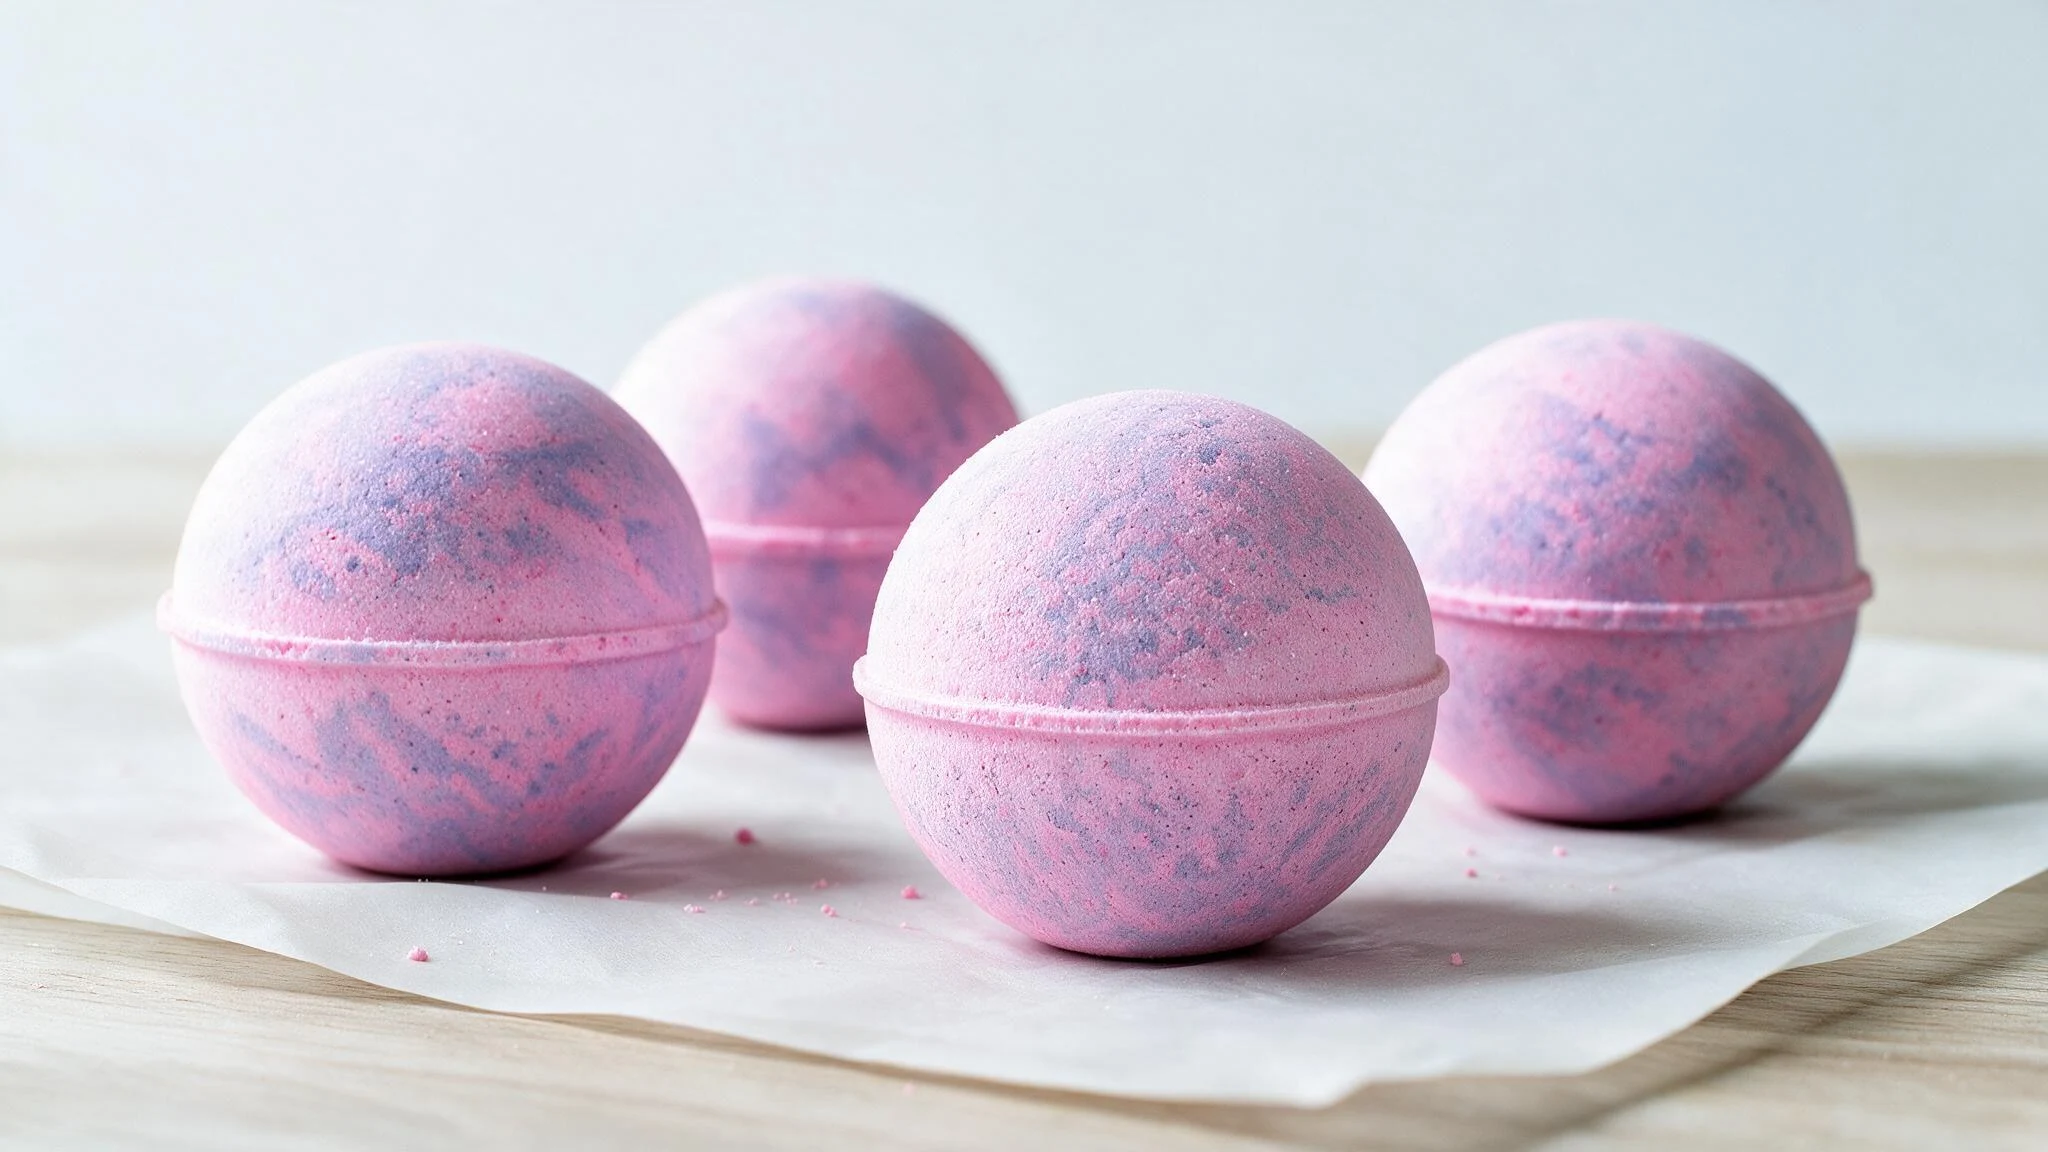
Leave your bath bombs on the parchment paper for 24 hours without disturbing them. Keep them in a dry place, free from light and moisture.
Do not handle them at all during this period, as they can be quite delicate. Once the day has passed, turn them over to allow the bottom sides to dry as well.
How to Dry and Store Homemade Bath Bombs?
Getting your bath bombs to dry hard is only half the job.
If you toss them in a drawer without protection, they’ll soak up moisture from the air. That means losing their fizz fast.
A little care after drying keeps them working the way you want, weeks or months down the line.
- Store them in an airtight container, like a mason jar or a tin with a tight lid.
- Keep the container in a cool, dark place, away from direct sunlight and heat.
- Skip the bathroom itself, since steam and humidity sneak in even with the door closed.
- Wrap each bath bomb in plastic wrap or wax paper if you’re storing more than one scent together.
- Toss in a silica gel packet if you have one, since it soaks up any leftover moisture.
How to Customize Your Homemade Bath Bombs
Now for the fun part: making these bath bombs actually yours. The basic recipe works great on its own, but it’s just a blank canvas.
You get to decide how it smells, what color it turns the water, and whether you toss in anything extra. Think of this section as your permission slip to experiment.
Nothing here is complicated, and every swap is totally optional.
Once you understand how to make homemade bath bombs, you can easily experiment with different scents, colors, molds, and gift ideas.
Choose a Scent
Essential oils are your best bet here, and lavender is a classic if you want something relaxing. Citrus oils like orange or grapefruit feel more energizing.
You can even blend two scents together, like lavender and vanilla. Stick to fifteen to twenty drops total, so the scent doesn’t overpower the fizz.
Add Bath-Safe Colors
Cosmetic-grade mica powder is the safest choice for coloring your bath bombs. Liquid soap dye works too, but add it drop by drop.
A little goes a long way, so start with less than you think you need. Avoid regular food coloring, since it can stain your tub.
Try Simple Add-Ins
Dried flower petals look pretty pressed into the top of your mold. Oatmeal adds a gentle, skin-soothing texture to the mix.
A few coffee grounds work as a light exfoliant if you like that. Keep add-ins to a minimum, since too many can weaken the bomb’s shape.
Conclusion
Grab your ingredients and make your first batch today. You’re only twenty minutes away from a tub full of fizz.
Making bath bombs at home isn’t some complicated science project. It’s baking soda, citric acid, and a little patience. Once you nail the ratio, you can tweak scents, colors, and add-ins however you like.
Every batch teaches you something new about texture and timing. Store-bought bath bombs just don’t compare once you’ve made your own.
Give it a shot this weekend. Don’t be surprised if you end up making a second batch before the first one even dries.
Frequently Asked Questions (FAQs)
1. Can I Substitute Citric Acid in Bath Bombs?
Yes, cream of tartar or lemon juice works as a substitute, though they produce a softer fizz than citric acid.
2. Will Homemade Bath Bombs Stain My Tub?
No, cosmetic-grade mica and soap dye rinse away cleanly, though synthetic dyes can stain worn or scratched tub finishes.
3. Are Homemade Bath Bombs Safe for Kids?
Yes, in small amounts, but rinse skin after the bath and skip strong dyes or fragrances for sensitive kids.